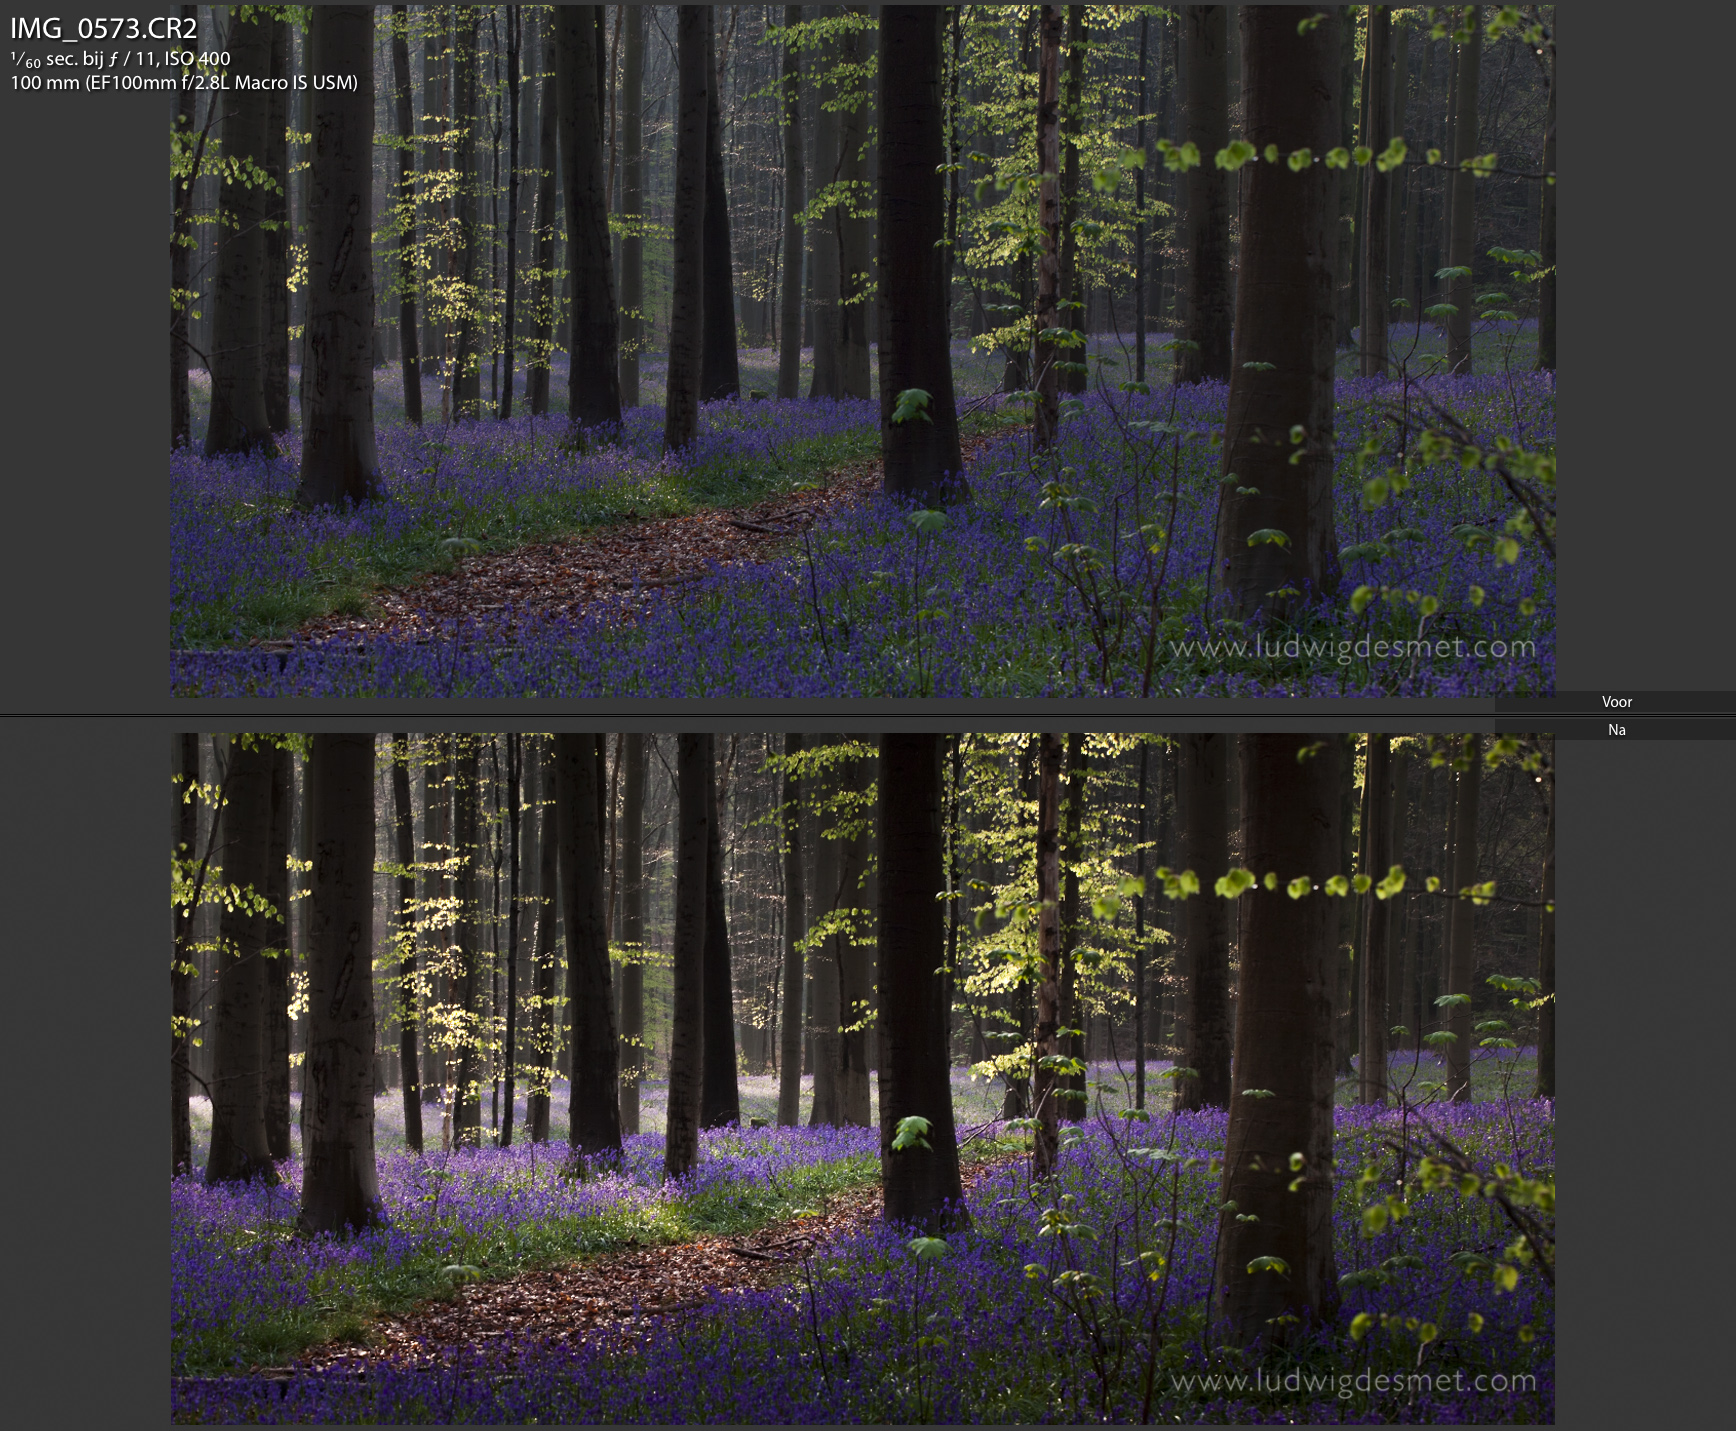
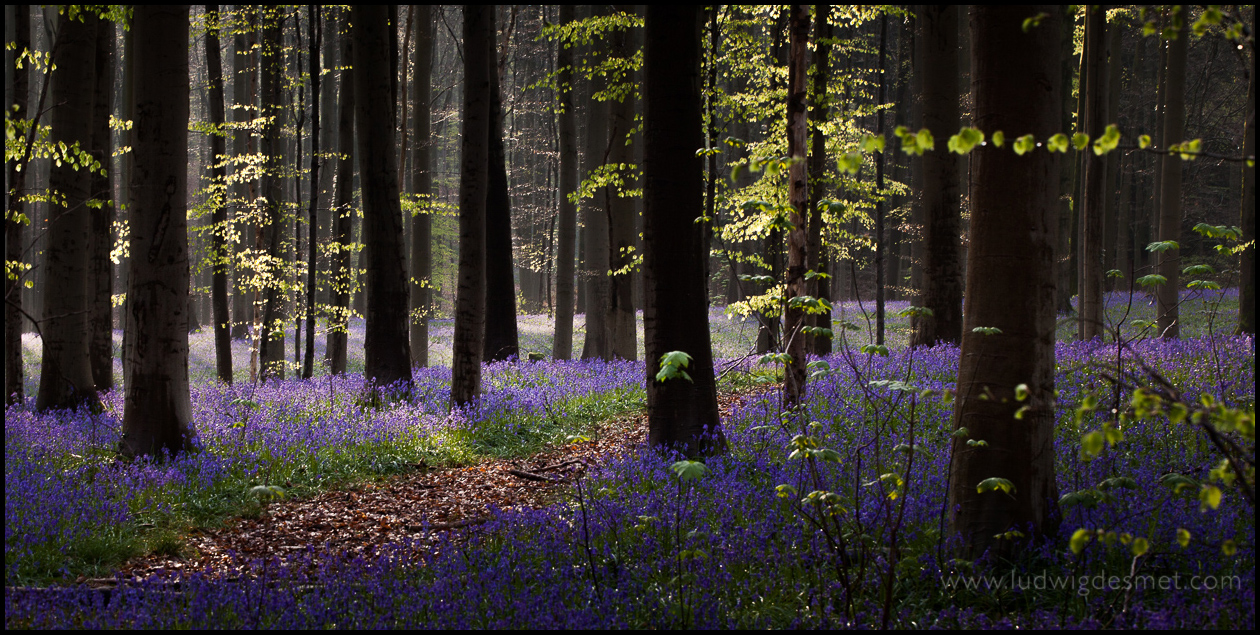
Another before and after short explanation.
A lot of people have liked this image on facebook, and this inspired me to repeat once again the importance of good development of your images.
What happened in post production? For those familiar to Lightroom, here we go: (to those not familiar to Lightroom – I enhanced the image 😉 )
color temperature slightly warmer, tint unchanged
added a +0,18 stops exposure +40 contrast +97 highlights (to accentuate the sun ray’s/highlights)
HSL panel:
Added +8 in purple Hue settings
Added +35 and +23 in respectively Blue and Purple saturation
Added +25 in Blue luminance
Local adjustments:
Added 2 gradient filters:
1 to darken the tree trunks from top: exposure -0,94 – highlights +63 – shadows +24
1 to darken foreground from bottom: exposure -0,94 – highlights +62
Added 1 radial filter:
position: central, horizontally shaped, where I wanted the sun rays to be accentuated:
settings: exposure +0,99 – highlights +63 – shadows -71 – clarity +33 – sharpness +20 (inverted mask to work on the central area, not on the outside area)
I sincerely hope this will inspire you to work a little on your images too. You don’t need Lightroom to enhance them, a lot of these things can be done in other RAW development applications too, some coming for free with your digital camera.
see you soon,
ludwig

