Architectural photography – Shoes or No Shoes

architecture, Personal Pictures

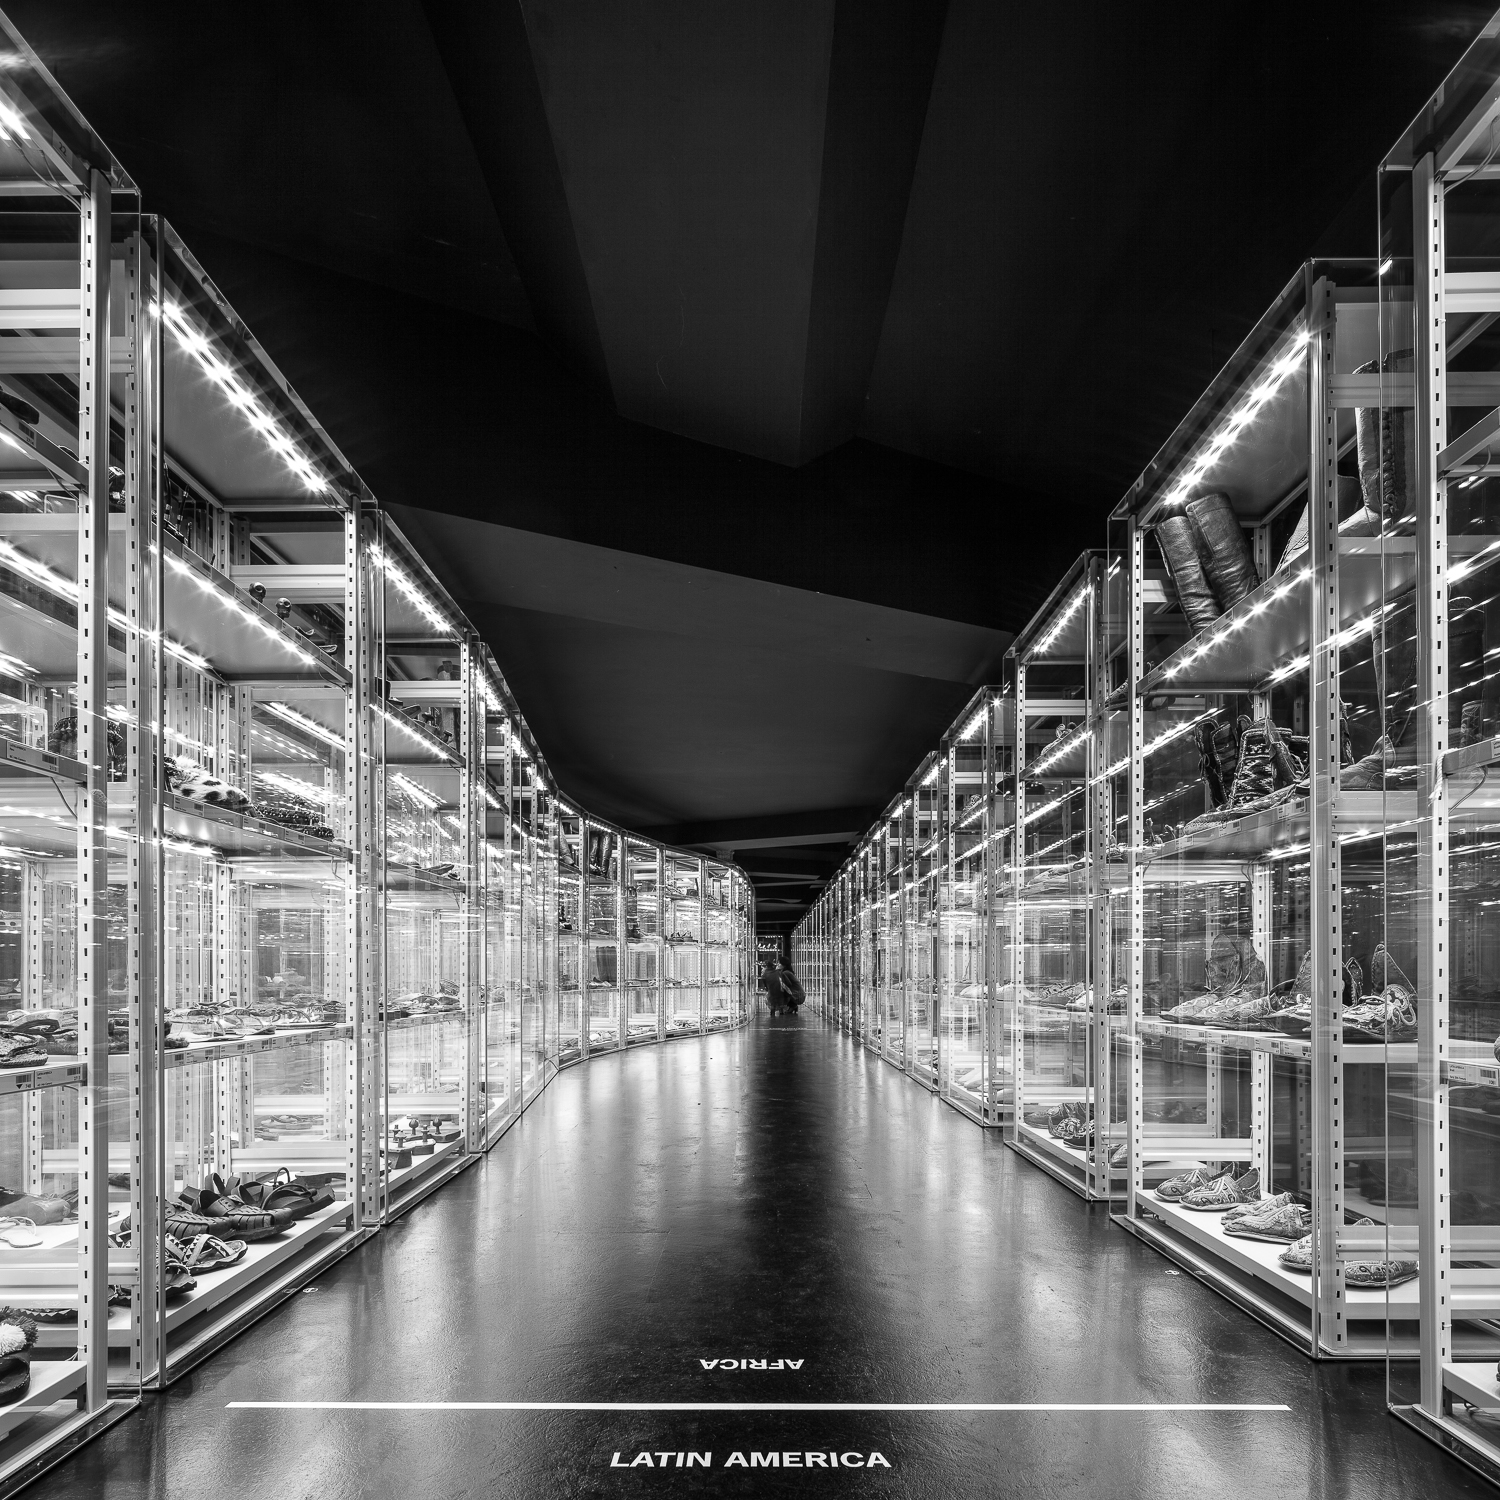
if you are into fashion design, shoe design or if you have any kind of shoe fetish, you absolutely need to see this museum collection. Without spending too much words about it, it contains the largest ethnographic collection of shoes in the world, next to a vast collection of designers’ shoes and artists’ shoes. More info on the opening times and location: www.shoesornoshoes.com

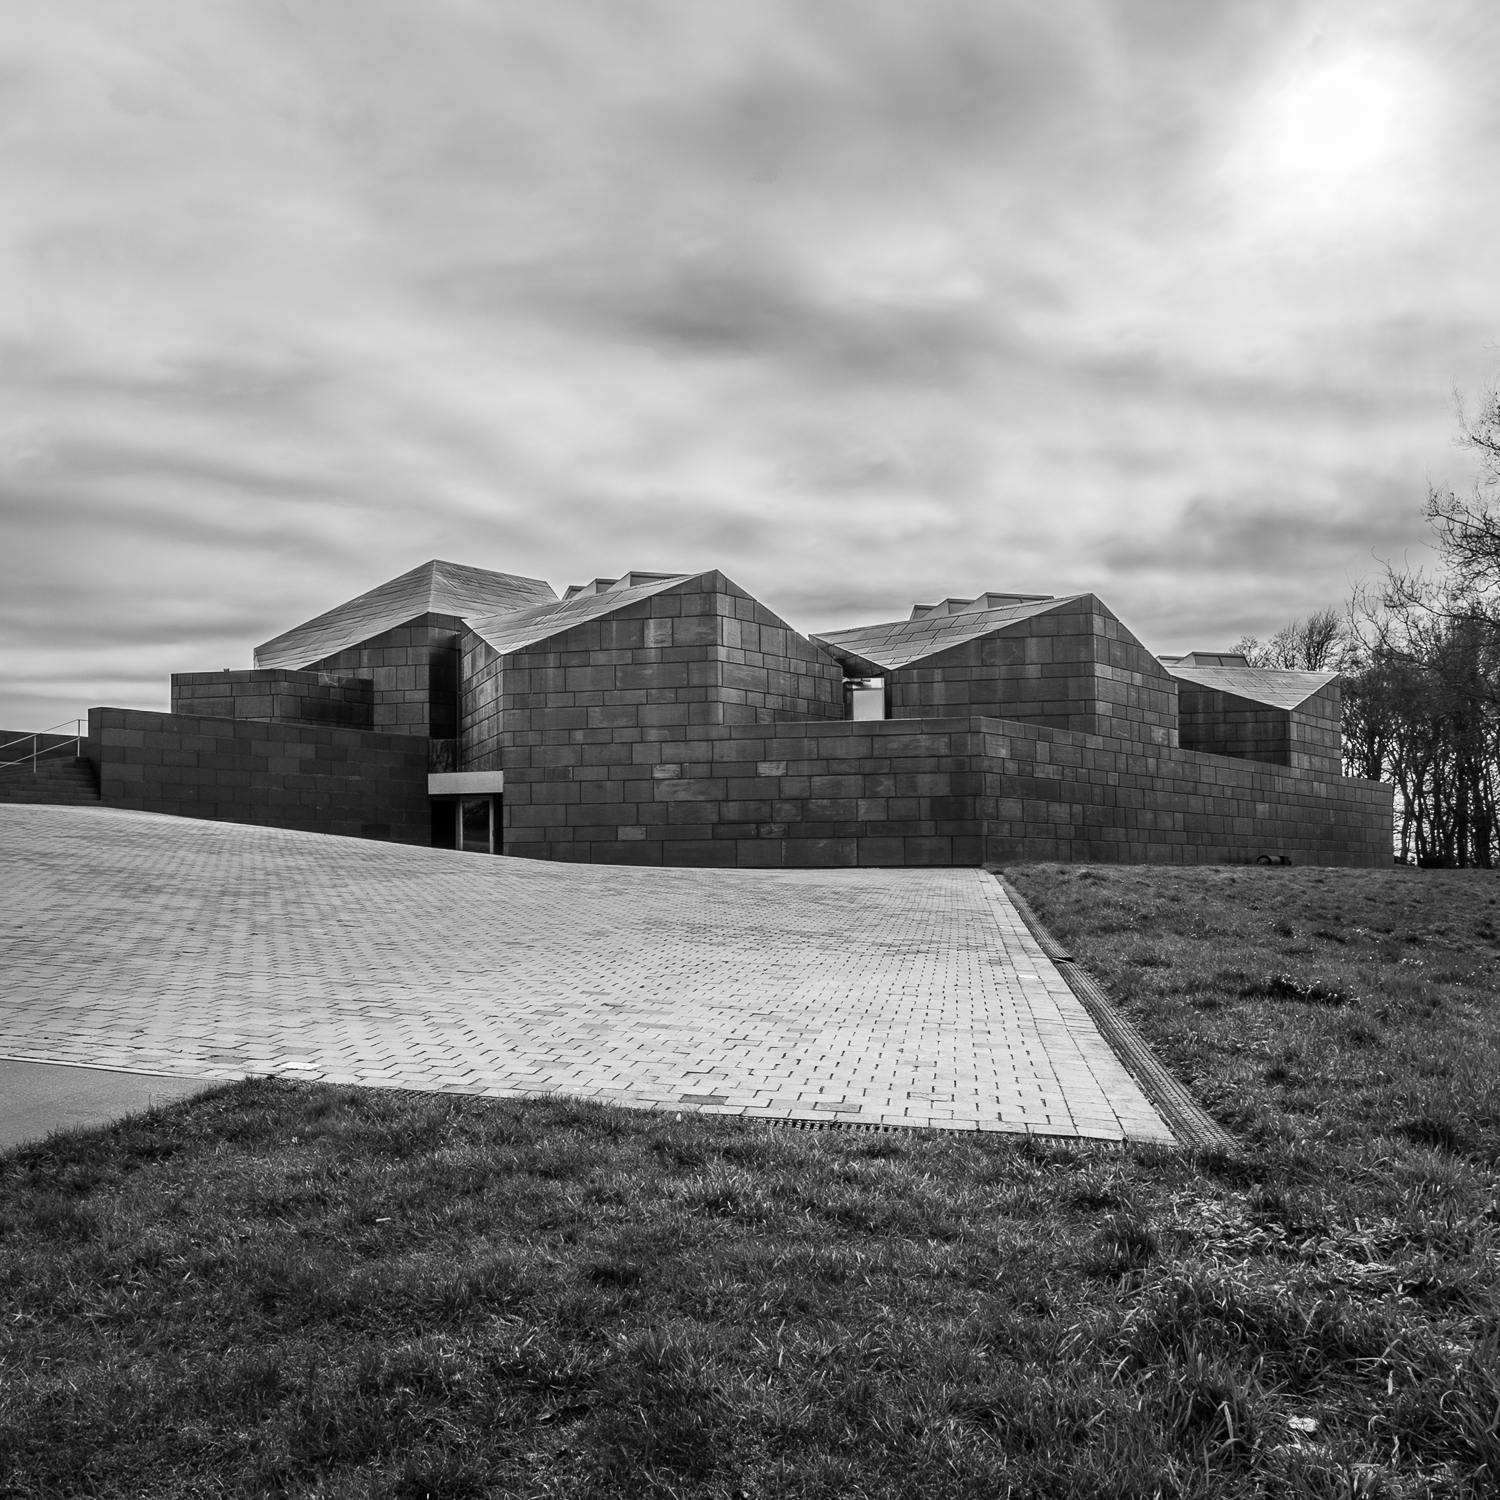
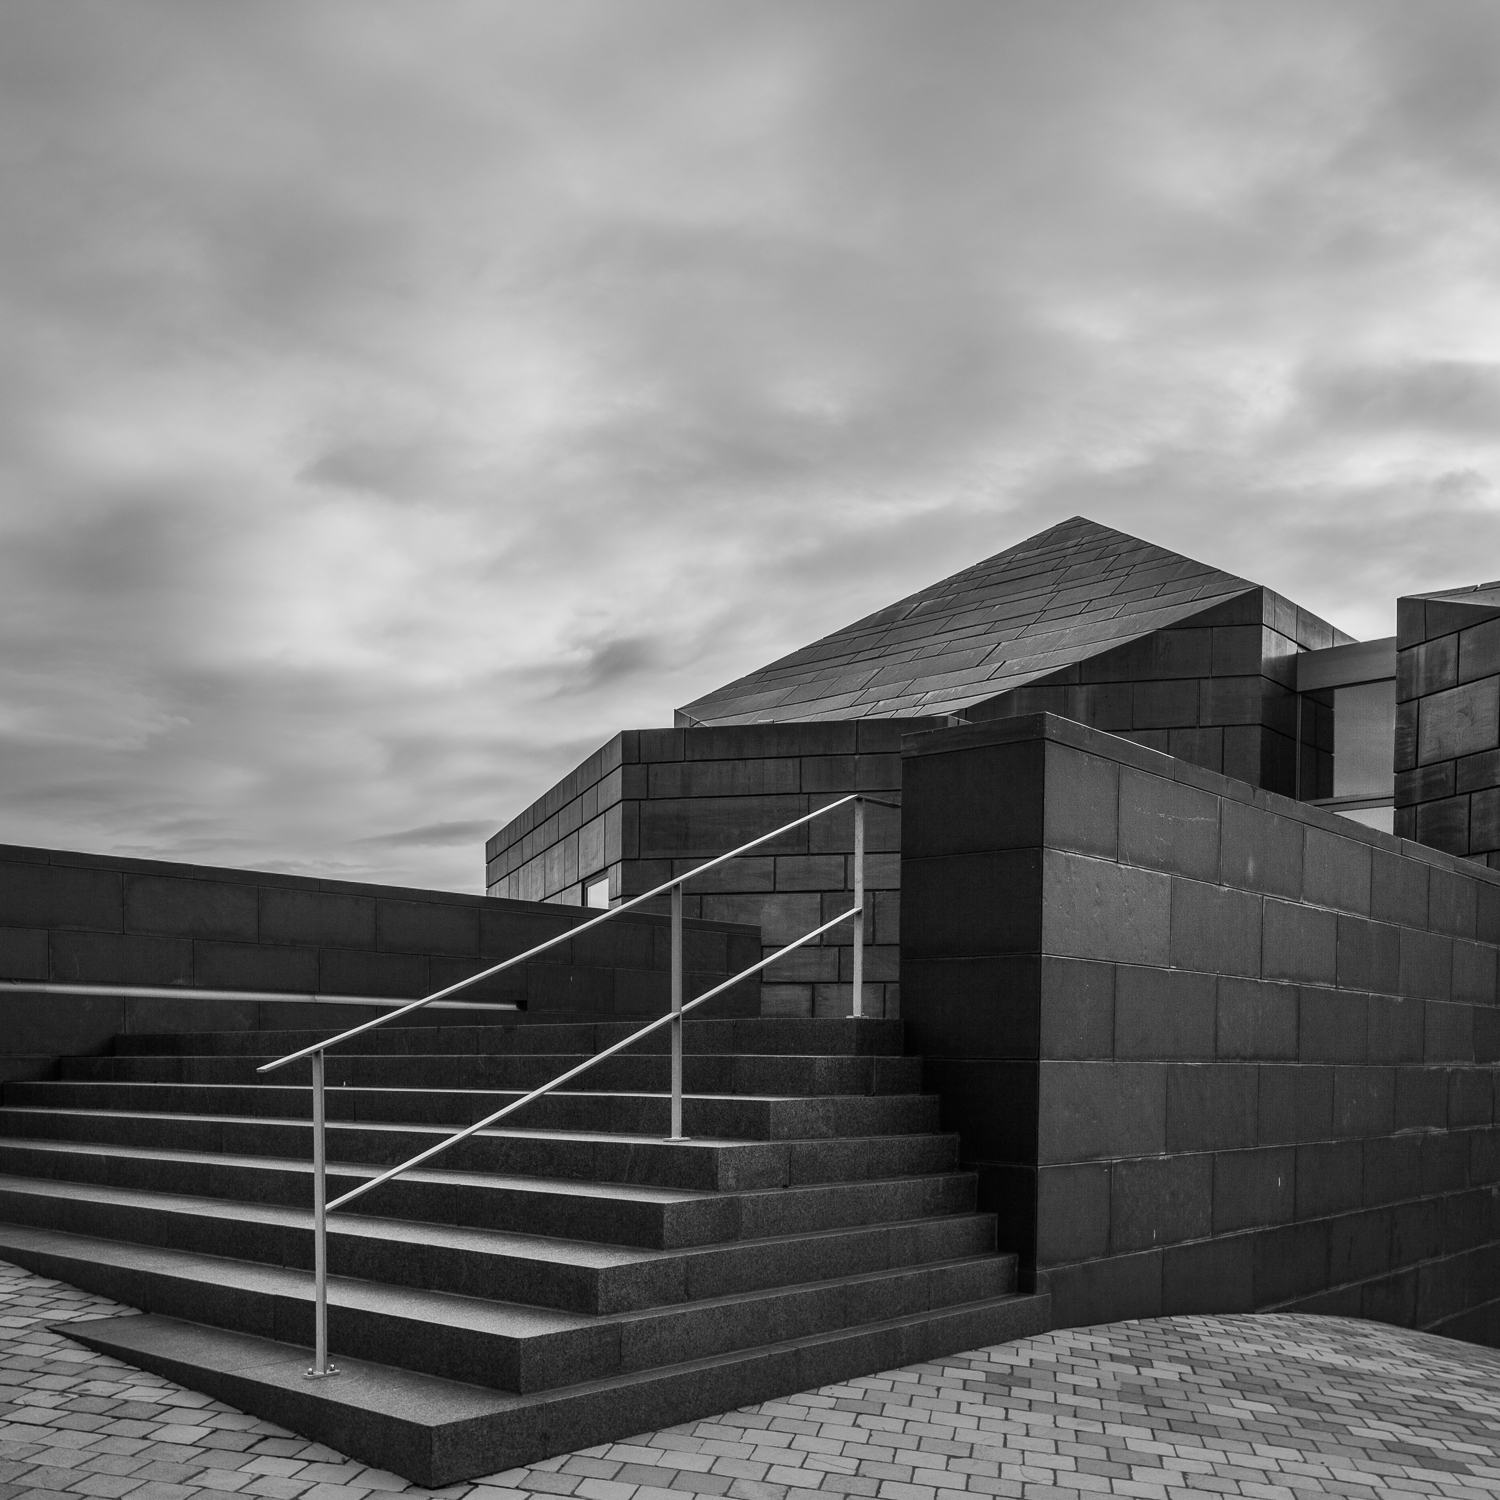
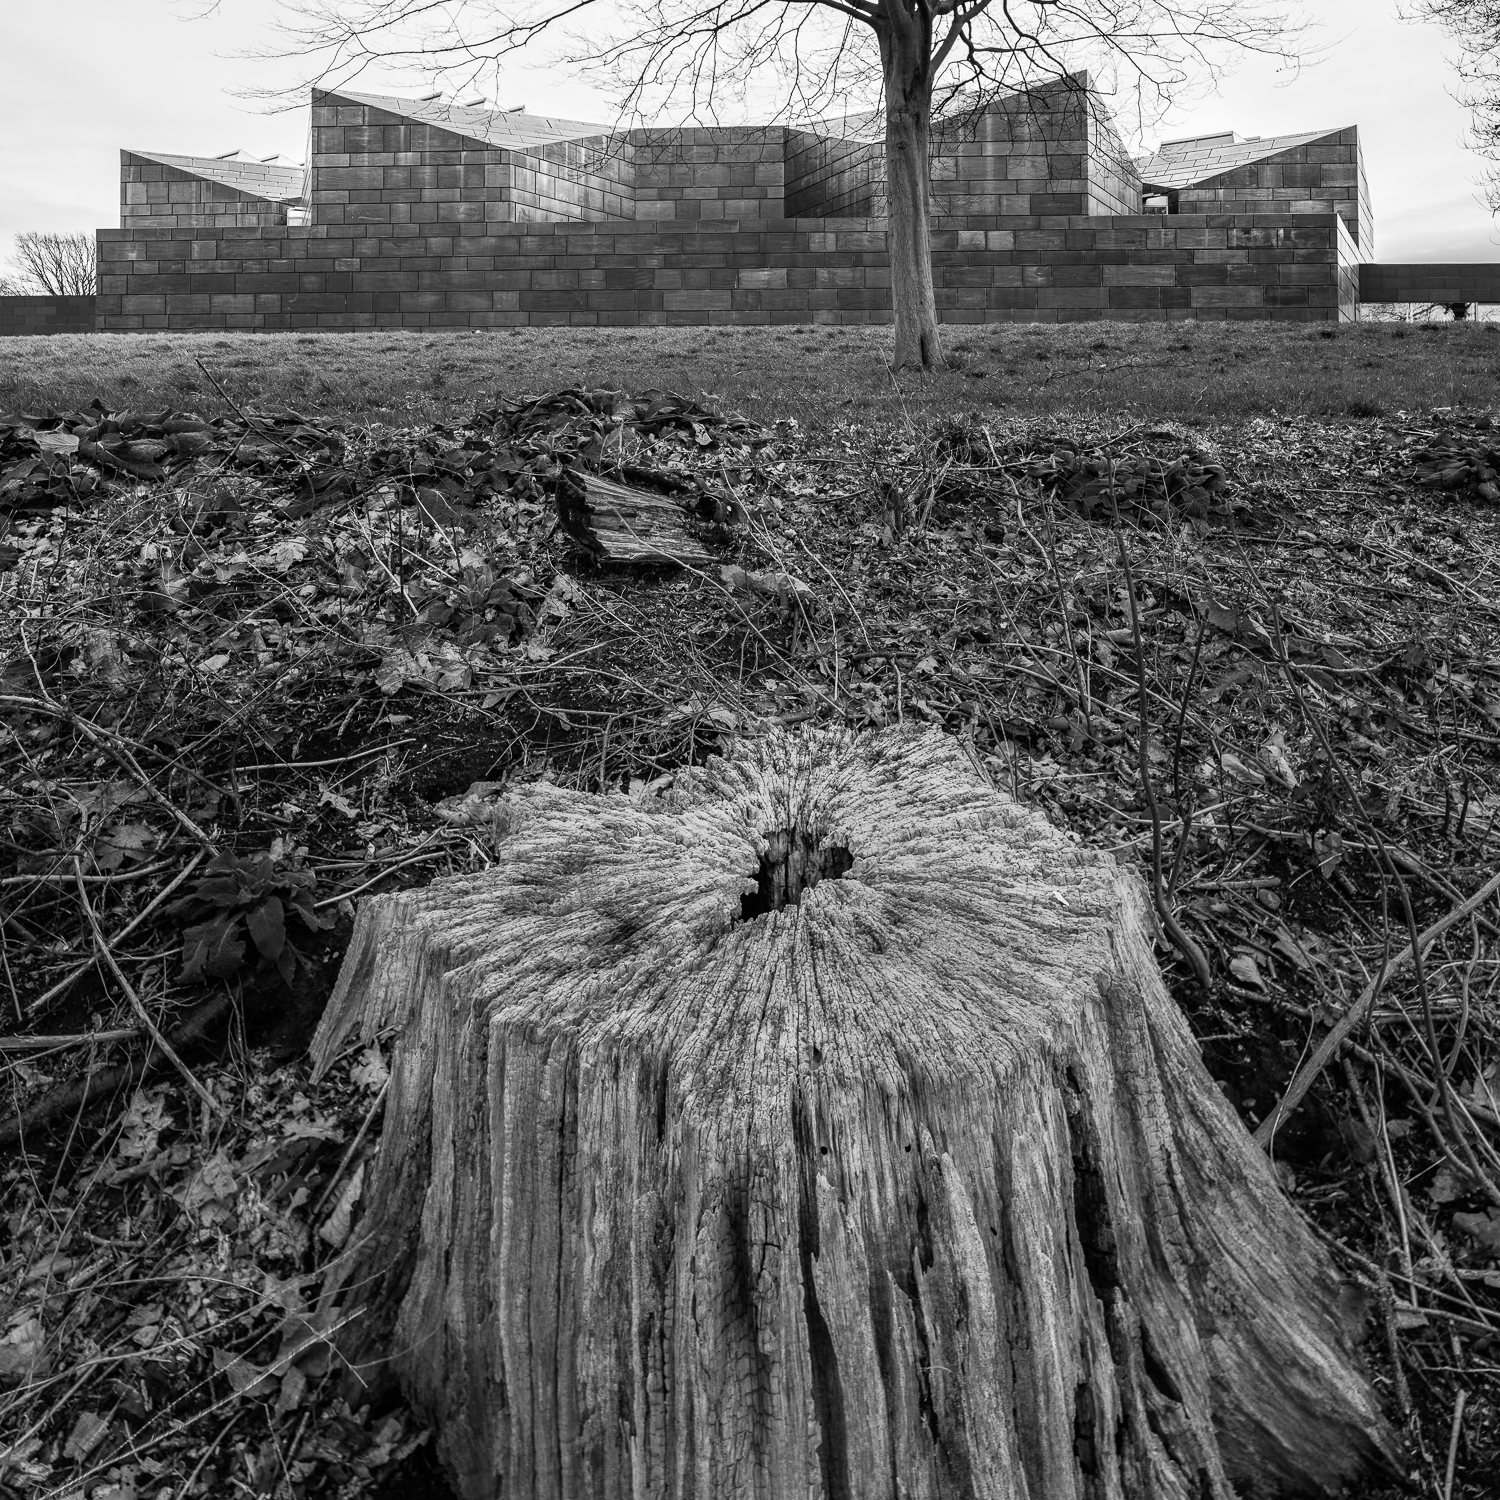
I visited the place several times now, and I’m especially fond of the architectural qualities of the building. The building is constructed as a combination of hexagon shaped rooms. The main floor exhibition rooms have special north faced windows that assure a neutral light in any kind of weather. Credits for the architecture: original building (1973) : Emile Veranneman and Arch. Christiaan Vander Plaetse. Redesign (2008): Lode Uytterschaut, Johan Ketele and Rutger Davidts.

Last visit was with my architectural photography class from KISP. I never can deny the urge to take some photographs myself, in between tuition and guidance. The main purpose of this excursion was to emphasize on the link between the building and the surrounding area. My personal selection:

Ludwig Desmet-KISP--2 Ludwig Desmet-KISP--3 Ludwig Desmet-KISP- Ludwig Desmet-KISP-3618 Ludwig Desmet-KISP-3627 Ludwig Desmet-KISP-3647

Images taken with Canon TS-E 24 mm f3.5 L II, except third image, taken with Canon EF 17-40 mm f 4.0 L. All on Canon 5D mark II.

Some images are HDR composites, some are stitched panoramic. (although they all are square 🙂 )

Thank you for watching, and don’t forget to visit the place!

see you soon,

Ludwig

HDR composited image workflow

architecture, Personal Pictures, personal tips & tricks, Tips and Tricks

Making a panoramic image in Photoshop is pretty simple, in the menu you go to file->automate->Photomerge, there you select your images, press enter and photoshop does it all for you, no hassle. You’ll just need to crop afterwards and your done.

Making a HDR image in Photoshop is pretty simple too, in the menu you go to file-> automate->Merge to HDR Pro, follow some easy steps, choose if you want to work 16 bit or 32 bit, choose wether you want to edit in Adobe Camera Raw or just save a 32 bit file, and further edit in ACR or Lightroom (since version 4)

Now making a panoramic image that has been shot in exposure bracketing, is a little more complicated, although a logic iteration of the above two workflows.

Here’s what needs to be done (Lightroom/Photoshop workflow)

000. Work with your Autofocus off for your exposures, focus once, then leave your focus be, work manually, work on a tripod, with preferably a panoramic head, or, as in this case with a Tilt-Shift lens.

00. Make sure you get sufficient overlap in between images (1/3 of your image is a good average)

0. Make sure you get the same exposure bracketing series in all your images

1. Grab your first bracketing series in Lightroom, right click and Edit in -> Merge to HDR Pro in Photoshop.

2. Photoshop will run trough a series of actions, and will bring up the HDR pro interface.

3. Now you’ll choose 32 bit, remove ghosts if necessary (only available from 3 or more images, and good if you have moving elements in-between images.) and just click OK.

4. Your 32 bit tif file will appear awful in Photoshop, no panic, just click the save button. (not save as, as this might save your image in a different directory than the original one)

5. Back in Lightroom, you should be able to see your image as filename-edit.tif You can edit the image just the way you edit RAW files, except now you have 10 stops exposure range up and down. Work with exposure, highlights, shadows, blacks and whites to get your image correctly edited. It might be a good idea to do lenscorrections in at this stage. (lens deformations and chromatic aberration, no perspective corrections)

6. Do this for all your bracketing series, try to develop the different images the same way. Avoid too many local corrections, as you will not be able to synchronize them because they will need to be applied in a different spot in every different 32 bit image.

7. Now the final step is just to make a panoramic image from all our previously edited images: select all your edited 32 bit files and right click -> edit in -> Merge to Panorama in Photoshop

8. Photoshop will gather all images and nicely align them out, make layer masks according to the images content (actually it searches for places where there’s no geometrical difference in two consecutive layers, to make the transition at that spot. That may lead to awkward layer masks, but the result is generally good.

9. Crop the image to get rid of white edges (photoshop will do transformations to compensate for lens corrections, or to get the perspective in-between images working ok)

flatten and further edit if needed (sharpening, filters, …)

10. Sit back and enjoy your work.

Visual representation of the workflow (click for bigger):

workflow

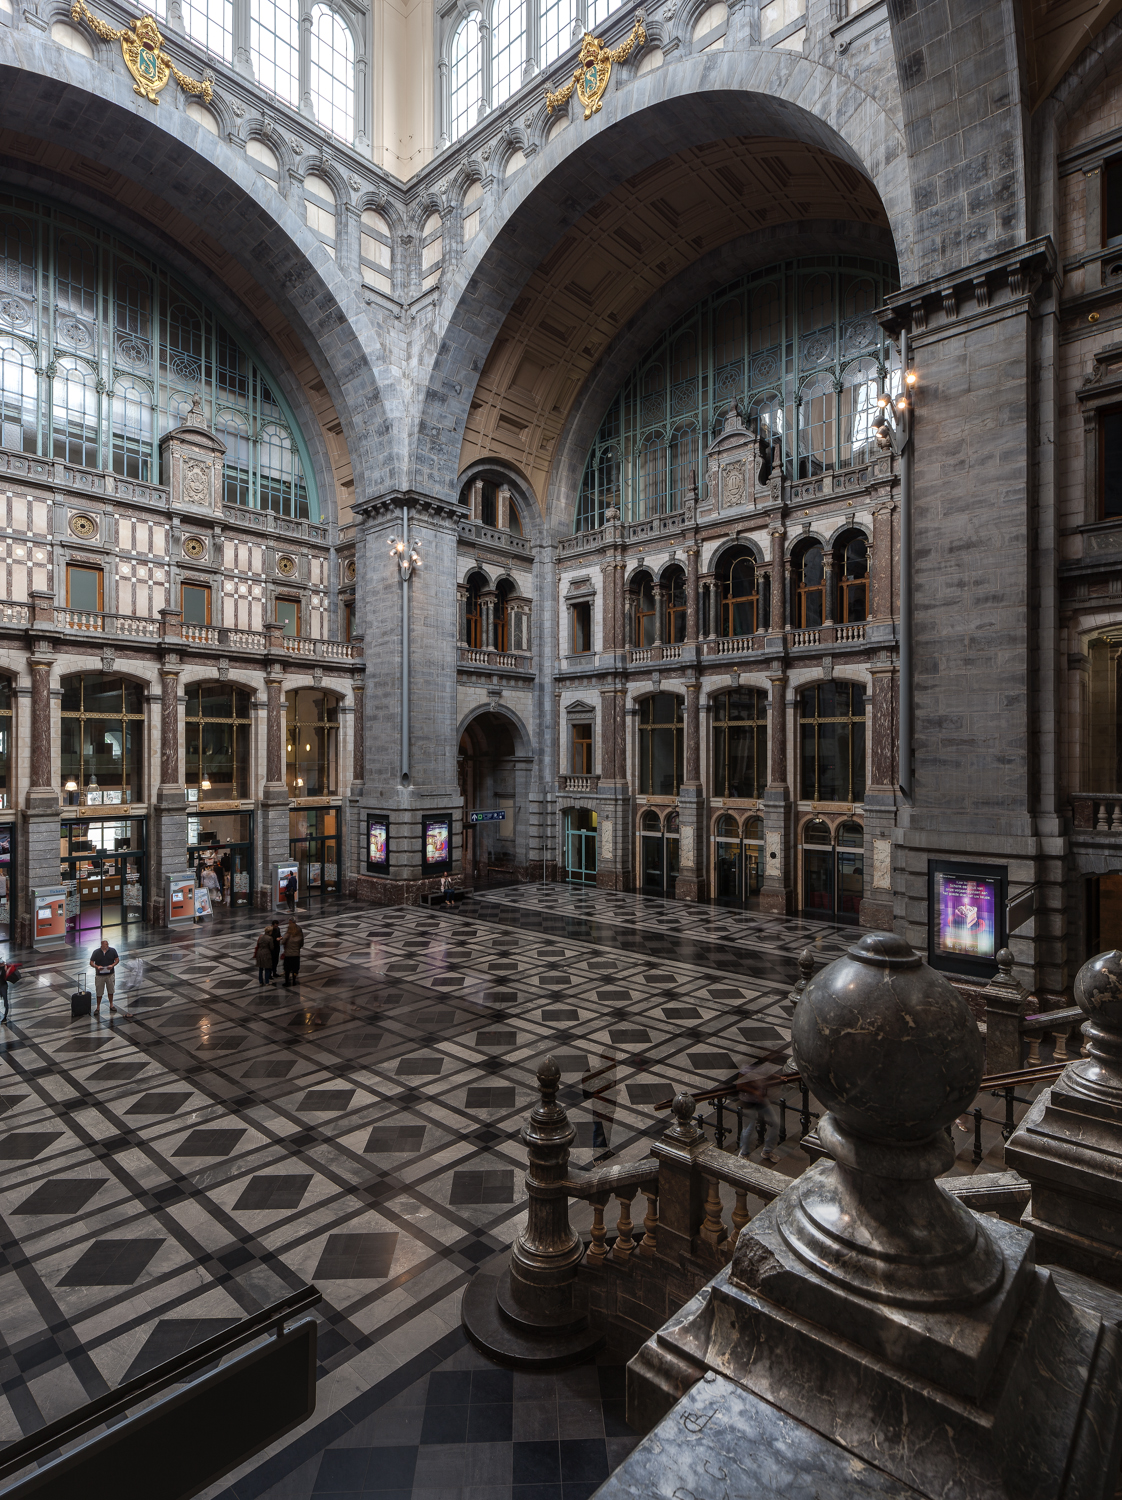
A small version of the final image.

This is the entrance hall of the Antwerpen Centraal train station:
Ludwigdesmet_HDR_PANO-2

Thank you for reading, you might as well follow my blog now you’re here :p

Ludwig
Free lensing

Internet tips and tricks, Tips and Tricks

Hi,
I found out about free lensing yesterday. Checked some references on the web.
This is what I found. Free lensing is the technique where you take pictures with the lens off the camera !
So, you get your camera, screw your lens of, and hold it before the cam to take pictures. Crazy huh!
What are the consequences:
No communication between camera and lens, so no aperture settings, which means you’ll work with full aperture opening of your lens. (unless you use an older lens with aperture ring)
No AF (you could have guessed that yourself, couldn’t you?)
No IS (image stabilization) of any kind. You’d be happy if you manage to keep lens and body more or less stable.
risk of dropping your lens while manipulating your camera.

so what on earth would make you want to do this?
by taking of the lens, you can play with the image DOF plane, like with a technical camera, a tilt-shift lens, or whatever system that allows to move the lens independently from the film plane (sensor plane)
this means your sharpness plane no longer runs parallel to your film plane.

a bit difficult to understand maybe, but look at the images.
You’ll see that I get sharp and unsharp in the same depth plane. Text on monitor is supposed to be flat, although only some lines are sharp, the others are not.
The lamp cover has some pearls sharp in front, some in the back, none in-between.

I’m not sure this is the best technique for tack-sharp images, but it can produce very artsy images at least. I took these some moments after I read this post, so I’m an absolute beginner. I will possibly never do something serious with this, but I thought it was funny enough to share.

If you want to give this a try, please note:
I won’t take responsibility for damage to your camera or lens.
Keep i mind that the sensor is at some moments disposed to the outside environment, never attempt this in a dusty area.
Lenses developed for a full frame camera will give better results, due to their bigger image circle.
try using some old analog lenses, they are cheap, and always developed for full frame negatives.