As an end of study assignment for my studio/object module (photography courses at kips.be (Ghent Belgium) we had to propose an object to photograph.
amongst the possibilities were ‘perfume’ or ‘jewels’ …
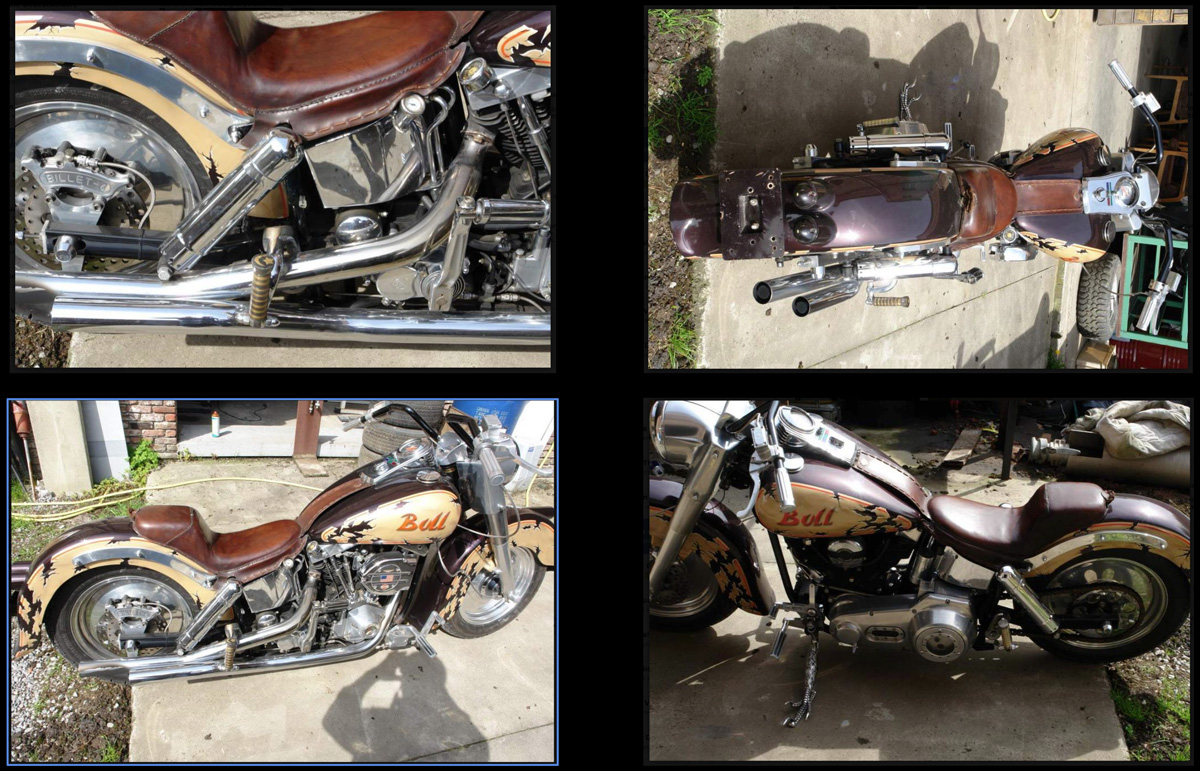
I wanted to do something more ‘tangible’ and proposed a Harley Davidson motorcycle. My mentor could choose if he categorized it as being a perfume or a jewel. I guess both of the categories apply.
The Harley is not mine, its a customized 1981 Electra Glide from a friend of a friend, and hardly recognizable from the original. François is the owner of the bike.
I had surfed a bit for inspiration too. There’s not so many studio shots of motorbikes on the internet, here are a few:
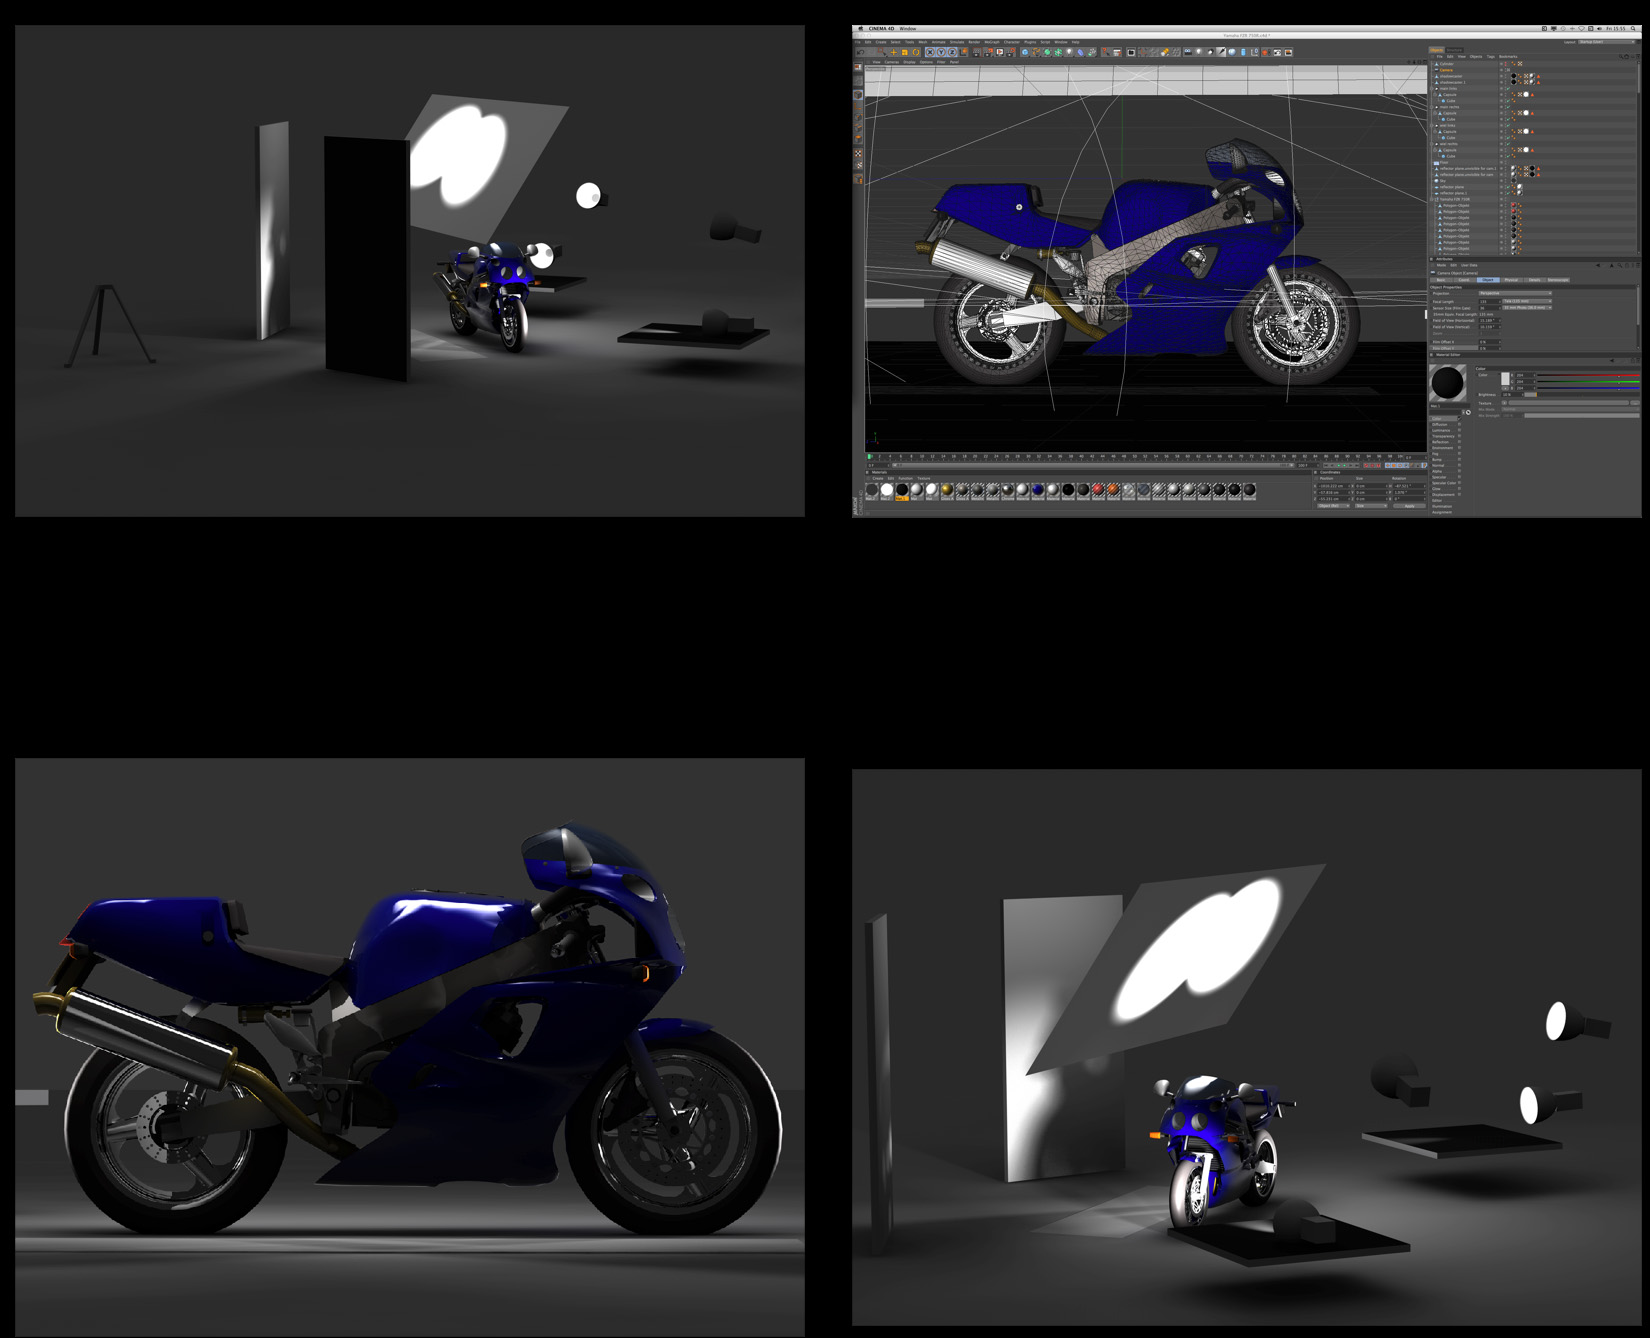
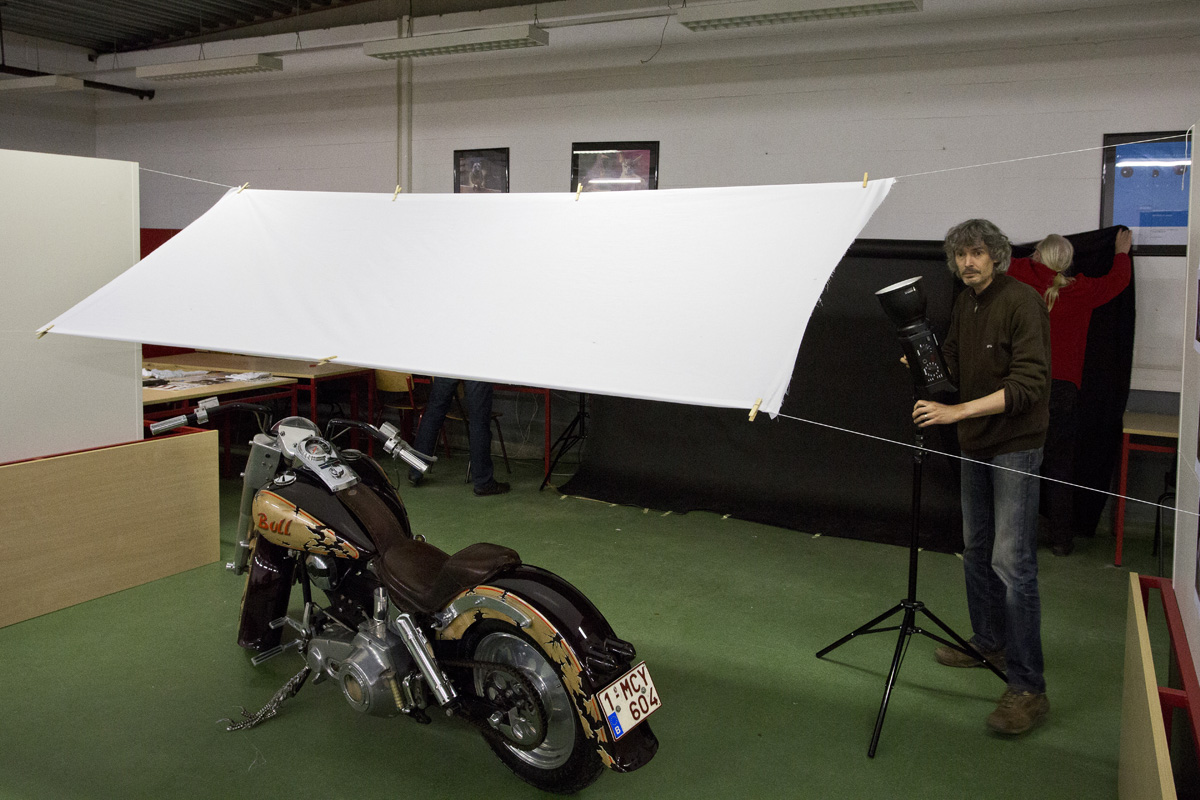
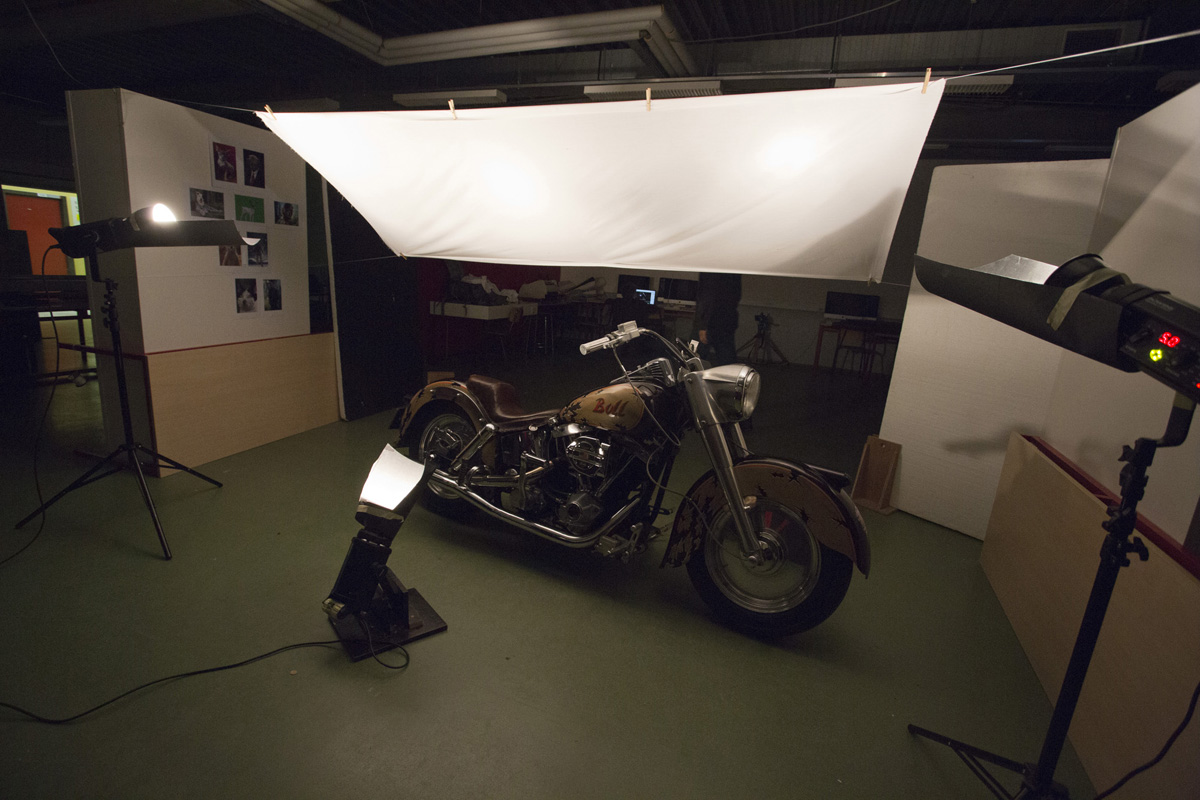
I had made some preliminary studies in 3D rendering (thats still my main job). I had discussed with my teacher that it would be best to lit the subject indirectly, with a large soft box from above. Since we don’t have softboxes that big at school, I had to come up with something else.
and then the ‘thing’ arrived.
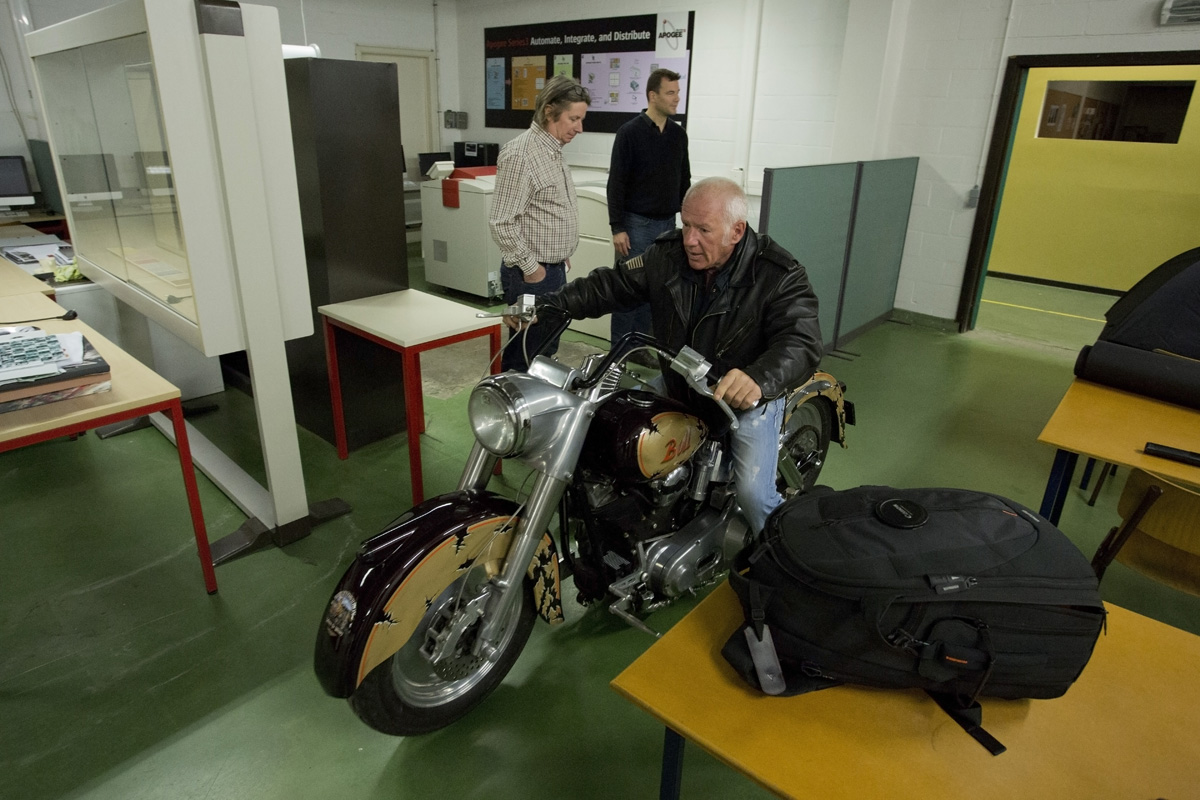
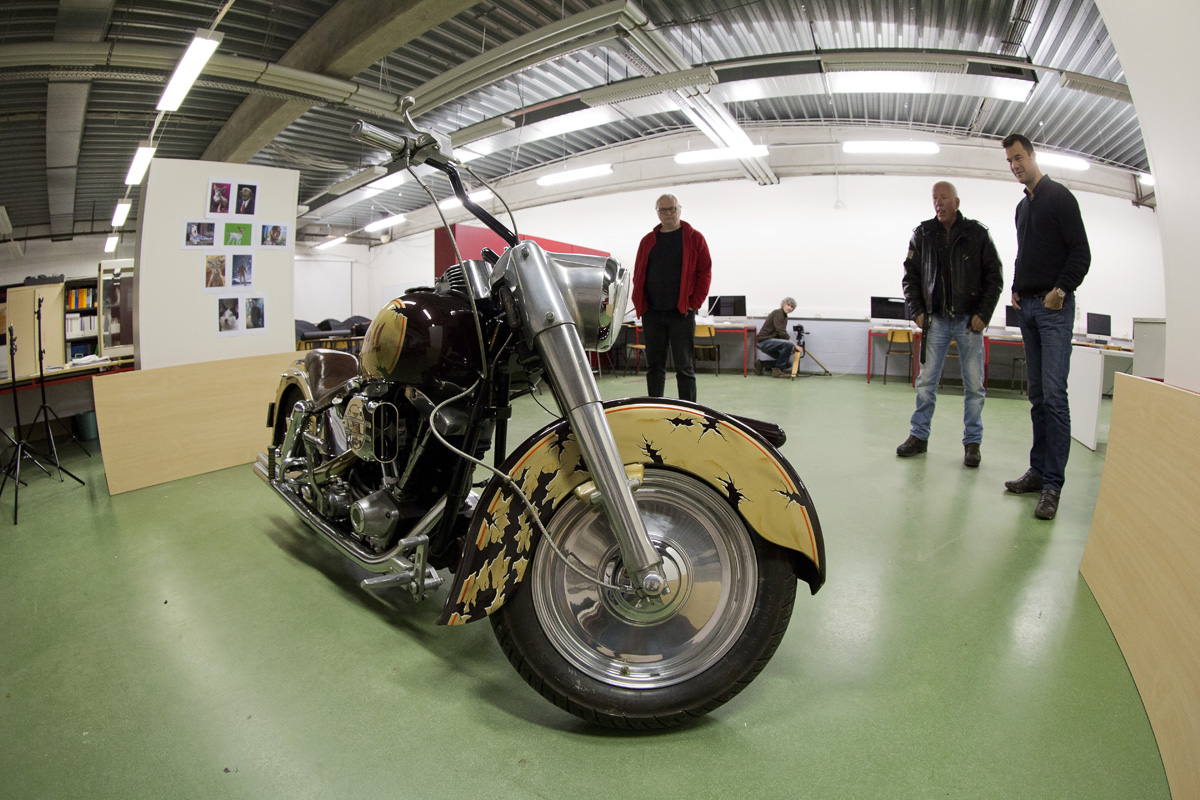
I had shown François where in the school we wanted to shoot the bike. (I had three other classmates doing their work in the proper school studio, so I had to move out to another class) And he just drove it trough the hallways of the school. All students were awake at once on this early saturday morning.
So, what’s next? You see me setting up the tripod and camera.
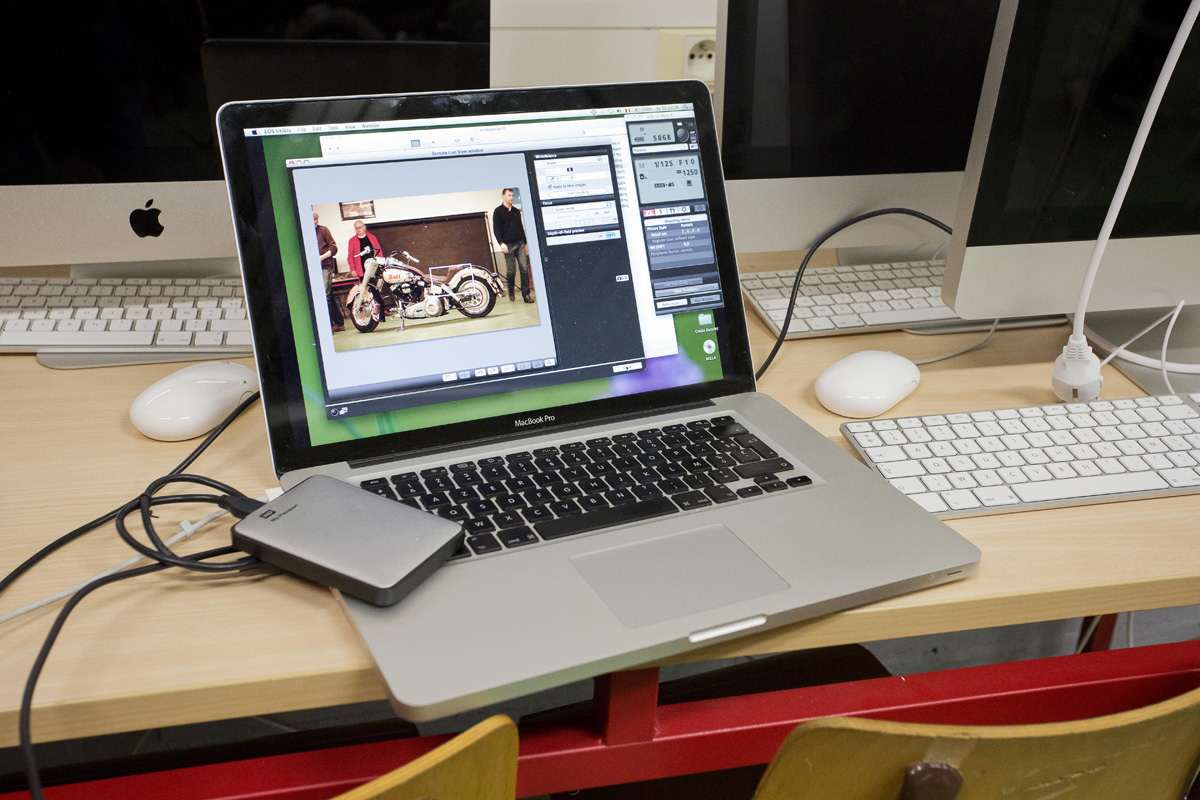
Checking on the framing, remote shooting with a portable mac, to be sure not to touch the camera in between shots. (I wanted to be sure I could compose different shots together in photoshop afterwards)
Me setting up a flash light for indirect flashing on the cloth. The cloth will serve as a huge soft box area.
The setup, seen from the backside, you can see the tripod in the back:
A big thank you to Serge (classmate) for these splendid behind the scenes pictures!!!
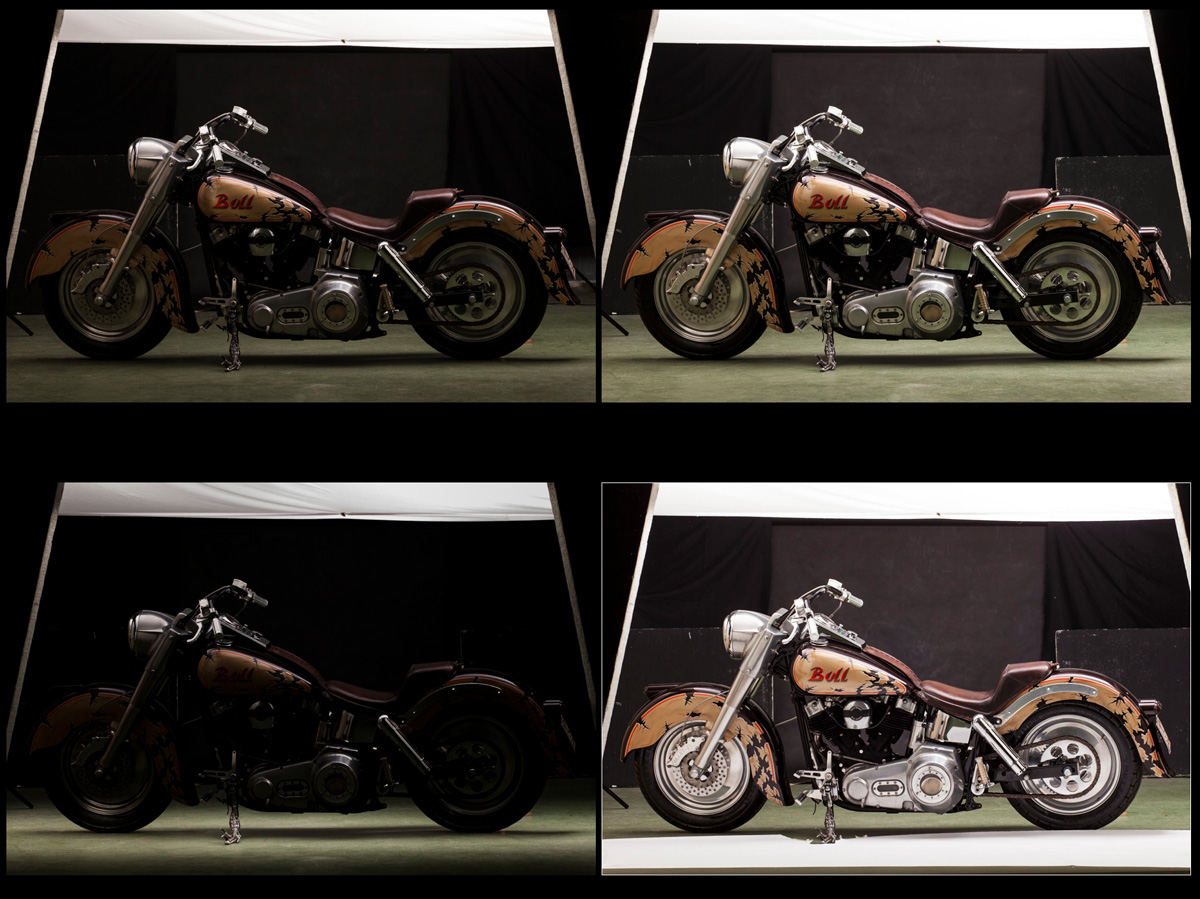
These are the original shots used for composing the final image. Note the shot with the white paper on the floor, for extra light from underneath.
For those interested, the shots were made with the Canon 85mm f1.8 at f10 shutter speed 1/125, ISO 100. Three 600Ws monoblocks at 3/6 upto 6/6 power, indirect on the cloth above.
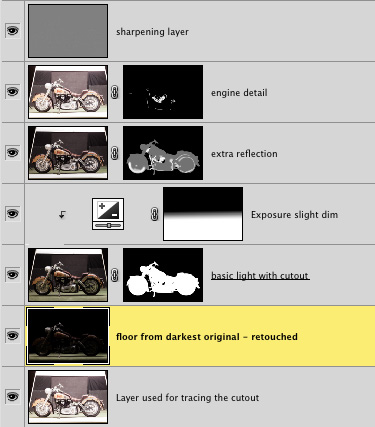
then the photoshop layered file for compositing. I named the layers in english, for your convenience (dutch is not really an understandable language)
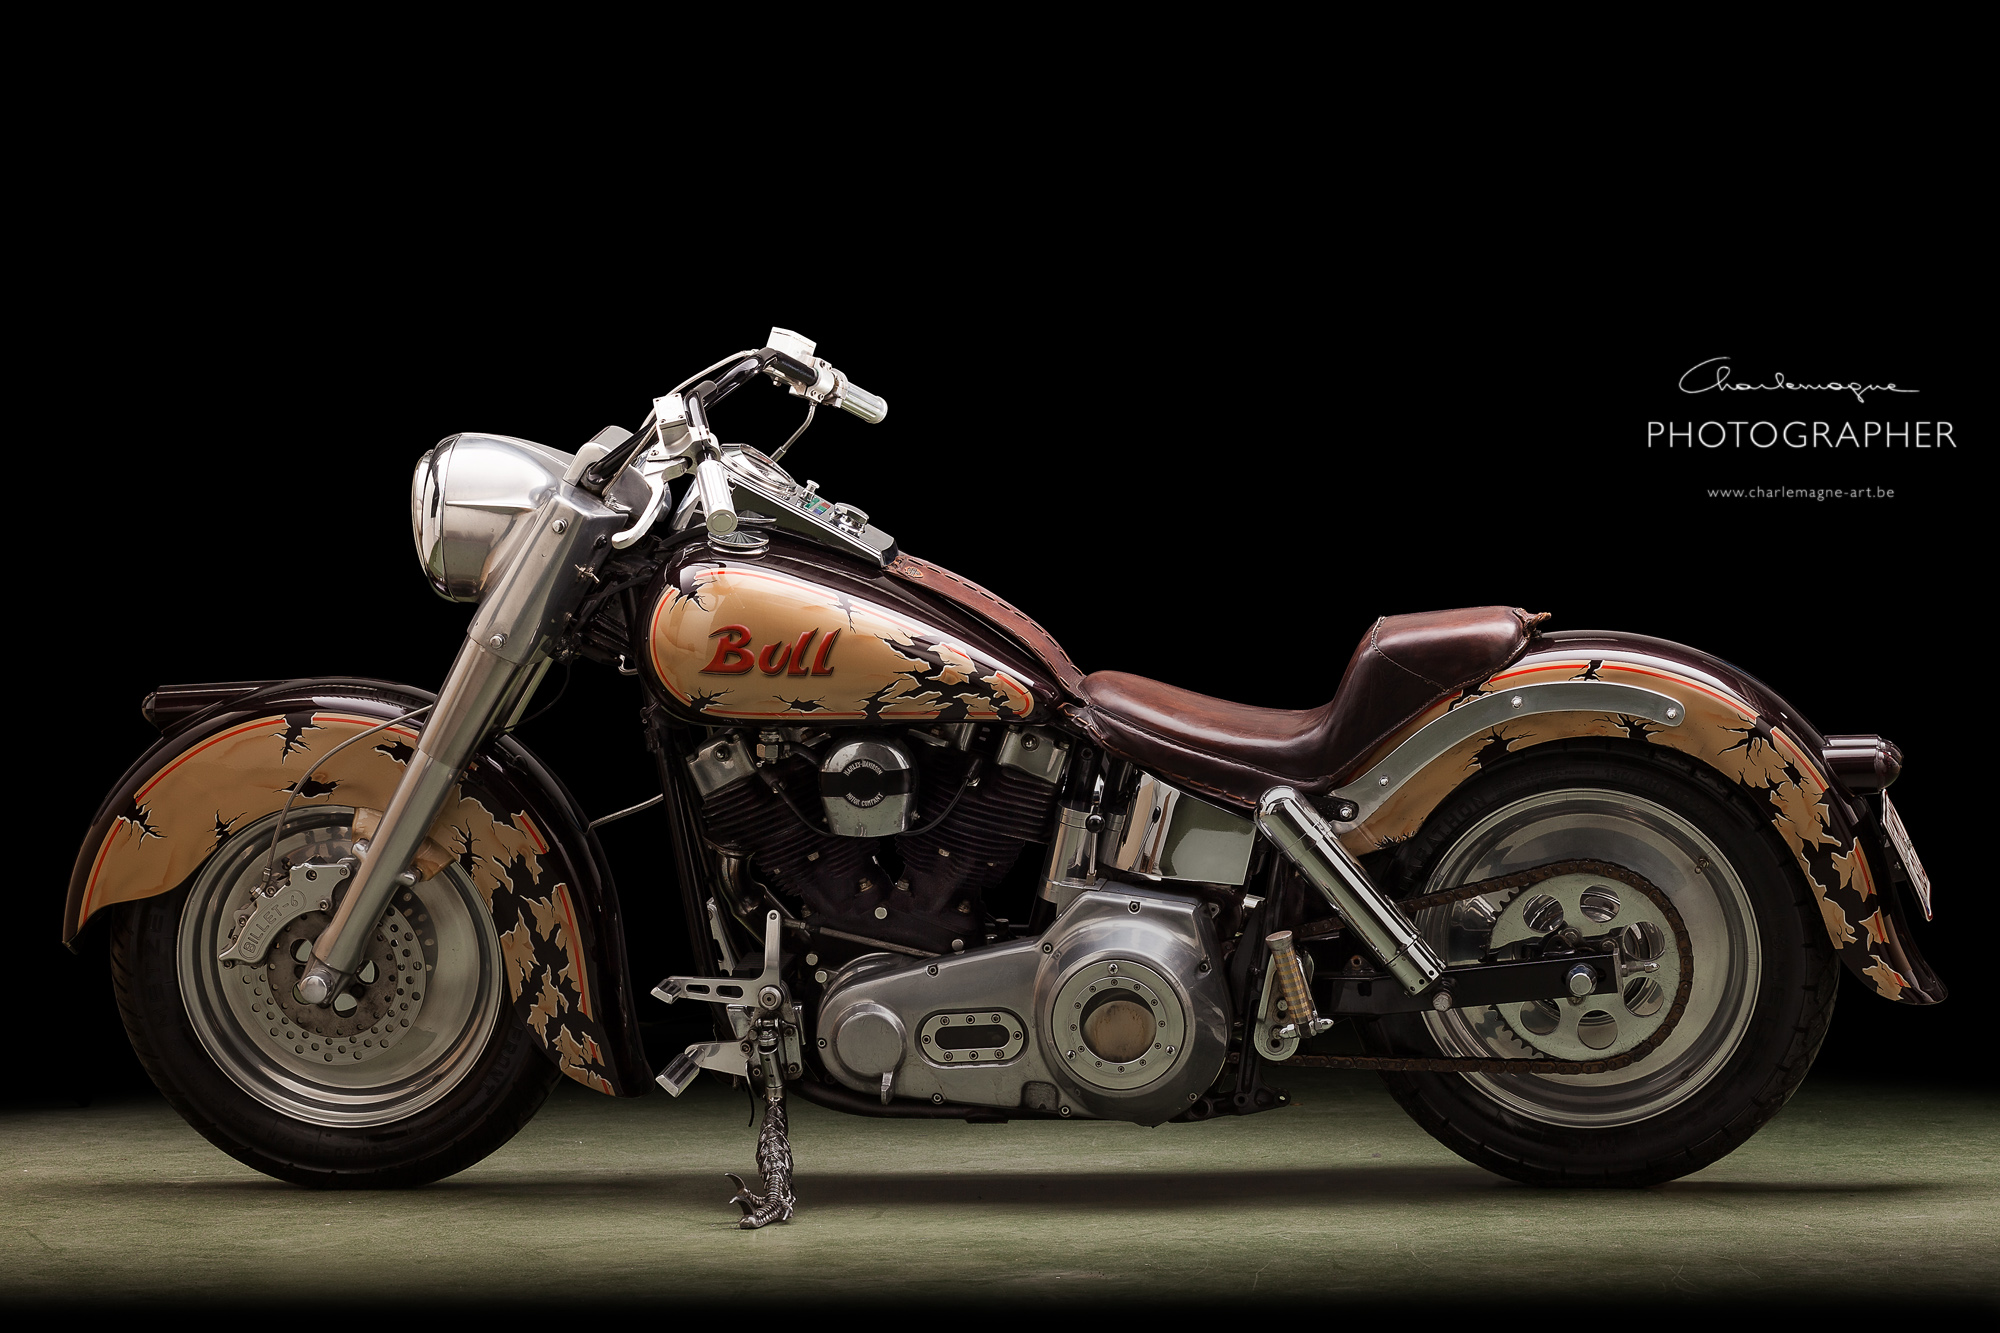
and then at last, the finals, click to see them bigger:
A big thank you to Anita, for bringing me in contact with the owner of the bike,
a big thank you to my assistants of the day – classmates Stef, Serge and Geert,
a big thank you to the owner of the bike, François, for driving about 60 miles to the studio, on a cold morning.
hope you’ve learned something.
take care, and see you soon,
Ludwig
