Hi,
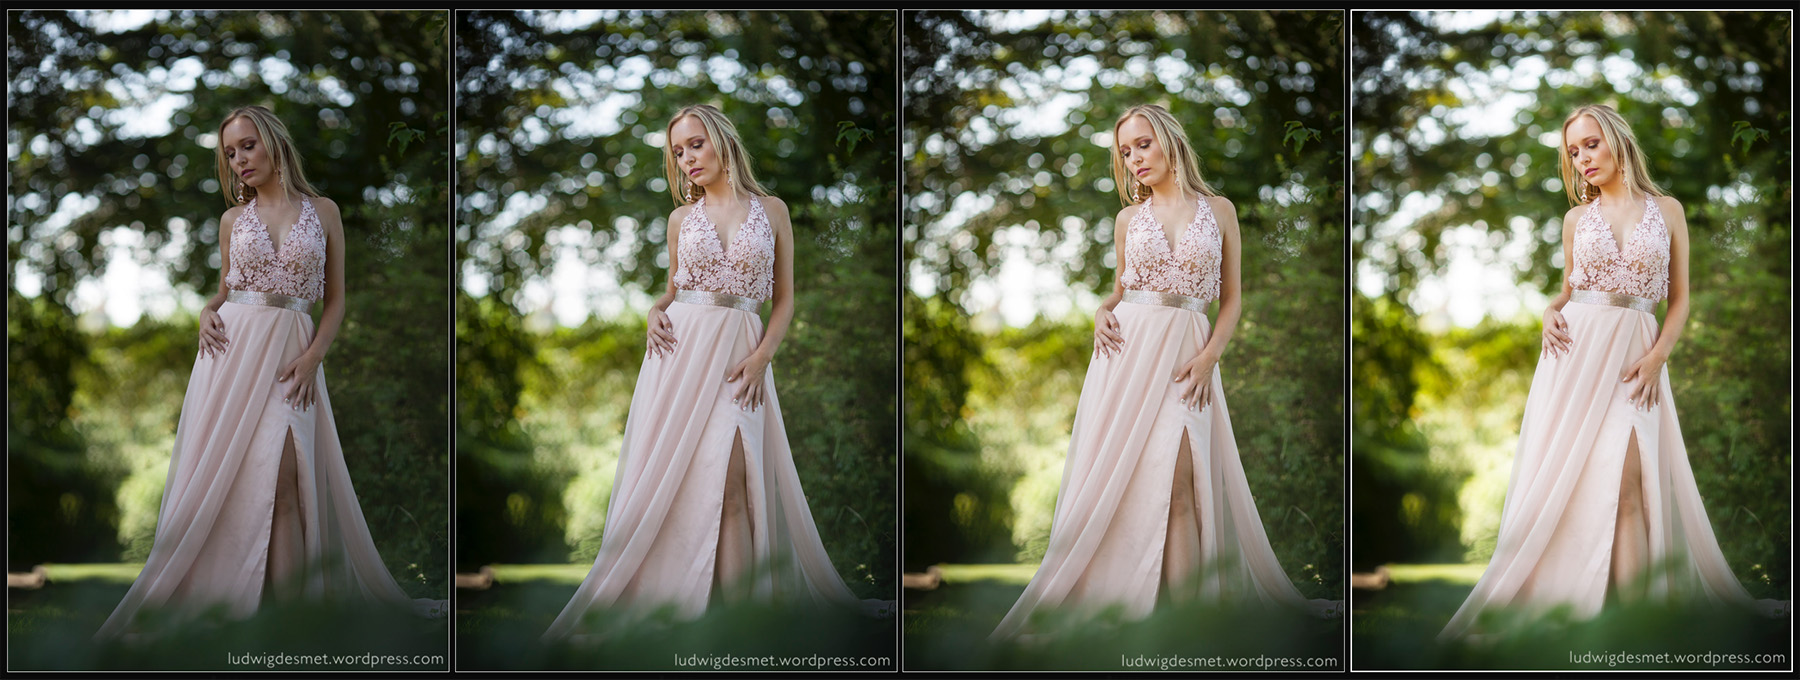
Another example of a Lightroom development process.
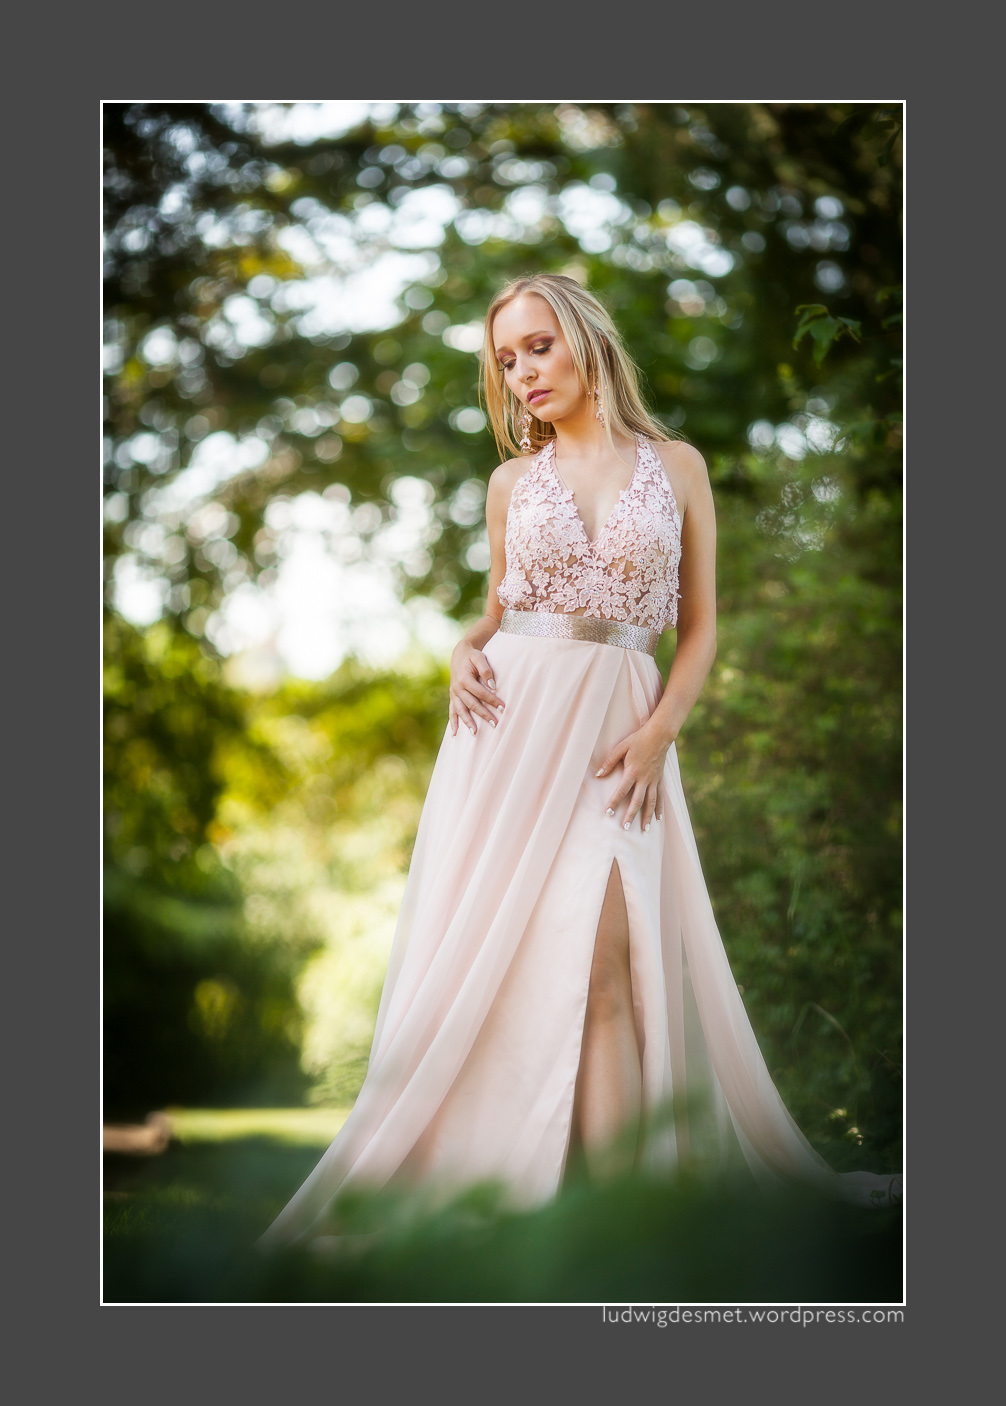
Two stages of LR development, and in this image I added a bit of photoshop sparks.
Oh my, bad exposure in the first place. Working against bright light has an imminent danger: blowing out the highlights. That’s why I will be very careful not to over-expose. I had my model standing in the tree shade, but depending on her position, the sun would shine on her blonde hair from time to time. Be careful not to cram it! Original image: 1/500s f2.2 ISO 100 with the Canon 135mm f2 L lens.
I first had developed the whole series as the second image:
if you have lightroom:
exposure +0,70
contrast +19
highlights -67
shadows +55
and a vignette darkening the corners.
I also added an extra +0,28 exposure on the face and breast area. (radial gradient)
After that I decided that I wanted to get some more warmth and glow to the images, so I went a step further (still LR)
I changed the white balance from as shot 5400/-2 to a slightly warmer 5847/-3
I pushed up the exposure to +1,05 stops.
This gave me a warmer tone, and a radiating model.
In photoshop I did two further things:
I added a sort of soft-focus filter to the image (layer copy with gaussian blurr on top of the originallayer, blending mode set to screen, with reduced opacity. Prevent the soft focus layer from covering the focus areas of your image – head, breast, hands – )
Add a combined unsharp mask/high pass sharpening layer to the ‘focus areas’.
Sharon – Reina Petita Belgica – Reina Intercontinental – Costa Rica


