HDR composited image workflow

architecture, Personal Pictures, personal tips & tricks, Tips and Tricks

Making a panoramic image in Photoshop is pretty simple, in the menu you go to file->automate->Photomerge, there you select your images, press enter and photoshop does it all for you, no hassle. You’ll just need to crop afterwards and your done.

Making a HDR image in Photoshop is pretty simple too, in the menu you go to file-> automate->Merge to HDR Pro, follow some easy steps, choose if you want to work 16 bit or 32 bit, choose wether you want to edit in Adobe Camera Raw or just save a 32 bit file, and further edit in ACR or Lightroom (since version 4)

Now making a panoramic image that has been shot in exposure bracketing, is a little more complicated, although a logic iteration of the above two workflows.

Here’s what needs to be done (Lightroom/Photoshop workflow)

000. Work with your Autofocus off for your exposures, focus once, then leave your focus be, work manually, work on a tripod, with preferably a panoramic head, or, as in this case with a Tilt-Shift lens.

00. Make sure you get sufficient overlap in between images (1/3 of your image is a good average)

0. Make sure you get the same exposure bracketing series in all your images

1. Grab your first bracketing series in Lightroom, right click and Edit in -> Merge to HDR Pro in Photoshop.

2. Photoshop will run trough a series of actions, and will bring up the HDR pro interface.

3. Now you’ll choose 32 bit, remove ghosts if necessary (only available from 3 or more images, and good if you have moving elements in-between images.) and just click OK.

4. Your 32 bit tif file will appear awful in Photoshop, no panic, just click the save button. (not save as, as this might save your image in a different directory than the original one)

5. Back in Lightroom, you should be able to see your image as filename-edit.tif You can edit the image just the way you edit RAW files, except now you have 10 stops exposure range up and down. Work with exposure, highlights, shadows, blacks and whites to get your image correctly edited. It might be a good idea to do lenscorrections in at this stage. (lens deformations and chromatic aberration, no perspective corrections)

6. Do this for all your bracketing series, try to develop the different images the same way. Avoid too many local corrections, as you will not be able to synchronize them because they will need to be applied in a different spot in every different 32 bit image.

7. Now the final step is just to make a panoramic image from all our previously edited images: select all your edited 32 bit files and right click -> edit in -> Merge to Panorama in Photoshop

8. Photoshop will gather all images and nicely align them out, make layer masks according to the images content (actually it searches for places where there’s no geometrical difference in two consecutive layers, to make the transition at that spot. That may lead to awkward layer masks, but the result is generally good.

9. Crop the image to get rid of white edges (photoshop will do transformations to compensate for lens corrections, or to get the perspective in-between images working ok)

flatten and further edit if needed (sharpening, filters, …)

10. Sit back and enjoy your work.

Visual representation of the workflow (click for bigger):

workflow

A small version of the final image.

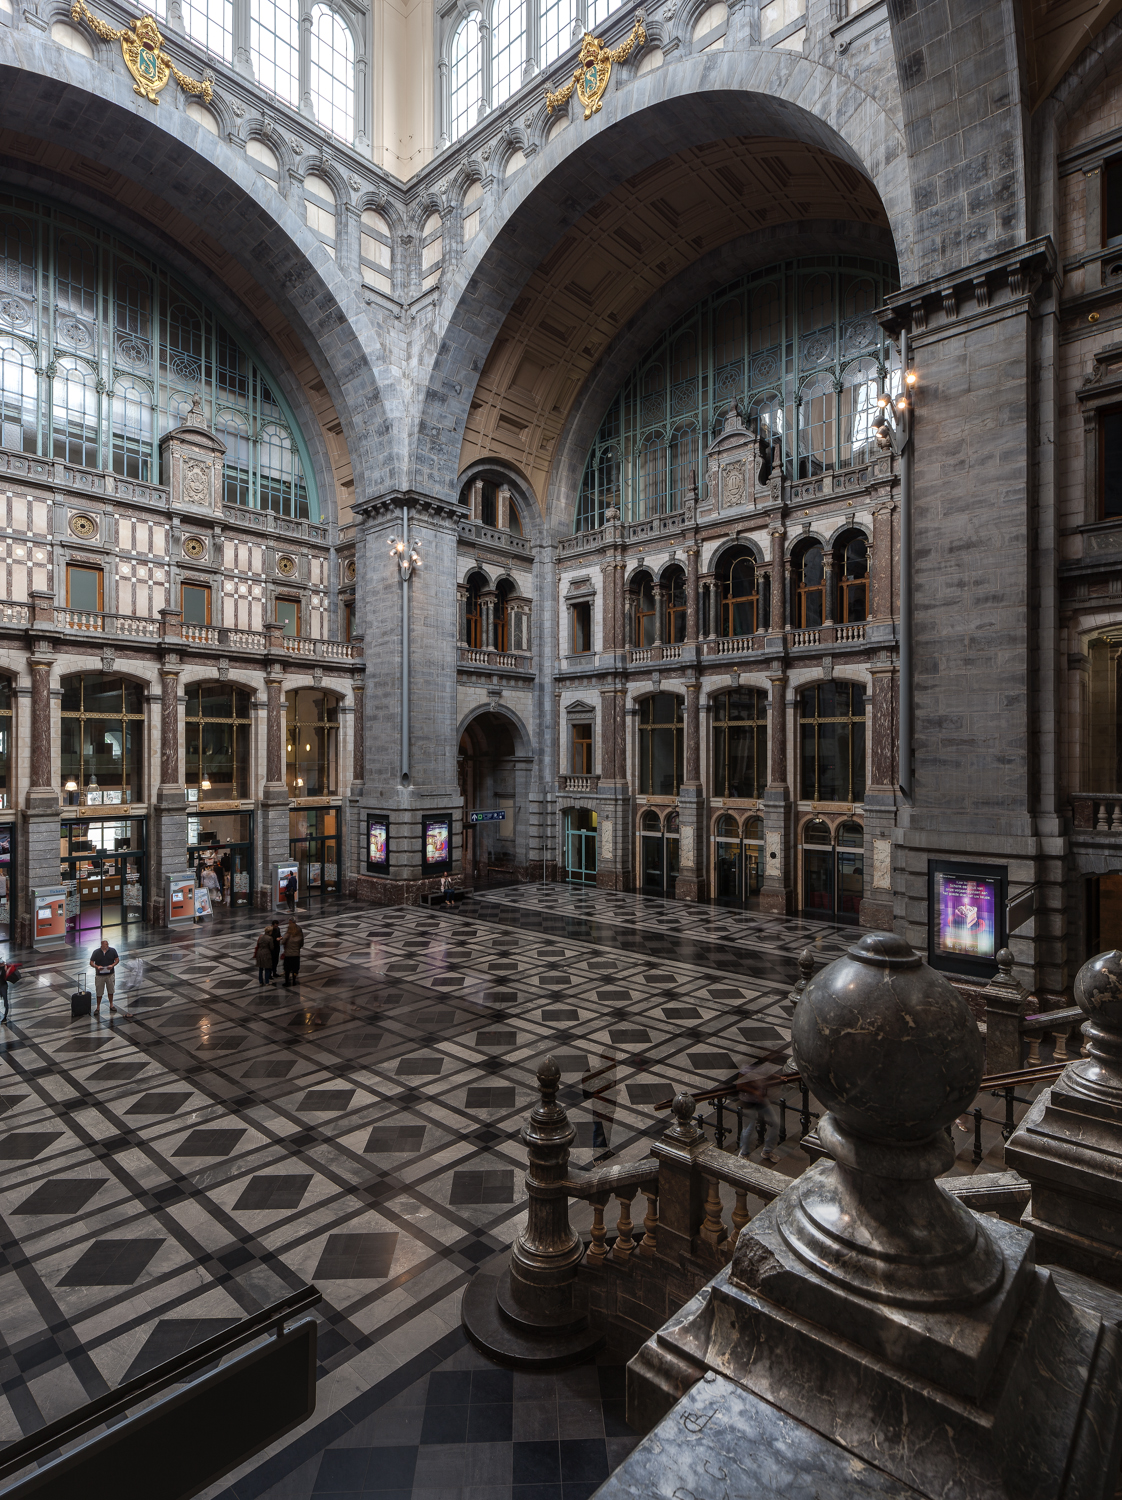
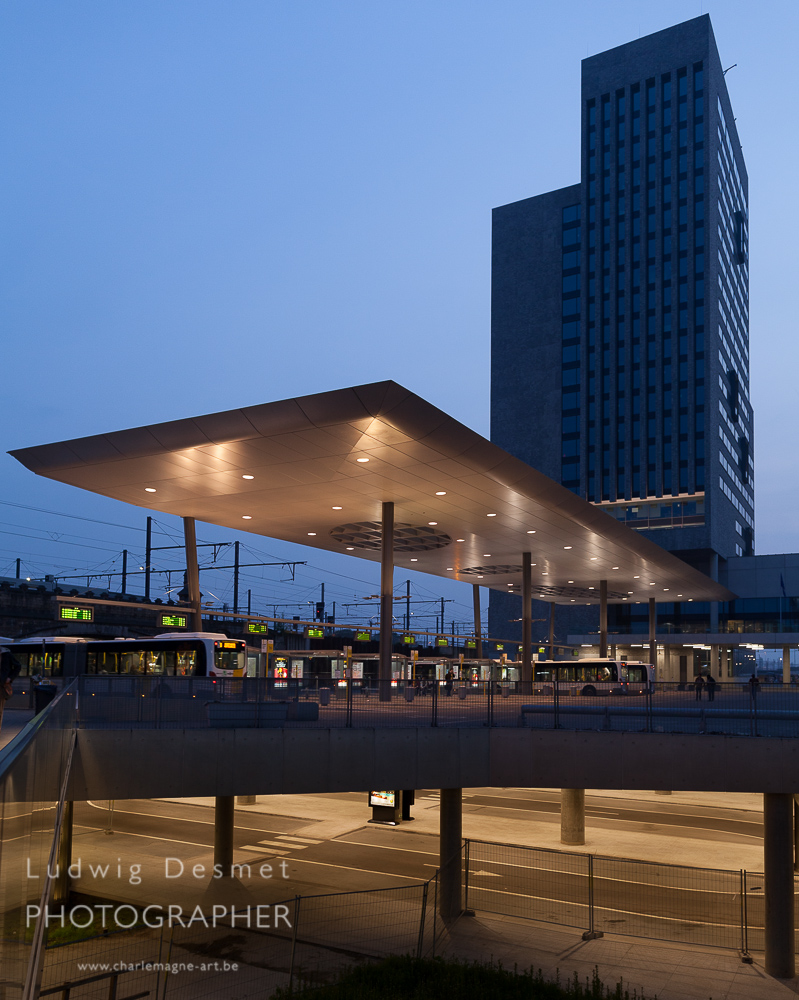
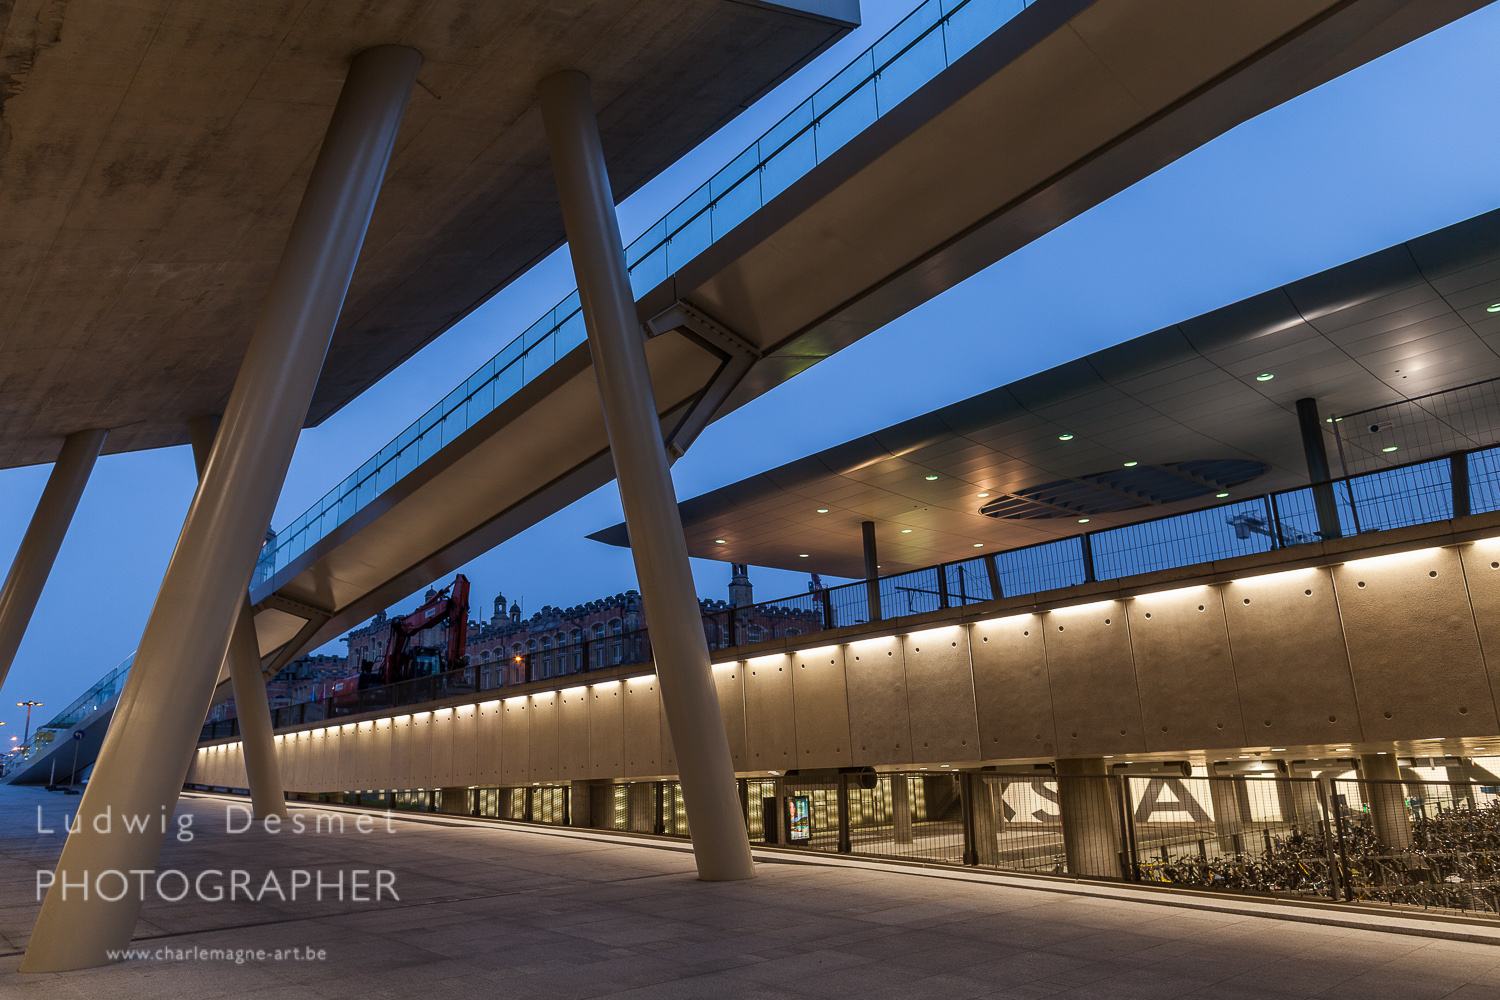
This is the entrance hall of the Antwerpen Centraal train station:

Ludwigdesmet_HDR_PANO-2

Thank you for reading, you might as well follow my blog now you’re here :p

Ludwig
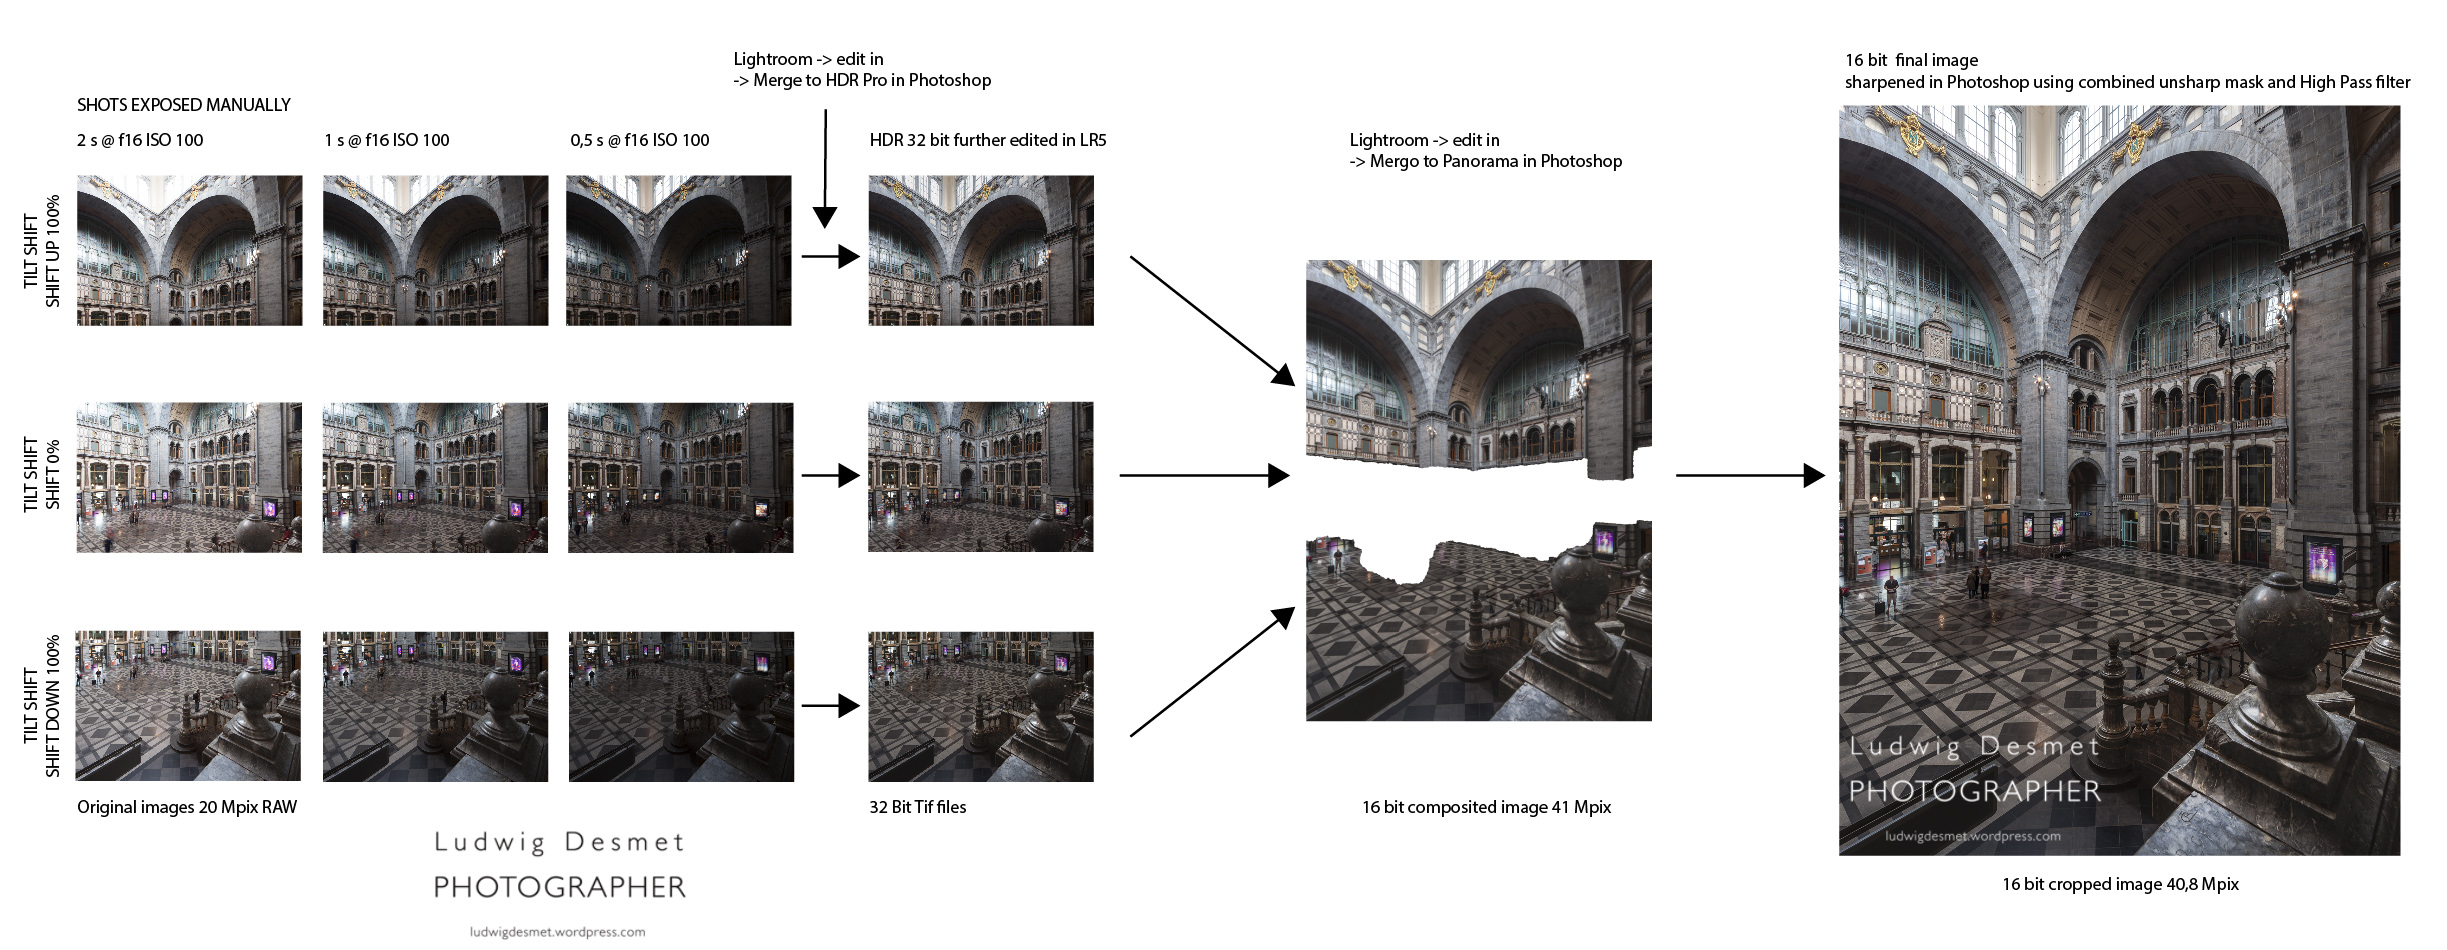
Table top I

beauty, erotic, Personal Pictures

I will continue my single image posts until I run out of stock :p

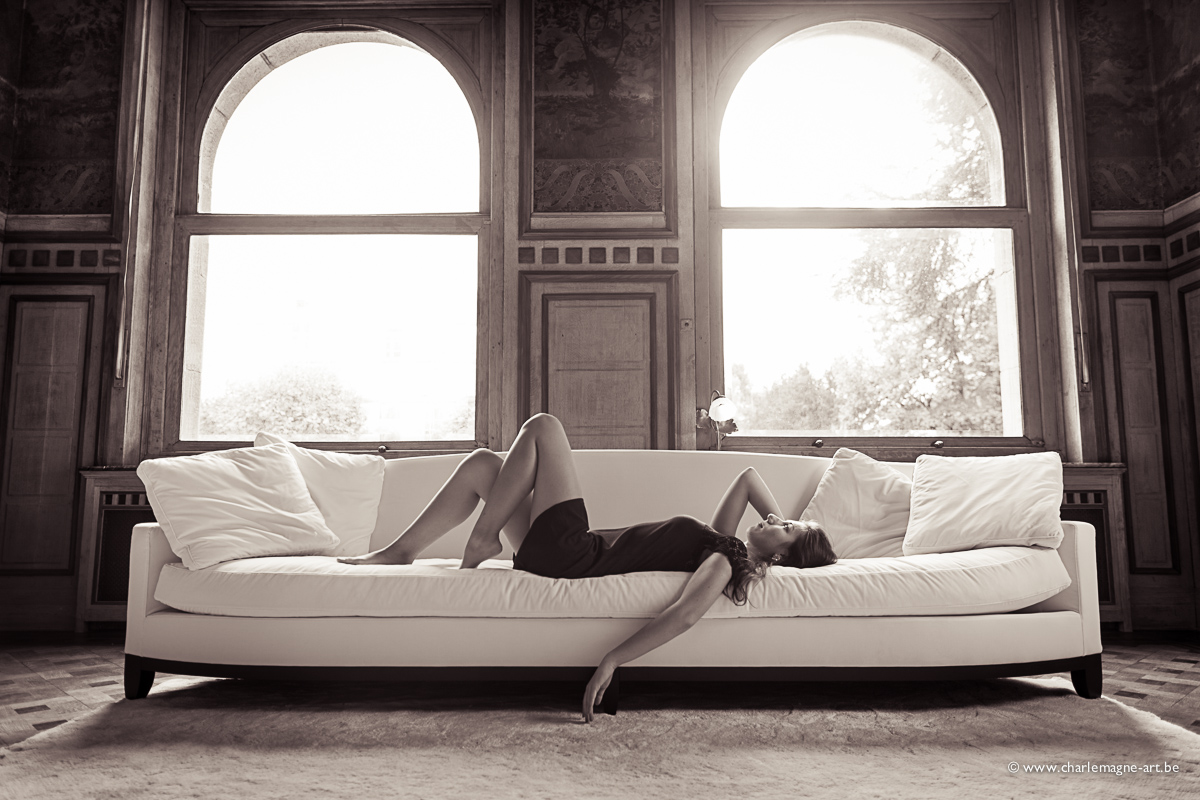
Result of the ‘At the Mansion’ shoot with Anna O., in Ronse Belgium.

Styling and photography by me.

Make up and model: Anna Orlova

Limited edition prints available.

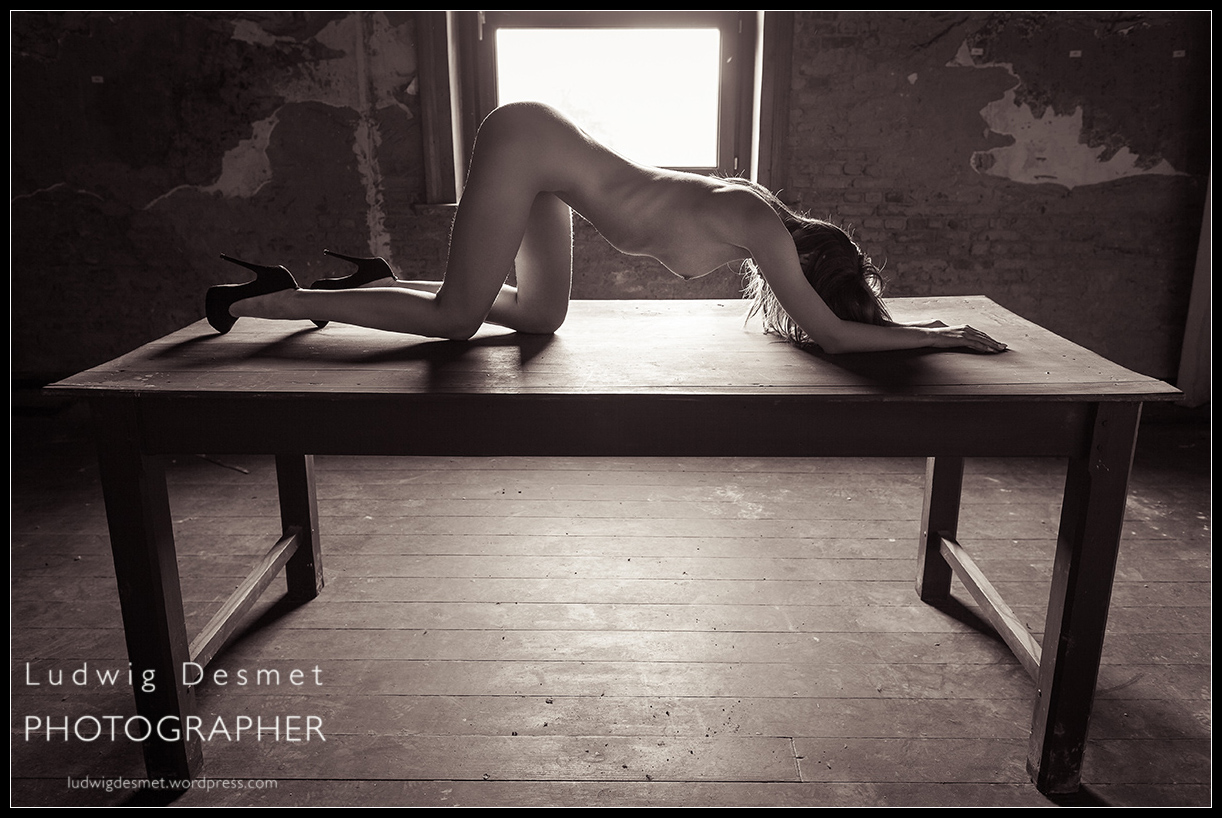
Table Top Nude I

Ludwigdesmet_AnnaO-8706

It is ok to like 😉

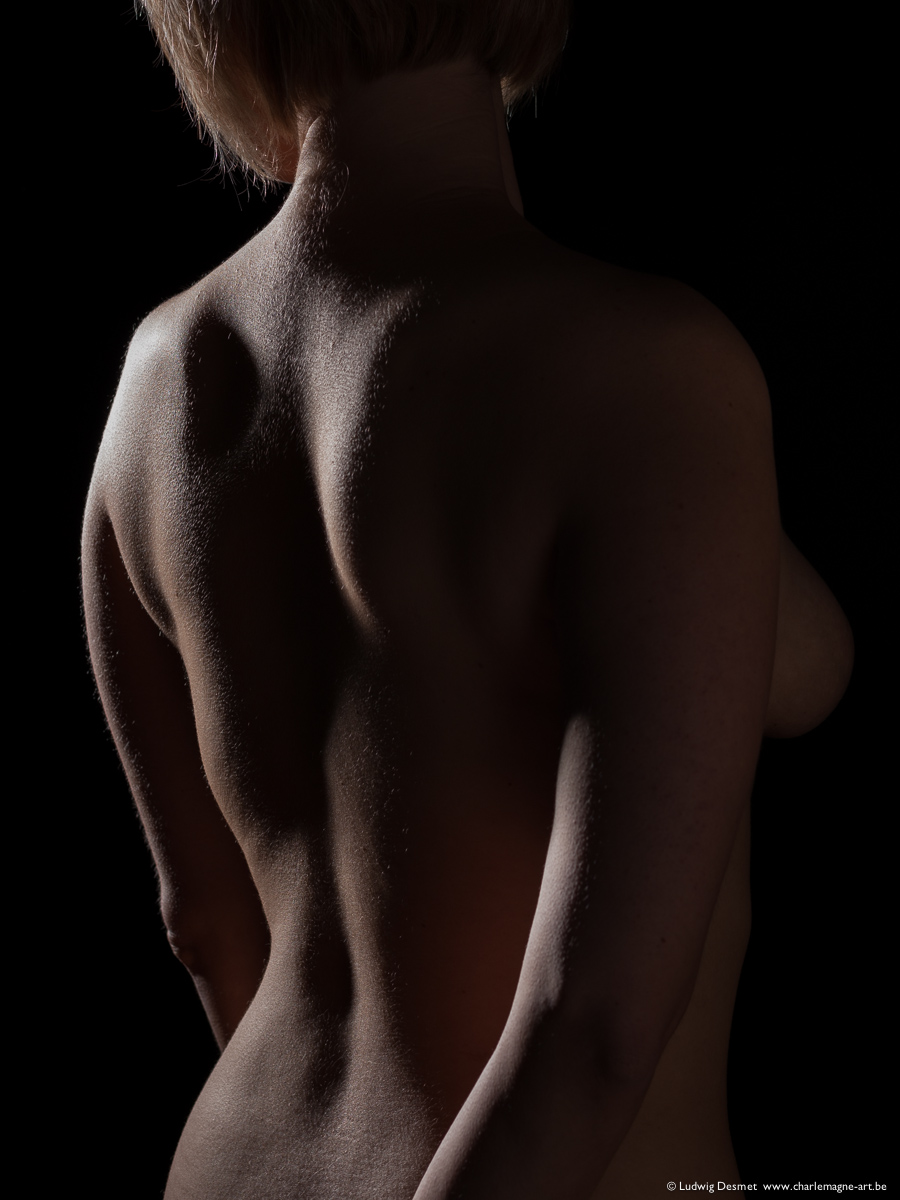
About the technique, I still work mainly (if not only) with natural light. This image has been made with the help of a tripod, because of the relatively long shutter speed, and in an attempt to keep a clean, frontal composition. I have multiple images of this session, but I think this one best expresses the beautiful shape of Anna’s body. No light source except the window light. Some light is bouncing back from the wall just behind me.

Canon 5D II – Canon EF 24 mm f1.4 L II – 1/10sec – f3.5 – ISO 100.

Ludwig

Flooded Bathroom

beauty, Personal Pictures

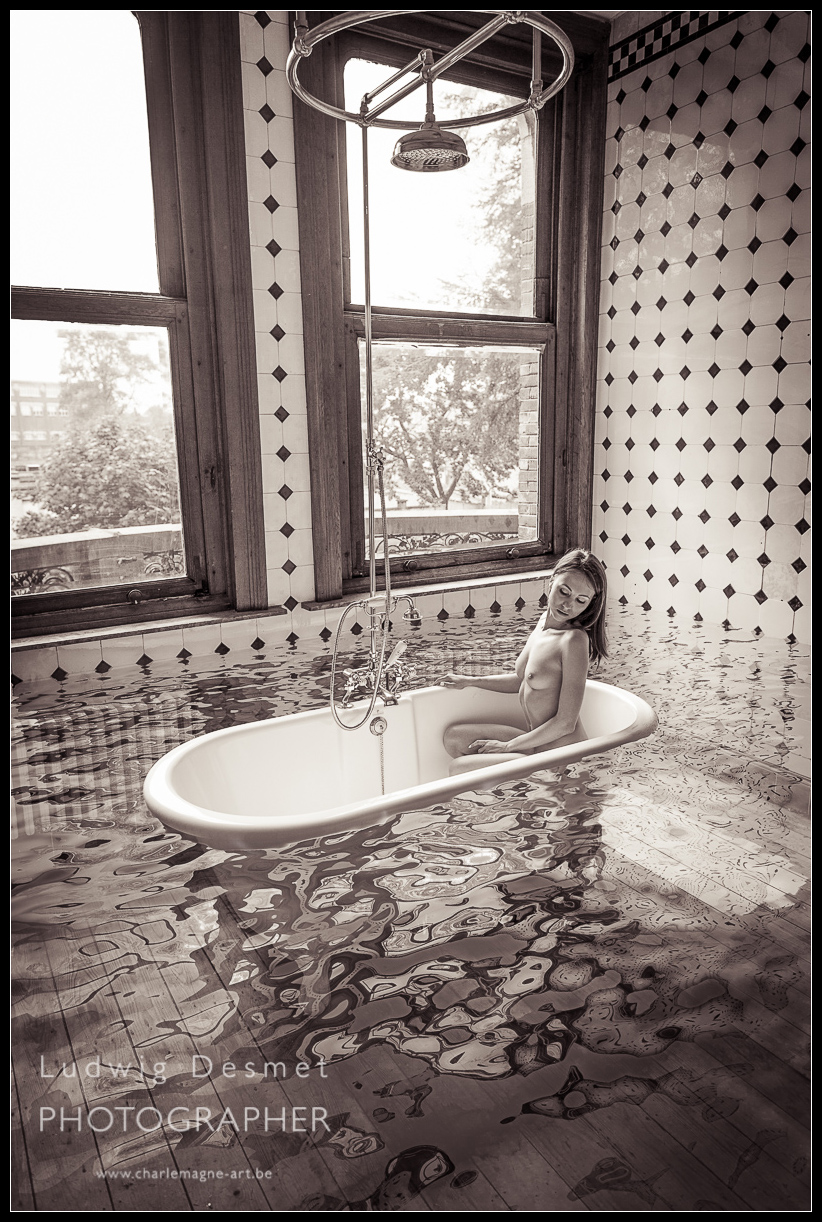
One single image today.

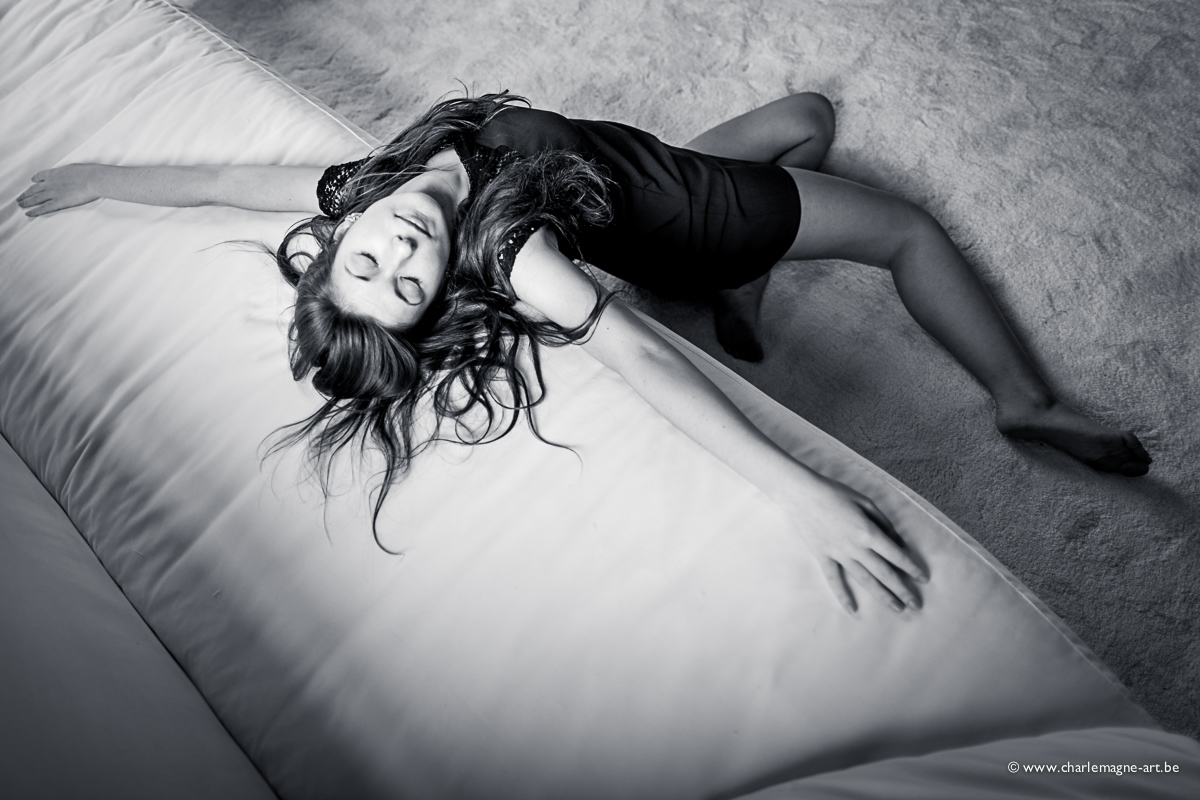
Result of the Mansion shoot with Anna Orlova, in Ronse Belgium.

Styling and photography by me.

Make up and model: Anna Orlova

Limited edition prints available.

LudwigDesmet_AnnaO-8723

I have to admit that I did some tricky stuff on this one.

Post processing and 3D image manipulation/rendering by me.

thank you for watching!

ludwig

Battle of the 50’s Part II – Canon 50 mm f1.4 USM vs. Sigma 50 mm f1.4 DG HSM Art

Personal Pictures, photo gear, tests

A lot of good rumors about the Sigma 50mm Art that was announced for the end of April. I have decided to order one as soon as it was available here in Belgium, and I wanted to do a comparison between this praised newcomer and the 50 mm f1.4 I have been using since about two years. (see battle of the 50’s for a comparison between Canon’s cheap (fantastic plastic) 50 mm f1.8 and the second in line 50mm f1.4 from Canon as well)

So this time a comparison between the Sigma 50mm f1.4 DG HSM Art and the Canon EF 50 mm f1.4 USM.

Both aimed at the full frame market, a rather old design for the Canon, brand new for the Sigma, part of the ‘Art’ series of new lenses from the latter.

In my photography I often have to deal with difficult light situations (I mostly work with natural light only) in dim lit interiors. I so have decided a couple of years ago to mainly go with fixed focal length lenses with big apertures. I currently have a Canon 24 mm f1.4 L II, a 50 mm f 1.4 (Canon and Sigma, although the Canon has already been sold and will be transferred to its new owner as soon as this test is over) a Canon 85 mm f1.8, a Canon 100 mm f2:8 macro (NEW) and a Canon 135 mm f2.0 L. A lot of glass and a lot of weight in my photo bag.

Additional weight for this 50 mm lens from Sigma too, compared to the Canon f1.4 (290 g) the Sigma comes at 815 grammes, meaning a lot more weight to carry. In combination with the Canon 5D mark II I use, this combo weighs about 1700 grams all together. My wife complained about the weight when I had her review the images of my last shoot.

The design of the Sigma lens is definitely more attractive, with is matte finish and sleek all black no colors approach. It comes with a hood and caps, and a square semi-hard lens case. The price here in Belgium is 839 € (Art & Craft pre-order) while the Canon comes at 339 € at the same shop.

All images for this test have been taken in my backyard or home studio, no special things going on here, except for young vegetable sprouts struggling against the spring rains we had lately.

As far as needed, all images are taken with tripod, live view magnification for focussing and with the same 5D II camera. Self timer to prevent touch shake.

The images show the entire scene on top, 100% crops from unedited images (except standard sharpening in LR5) below. The aperture setting is mentioned on every crop. All Jpg’s are saved at 100% quality. Take care, some of these images are big! All these images are for informational purpose only, no legal claims made!

You should really look at the images full size to be able to judge on the results obtained!

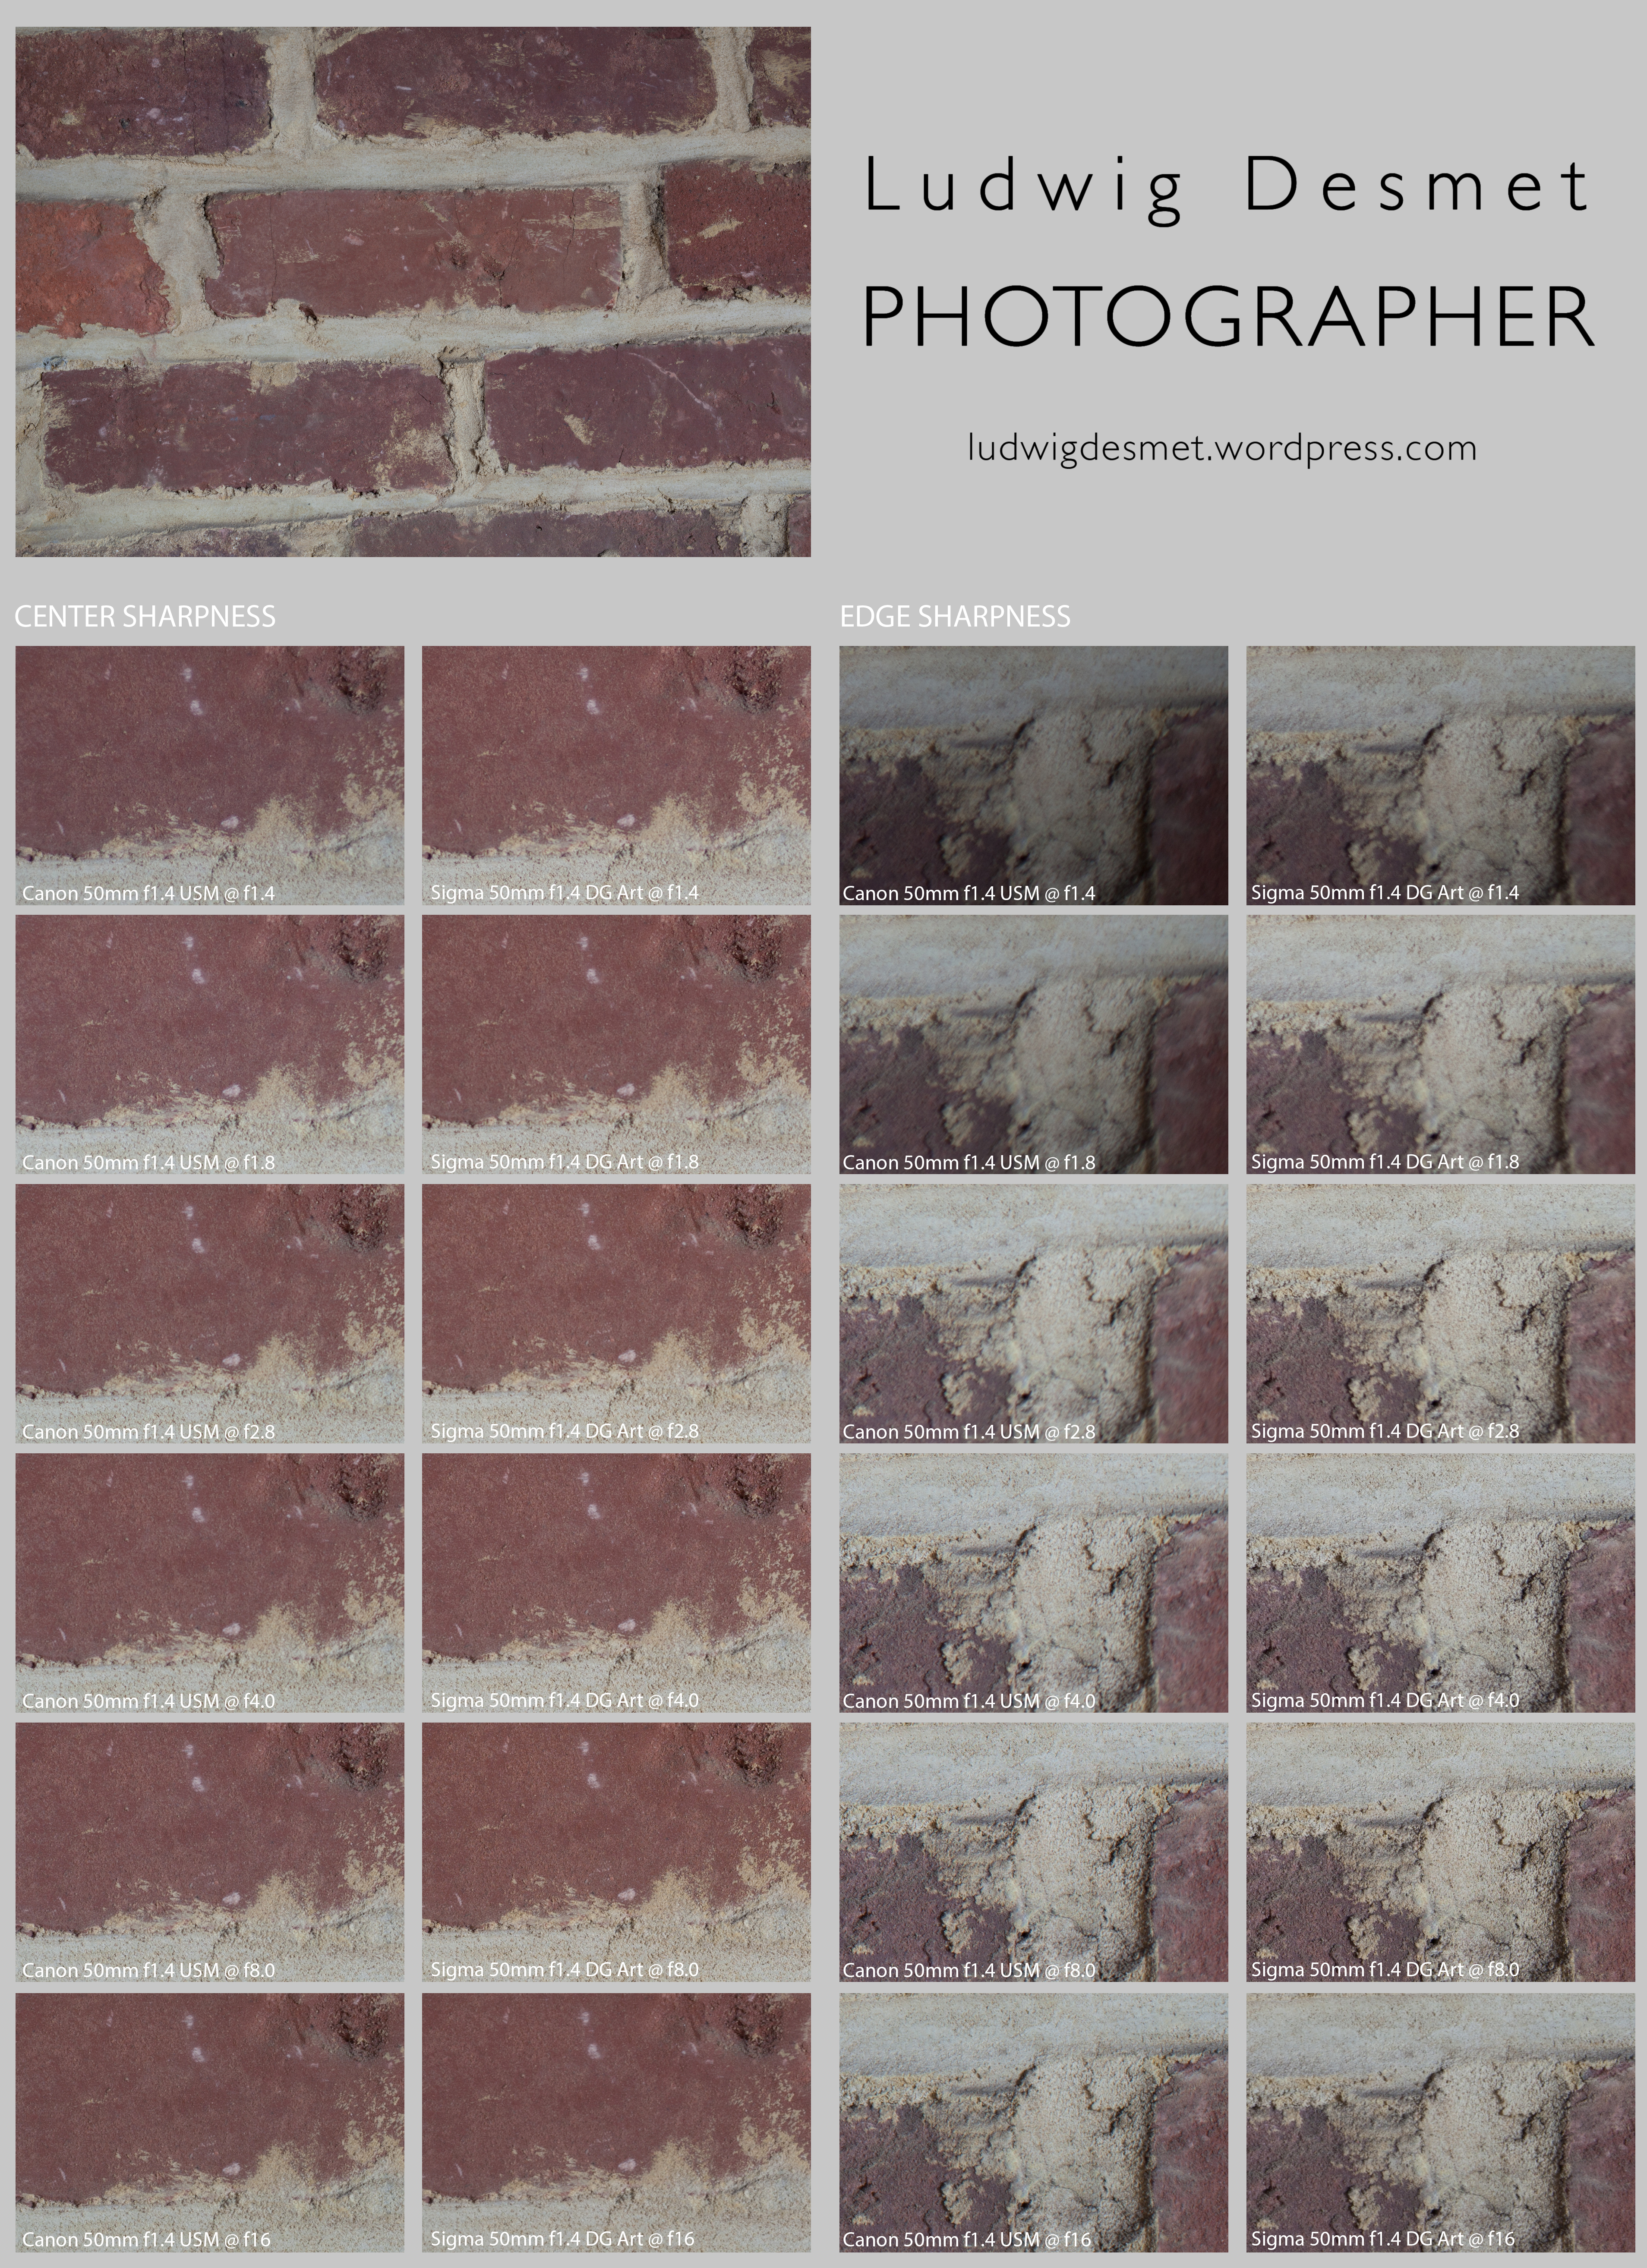
Sharpness center and edge:

Left to right: Canon center sharpness, Sigma center sharpness, Canon edge sharpness, Sigma edge sharpness.

Full size on click, 11.9 Mb Jpg file.

Sigma vs Canon 50mmtest-sharpcomp

My observations:

Center sharpness Canon: soft wide open, reaches full sharpness at f2.8, stays sharp till f8.0, a little diffraction softening at f16

Center sharpness Sigma: similar sharpness wide open as the Canon at f2.8, small increments of additional sharpness till f8.0, clearly visible diffraction effects at f16

Edge sharpness Canon: strong image distortions in this part of the image at f1.4 and f1.8, as if the image has had a rotational blur, gradually improving image quality, acceptably sharp at f8.0, soft degradation at f16

Edge sharpness Sigma: similarly sharp at f1.4 as the Canon at f1.8, but no distortions, f4.0 similar to Canon at f8.0 and sharpest at f8.0 and better image detail as the Canon at f8.0. More diffraction degradation at f16 than Canon.

Note the strong vignetting on the Canon f1.4 USM when used wide open. Less visible on the Sigma.

Vignetting is becoming invisible at f4.0 for the Canon, at f2.8 for Sigma.

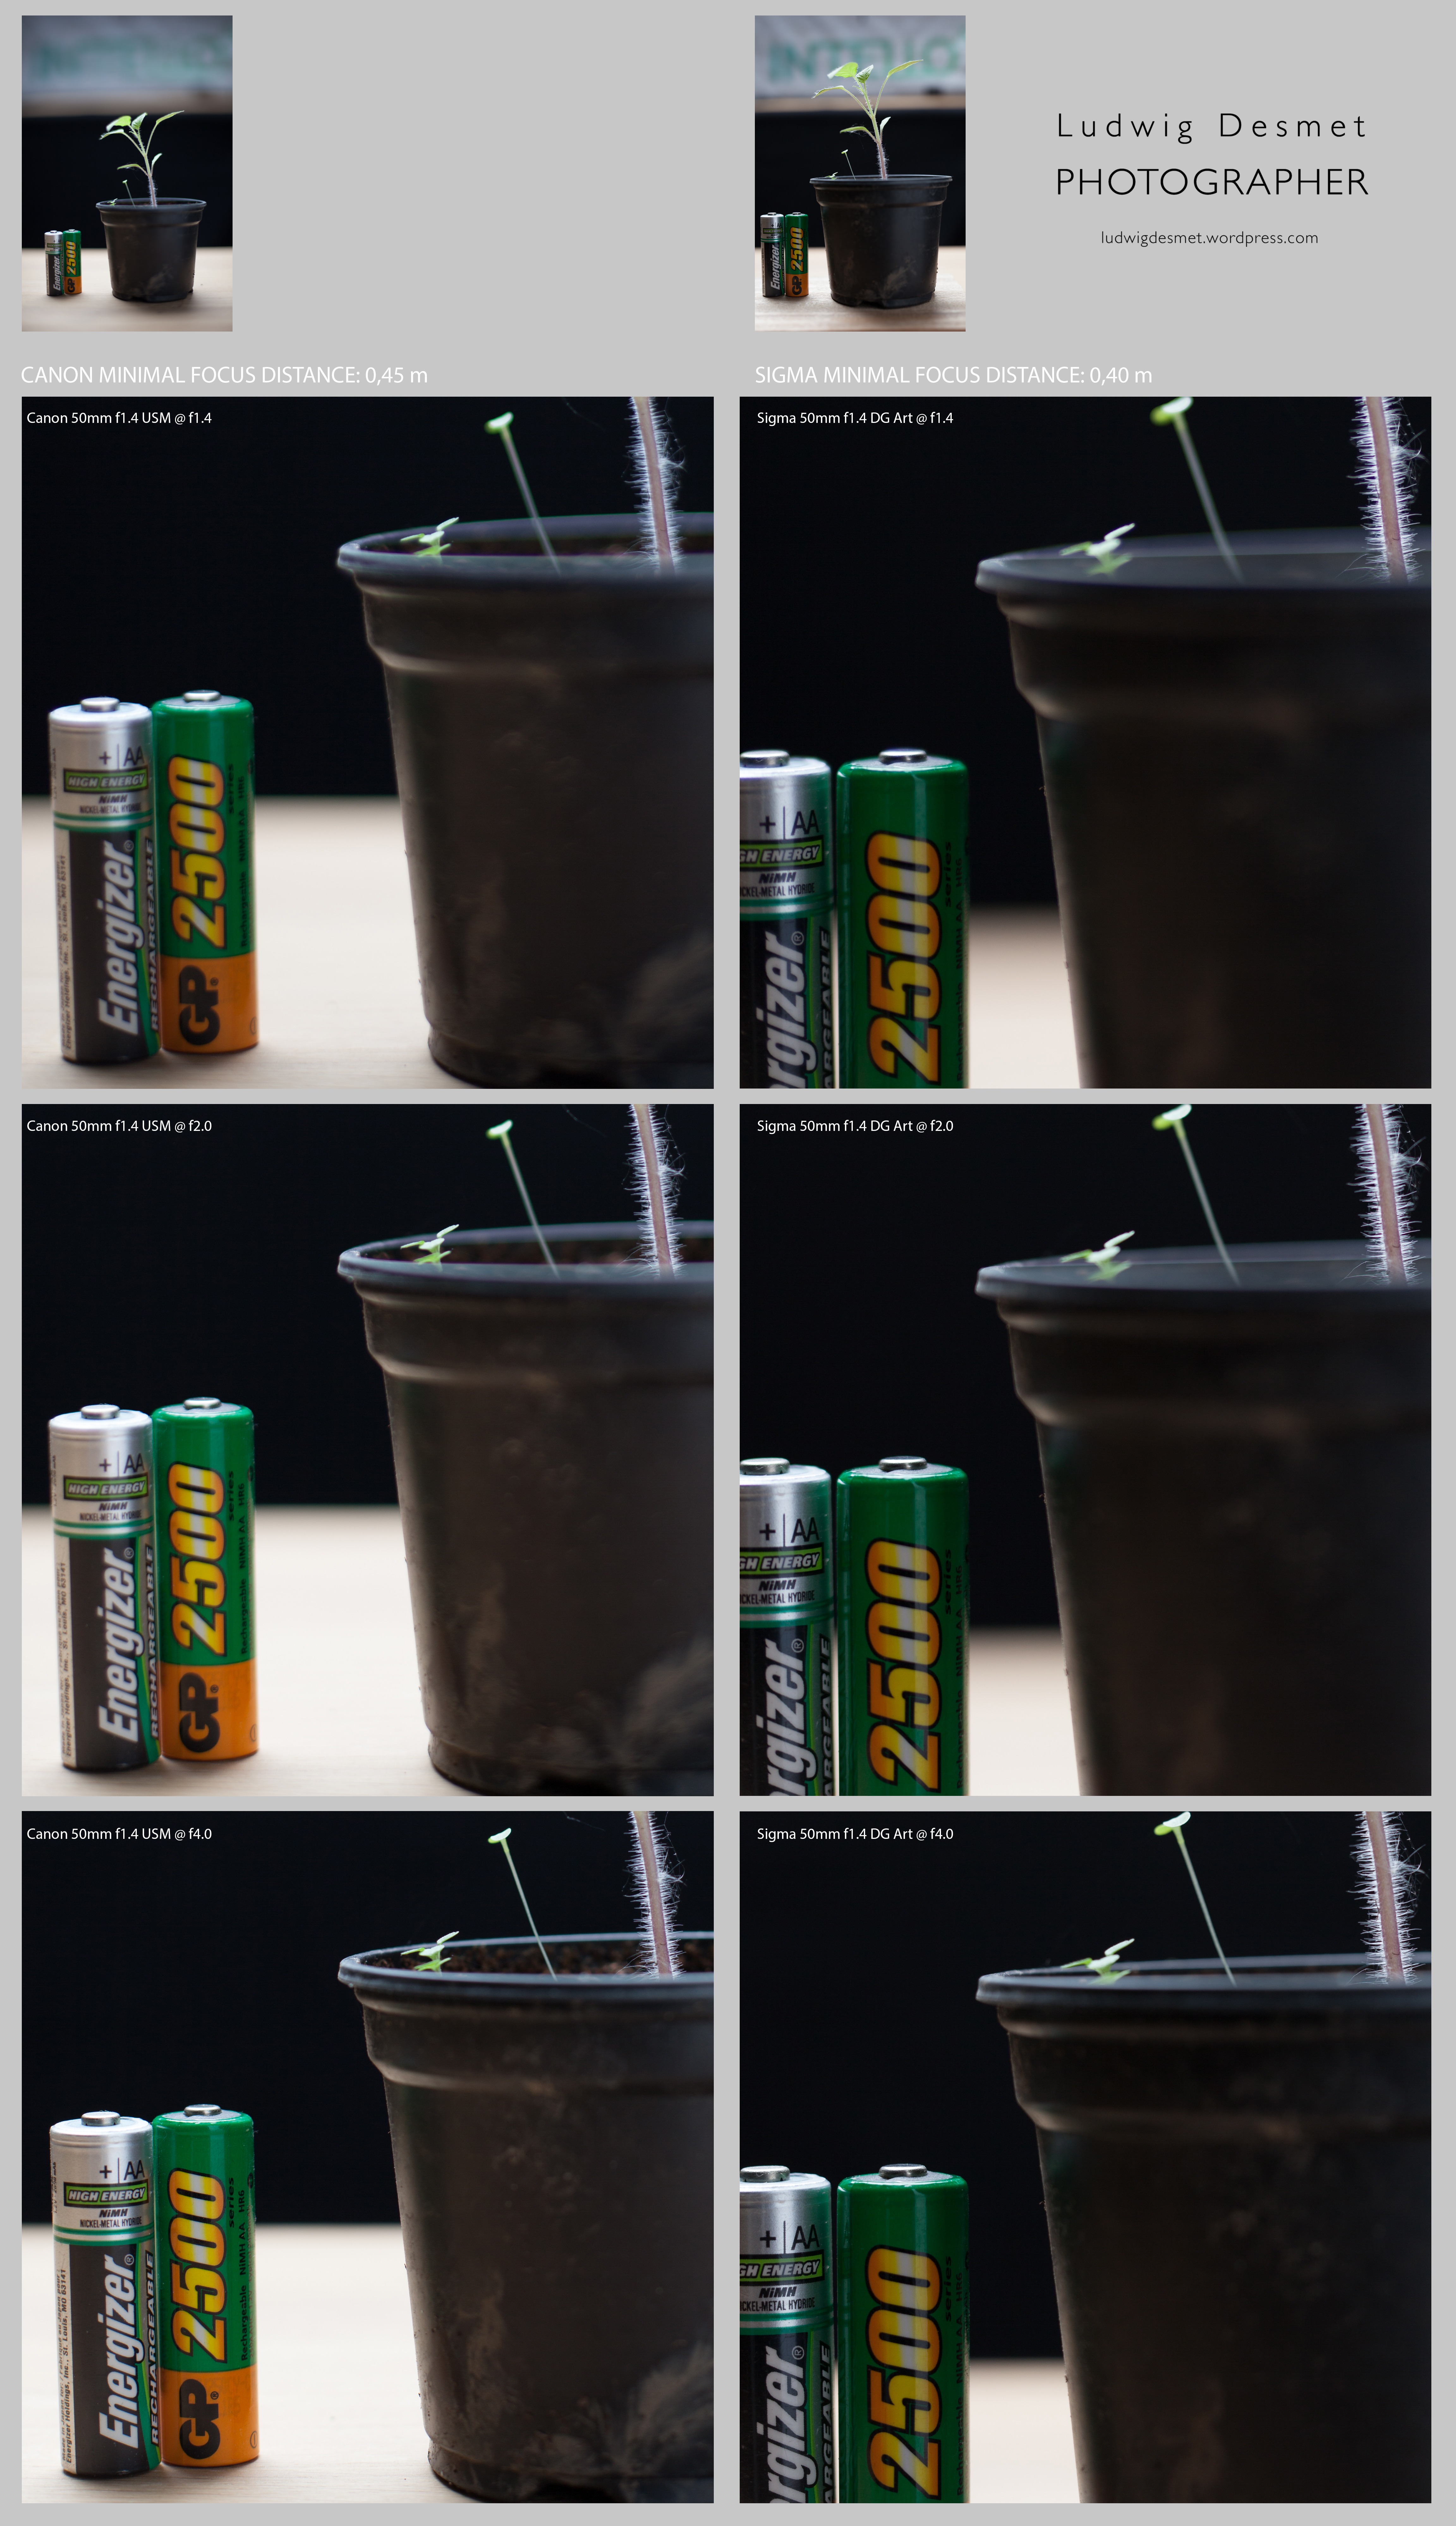
Minimal focussing distance. Sharpness and magnification:

the minimal focus distance for the Canon is 0.45 m, for the Sigma it is at 0.4 m, so a bigger magnification is possible.

Another set of images, both showing the magnification comparison, and a crop showing sharpness with different apertures.

Sigma vs Canon 50mmtest-minfocus

my observations:

similar as previous test, very weak performance at the image edge for Canon, at least one stop better sharpness for the Sigma in both center and edge.

The Sigma lens has however more problems with purple fringing when used wide open (note the hairs on the plant stem). This reminds me of the ‘quick’n dirty 85mm lens test’ I did a couple of years ago, where similar fringing problems where appearing with the Sigma 85 mm f1.4

Chromatic Aberration and color fringe:

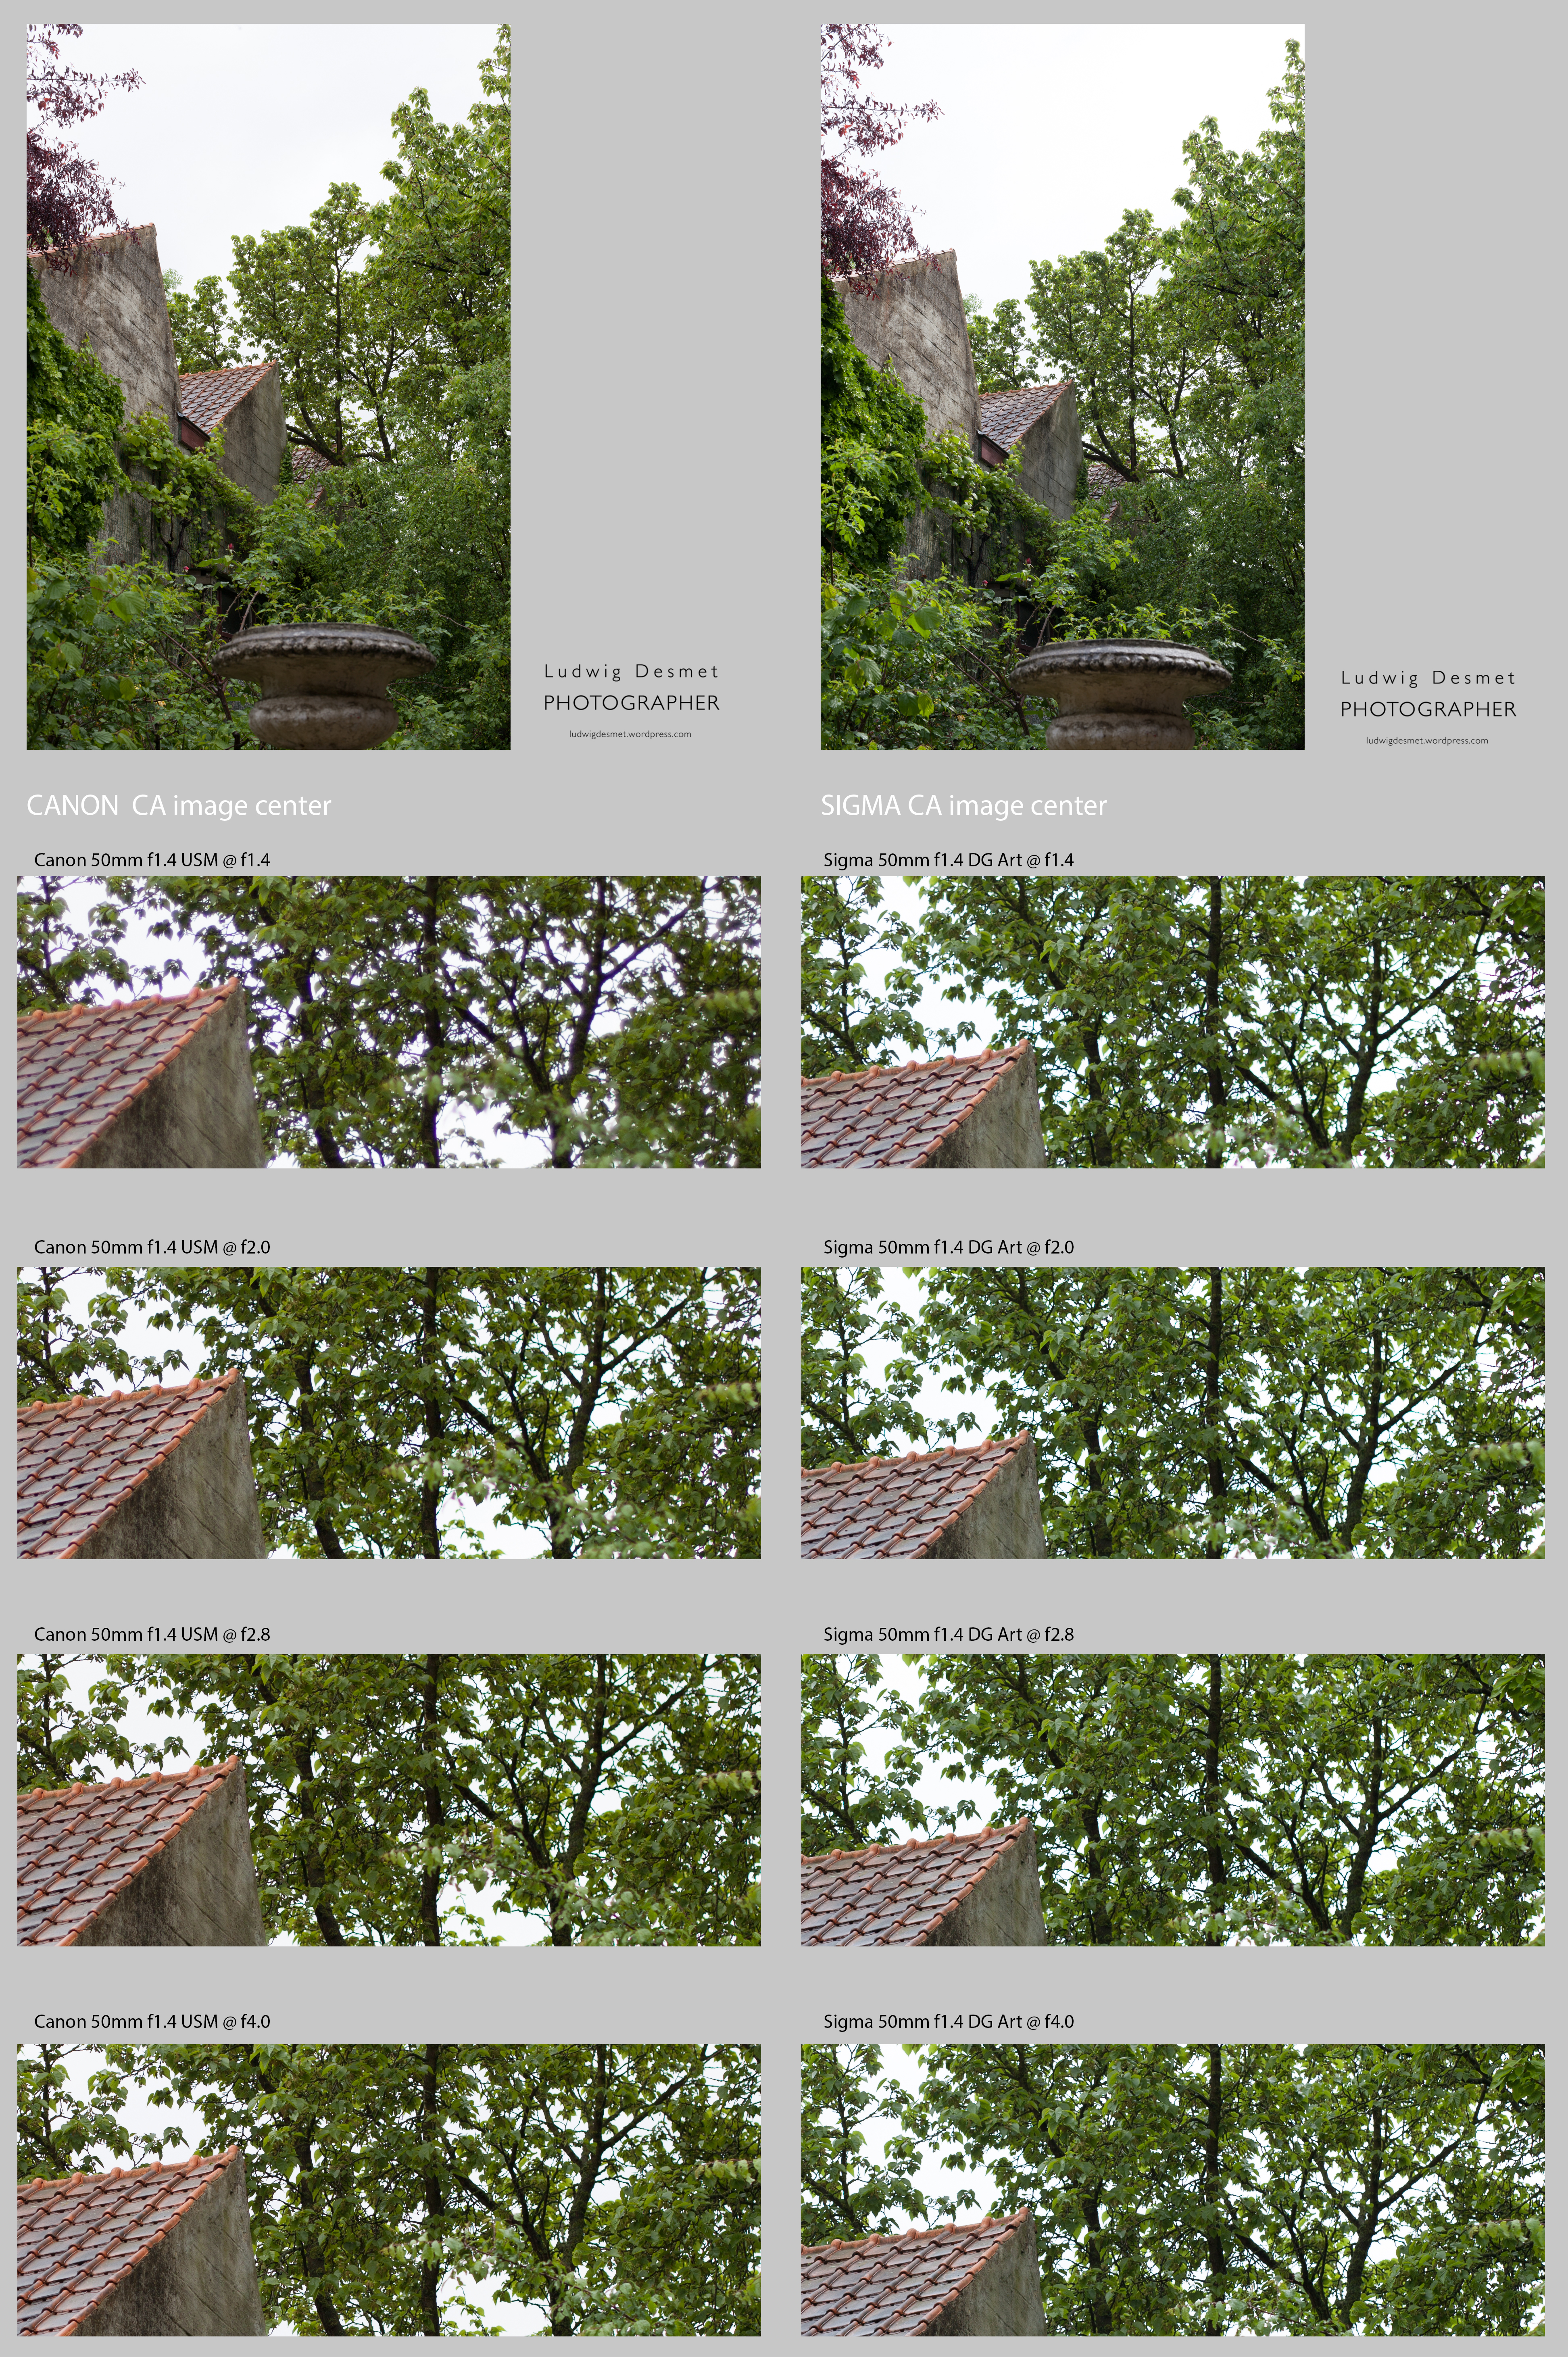
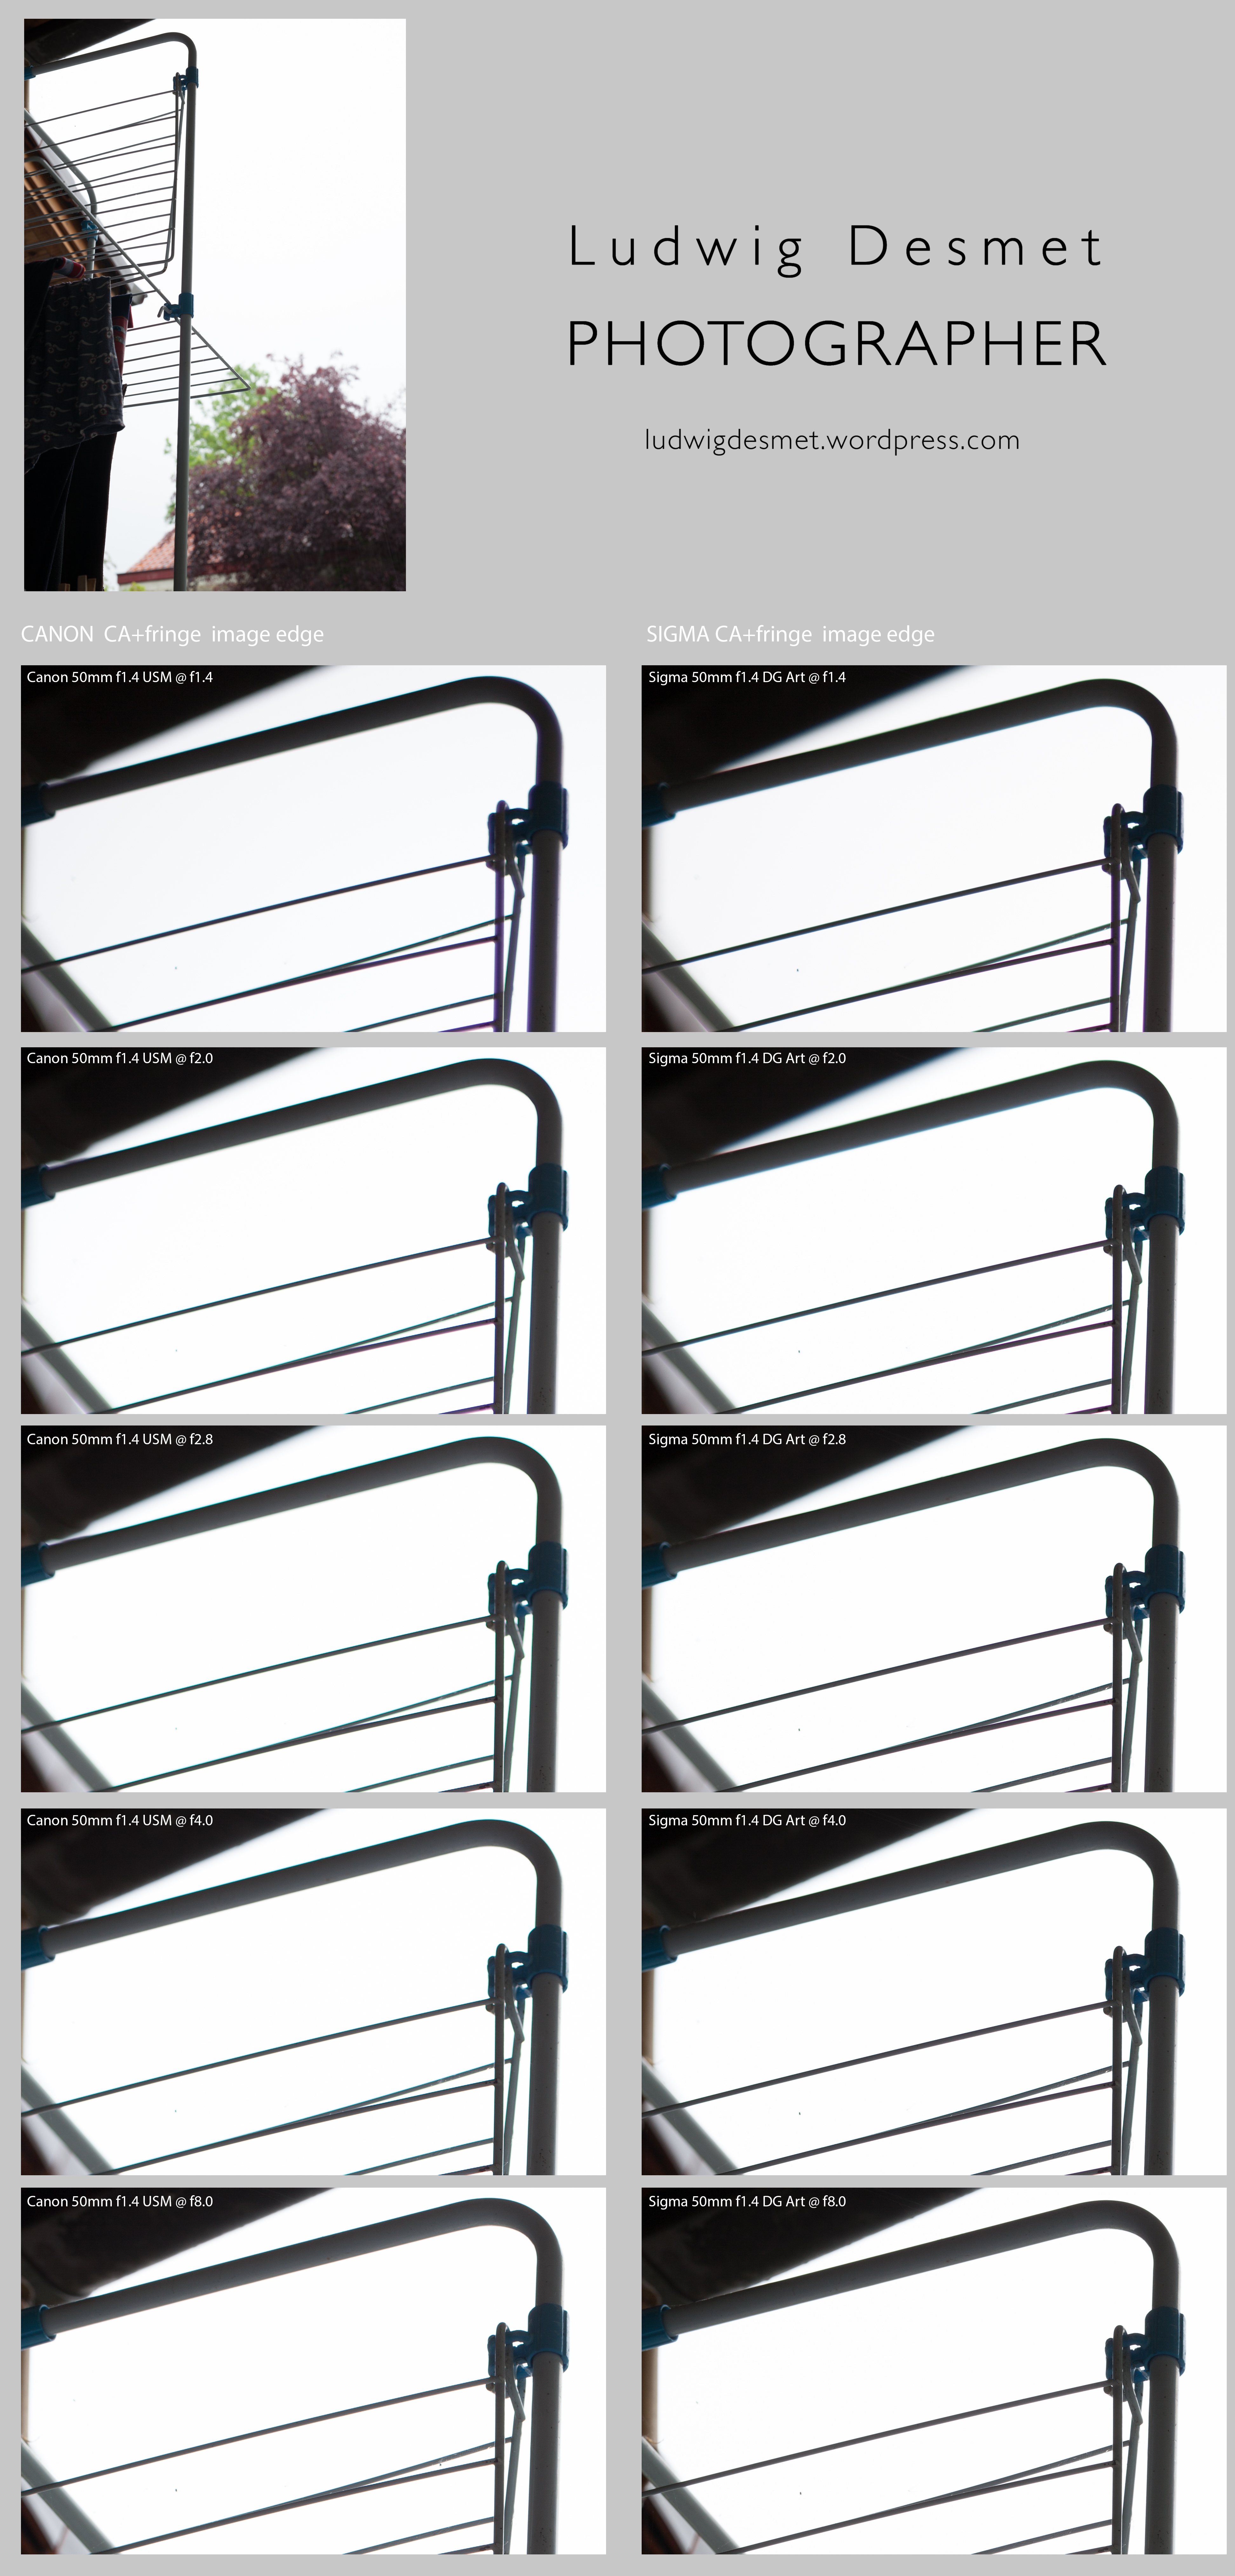
I remember from the previous test that the Canon proved horrible in the shots with the branches agains bright background. Let’s see what the Sigma does in comparison. I had no clear sky as the previous time today, but I kind of see the same things happening here.

Sigma vs Canon 50mmtest-CA center

Sigma vs Canon 50mmtest-CA edge

The Canon f1.4 USM suffers from severe fringing in high contrast areas, when used wide open. (strange that this phenomenon did not show in the plant close up) This is even apparent in live view, making it hard to focus correctly. When stopping down to 2.0, this greatly improves, and then we see similar things in both lenses, the Sigma not noticeably performing better in this aspect, showing purple fringing in front of the focus area, green fringing behind the focus plane.

In both examples in this test however (overcast sky, dull weather) I have noticed very little CA in both lenses, a little bit of cyan-orange at f8.0 in the Canon image close to none in the Sigma. I suppose that in higher contrast situations, that might be worse. (to be confirmed).

Worth noticing in this respect is that the Sigma 50mm Art lens profile is not yet currently available in the standard Lightroom 5.4 upgrade, nor could I find a link to a profile for this lens on the web (may 13, 2014)

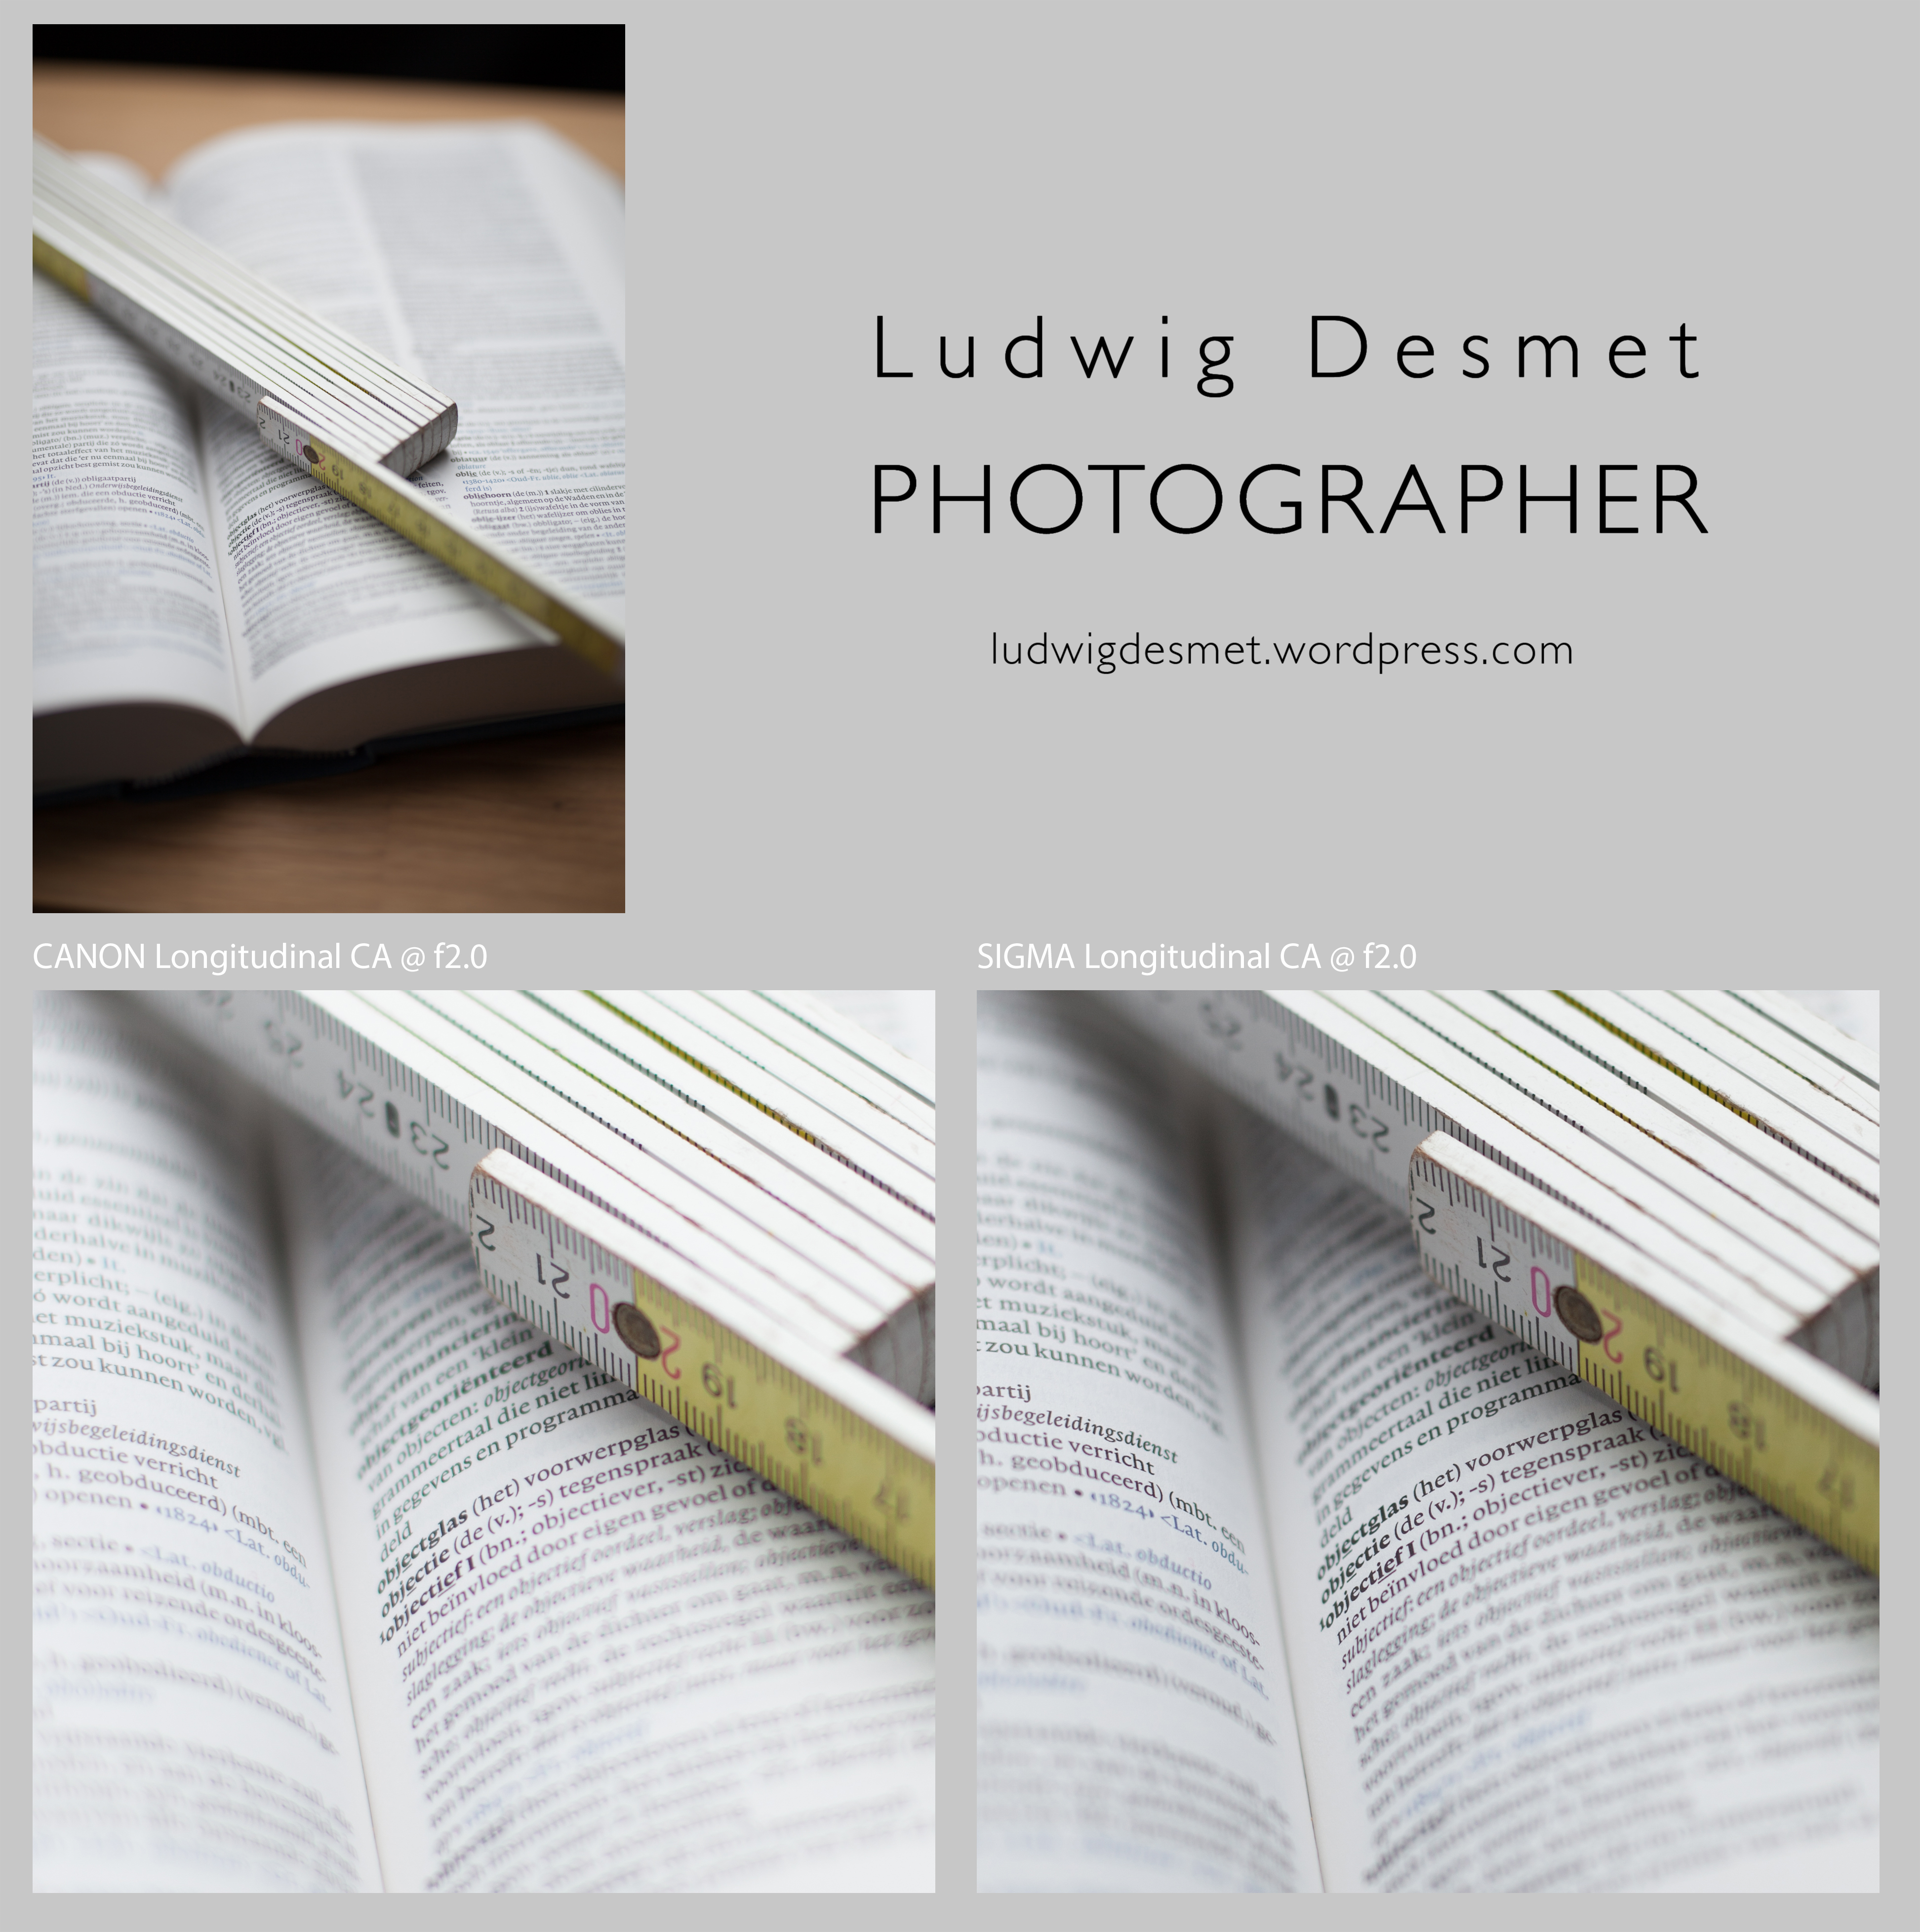
Longitudinal CA:

Chromatic aberration that is visible in the unsharp areas in front and behind the sharp area. Not the magenta shift in front of the sharp area, the green shift behind. Both images taken at f2.0. Remarkably higher in the Canon. Note the big difference in sharpness and contrast in the sharp areas between the two of them. Best viewed at 100% of course.

Sigma vs Canon Longitudinal CA

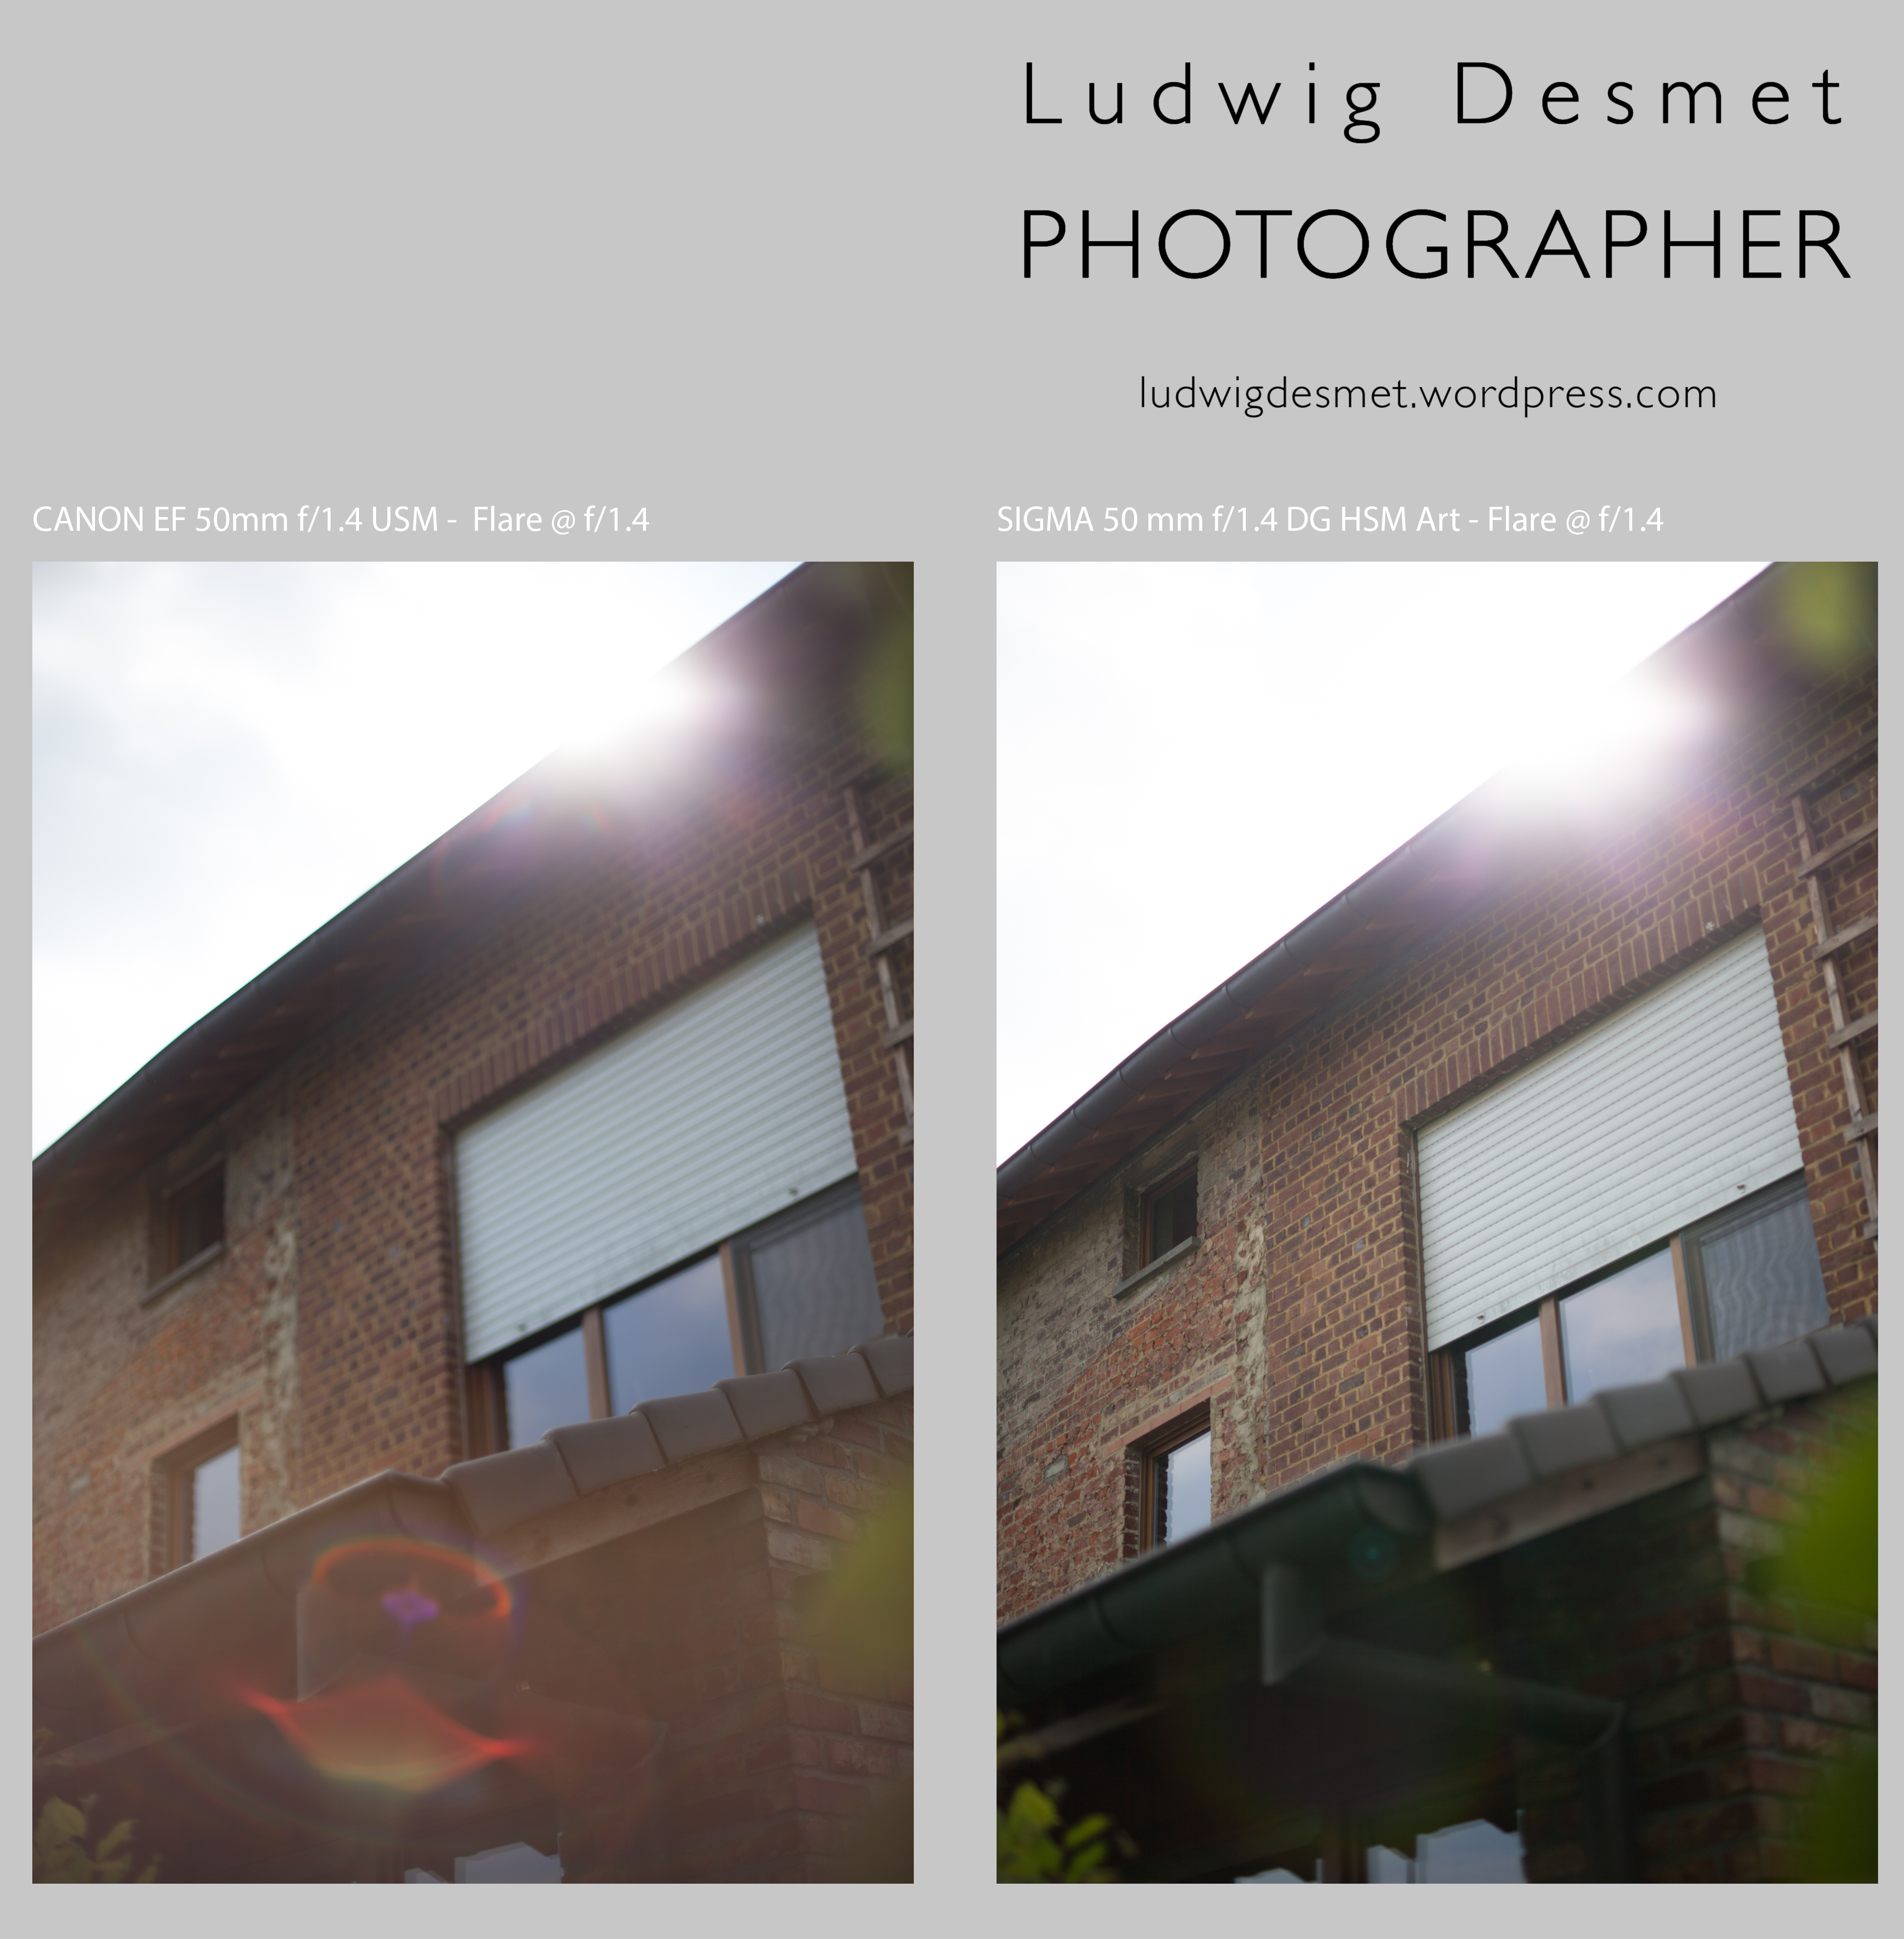
Flare:

Canon to the left, Sigma to the right.

Sigma vs Canon 50mmtest-Flare

My observations: Do I really need to? It’s obvious I guess.

Bokeh:

Canon to the left, Sigma to the right. I think Sigma’s bokeh is softer and smoother. In the Canon unsharpness, there is still some structure and noise. Not 1/1 images but big enough to analyze.

Sigma vs Canon 50mmtest-Bokeh

Thank you for reading, I think I will keep my Sigma, and trade on the Canon.

You are welcome to share this comparative review, I take no responsibilities of any kind 😉

come back again for some real world image samples of this lens in my shoots!

best,

Ludwig

Anna at the Mansion – Part I, the Salon. NSFW

beauty, erotic, Personal Pictures

Hi,

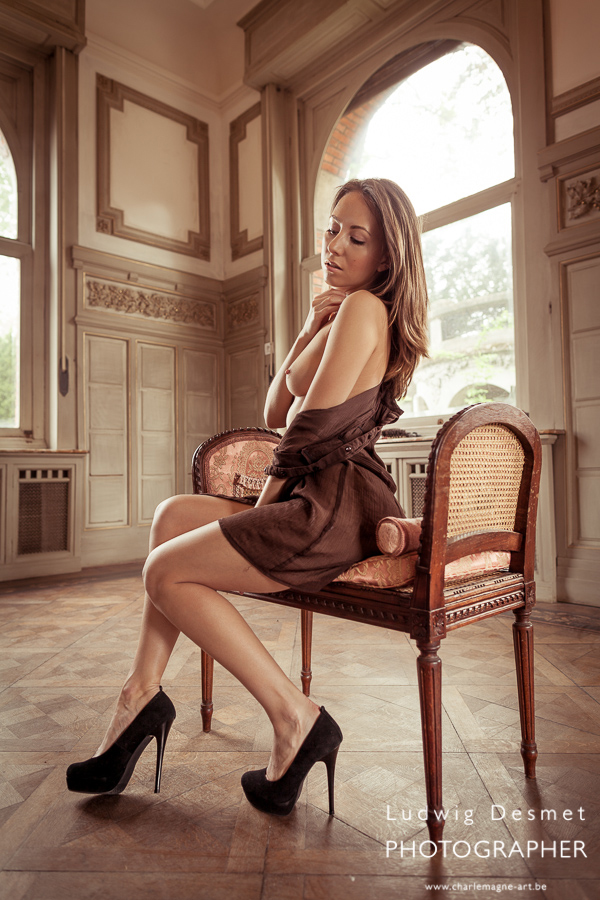
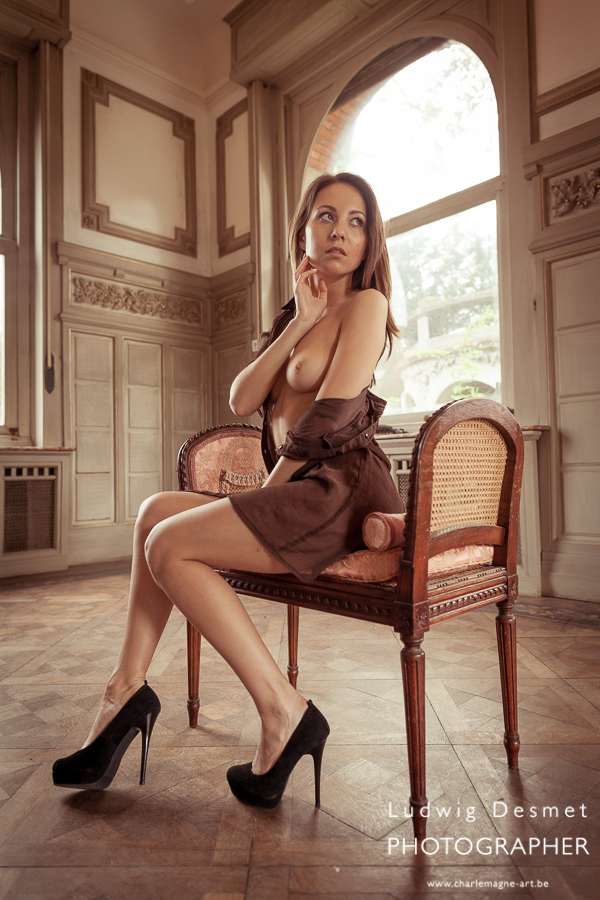
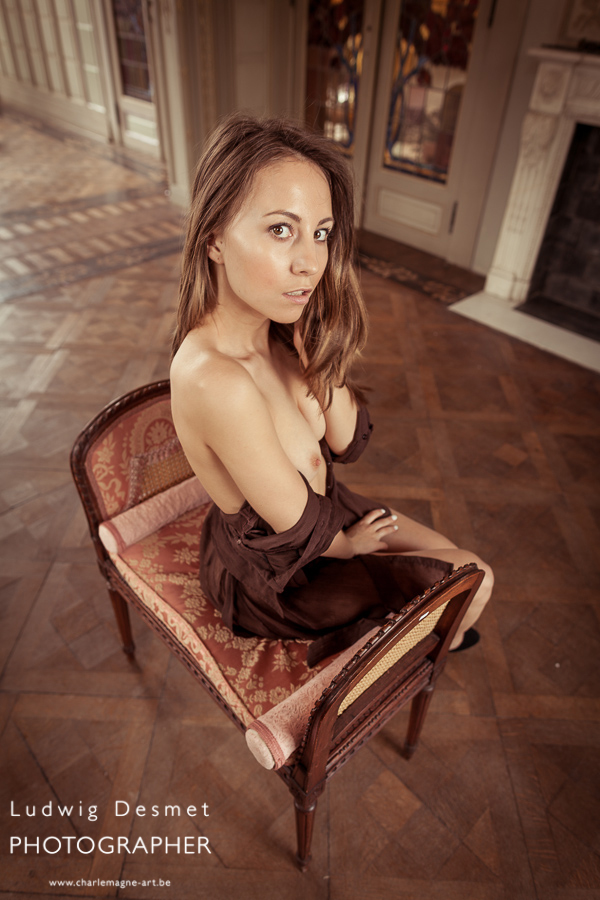
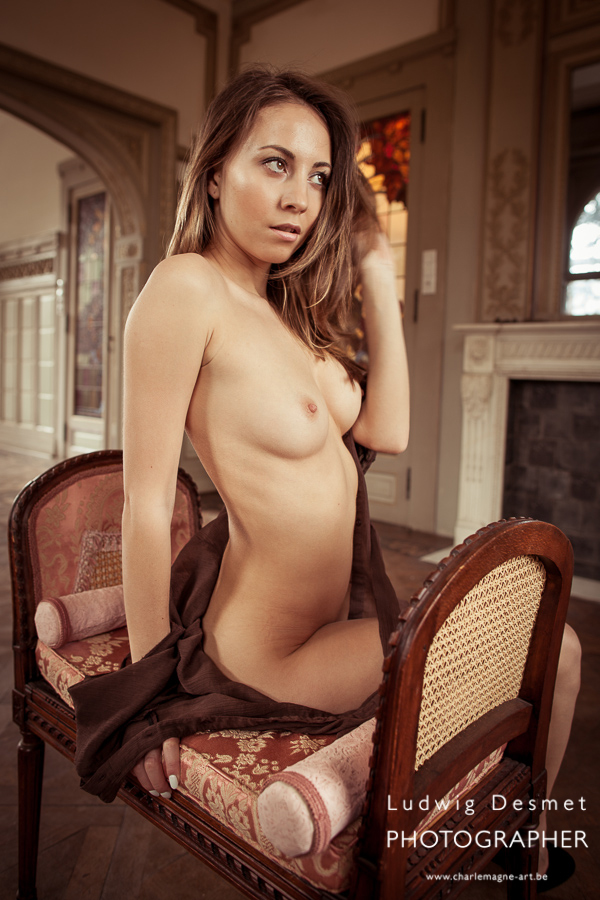
I had another shoot at the mansion some weeks ago. Anna is a international nude model, and from time to time she is working in Belgium for a couple of days. I had the possibility to work with her for a short day in Ronse. We did a shoot at the mansion before noon, had a break at my place, then had a second shoot in what I want to call ‘the garden of eden’, a new location I discovered lately, in Ronse as well. I will show you the results of this cooperation in multiple posts. First part is called the Salon, one of the bigger pieces of the Mansion, on the ground floor, and now almost renovated completely. The owners of the house are slowly gathering furniture that fits together with the interior, and we were lucky to find this lovely small bench.

A couple of weeks ago I decided to buy some more gear, and I wanted to further expand my low-light possibilities. I have had a hard time making sharp images several times in these ‘mansion shoots’ due to low light conditions. The lenses I have are good, are having the benefits of wide open apertures, but none of them features image stabilization. I have decided to try on the Canon 100 mm f2,8 L IS for this reason. It is one stop slower than my 135 mm, but it provides 4 stop image stabilization, so I gain about 3 stops in shutter speed, provided that my subject is not moving. I have managed to keep Anna stay in place. 😀 Another benefit from this lens is its macro capability, so no more struggling with minimal focus distances. This lens focuses so close I can get a single eye filling the frame.

I think you’ll be able to figure out which images are with 100 mm lens, all the others are wide angle, with my 24 mm.

About the NSFW in the title, If you are offended by the nudity in my images, I’m sorry I didn’t mean to, but I think it is tasteful and beautiful, so I will very probably post more (covered) nude images in the near future.

LudwigDesmet_AnnaO-7985

LudwigDesmet_AnnaO-

LudwigDesmet_AnnaO-8022

LudwigDesmet_AnnaO-8028

LudwigDesmet_AnnaO-8036

LudwigDesmet_AnnaO-8051

LudwigDesmet_AnnaO-8064

LudwigDesmet_AnnaO-8650

LudwigDesmet_AnnaO-8652

LudwigDesmet_AnnaO-8656

LudwigDesmet_AnnaO-8662

I hope you liked the images. There’s more with Anna to come soon.

best, Ludwig

Going commercial? Kim at the Mansion – color.

beauty, Personal Pictures

Hi there,

I’ve been wondering for a while now if I should start promoting my model shoots commercially. Yes I have done some shoots that have made me gain some money from them, but mostly my ‘natural beauty’ shoots are initiated by myself. I have the location, I look for a model, we get an agreement and an appointment, and we get together.

We discuss shoot contents over some moodboards I have at hand, and I shoot under my own command.

That last sentence is the most important reason for me not to start too fast shooting commercially. (By commercial, I mean privately ordered beauty shoots, not publicity work or fashion or anything else) The fact that I can decide on the style, the make up, the model and the location is a big plus for creating my own style. Whenever I’m working in any kind of assigned shoot, I’m no longer the sole decision maker, and I’m afraid that that could interfere with what I call my own personal, slowly getting defined style. As soon as the model starts interfering, and even saying “hey, but I would like an image like you made with that other girl” I’m not longer the boss of my shoots, and I will no longer be able to decide on anything I want (as far as I’m not interfering with the limits of my model of course).

On the other hand, a little extra money from my shoots would be more than welcome. I have been investing a lot in equipment and time lately, and I would like to have some kind of ‘return on investment’ in the months to come. A problem with that is that demand for the kind of shoots I do (or even a regular prom shoot session) is virtually inexistent here in Belgium, so I’ll have to ‘convince’ my customer potential that a shoot with me, and the resulting images are worthwhile.

Anyone need a gift for mother’s day? Shoot plus pillow book maybe?

LudwigDesmet_KimT-Pillowbook

some more results from the shoot with Kim. Color images this time. Enjoy!

LudwigDesmet_kim-5431

LudwigDesmet_Kim-5474

LudwigDesmet_Kim-5634

LudwigDesmet_Kim-5792

LudwigDesmet_Kim-5804

LudwigDesmet_Kim-5507

Teaching architectural photography

architecture, Personal Pictures

Hello there,

A post about my teaching job at Kisp this time.

KISP is a evening classes institute giving adults the possibility to change careers, enrich themselves with language courses, learn how to cook vegetarian meals, meals with Belgian Beer or learn how to execute bike repairs, amongst a ton of other things. Photography classes are immensely popular at our institute, so we count over 1000 students currently following one or more semesters of the photography program, a program that exists in 10 different classes, normally running over a 5 year period.

I have been teaching photography classes for 3 years now, and I am currently teaching 4 classes, two Lightroom development classes, two architectural photography classes.

Teaching is a good way of fine tuning and deepening your own knowledge on the subject, and I admit I have learnt a lot in preparing my courses over the last 4 months.

It has been a joy to see my students discover the multiple facets of architectural photography, something that a lot of them at first would classify as a boring and dull subject in photography. Architectural photography is one of the ‘advanced’ segments, so these students have done at least 4 preparatory classes.

We are not blessed with a lot of rich and blooming architecture here in Belgium, so it is quite a challenge to find interesting building projects that are accessible to a group of students. Especially since we arrive only at a time that most office desks close down for the day. We usually start at 6:30 pm and work trough the night, till 22:00 hrs. Often we have to deal with security people to get access to a building, mostly we are very welcome.

Unfortunately I cannot post work of others, but i would like to show you some of the pictures I took in between tutoring and solving technical questions from my students.

They are often not perfect because I carry very little equipment myself on these hands-on evening classes. I often don’t take a tripod with me and only a single lens, or maybe two.

Subjects tackled so far: building in it’s environment, perspectives, composition and equilibrating elements in your image, light and lighting. This is only a very small selection, there is some more on my facebook account here: Album architectural photography classes

LudwigDesmet_Kisp_archi-5096

LudwigDesmet_Kisp_archi-5057

LudwigDesmet_Kisp_archi-5081

LudwigDesmet_Kisp_archi-5368

LudwigDesmet_Kisp_archi-5379

LudwigDesmet_Kisp_archi-6658

LudwigDesmet_Kisp_archi-6689

LudwigDesmet_Kisp_archi-8411

LudwigDesmet_Kisp_archi-8416

LudwigDesmet_Kisp_archi-8498

LudwigDesmet_Kisp_archi-8558

LudwigDesmet_Kisp_archi-8548

thank you for reading, see you soon,

Ludwig

Nude Studio Setup – 1 light

Personal Pictures, personal tips & tricks, Tips and Tricks, Uncategorized

Continuation of my series of ‘portfolio shoot images’ Behind the scene’s.

For this setup I used only one studio flash, with reflector.

In order to create a really small light bundle, you need to work with solid elements blocking the light.

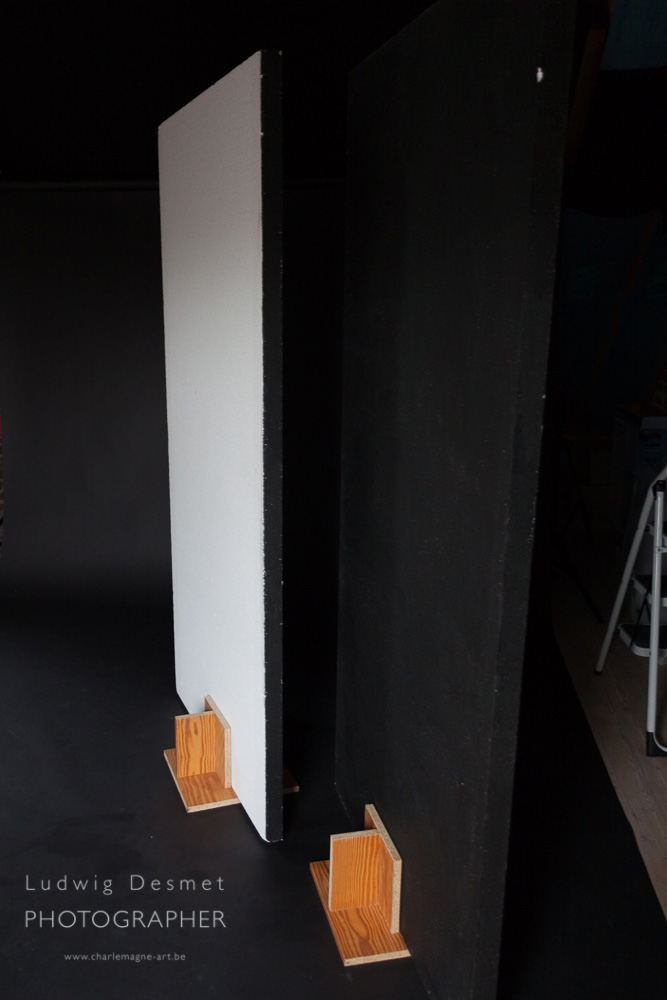
For this I use some of those huge styrofoam boards (they can be bought in the build supply shops, they are used for insulation, crappy for this purpose, but very handy in studio) of 120x220x6 cm. I paint them black on one side, and around the edges. I made some simple stands from fibre wood panels to hold them upright.

They weigh virtually nothing and are easily stowed away.

here you can see one white side front, one back side front (I pushed exposure a bit here, because they are really nicely black):

LudwigDesmet-studio-6597

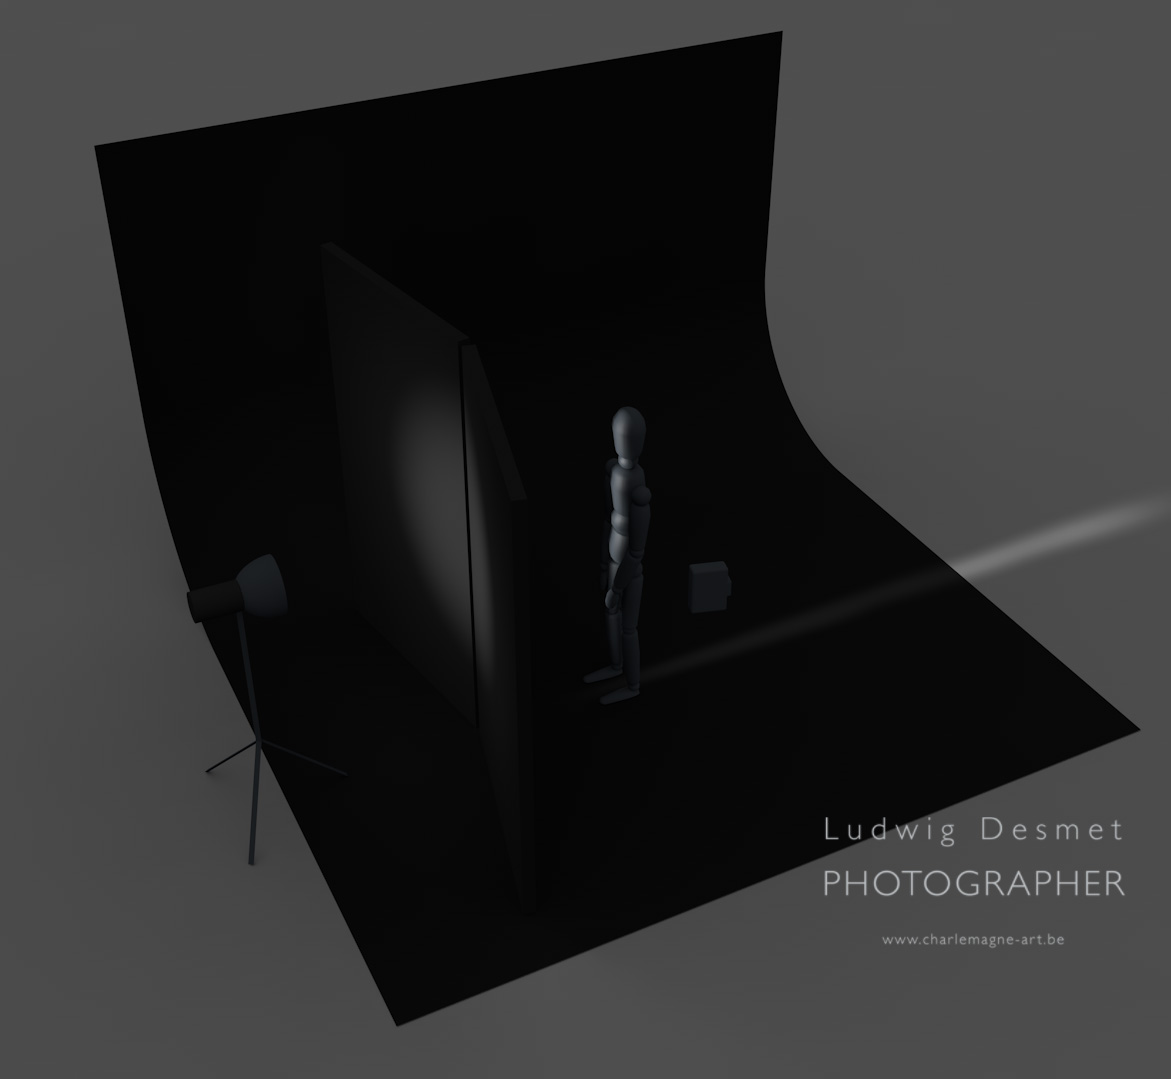
So a very simple setup here:

one flashlight on the left, with standard reflector, two styrofoam panels, black side towards the flash (you don’t want light bouncing of the white side, don’t you?)

model standing right in the middle, a little further back. Because the reflector is a quite big light source, you’ll need to put your panels really close to eachother (2 cm apart for instance) and you’ll still have the light spreading out further away from the panels.

Portfolio studio setup2

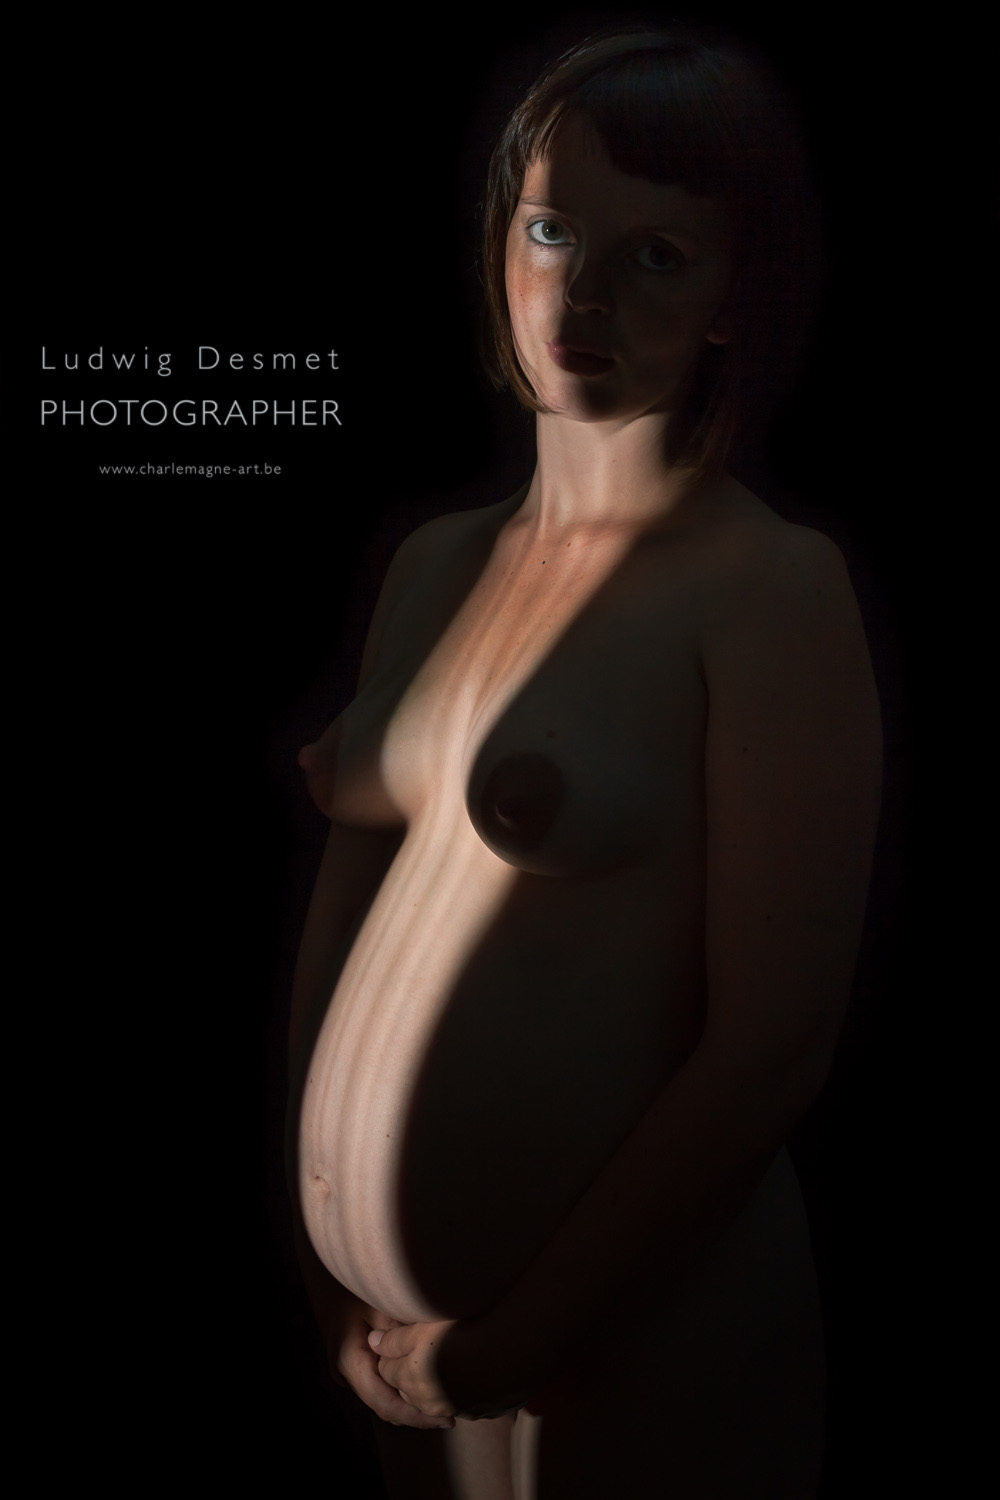
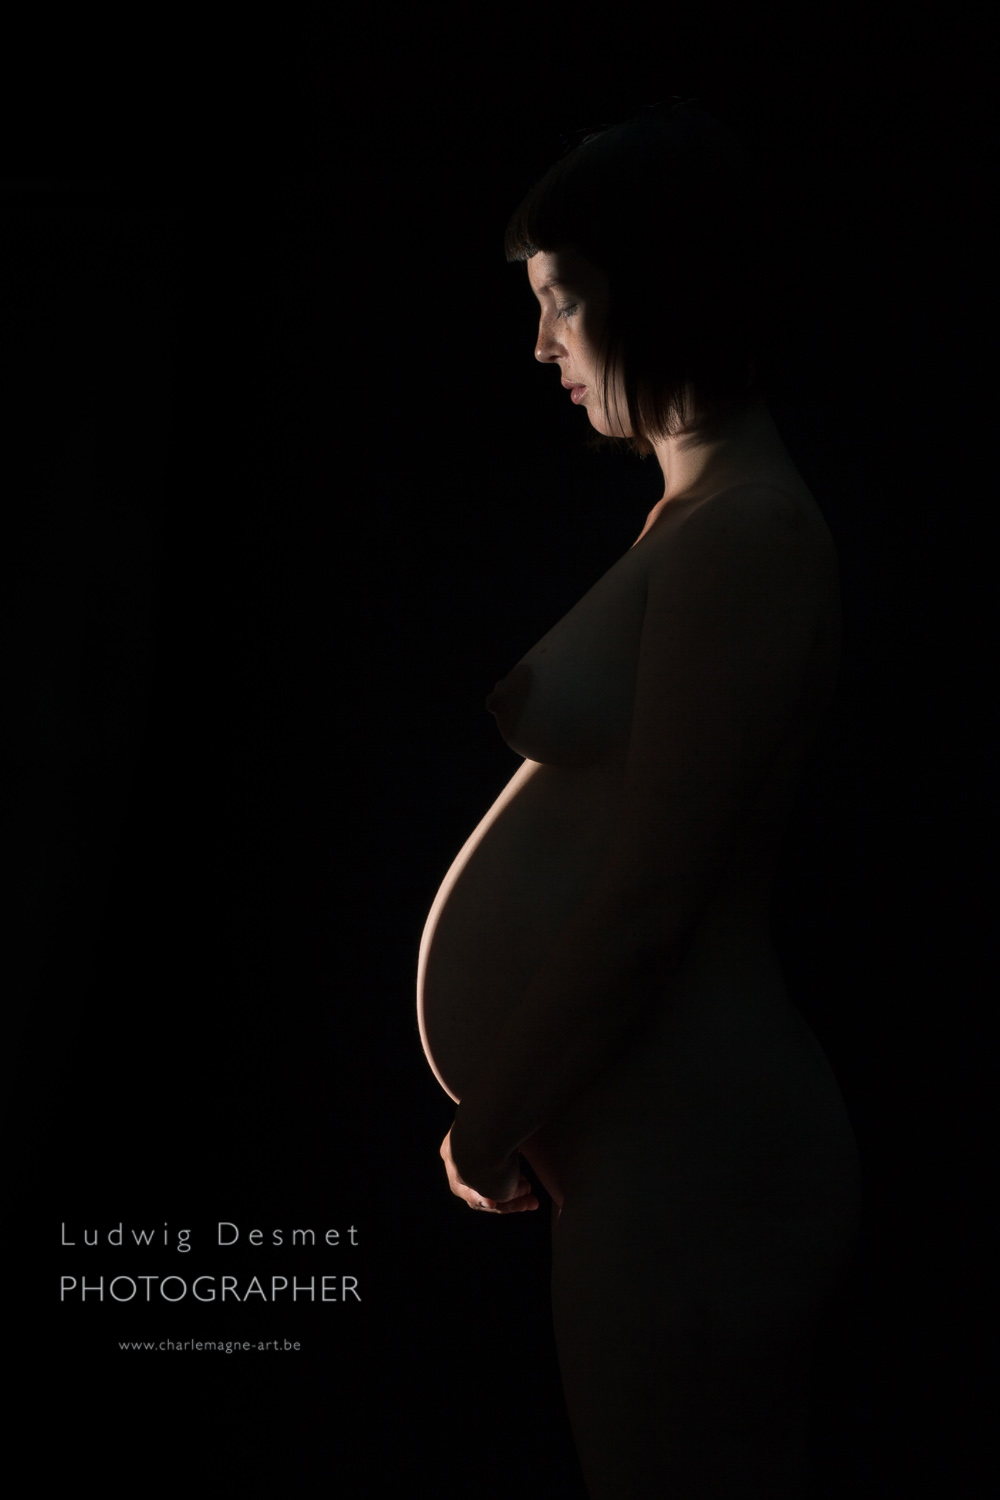
two images with this setup:

LudwigDesmet-studio-080

LudwigDesmet-studio-081

thank you for reading, see you soon for a new post.

Ludwig

Nude Studio Setup – 3 lights

beauty, Personal Pictures, personal tips & tricks, Tips and Tricks

Hi there,

I’m planning on a series of posts with some explanation of the studio setups I’ve used for my portfolio shoots.

Here’s te first one. The model has some massage oil on her body, just very slightly. A slightly colored setup.

Portfolio studio setup

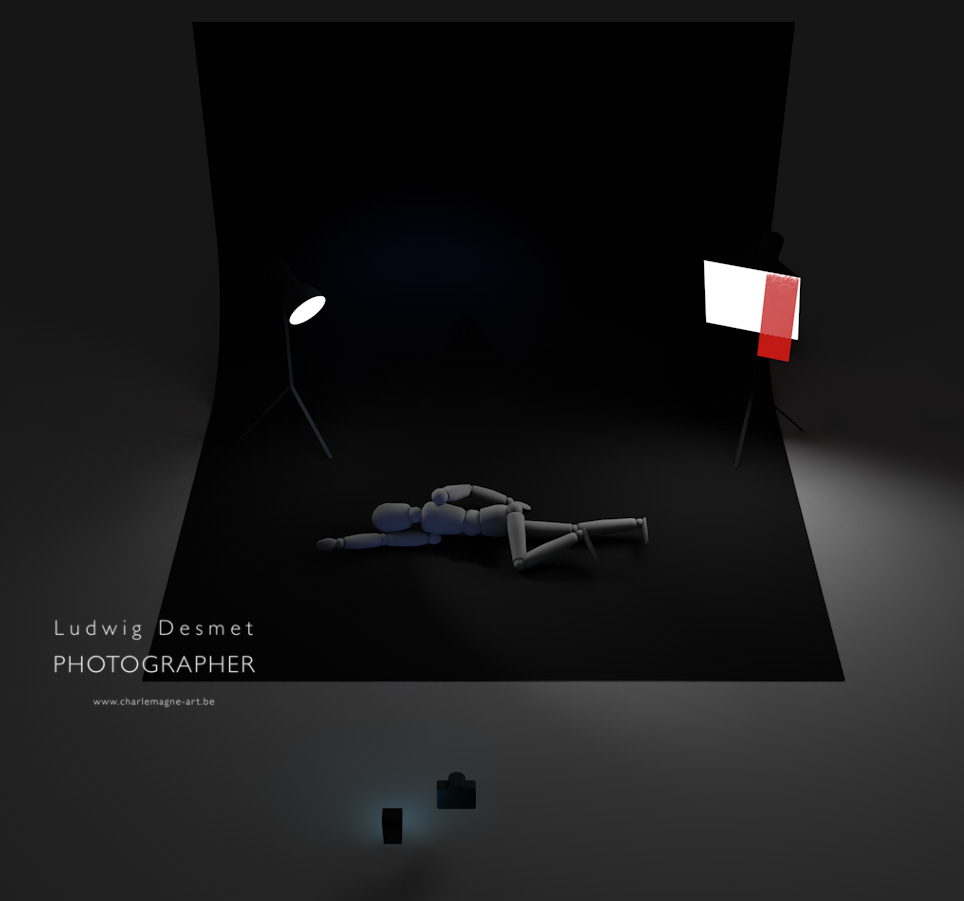
A triple light setup for a body shape portrait.

Model is laying down on a black velvet cloth, which literally absorbs all light. It is positioned in a infinite floor to wall shape.

1. On the left, studio flash with reflector, gridded. Gridded to keep the light from spilling all over in the studio. Reflector for those nice highlights on the body.

2. On the right, studio flash with small softbox (60x60cm) partially covered with a red cloth, for a slight color shift. I discovered that the use thin colored cloth works in a similar way as gels, and it is easy to just move the cloth a little bit (a wooden clothespin works just fine) to have a stronger or weaker effect. I currently work with some kind of very thin colored cloth pieces, like a magician would use. This second flash not as strong as the first one and aimed a little more off the model

3. just next to the camera, I’ve put an additional flash (Speedlite 580), again with a colored cloth in front (blue-ish) to slightly fill in the shaded areas.

Camera is just above the floor (me lying down).

Setup:

Studio setup 1 - Ludwig Desmet

85mm – 1/125th – f3.2

I probably would have been better of aiming for a smaller aperture for larger depth of field, but this is the way it is 😉

hope you’ve found some inspiration here.

see you soon,

Ludwig

Nude (In)cognito – the exhibit

beauty, exhibition, Personal Pictures, projects

hi folks,

last weekend seemed like a roller coaster of happenings and emotions.

last friday evening, I’ve built up the exhibit for my ‘end of studies’ project Nude (In)cognito.

Saturday morning I had my Jury presentation at 9:30. The jury was rather severe, and focused mainly at the weaknesses of the project/the selection/the presentation.

That’s the best thing they can do, show you the possible points of attention, but it left me full of doubts and questions. Had I not worked 5 months within the idea of presenting a very good body of work?

After that we had a funeral to attend to, unfortunately. Very strong emotions of sadness and helplessness. A very good friends grandchild died after being born prematurely, and a short life of only 8 weeks. Tears and deep deep sorrow.

Saturday evening came the reception, where I had the opportunity to speak to some of the jurors, and already better rumors came my way. (about my work presented) This helped me understand the questioning I had had early that morning. A glass of sparkling bubbles and a fine meal afterwards, and then off to bed.

Sunday, at about 10 am the exhibit opened, and we literally had to search for an escape route at midday, to get some food in between. An overwhelming amount of people have come to visit the exhibition. Rightfully, absolutely. I think there were about 23 students who presented their work. I have seen a lot of beautiful work, and I’ve met a lot of enthusiastic people, both photographers and visitors.

I would like to thank all the people who have attended the exhibit, thank you for your warm reactions, your attentions and the good talks.

I hope you’ve all enjoyed the exhibit. I enjoyed it for sure. Literally broken yesterday evening, but happy after all.

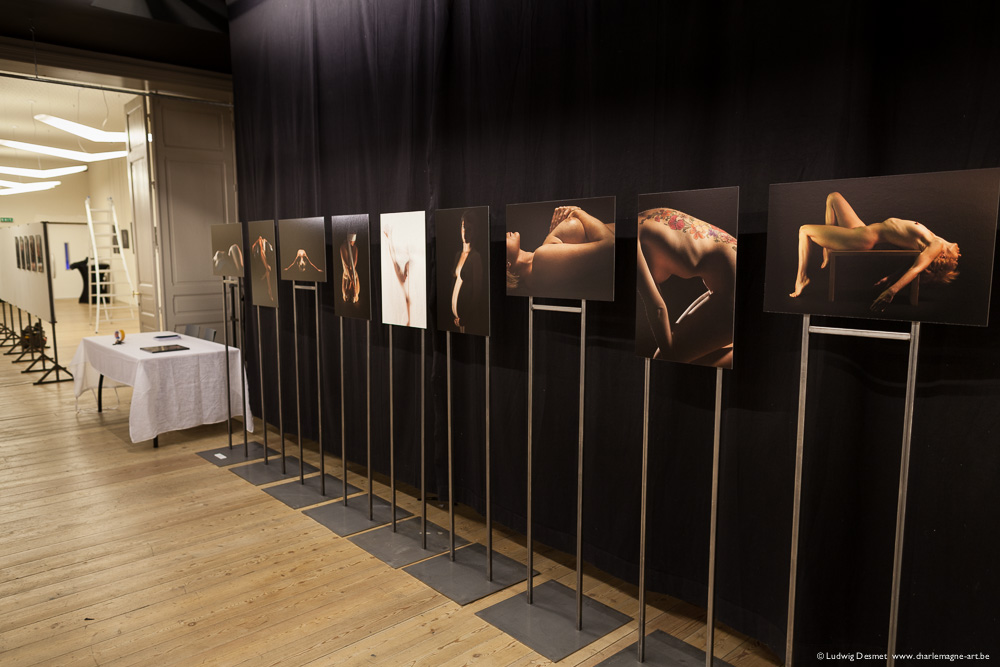
I’ll include a picture of my part of the exhibit, and I will probably post some more detailed ‘making of’ articles on the different shoots I did for this project.

For all those interested in posing nude, I’m rather sure that I will continue this project, so please do contact me if you feel like taking part in this.

thank you,

Ludwig

LudwigDesmet-portfolio-4697

Nude (In)cognito – portfolio exhibit day

Personal Pictures, projects

Hi there,

today was an important day for my photography career.

I had to present my work Nude (In)cognito to the jury for final evaluation.

I’m still impressed with the arguments they brought, severe, focusing on details, questioning the approach, etc. …

I hope I will finally get the official degree of photographer next thursday – proclamation day.

Tomorrow the exhibit is open for everyone, I would be happy to welcome you all to see my work, and that of my fellow students. There’s really good work to be seen.

Adress: CC Meulestede, Meulesteedsesteenweg 515, Gent.

as an appetizer, one of the images I selected for the book. (not for the exhibit, those images remain secret till after the exhibit)

Ludwig Desmet portfolio-5822

see you soon,

Ludwig

Sensor cleaning

photo gear, Tips and Tricks

I’ve had my camera’s about 2 years/3 years now, and I never had the nerve to clean the sensor. I have always been afraid something might happen to the sensor surface while cleaning it. Till now.

Some weeks ago I went to a local shop buying the necessary equipment.

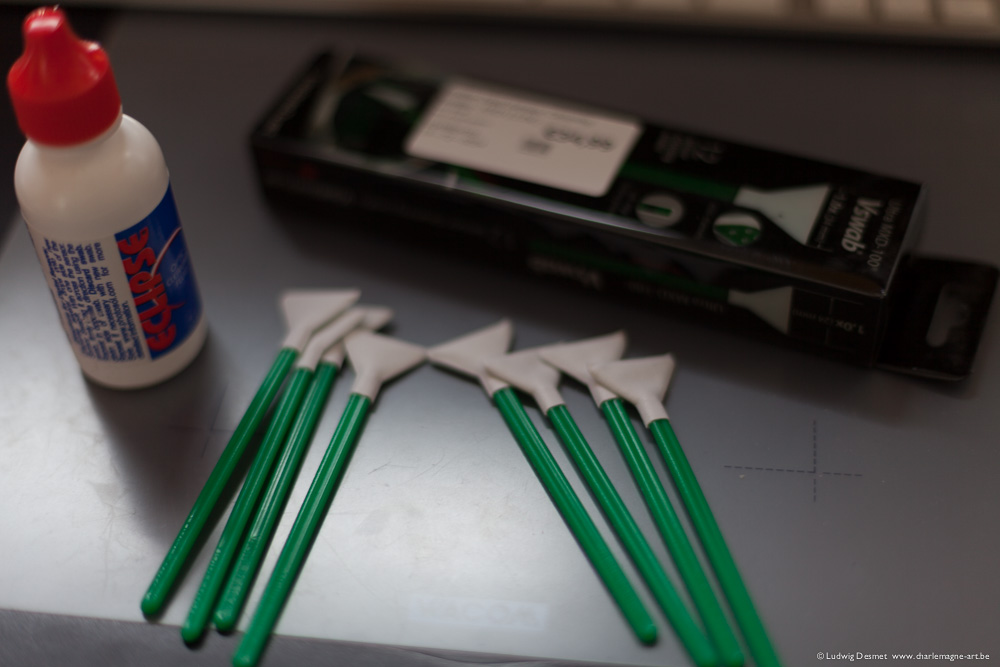
I received a bottle of Eclipse, optical cleaning fluid (www.photosol.com) and a box of Vswab Ultra MXD-100 from VisibleDust (12 pcs). Attention, you should always get the right swabs for your size of sensor. Full frame, aps-c x1.6 or aps-c x1.5 or aps-c x1.3, depending on your type of reflex camera. The bottle is good for at least a hundred sensor wipes, the box of swabs will be quickly gone, as I discovered quite soon. The swabs are individually packed in plastic foil, and should only be unpacked just before use. (the image below is after cleaning 2 sensors)

I’m not sure it’s the best tools around, but it’s the stuff they recommend. Since I have no experience with other makes, I can’t judge. One remark, it might be a good idea to use one of those static brushes, to wipe of loose dirt first, but I don’t have one, so I couldn’t use it.

Ludwig_desmet-sensorclean-4583

What I could judge, is how dirty my sensors were before cleaning.

The best thing to do to reveal dust on your sensor, is photographing an even surface (or a grey cloudy sky) and make sure you have your lens off focus (only possible in manual focus mode) dial in your smallest possible aperture value, and adapt shutter speed to have a slightly overexposed image. It should look something like this:

(ALL IMAGES CLICKABLE FOR BIGGER VIEW)

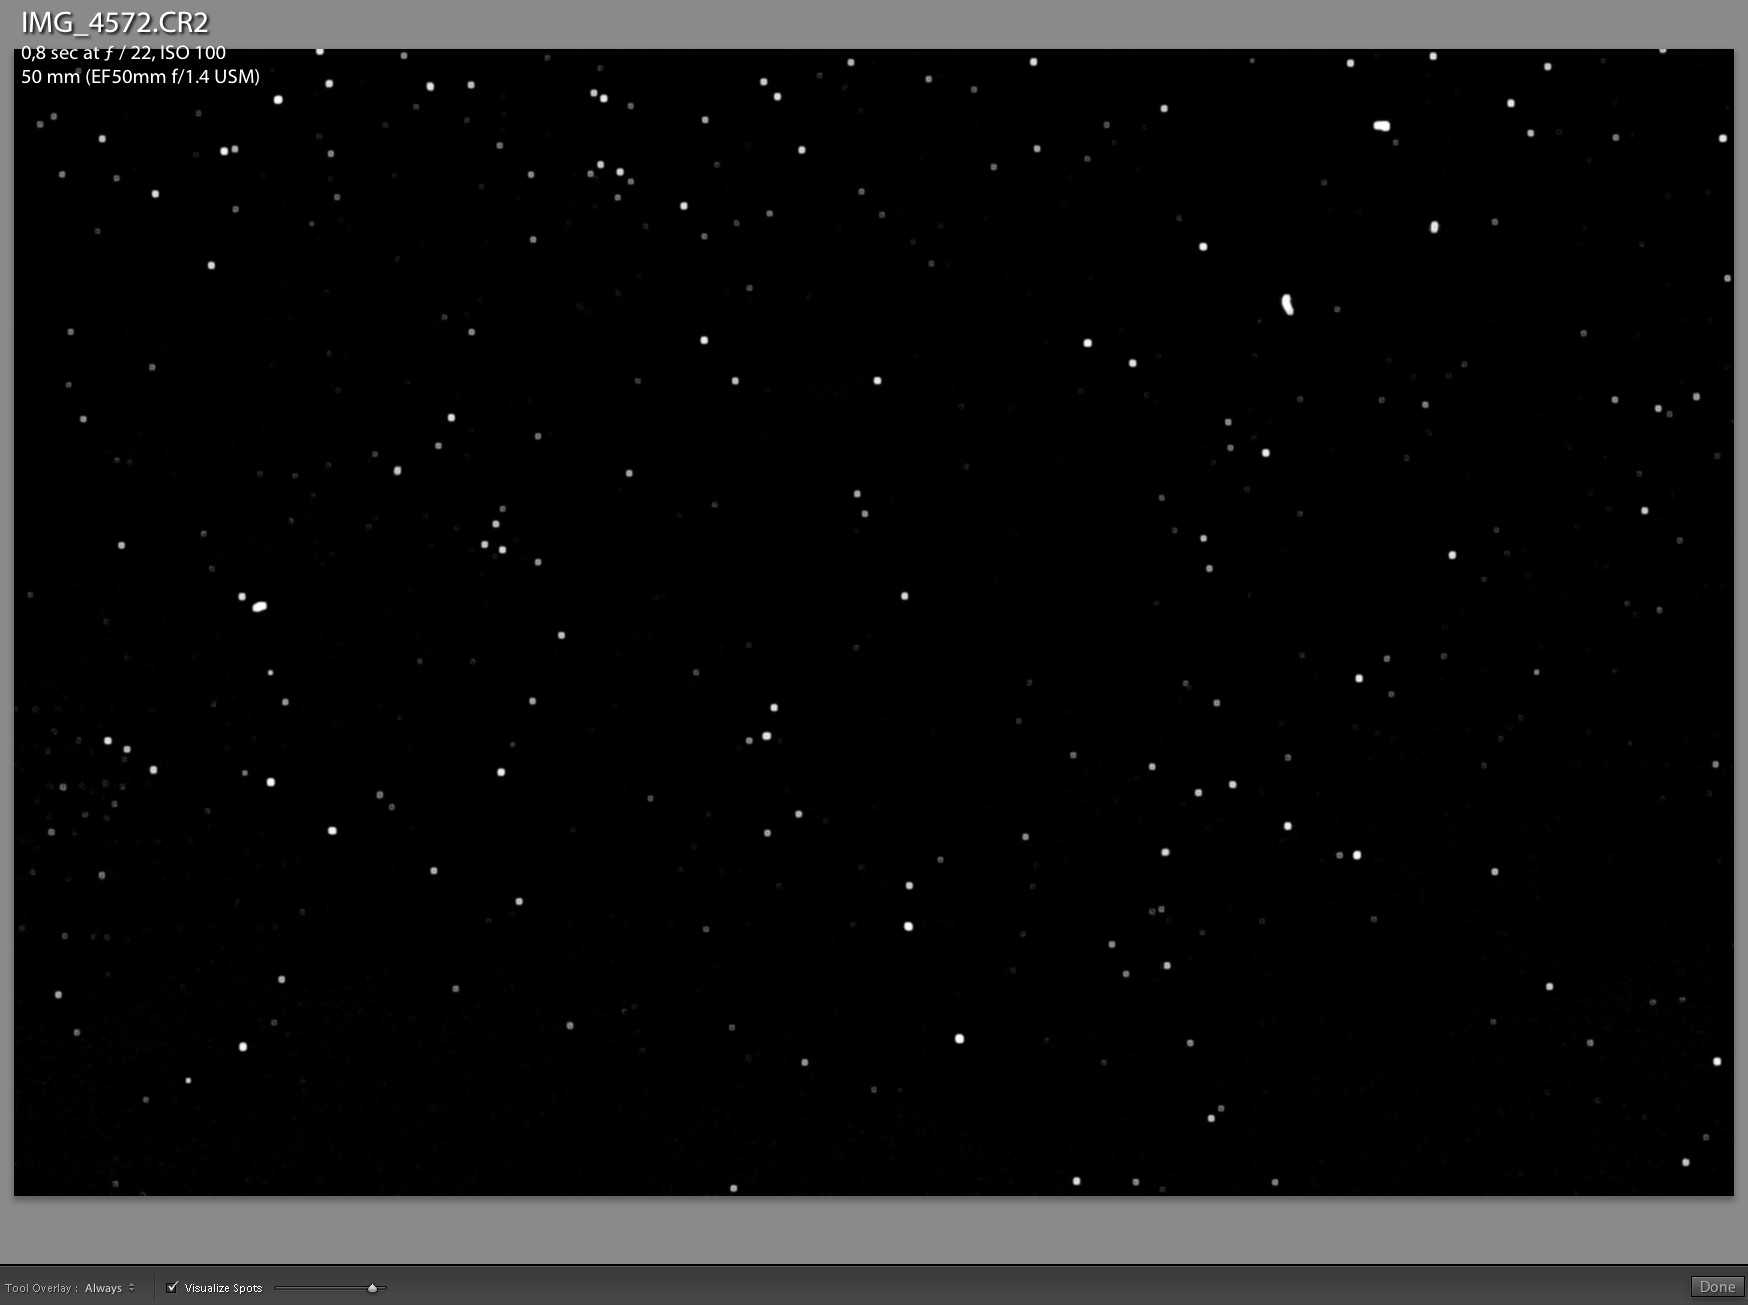
Ludwig_desmet-sensorclean-4572

this is an image of an overcast grey cloudy sky, f22 – 0,5 sec at ISO 100.

In Adobe lightroom 5, you can easily judge on how much dust you’ve gathered on your sensor by selecting the spot removal tool, and then checking the box visualizing spots just below the image. this turns your image into a black and white image, with all dust visible. (depending on the position of the visualization slider, you’ll see even the smallest dust spot)

Screen Shot 2014-01-06 at 10.54.33

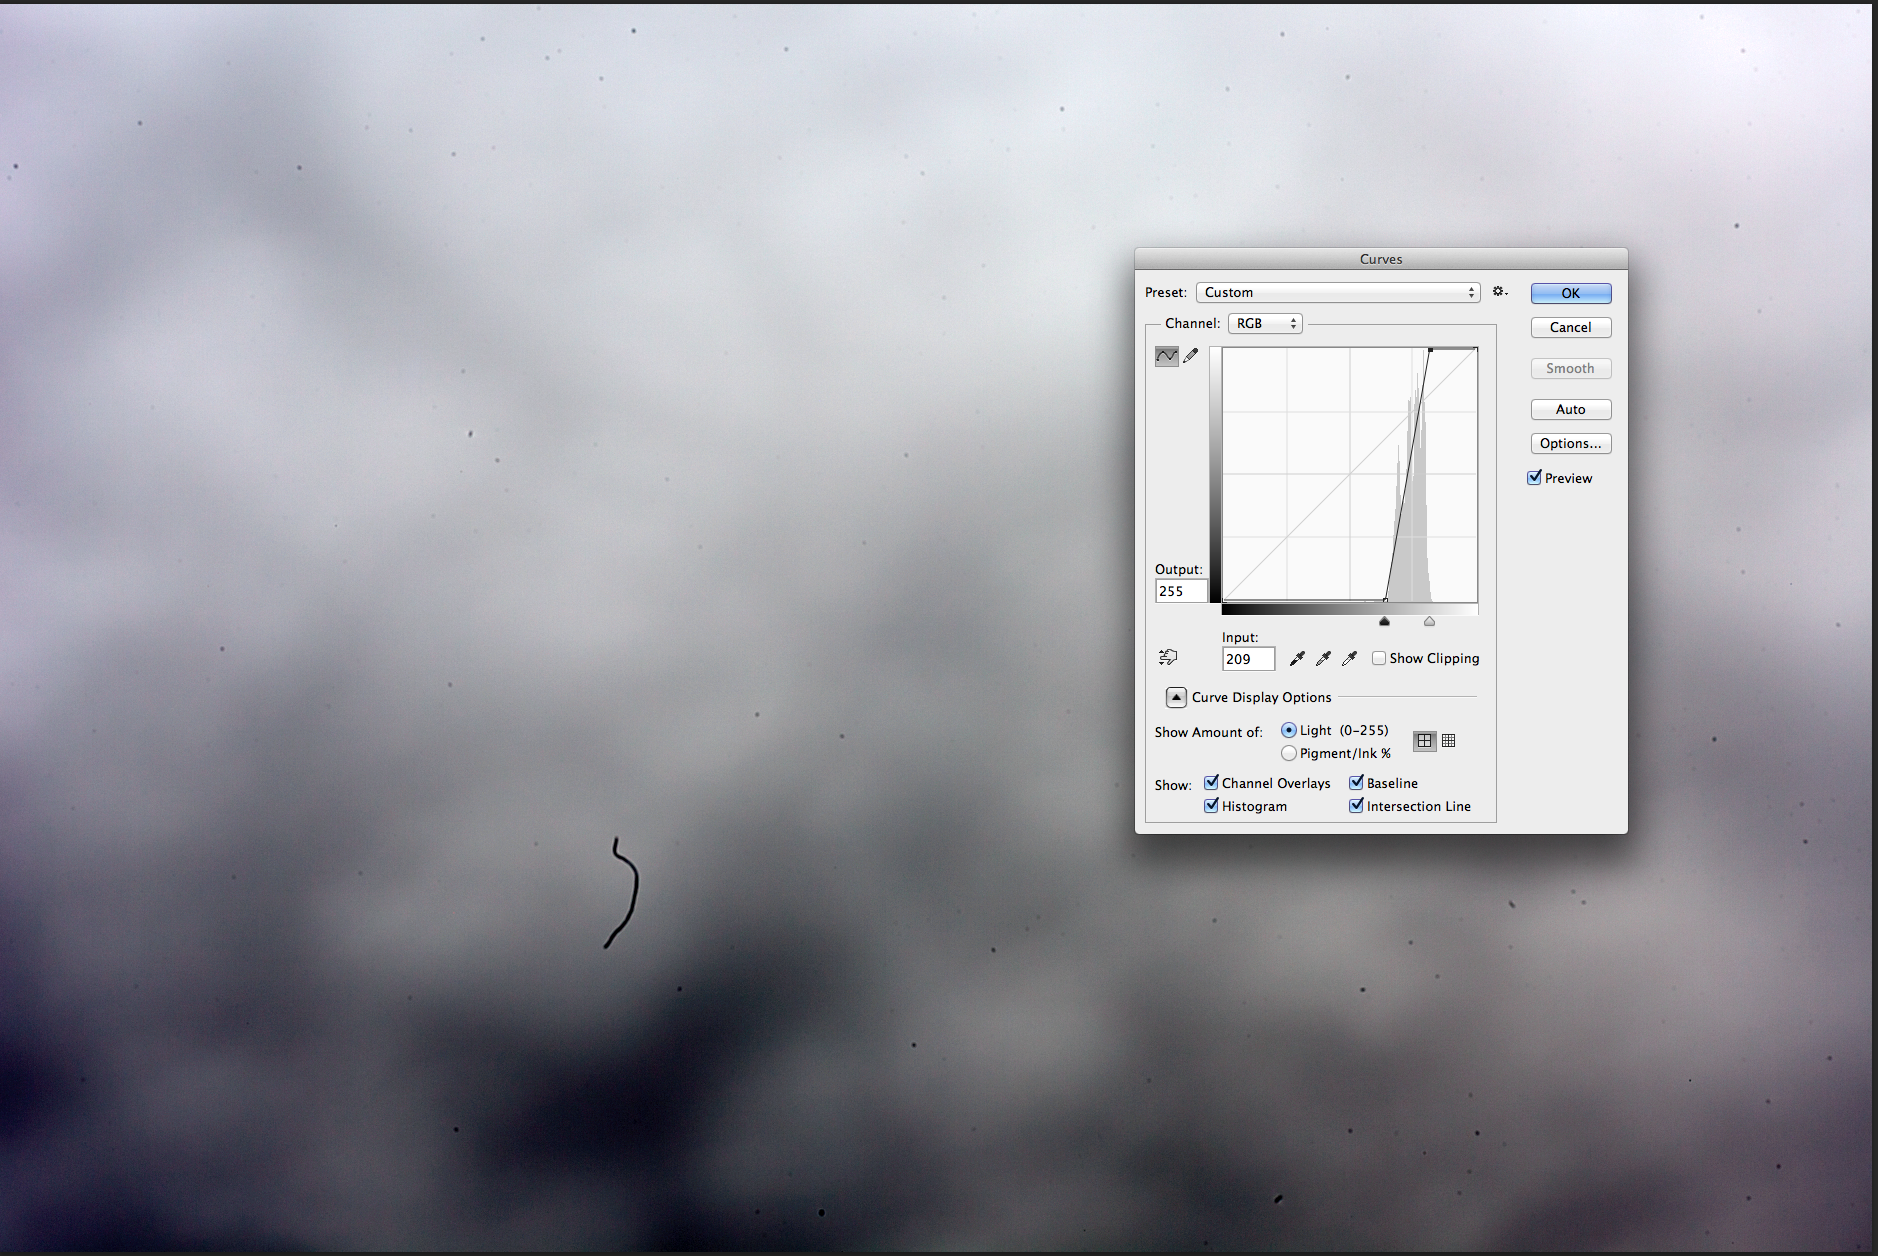
For those not working in Adobe Lightroom, in photoshop, you can similarly visualize the dust spots by putting a curve on your image, and putting the white and black point just left and right of your histogram. Since you have a low contrast image, your histogram should be rather small.

This is the first image of the other camera, with the above explained curve applied:

Screen Shot 2014-01-06 at 11.16.04

So these definitely need cleaning.

How to proceed? (this is for Canon 5D II, but it should be fairly similar on any other system)

1. make sure your battery is fully charged.

2. Get your lens of of the camera

3. find the menu item that says sensor cleaning -> manual cleaning

4. the camera warns you that the sensor will be exposed for manual cleaning.

5. Make sure you work in a clean environment, and have everything ready (enough light to clearly see where you put your swab down, cleaning fluid, sensor cleaning swab, …)

6. push the ok button on your camera. The mirror locks in the up position, the shutter opens. This remains so until you turn off your camera. If your battery is well charged, that should give you plenty of time to clean your sensor.

7. put some drops of cleaning fluid onto the first swab, insert it gently into your camera house, and put it down on one short side of your sensor. If you bought the right set of swabs, it should neatly fit the width of your sensor.

8. gently sweep across the sensor till you reach the other end, flip it over and sweep back. (in this way, you use both sides of the swab, without the risk of re-disposing any dust from the first used side. It took a while till I found out that that is probably the best way to do it. you’ll see in the different stage images.)

9. gently lift the swab away from the sensor (when you have reached the starting point of course)

10. dispose the used swab, no use in re-using the swabs, they are full of sticky dirt now.

11. switch of the camera, this should close the shutter and lower the mirror

12. put a lens on, and check the results. Repeat if necessary.

I used four swabs per camera, that’s because I’m a total beginner in sensor cleaning. I feel comfortable now to say that 3, maybe even 2 swabs should do to clean a sensor.

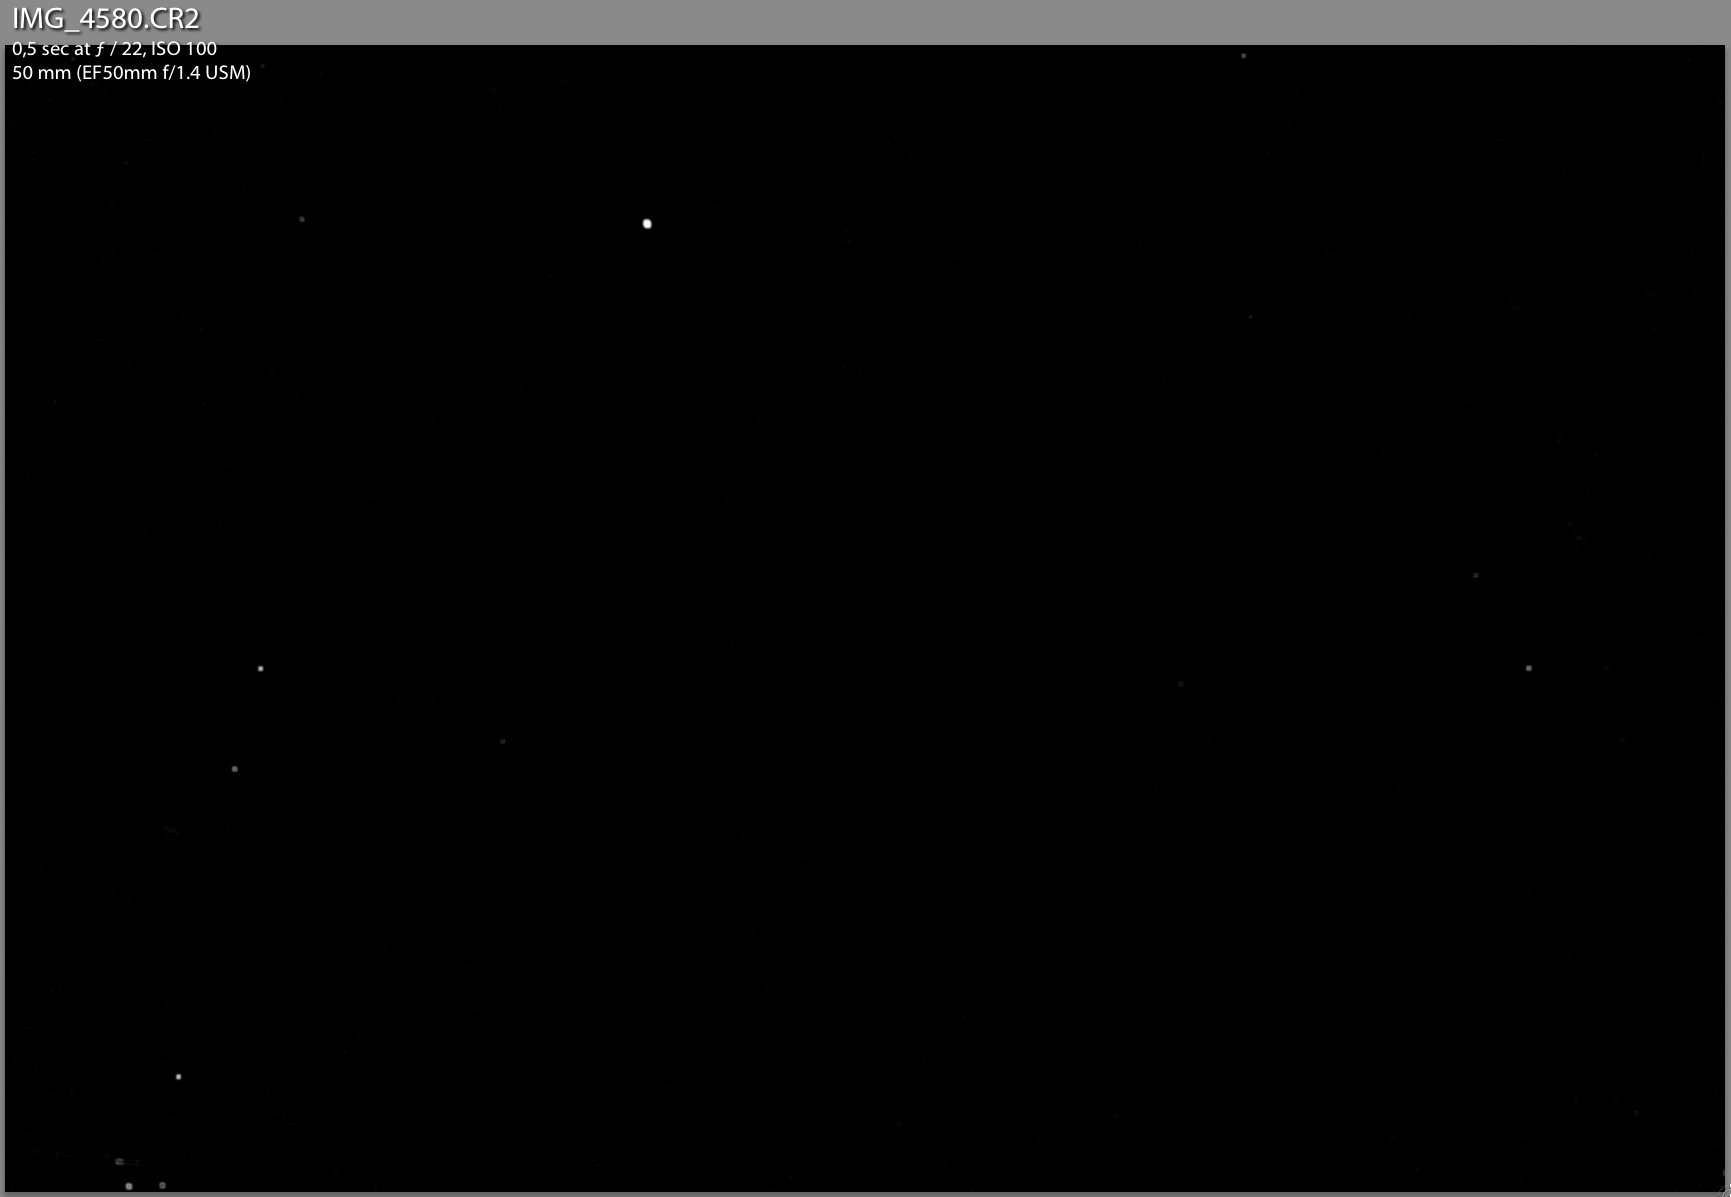
result after cleaning: You’ll still notice some dirt spots, but I can live with that for now (it was late yesterday evening, and I had to eat 😉 )

Also have I set the visualize threshold high, so you can see even the smallest spot of dust.

Screen Shot 2014-01-06 at 11.07.33

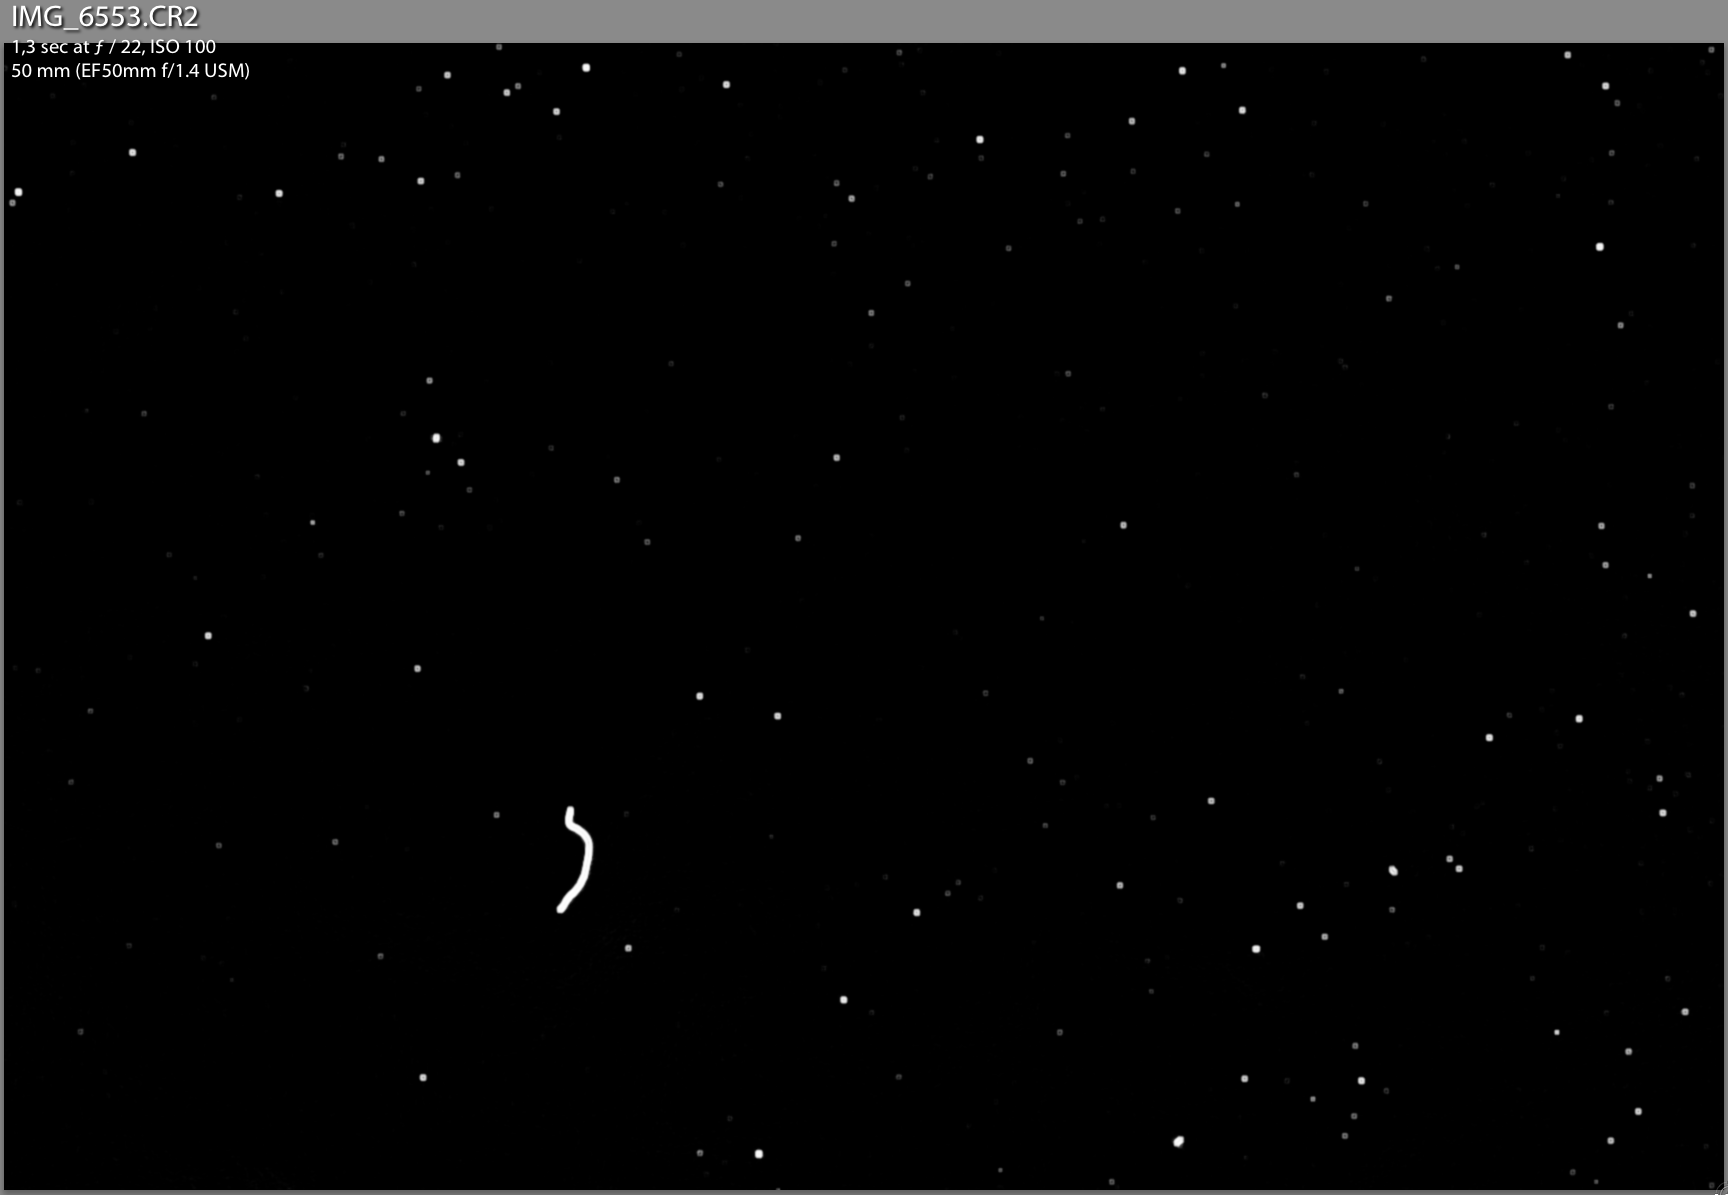
Camera 2, before cleaning:

Screen Shot 2014-01-06 at 11.09.22

And after cleaning:

Screen Shot 2014-01-06 at 11.09.37

Not perfect, but for a first attempt very much ok with me.

see you soon, I’ll be posting another ‘at the Mansion’ shoot very shortly,

take care

Ludwig

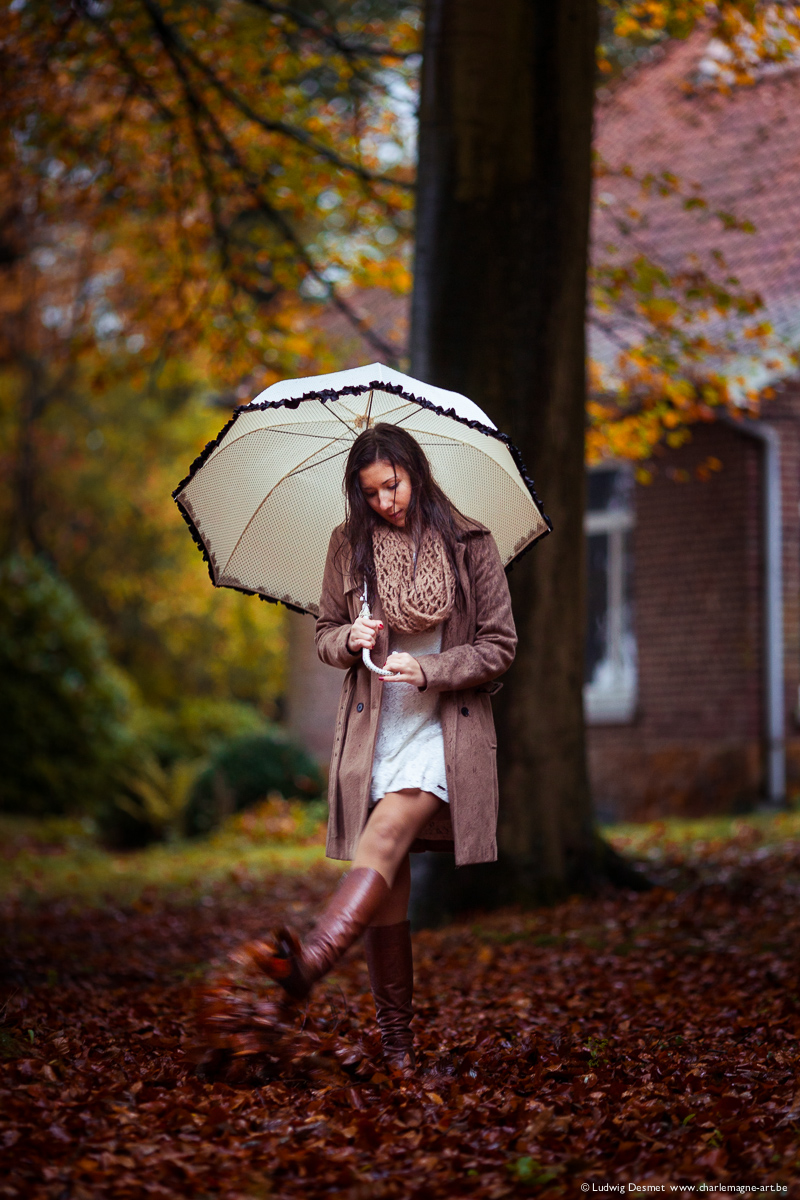
Justine autumn shoot

beauty, Personal Pictures

Hello there,

I had worked with Justine before, you’ve been able to see these images from my shoot with Justine at the Mansion here.

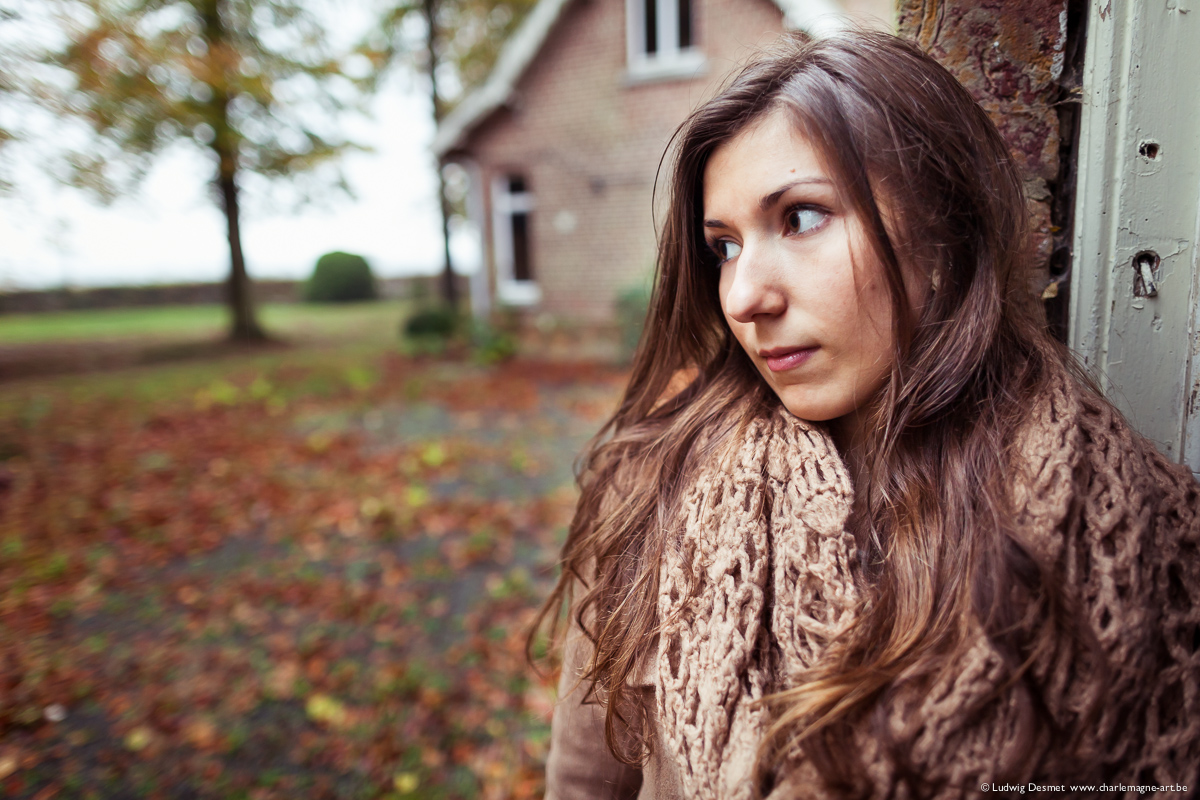
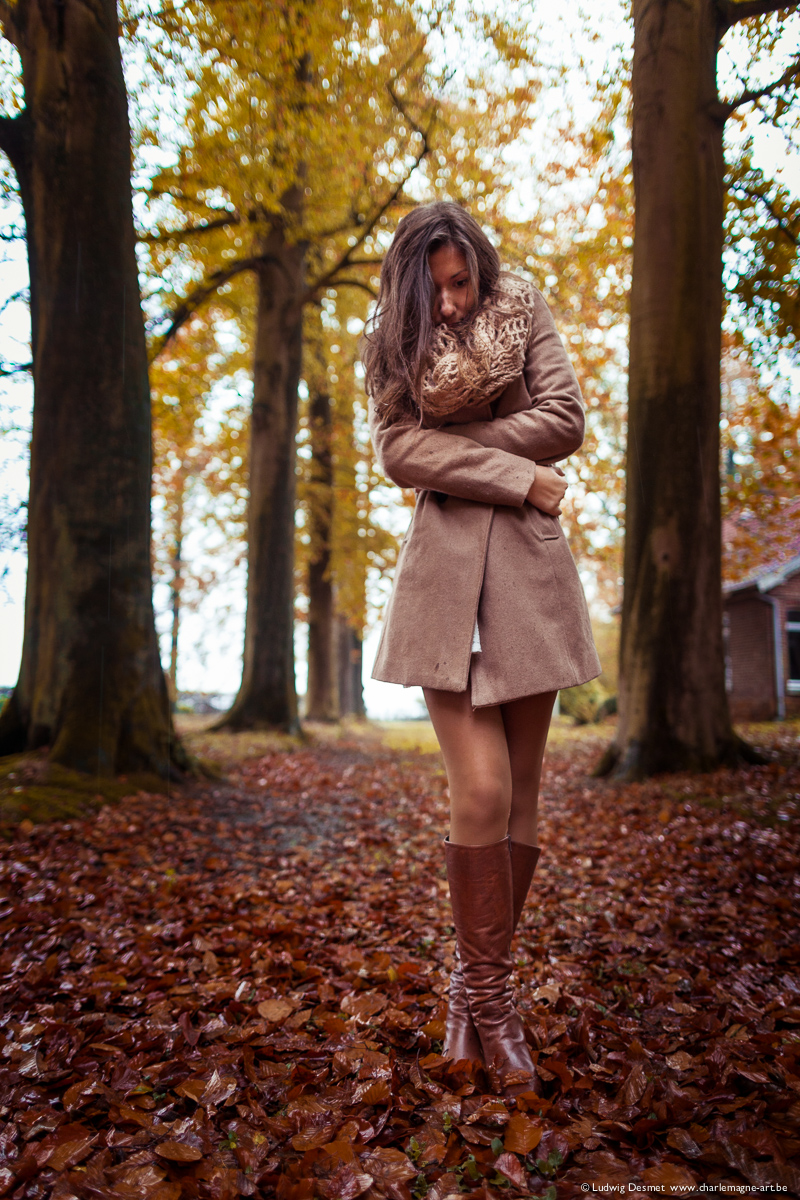
Justine is from Ronse, so we settled a second shooting moment some weeks later. We wanted to take profit from the beautiful autumn colors that day.

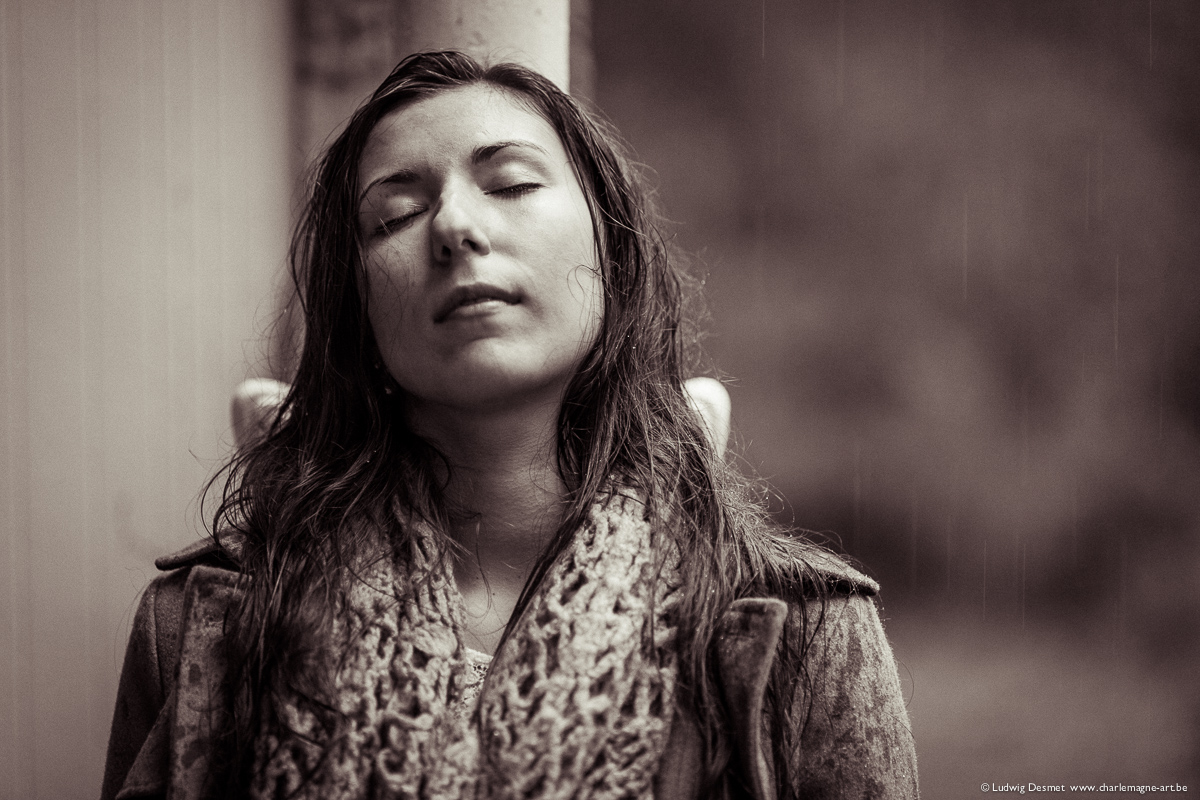
Unfortunately it rained all evening. Days are short already, we met at 16:00 h and a cloudy cover made for even darker shooting conditions. High ISO time it means. All shots between ISO 800 and ISO 1600.

Some images are developed in an even darker style, just to emphasize on the vulnerability of my model of the day.

Justine is really easy to work with. She’s not afraid of rain or cold, and is happy to be able to be part of it.

Thank you Justine.

ludwig_desmet-justine-

ludwig_desmet-justine-4199

ludwig_desmet-justine-4209

ludwig_desmet-justine-4225

ludwig_desmet-justine-4246

ludwig_desmet-justine-4272

ludwig_desmet-justine-4292

ludwig_desmet-justine-4300

ludwig_desmet-justine-4352

Hope you like them, see you back soon.

Ludwig

My Nude (In)cognito project – NSFW

exhibition, Personal Pictures, projects, Uncategorized

hi,

My project nude (In)cognito is running to an end now. In about a month we will have a group exhibition with all portfolio projects from end module students in the photography classes at KISP.

I have photographed 11 women in a studio session, and there’s one to come. Overall I’m really happy with the outcome. I have had women from the age of 22 and women aged +50.

I have been charmed with their motivations and their fears, I have listened carefully to what they thought about posing nude, how they feel about showing their body to the outside world, and how the personal situation is playing a big role in their decision to take part in the project or not to do it. And I am even more convinced than before that we do not live in a free society. I would like to thank all the persons that have responded to my request. It has been quite a gift to receive so many reactions, I’m sure this project will not see its immediate end after the exhibit. There’s so many people out there to be photographed.

ludwig_desmet-4954

The date for the exhibit is set at sunday Jan 19th, and the exhibit will take part at CC Meulestede in Ghent.

I yet have to decide on the presentation of the images, the video and the book. I will certainly make a book for the exhibit to be able to show some more work. I will most certainly not be able to show enough pictures to have every model represented, so a book will give me the opportunity to have all ‘models’ presented at the exhibit.

Photographing sculptures

assignments, Personal Pictures

Hi,

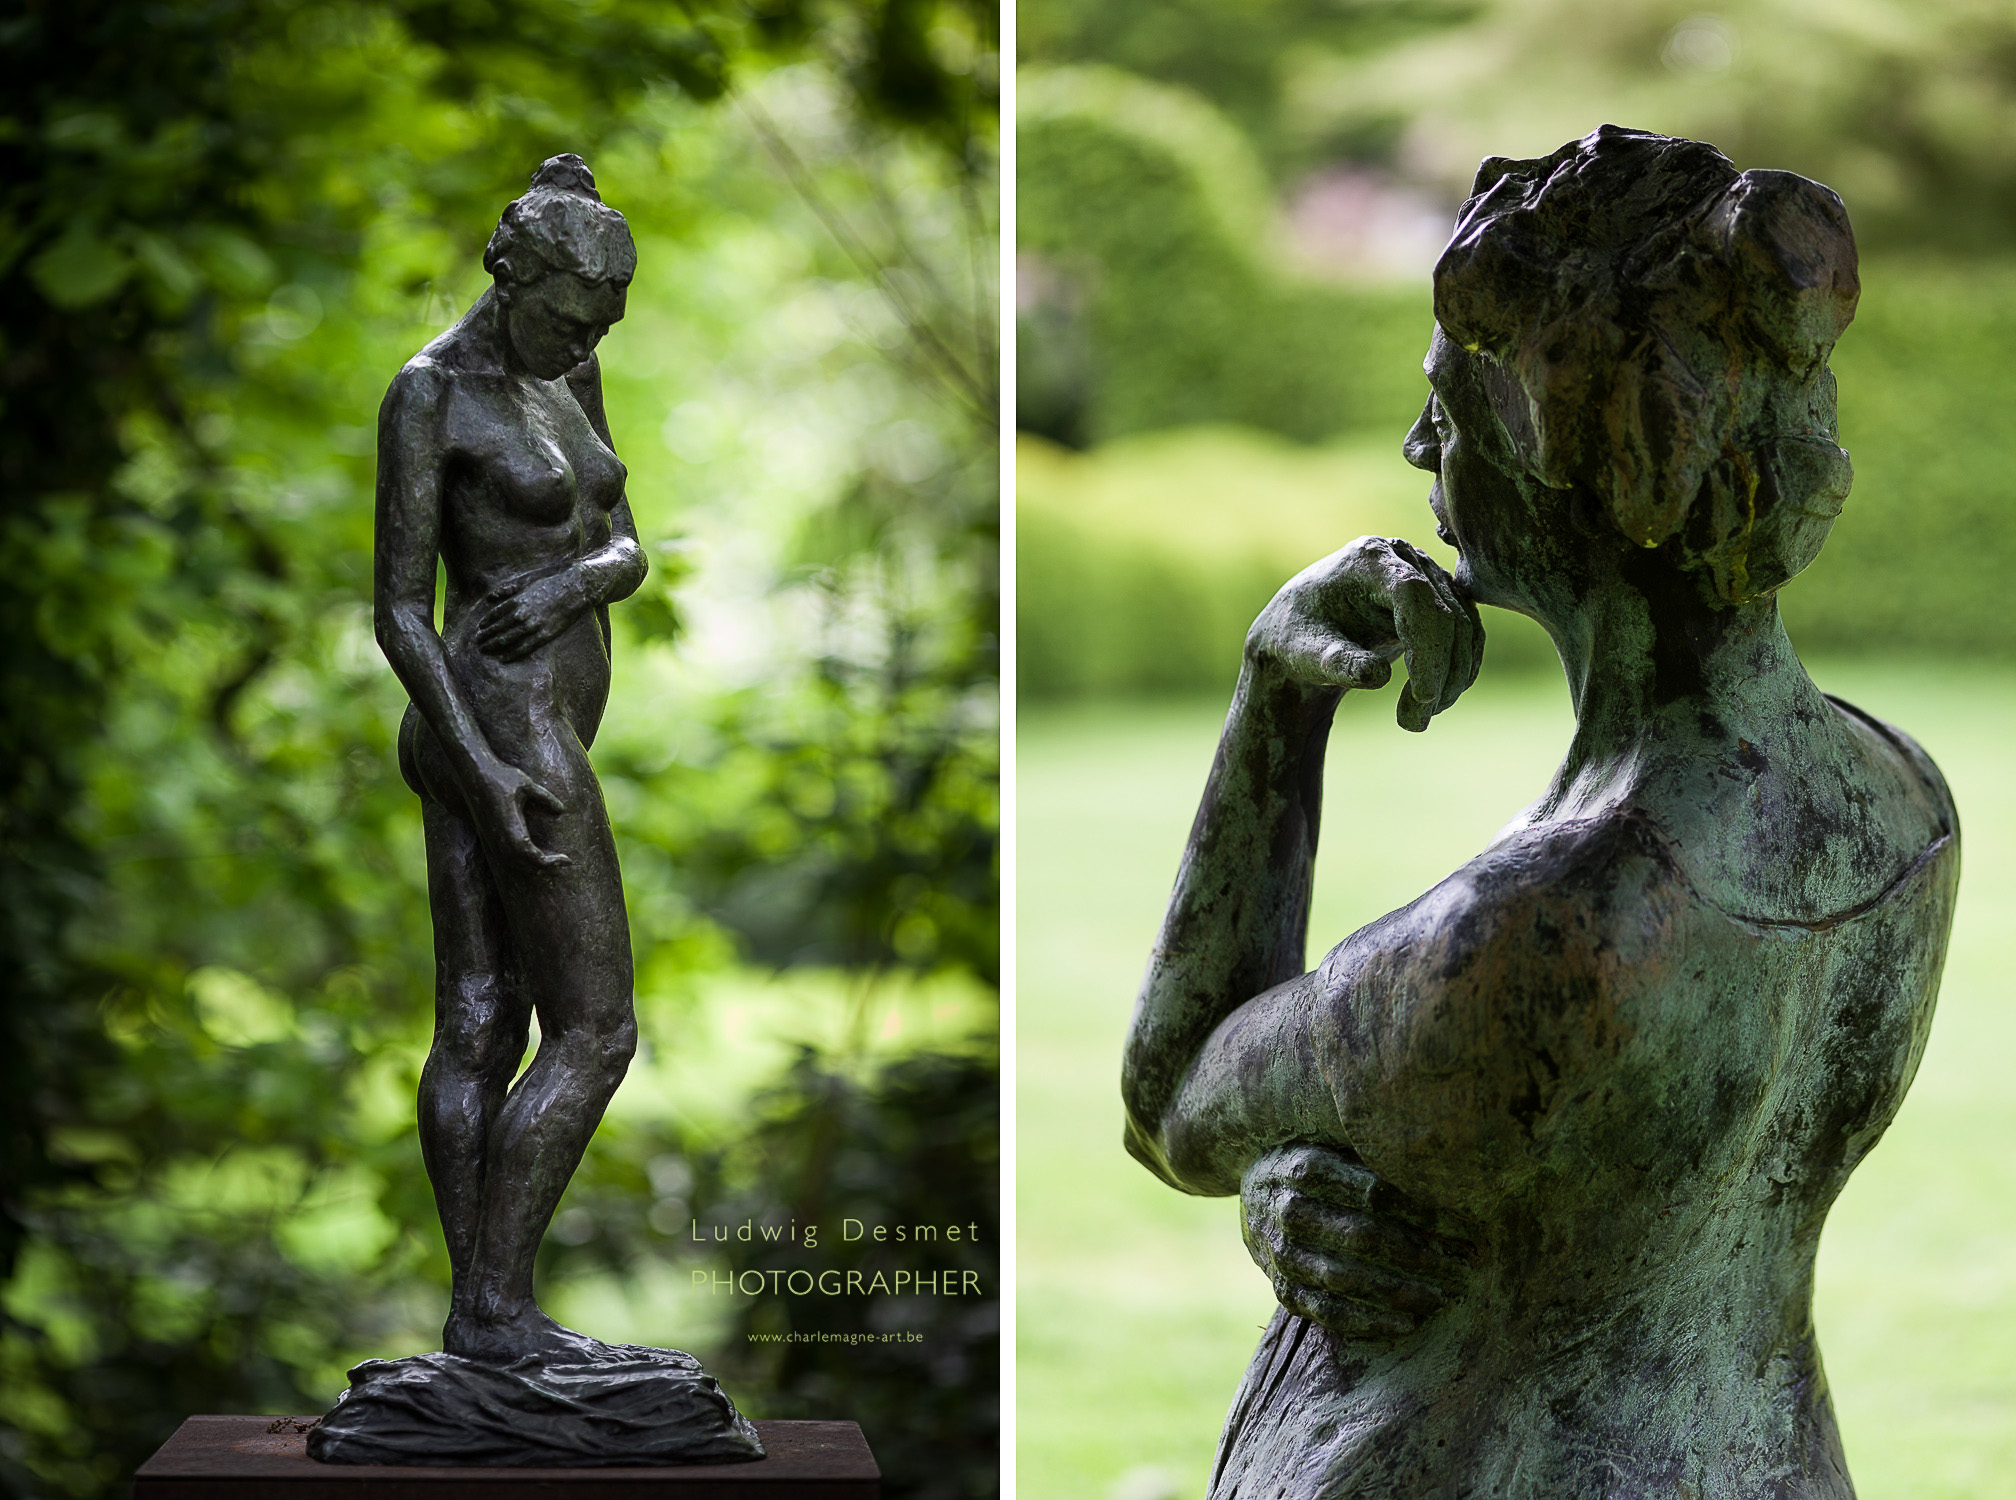
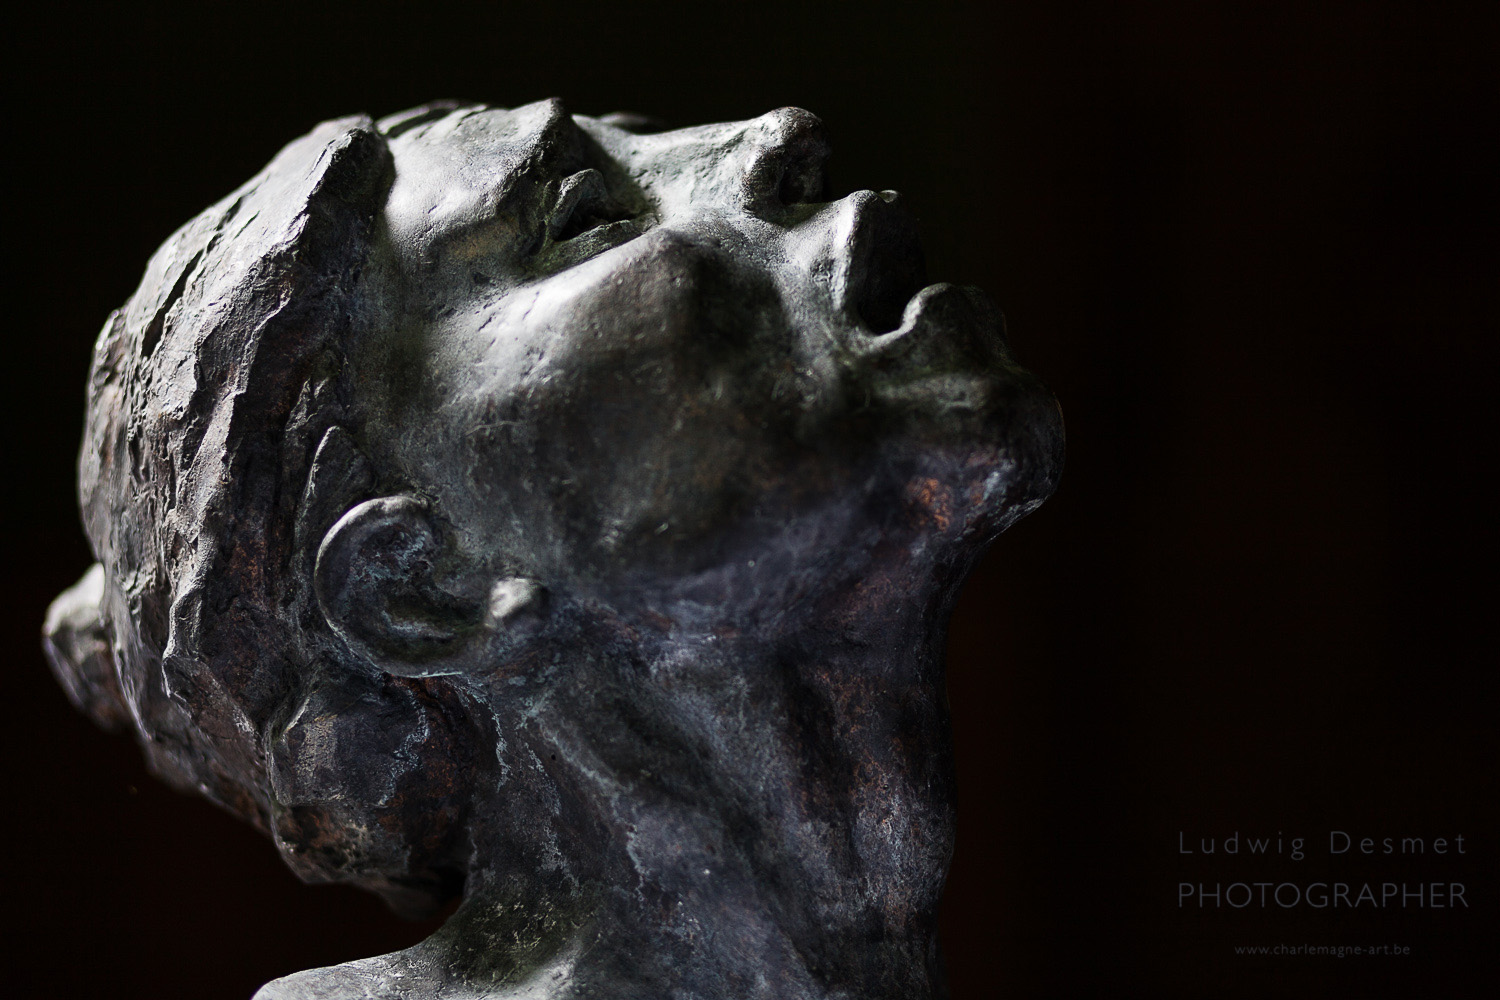
last summer I was asked by a belgian sculptor, to photograph some of her works. She’s working on ceramics and sculpting mainly. you can find her new site here: Sylvia Hens (the site is currently being rebuilt)

She had especially requested to work with existing light, and to try to emphasize on the emotional expression of her works, I was not sure I understood her completely, but she assisted during the shoot, and she was very happy with the results we achieved together.

So all the images are taken with available light, sometimes with the aid of a small reflector. The reflector could even be a simple sheet of white paper.

All exept the first two images were taken inside the lovely house of the artist, with little light. I made very good use of my tripod to prevent camera shake.

I hope you like the images, make sure to check out the website of the artist.

Sylvia hens-1202

Sylvia hens-1305

Sylvia hens-1337

Sylvia hens-1365

Sylvia hens-1413

Sylvia hens-1431

Sylvia hens-1478

see you soon.

Ludwig

Natural Beauty at the Mansion – The book

beauty, Personal Pictures

Well, it’s finally here.

I’ve made a book to accompany my latest exhibit, to be able to show some more of my work, next to the 10 images on show.

Quite a bunch of people have signed in to reserve their copy, and today the pre-orders arrived by parcel service courier.

The book contains a selection of the best images from my series ‘natural beauty’, shoots done between oktober 2012 – september 2013.

It is a large square book (30x30cm), 66 pages, hard cover, premium lustre paper. The book has been composed in Lightroom, printed trough Blurb.com

It has a printed dust cover and features about 65 large images.

book natural beauty-comp

This is looking quite cool I think, my own work, published in a pile of books.

I’ll be happy to hand a copy to all the people who have been so kind of ordering one.

People who would like to do a back-order, can still order the book HERE, straight from the blurb.com book-store. If you order now, it will arrive soon enough for your christmas tree 😉

I’m quite busy now with my Nude (In)cognito project, but I prefer not to show anything before the actual presentation, which is on jan 18th.

I’ll make sure to update with some other nice images soon.

Come again.

thank you for reading

Ludwig

Justine at the Mansion

beauty, Personal Pictures

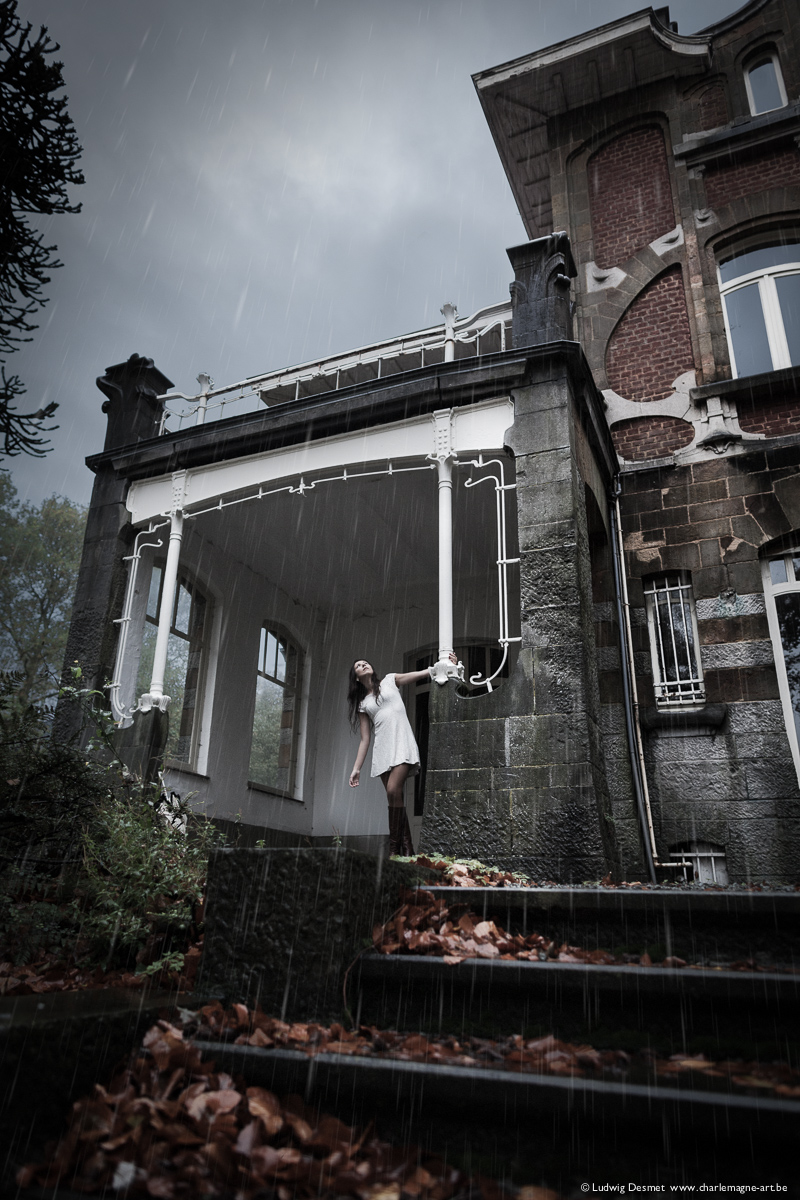
I met Justine a couple of weeks ago. She was keeping an eye on an artwork in a temporary exhibit walk in the city of Ronse. I asked her if she would like to be a model for my series ‘Natural beauty’ at the Mansion, and she was really enthusiast about the idea. She visited the exhibit at the Mansion a couple of days later, together with her mom. We fixed some shooting days soon after.

The Mansion is still my number one location for these shoots, it is beautiful, it has a lot of possibilities, nice light and what is new these latest weeks is that it gets furnished again, giving it a new feeling of life.

We had a very dark gray day making it extra difficult shooting inside. Wide open apertures and long shutter speeds.

All natural light. Canon 5D II and Canon 24 – 50 – 85 mm lenses.

Enjoy the images.

Ludwig_Desmet-Justine-3404

Ludwig_Desmet-Justine-3324

Ludwig_Desmet-Justine-3432

Ludwig_Desmet-Justine-3504

Ludwig_Desmet-Justine-3606

Ludwig_Desmet-Justine-5491

Ludwig_Desmet-Justine-5504

thank you for watching.

Soon to come, Justine autumn shoot

Black and White – publishing announcement

contests, Personal Pictures

This was in my mailbox today, actually I already forgot that I’ve sent in some images.

——————————————————

Congratulations! Your entry in the BLACK & WHITE Single Image Contest 2014 has been selected for a Single Image Award, which means that one (or more) of your images will be published in the Special Issue #101 of BLACK & WHITE magazine scheduled to arrive on newsstands mid-December. You can be confident your work stood out in a way that deserved this special attention. Once again, congratulations!


All of us at BLACK & WHITE Magazine

——————————————————

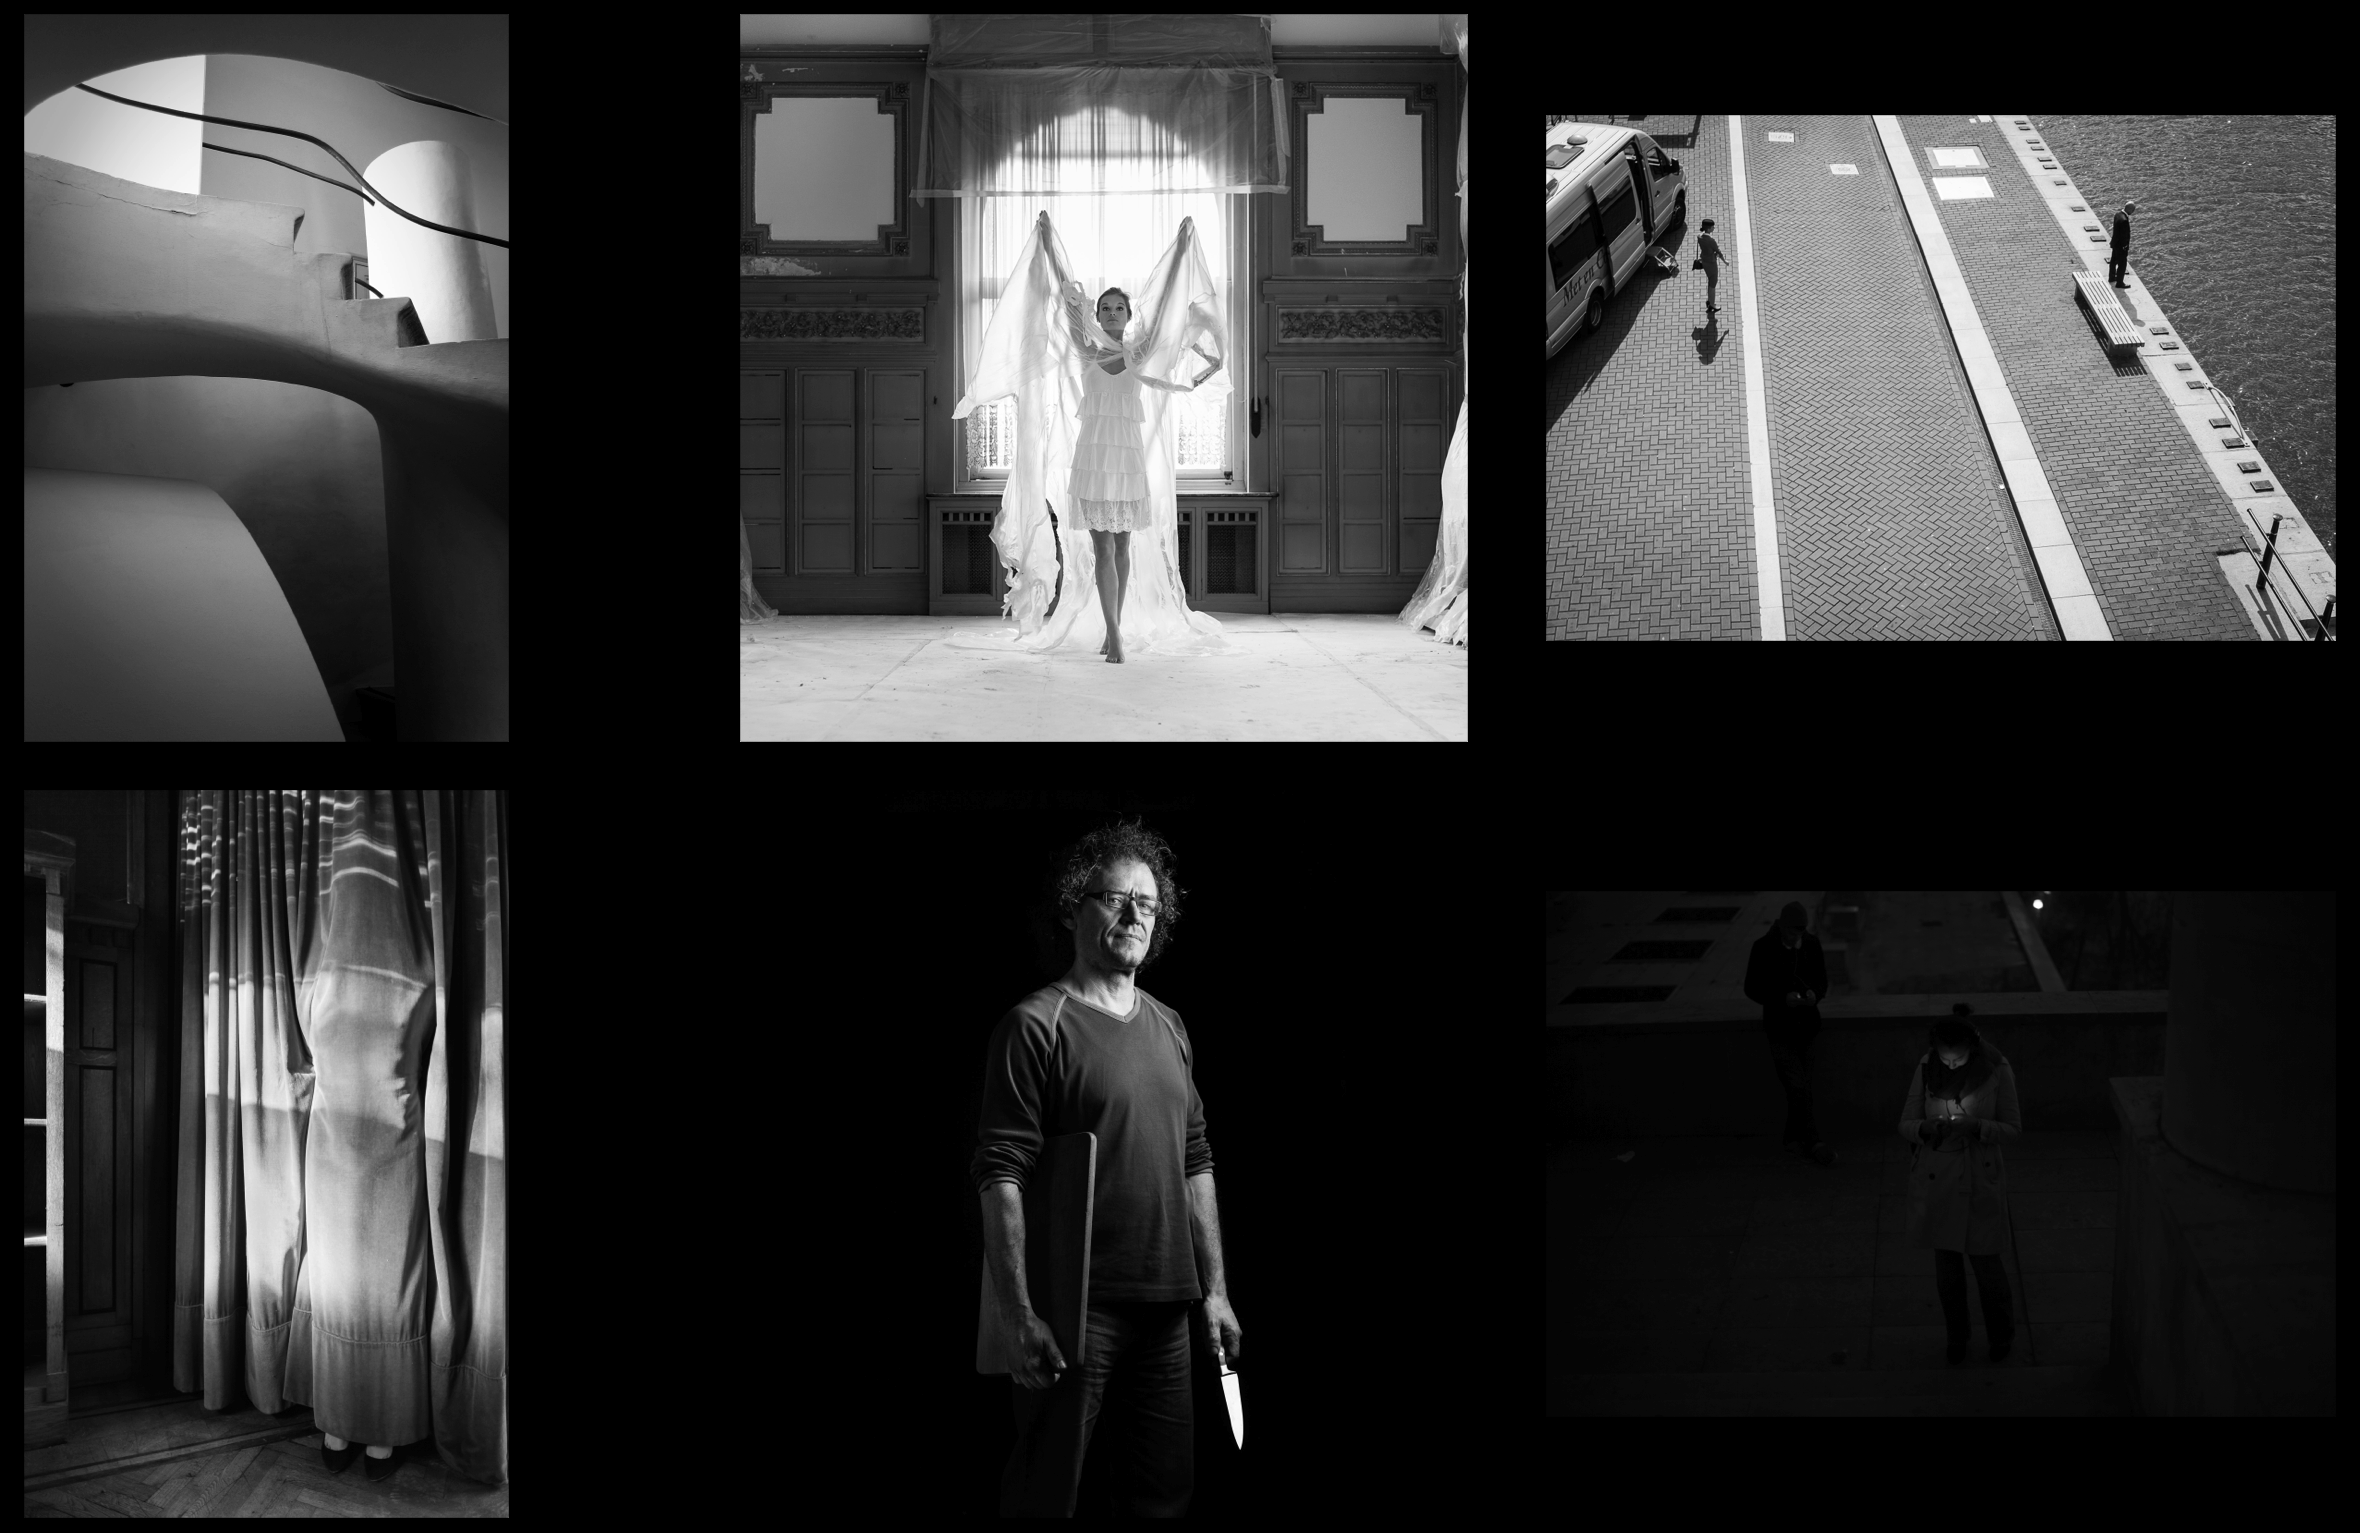
Now you can (as well as I, because they haven’t told me which image was selected) guess which image will be published:

Screen Shot 2013-11-09 at 16.49.48

from top left to Bottom right:

Casa Battlo, which won an award earlier in the french contest ‘Grand Prix de la decouverte 2012’

Eline Growing Wings, currently on display in the exhibit in Ronse

Dispute

Queen of sheba, which was earlier in the final selection for the contest ‘Skin – The Darkroom Gallery’

Cook, from the series of professions I started a while ago

Urgent message, an image from my short Paris visit, when I went to the official result presentation for the ‘Grand Prix de la decouverte 2012’.

I’ll bring you more news as soon as I get some.

everybody at the newsstand mid december 😉

best,

Ludwig