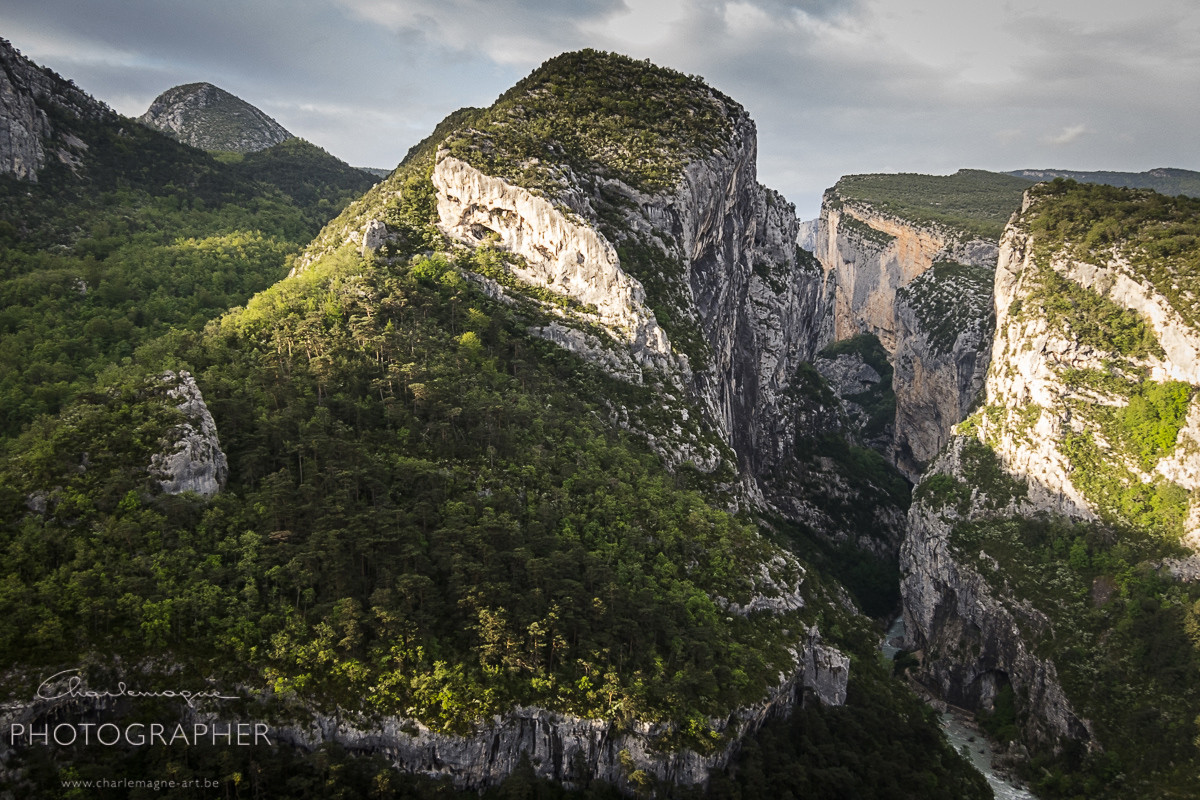
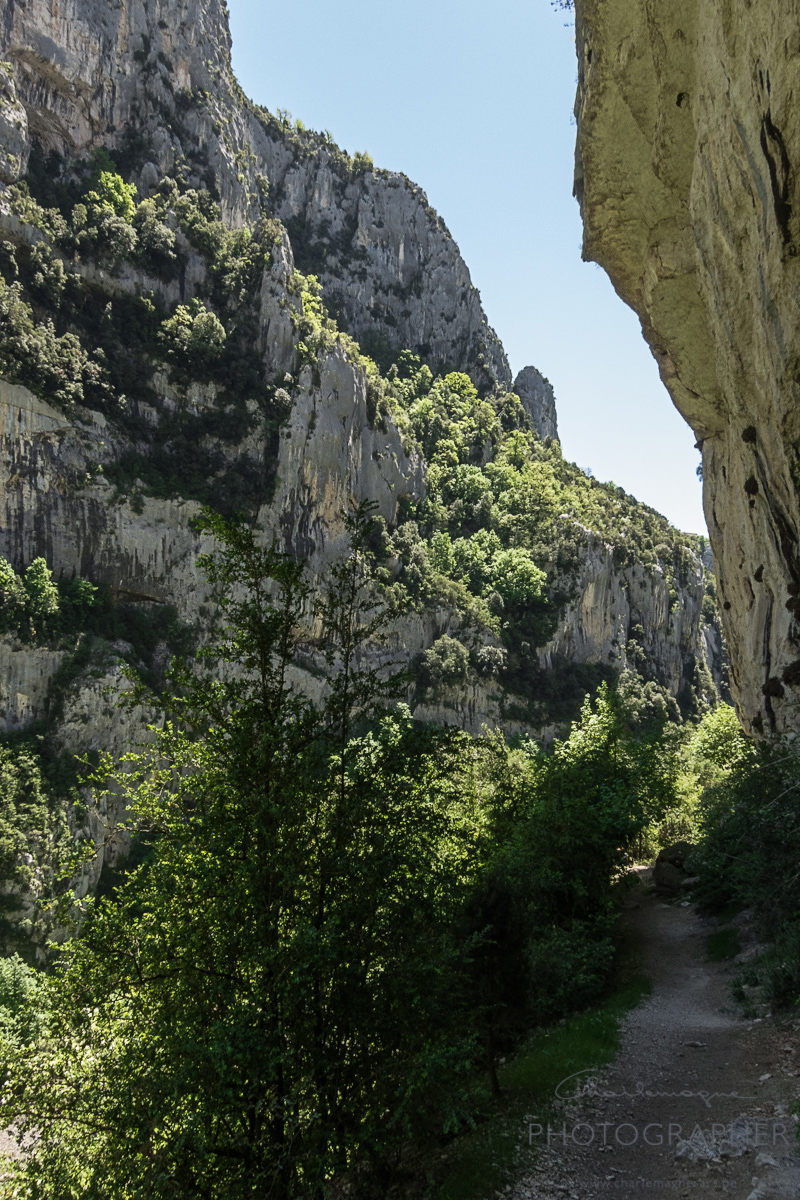
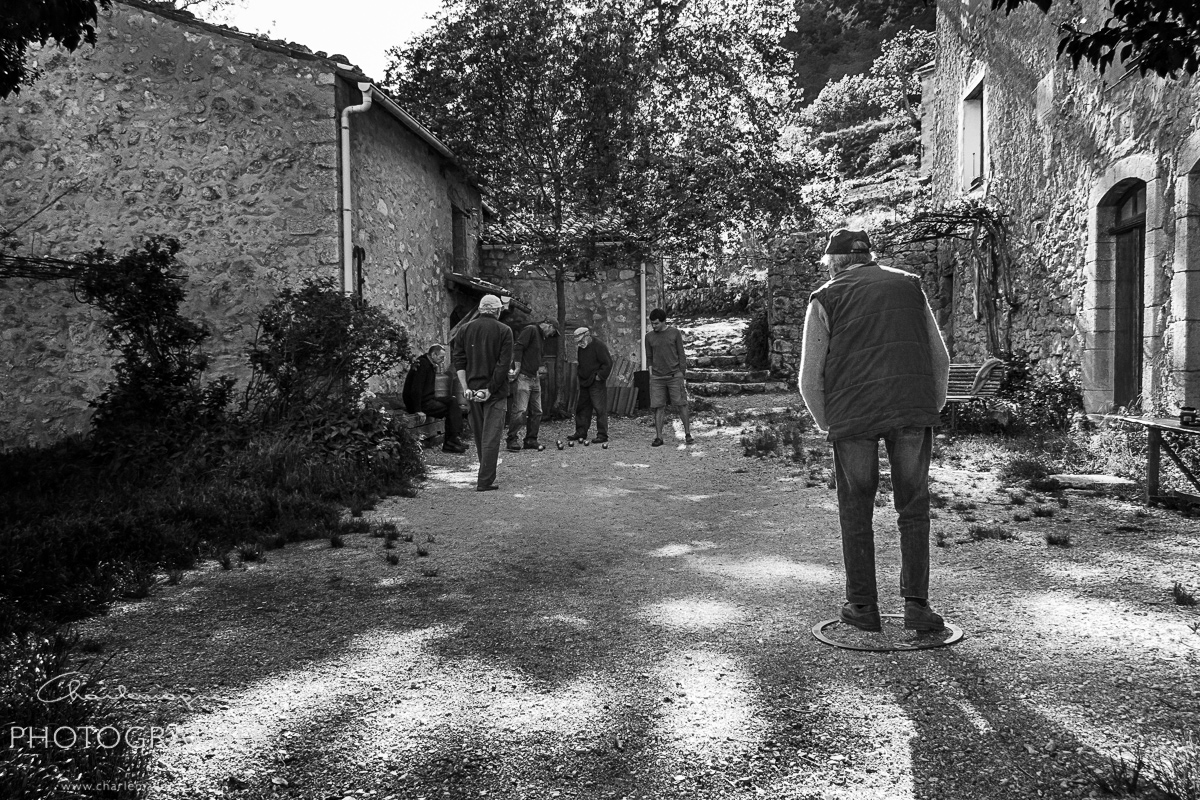
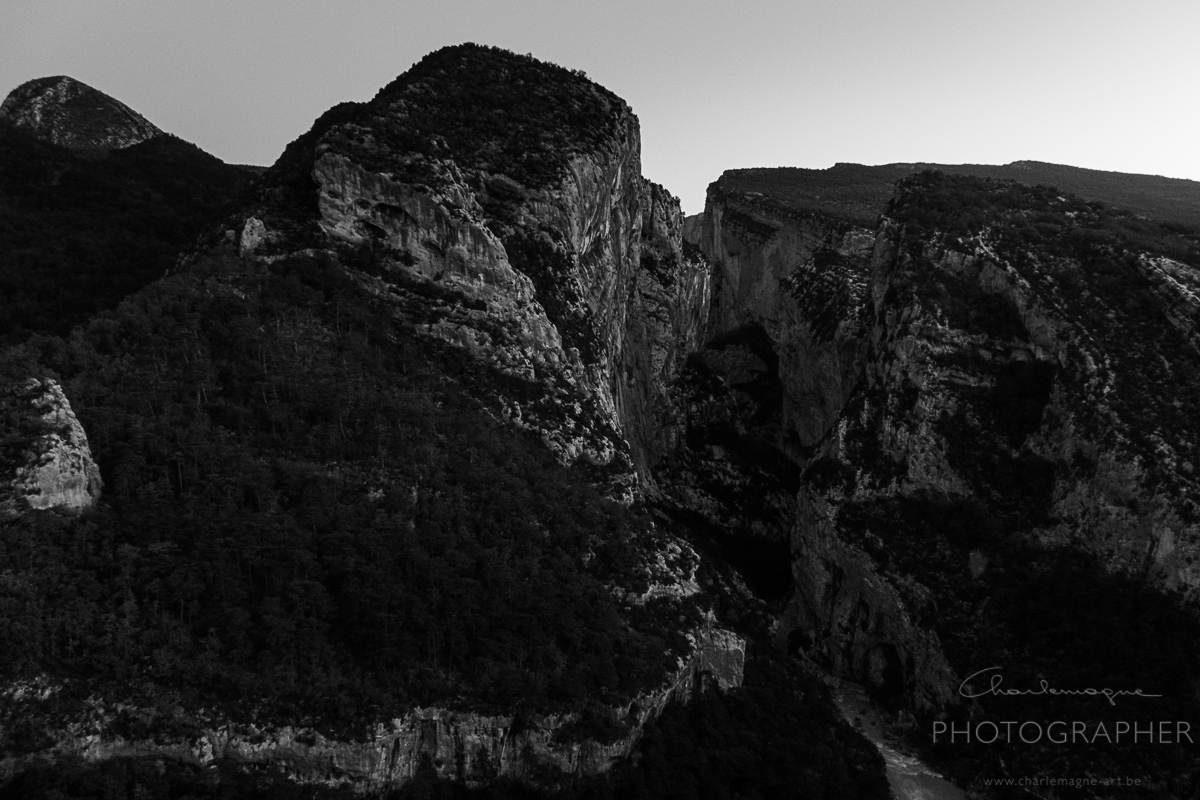
shooting the Verdon with the Canon Powershot S95

landscapes, Personal Pictures, photo gear

Hello there,

I was on a men-only weekend with my oldest son a couple of weeks ago.

We had a lot of fun together, rafting, mountain hiking, drinking beer (at least me), etc. …

I didn’t want to focus on photography that weekend, because of the father and son thing so I only took my compact camera with me. The Canon Powershot S95.

I have used it on weekends out before, but never in a landscape environment. see my post Barcelona Highlights

It is a good compact, but probably not the best you can get.

I don’t want to go into details about this, just put the pros and cons next to each other, compared to my reflex camera.

Compared to the Canon 5D markII and some proper lenses, these are the most relevant cons:

the lens lacks sharpness in the entire zoom range

the sensor has a much smaller dynamic range (whites blowing out or blacks going dead)

it has a much slower reaction time (it’s not a reflex, so there’s a short time lag between pressing the shutter and the picture taken.

it has slower and not so performant AutoFocus (although the AF from the 5D mark II is not top either)

The colors tend to get over-saturated.

these are the pros:

its lightweight compared to any reflex camera 195g vs. 850g without lens for the 5D II

it fits in almost any pocket

it is almost stealth-like compared to a reflex camera, so it doesn’t bother people when it appears (not so important for landscape, but important for street photography)

its silent (except maybe from the lens ring clicks, which are quite noisy)

A pro for this compact, vs some other compacts:

it has all exposure modes, including full manual (P, AV, TV, M), so you can play with the settings as you would with a reflex camera, you can even choose to set the focus manually.

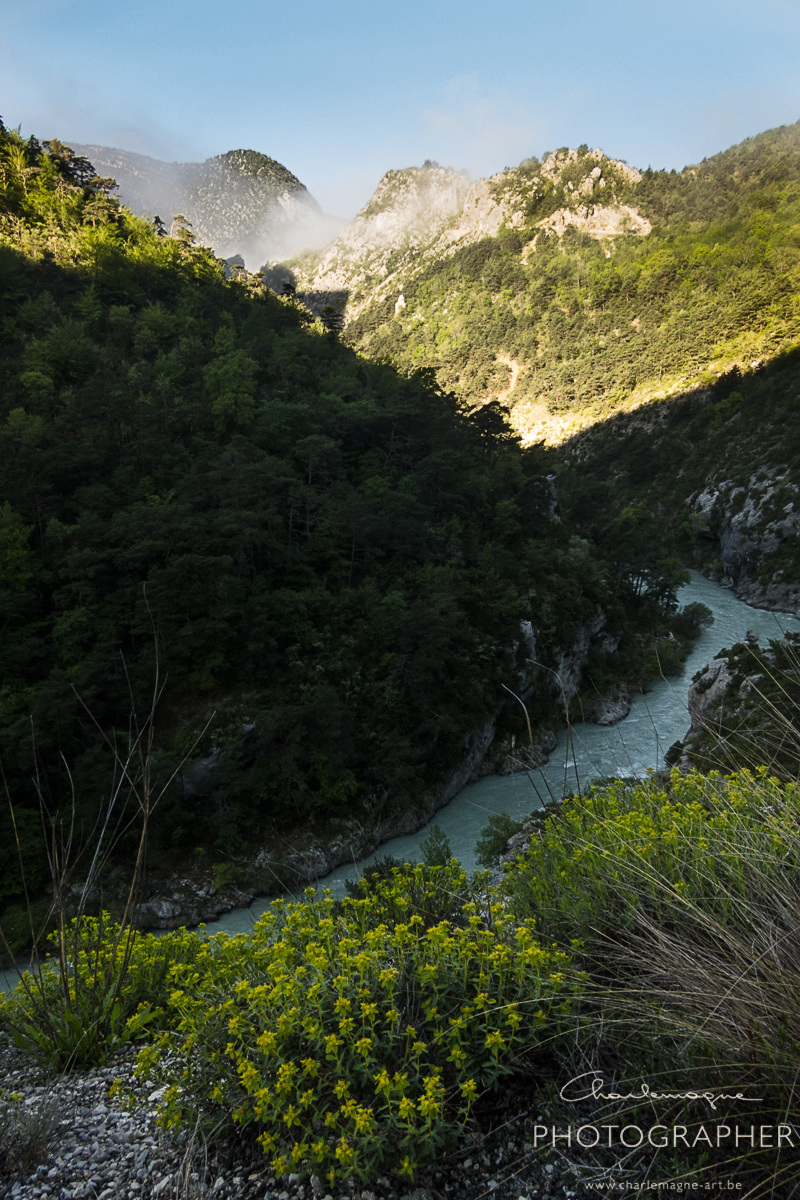
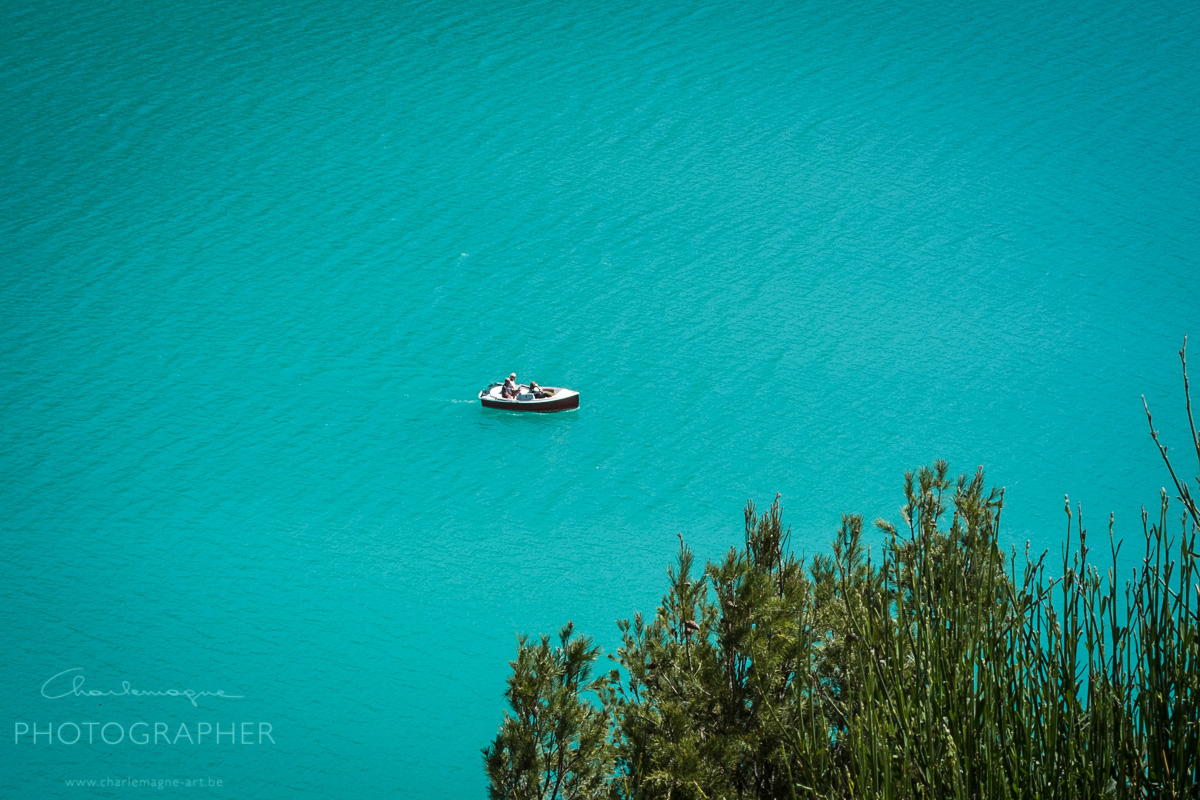
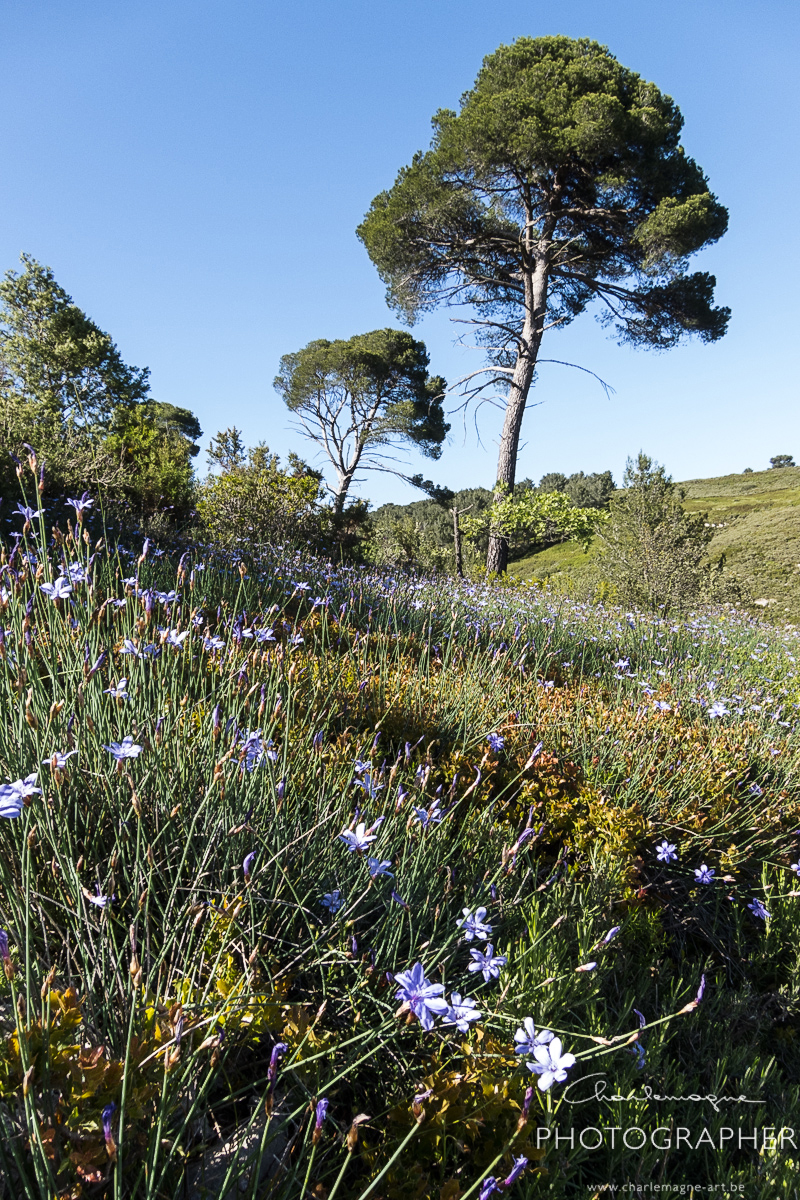
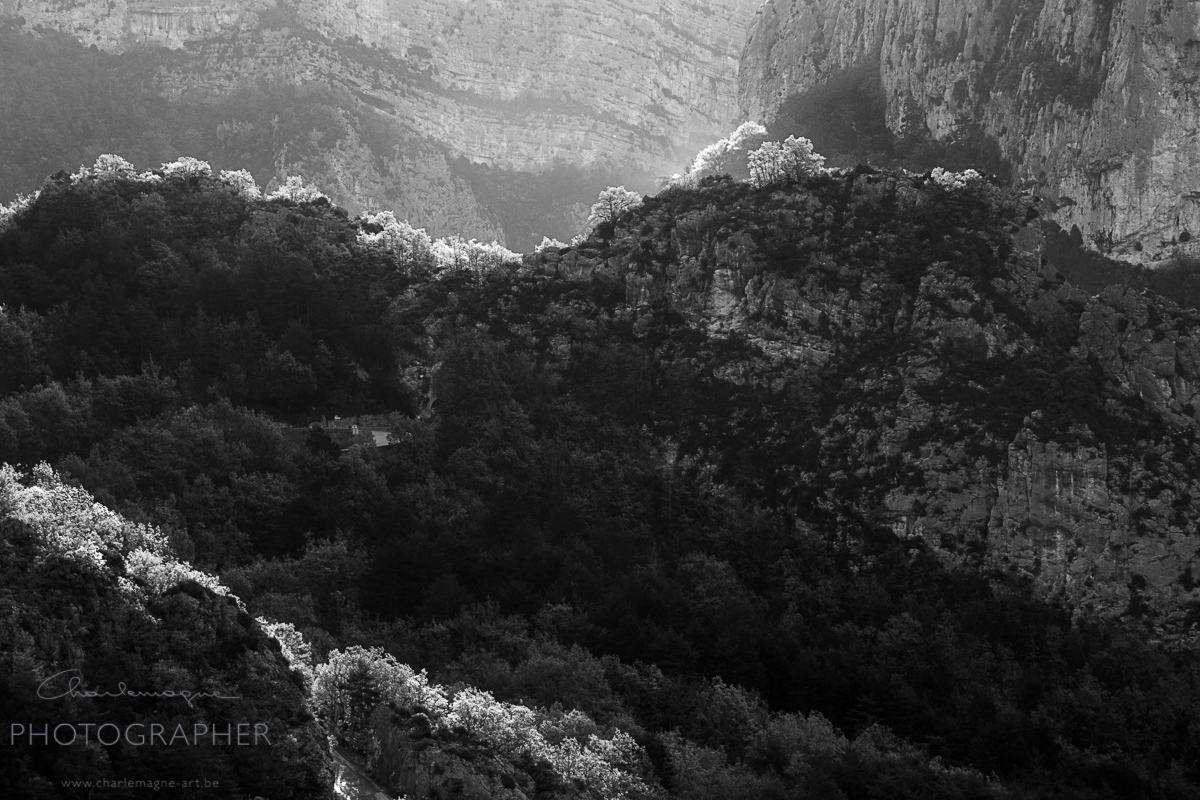
Enough talking, let me show you some pictures. For your info, I have done quite some editing in Lightroom. You won’t notice the lack of sharpness here, I worked a lot on the tonal range in the images, etcetera.

charlemagne-art-gorgesduverdon-1601

charlemagne-art-gorgesduverdon-1588

charlemagne-art-gorgesduverdon-1630

charlemagne-art-gorgesduverdon-1659

charlemagne-art-gorgesduverdon-1684

charlemagne-art-gorgesduverdon-1705

charlemagne-art-gorgesduverdon-1709

charlemagne-art-gorgesduverdon-1715

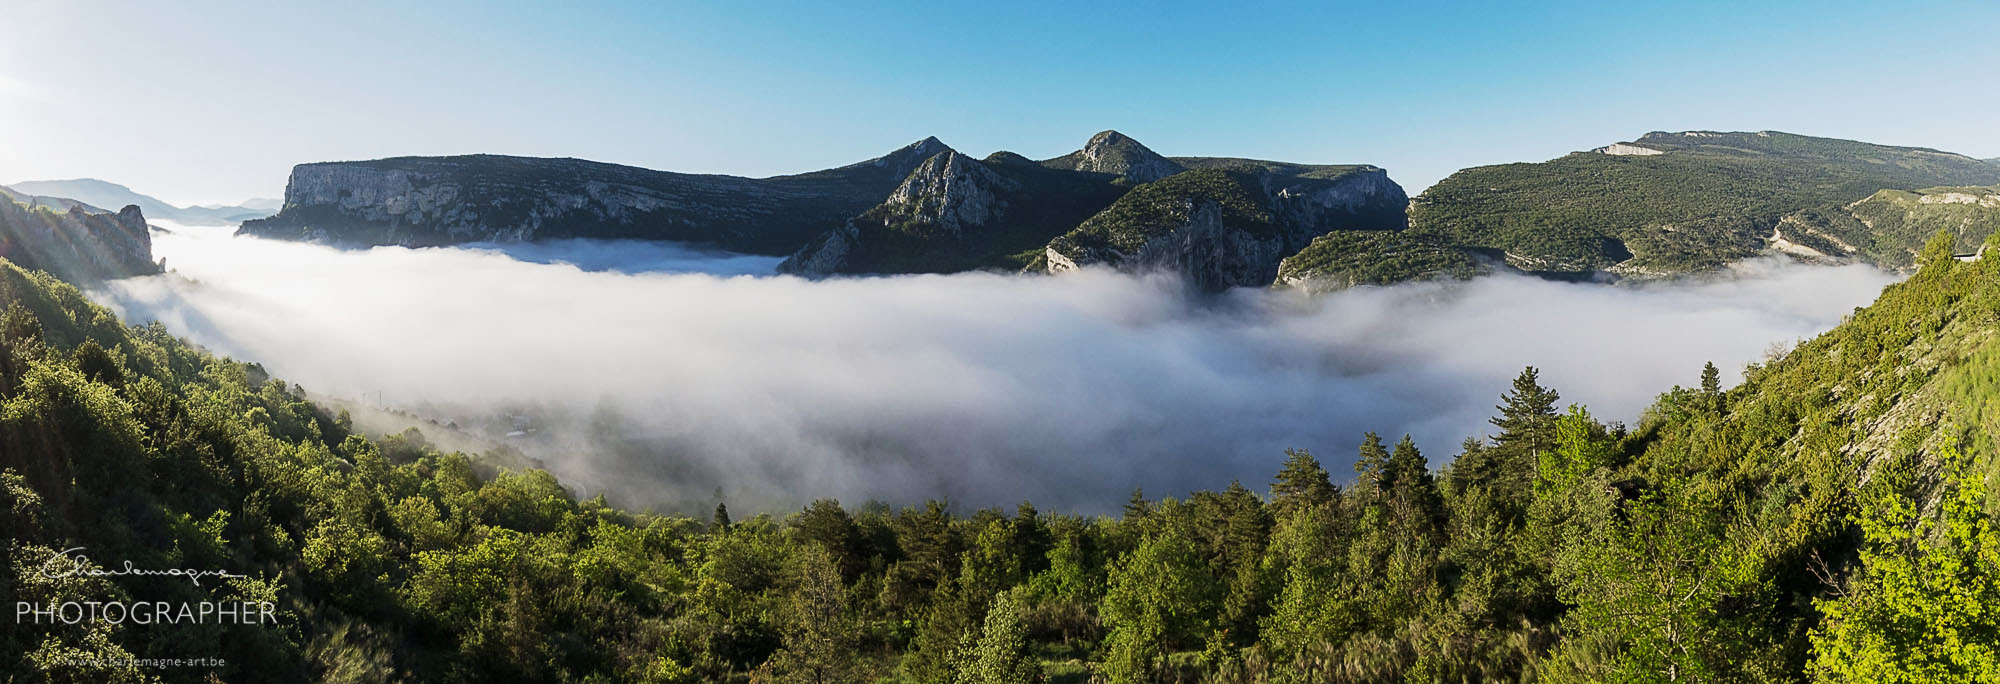
charlemagne-art-gorgesduverdon-pano

The last image is a photoshop stitched image from 6 shots.

So is it a worthy camera, yes sure it absolutely is a very good travel companion if you don’t wish to focus on photography, but it takes some more time to get good pictures out of it, and you’ll never be able to get really pro-quality pictures out of it.

After all I’m not really a material geek. Sure I love my camera and lenses, but for me a lot of photography is in the eye of the photographer. I’m sure a good photographer can make good pictures with a compact, a bad photographer will not manage taking good pictures with pro gear. I enjoyed being with my son, taking a picture from time to time for the memories, and that is a different mindset than going on a photography trip.

take care, and I hope you come again soon.

Ludwig
North Sea

landscapes, Personal Pictures, personal tips & tricks, Tips and Tricks

Hi,
long time since I posted some new images. I have been busy preparing the two exhibitions and that is now over, with the last exhibition opening this saturday evening. You are still very welcome to come visit the exhibition. (wednesday, saturday and sunday from 14:00 h till 18:00 h. in ‘de Oude Brouwerij’ Ronse.)

I have been to the North sea on april 22nd, and I wanted to show you some images I brought with me. I have further experimented with the ND Grey filters, I used them before in Calais/Cap-Griz-Nez too.
Here I used only the ND 1000 filter, which blocks about 8 stops of light, and let’s pass only 1/1000th of the light. This allows for long exposure times in plain daylight.

The technique is quite simple: you setup your tripod (best a good sturdy one, because when the sea surface is coming over the breakwater, you get some nasty winds blowing you almost out of your clothes.) and make your best composition possible. Verify your normal exposure. Now without further touching your camera, switch to manual focus if not already done, screw on your ND filter and calculate your new exposure time. In my situation, I had to lengthen the exposer time x1000. E.g. 1/100 sec without filter became 10 seconds with filter.
Then wait for the sea tide to come up. Get cold, try to protect your camera from waves splattering on the rocks, almost get blown over, get wet feet, get a rain shower on your head, and then decide you tried your best and try to find some shelter.

All images taken with 17-40 mm on Canon 5D mark II, exposure times of about 50-60 seconds. Aperture f1/16 up to f1/22. The first shot is composed out of 4 exposures, I converted the images to BW in Lightroom, then added a blue’isch color cast in Photoshop.

Hope you liked them, click for bigger version!

ludwig

Côte d’Opale

landscapes, Personal Pictures

Some pictures I took on our family trip to Calais – Cap Griz Nez and Cap Blanc Nez.
The use of an ND filter and long exposures make for foamy sea-surface. I loved experimenting with it an will surely go back there for some more of these. All three with the Canon 17-40 mm on 5D MarkII.
Don’t forget to click them to see a bigger version.

Remember, all of my images are available for sales. they are perfect for your modern home decoration. 😉

Ludwig

ND filters

personal tips & tricks, Tips and Tricks

Hi,
I bought 2 neutral density gray filters some weeks ago. I would like to show you some results.
ND filters are used to take away light from the scene, to a certain amount.
There are two different types of ND filters on the market: fixed stop value filters, and variable filters. The latter work with two polarizing filters rotating over each other, and they have a stopped down value between 3 and 8 stops. The fixed value filters consist in a single sheet of shaded gray plastic or glass or whatever. The Polarizing filters version has the advantage that you can vary the number of stops of light blocked, they have the disadvantage that they create an interference pattern when used at the darkest setting (showing as a darker cross in your image, especially when used with wide angle lenses on a full frame body)
I have bought a 3 stops (also called 8x because it allows only 1/8th of the light to pass) and a 10 stops (also called 1000x) ND filter, for my 17-40 mm wide angle lens.

a 1000x ND filter blocks 999/1000 of the light, this makes it possible to use long exposure times in full daylight. The examples below are from 20-80 seconds for the exterior images, 400 seconds for the interior images. This makes all moving subjects fade away, to the point of becoming invisible if they do not halt during the exposure time. I have taken images of a crowded train station hall (Gent St.-Pieters) a very crowded shopping street (Gent Veldstraat), the E40 Highway on a very busy day, … without moving subjects visible.
One remark, the 1000x ND filter creates a lot of vignetting and a white balance shift towards red, I’m not sure if this is a typical ND filter thing or specific for the ones I got.
I also joined two images without the use of the ND filter, to make obvious what the effect is. Click for full size!