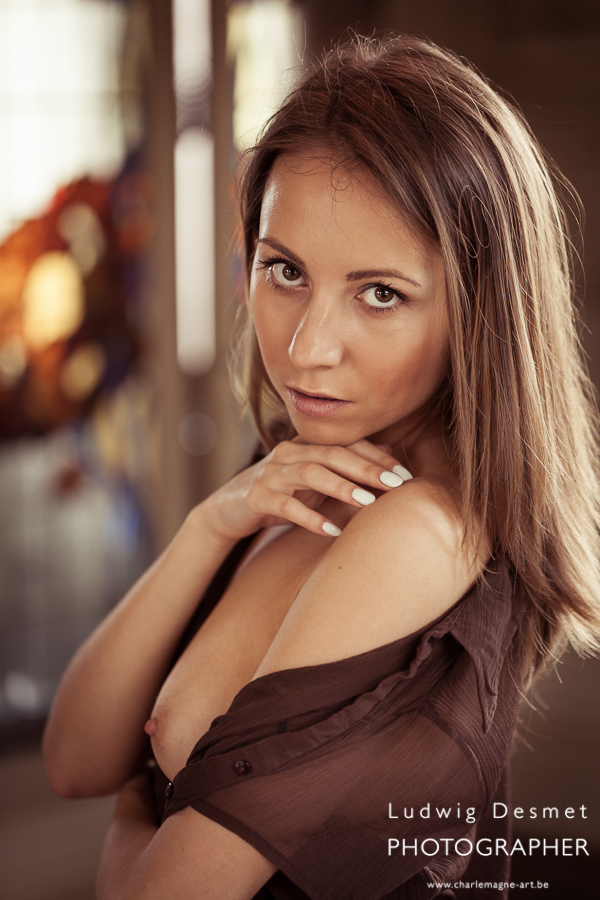
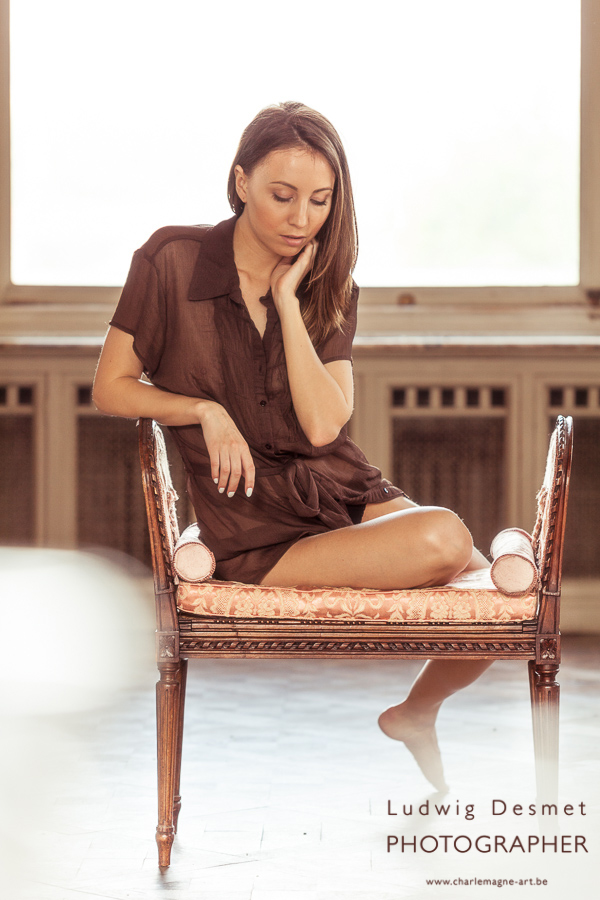
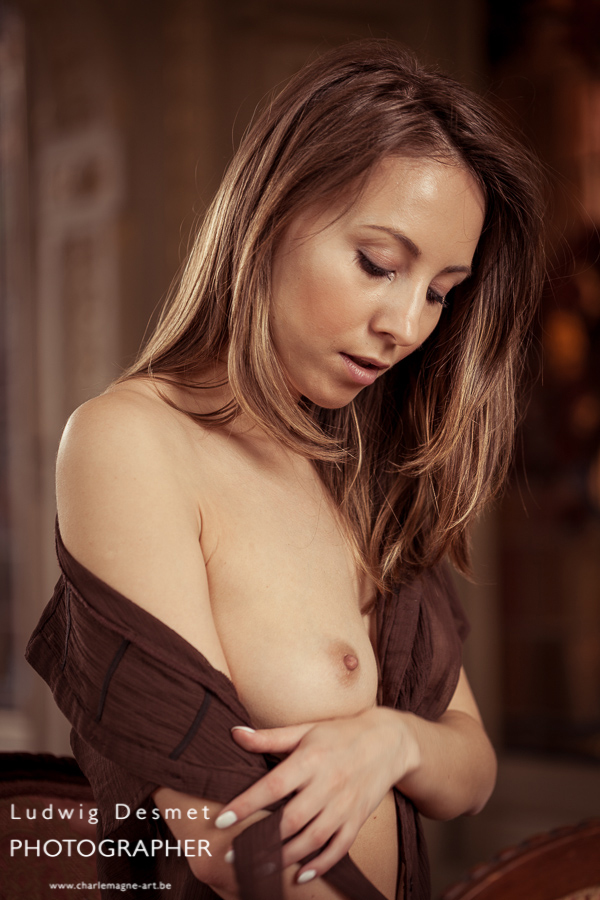
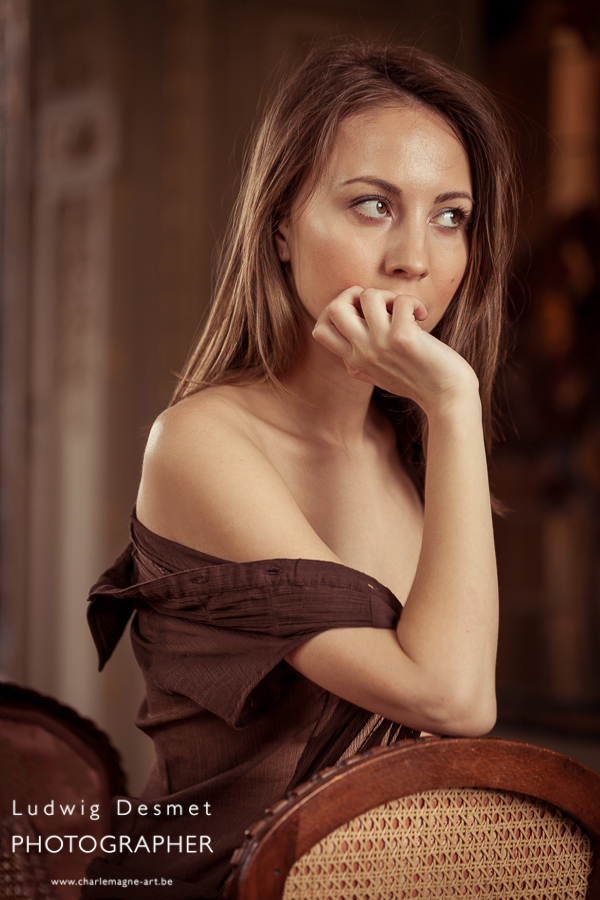
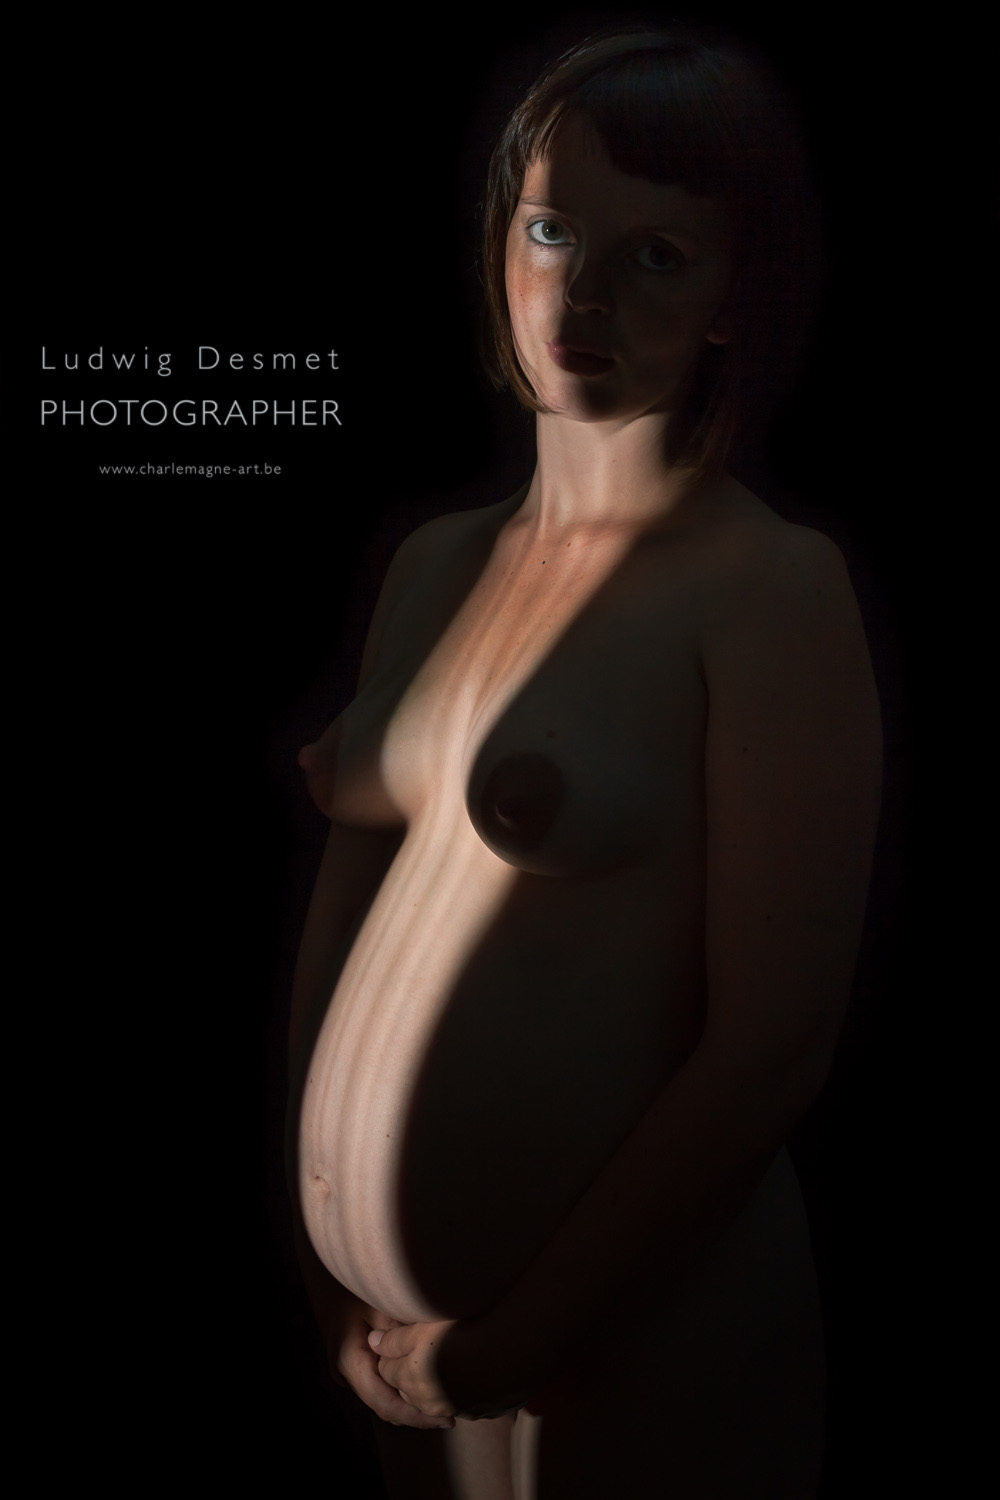
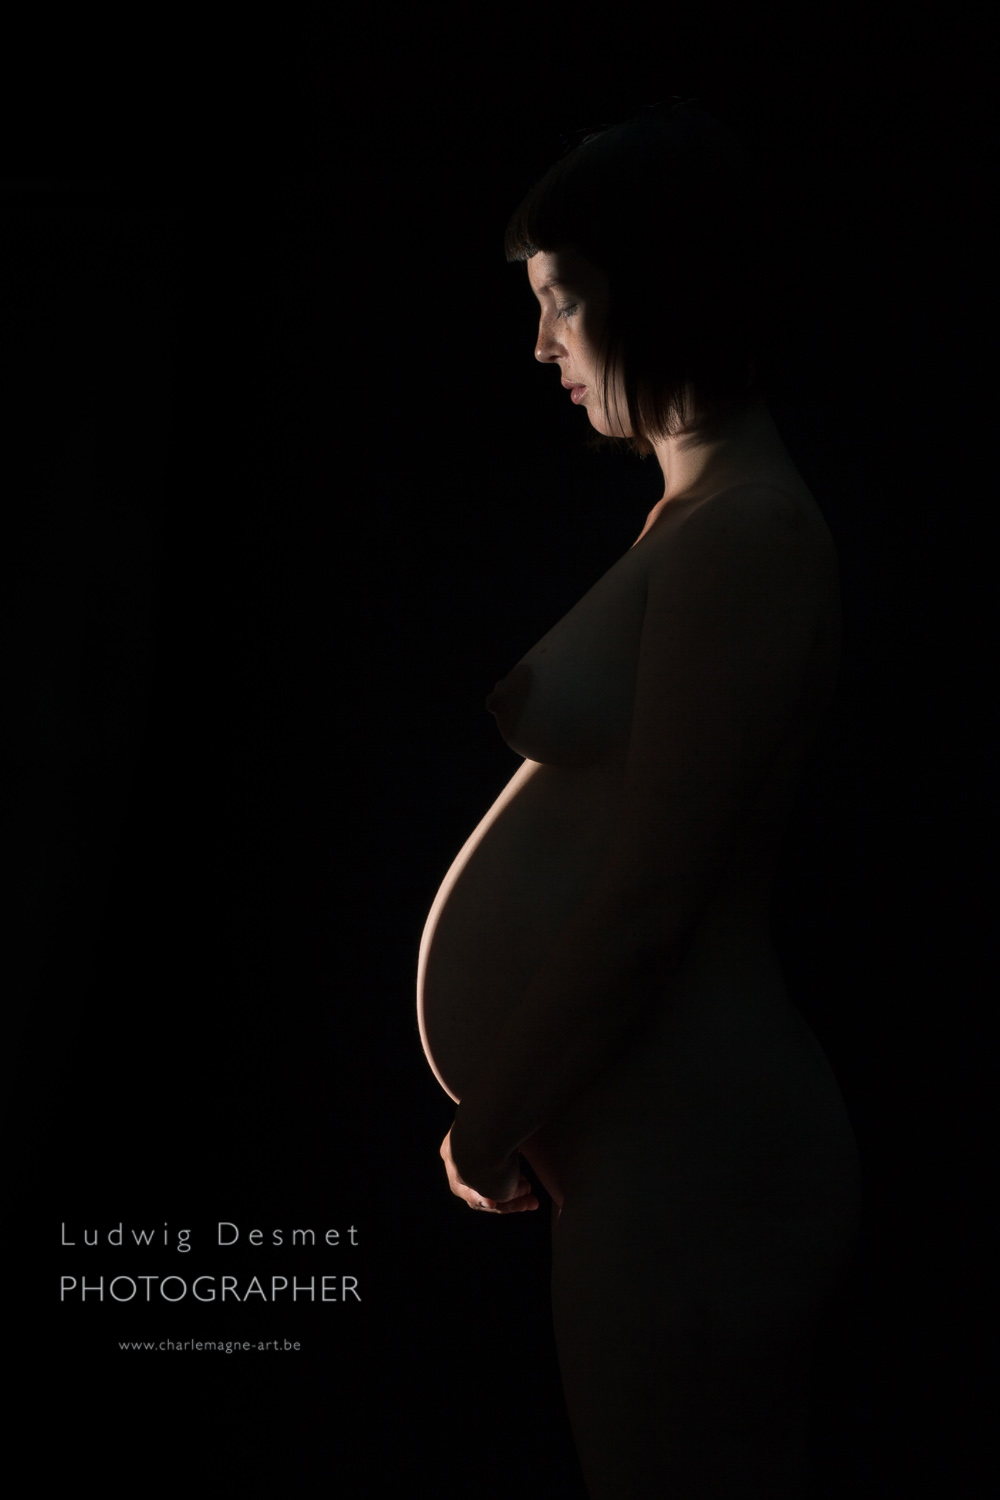
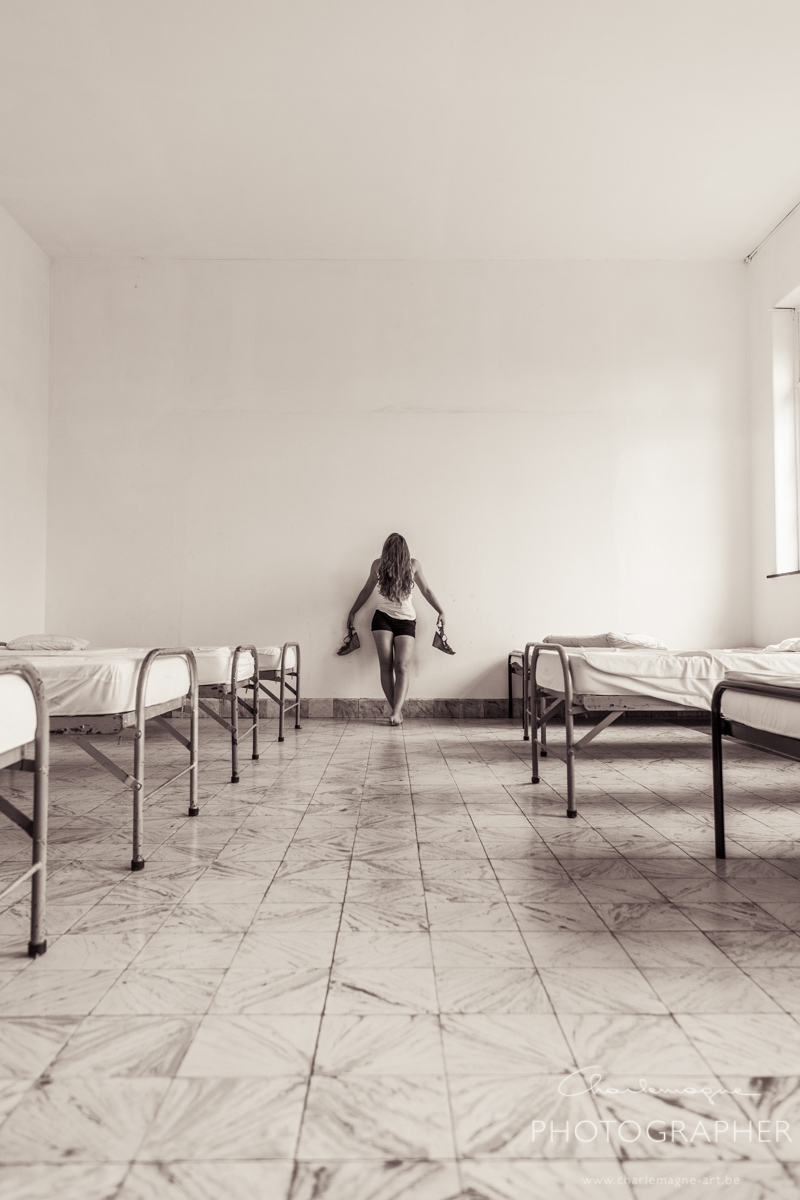
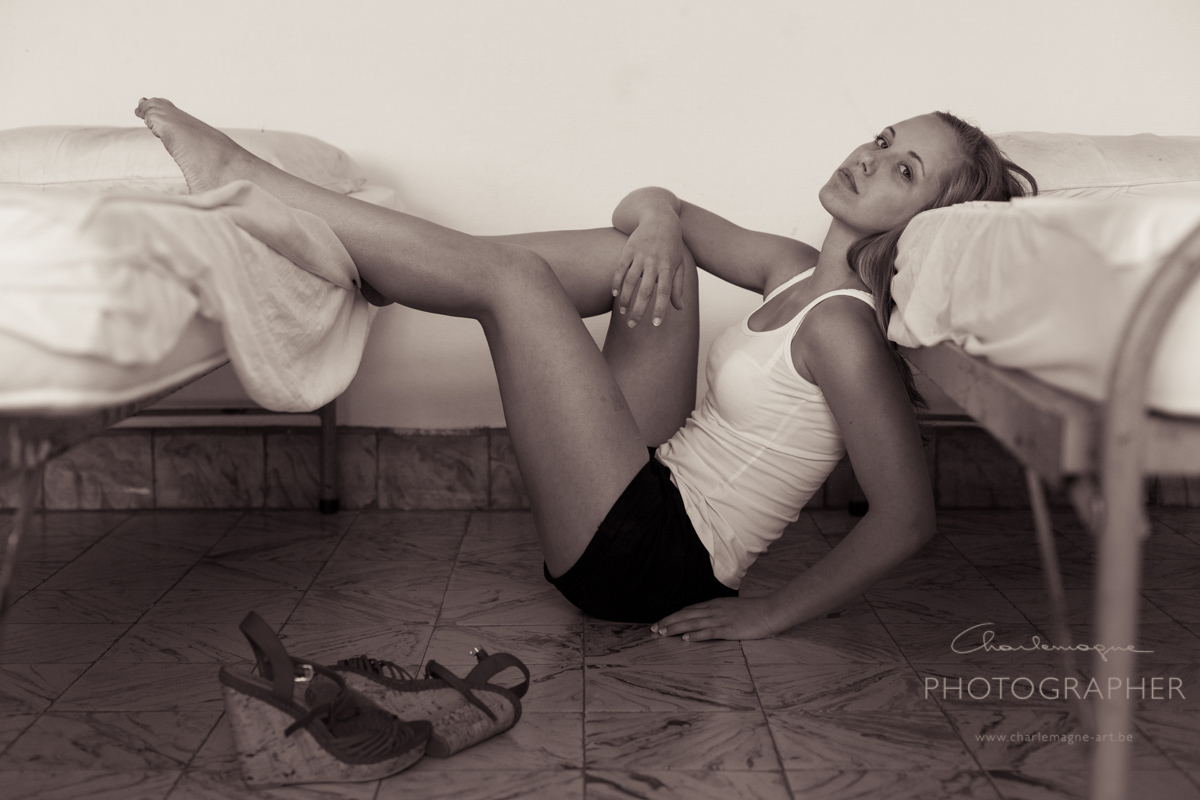
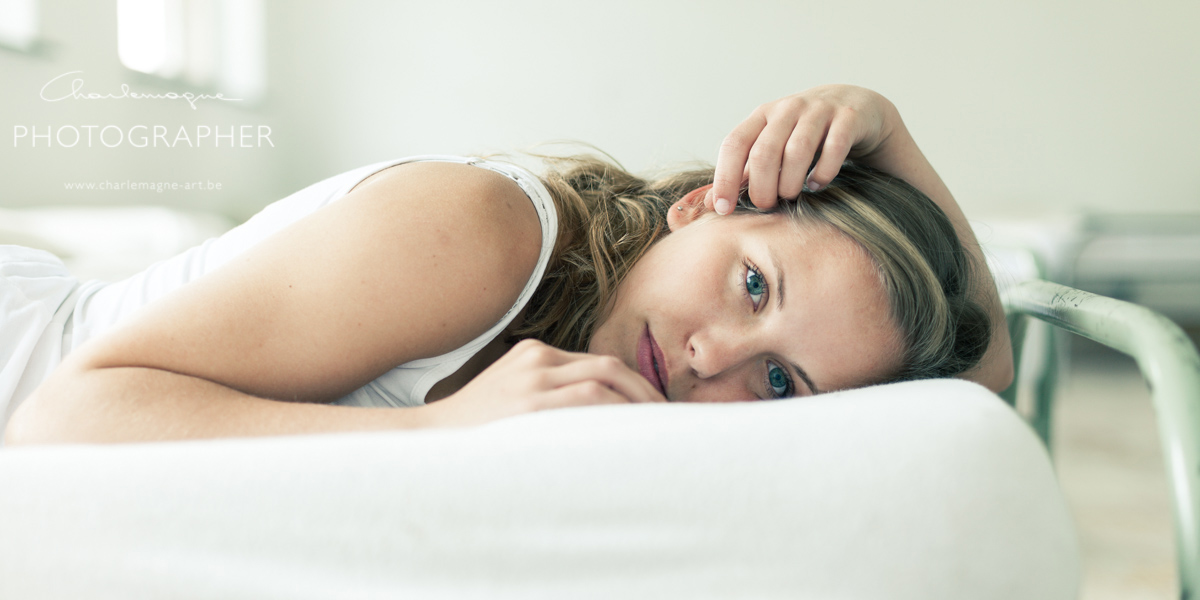
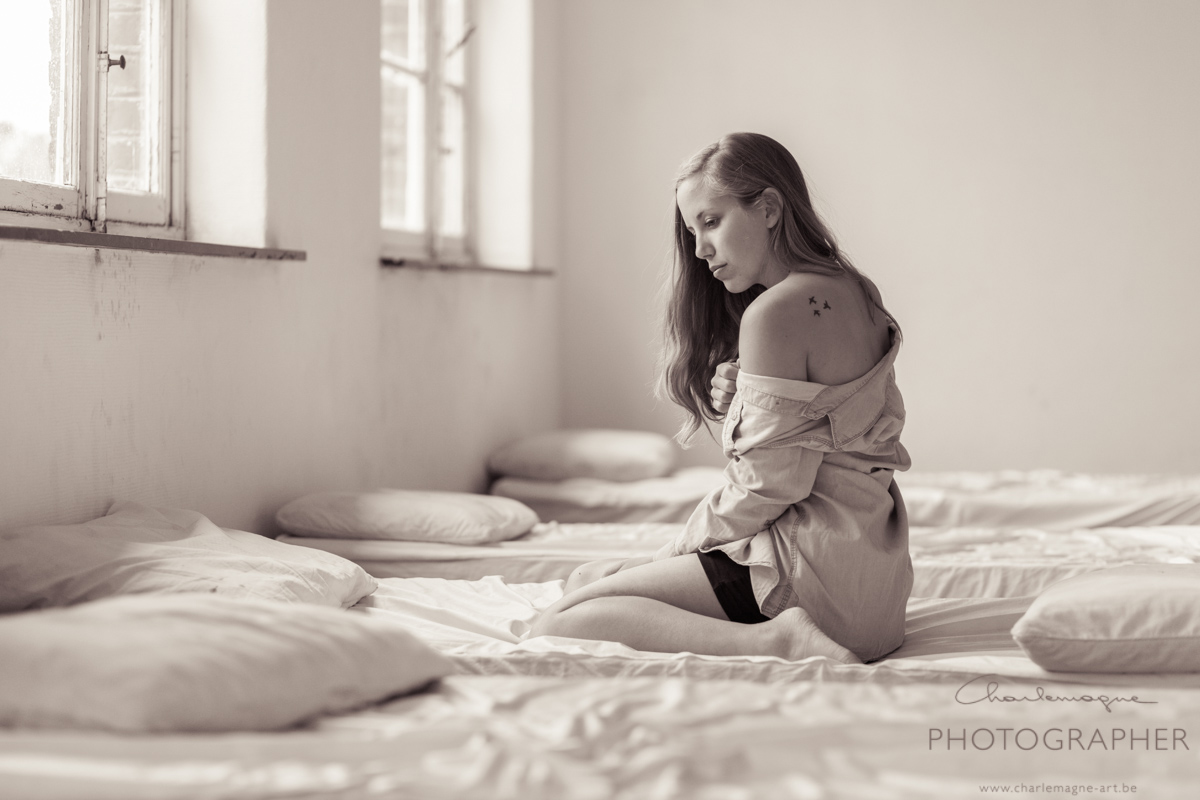
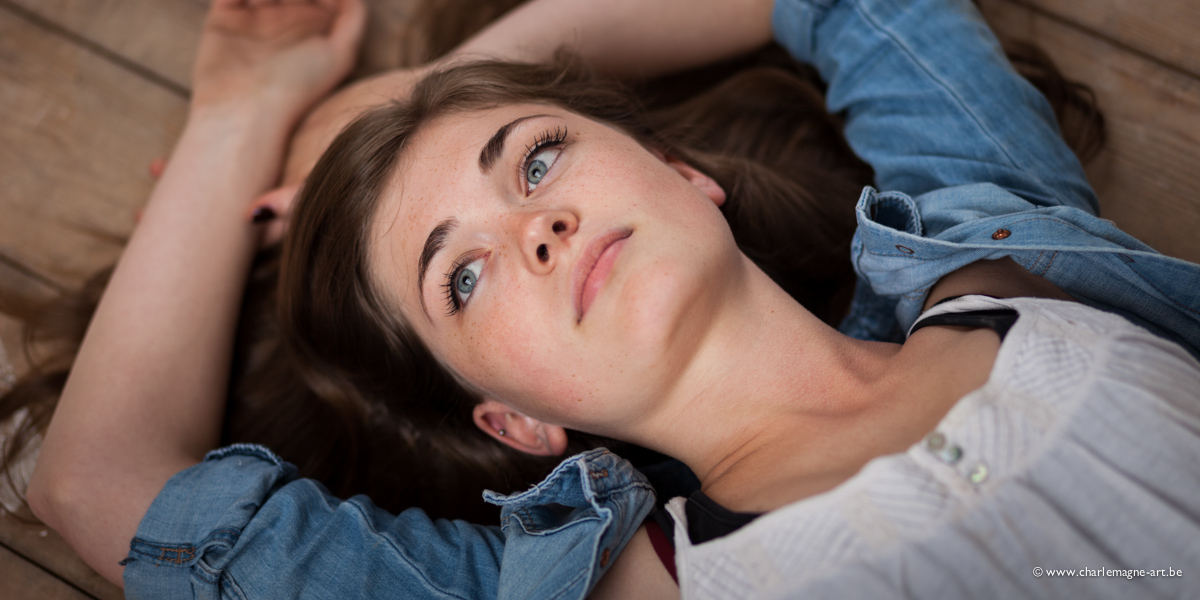
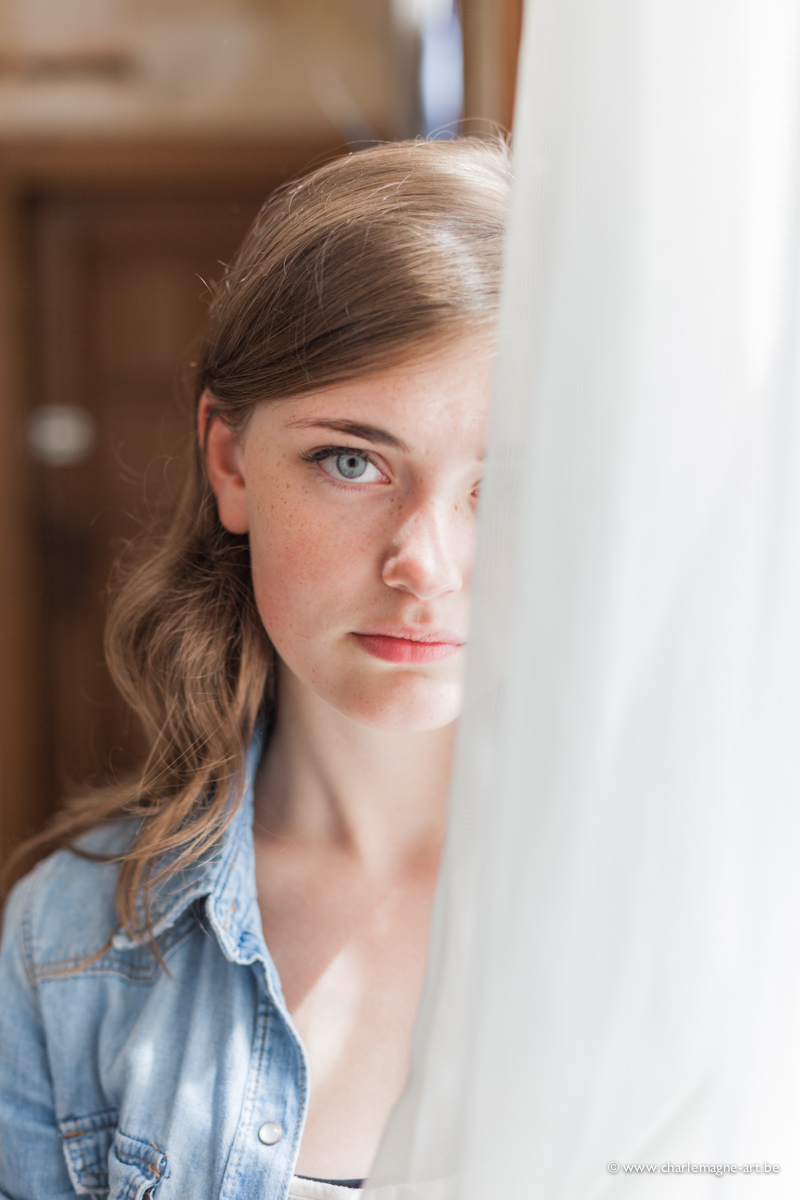
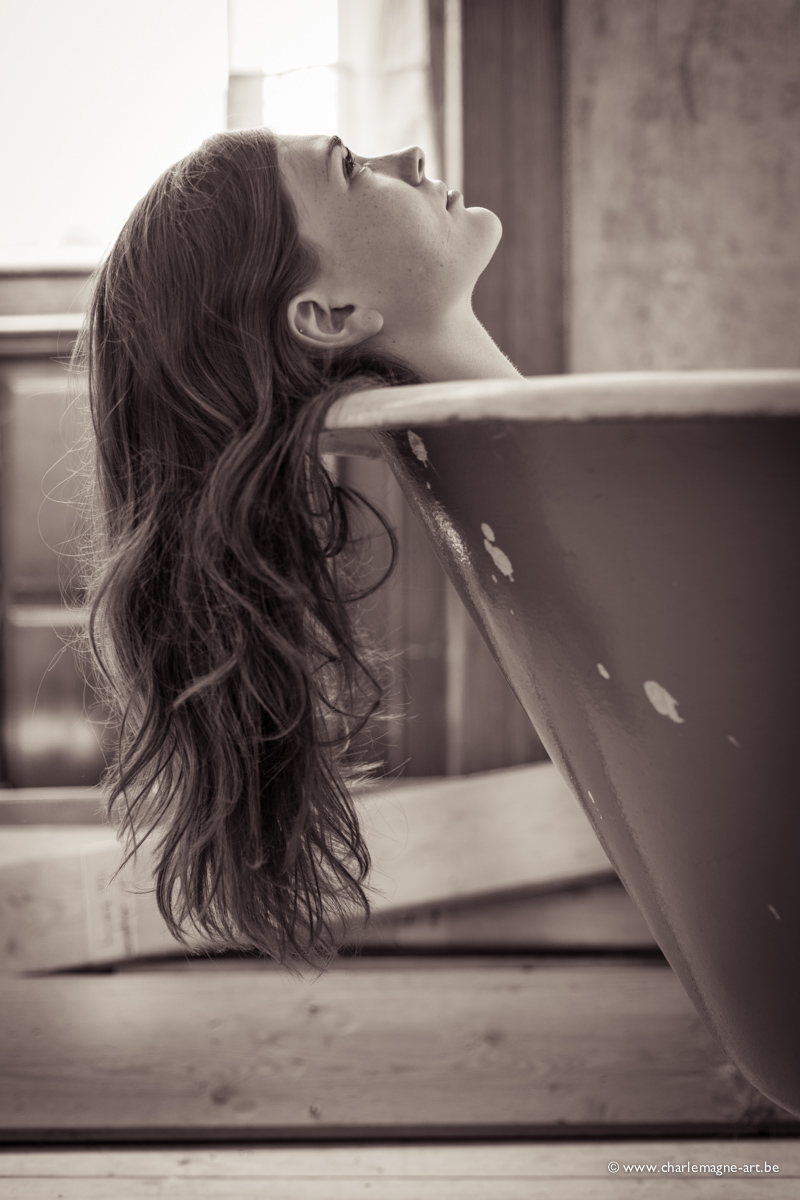
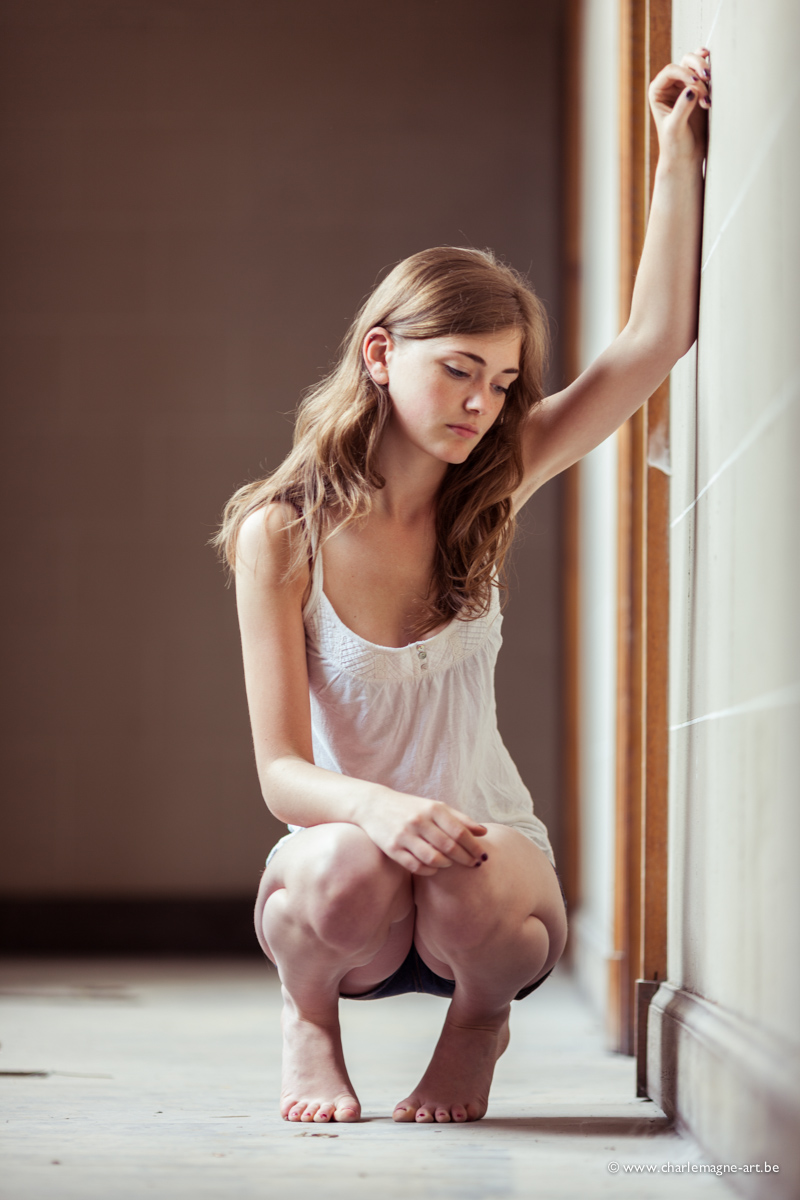
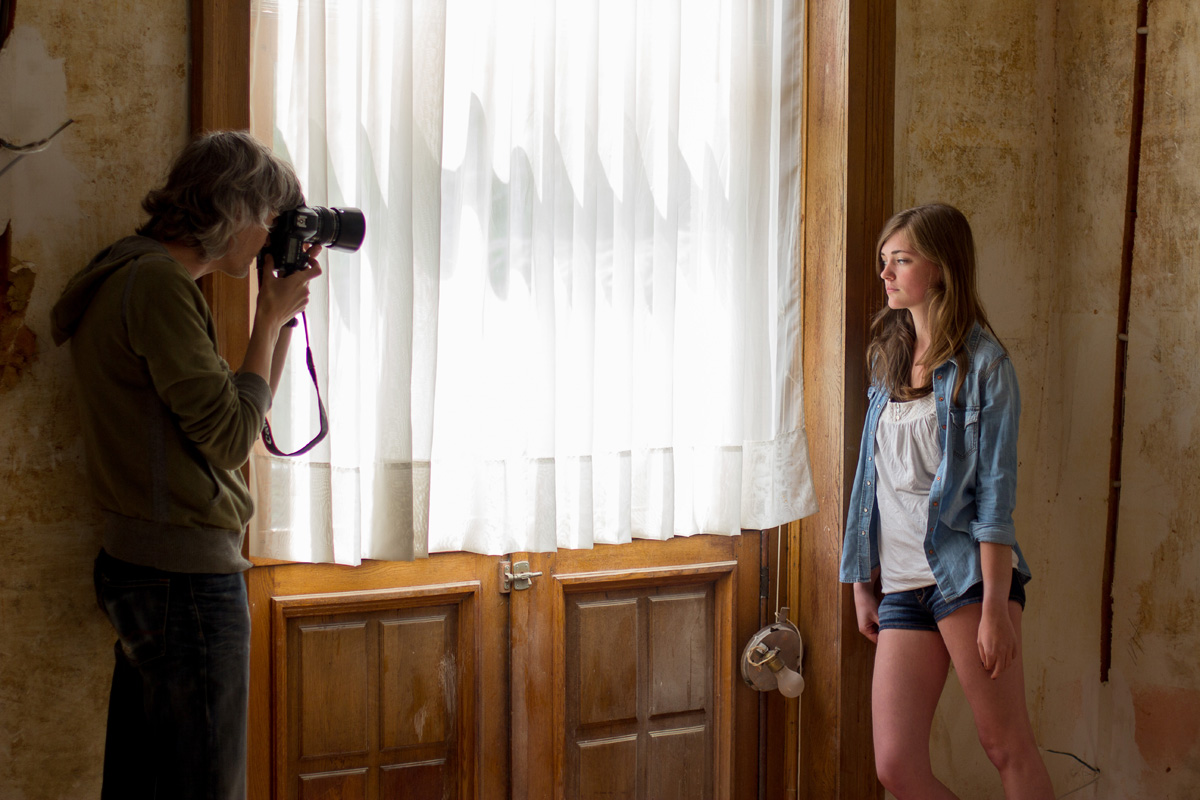
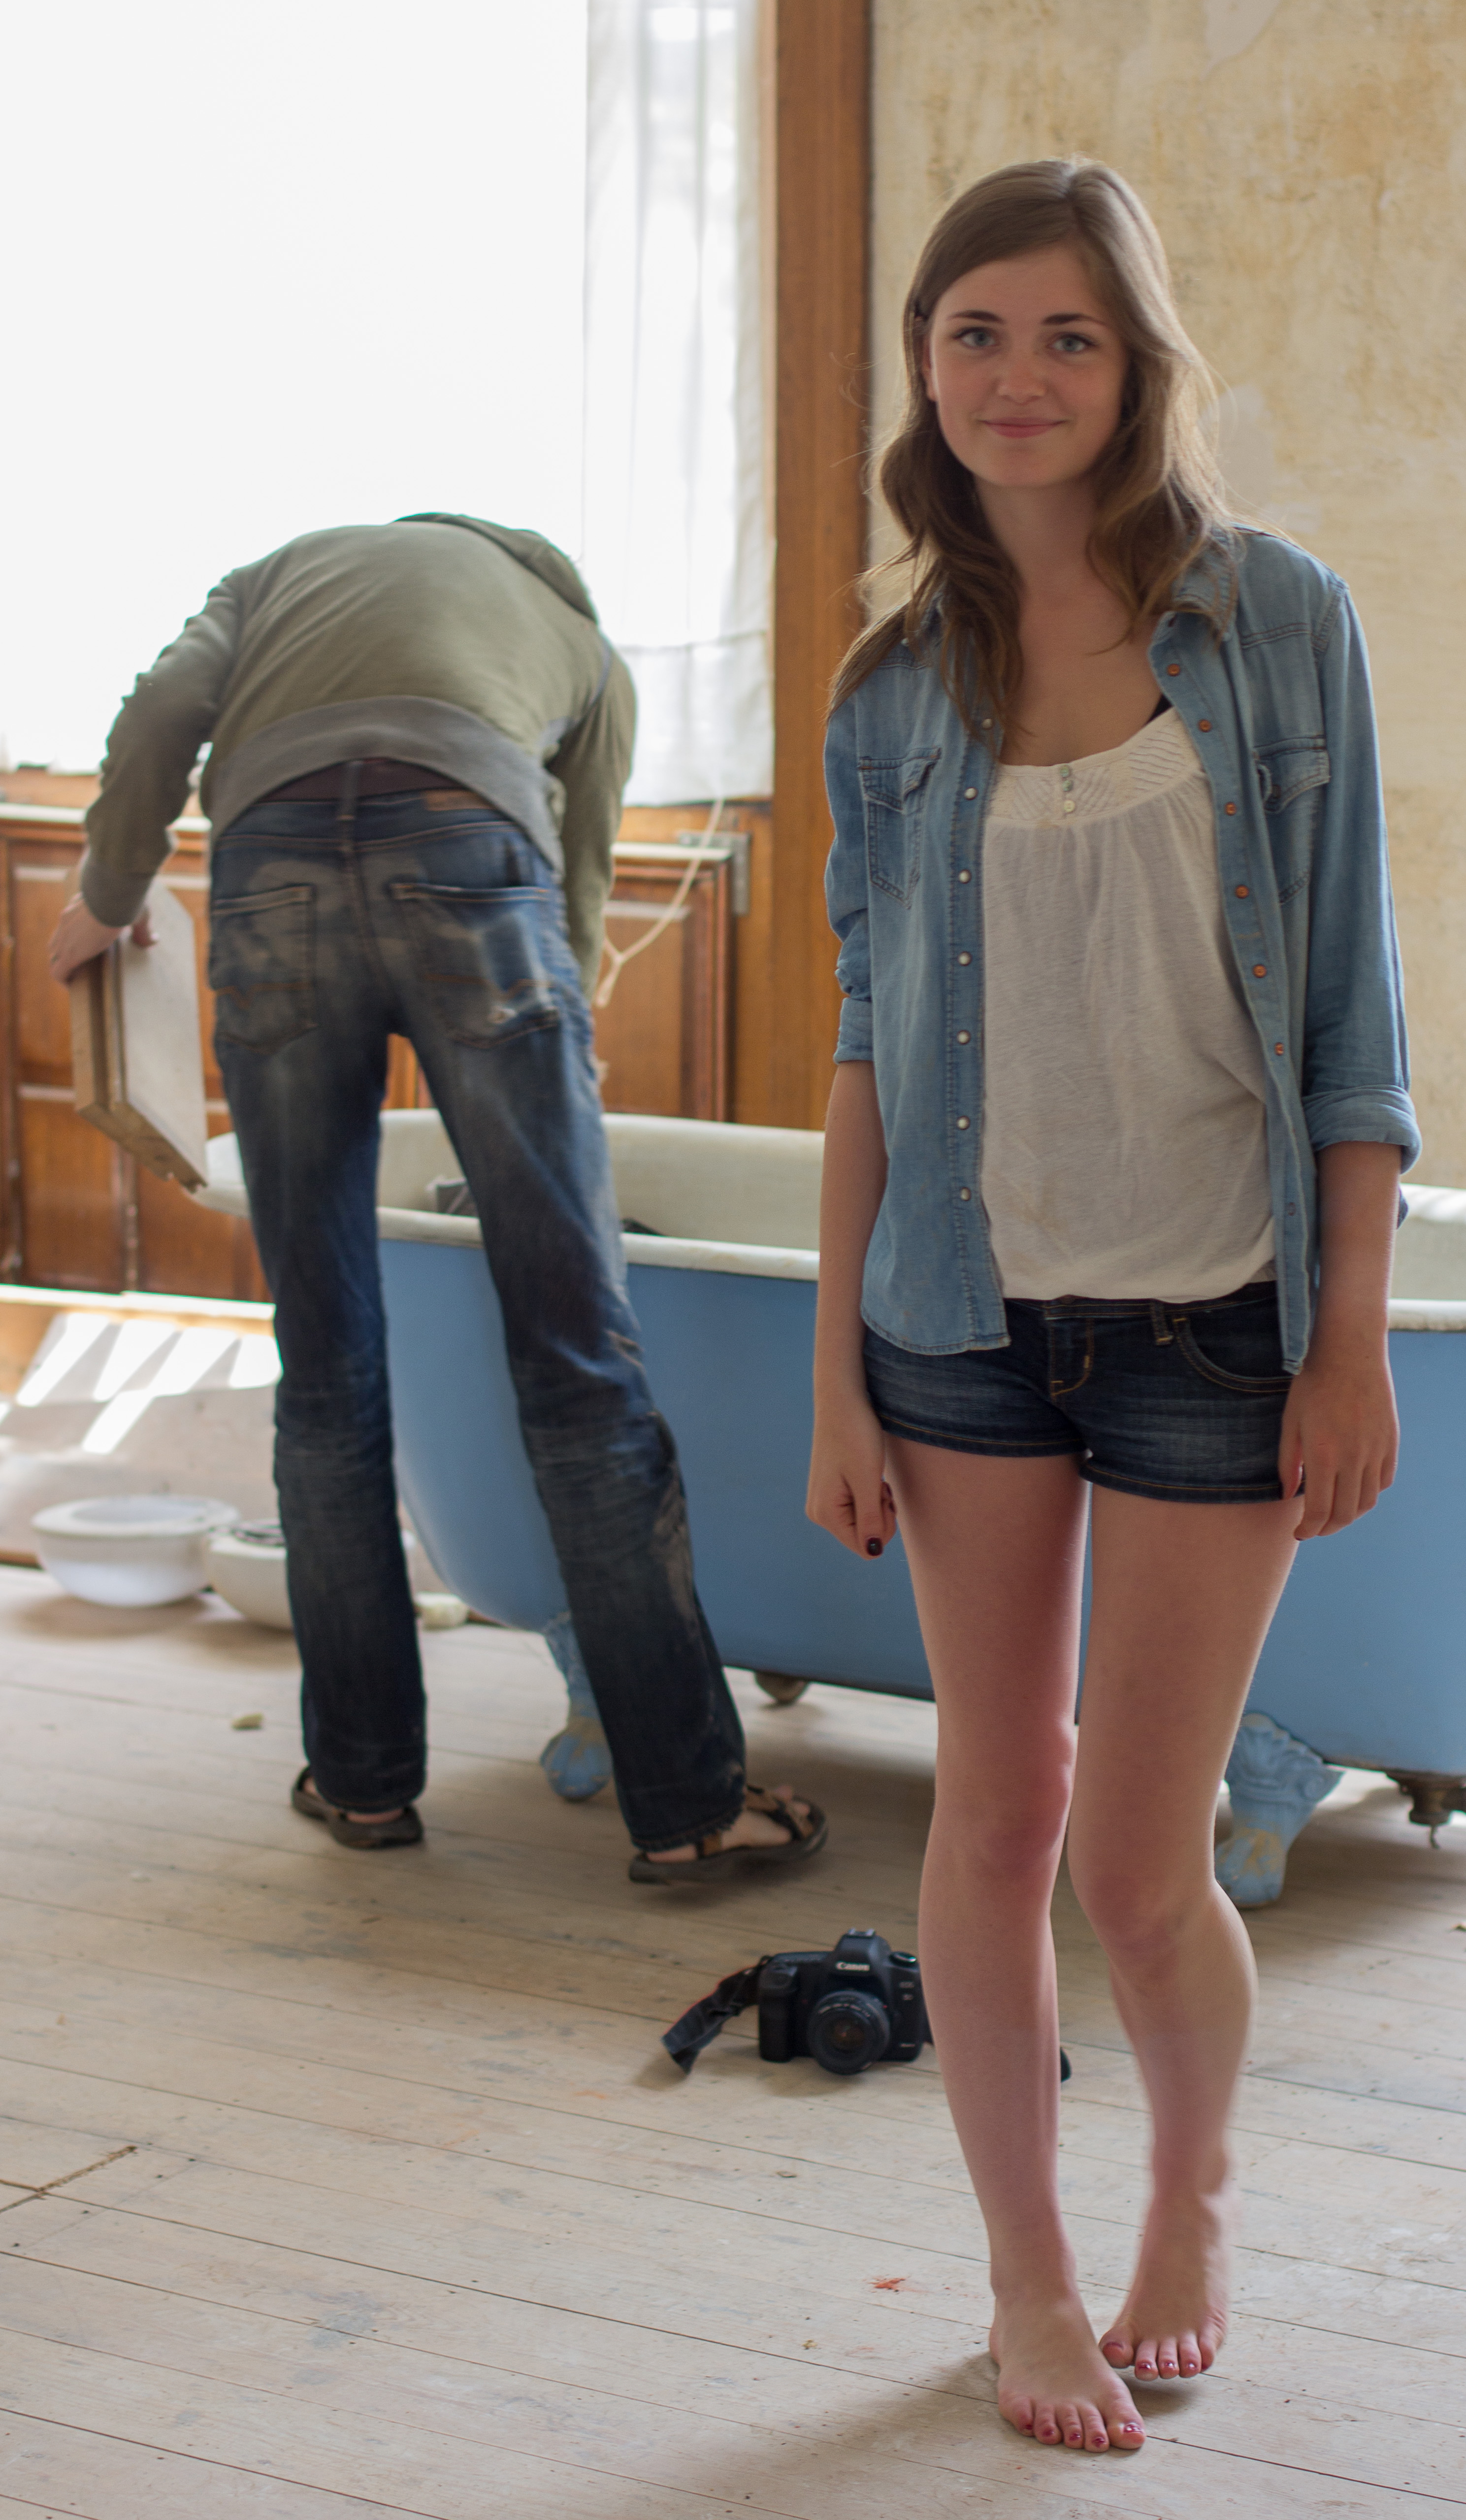
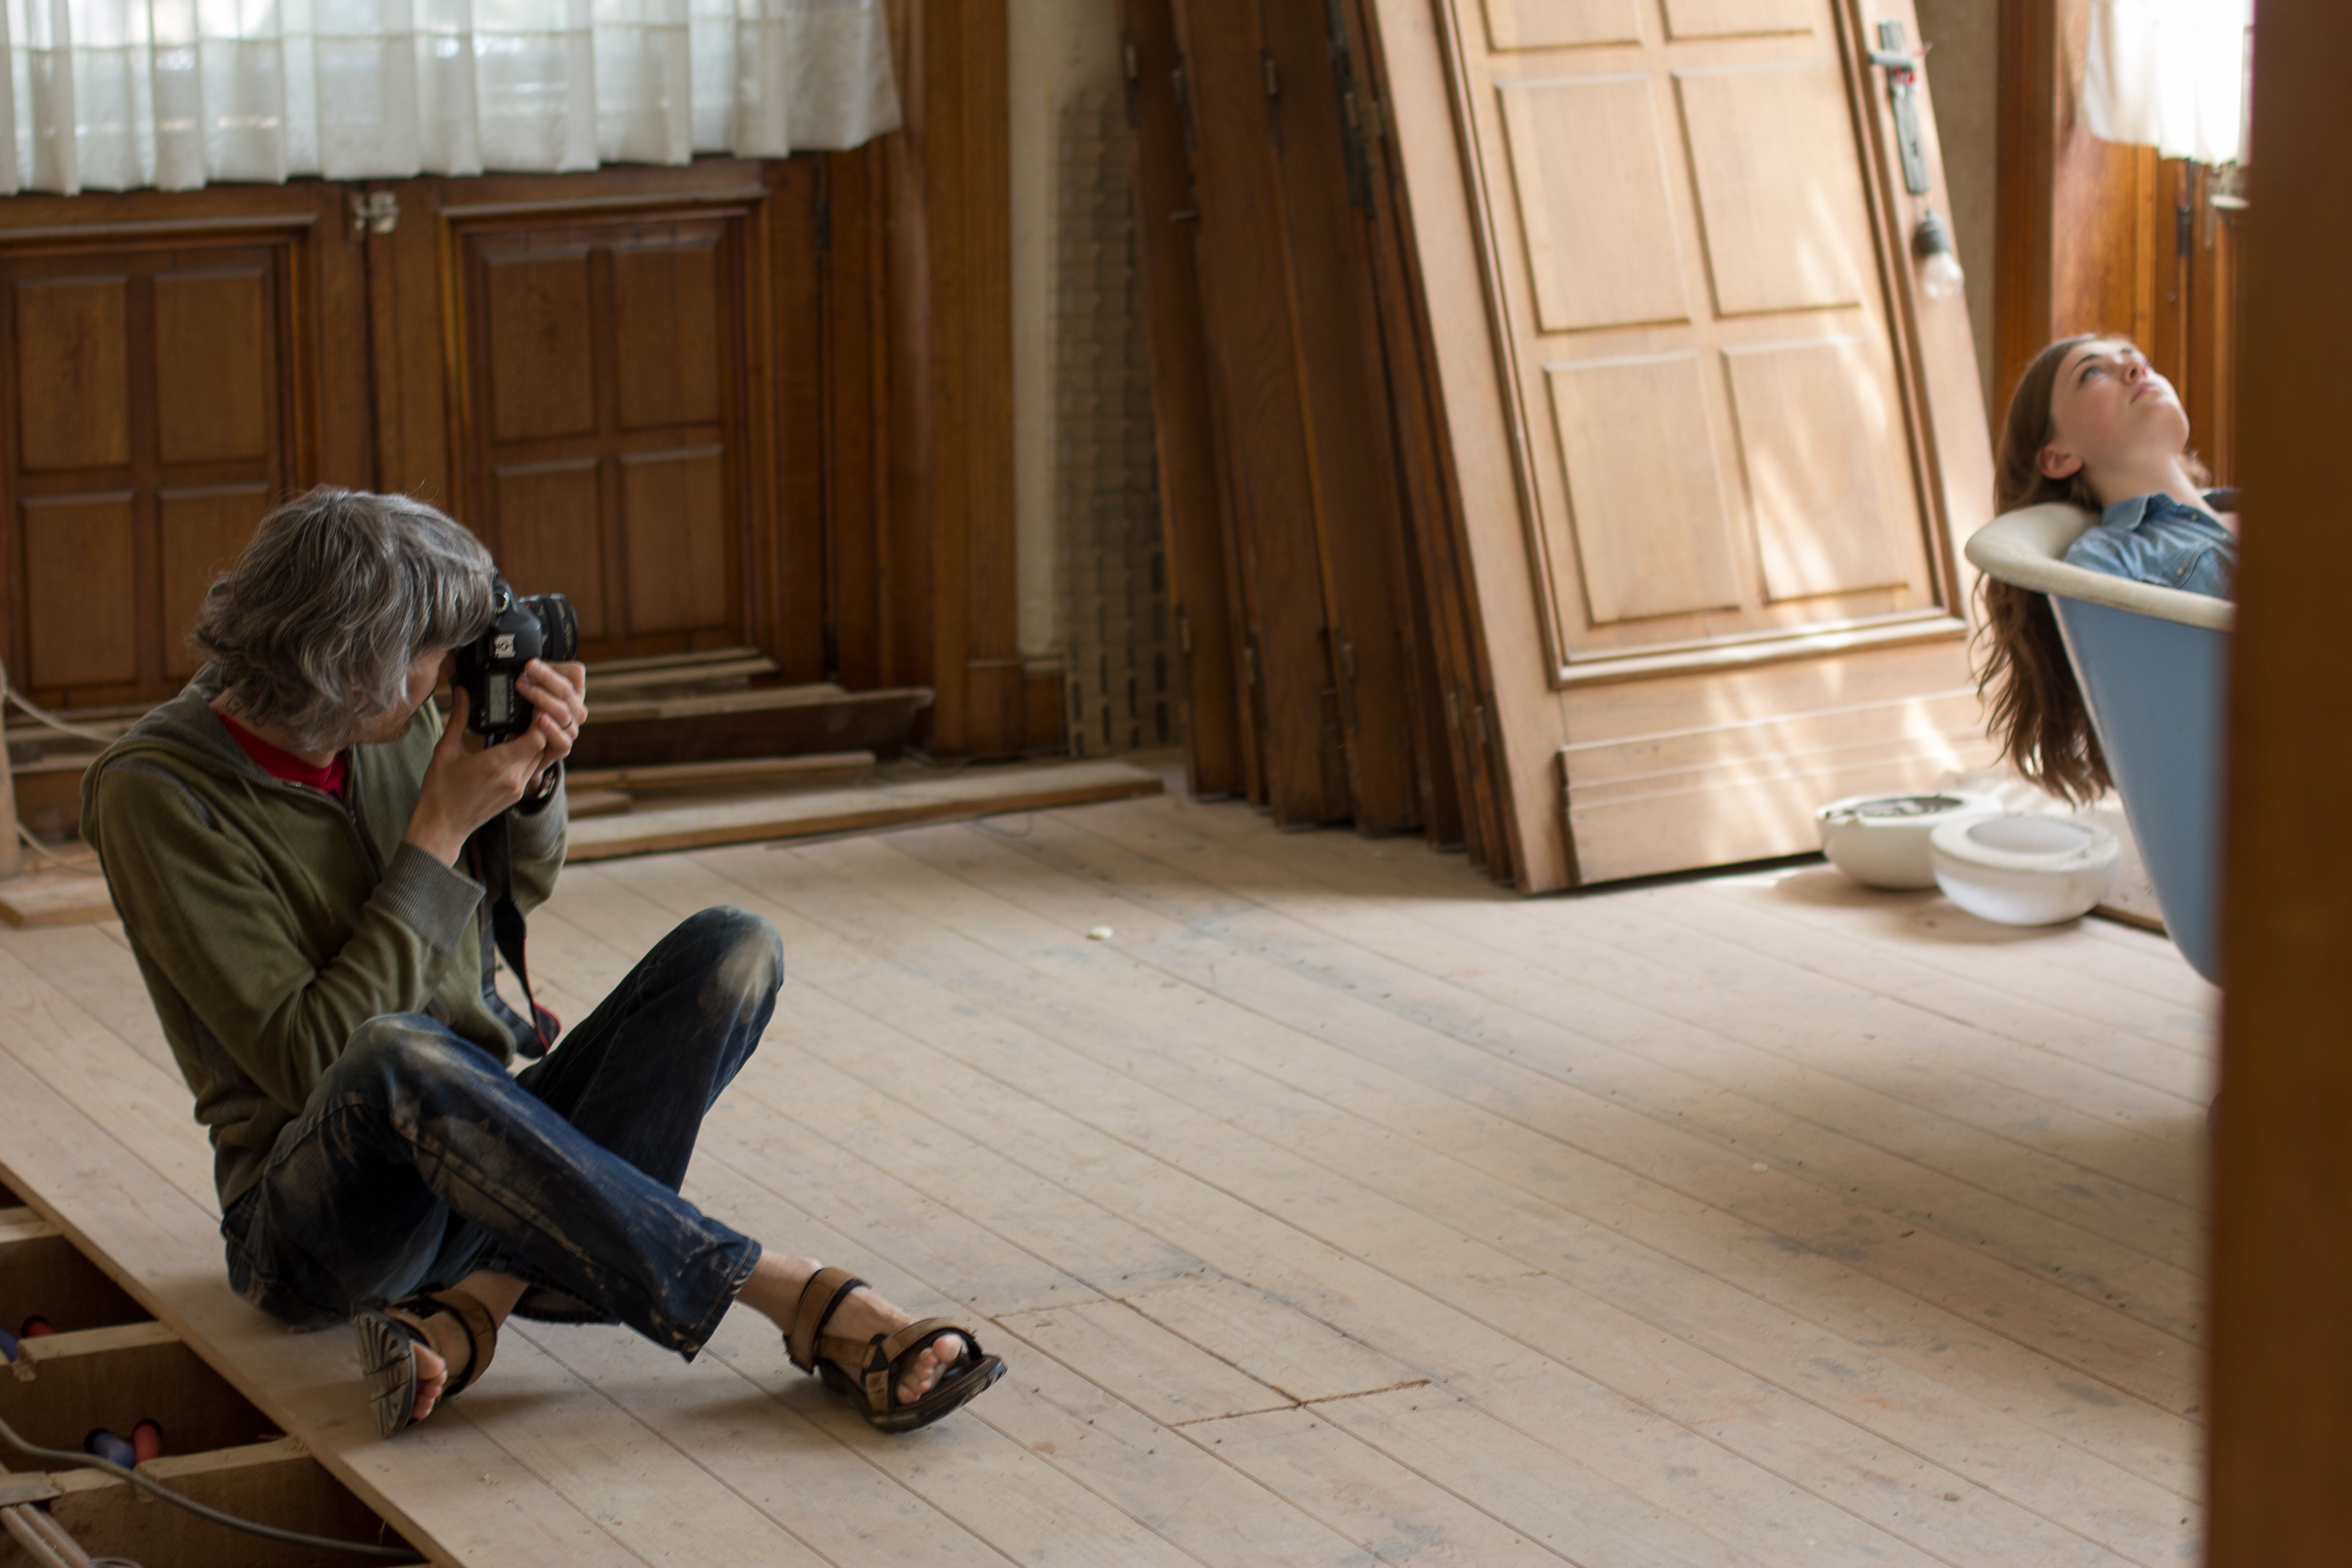
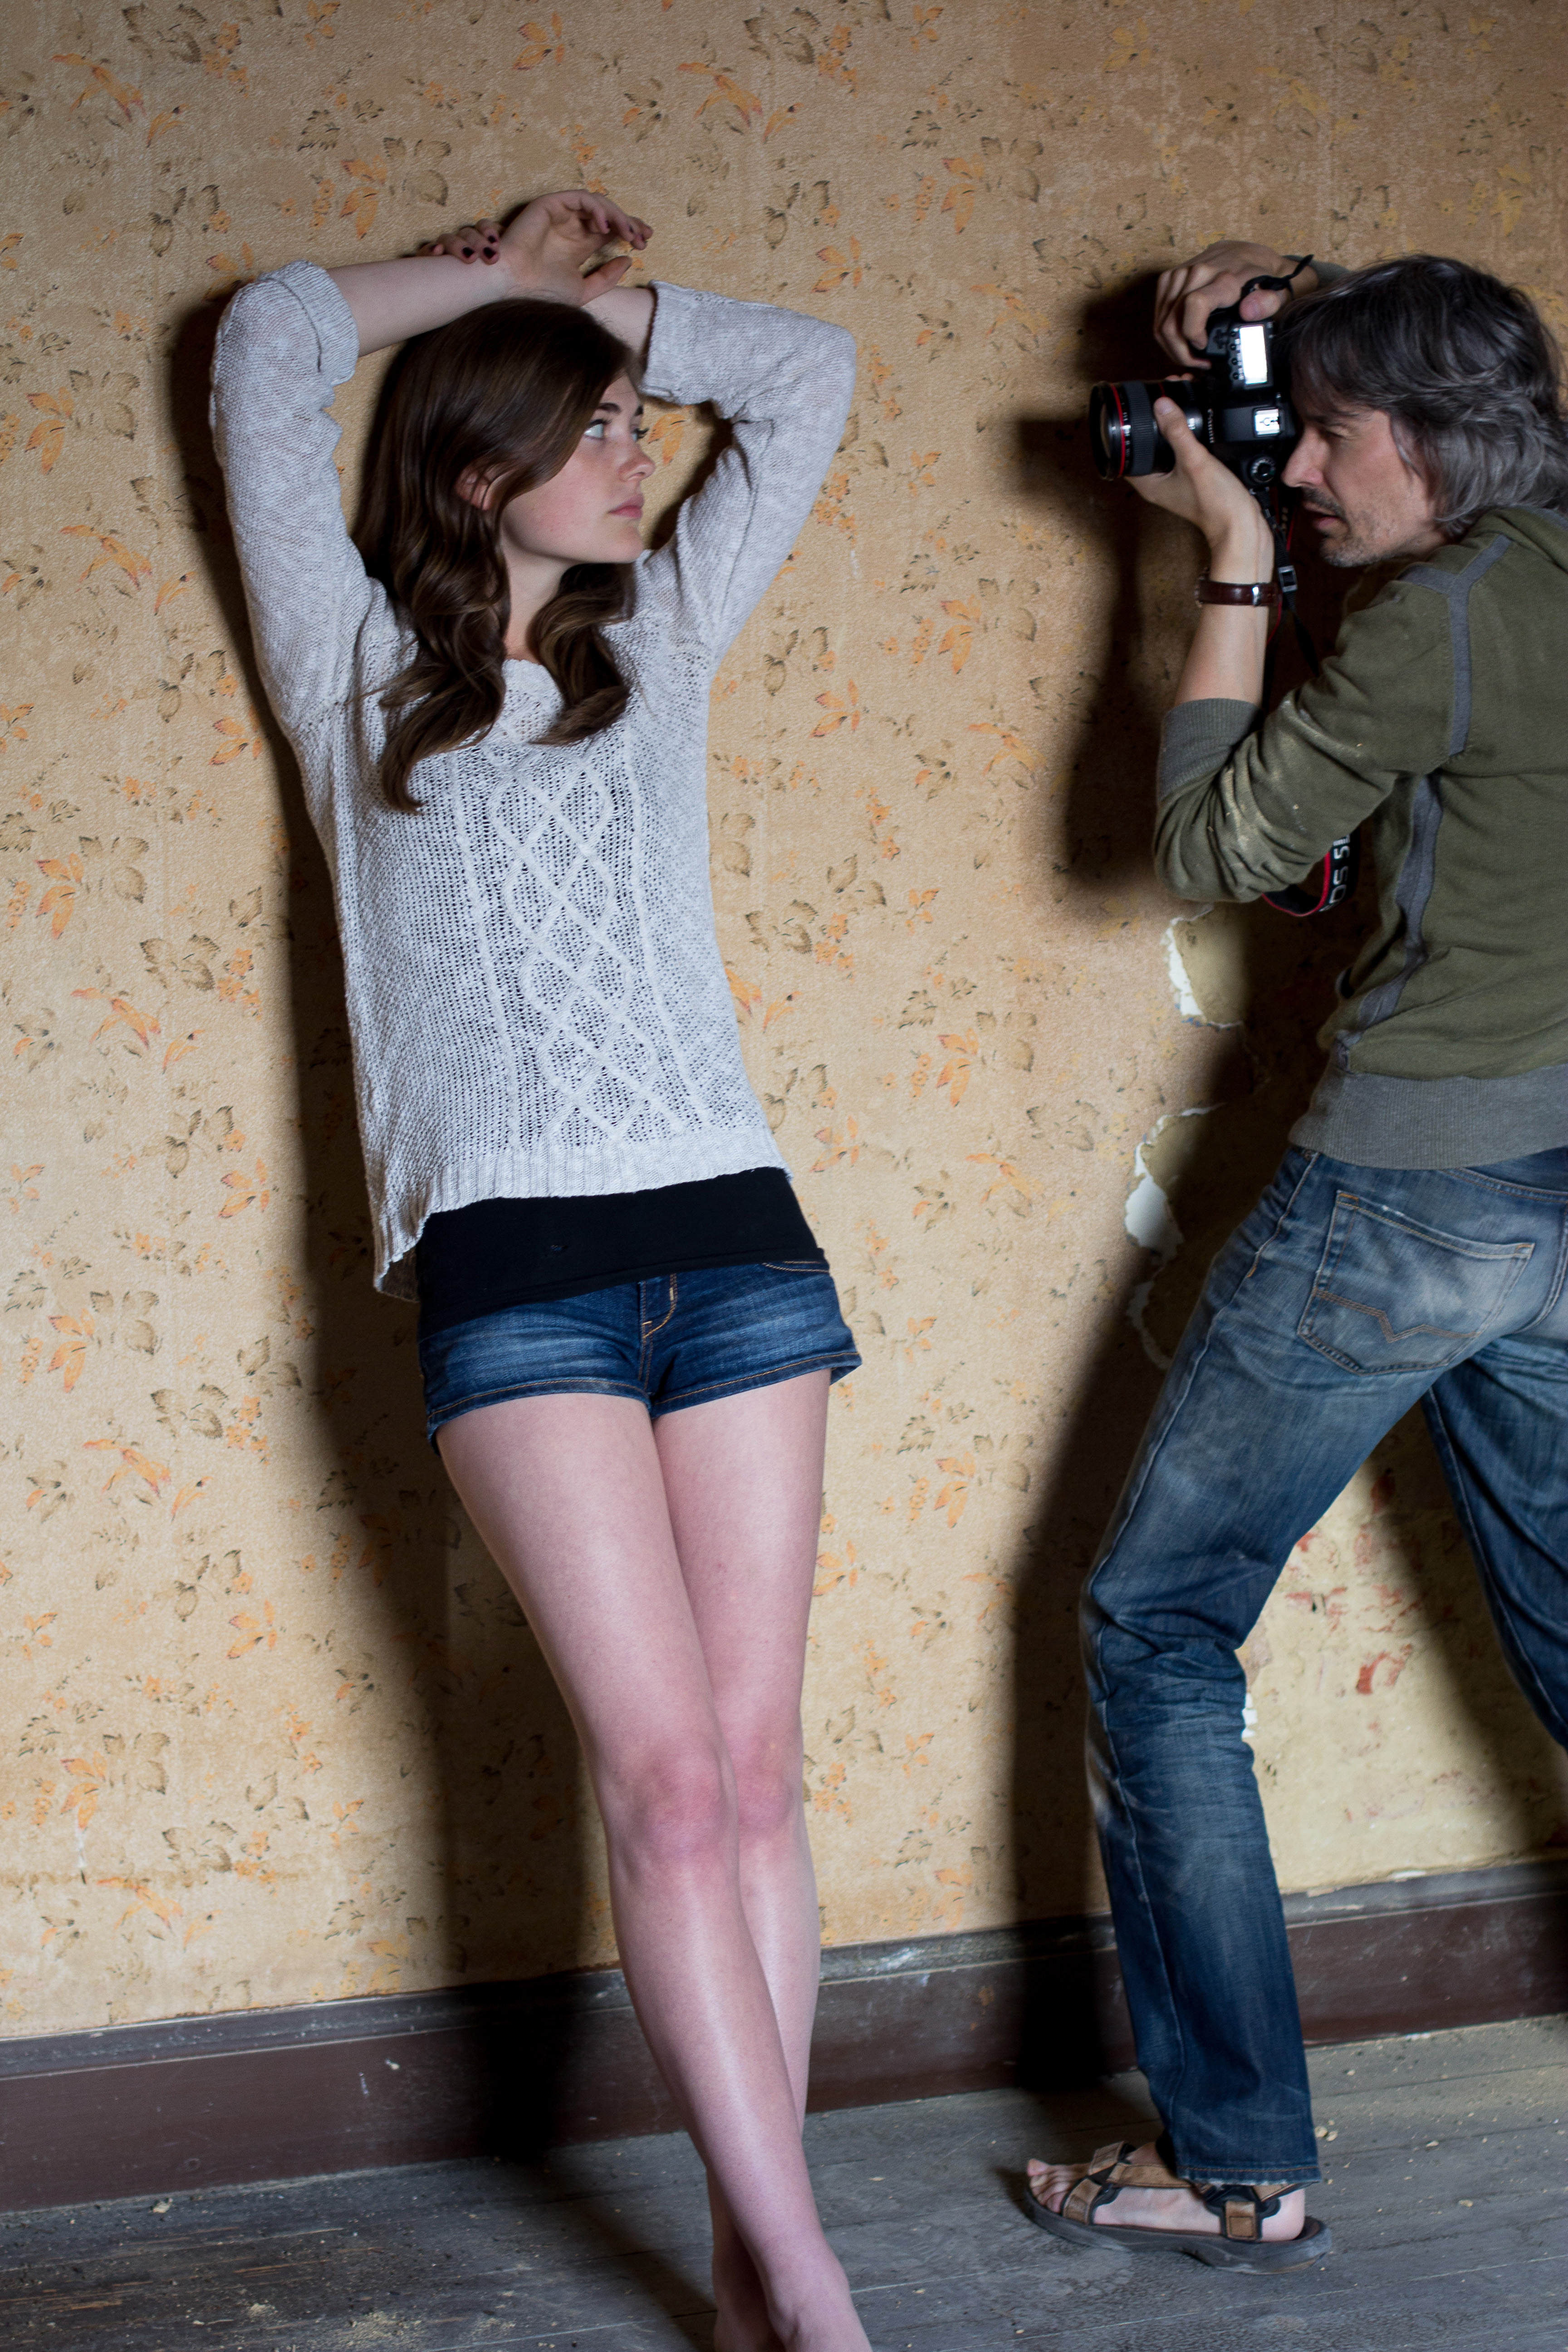
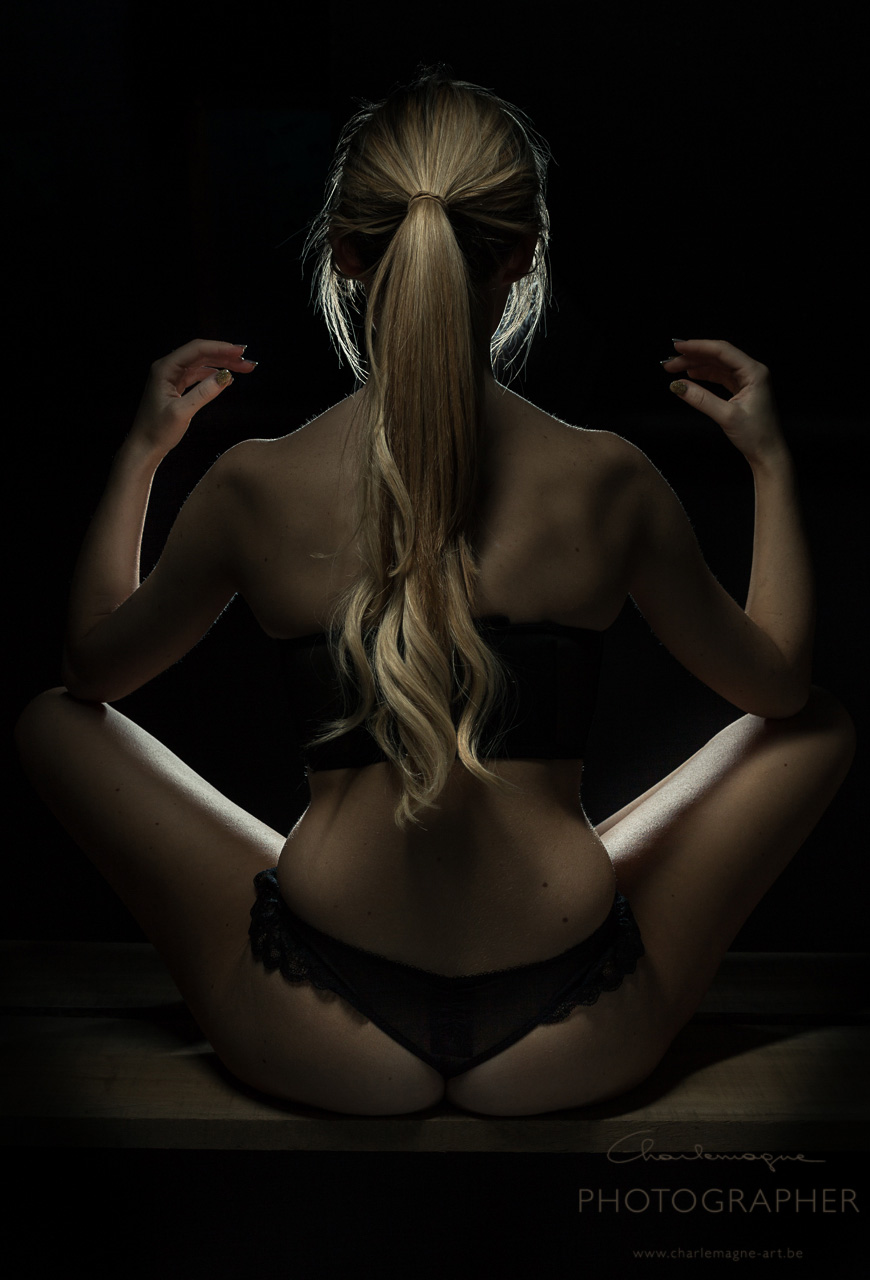
Table top I

beauty, erotic, Personal Pictures

I will continue my single image posts until I run out of stock :p

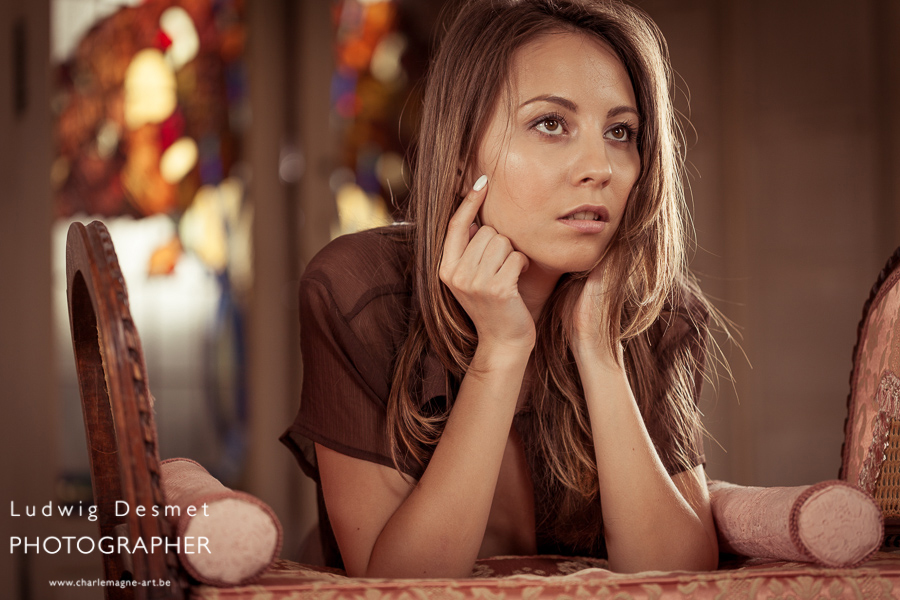
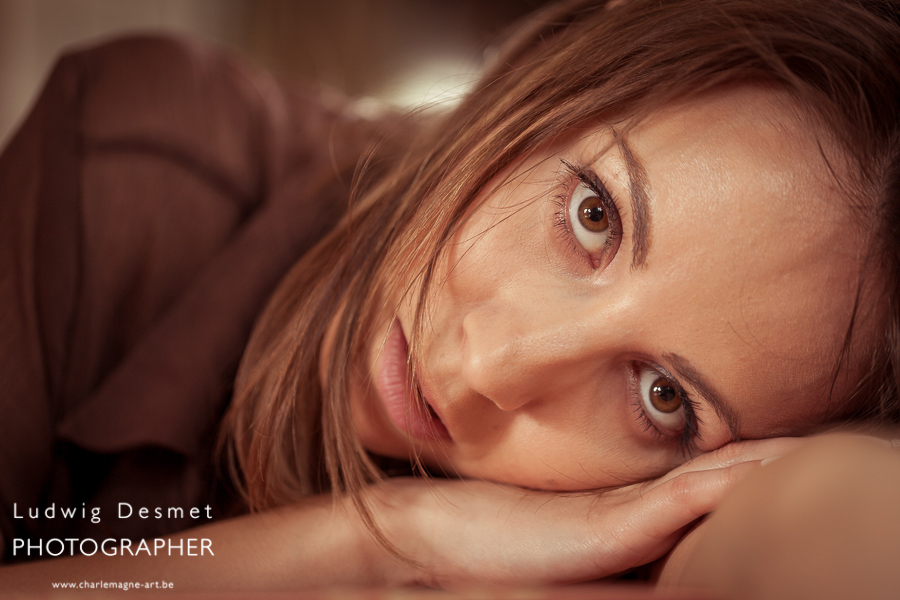
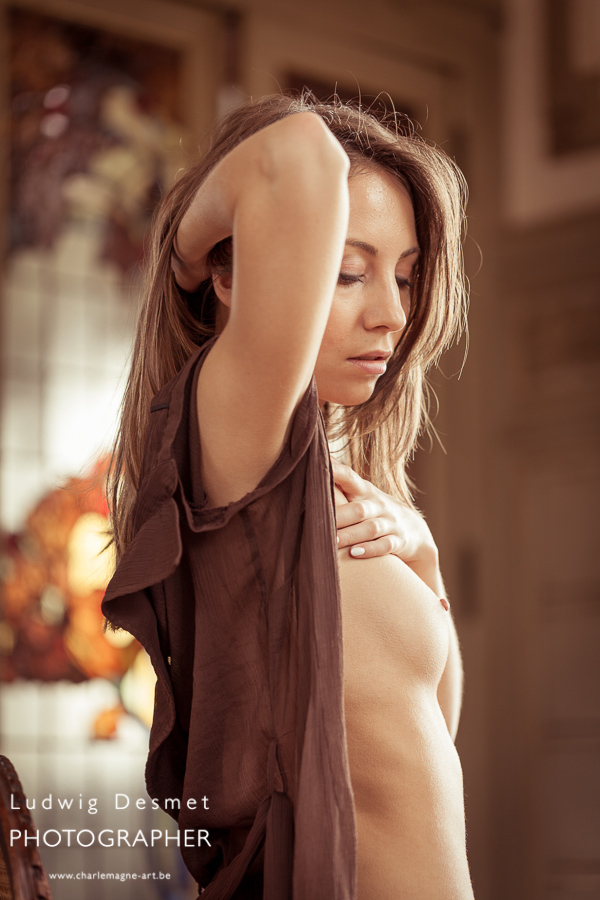
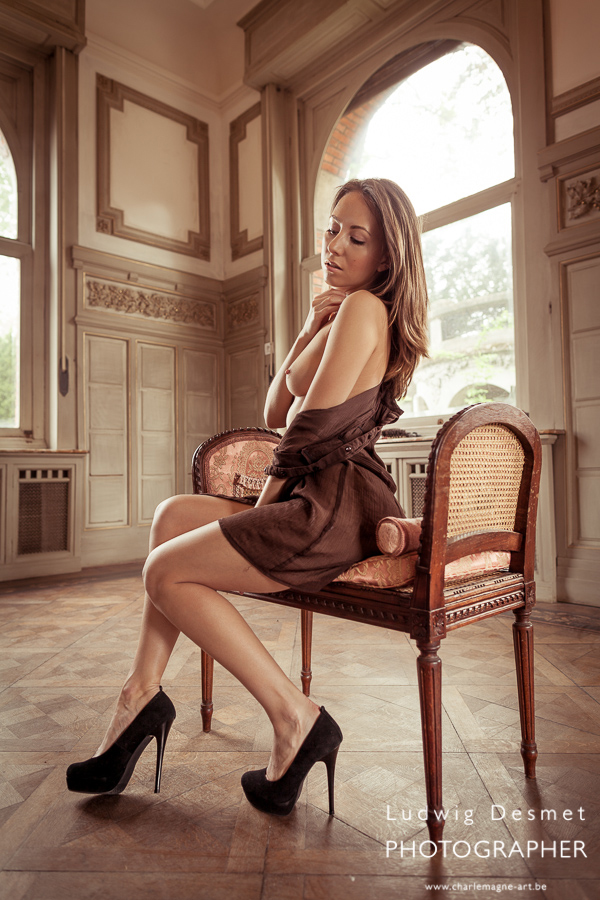
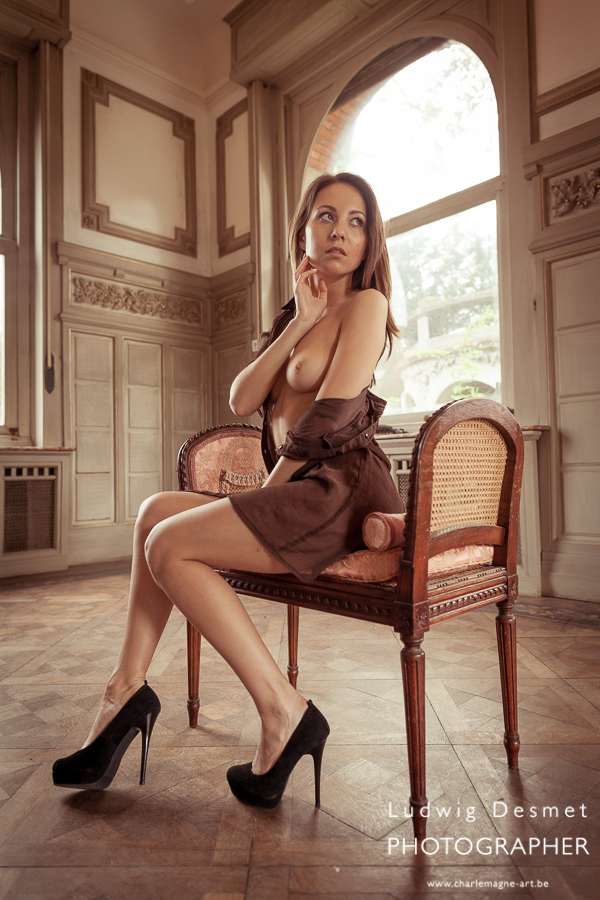
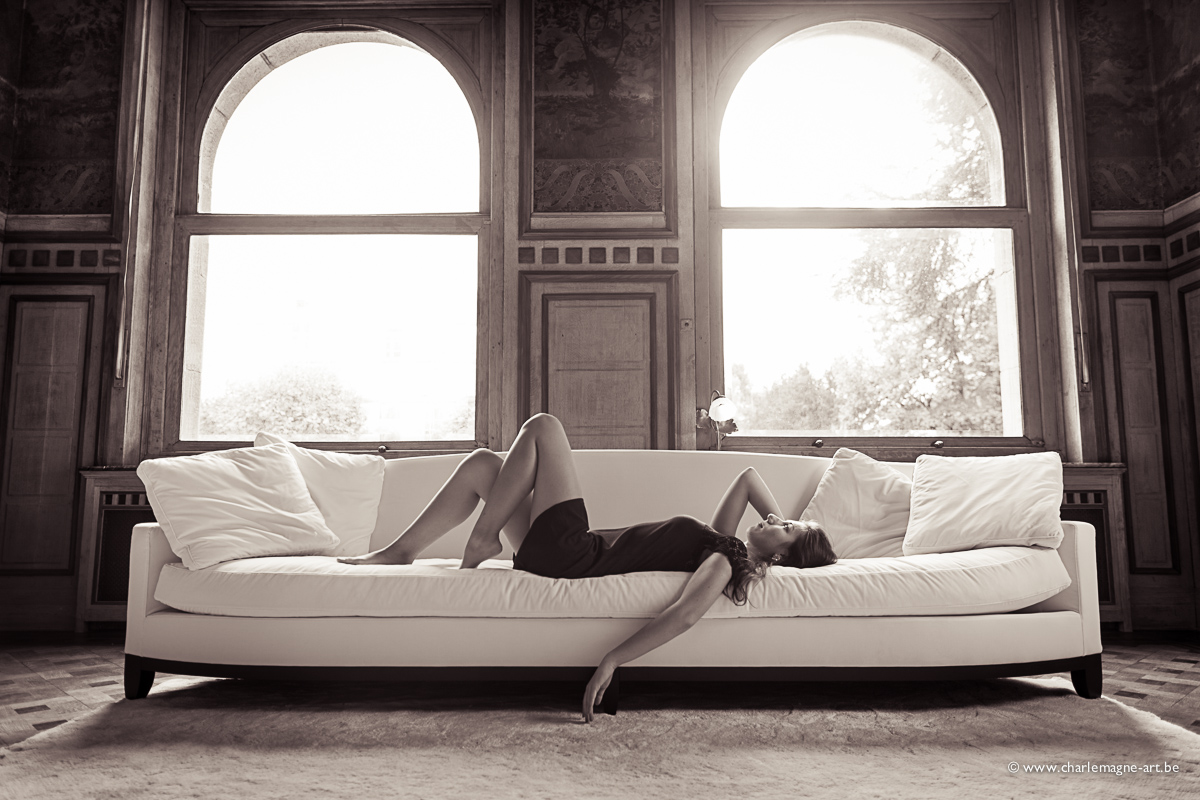
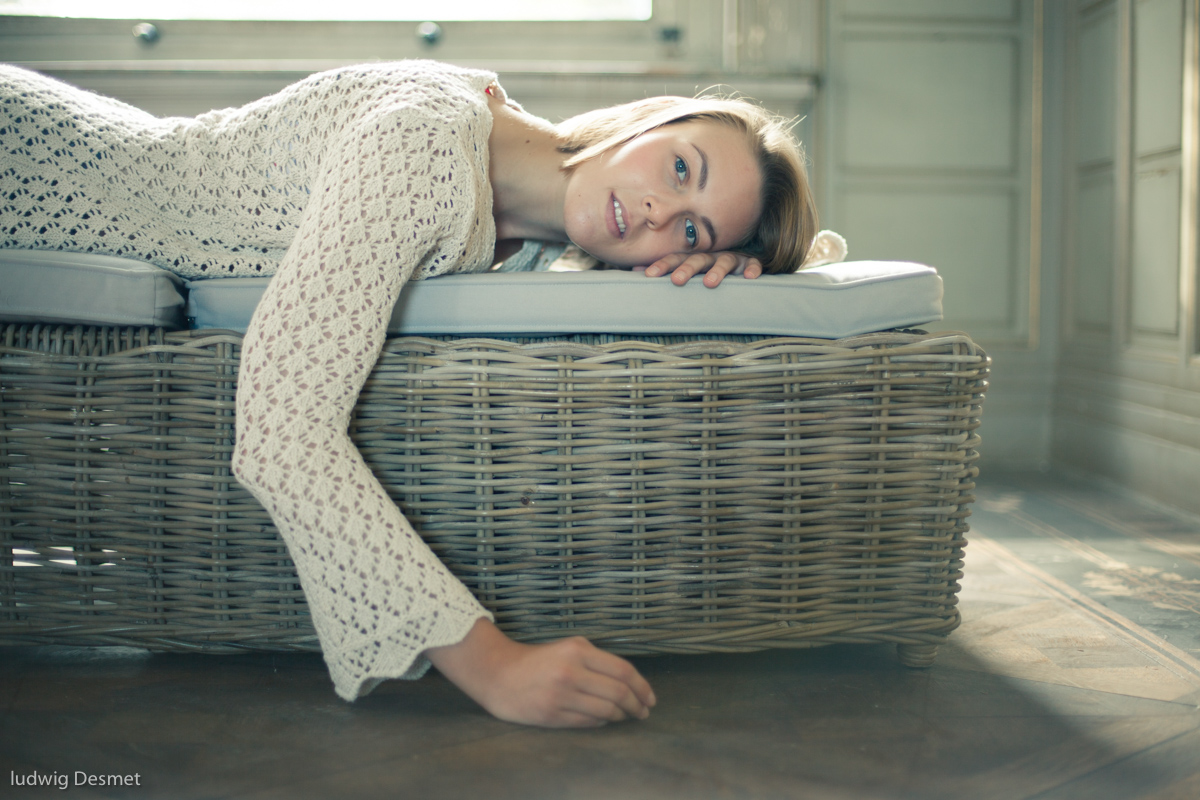
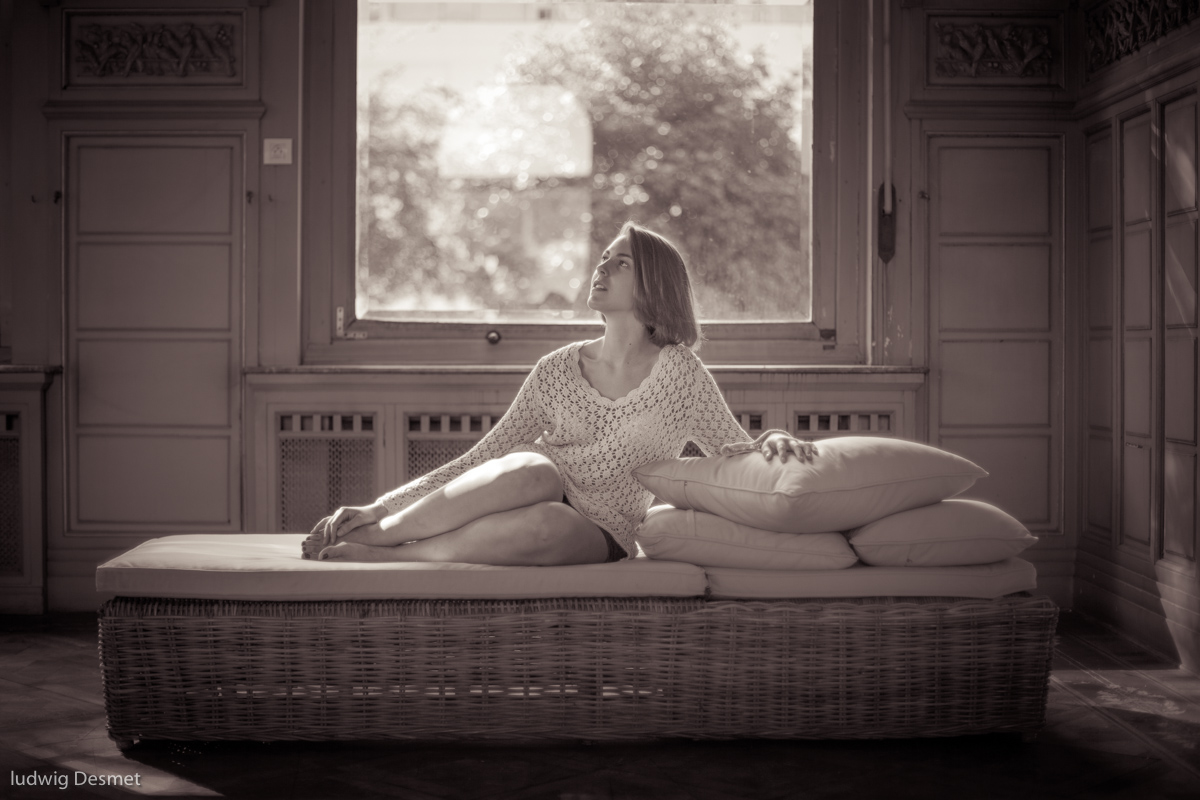
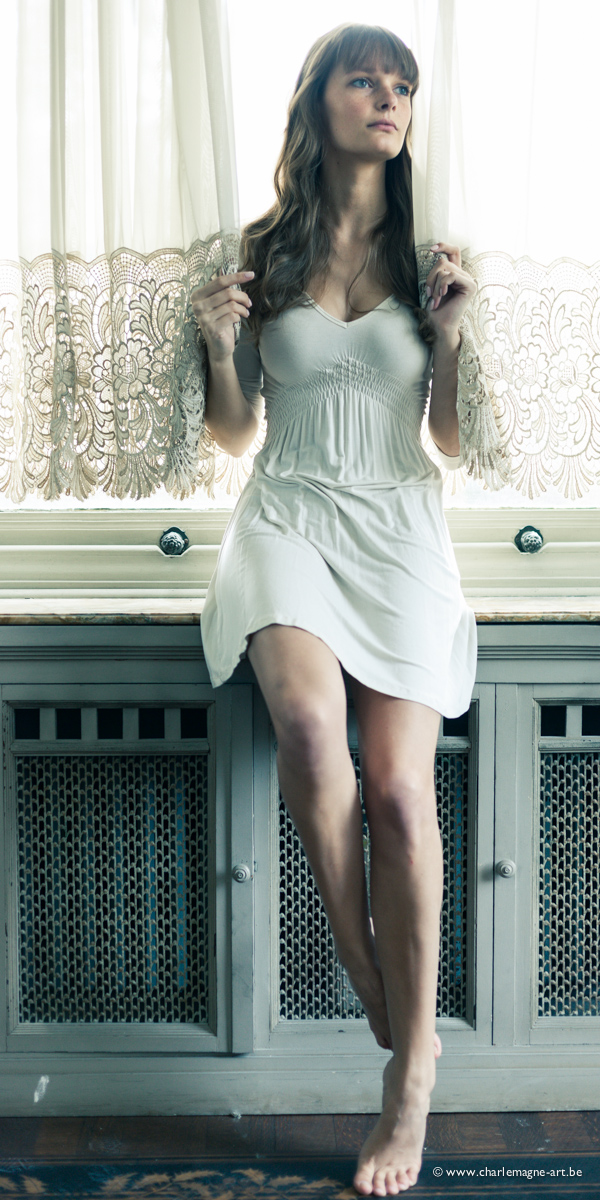
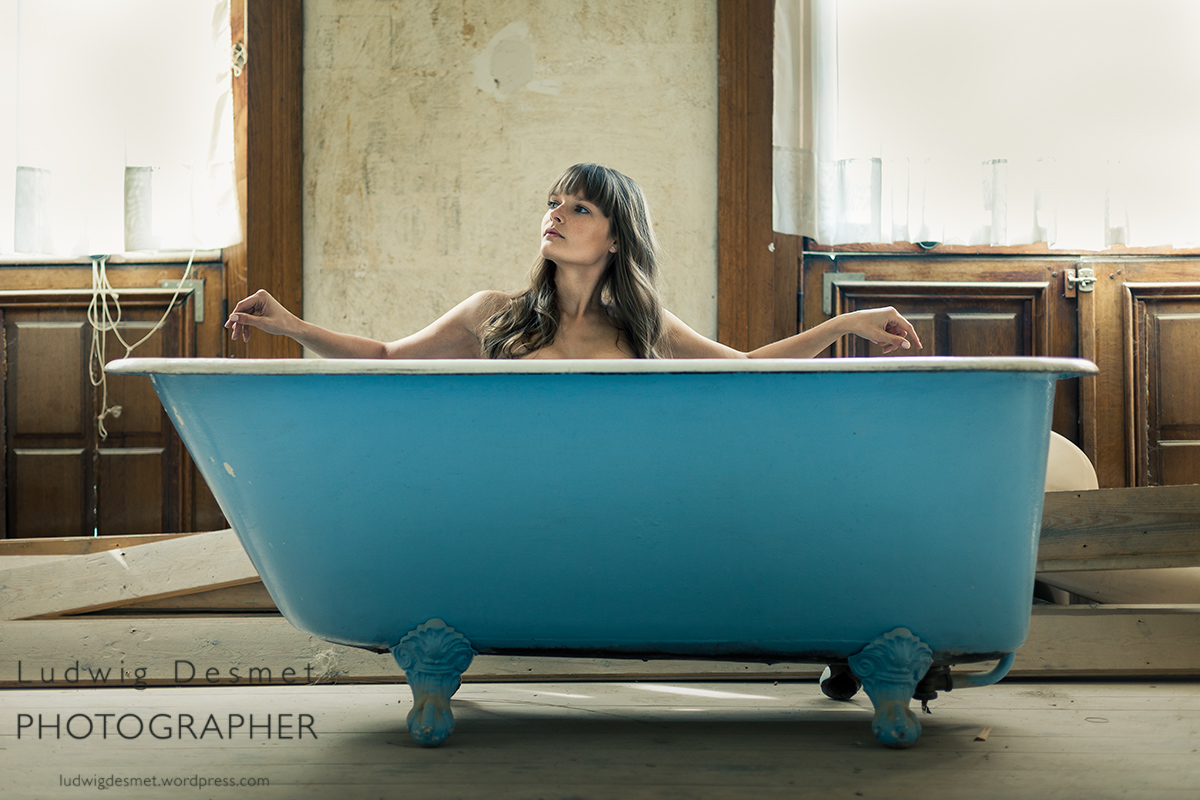
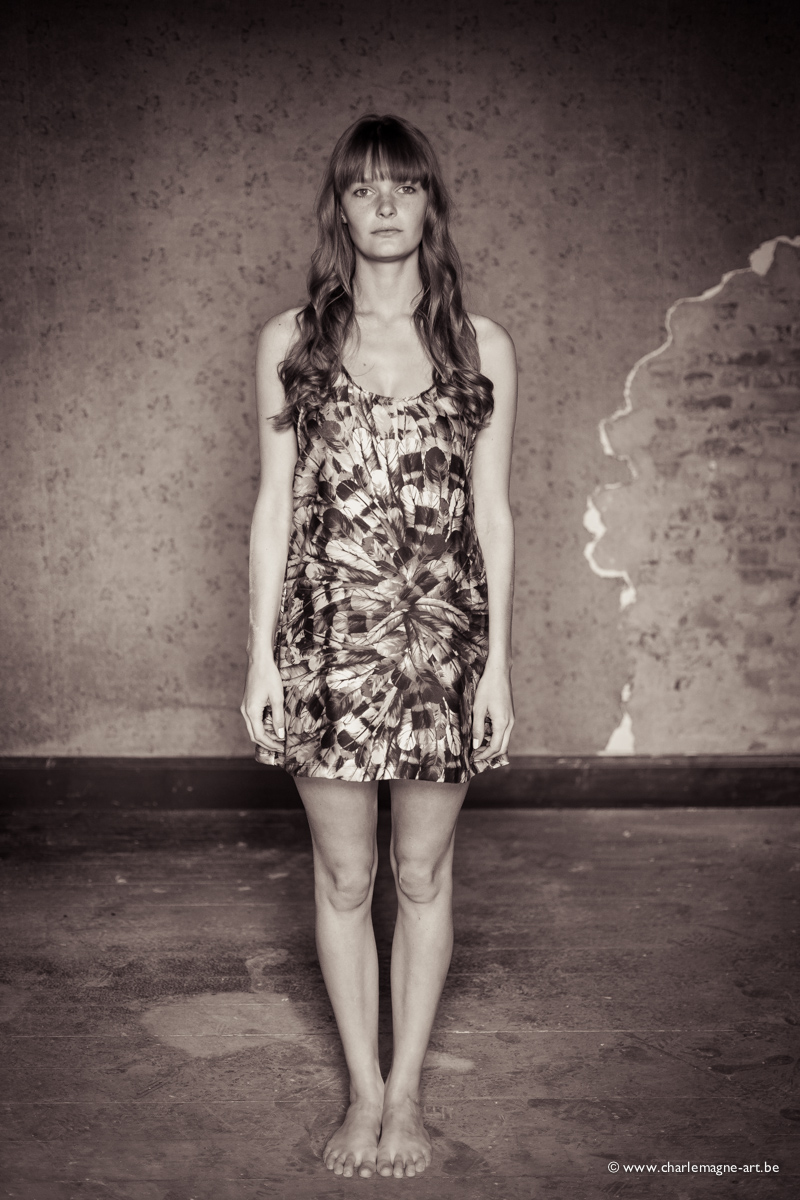
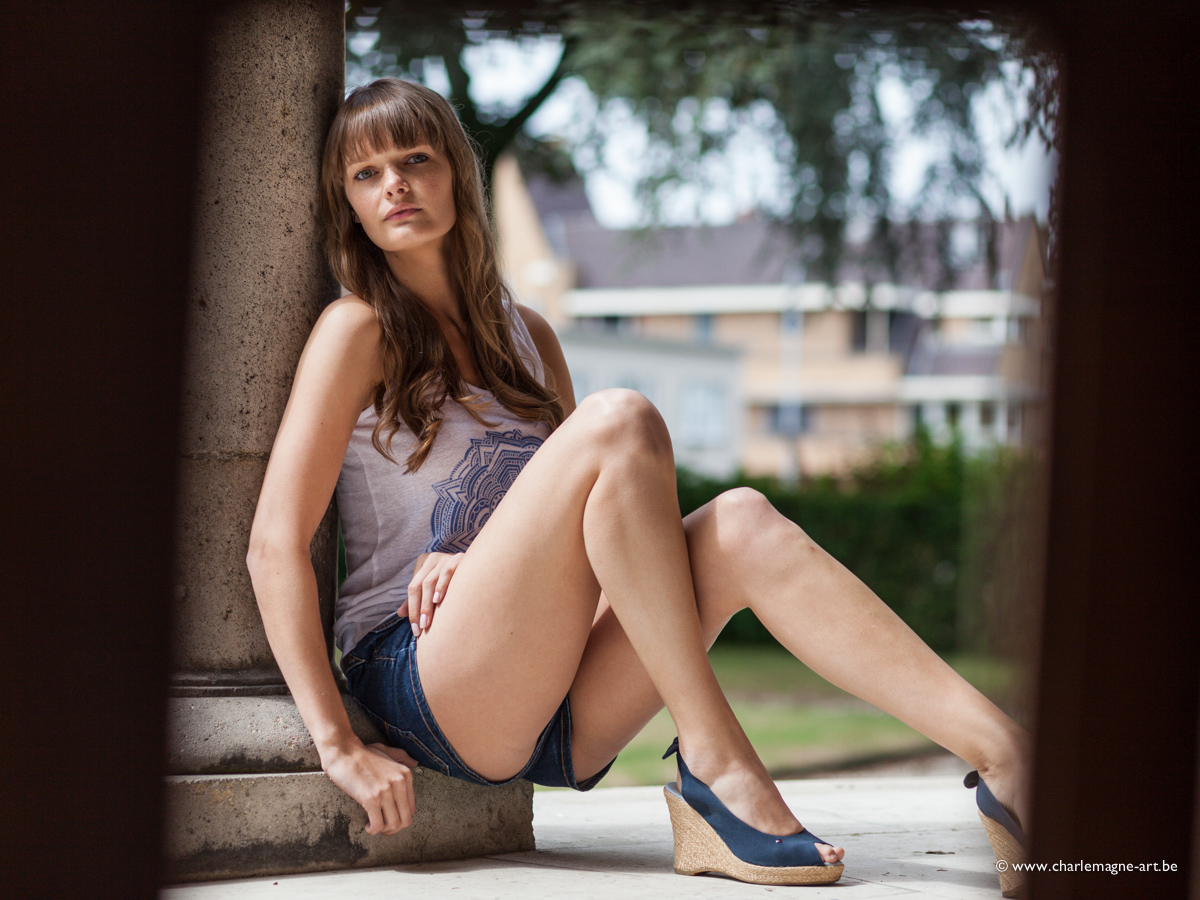
Result of the ‘At the Mansion’ shoot with Anna O., in Ronse Belgium.

Styling and photography by me.

Make up and model: Anna Orlova

Limited edition prints available.

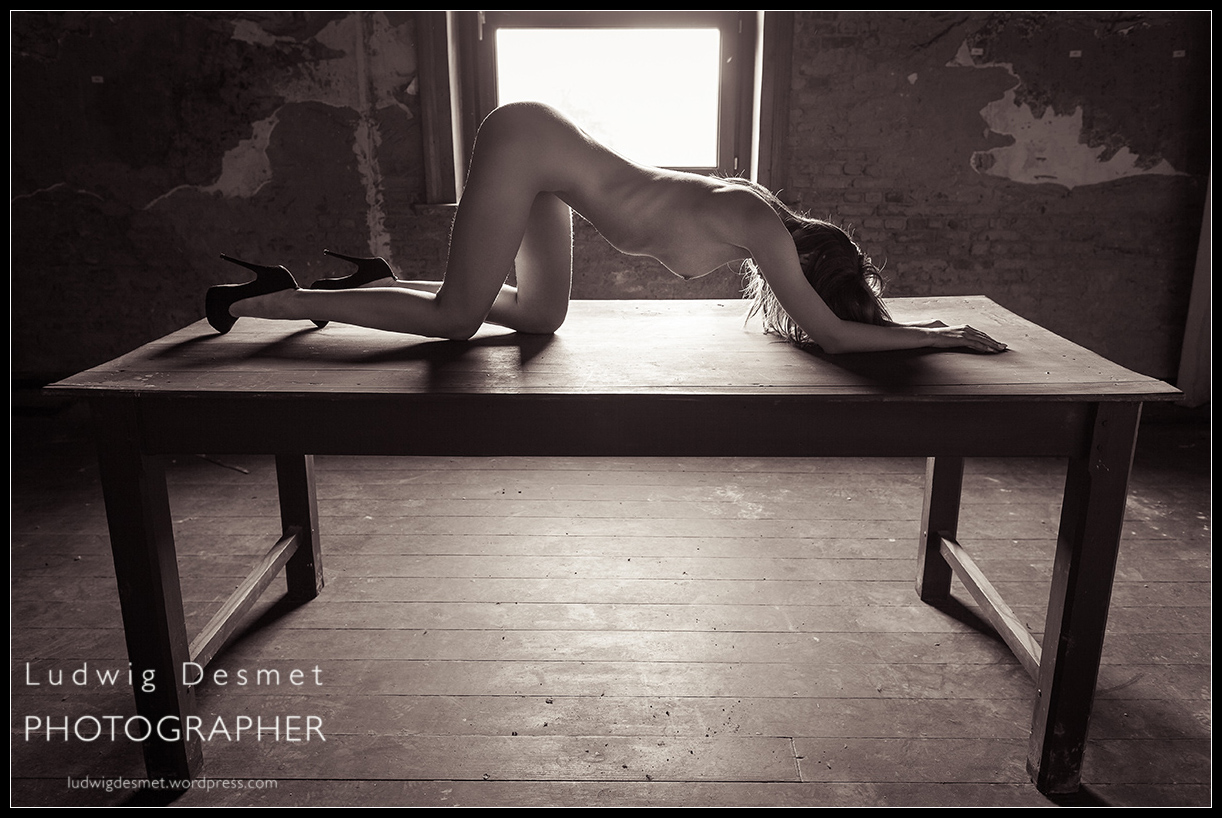
Table Top Nude I

Ludwigdesmet_AnnaO-8706

It is ok to like 😉

About the technique, I still work mainly (if not only) with natural light. This image has been made with the help of a tripod, because of the relatively long shutter speed, and in an attempt to keep a clean, frontal composition. I have multiple images of this session, but I think this one best expresses the beautiful shape of Anna’s body. No light source except the window light. Some light is bouncing back from the wall just behind me.

Canon 5D II – Canon EF 24 mm f1.4 L II – 1/10sec – f3.5 – ISO 100.

Ludwig

Battle of the 50’s Part II – Canon 50 mm f1.4 USM vs. Sigma 50 mm f1.4 DG HSM Art

Personal Pictures, photo gear, tests

A lot of good rumors about the Sigma 50mm Art that was announced for the end of April. I have decided to order one as soon as it was available here in Belgium, and I wanted to do a comparison between this praised newcomer and the 50 mm f1.4 I have been using since about two years. (see battle of the 50’s for a comparison between Canon’s cheap (fantastic plastic) 50 mm f1.8 and the second in line 50mm f1.4 from Canon as well)

So this time a comparison between the Sigma 50mm f1.4 DG HSM Art and the Canon EF 50 mm f1.4 USM.

Both aimed at the full frame market, a rather old design for the Canon, brand new for the Sigma, part of the ‘Art’ series of new lenses from the latter.

In my photography I often have to deal with difficult light situations (I mostly work with natural light only) in dim lit interiors. I so have decided a couple of years ago to mainly go with fixed focal length lenses with big apertures. I currently have a Canon 24 mm f1.4 L II, a 50 mm f 1.4 (Canon and Sigma, although the Canon has already been sold and will be transferred to its new owner as soon as this test is over) a Canon 85 mm f1.8, a Canon 100 mm f2:8 macro (NEW) and a Canon 135 mm f2.0 L. A lot of glass and a lot of weight in my photo bag.

Additional weight for this 50 mm lens from Sigma too, compared to the Canon f1.4 (290 g) the Sigma comes at 815 grammes, meaning a lot more weight to carry. In combination with the Canon 5D mark II I use, this combo weighs about 1700 grams all together. My wife complained about the weight when I had her review the images of my last shoot.

The design of the Sigma lens is definitely more attractive, with is matte finish and sleek all black no colors approach. It comes with a hood and caps, and a square semi-hard lens case. The price here in Belgium is 839 € (Art & Craft pre-order) while the Canon comes at 339 € at the same shop.

All images for this test have been taken in my backyard or home studio, no special things going on here, except for young vegetable sprouts struggling against the spring rains we had lately.

As far as needed, all images are taken with tripod, live view magnification for focussing and with the same 5D II camera. Self timer to prevent touch shake.

The images show the entire scene on top, 100% crops from unedited images (except standard sharpening in LR5) below. The aperture setting is mentioned on every crop. All Jpg’s are saved at 100% quality. Take care, some of these images are big! All these images are for informational purpose only, no legal claims made!

You should really look at the images full size to be able to judge on the results obtained!

Sharpness center and edge:

Left to right: Canon center sharpness, Sigma center sharpness, Canon edge sharpness, Sigma edge sharpness.

Full size on click, 11.9 Mb Jpg file.
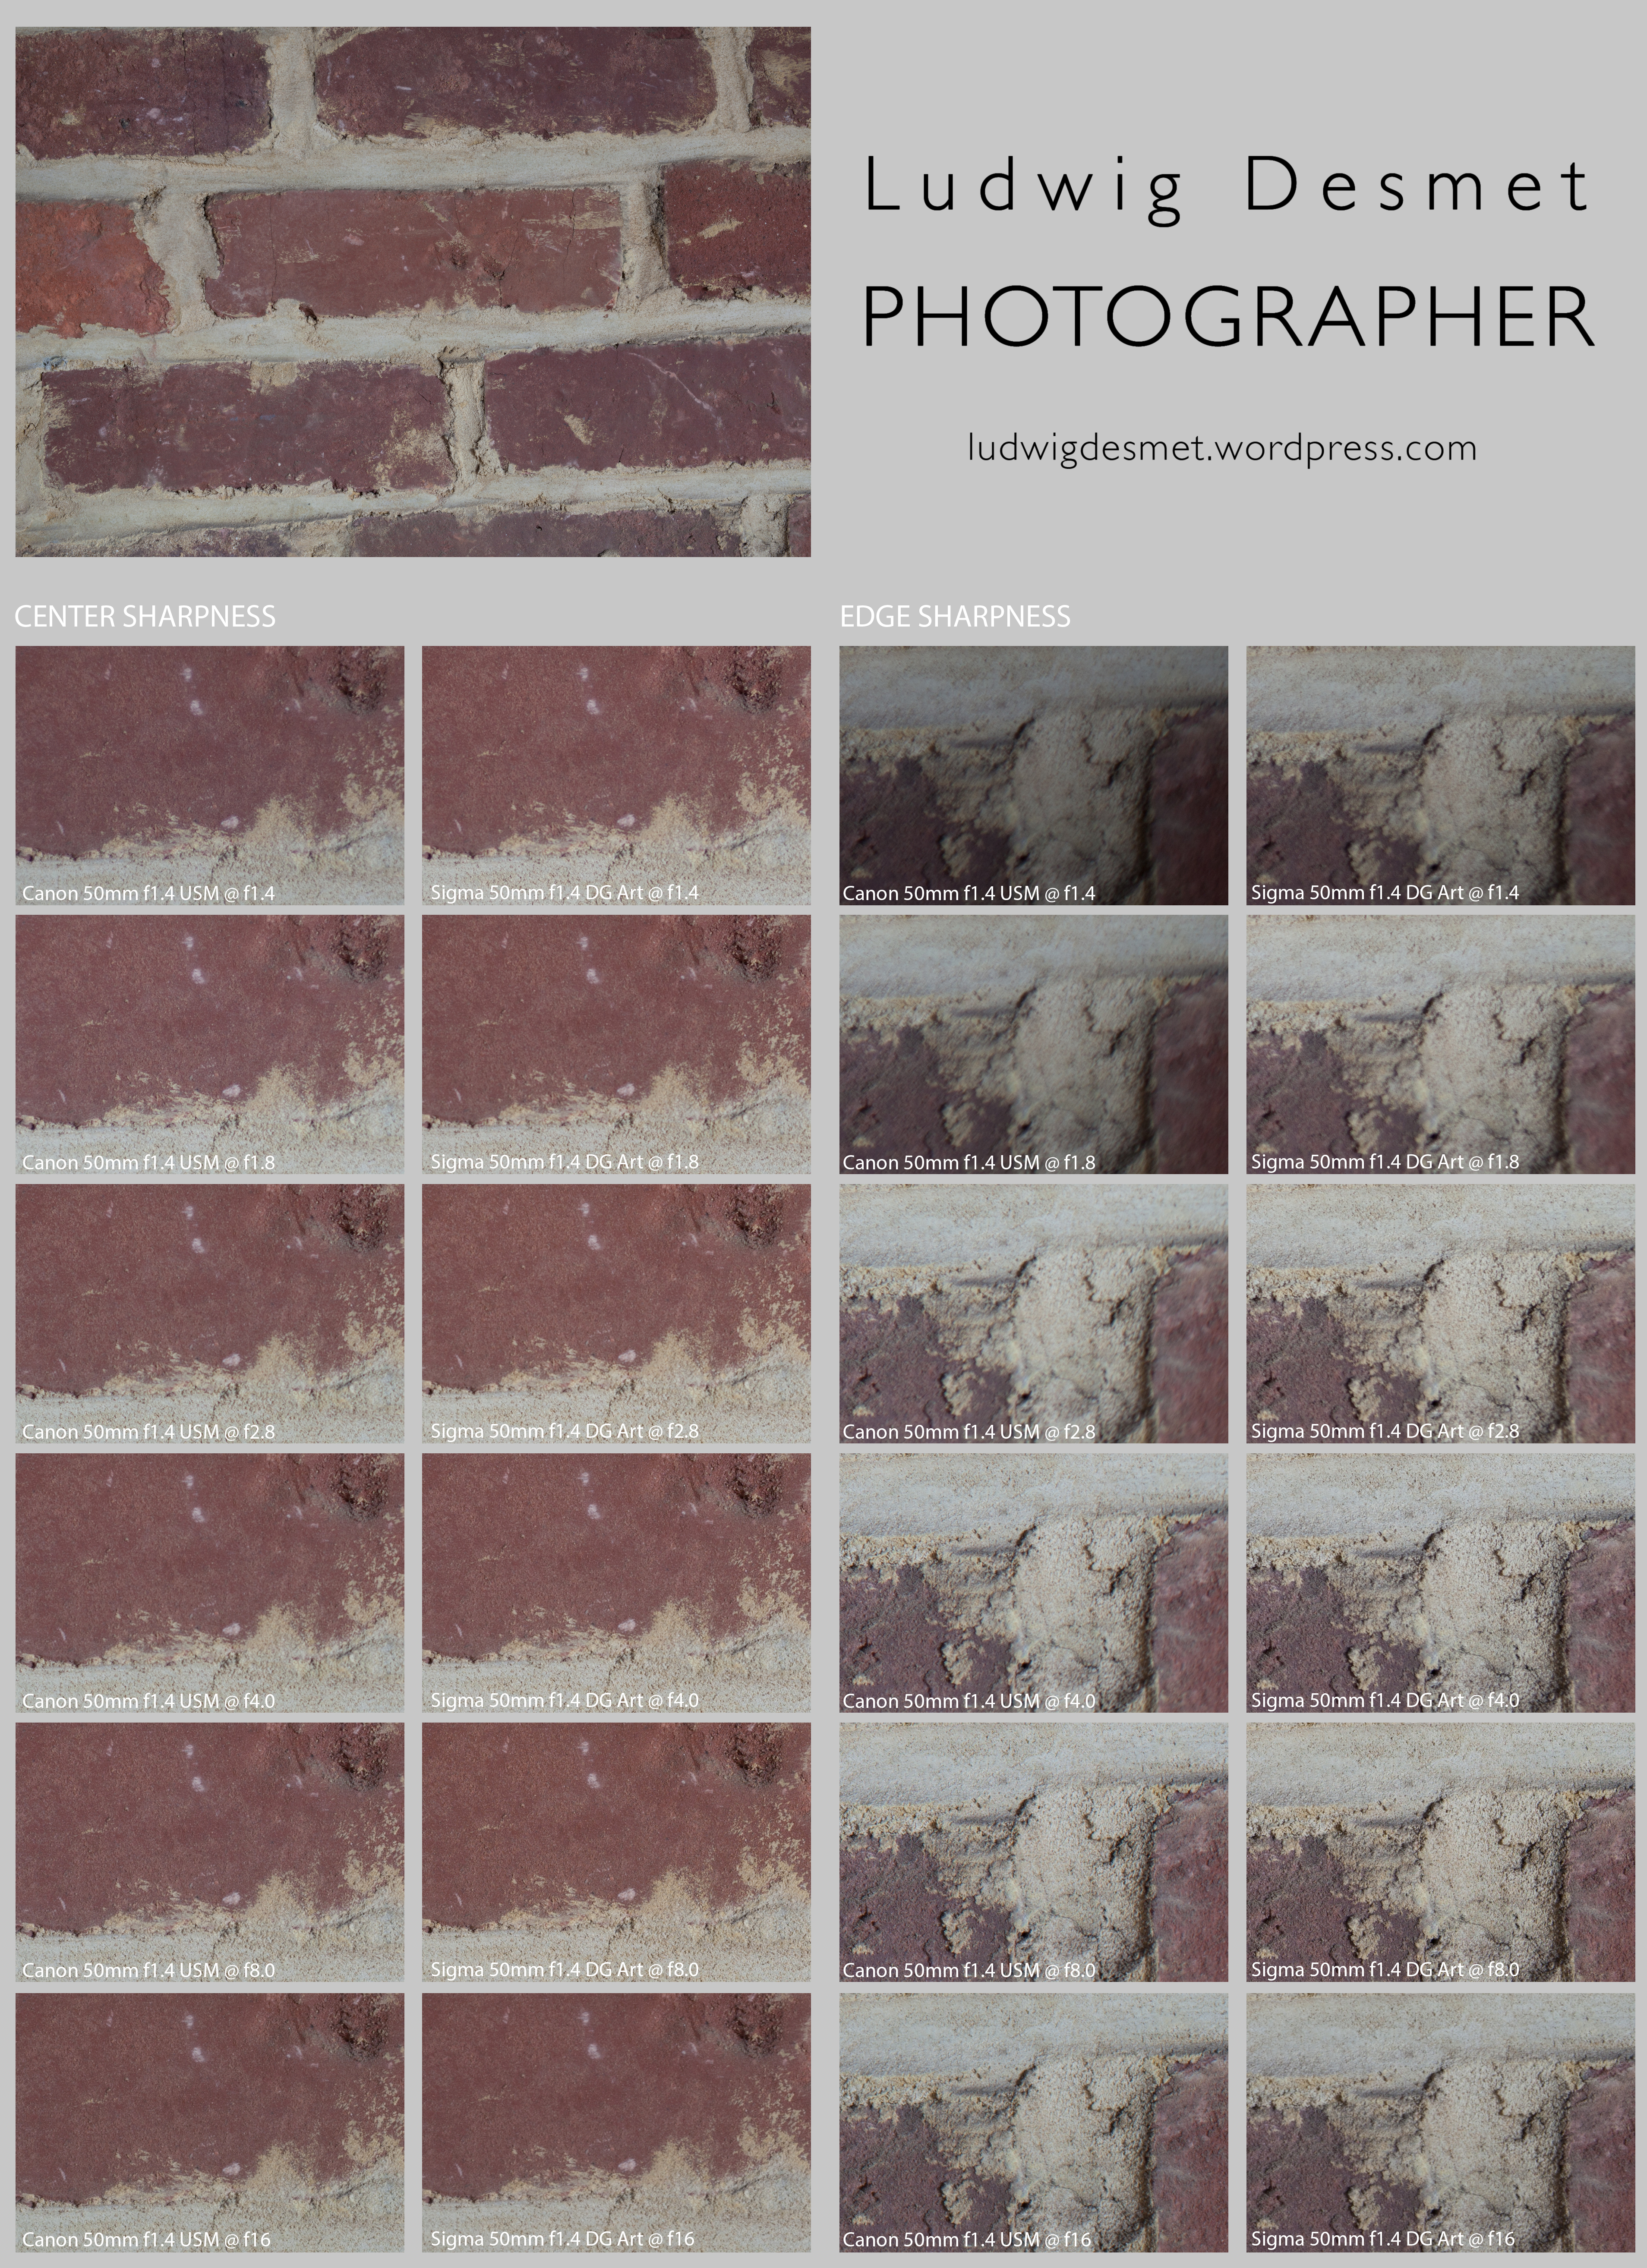
Sigma vs Canon 50mmtest-sharpcomp

My observations:

Center sharpness Canon: soft wide open, reaches full sharpness at f2.8, stays sharp till f8.0, a little diffraction softening at f16

Center sharpness Sigma: similar sharpness wide open as the Canon at f2.8, small increments of additional sharpness till f8.0, clearly visible diffraction effects at f16

Edge sharpness Canon: strong image distortions in this part of the image at f1.4 and f1.8, as if the image has had a rotational blur, gradually improving image quality, acceptably sharp at f8.0, soft degradation at f16

Edge sharpness Sigma: similarly sharp at f1.4 as the Canon at f1.8, but no distortions, f4.0 similar to Canon at f8.0 and sharpest at f8.0 and better image detail as the Canon at f8.0. More diffraction degradation at f16 than Canon.

Note the strong vignetting on the Canon f1.4 USM when used wide open. Less visible on the Sigma.

Vignetting is becoming invisible at f4.0 for the Canon, at f2.8 for Sigma.

Minimal focussing distance. Sharpness and magnification:

the minimal focus distance for the Canon is 0.45 m, for the Sigma it is at 0.4 m, so a bigger magnification is possible.

Another set of images, both showing the magnification comparison, and a crop showing sharpness with different apertures.
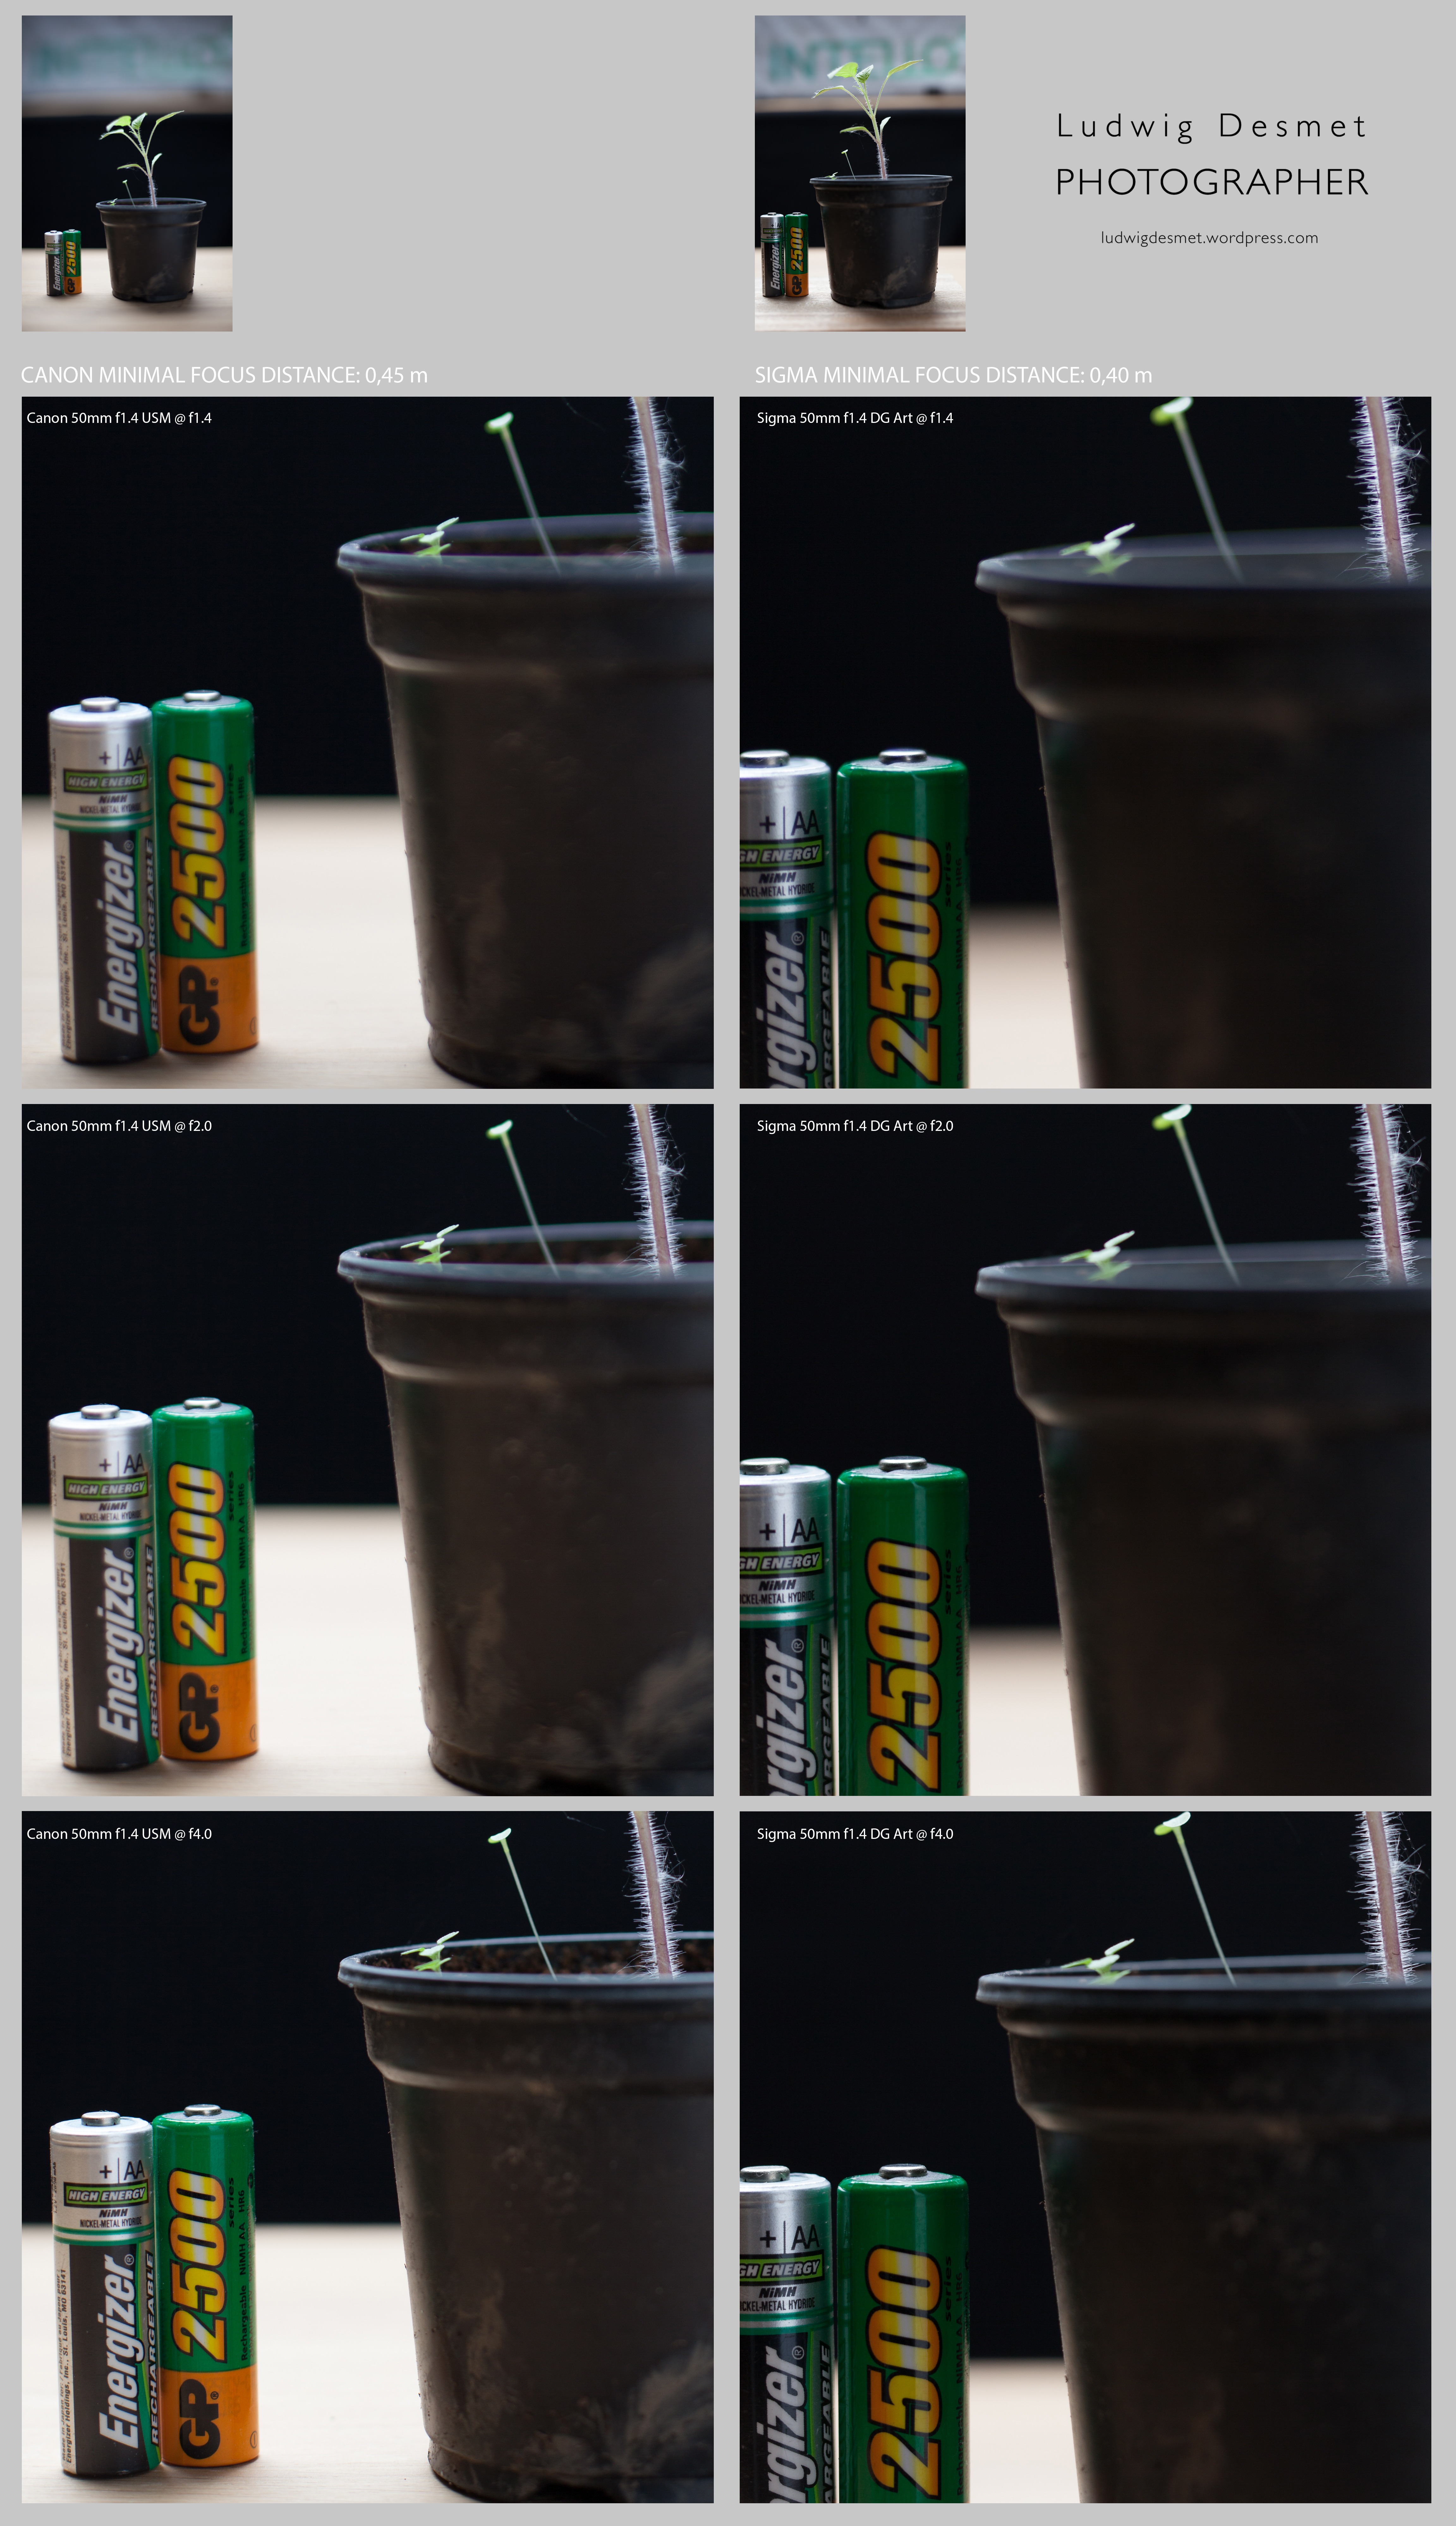
Sigma vs Canon 50mmtest-minfocus

my observations:

similar as previous test, very weak performance at the image edge for Canon, at least one stop better sharpness for the Sigma in both center and edge.

The Sigma lens has however more problems with purple fringing when used wide open (note the hairs on the plant stem). This reminds me of the ‘quick’n dirty 85mm lens test’ I did a couple of years ago, where similar fringing problems where appearing with the Sigma 85 mm f1.4

Chromatic Aberration and color fringe:

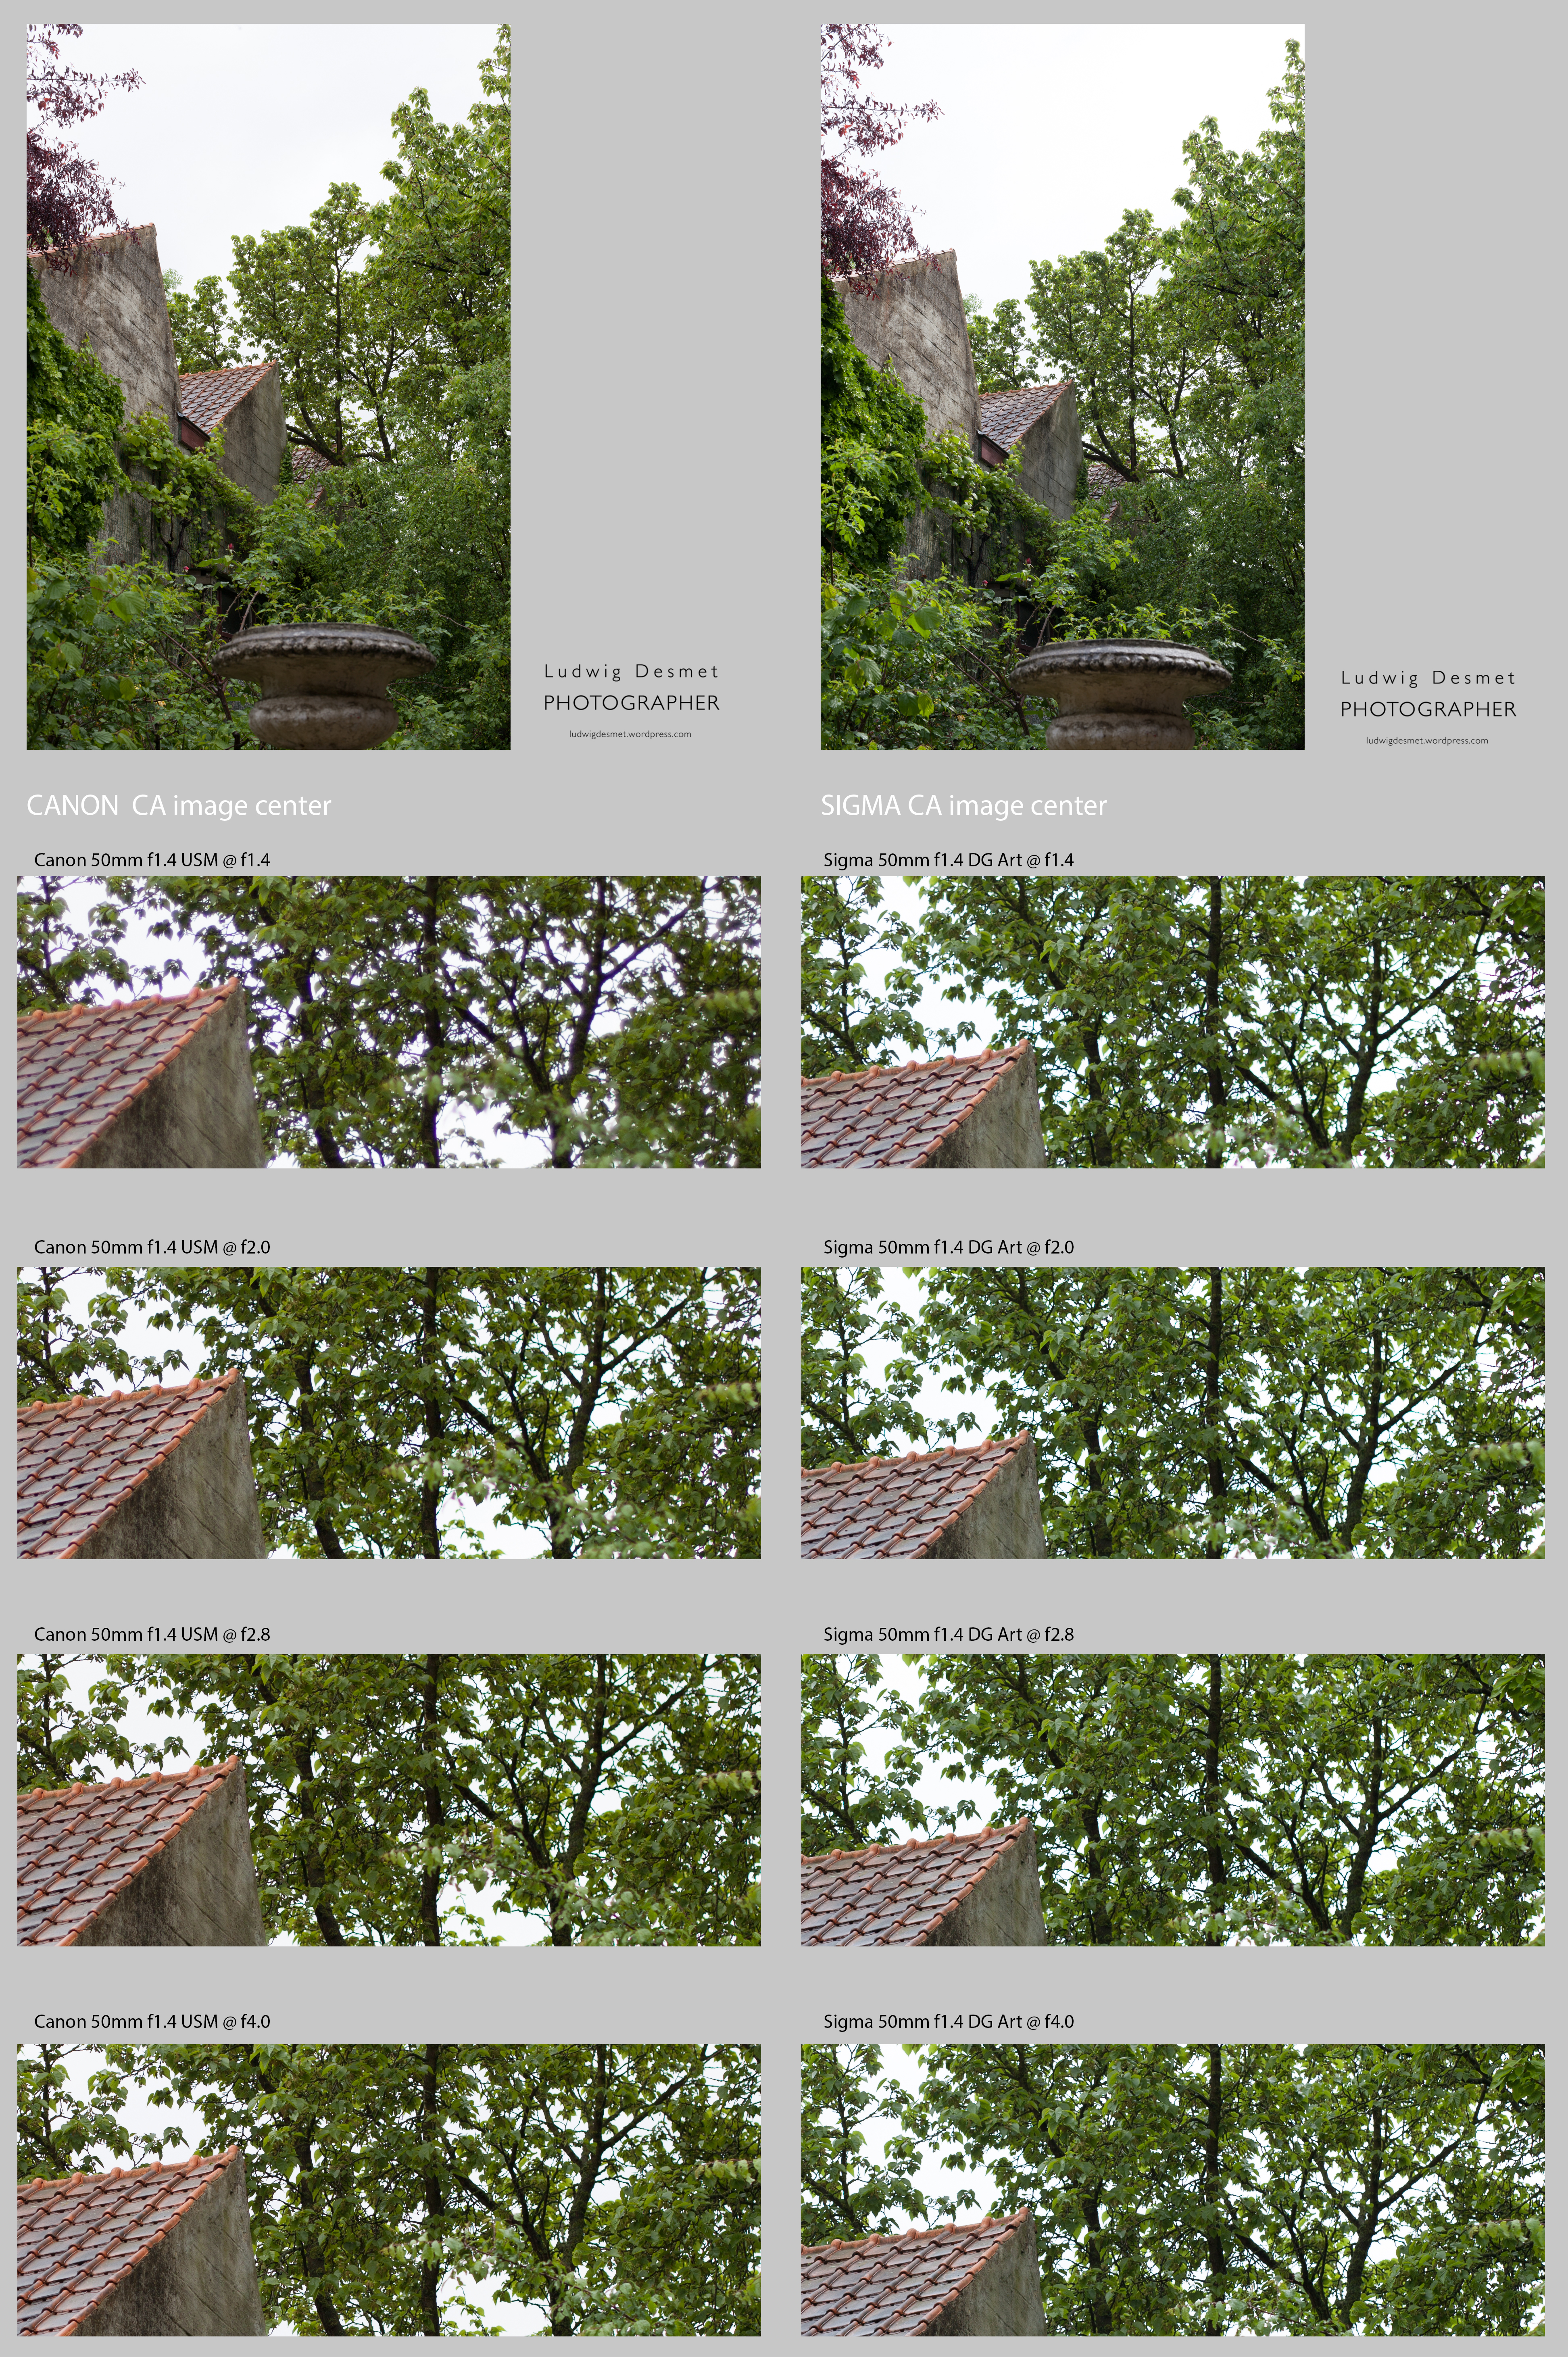
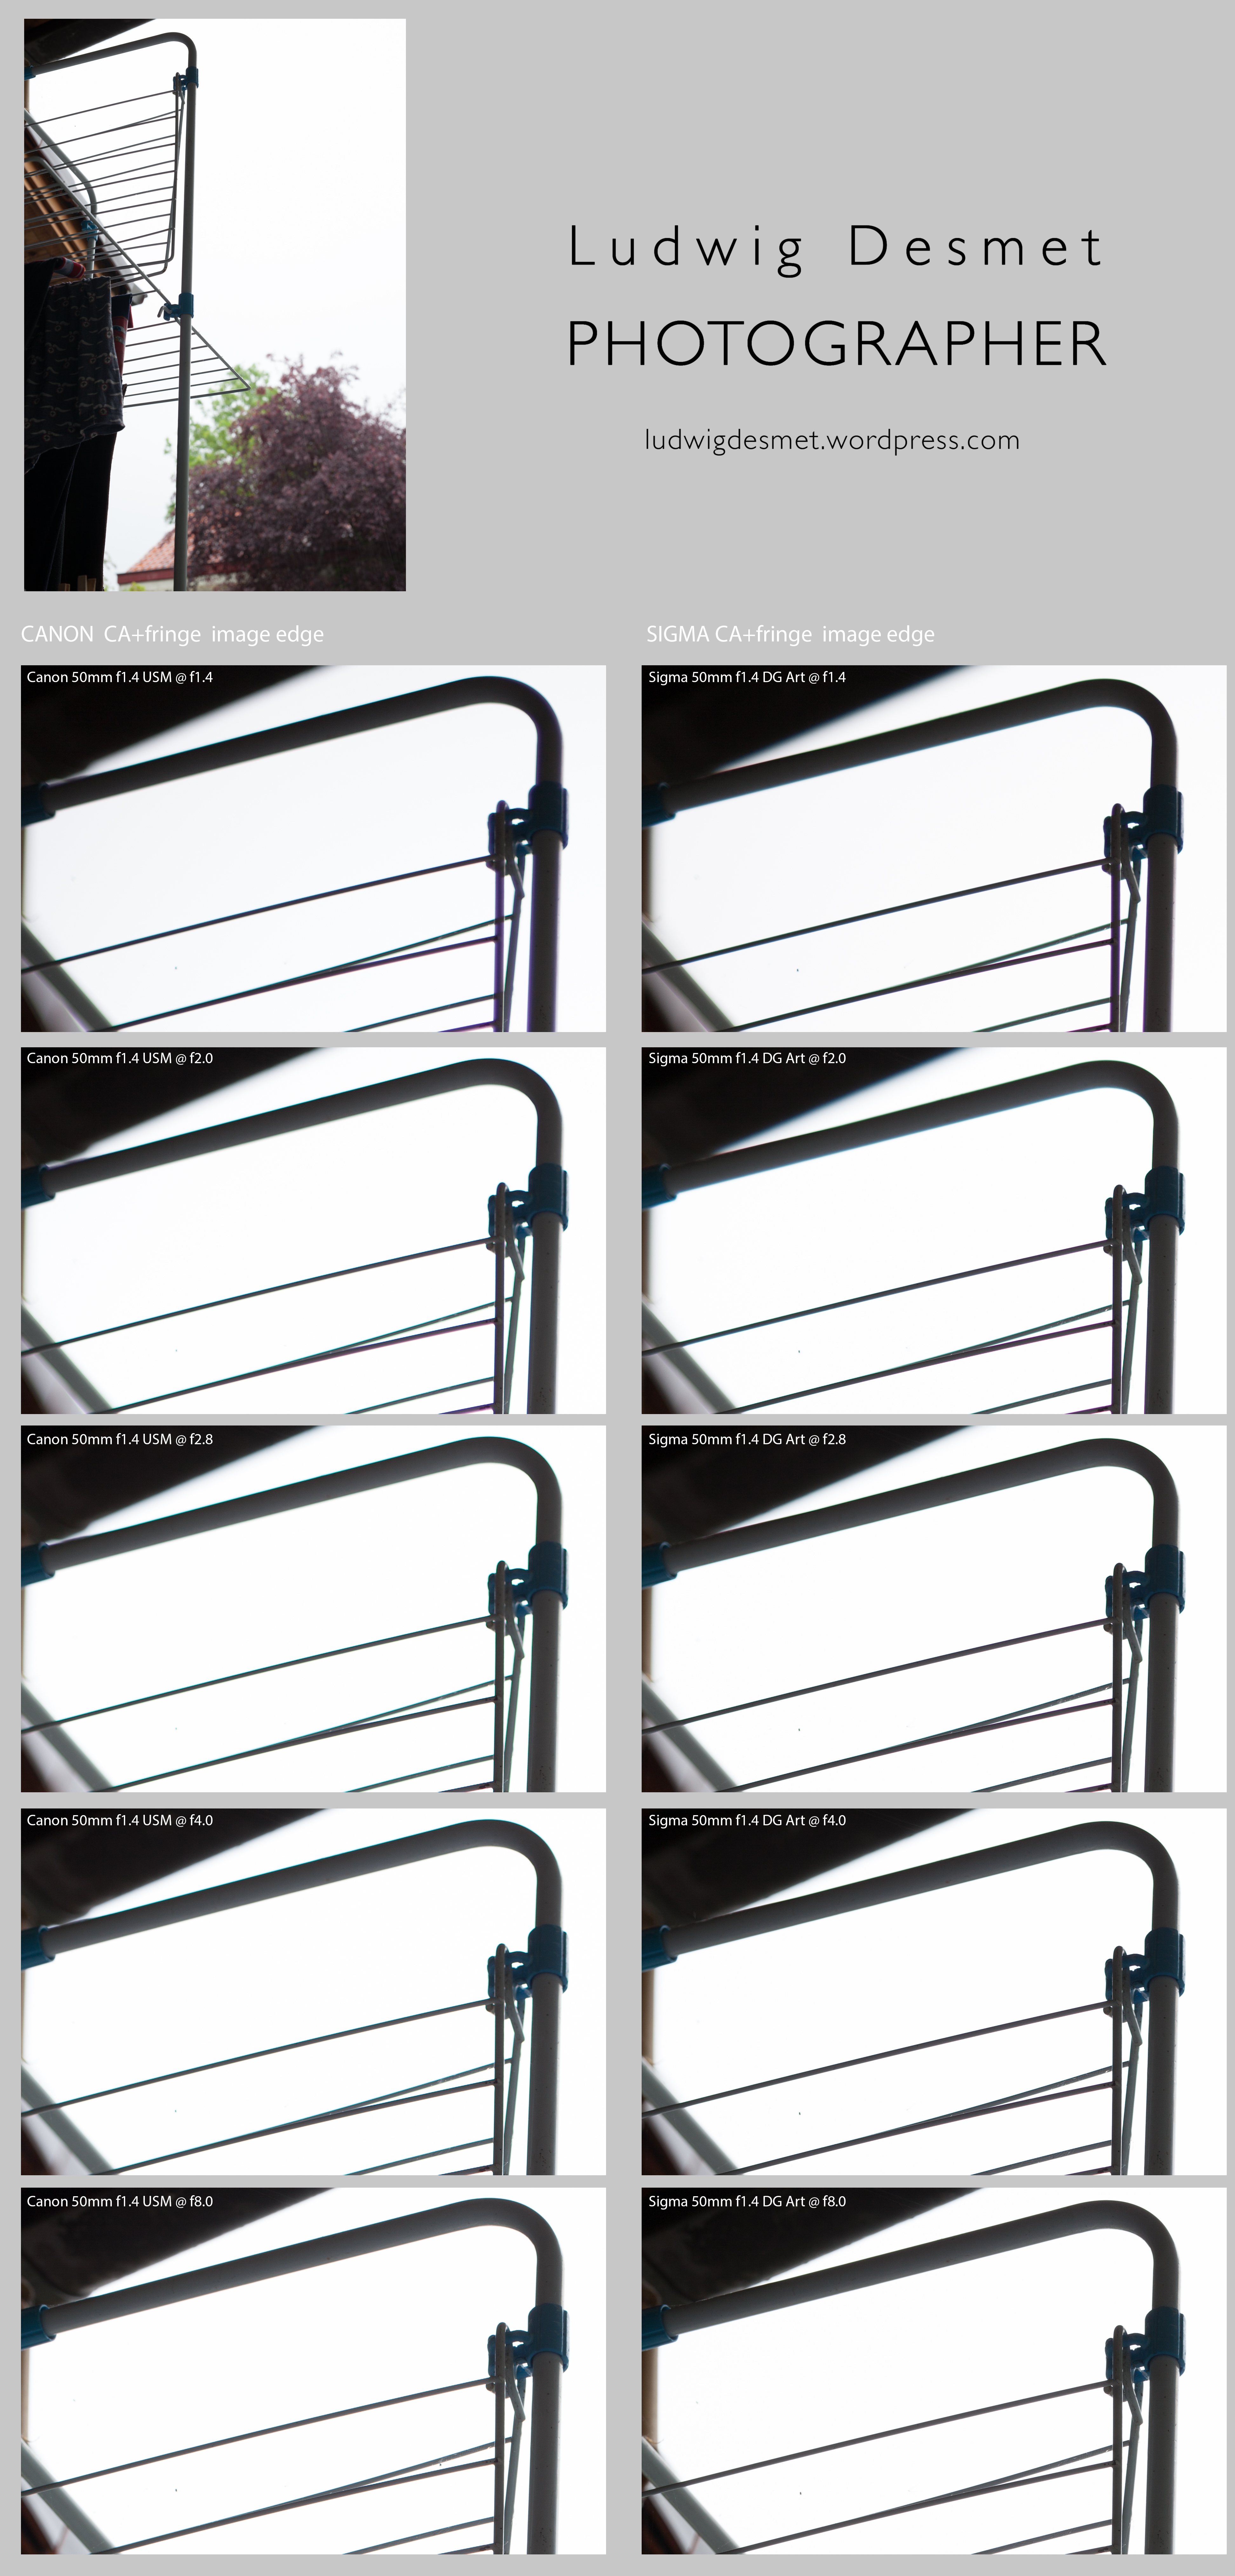
I remember from the previous test that the Canon proved horrible in the shots with the branches agains bright background. Let’s see what the Sigma does in comparison. I had no clear sky as the previous time today, but I kind of see the same things happening here.
Sigma vs Canon 50mmtest-CA center

Sigma vs Canon 50mmtest-CA edge

The Canon f1.4 USM suffers from severe fringing in high contrast areas, when used wide open. (strange that this phenomenon did not show in the plant close up) This is even apparent in live view, making it hard to focus correctly. When stopping down to 2.0, this greatly improves, and then we see similar things in both lenses, the Sigma not noticeably performing better in this aspect, showing purple fringing in front of the focus area, green fringing behind the focus plane.

In both examples in this test however (overcast sky, dull weather) I have noticed very little CA in both lenses, a little bit of cyan-orange at f8.0 in the Canon image close to none in the Sigma. I suppose that in higher contrast situations, that might be worse. (to be confirmed).

Worth noticing in this respect is that the Sigma 50mm Art lens profile is not yet currently available in the standard Lightroom 5.4 upgrade, nor could I find a link to a profile for this lens on the web (may 13, 2014)

Longitudinal CA:

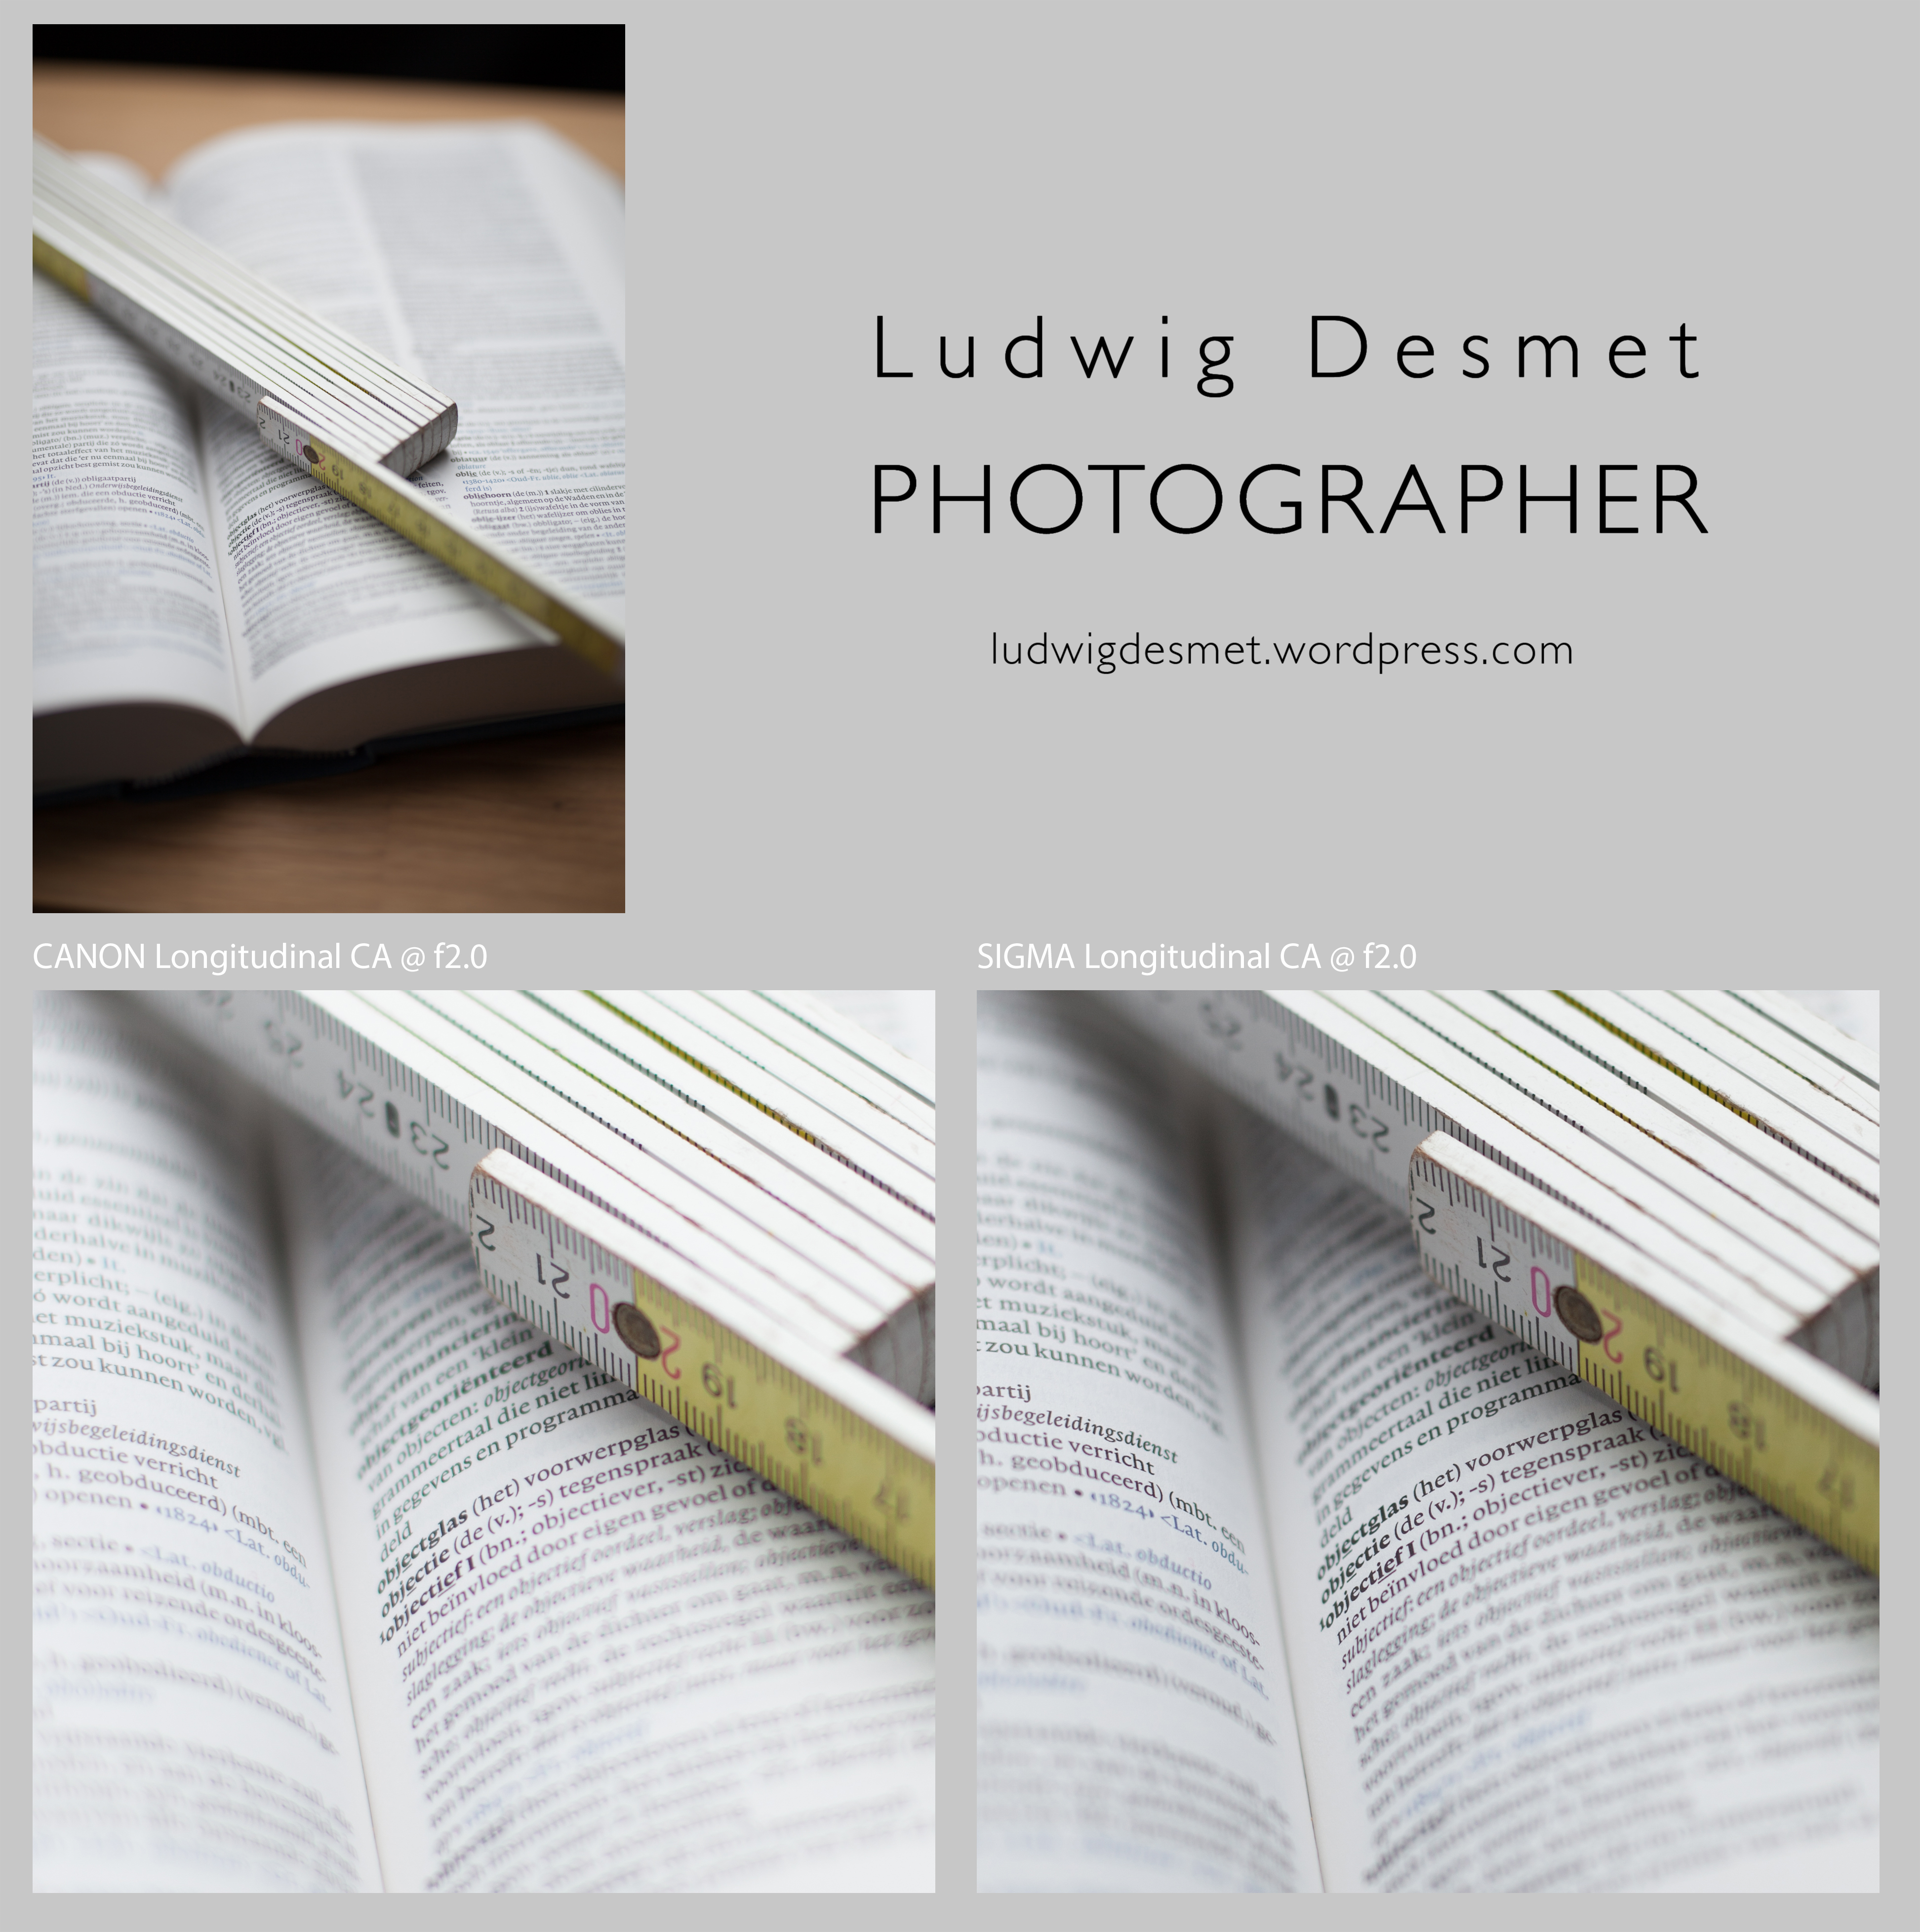
Chromatic aberration that is visible in the unsharp areas in front and behind the sharp area. Not the magenta shift in front of the sharp area, the green shift behind. Both images taken at f2.0. Remarkably higher in the Canon. Note the big difference in sharpness and contrast in the sharp areas between the two of them. Best viewed at 100% of course.
Sigma vs Canon Longitudinal CA

Flare:

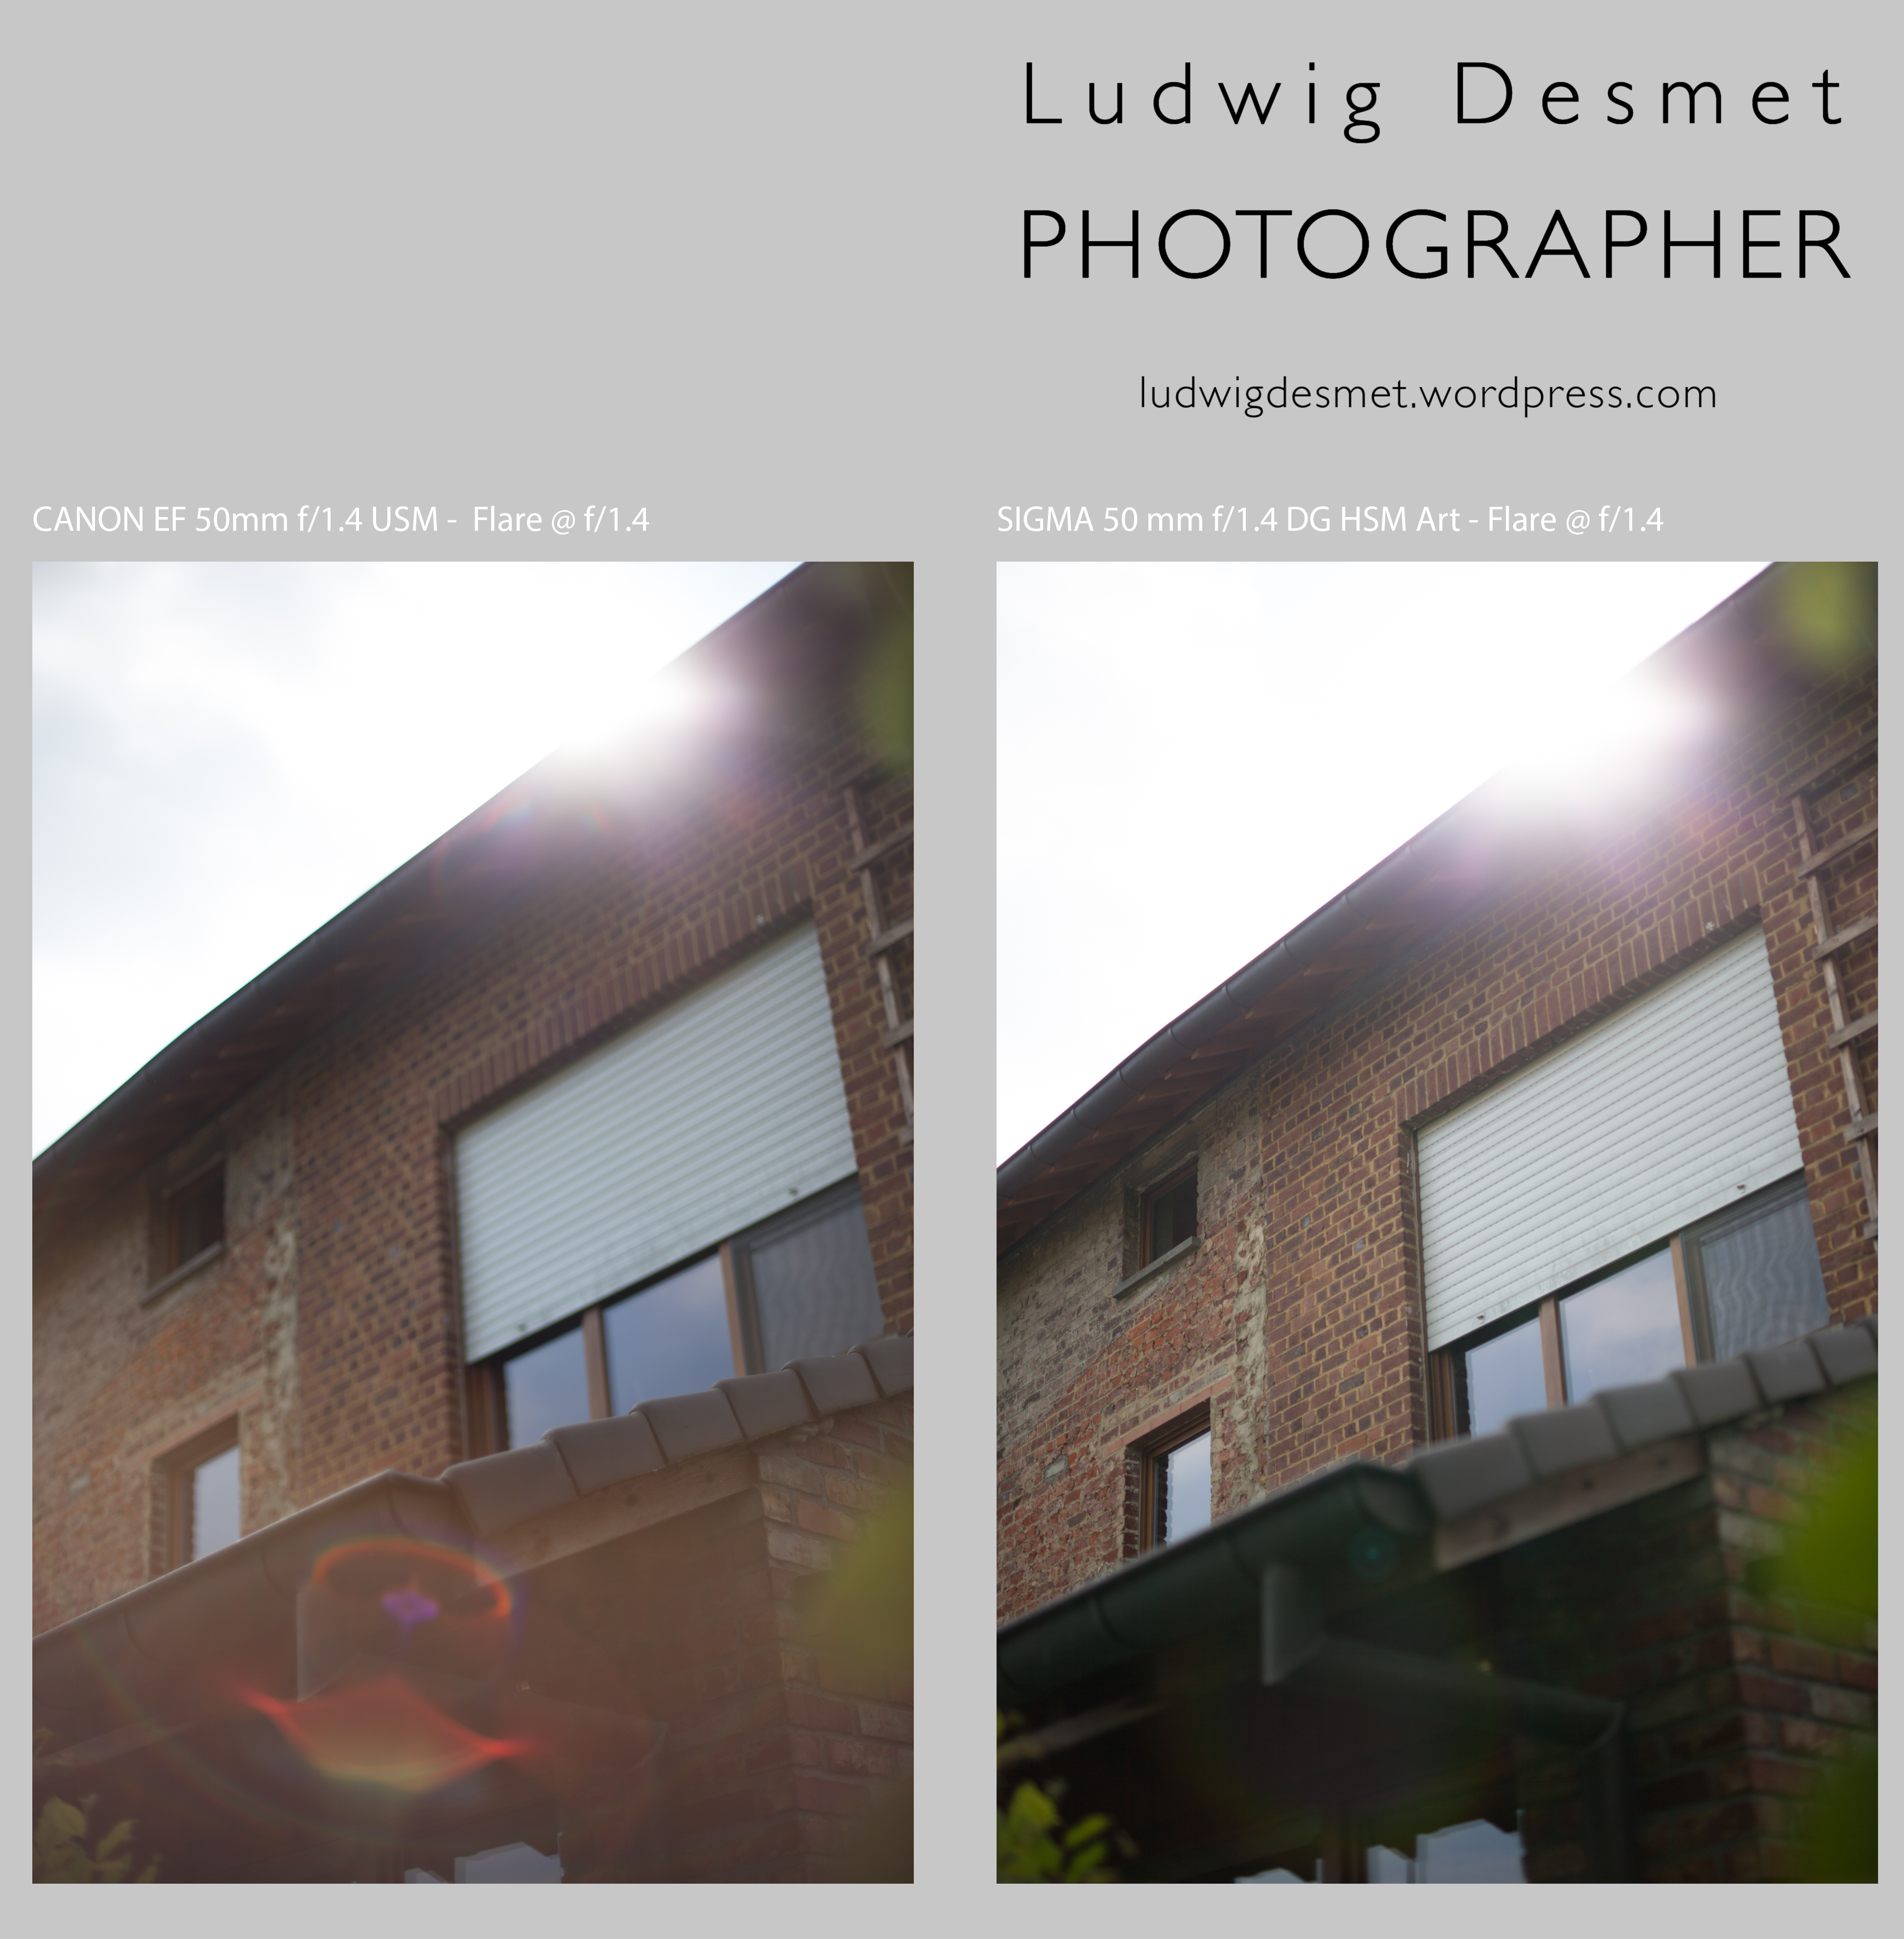
Canon to the left, Sigma to the right.
Sigma vs Canon 50mmtest-Flare

My observations: Do I really need to? It’s obvious I guess.

Bokeh:

Canon to the left, Sigma to the right. I think Sigma’s bokeh is softer and smoother. In the Canon unsharpness, there is still some structure and noise. Not 1/1 images but big enough to analyze.

Sigma vs Canon 50mmtest-Bokeh

Thank you for reading, I think I will keep my Sigma, and trade on the Canon.

You are welcome to share this comparative review, I take no responsibilities of any kind 😉

come back again for some real world image samples of this lens in my shoots!

best,

Ludwig
Anna at the Mansion – Part I, the Salon. NSFW

beauty, erotic, Personal Pictures

Hi,

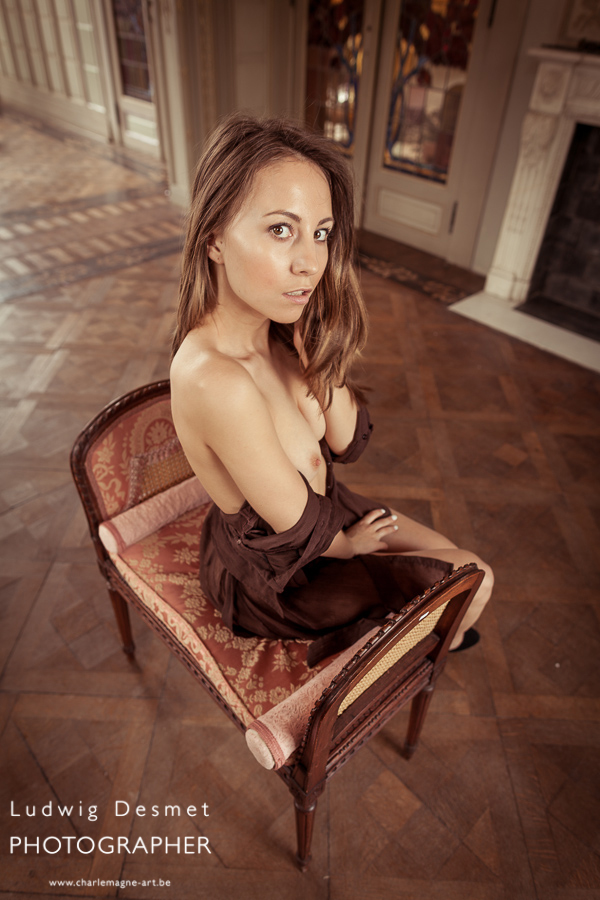
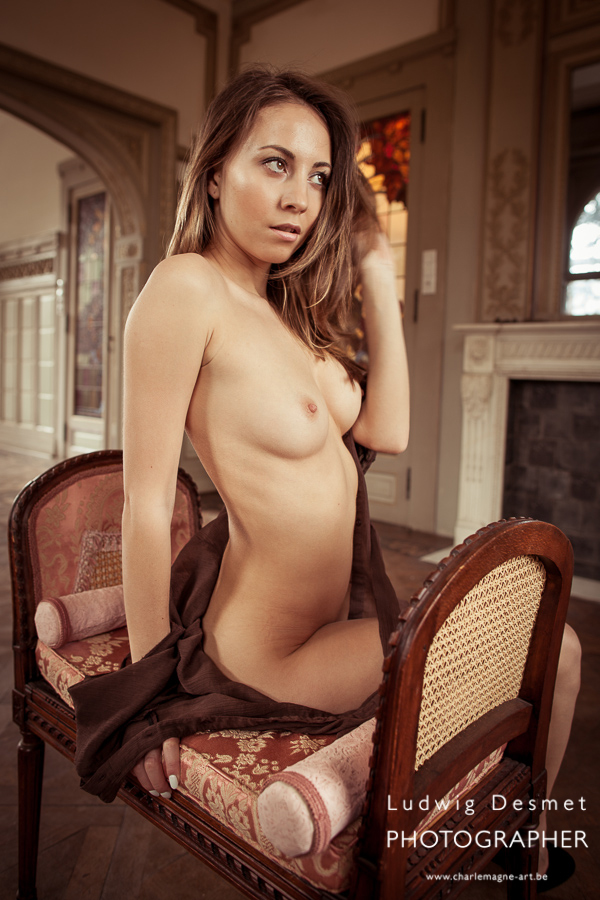
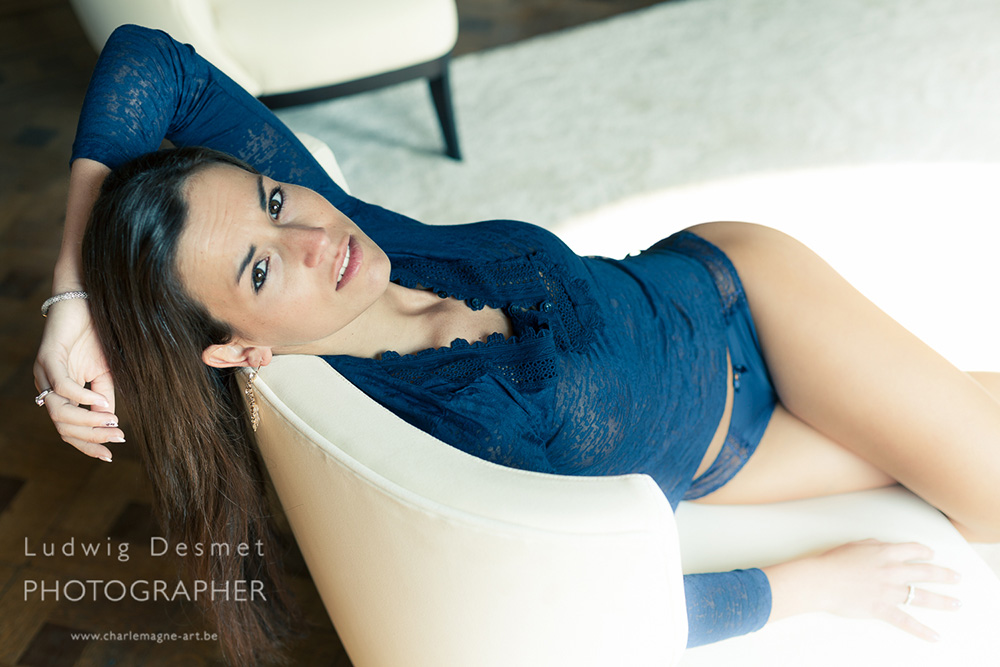
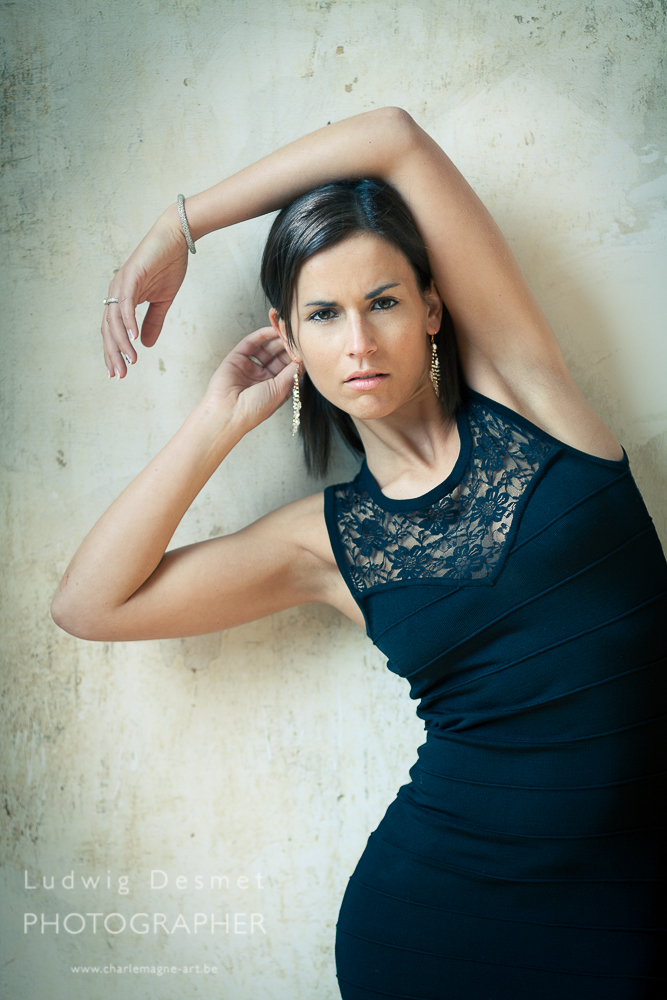
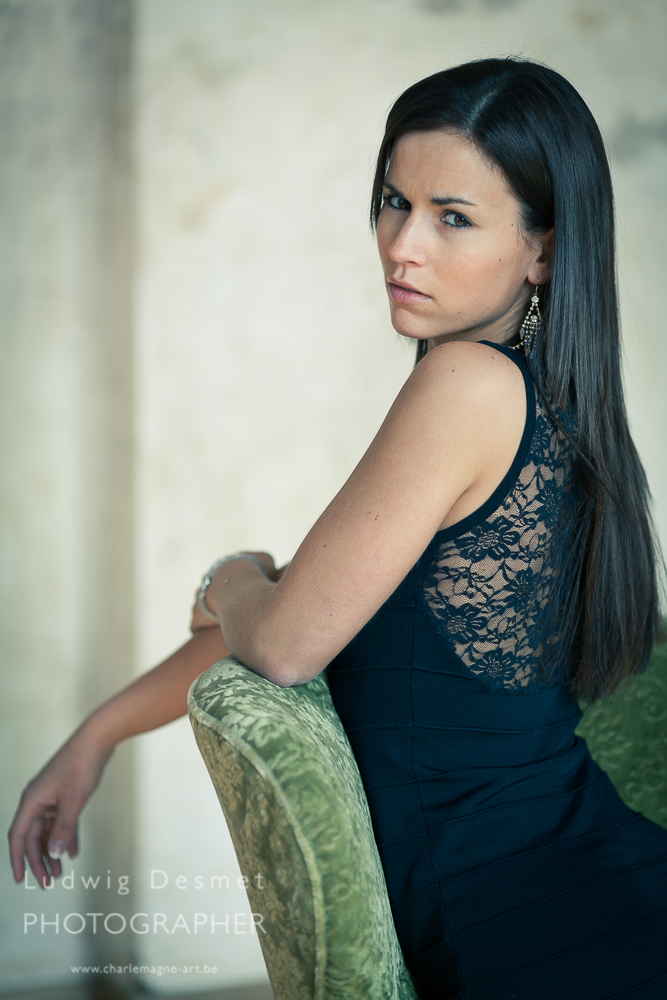
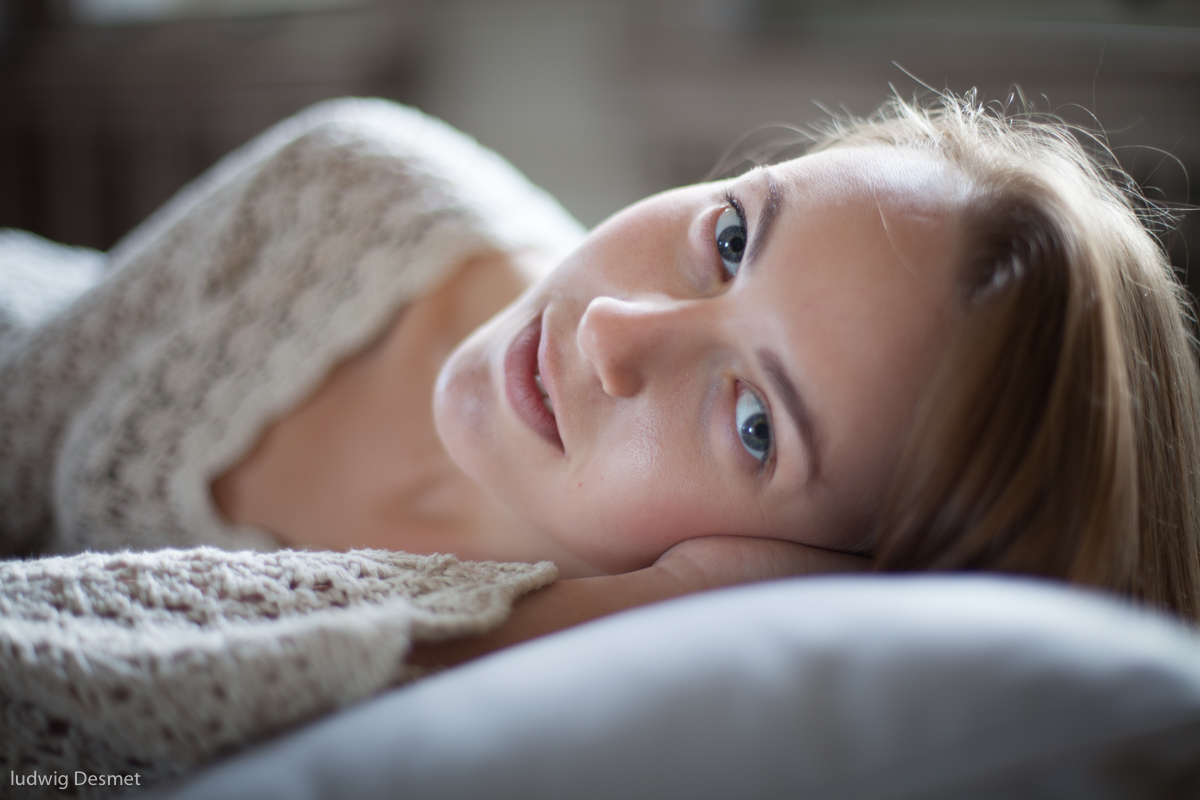
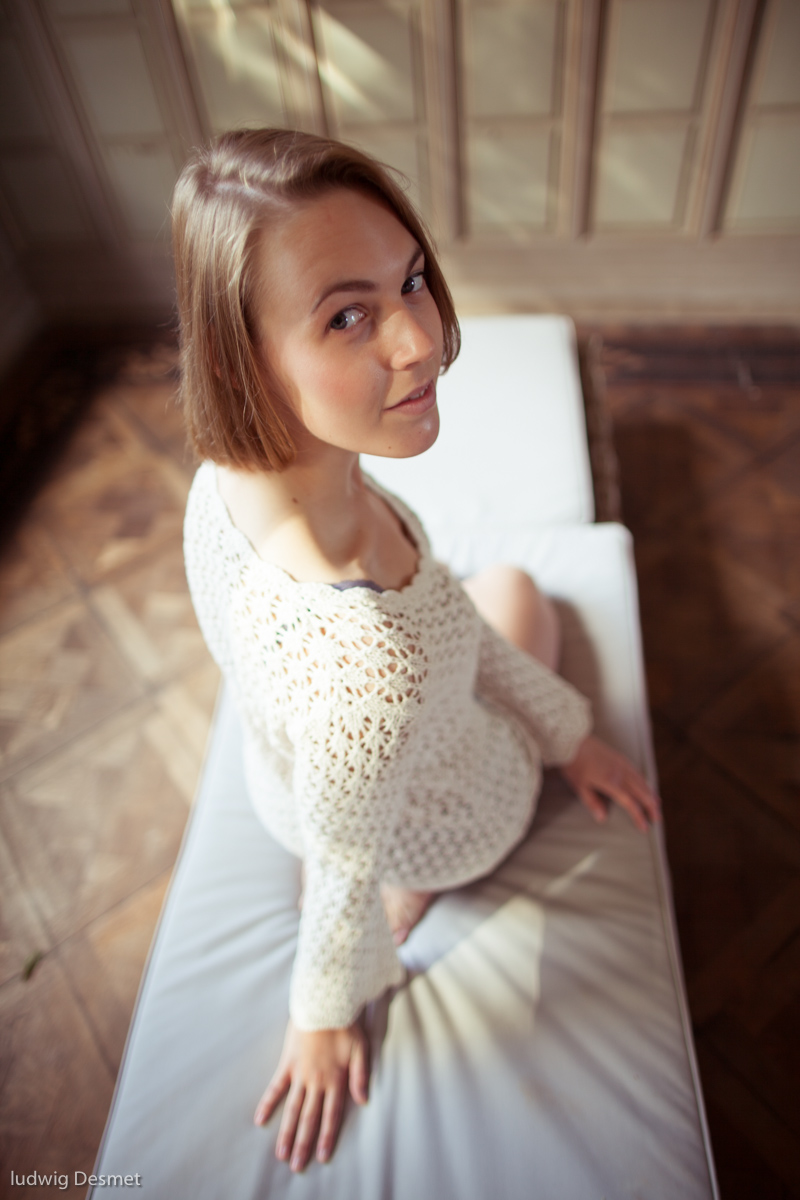
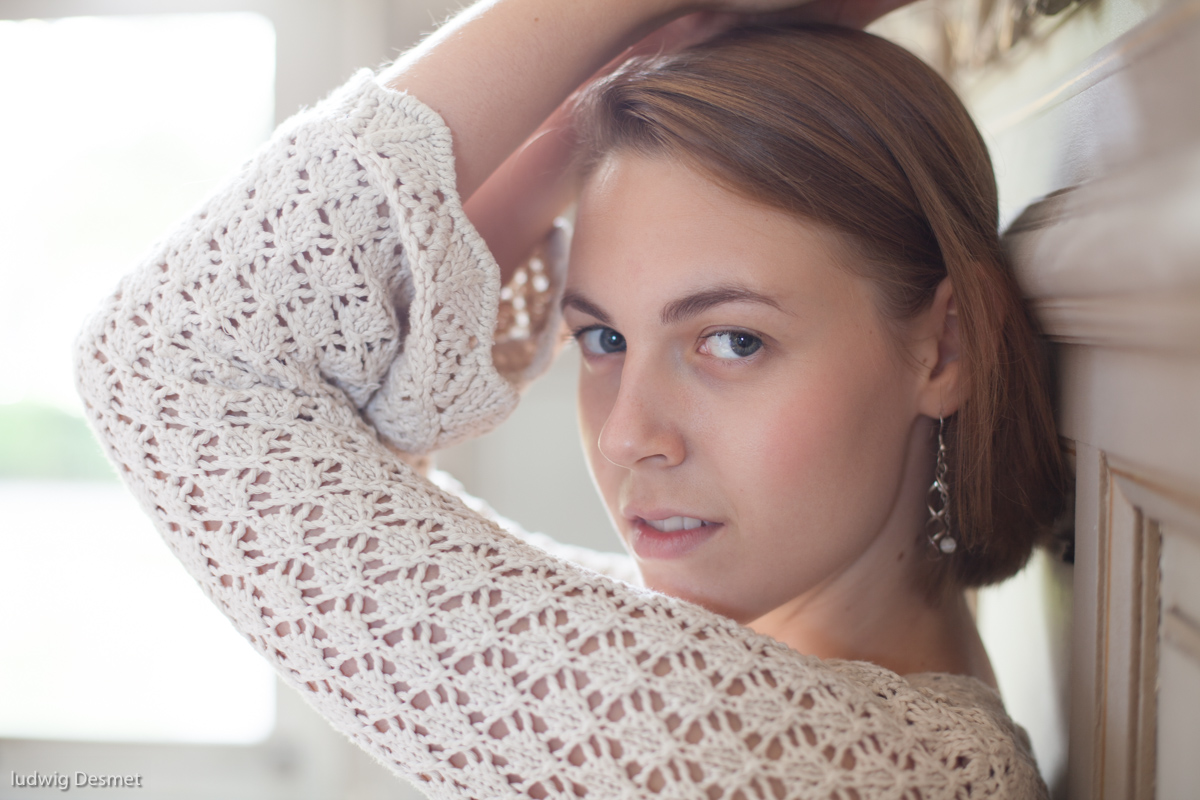
I had another shoot at the mansion some weeks ago. Anna is a international nude model, and from time to time she is working in Belgium for a couple of days. I had the possibility to work with her for a short day in Ronse. We did a shoot at the mansion before noon, had a break at my place, then had a second shoot in what I want to call ‘the garden of eden’, a new location I discovered lately, in Ronse as well. I will show you the results of this cooperation in multiple posts. First part is called the Salon, one of the bigger pieces of the Mansion, on the ground floor, and now almost renovated completely. The owners of the house are slowly gathering furniture that fits together with the interior, and we were lucky to find this lovely small bench.

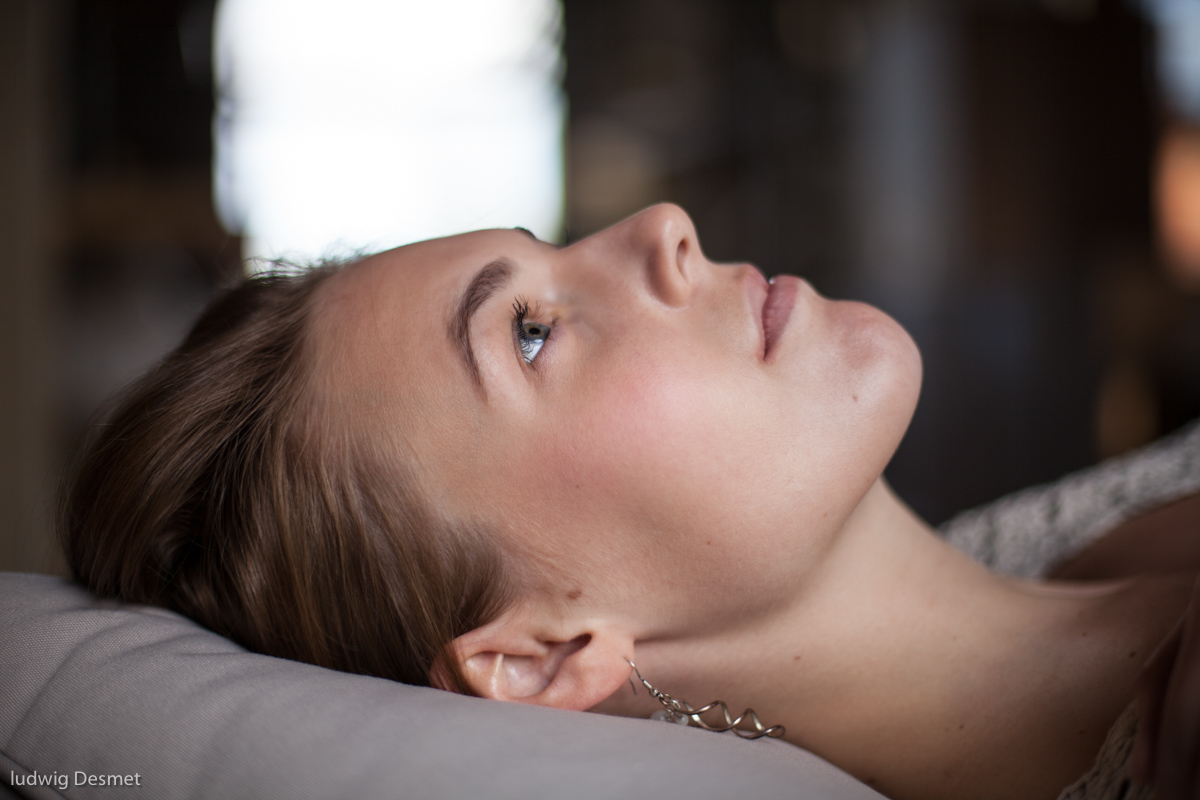
A couple of weeks ago I decided to buy some more gear, and I wanted to further expand my low-light possibilities. I have had a hard time making sharp images several times in these ‘mansion shoots’ due to low light conditions. The lenses I have are good, are having the benefits of wide open apertures, but none of them features image stabilization. I have decided to try on the Canon 100 mm f2,8 L IS for this reason. It is one stop slower than my 135 mm, but it provides 4 stop image stabilization, so I gain about 3 stops in shutter speed, provided that my subject is not moving. I have managed to keep Anna stay in place. 😀 Another benefit from this lens is its macro capability, so no more struggling with minimal focus distances. This lens focuses so close I can get a single eye filling the frame.

I think you’ll be able to figure out which images are with 100 mm lens, all the others are wide angle, with my 24 mm.

About the NSFW in the title, If you are offended by the nudity in my images, I’m sorry I didn’t mean to, but I think it is tasteful and beautiful, so I will very probably post more (covered) nude images in the near future.

LudwigDesmet_AnnaO-7985

LudwigDesmet_AnnaO-

LudwigDesmet_AnnaO-8022

LudwigDesmet_AnnaO-8028

LudwigDesmet_AnnaO-8036

LudwigDesmet_AnnaO-8051

LudwigDesmet_AnnaO-8064

LudwigDesmet_AnnaO-8650

LudwigDesmet_AnnaO-8652

LudwigDesmet_AnnaO-8656

LudwigDesmet_AnnaO-8662

I hope you liked the images. There’s more with Anna to come soon.

best, Ludwig
Going commercial? Kim at the Mansion – color.

beauty, Personal Pictures

Hi there,

I’ve been wondering for a while now if I should start promoting my model shoots commercially. Yes I have done some shoots that have made me gain some money from them, but mostly my ‘natural beauty’ shoots are initiated by myself. I have the location, I look for a model, we get an agreement and an appointment, and we get together.

We discuss shoot contents over some moodboards I have at hand, and I shoot under my own command.

That last sentence is the most important reason for me not to start too fast shooting commercially. (By commercial, I mean privately ordered beauty shoots, not publicity work or fashion or anything else) The fact that I can decide on the style, the make up, the model and the location is a big plus for creating my own style. Whenever I’m working in any kind of assigned shoot, I’m no longer the sole decision maker, and I’m afraid that that could interfere with what I call my own personal, slowly getting defined style. As soon as the model starts interfering, and even saying “hey, but I would like an image like you made with that other girl” I’m not longer the boss of my shoots, and I will no longer be able to decide on anything I want (as far as I’m not interfering with the limits of my model of course).

On the other hand, a little extra money from my shoots would be more than welcome. I have been investing a lot in equipment and time lately, and I would like to have some kind of ‘return on investment’ in the months to come. A problem with that is that demand for the kind of shoots I do (or even a regular prom shoot session) is virtually inexistent here in Belgium, so I’ll have to ‘convince’ my customer potential that a shoot with me, and the resulting images are worthwhile.

Anyone need a gift for mother’s day? Shoot plus pillow book maybe?

LudwigDesmet_KimT-Pillowbook

some more results from the shoot with Kim. Color images this time. Enjoy!

LudwigDesmet_kim-5431

LudwigDesmet_Kim-5474

LudwigDesmet_Kim-5634

LudwigDesmet_Kim-5792

LudwigDesmet_Kim-5804

LudwigDesmet_Kim-5507

Nude Studio Setup – 1 light

Personal Pictures, personal tips & tricks, Tips and Tricks, Uncategorized

Continuation of my series of ‘portfolio shoot images’ Behind the scene’s.

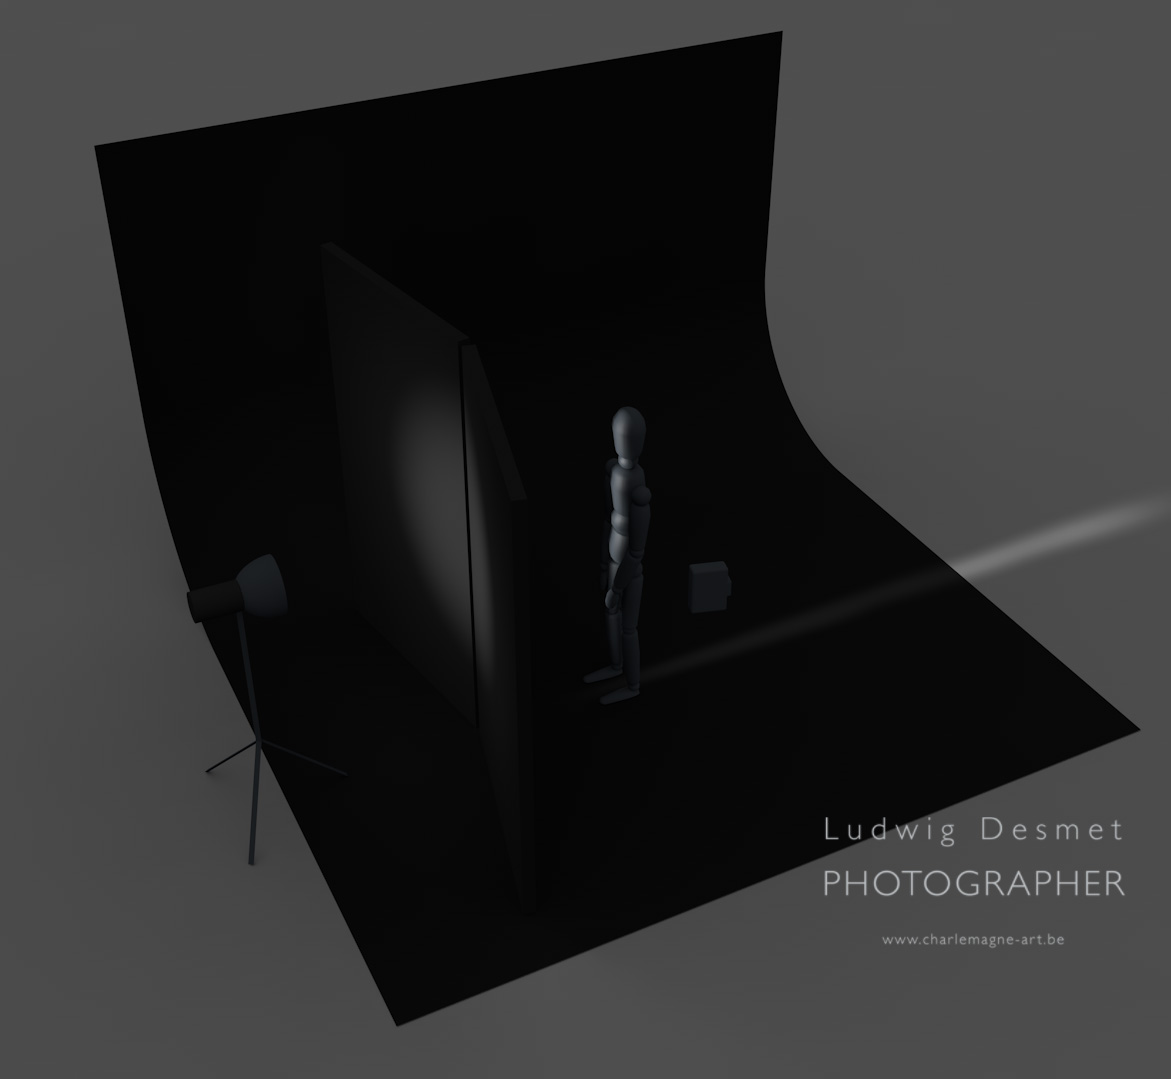
For this setup I used only one studio flash, with reflector.

In order to create a really small light bundle, you need to work with solid elements blocking the light.

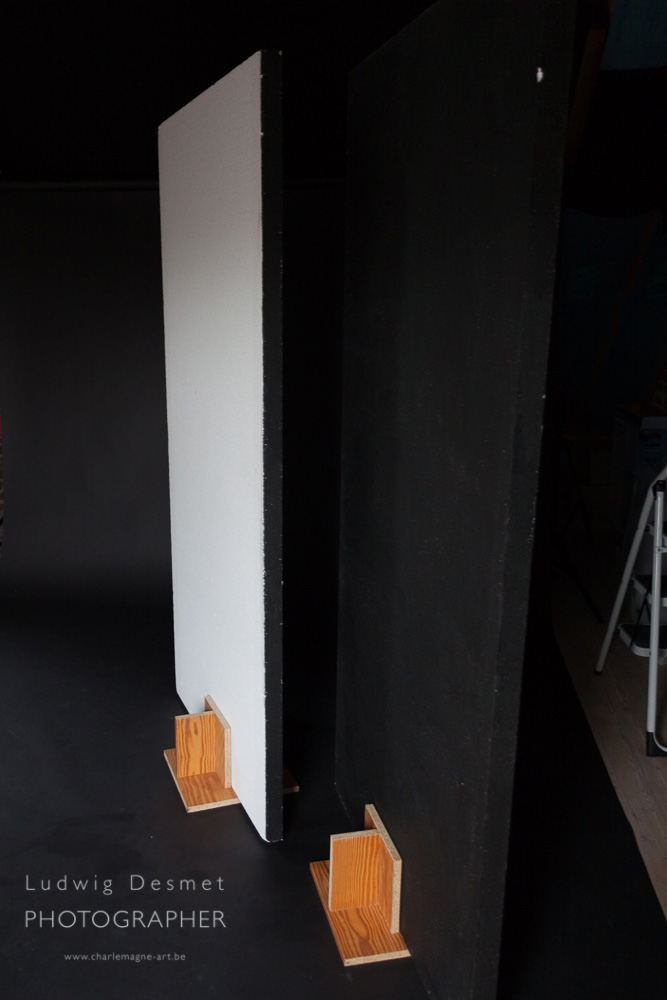
For this I use some of those huge styrofoam boards (they can be bought in the build supply shops, they are used for insulation, crappy for this purpose, but very handy in studio) of 120x220x6 cm. I paint them black on one side, and around the edges. I made some simple stands from fibre wood panels to hold them upright.

They weigh virtually nothing and are easily stowed away.

here you can see one white side front, one back side front (I pushed exposure a bit here, because they are really nicely black):

LudwigDesmet-studio-6597

So a very simple setup here:

one flashlight on the left, with standard reflector, two styrofoam panels, black side towards the flash (you don’t want light bouncing of the white side, don’t you?)

model standing right in the middle, a little further back. Because the reflector is a quite big light source, you’ll need to put your panels really close to eachother (2 cm apart for instance) and you’ll still have the light spreading out further away from the panels.

Portfolio studio setup2

two images with this setup:

LudwigDesmet-studio-080

LudwigDesmet-studio-081

thank you for reading, see you soon for a new post.

Ludwig

Sensor cleaning

photo gear, Tips and Tricks

I’ve had my camera’s about 2 years/3 years now, and I never had the nerve to clean the sensor. I have always been afraid something might happen to the sensor surface while cleaning it. Till now.

Some weeks ago I went to a local shop buying the necessary equipment.

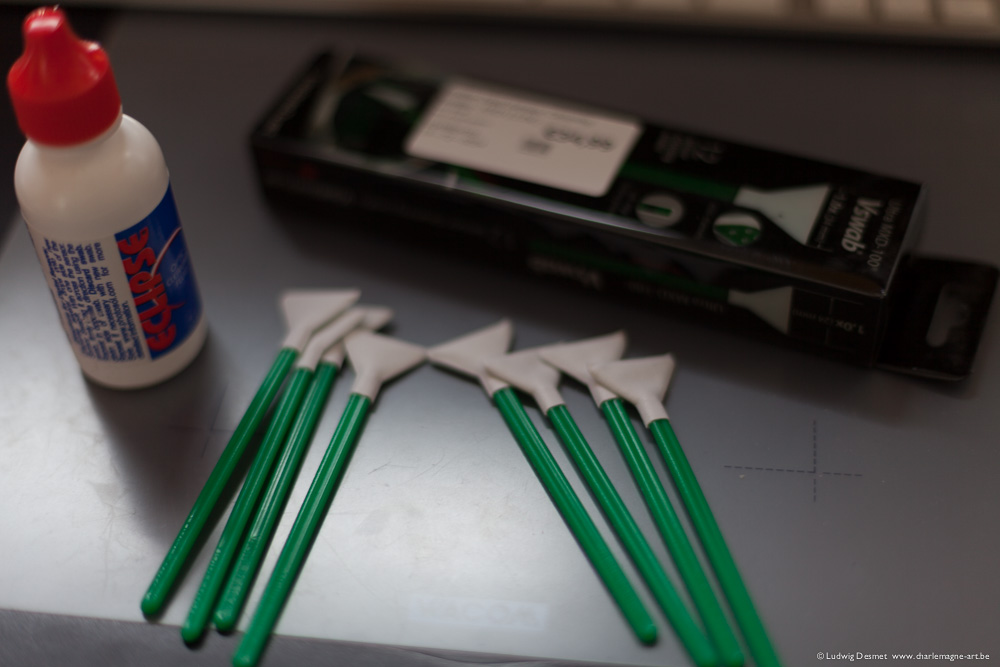
I received a bottle of Eclipse, optical cleaning fluid (www.photosol.com) and a box of Vswab Ultra MXD-100 from VisibleDust (12 pcs). Attention, you should always get the right swabs for your size of sensor. Full frame, aps-c x1.6 or aps-c x1.5 or aps-c x1.3, depending on your type of reflex camera. The bottle is good for at least a hundred sensor wipes, the box of swabs will be quickly gone, as I discovered quite soon. The swabs are individually packed in plastic foil, and should only be unpacked just before use. (the image below is after cleaning 2 sensors)

I’m not sure it’s the best tools around, but it’s the stuff they recommend. Since I have no experience with other makes, I can’t judge. One remark, it might be a good idea to use one of those static brushes, to wipe of loose dirt first, but I don’t have one, so I couldn’t use it.

Ludwig_desmet-sensorclean-4583

What I could judge, is how dirty my sensors were before cleaning.

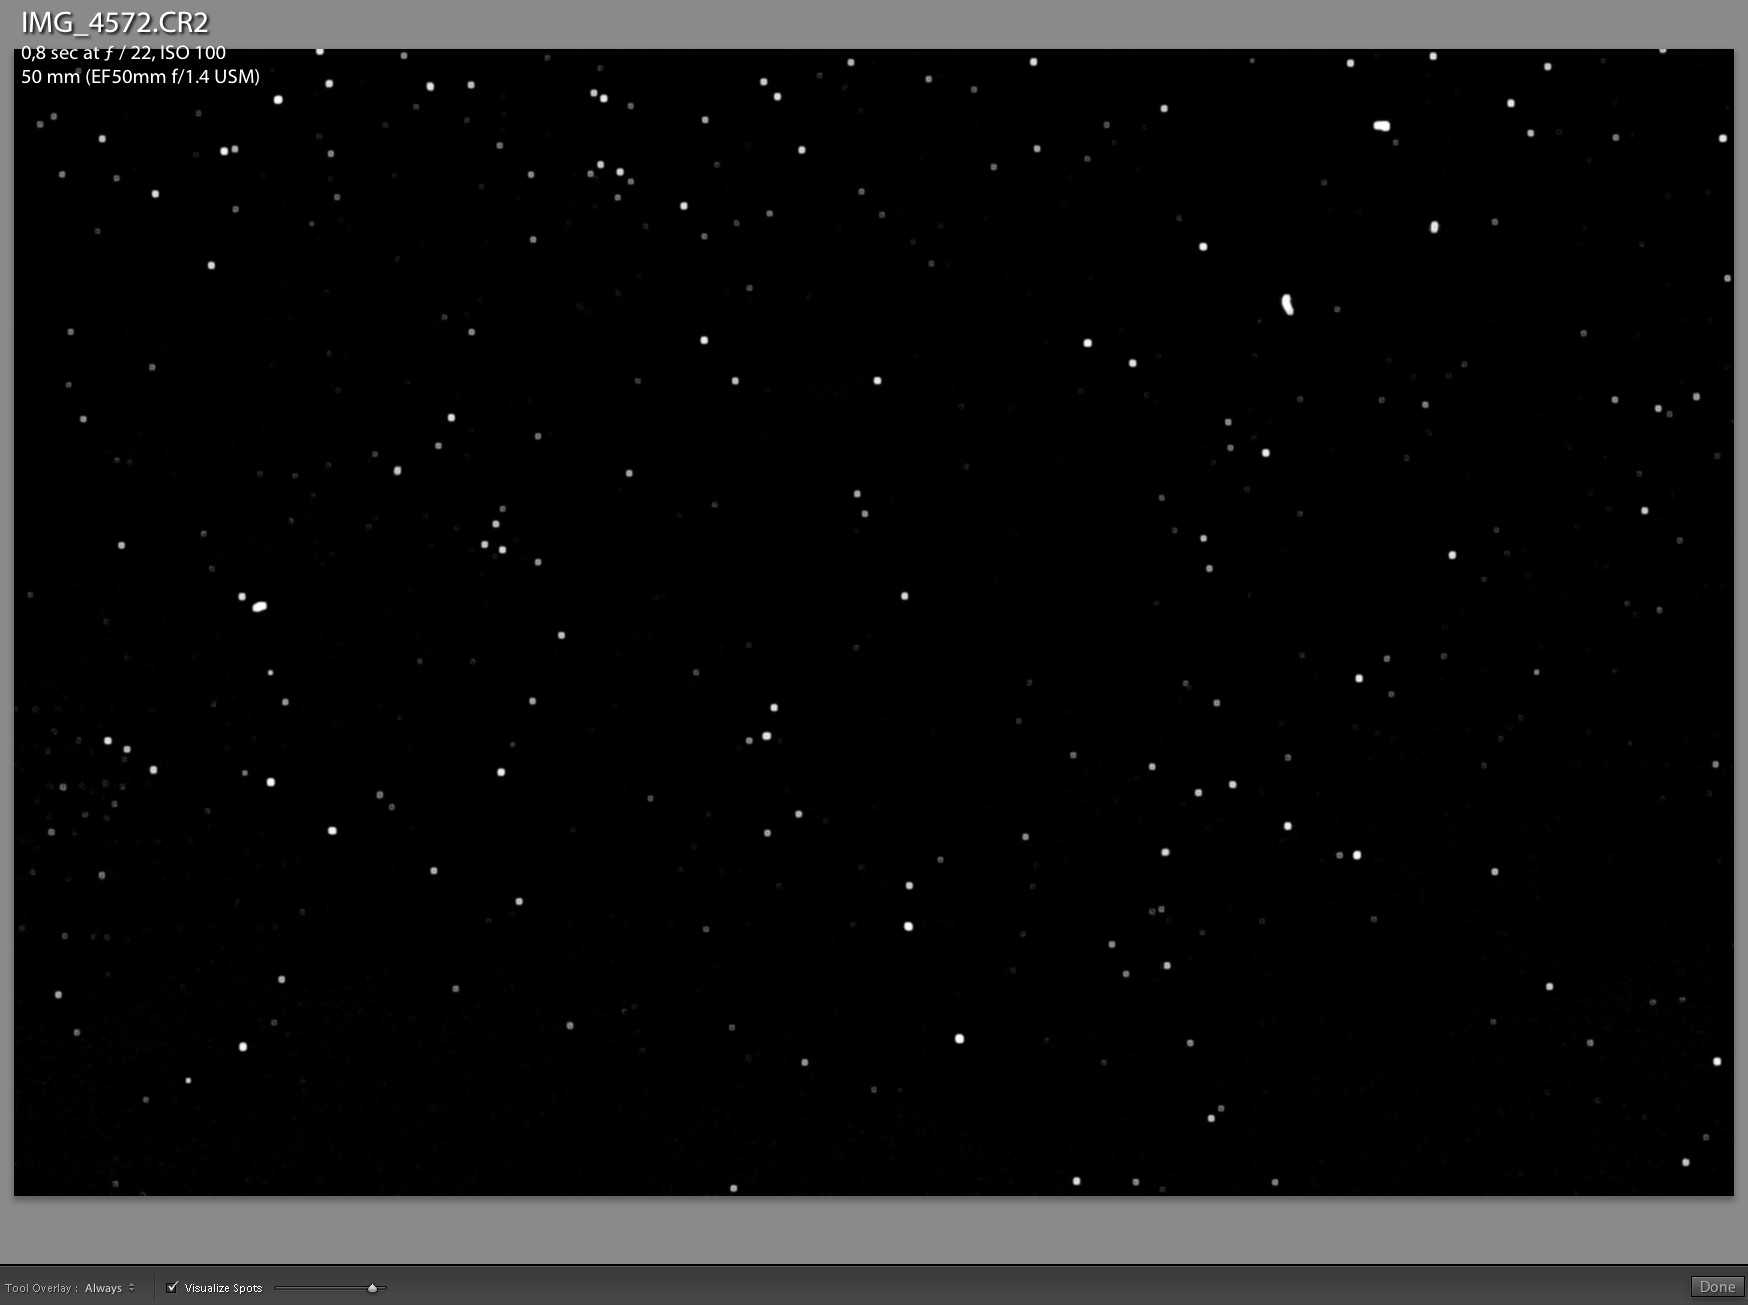
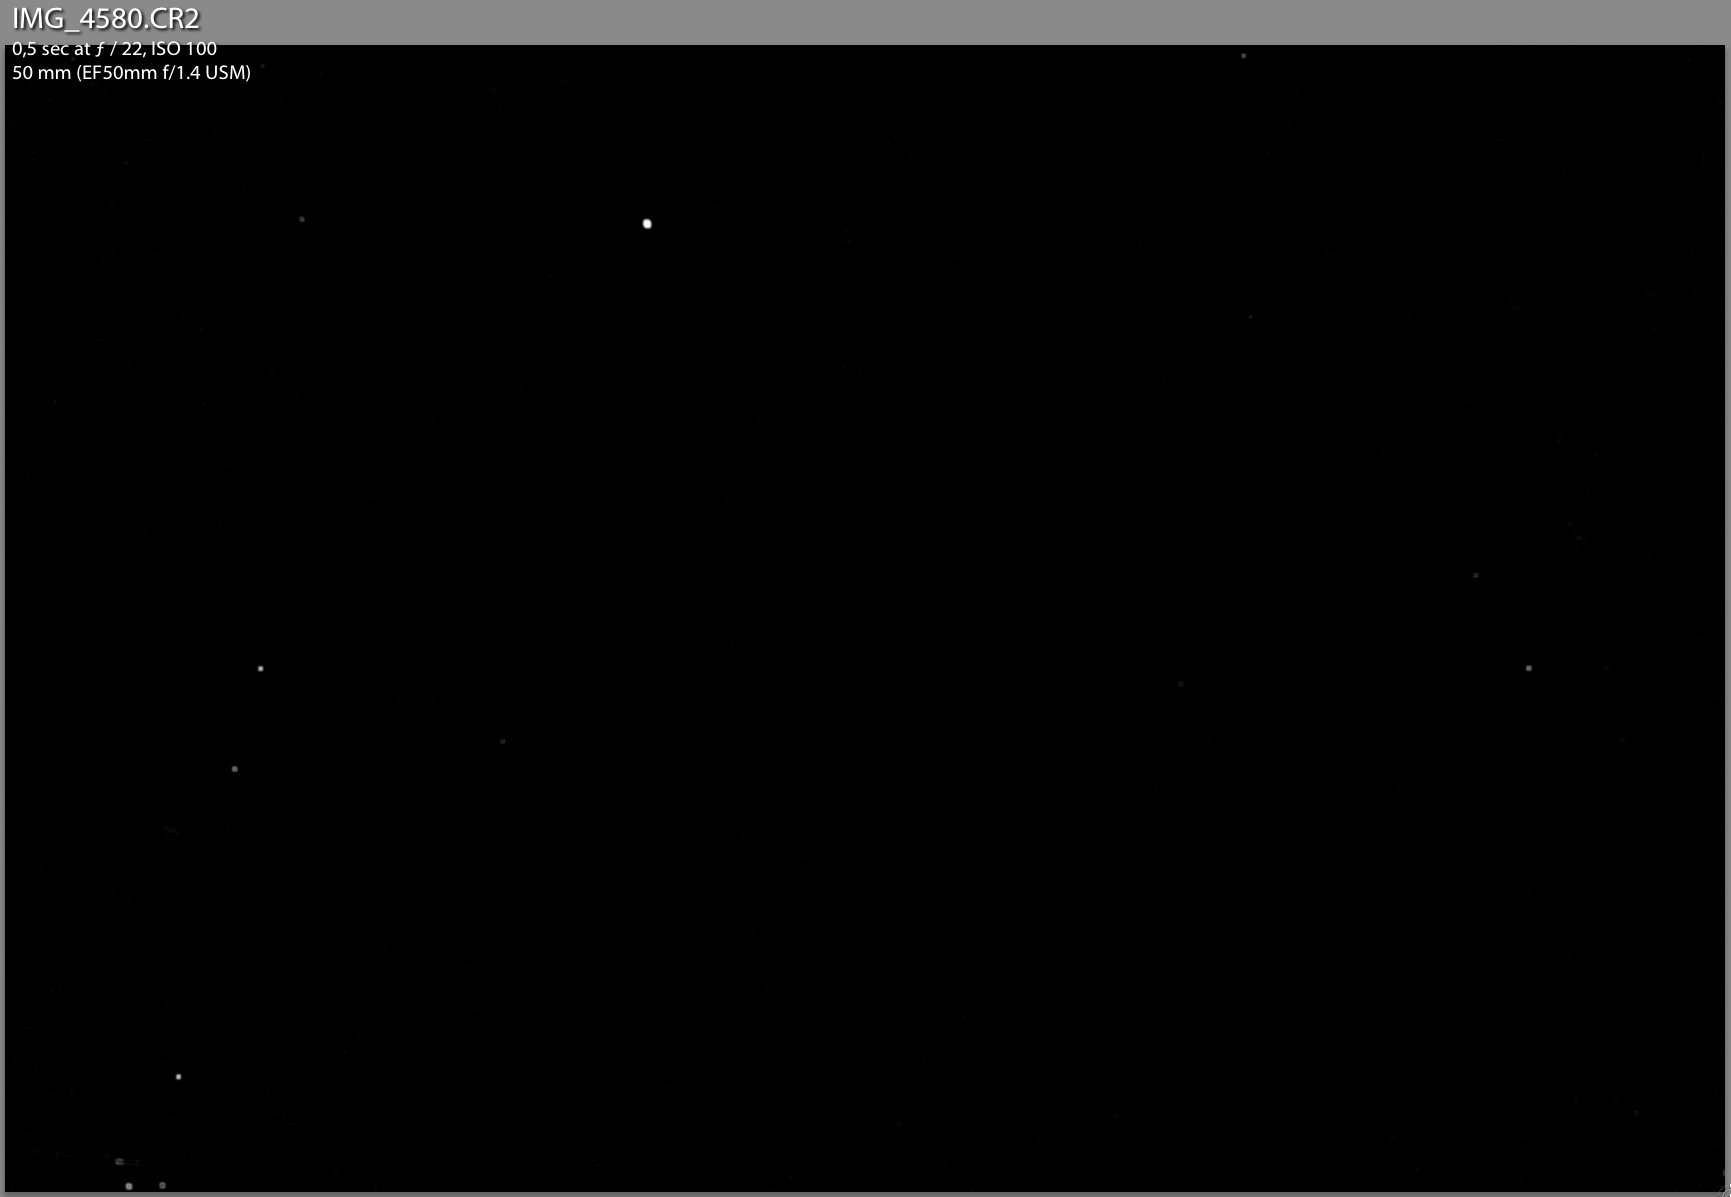
The best thing to do to reveal dust on your sensor, is photographing an even surface (or a grey cloudy sky) and make sure you have your lens off focus (only possible in manual focus mode) dial in your smallest possible aperture value, and adapt shutter speed to have a slightly overexposed image. It should look something like this:

(ALL IMAGES CLICKABLE FOR BIGGER VIEW)

Ludwig_desmet-sensorclean-4572

this is an image of an overcast grey cloudy sky, f22 – 0,5 sec at ISO 100.

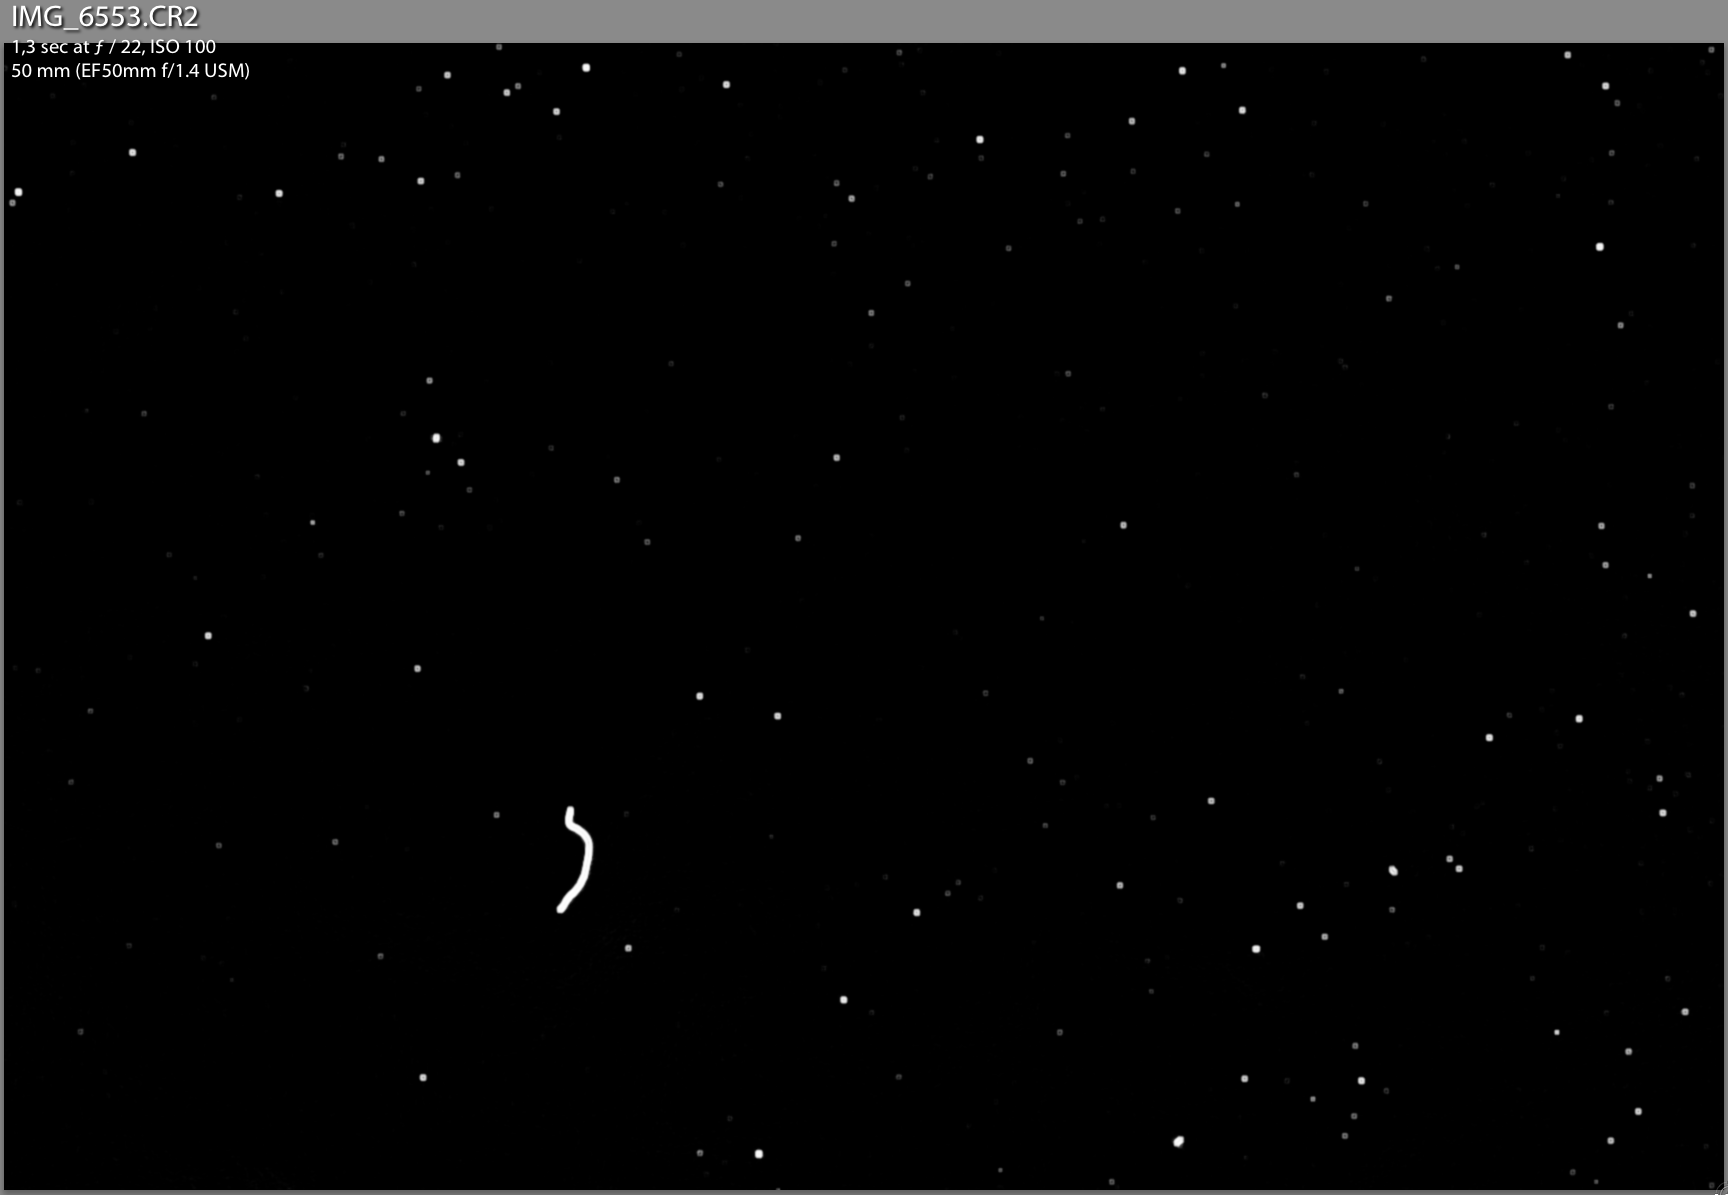
In Adobe lightroom 5, you can easily judge on how much dust you’ve gathered on your sensor by selecting the spot removal tool, and then checking the box visualizing spots just below the image. this turns your image into a black and white image, with all dust visible. (depending on the position of the visualization slider, you’ll see even the smallest dust spot)

Screen Shot 2014-01-06 at 10.54.33

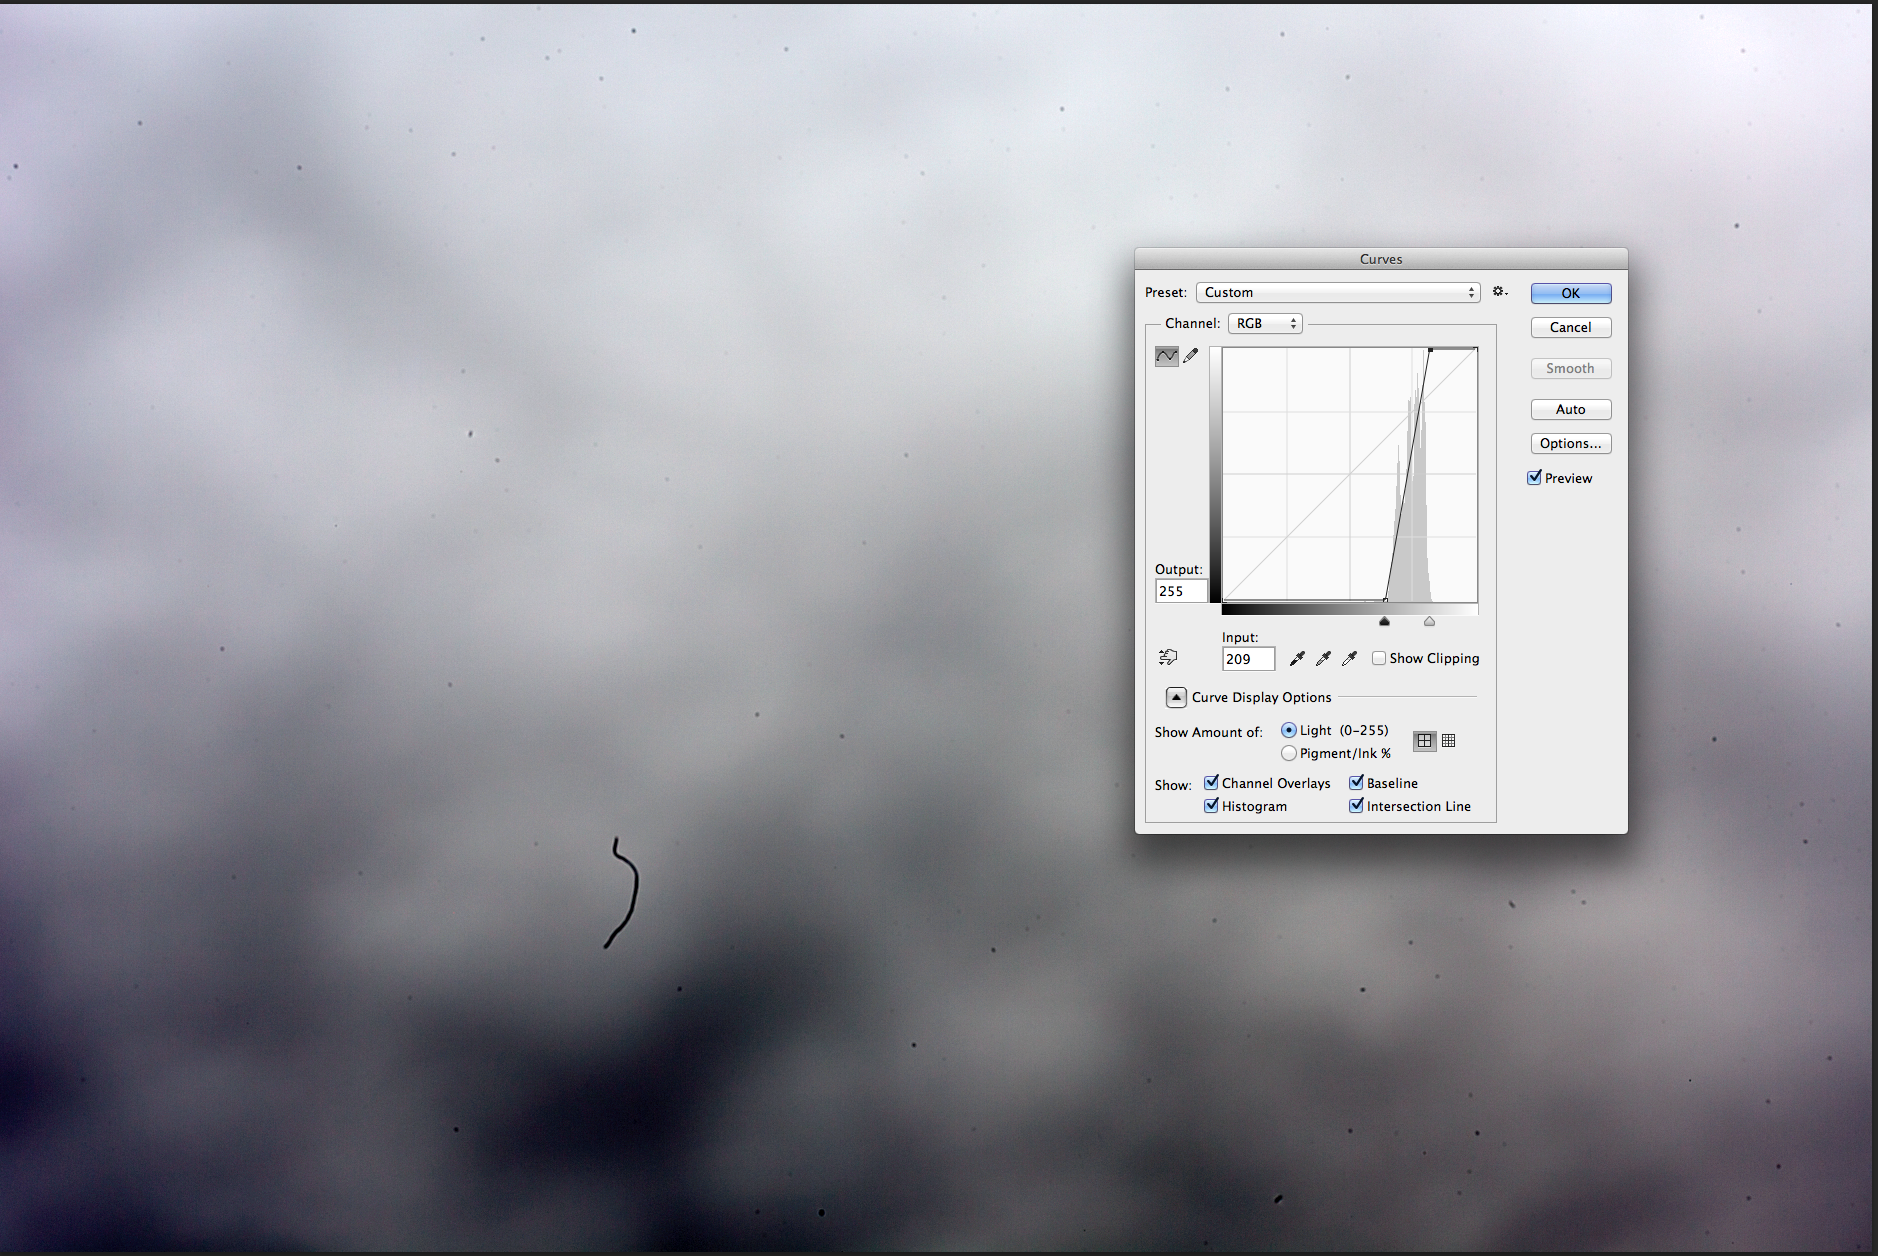
For those not working in Adobe Lightroom, in photoshop, you can similarly visualize the dust spots by putting a curve on your image, and putting the white and black point just left and right of your histogram. Since you have a low contrast image, your histogram should be rather small.

This is the first image of the other camera, with the above explained curve applied:

Screen Shot 2014-01-06 at 11.16.04

So these definitely need cleaning.

How to proceed? (this is for Canon 5D II, but it should be fairly similar on any other system)

1. make sure your battery is fully charged.

2. Get your lens of of the camera

3. find the menu item that says sensor cleaning -> manual cleaning

4. the camera warns you that the sensor will be exposed for manual cleaning.

5. Make sure you work in a clean environment, and have everything ready (enough light to clearly see where you put your swab down, cleaning fluid, sensor cleaning swab, …)

6. push the ok button on your camera. The mirror locks in the up position, the shutter opens. This remains so until you turn off your camera. If your battery is well charged, that should give you plenty of time to clean your sensor.

7. put some drops of cleaning fluid onto the first swab, insert it gently into your camera house, and put it down on one short side of your sensor. If you bought the right set of swabs, it should neatly fit the width of your sensor.

8. gently sweep across the sensor till you reach the other end, flip it over and sweep back. (in this way, you use both sides of the swab, without the risk of re-disposing any dust from the first used side. It took a while till I found out that that is probably the best way to do it. you’ll see in the different stage images.)

9. gently lift the swab away from the sensor (when you have reached the starting point of course)

10. dispose the used swab, no use in re-using the swabs, they are full of sticky dirt now.

11. switch of the camera, this should close the shutter and lower the mirror

12. put a lens on, and check the results. Repeat if necessary.

I used four swabs per camera, that’s because I’m a total beginner in sensor cleaning. I feel comfortable now to say that 3, maybe even 2 swabs should do to clean a sensor.

result after cleaning: You’ll still notice some dirt spots, but I can live with that for now (it was late yesterday evening, and I had to eat 😉 )

Also have I set the visualize threshold high, so you can see even the smallest spot of dust.

Screen Shot 2014-01-06 at 11.07.33

Camera 2, before cleaning:

Screen Shot 2014-01-06 at 11.09.22

And after cleaning:

Screen Shot 2014-01-06 at 11.09.37

Not perfect, but for a first attempt very much ok with me.

see you soon, I’ll be posting another ‘at the Mansion’ shoot very shortly,

take care

Ludwig

Justine at the Mansion

beauty, Personal Pictures

I met Justine a couple of weeks ago. She was keeping an eye on an artwork in a temporary exhibit walk in the city of Ronse. I asked her if she would like to be a model for my series ‘Natural beauty’ at the Mansion, and she was really enthusiast about the idea. She visited the exhibit at the Mansion a couple of days later, together with her mom. We fixed some shooting days soon after.

The Mansion is still my number one location for these shoots, it is beautiful, it has a lot of possibilities, nice light and what is new these latest weeks is that it gets furnished again, giving it a new feeling of life.

We had a very dark gray day making it extra difficult shooting inside. Wide open apertures and long shutter speeds.

All natural light. Canon 5D II and Canon 24 – 50 – 85 mm lenses.

Enjoy the images.

Ludwig_Desmet-Justine-3404

Ludwig_Desmet-Justine-3324

Ludwig_Desmet-Justine-3432

Ludwig_Desmet-Justine-3504

Ludwig_Desmet-Justine-3606

Ludwig_Desmet-Justine-5491

Ludwig_Desmet-Justine-5504

thank you for watching.

Soon to come, Justine autumn shoot

Male model – Urban style

beauty, Personal Pictures

Hi,

It took a while since my last post, sorry for that. The exhibit is running fine but it is taking a lot of my time in-between classes and jobs. I get good reactions, I sold about 10 limited edition books for now, and we have two more weeks coming. The exhibit ends on nov. 17th. Hurry if you still want to get a look inside this wonderful early 20th century house. Contact if you need more details, but you should be able to find them in my earlier posts.

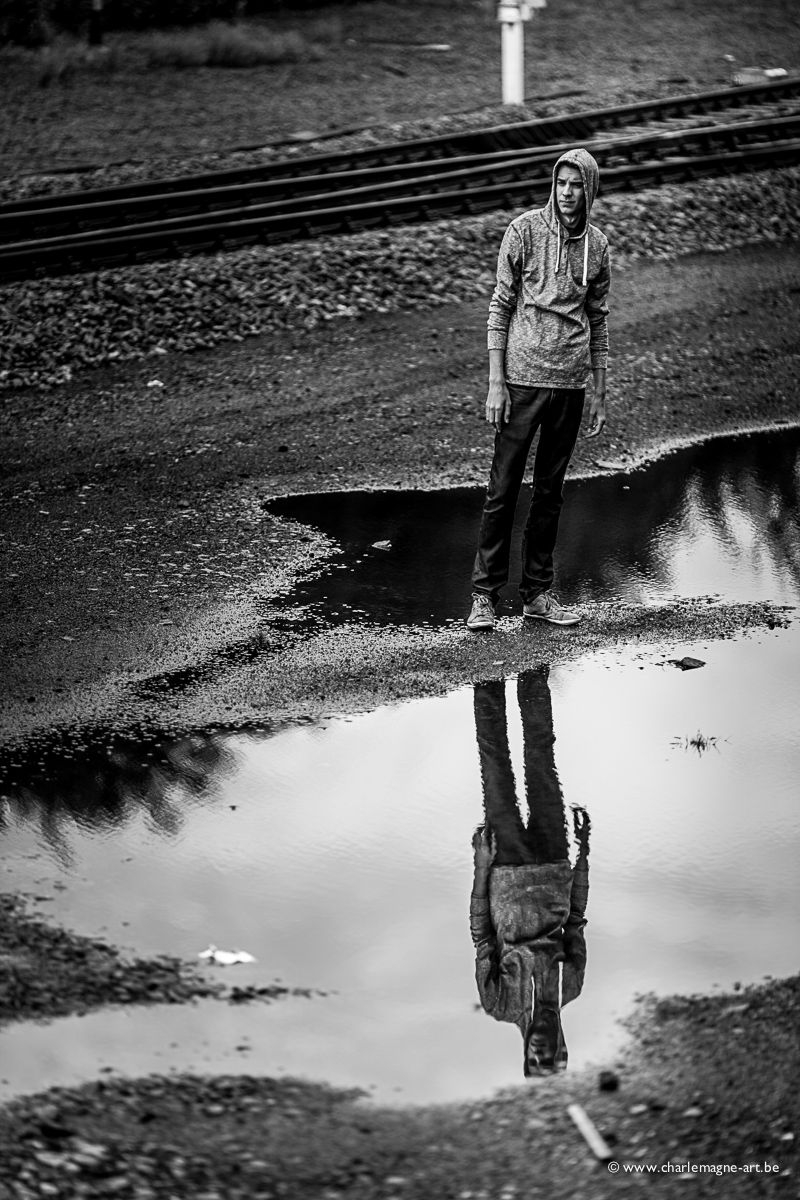
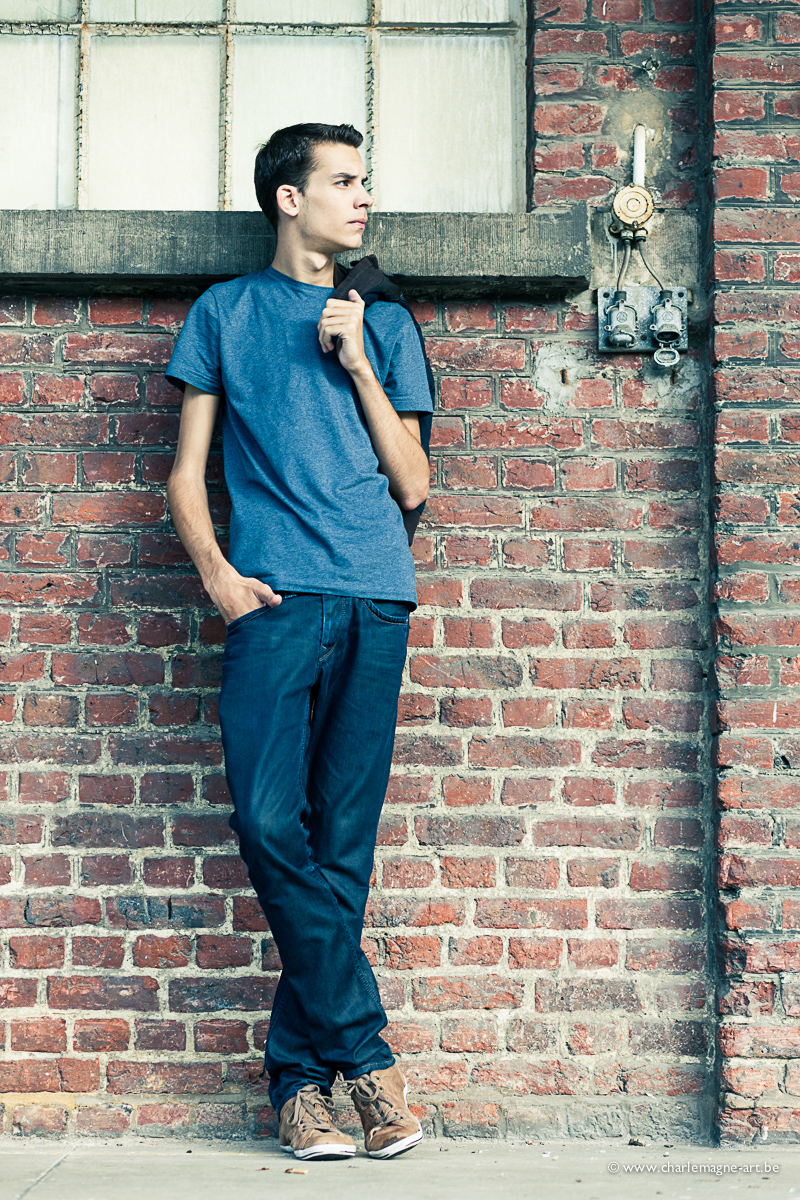
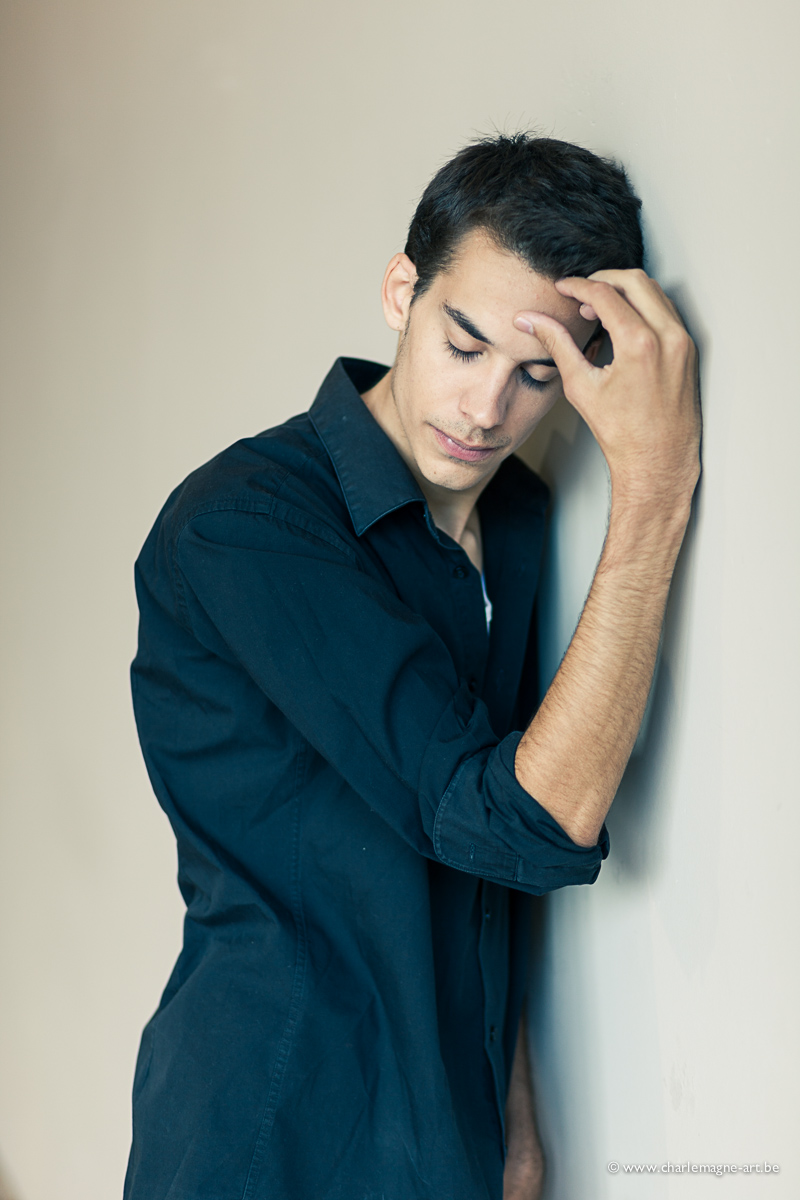
A while ago I did another model shoot, this time for a male model. Not my usual thing, but when people ask me, then – why not? I permitted myself some developing styles I normally don’t use. A male model can have some more contrasty – edgy style developing than a female model (in my opinion of course) We worked in different locations, some of my usual ones, but also outside at the Ronse train station. Actually I can work about everywhere as a photographer, especially if my model is fully clothed, outside is fine, even in colder weather. The model is Bjorn, thank you Bjorn.

I hope you like the results. If you have any questions or remarks, pls drop a line.

Ludwig Desmet BjornII-003

Ludwig Desmet BjornII-001

Ludwig Desmet BjornII-002

Ludwig Desmet BjornII-004

Ludwig Desmet BjornII-005

Ludwig Desmet BjornII-006

Ludwig Desmet BjornII-007

Ludwig Desmet BjornII-008

Ines at the Mansion

beauty, exhibition, Personal Pictures

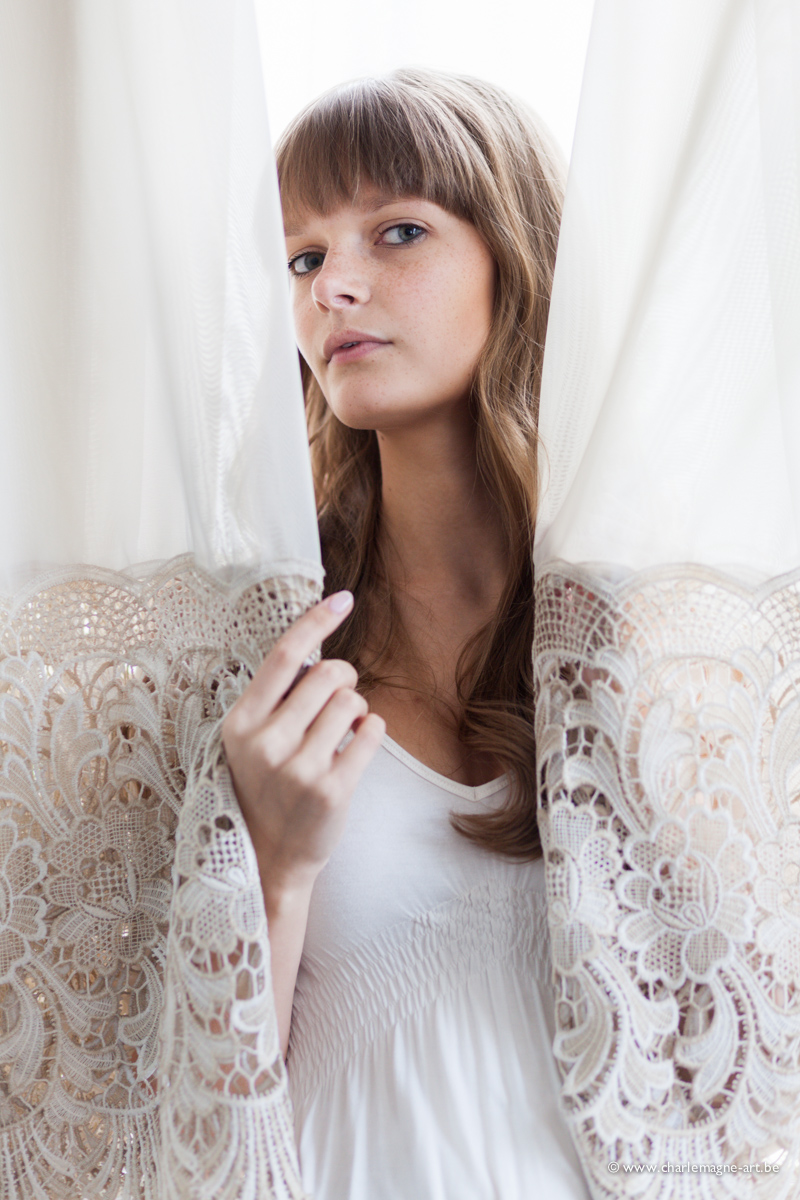
I love it when I get people in for a shoot that have absolutely no experience with modeling. They are so much easier to talk into a ‘natural behavior’ than the wannabe models that stick to the 10 poses they learnt by heart. Two weeks ago, Ines came to the Mansion. She travelled for about three hours by train to get here. Thank you Ines, for doing this effort for this shoot. You were a wonderful model, fun to work with, a beautiful, smooth skin and very open in conversation. All these things make her into a real ‘natural beauty’. She confessed she had gone trough about every post in this blog, before she decided to come to Ronse.

The Mansion is in full preparation for our upcoming group exhibit I talked about previously. This means a lot of works still going on, and a big rush to get the ground level ready for the exhibit, but also some new furniture items arriving now and then, and that is of course of great use for my photography.

I hope you like the images, one image from Ines will also be shown in the exhibit itself. I’ll make sure to post some images when the exhibit has opened.

thank you for reading

ludwig

charlemagne-art_Ines-3114

charlemagne-art_Ines-3103

charlemagne-art_Ines-3106

charlemagne-art_Ines-3113

charlemagne-art_Ines-3129

charlemagne-art_Ines-3154

charlemagne-art_Ines-3261

charlemagne-art_Ines-3292

charlemagne-art_Ines-3268

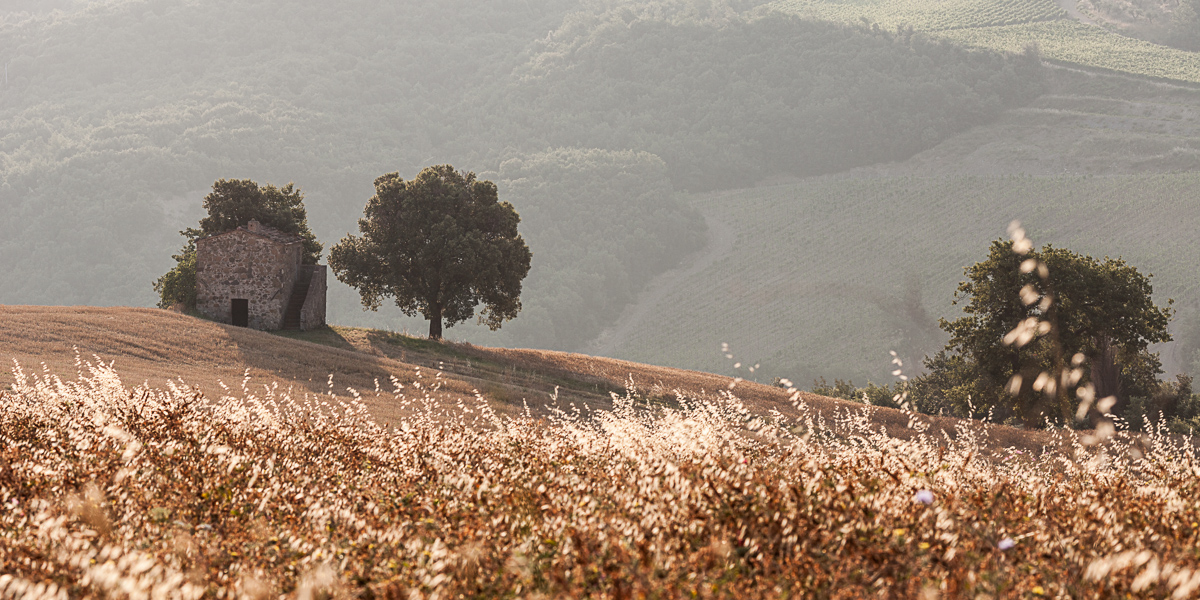
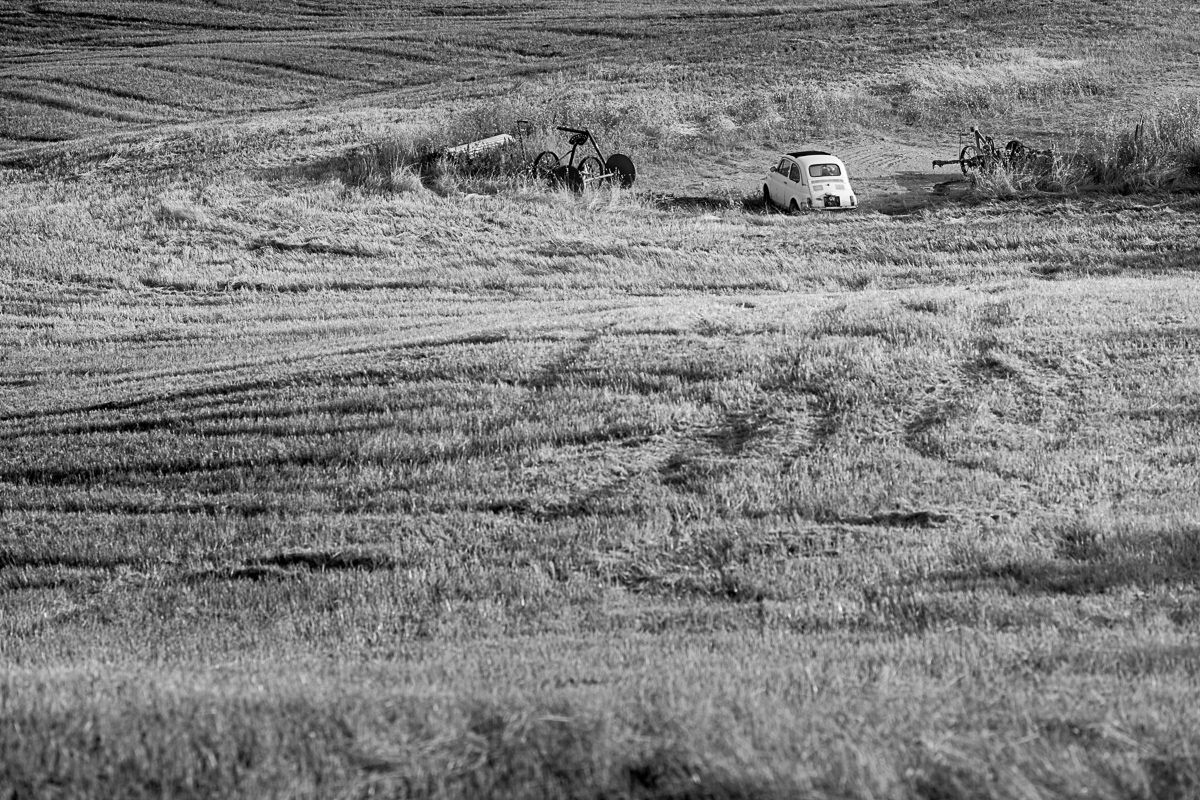
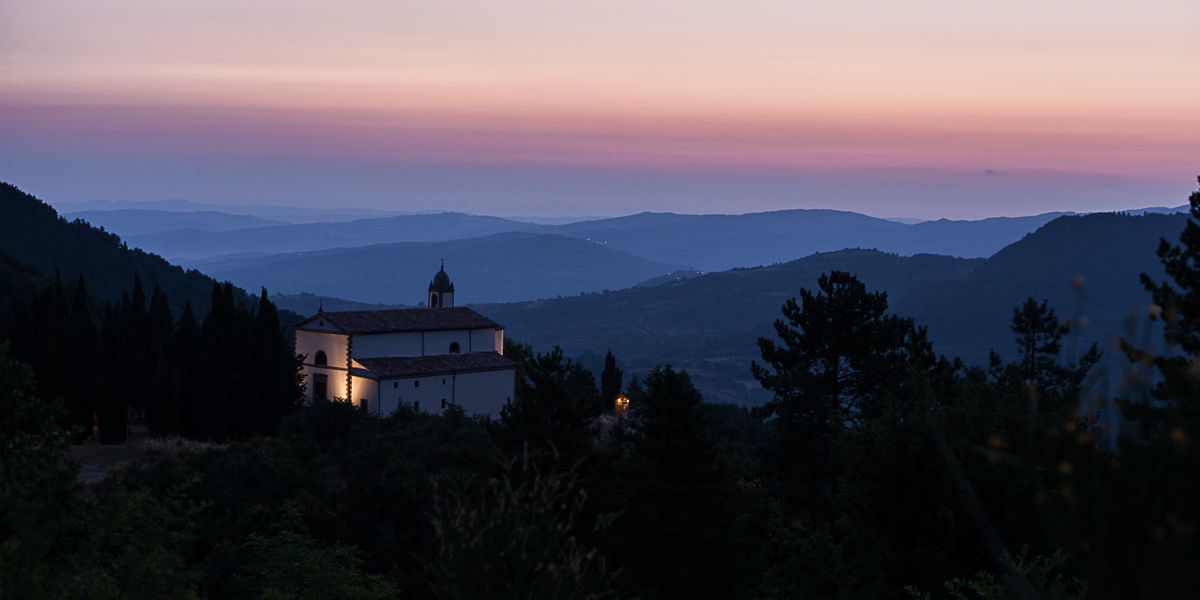
Beautiful Tuscany

landscapes, people, Personal Pictures

Well, vacation is long over, and almost forgotten (almost)

Luckily someone invented photography a couple of hundred years ago.

I don’t want to write a lot of words on this post, only this. The evening we wanted to pack the car for our trip to Italy (2 and a half weeks Tuscany), it broke down.

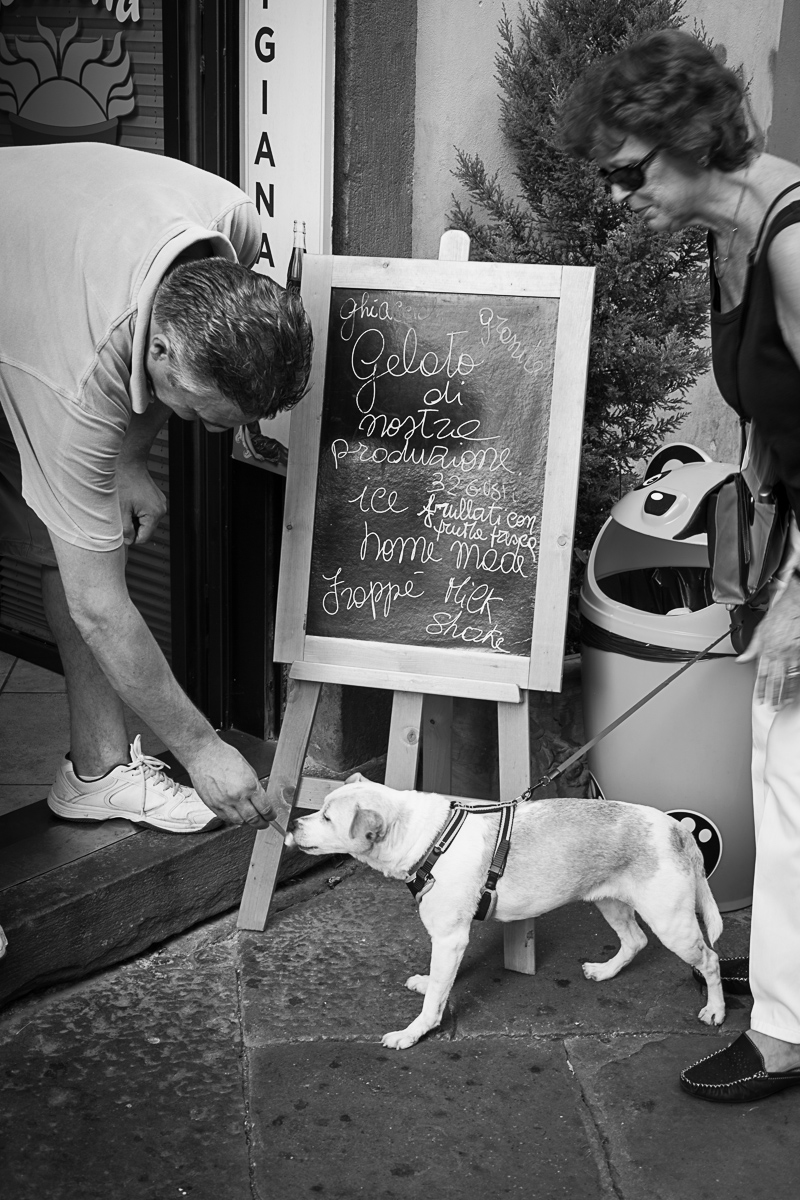
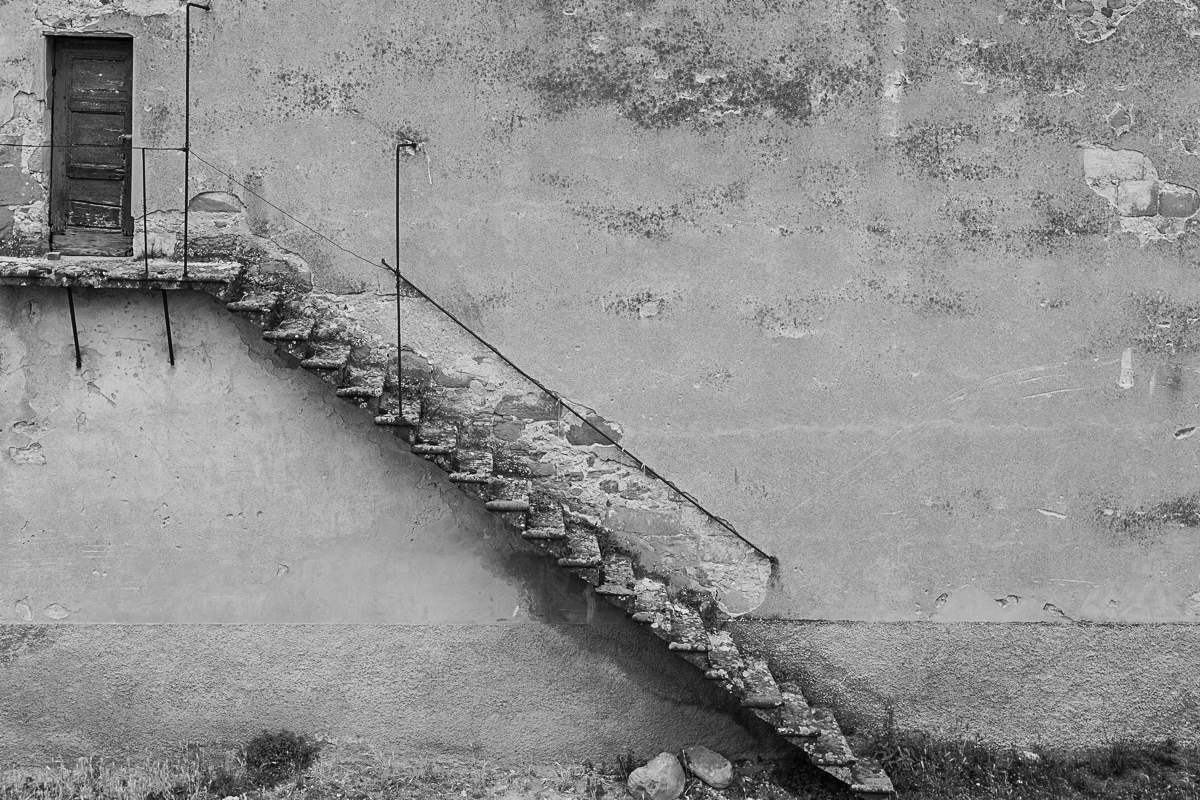
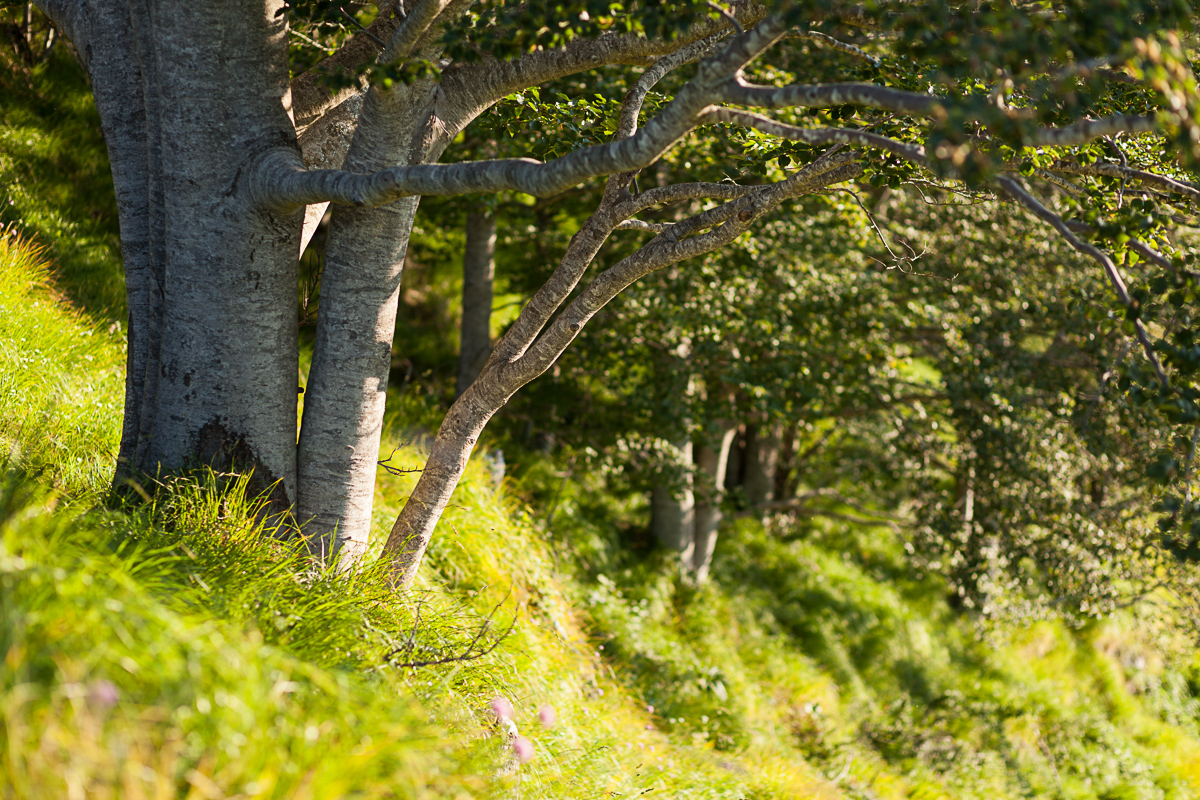
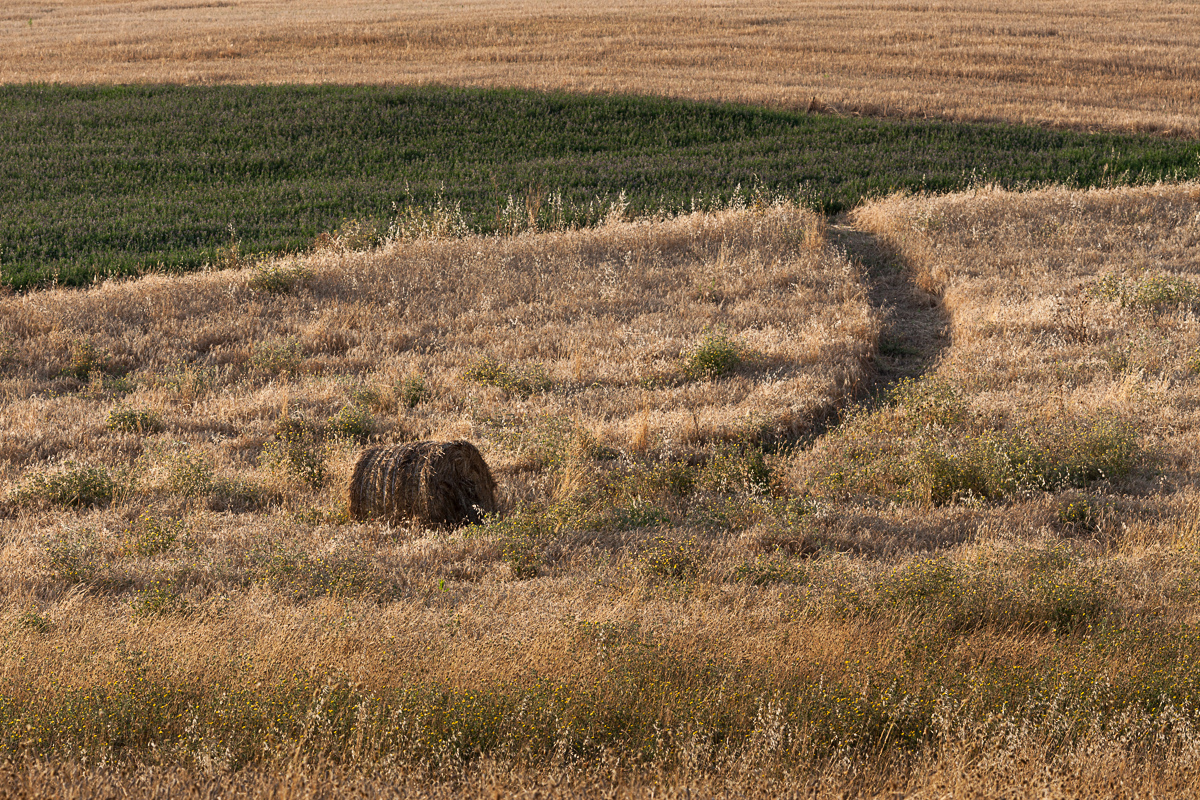
So no large wagon with rooftop luggage trunk, but only a small Toyota Yaris. This meant a total review of the luggage, which meant I had to leave half of my photo equipment at home. No tripod, that was the biggest drawback for me. But anyway, no other solution possible, and a big challenge for taking landscape images. Normally you want to use closed apertures, meaning long shutter speeds. Well, not possible this time. I had to crank up ISO settings from time to time, which you normally do not for landscape work. To give you an idea, first image: ISO 160 – 17mm – f11 – 1/8th of a second. Last image, ISO 800 – 50mm – f3.2 – 1/25th.

Hope you like the images, I could’n leave the dog out, having its daily portion of ‘gelato’ like everyone else.

happy viewing,

Charlemagne-art_Italy-1637

Charlemagne-art_Italy-1244

Charlemagne-art_Italy-1311

Charlemagne-art_Italy-1553

Charlemagne-art_Italy-1671

Charlemagne-art_Italy-1841

Charlemagne-art_Italy-1867

Charlemagne-art_Italy-1868

Charlemagne-art_Italy-1877

Charlemagne-art_Italy-1805

thank you for looking!

Nathalie M. at the Mansion

beauty, Personal Pictures

Still working hard at the mansion, doing natural beauty shoots whenever I find the time.

I never prepare these shoots I must tell, I prefer working into the magic of the moment, and taking instantaneous decisions based on the conditions of that day, based on the mood I am in, and the model I am working with. The results are varying of course, but always a true result of a spontaneous collaboration. The mansion is still being renovated, and some places are unusable, while others are near finished. I can’t but express my feelings of joy for being able to expose my work in the mansion soon. I will try to show the images in the same place they were taken, to make a direct link with the building and the atmosphere that reigns in every room.

enough talking, here are the images. Thank you Nathalie, for being my model that early morning, thank you to the owners of the place, for letting me in.

All images with Canon 5D mark II and Canon 50mm f1.4, Canon 85mm f1.8 and Canon 135mm f2 L. Processing in Lightroom 5.

charlemagne-art_NathalieM-0925

charlemagne-art_NathalieM-0934

ludwigdesmet_NathalieM-0979-F

charlemagne-art_NathalieM-1022

charlemagne-art_NathalieM-1112

charlemagne-art_NathalieM-1144

charlemagne-art_NathalieM-1161

Thank you for watching, come again soon!

ludwig

My Nude (In)cognito project

Personal Pictures, projects, Uncategorized

Portfolioproject end module photography

The last part of the degree in photography at KISP exists in a portfolio project from each of the students. He/She needs to develop his/her own project, during the last 5 months of the training. This happens under supervision of an internal mentor (KISP-teacher) and an external mentor, free of choice. The final works will be presented in an exhibit open to the public, and judged by a panel of professionals in the field.

Vision

The sixties from the last century, and in particular the late sixties, are book-marked as the era of ‘sexual revolution’. Contraceptive medicine had led to a great self decisive power within the feminine part of the population, in the possibility to prevent pregnancy, and sexuality could be experienced a lot less restricted.

About 40 years from that date, we see a huge amount of pornographic material, freely available on the internet, a quantity still growing at an amazing speed, with new adult sites emerging every day.

At the same time we can experience a sexualisation of general media, and in particular in TV advertising, entering our homes every day. A woman looks slim and her body shows no signs of ageing, she is always available, expresses sexual lust, and is being exploited in this manner.

This message has gained a very high level of tolerance, and is rarely critiqued.

In very high contrast to this stands the reality of an everyday individual. When I, as a photographer, contact people for modelling in an artistic nude photo session, then their first concern is the possible reaction they will get from relatives, partners, employers or colleagues.

The individual freedom of being naked, and being able to express yourself in nude art, in a feeling of confidence is clearly not a general state of mind. The taboo about the personal body of each individual has clearly not disappeared, maybe even become stronger than in the late sixties.

Mission

Provide an answer to the still existing taboo about personal nudity, and carefully try to respond to the will of individuals to express nakedness, by photographing them in an artistic way, be it anonymous or recognisable, AND to give a place to their doubts, their feelings about nudity and their fears for the reactions from other people.

Goal

Photograph at least 10 individuals in an artistic nude photo session. The images can be anonymous or clearly identifiable, to the choice of the individual. From each session a selection will be withheld for possible publication/exhibit in the portfolio project. When I have enough candidates, each person will only have one image presented. When I have more than 10 candidates, it is possible that no image of a particular session will be used, the judgement for the final exhibit lies with the photographer.

Next to the exposed pictures, a separate panel will be composed, with a testimonial from each photographed individual, as well as from some people that have given testimony of their inability to pose nude. They will be joined with a portrait of the individual. The name used in conjunction with the images can be changed by each individual.

Practical matters

The shoots will take place in the studio of the photographer, and will take a minimum of two hours, preferably longer because it takes some time to familiarise, discuss eventual questions etcetera. Models can bring an accompanying person, or someone to do make-up or hair.

Sessions can be booked on wednesday afternoons, fridays or in the weekend. Dates to be discussed.

A contract will be presented, in which the individual passes the rights for publication to the photographer. The choices below are to be made by each individual.

… gives the right for publication for image numbers:

…………. / …………. / …………. / …………. / …………. / …………. / …………. / …………. / …………. /

…………. / …………. / …………. / …………. / …………. / …………. / …………. / …………. / …………. /

O for exhibitions -> this option must be ticked.

O for printed books/reproductions

O on website O blog O facebook-page* of the photographer (*if not against facebook rules)

O on websites/printed matters for promoting an exhibit or a book

O in specialized photo magazines

O with proper name (first name)

O under nickname: ……………………………………

Conditions

What should a model have/respond to:

A model must be at least 18 years old, and be able to prove this with a identity piece.

A model should be self confident and be fine with posing nude.

A model should be able to come to the studio at the agreed date.

A model will have to sign for abduction of image rights.

Reward

Endless gratitude, and unimaginable amount of fame.

Self realisation and being part of the real sexual revolution.

In exchange for posing, the model will receive the selected images in low resolution digital format.

Prints and (mounted) enlargements can be ordered at fair prices.

thank you so much for reading this presentation/call for models

any inquiries should be made at : ludwig -at- charlemagne-art.be

Ludwig Desmet – Charlemagne

U can find my work at:

www.charlemagne-art.be

ludwigdesmet.wordpress.com

I will soon post some images from the first sessions, so make sure to come again soon.

How to find a good location – shoot with Karen

beauty, Personal Pictures, personal tips & tricks, Tips and Tricks

Some people ask me about these locations I work in.

I have been into urban explorer photography (also called urbex) for a short period of time. I din’t really get far into this. Not that it didn’t please me, but modeling work pleases me more, because you work together with at least one other person to a result. There’s not much conversation possible with an abandoned building or a landscape. (another discipline in photography, that I still do from time to time)

In urbex, most of the locations are very abandoned, and you might get in with permission at rare occasions, but most of the time, you just don’t ask permission, don’t know who to ask to, or just simply don’t bother. This includes the risk of being ‘discovered’ by the owner, the housekeeper or even the police, … (never occurred to me 😉 )

As soon as I started doing model work, I convinced myself that it would not be a good idea getting the police behind my back whilst my model is working on the next intimate pose, or while she’s changing clothes, or some other awkward moment during the shoot. Finding locations is not easy, by far not. It has to be accessible, not too far driving from where you as a photographer are based (preferably), give plenty of light possibilities, give nice decorative possibilities etc. … And you need to get access at the times you want to shoot at.

My one and only advice in this matter is: Try to find the owner of the place, contact him or her, try to make a mutual beneficial agreement. Most people have shown great willingness whenever practically possible. I now have 4 different locations I regularly shoot in, and all 4 owners were very quickly sympathizing with the idea. I mostly offer free photo work – to some degree – if they would need any, be it for family or business matters.

This is what happened with the location of the shoot I’ll show you pictures of in this post:

While riding my motor trough the flemish ardennes (a part of our region called so because it resembles the ardennes – but actually it is more beautiful) I see this beautiful complex that seems like an old cloister, nursery school, orphanage, … and I decide to halt and look if I can find signs of people around.

After peeping trough some windows, knocking on the door, some kind of housekeeper gets his head out on the second floor, talking to me in a foreign language. (Being a Belgian citizen, I do speak and understand quite some languages, but clearly not this one) Impossible to talk to him, but he’s able to point me to a information panel hanging on the wall, that contains different phone numbers of the owner of the place. I have called the owner a couple of days later and she said:

“sure, no problem, I have been a model myself in my younger days. Just call me whenever you want to get in. When there are no groups (the location is rented as a summer camp house for big groups) you’re welcome.”

Easy as that, and something similar happened with the mansion, the old villa, the warehouse and the storage building. So, just ask, don’t ask for the impossible, be polite and be willing to offer some service in exchange. After that, be clear in your communication (when you want to shoot, for how long, with how many people, etc. …) and you’ll have a good chance for a lasting relationship.

One last remark about sharing locations with other photographers. Well, I’m very reluctant about that, and mostly for one reason. It is not because the owner granted me permission to shoot in a certain building, that he/she is also interested in receiving other photographers, or in being bothered by a different photographer every day, … Besides, the exchange offer they get from me, they won’t need it from another photographer, don’t they? 😉

So, enough about locations. I worked with Karen for the first time, first time in this new building too. The sky was cloudy, so there was really not much light inside. It required some searching, trying a lot of different angles, but we managed to get some really nice images after all. Karen told me afterwards “the pictures are really superb”. Thank you Karen.

All images taken with Canon 5D II at ISO 200 (except one at ISO 100), Lenses used in this selection: Canon EF 24mm f1.4 L II, Canon EF 50mm f1.4, Canon EF 85mm f1.8, Canon EF 135mm f2.0 L. All natural light.

happy viewing

charlemagne-art-KarenW-0560

charlemagne-art-KarenW-0330

charlemagne-art-KarenW-0374

charlemagne-art-KarenW-0381

charlemagne-art-KarenW-0397

charlemagne-art-KarenW-0428

charlemagne-art-KarenW-0435

charlemagne-art-KarenW-0461

charlemagne-art-KarenW-0475

charlemagne-art-KarenW-0489

charlemagne-art-KarenW-0501

charlemagne-art-KarenW-0517

charlemagne-art-KarenW-0533

charlemagne-art-KarenW-0539

charlemagne-art-KarenW-0589

Any questions about this post, just ask!

Ludwig

Upcoming exhibition at The Mansion

exhibition, Personal Pictures

you will probably all have noticed that I have been working a lot in the house I named ‘The Mansion’

I have the incredible opportunity to exhibit some of my works soon, at the exact location were they were taken.

Come see the best of images taken at The Mansion in the exhibit “Kunst omhulst in Villa 99” at The Mansion, Ronse – Belgium.

Vernissage october 4th, more details soon. Anyone interested in receiving an official invitation, pls contact me.

IMG_8708

Eline V. at the mansion

beauty, people, Personal Pictures

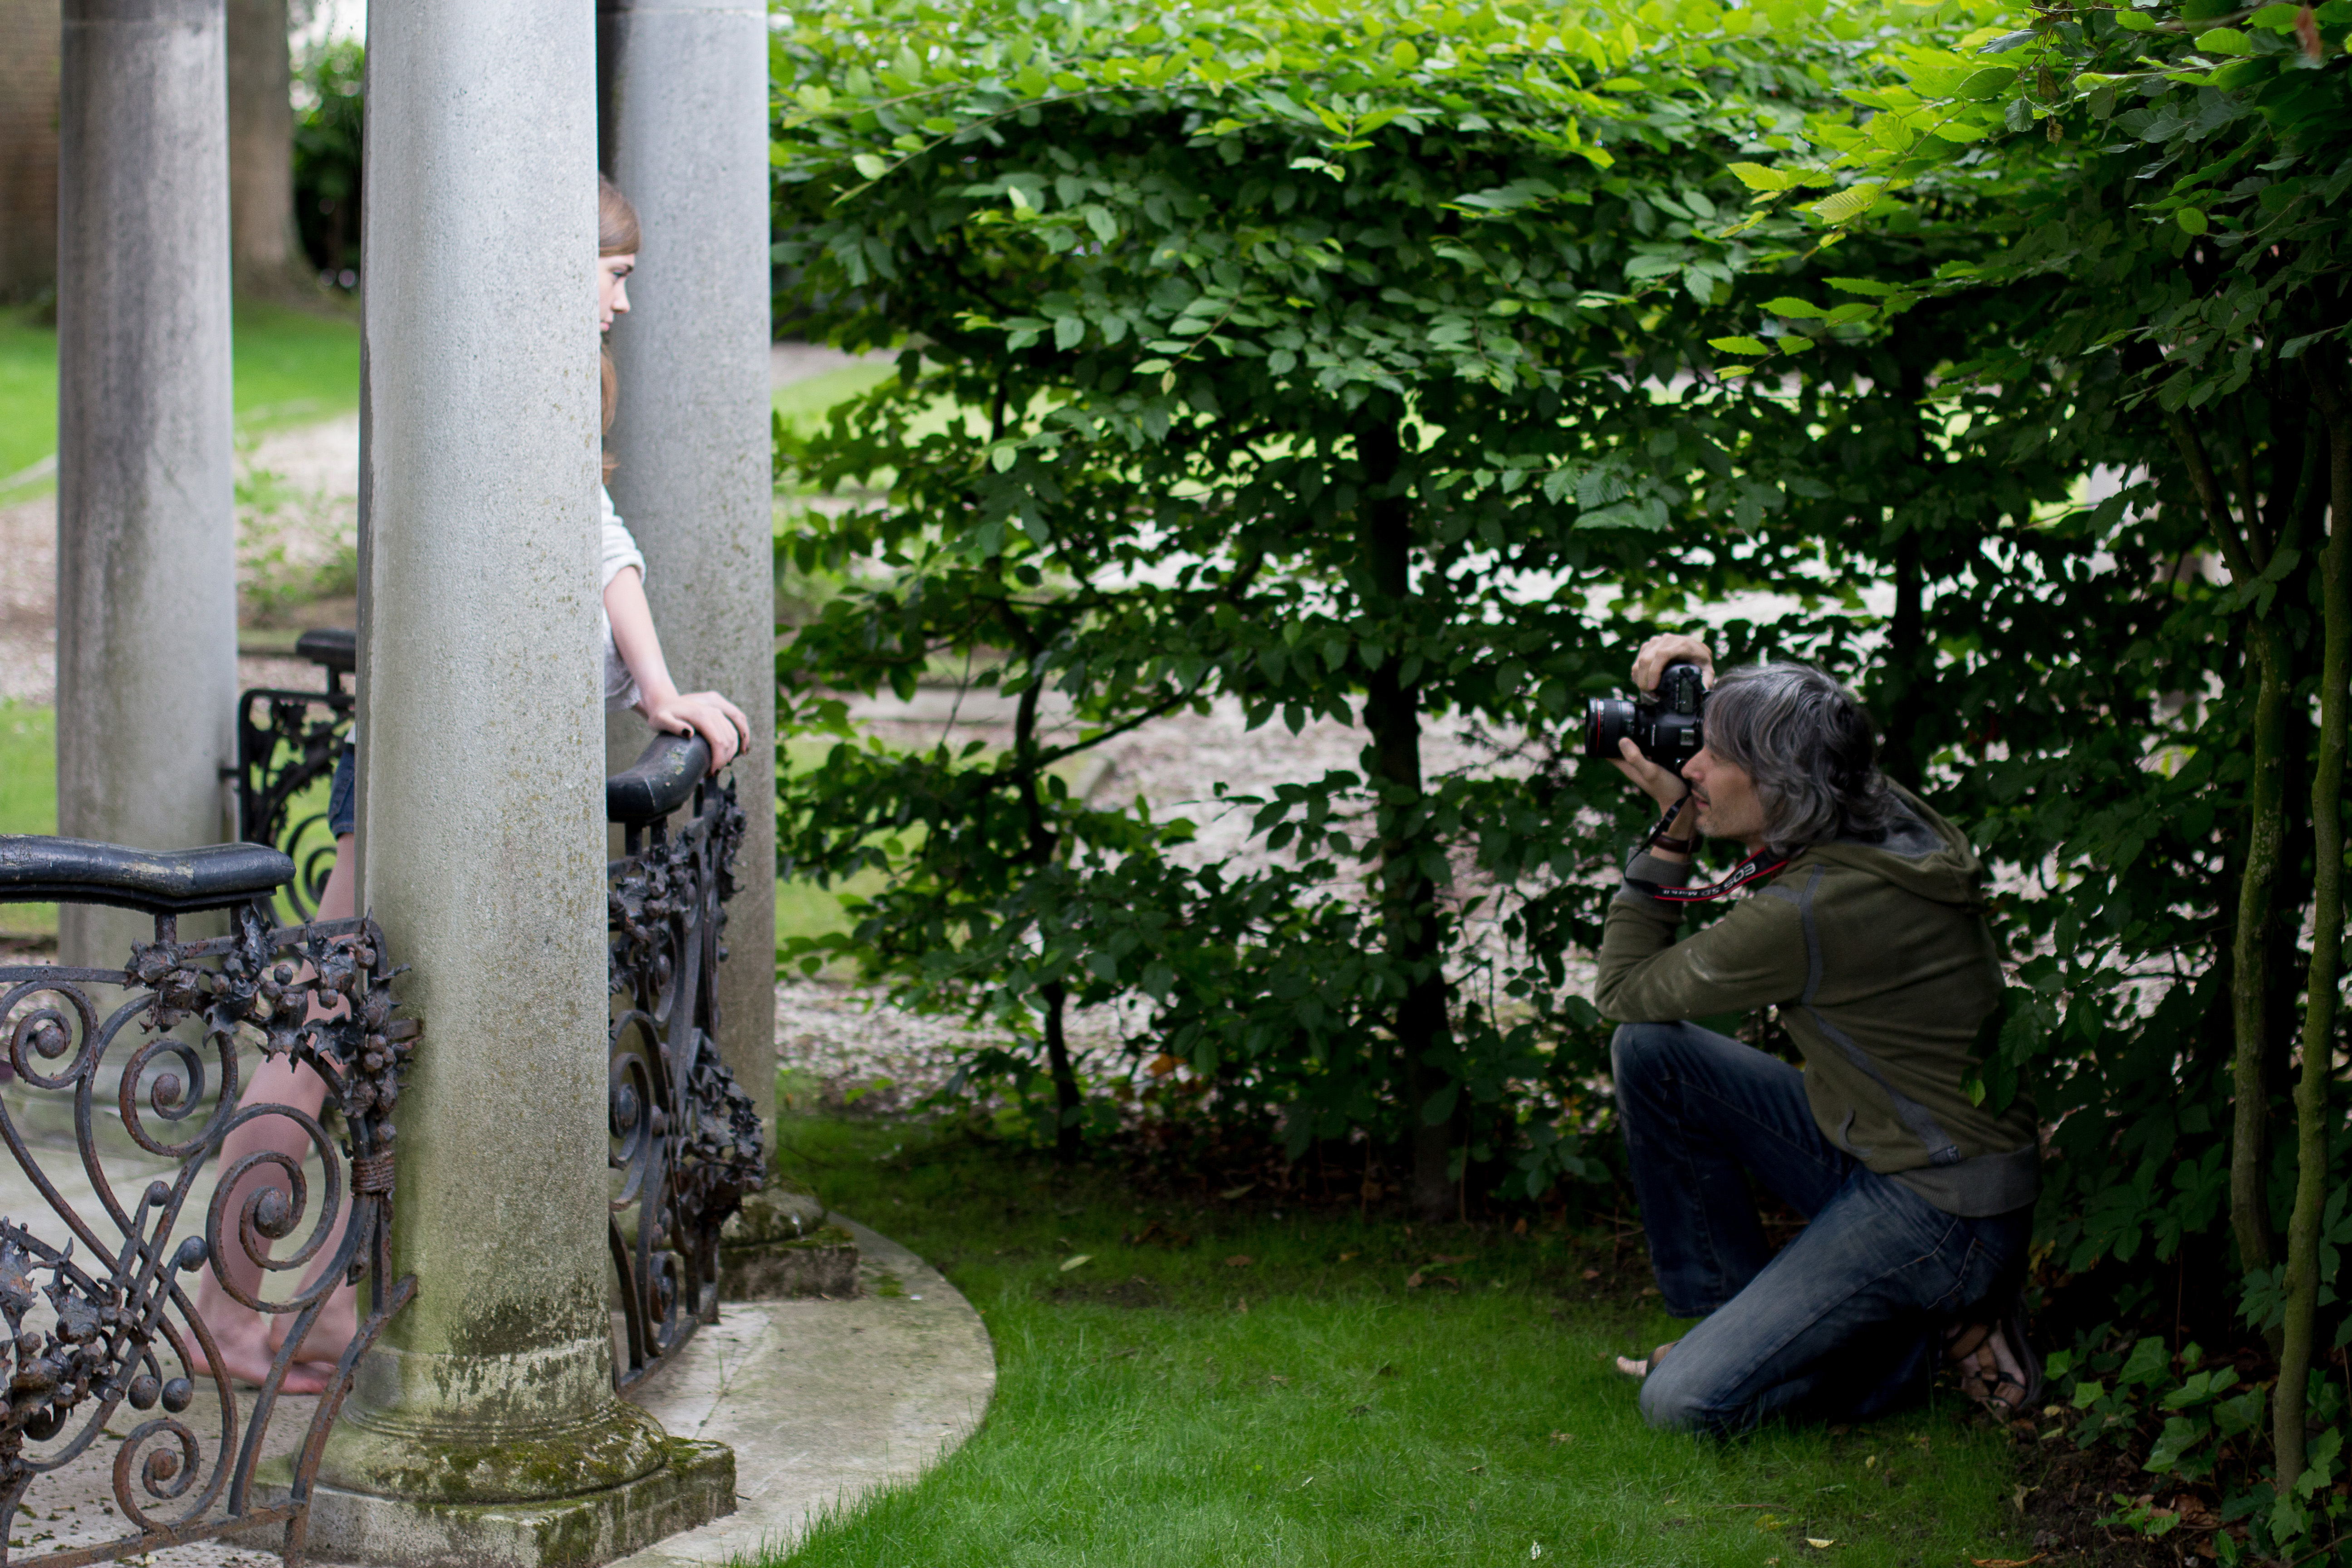
hi, some new pictures from a new girl I worked with at the mansion. She came with her Uncle, who’s actually studying photography where I give classes, so I can present you some behind the scene’s pictures as well. Eline has only little modeling experience, and that is what I like the most. These models are easily posable the way I want, and don’t fall back into standard poses they’ve learnt with other photographers, ore standard poses from the fashion world. All shots done at the mansion, my favorite working location for natural beauty shoots, with a big thank you to the owners of the house!! I found this location with a bit of luck and a good word from one of my customers. I had worked in the building just in front of this one, when the mansion got sold to new owners. My customer introduced me, the owners saw my work, and a few agreements later, they granted me access to this magnificent place. Thank you Eline, for posing, thank you Gino, for the behind the scenes images and for driving Eline to Ronse! I’m sure you can couple some of my images to the behind the scenes shots 😉 Oh, and all pictures taken with natural light, some of them with the aid of a large reflector (thanks again Gino!) come again soon, I’ve photographed Karen at a new location, which I will be calling the orphanage!

charlemagne-art_ElineV-0024

charlemagne-art_ElineV-0066

charlemagne-art_ElineV-0076

charlemagne-art_ElineV-0086

charlemagne-art_ElineV-0109

charlemagne-art_ElineV-0166

charlemagne-art_ElineV-0187

charlemagne-art_ElineV-0200

charlemagne-art_ElineV-0244

charlemagne-art_ElineV-0258

charlemagne-art_ElineV-0262 some BTS pictures: (you’ll notice that my clothes are really smudgy and dirty on these BTS pictures. You have to know that the mansion is undergoing a full rebuild on the inside, and is thus covered with a layer of dust, from the cave, up to the attic. As a photographer, I tend to lean against walls, go flat on the floor, hang over staircase railings etc. . That’s why.) The very start of the shoot, warming up.

IMG_2013_06_27_1839-1_small

Me preparing the bath for Eline, Eline not sure what to think.

IMG_2013_06_27_1845-1_small Eline taking a bath with clothes on. 😉

IMG_2013_06_27_1848-1_small at the top floor of the building, the attic rooms. Dark but beautiful structures on the walls, me working with my Canon 24 mm f1.4 II L for a close up wide angle shot. IMG_2013_06_27_1857-1_small In the garden, under the beautiful patio building.

IMG_2013_06_27_1887-1_small

Sharon low key studio test shoot

beauty, Personal Pictures

Hi,

I launched a call for models on my Facebook page last week, for some test shoots in my studio.

I’m not really fond of studio work, but that might probably be because I’m not familiar enough with it, so time to work on my skills.

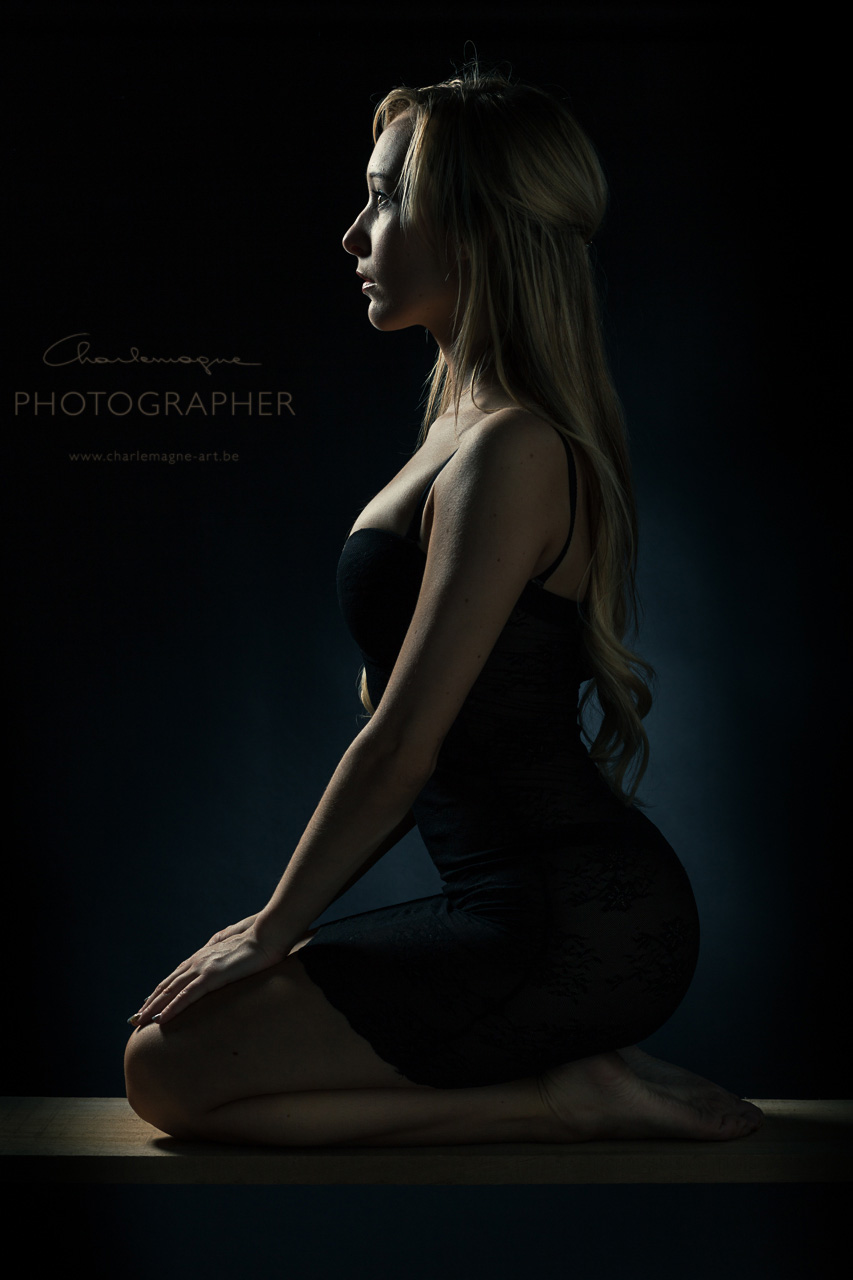
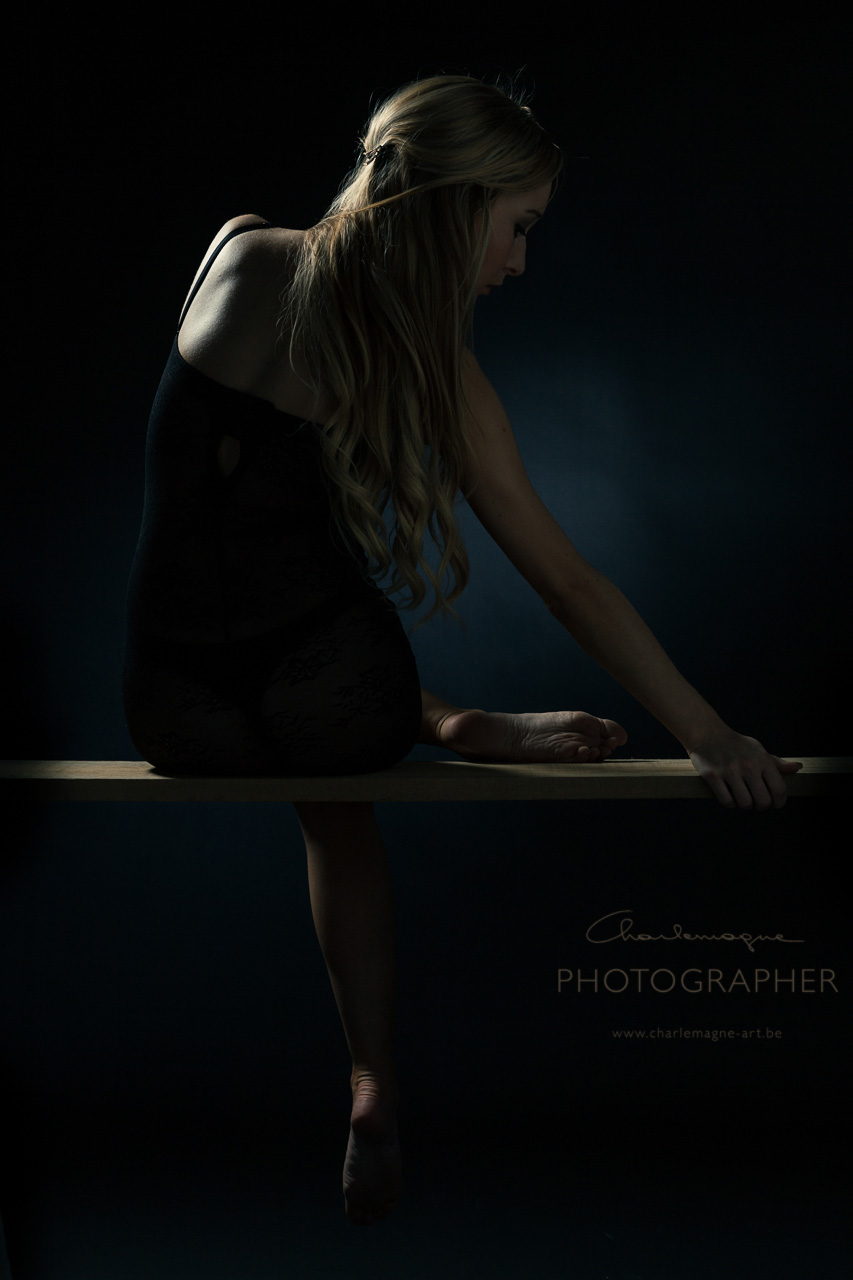
I’m not really into white studio backgrounds, and brightly lit models, so I went for some kind of low key approach. I feel more like keeping some mystery in my images

Sharon was one of the models that volunteered, she’s from the same town I live in, so we can easily fix a render-vous (a get-together) whenever time allows.

I had worked with her in these shoots: Model Sharon – fall and model Sharon I think we both learned a lot since. I’ll leave that for you to judge.

So Sharon was here last thursday afternoon. We worked some different settings, for about 2 and a half hours. I worked a lot with indirect light on the side facing the camera, and just some backlight directly on my model.

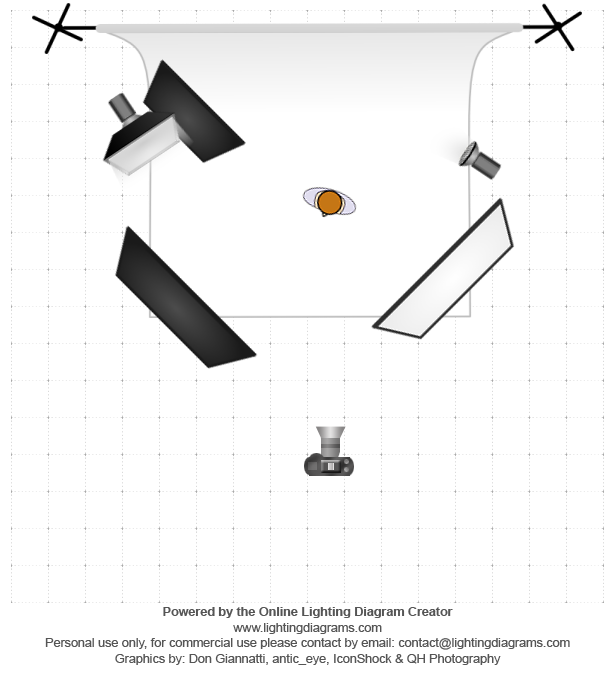
The light setup for the first 2 images looks as follows:

One softbox light left of my subject, as high as my light tripod goes, aimed towards the model and covered all around by a black cloth to prevent light spill on the background. The background is a black roll of paper, not white as indicated in the diagram

One big reflector panel at the right side of my model, simple styrofoam, aimed towards the model thus bouncing back light of the softbox.

Gridded and partially covered (with a cloth) torch to the right, aimed at the background, for the soft spot of light on the background.

Model is sitting on a wooden plank, suspended by two shelve racks I normally use to pile up my studio gear.

I used some additional black panels and black cloth to prevent too much light to bounce around in my small studio.

lighting-diagram-1372084207

The images were all taken with Canon EOS 5D II and 85mm, 135mm and 50mm Canon lenses. Settings vary.

Don’t forget, all images are clickable for a bigger version.

charlemagne-art_Sharon-9798

charlemagne-art_Sharon-9813

the other images are with different setups, all based on the same theme.

charlemagne-art_Sharon-9845

charlemagne-art_Sharon-9881

charlemagne-art_Sharon-9893

charlemagne-art_Sharon-9899

charlemagne-art_Sharon-9901

charlemagne-art_Sharon-9927

charlemagne-art_Sharon-9941

I will probably study this subject further, so models can always sign up for a studio session.

Take care, and come again soon,

Ludwig

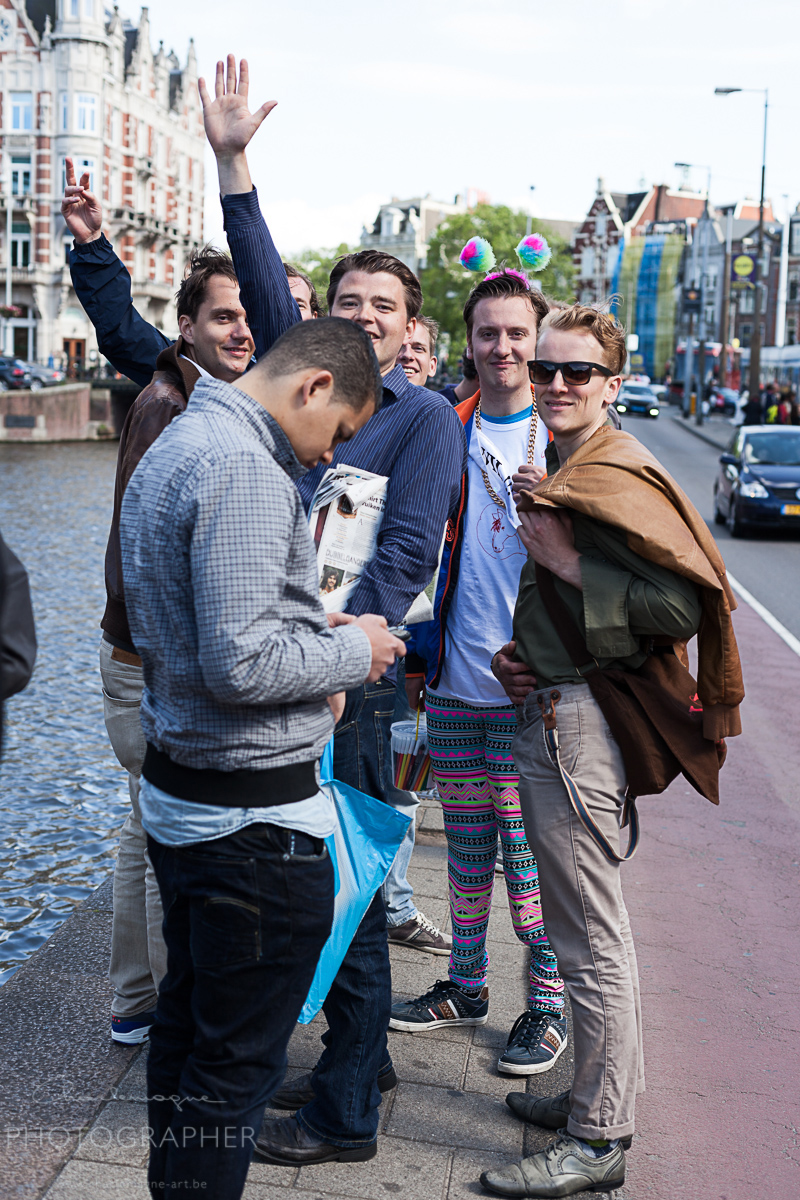
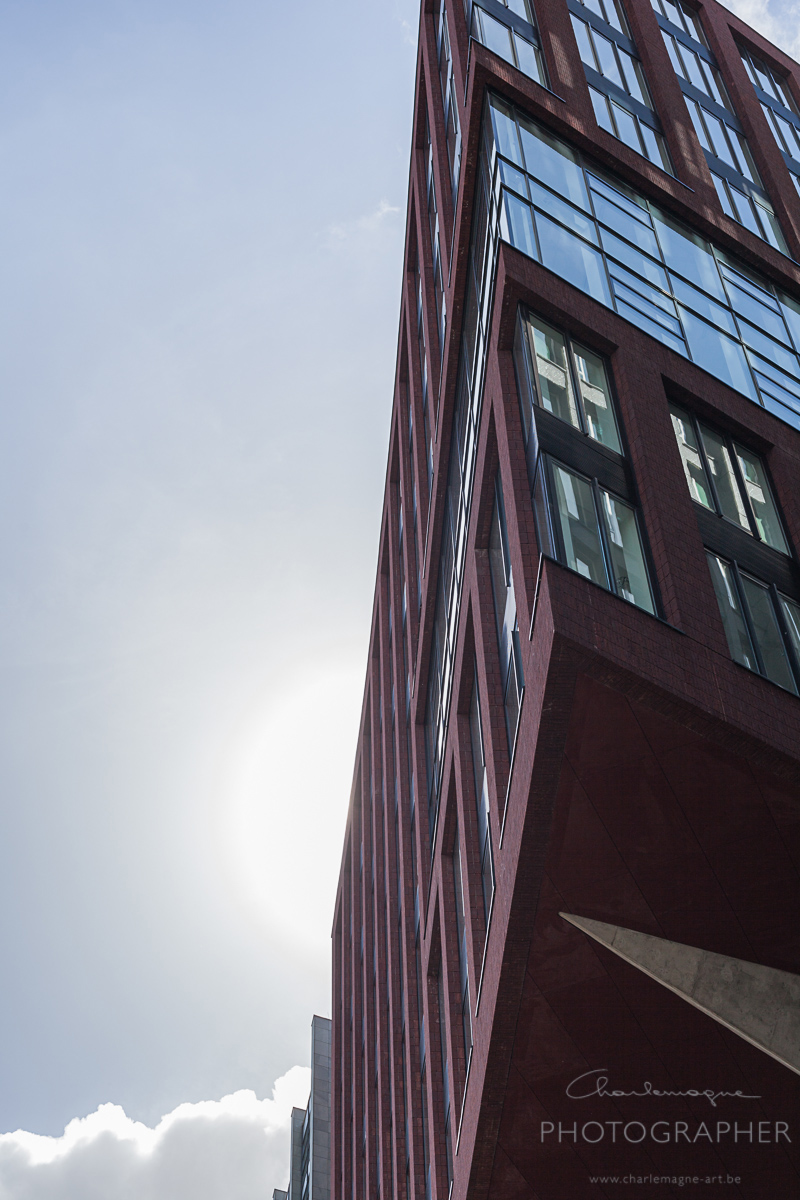
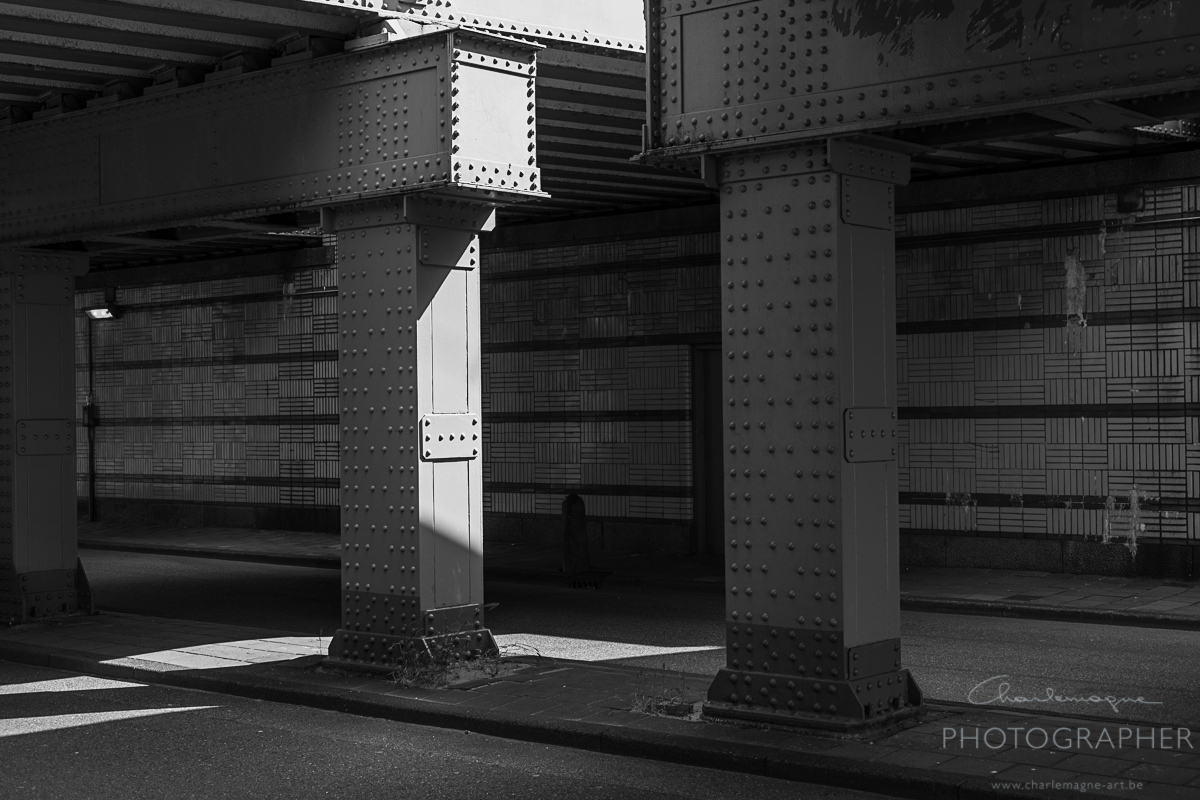
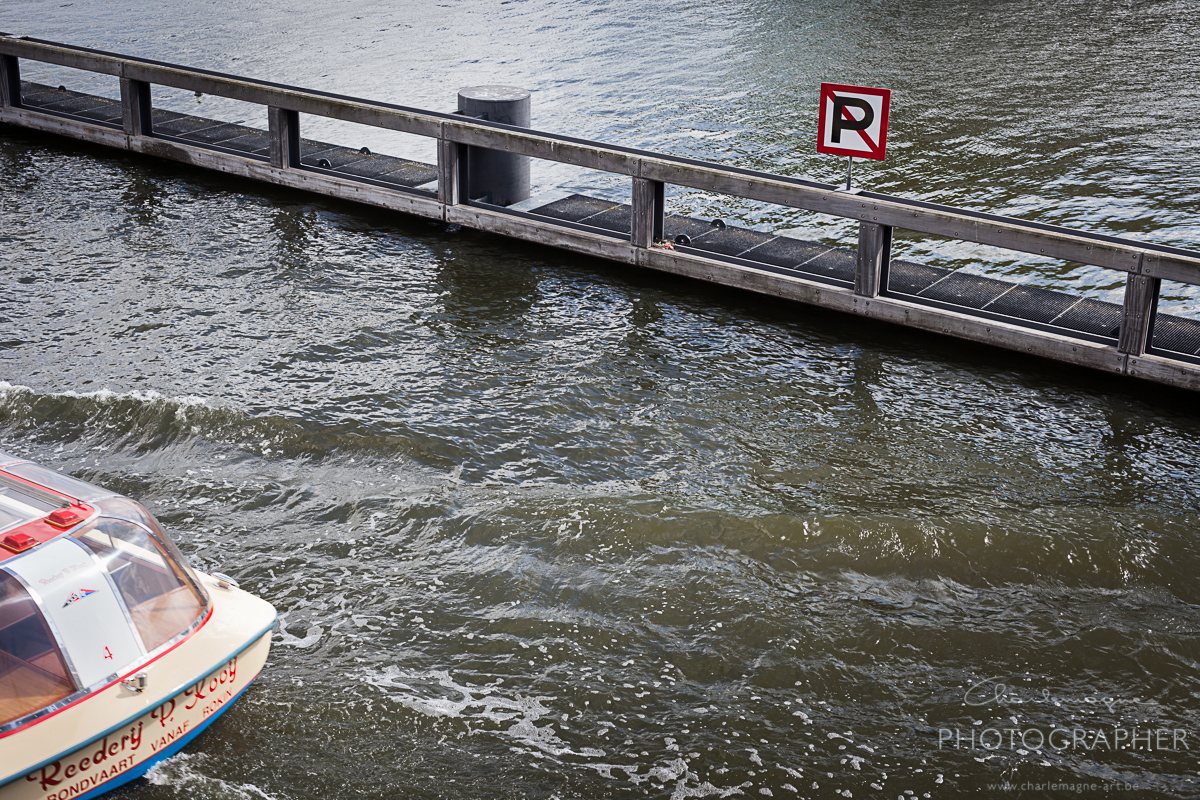
Amsterdam Highlights

Personal Pictures

In my ‘highlights’ series, I had Barcelona and twice Paris (I) and (II), this time I visited Amsterdam hit-and-run style (about 24 hours between arrival and departure)

In short:

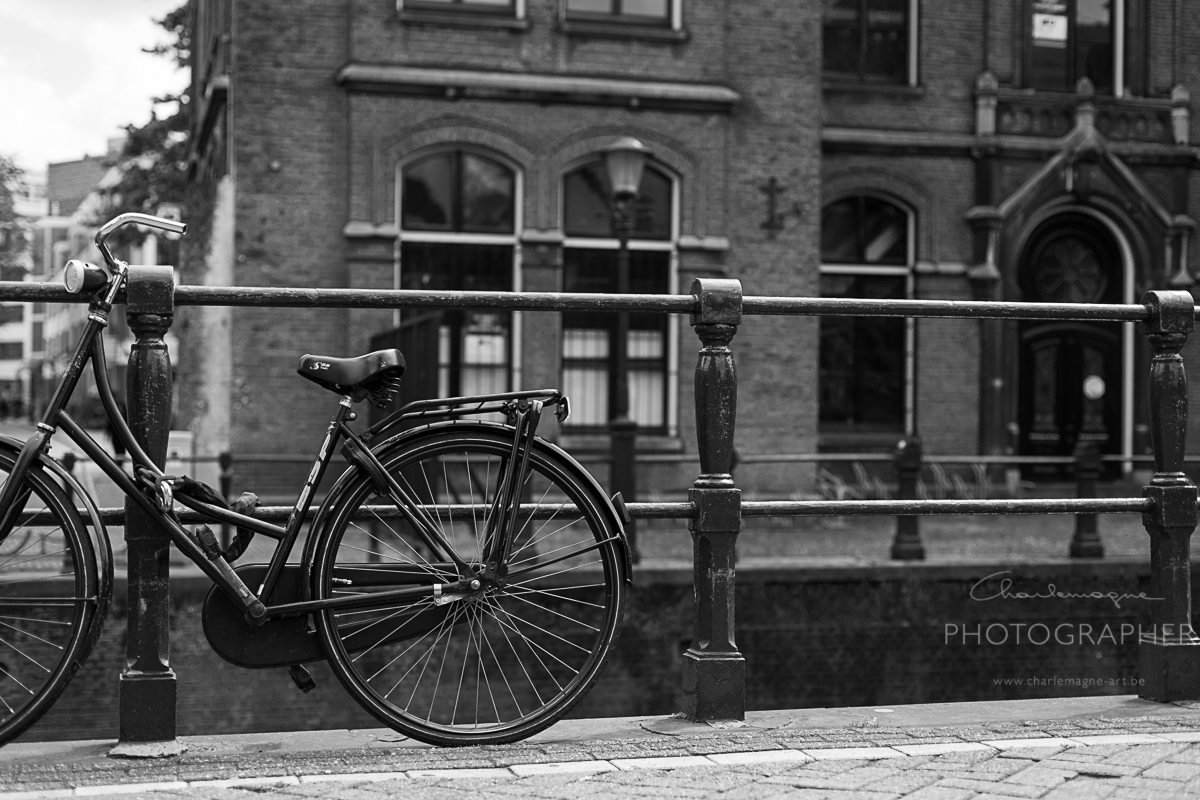
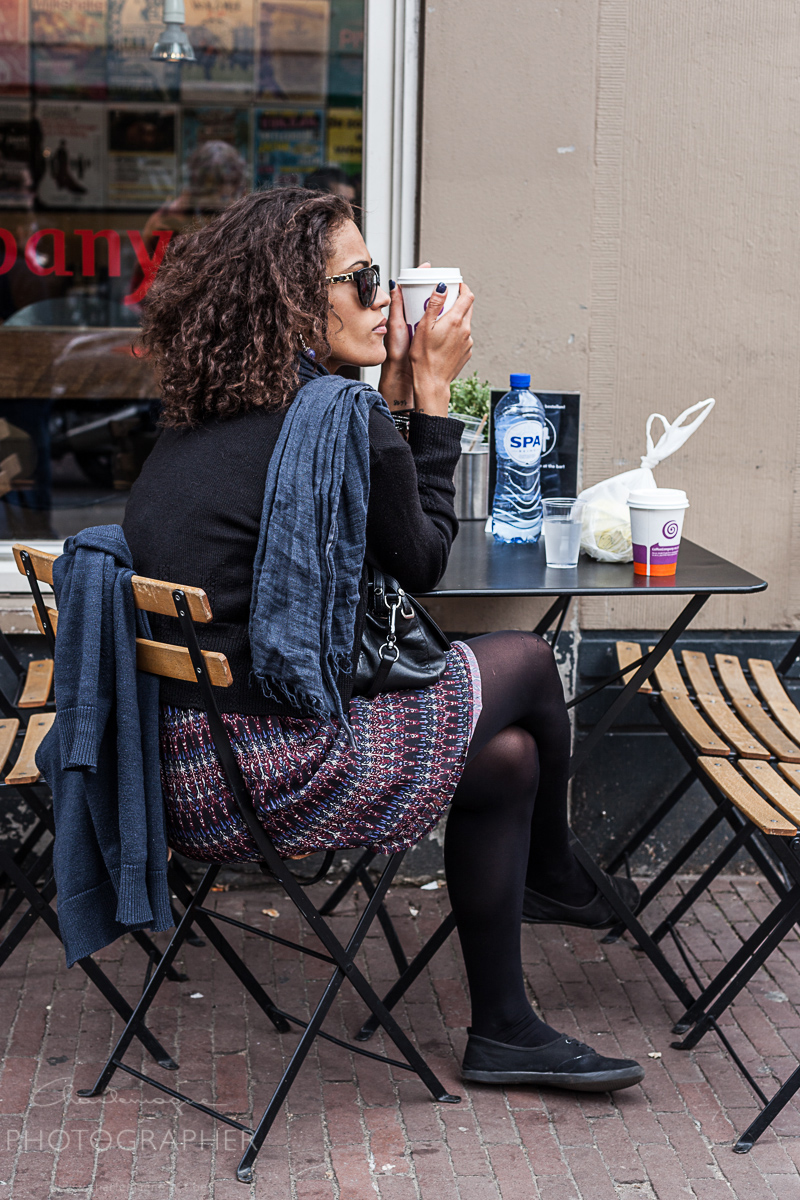
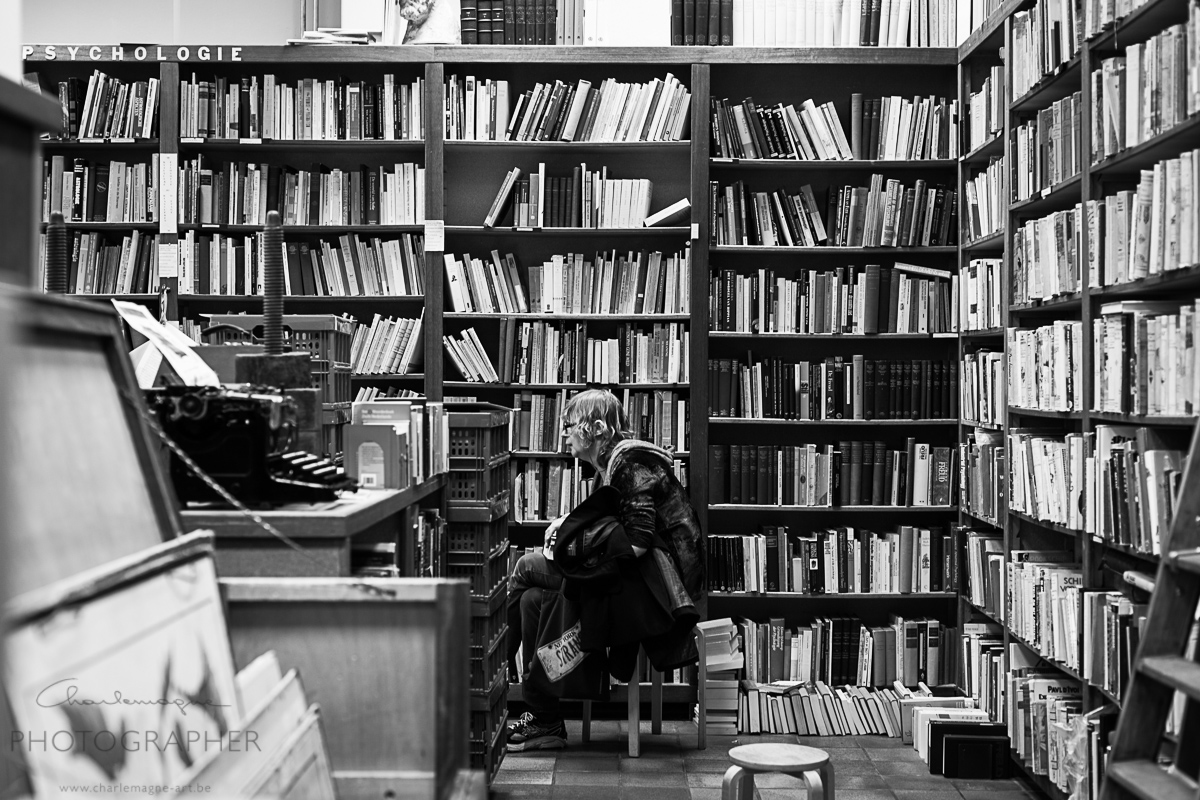
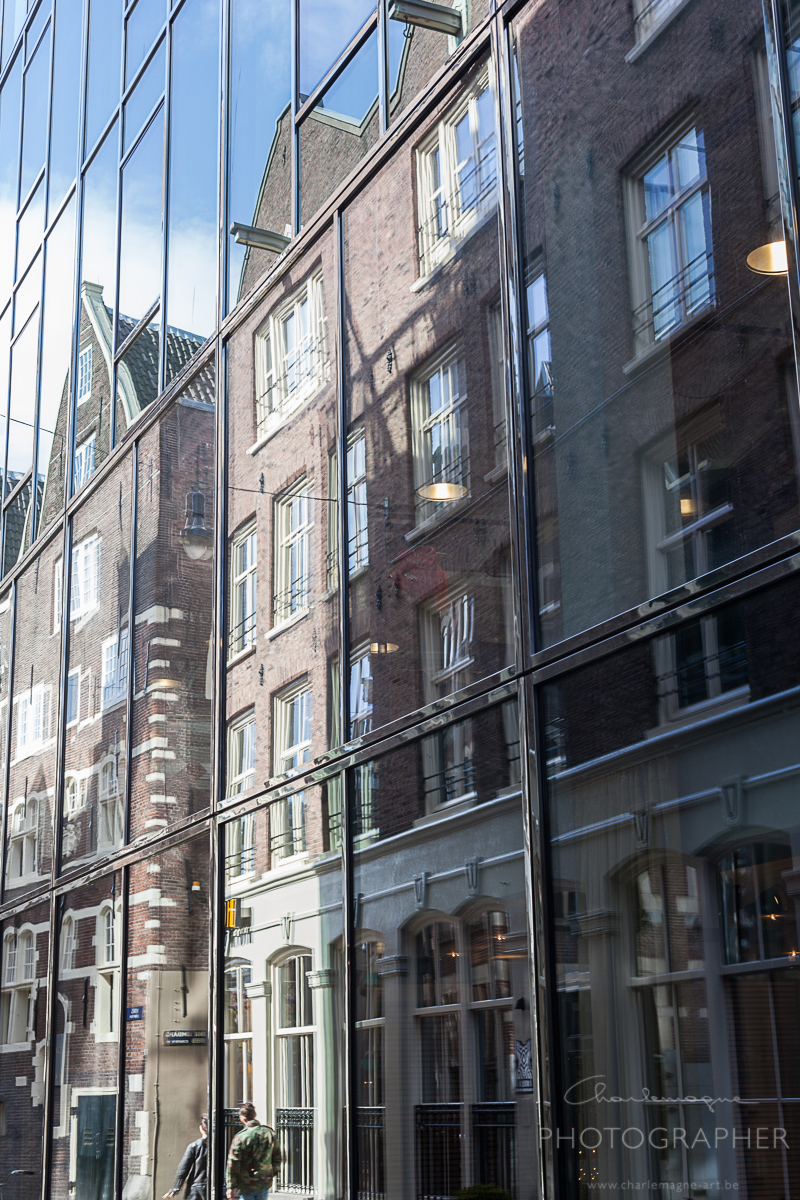
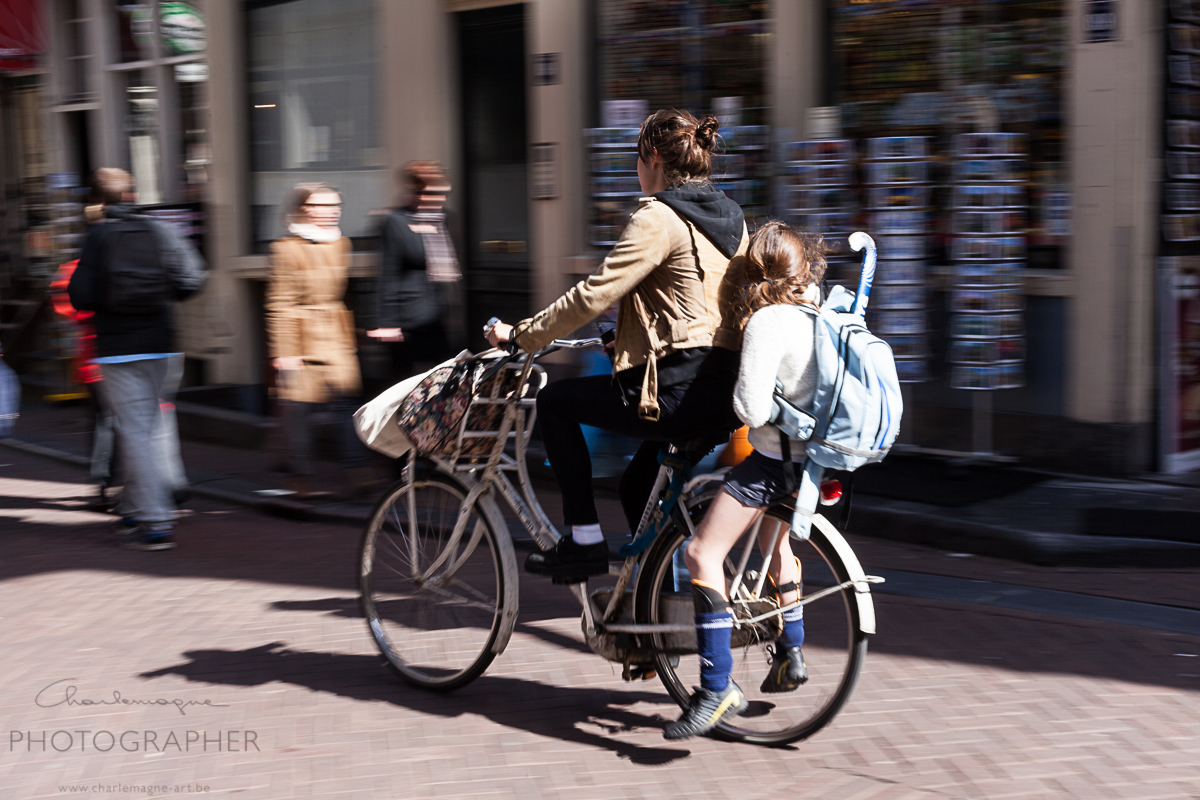
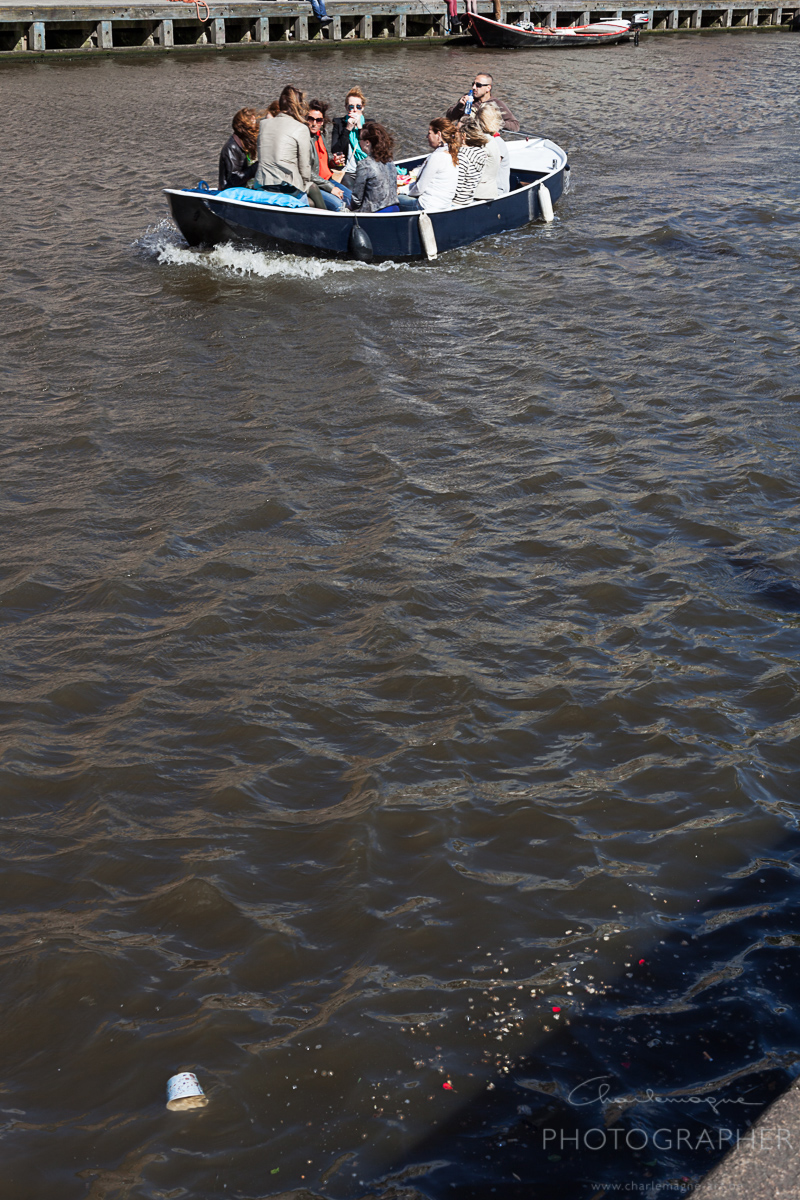
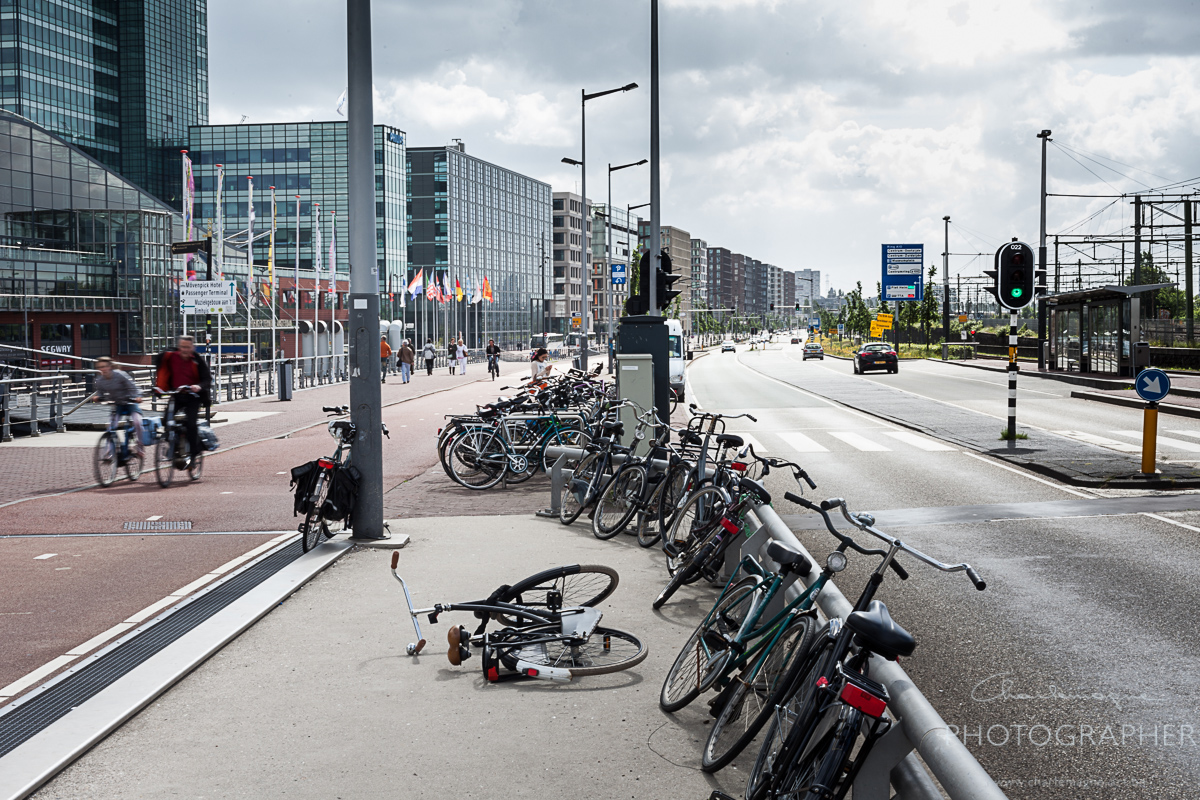
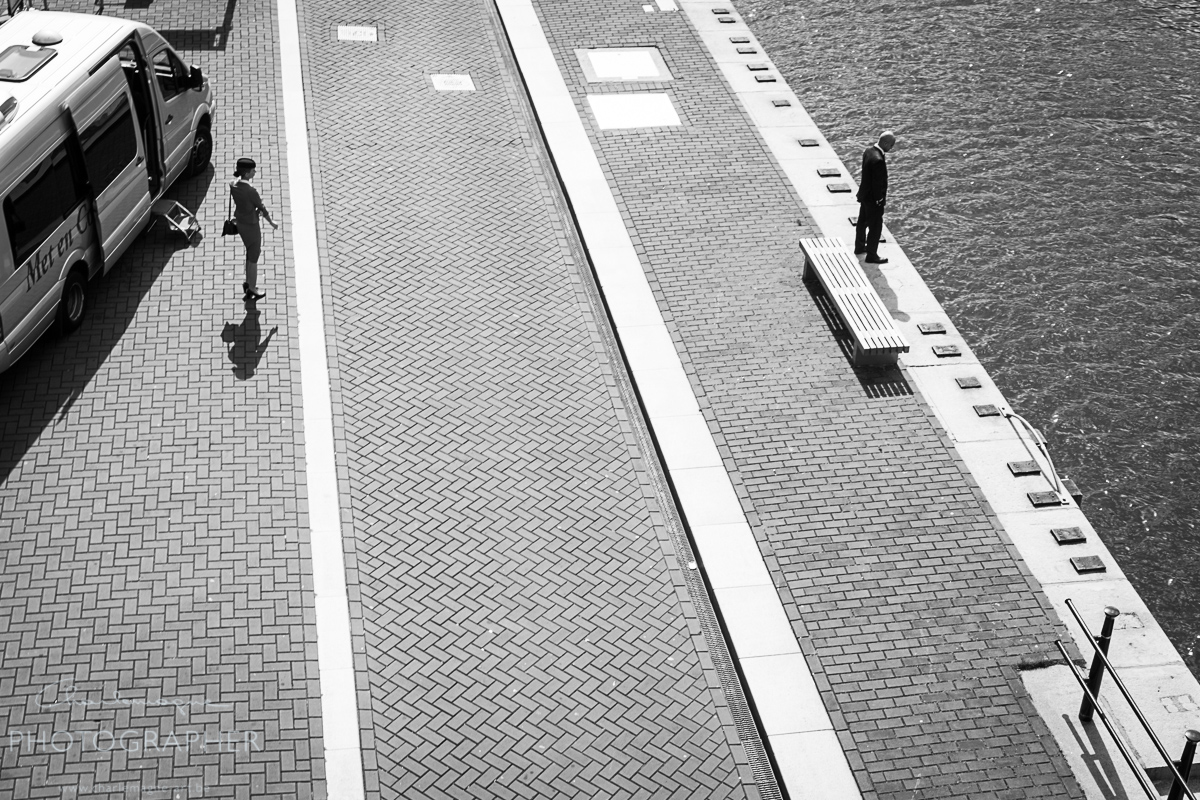
Bikes, old and new architecture, canals, (missing) prostitutes, a lot of wind, (noisy) dutch people, good company … and a restaurant cat.

Oh I love strolling around in a big city, taking pictures, watching people, searching for good subjects and good light.

I don’t wanna spend a lot of words on this one. I enjoyed my walks, I hope you enjoy the pictures.

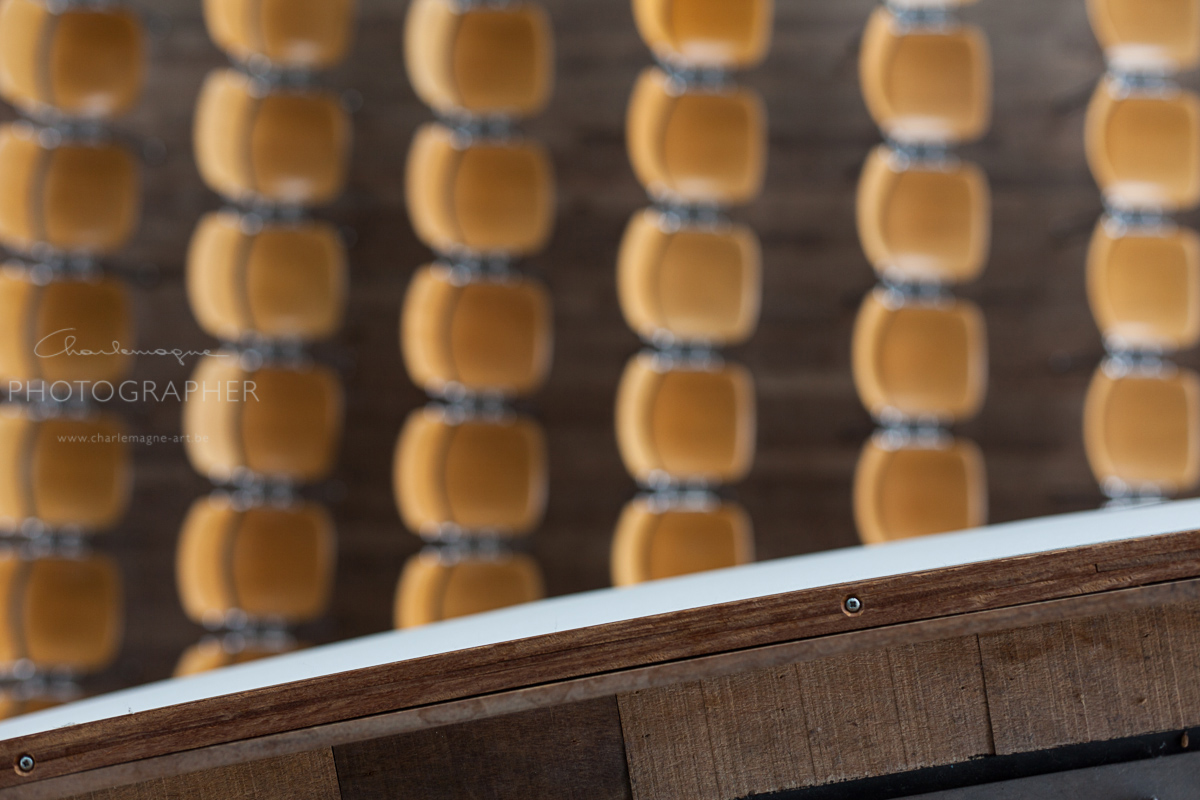
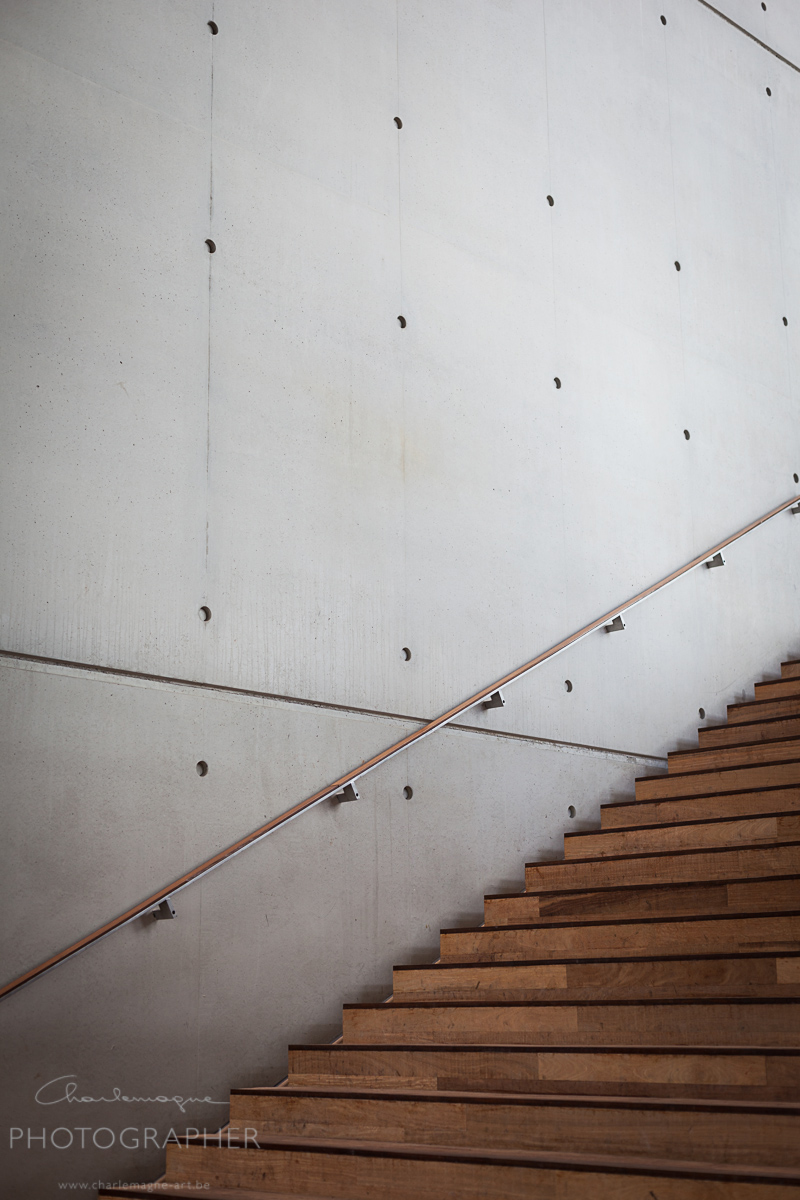
I have taken these pictures with the only lens I had with me, Canon 50 mm f 1.4. It is a challenge worth taking. Take only one lens, look for subjects, frame them.

charlemagne-art_amsterdam-9669

charlemagne-art_amsterdam-9673

charlemagne-art_amsterdam-9674

charlemagne-art_amsterdam-9676

charlemagne-art_amsterdam-9679

charlemagne-art_amsterdam-9681

charlemagne-art_amsterdam-9685

charlemagne-art_amsterdam-9687

charlemagne-art_amsterdam-9701

charlemagne-art_amsterdam-9718

charlemagne-art_amsterdam-9723

charlemagne-art_amsterdam-9727

charlemagne-art_amsterdam-9732

charlemagne-art_amsterdam-9740

charlemagne-art_amsterdam-9757

charlemagne-art_amsterdam-9759

charlemagne-art_amsterdam-9769

charlemagne-art_amsterdam-9773

take care, and come again soon. There’s quite some beauty shoots on the planning.

Ludwig
Photographing the Harley

Personal Pictures, personal tips & tricks

As an end of study assignment for my studio/object module (photography courses at kips.be (Ghent Belgium) we had to propose an object to photograph.

amongst the possibilities were ‘perfume’ or ‘jewels’ …

I wanted to do something more ‘tangible’ and proposed a Harley Davidson motorcycle. My mentor could choose if he categorized it as being a perfume or a jewel. I guess both of the categories apply.

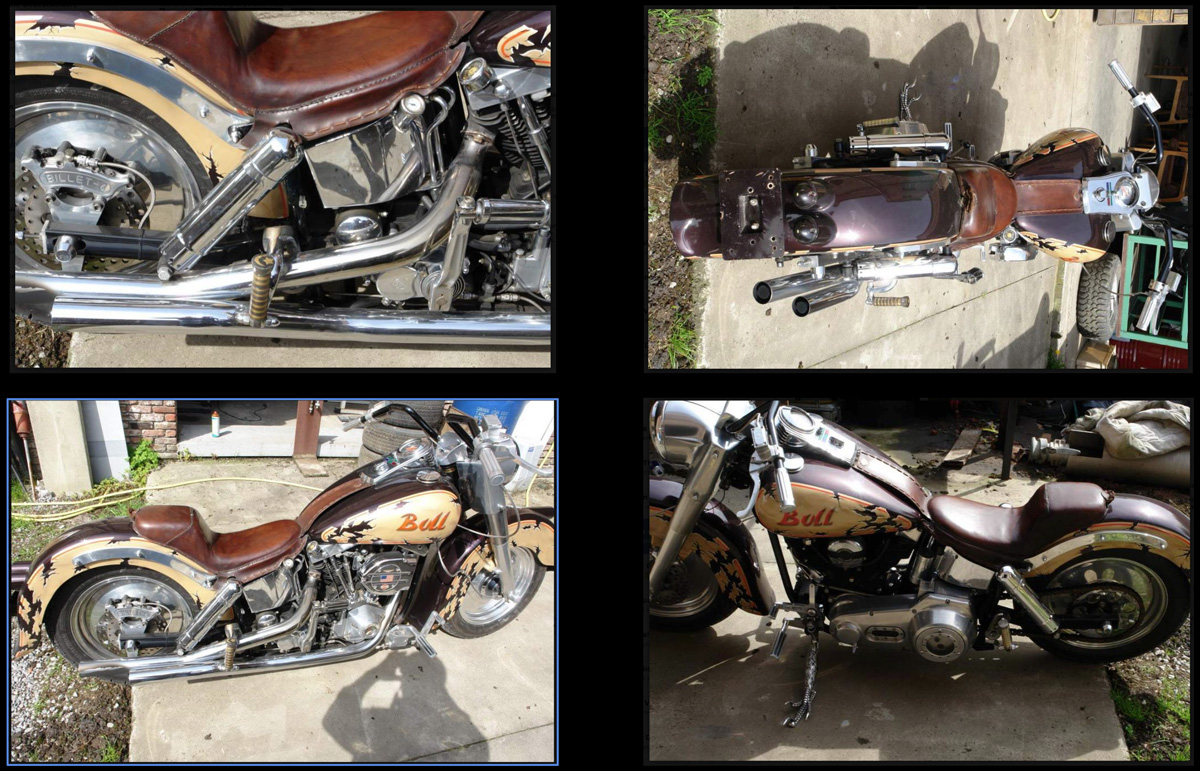
The Harley is not mine, its a customized 1981 Electra Glide from a friend of a friend, and hardly recognizable from the original. François is the owner of the bike.

the subject

I had surfed a bit for inspiration too. There’s not so many studio shots of motorbikes on the internet, here are a few:

inspiration

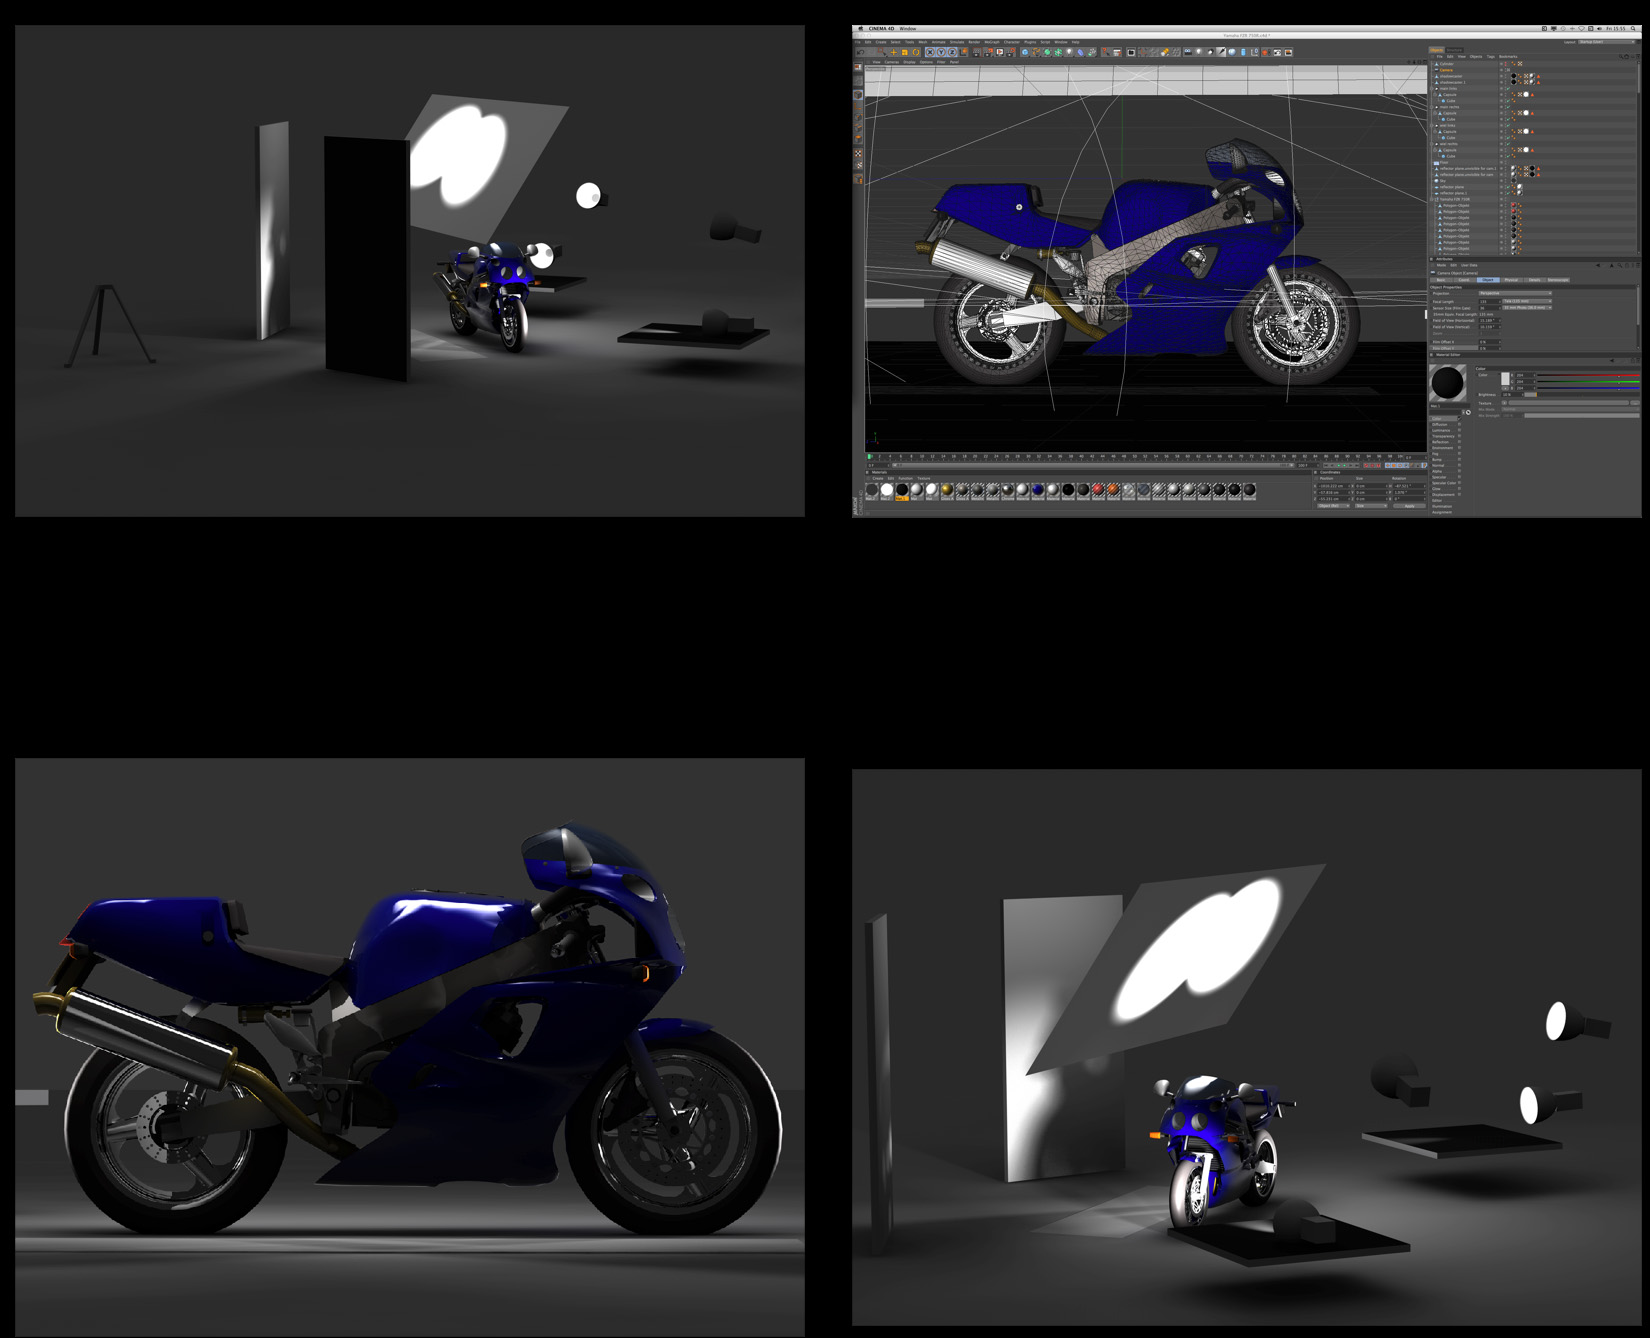
I had made some preliminary studies in 3D rendering (thats still my main job). I had discussed with my teacher that it would be best to lit the subject indirectly, with a large soft box from above. Since we don’t have softboxes that big at school, I had to come up with something else.

the virtual world

and then the ‘thing’ arrived.

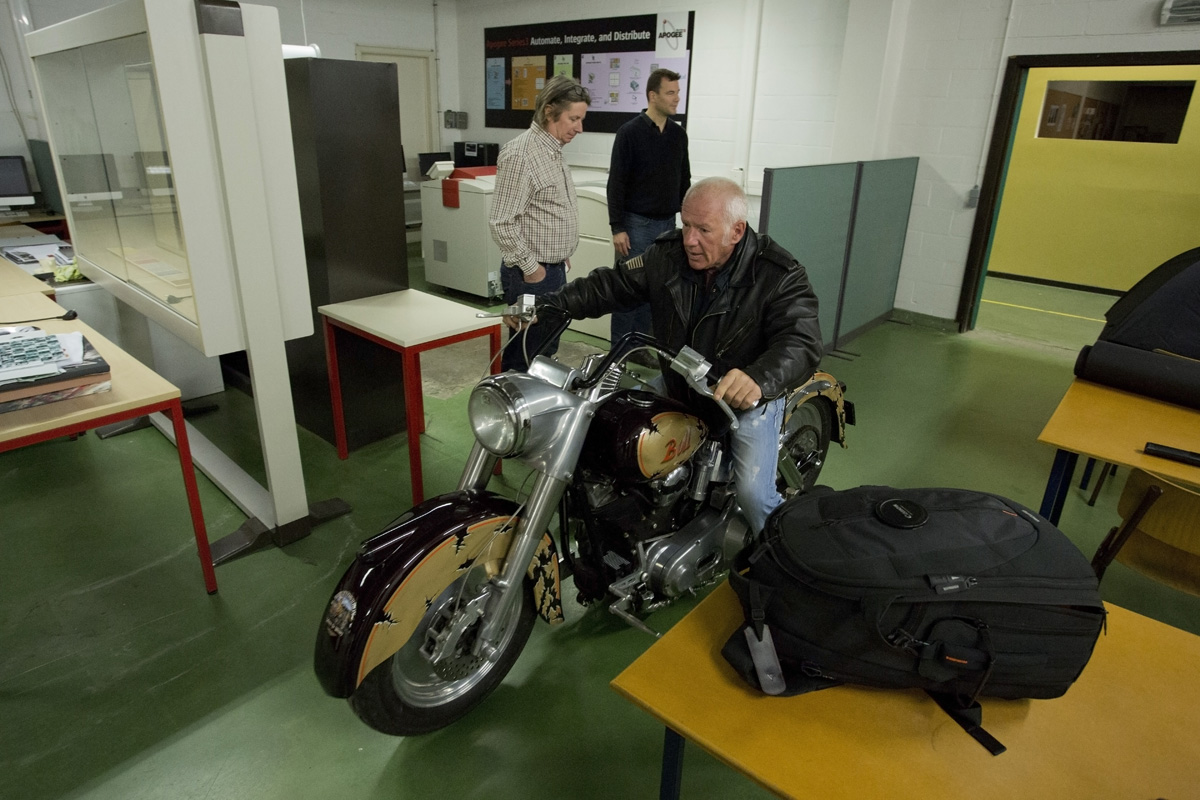
I had shown François where in the school we wanted to shoot the bike. (I had three other classmates doing their work in the proper school studio, so I had to move out to another class) And he just drove it trough the hallways of the school. All students were awake at once on this early saturday morning.

3R7A0589

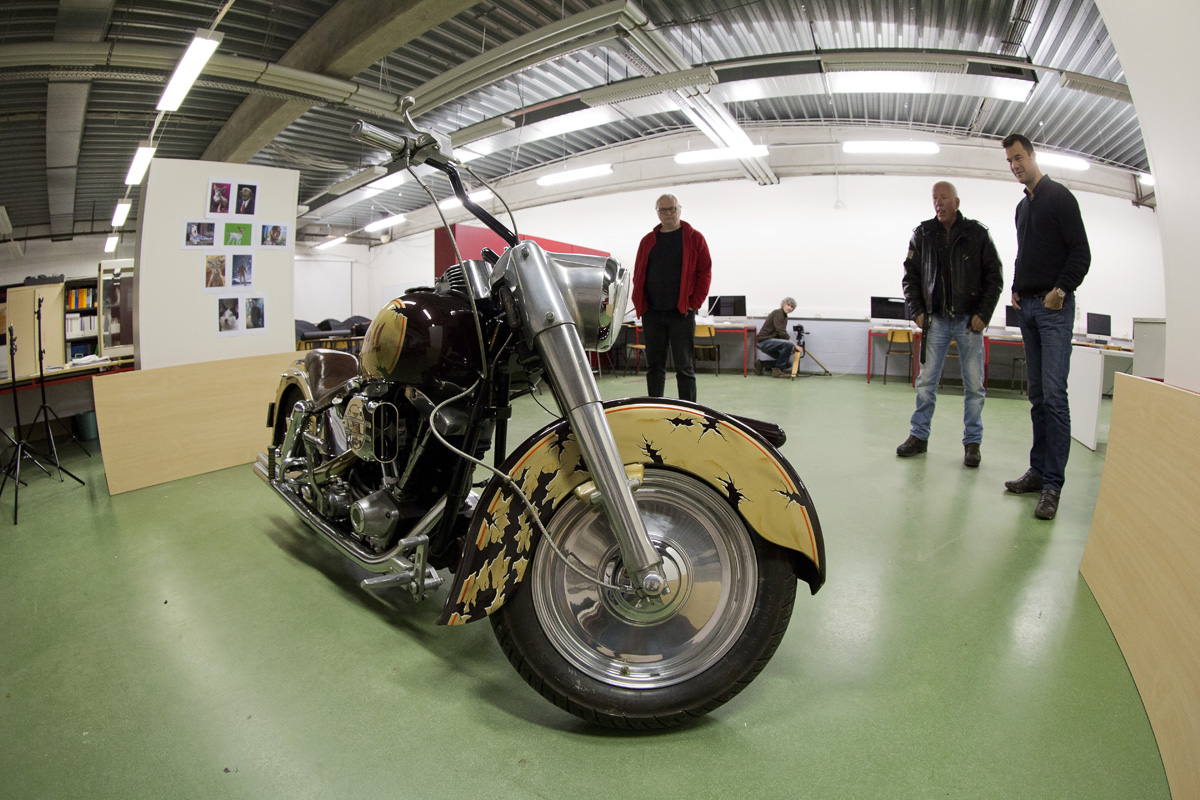
So, what’s next? You see me setting up the tripod and camera.

3R7A0596

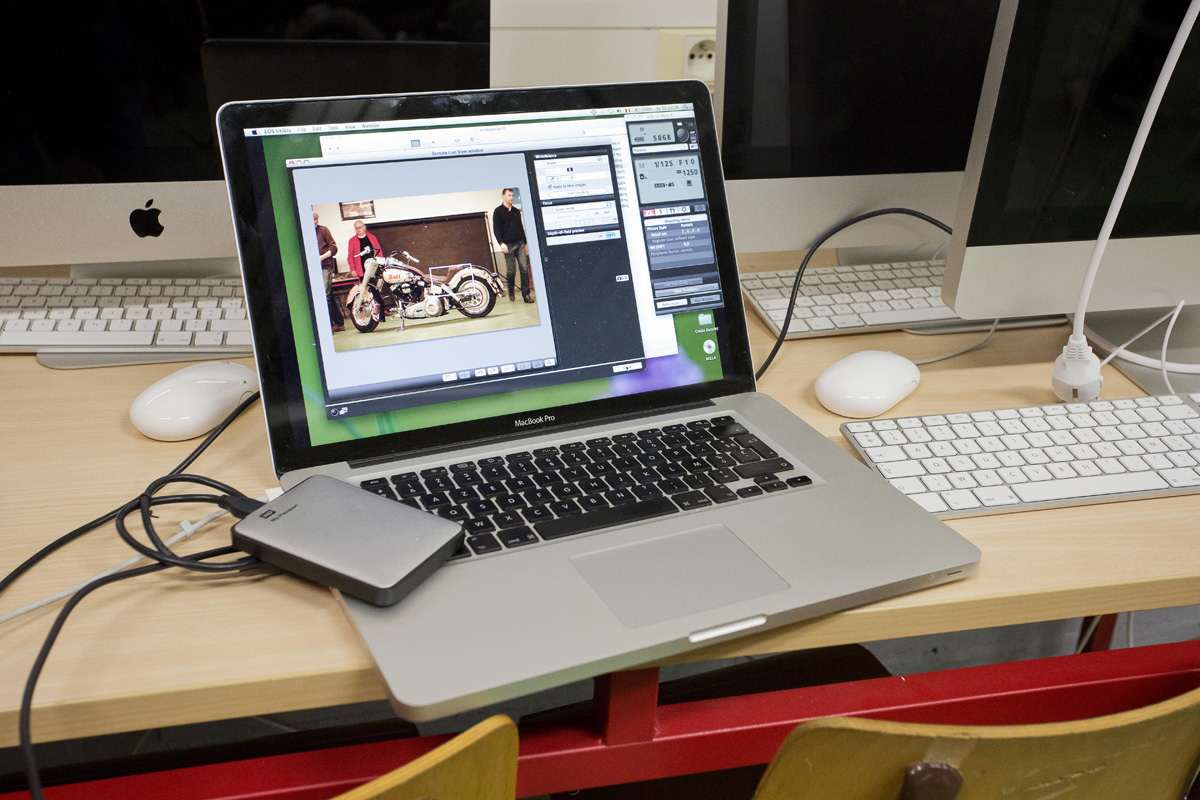
Checking on the framing, remote shooting with a portable mac, to be sure not to touch the camera in between shots. (I wanted to be sure I could compose different shots together in photoshop afterwards)

3R7A0600

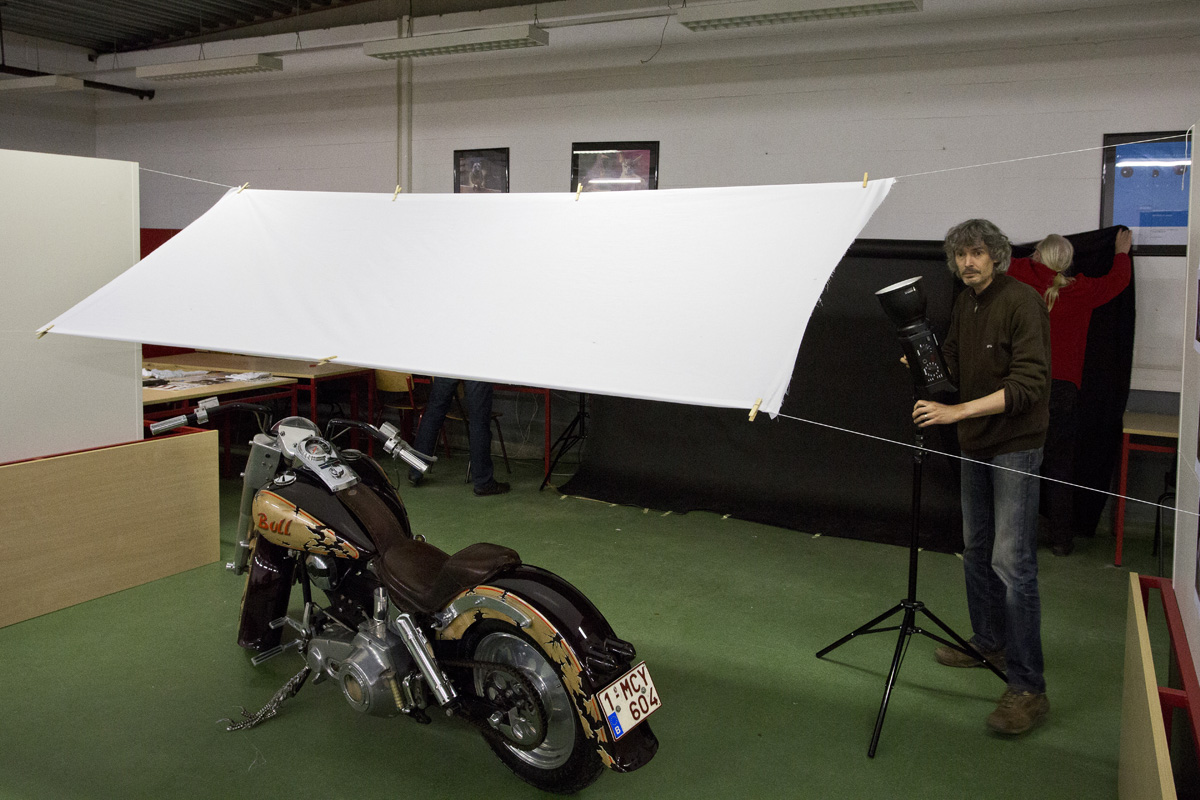
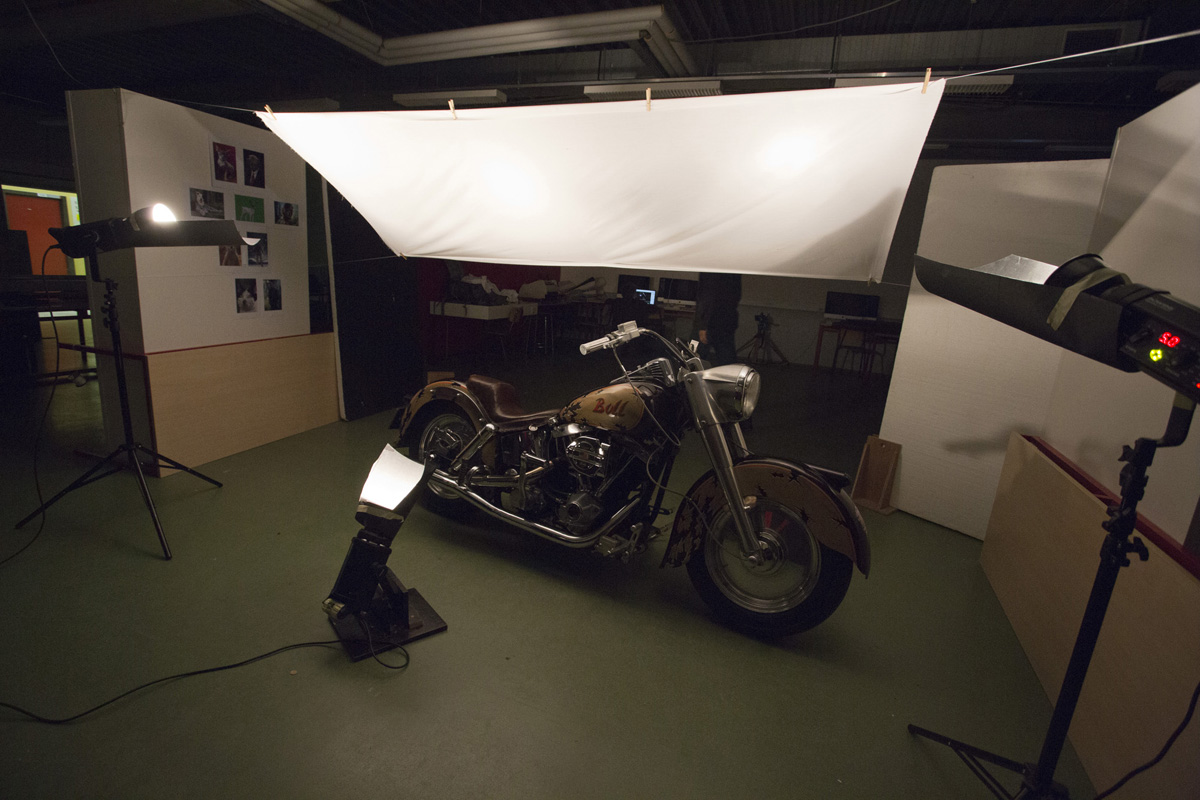
Me setting up a flash light for indirect flashing on the cloth. The cloth will serve as a huge soft box area.

3R7A0603

The setup, seen from the backside, you can see the tripod in the back:

3R7A0607lores

A big thank you to Serge (classmate) for these splendid behind the scenes pictures!!!

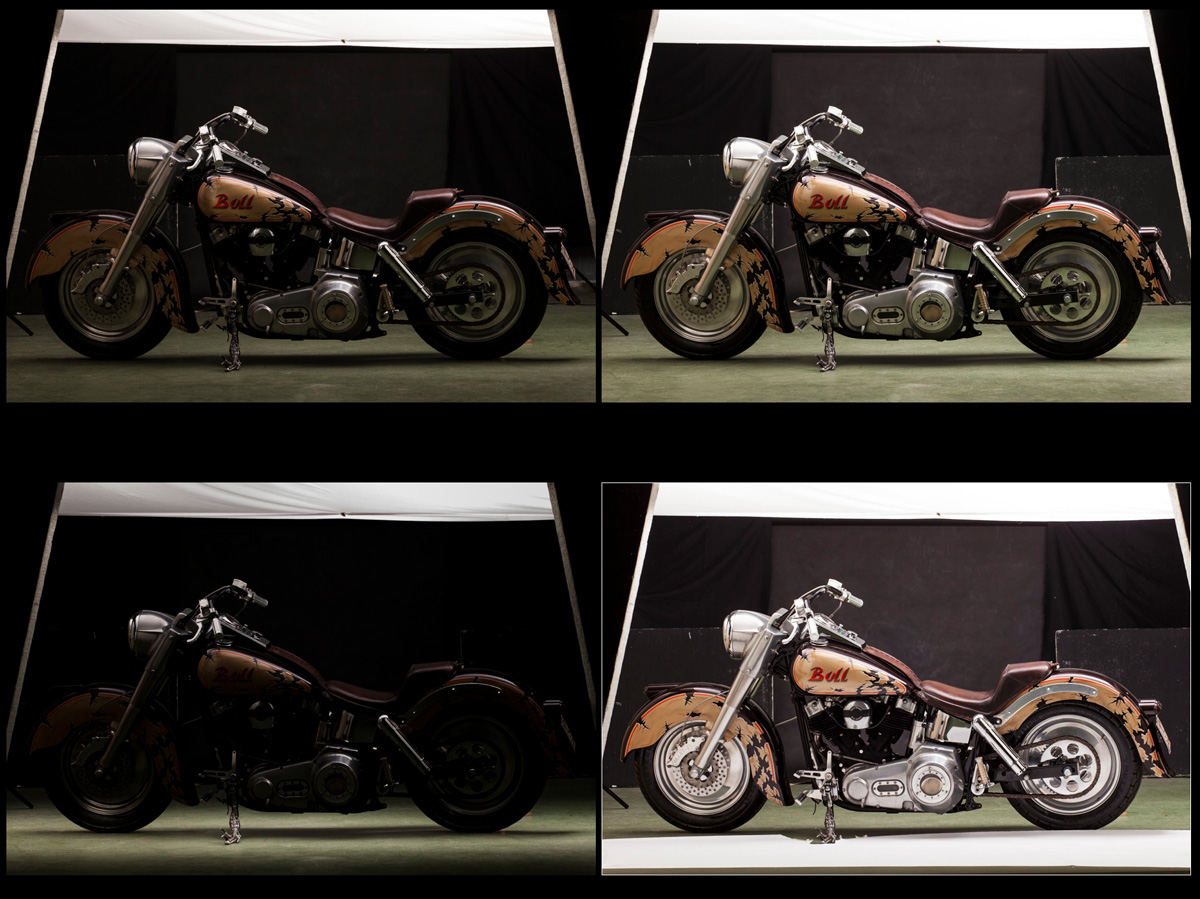
These are the original shots used for composing the final image. Note the shot with the white paper on the floor, for extra light from underneath.

For those interested, the shots were made with the Canon 85mm f1.8 at f10 shutter speed 1/125, ISO 100. Three 600Ws monoblocks at 3/6 upto 6/6 power, indirect on the cloth above.

originals

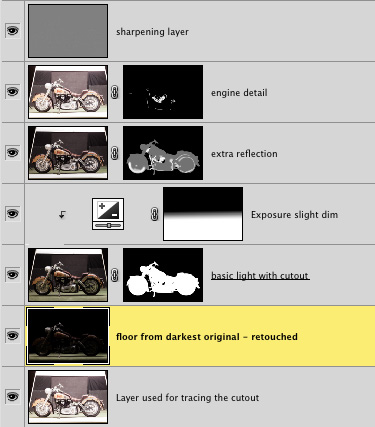
then the photoshop layered file for compositing. I named the layers in english, for your convenience (dutch is not really an understandable language)

photoshop compositing

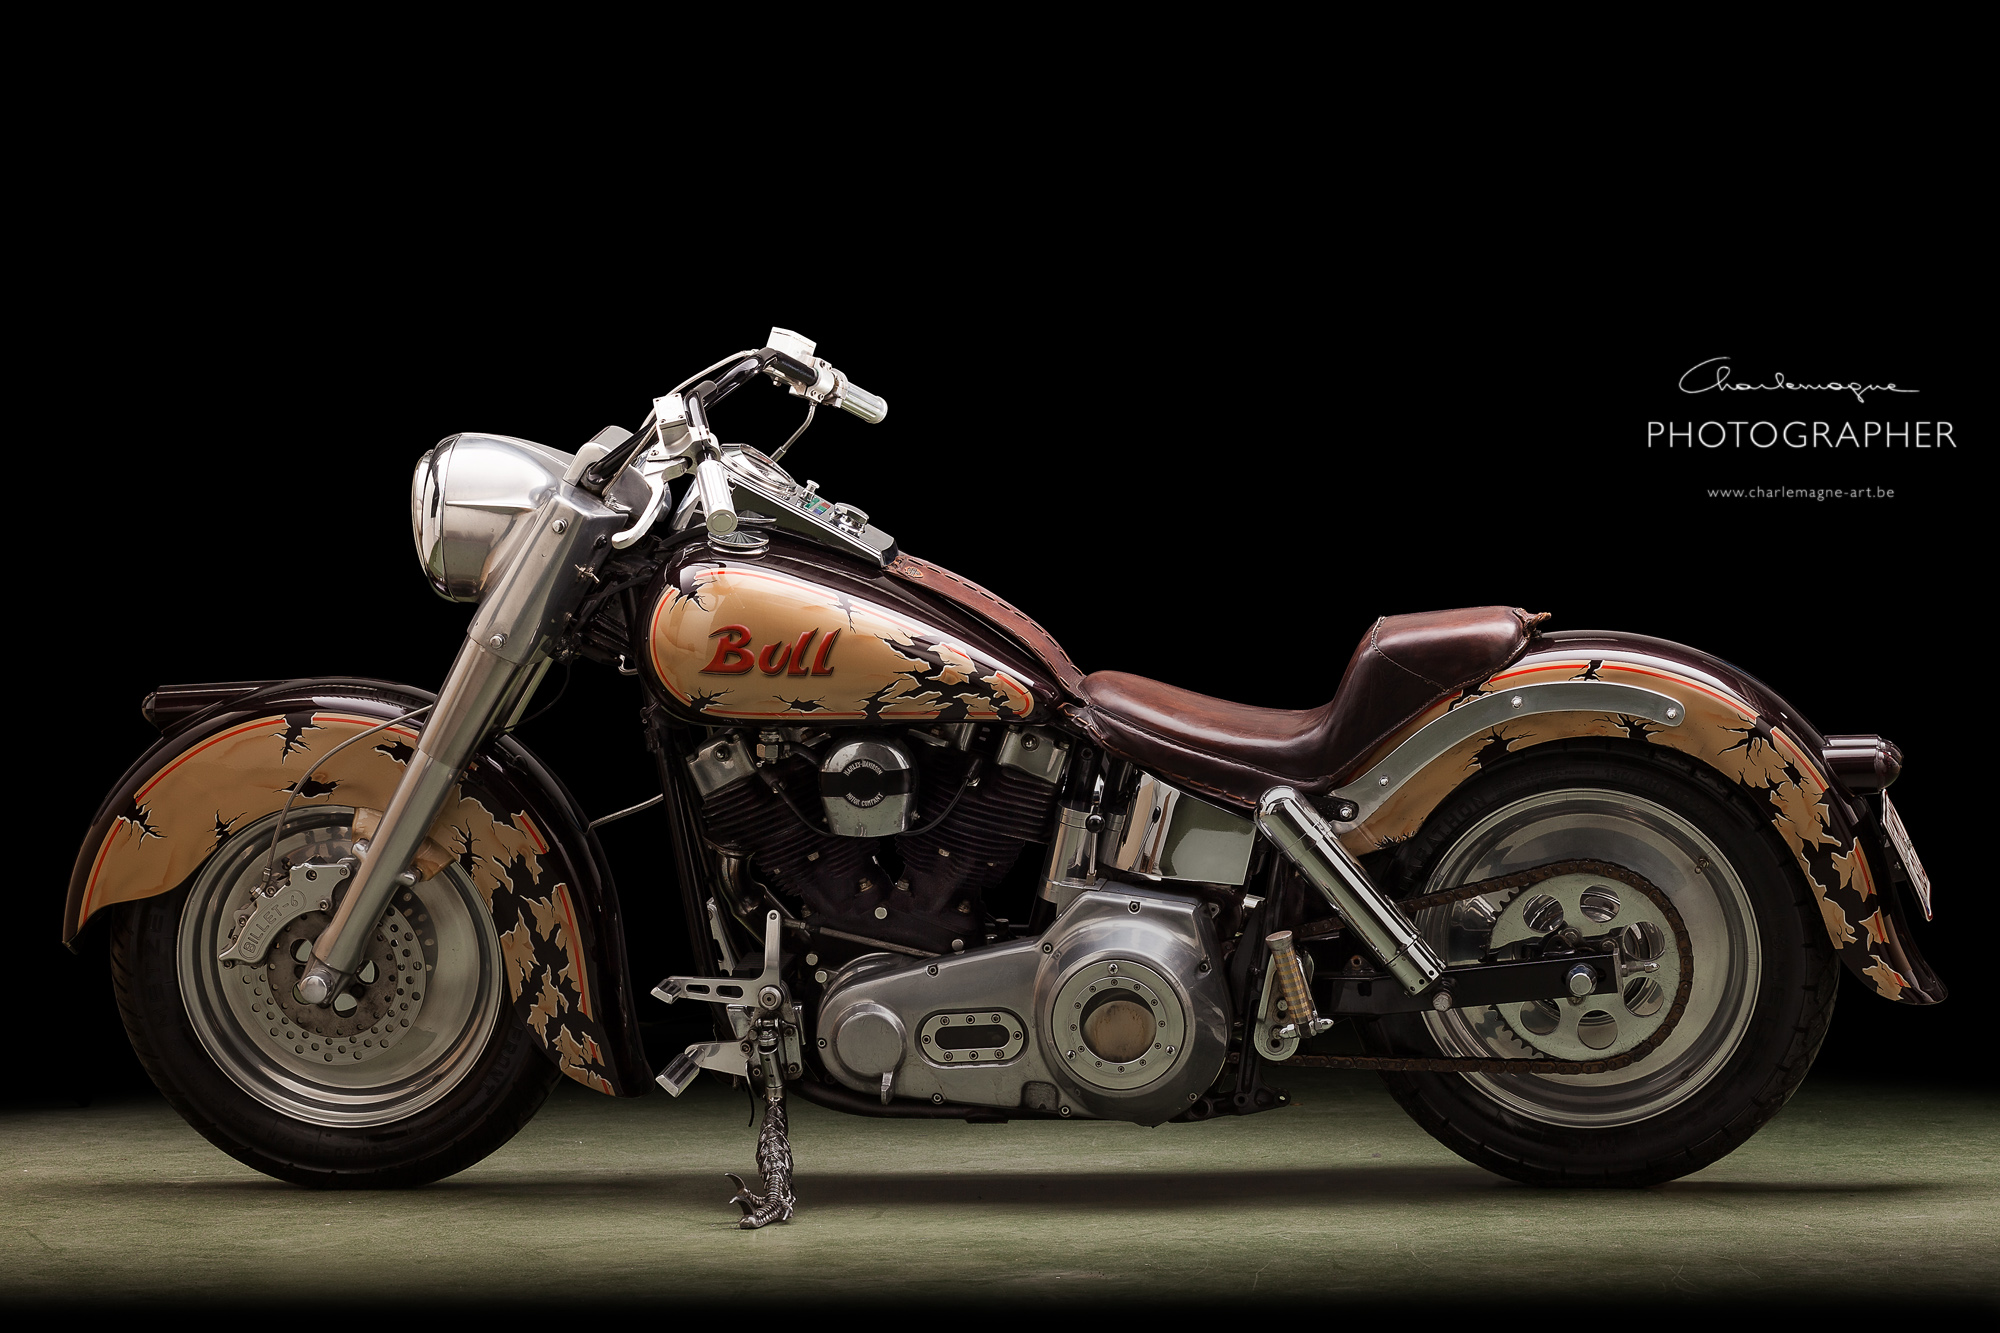
and then at last, the finals, click to see them bigger:

charlemagne-art-Links final

charlemagne-art-Rechts final

A big thank you to Anita, for bringing me in contact with the owner of the bike,

a big thank you to my assistants of the day – classmates Stef, Serge and Geert,

a big thank you to the owner of the bike, François, for driving about 60 miles to the studio, on a cold morning.

hope you’ve learned something.

take care, and see you soon,

Ludwig
shooting the Verdon with the Canon Powershot S95

landscapes, Personal Pictures, photo gear

Hello there,

I was on a men-only weekend with my oldest son a couple of weeks ago.

We had a lot of fun together, rafting, mountain hiking, drinking beer (at least me), etc. …

I didn’t want to focus on photography that weekend, because of the father and son thing so I only took my compact camera with me. The Canon Powershot S95.

I have used it on weekends out before, but never in a landscape environment. see my post Barcelona Highlights

It is a good compact, but probably not the best you can get.

I don’t want to go into details about this, just put the pros and cons next to each other, compared to my reflex camera.

Compared to the Canon 5D markII and some proper lenses, these are the most relevant cons:

the lens lacks sharpness in the entire zoom range

the sensor has a much smaller dynamic range (whites blowing out or blacks going dead)

it has a much slower reaction time (it’s not a reflex, so there’s a short time lag between pressing the shutter and the picture taken.

it has slower and not so performant AutoFocus (although the AF from the 5D mark II is not top either)

The colors tend to get over-saturated.

these are the pros:

its lightweight compared to any reflex camera 195g vs. 850g without lens for the 5D II

it fits in almost any pocket

it is almost stealth-like compared to a reflex camera, so it doesn’t bother people when it appears (not so important for landscape, but important for street photography)

its silent (except maybe from the lens ring clicks, which are quite noisy)

A pro for this compact, vs some other compacts:

it has all exposure modes, including full manual (P, AV, TV, M), so you can play with the settings as you would with a reflex camera, you can even choose to set the focus manually.

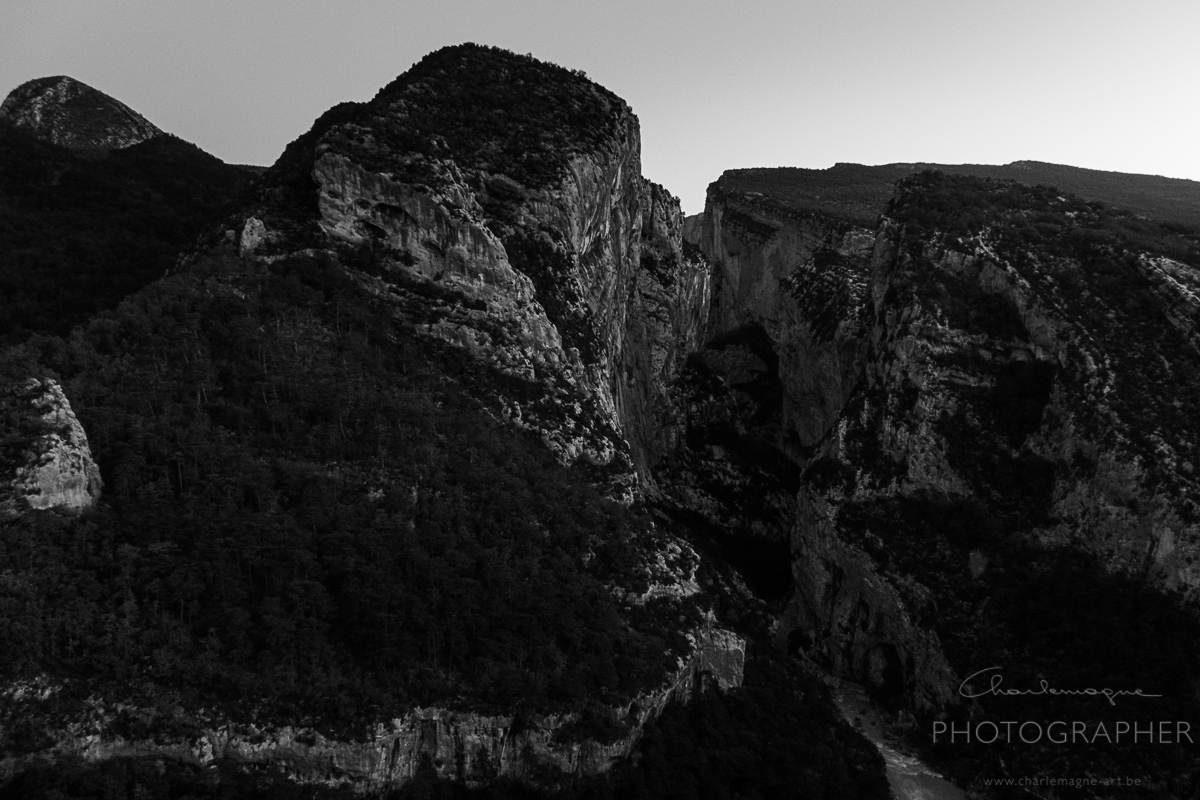
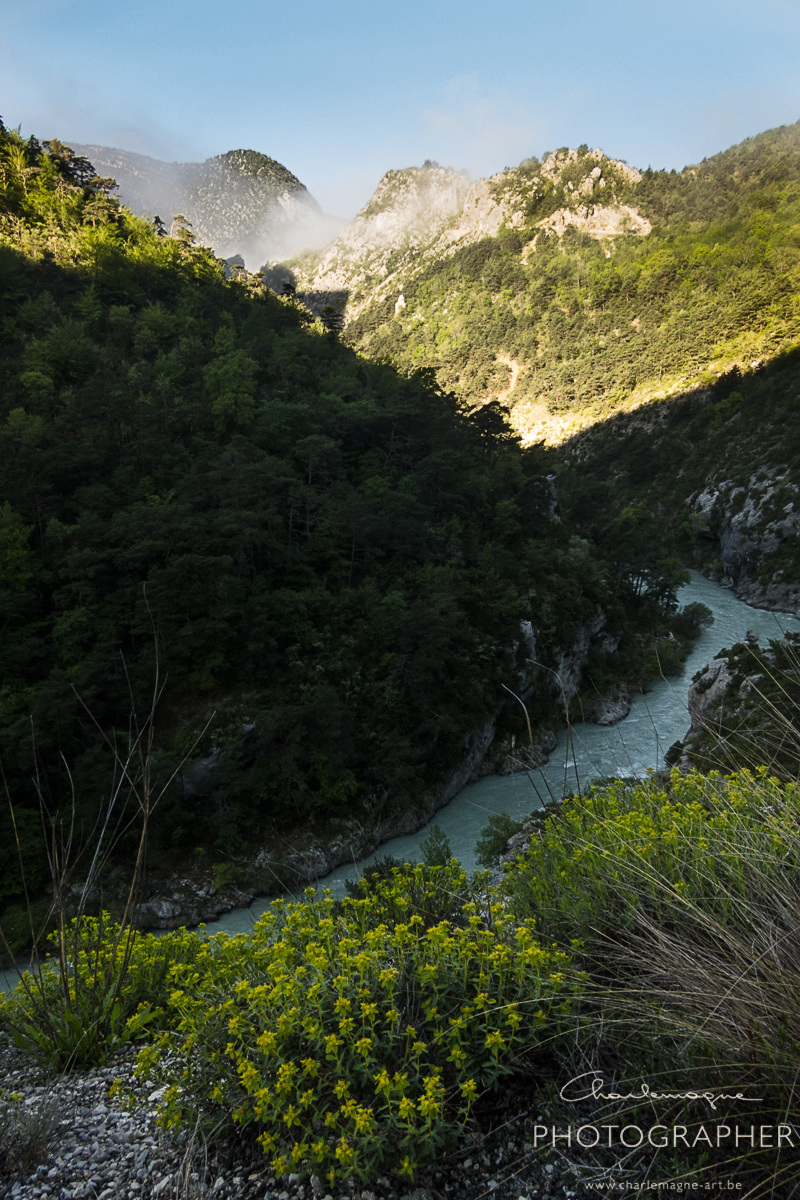
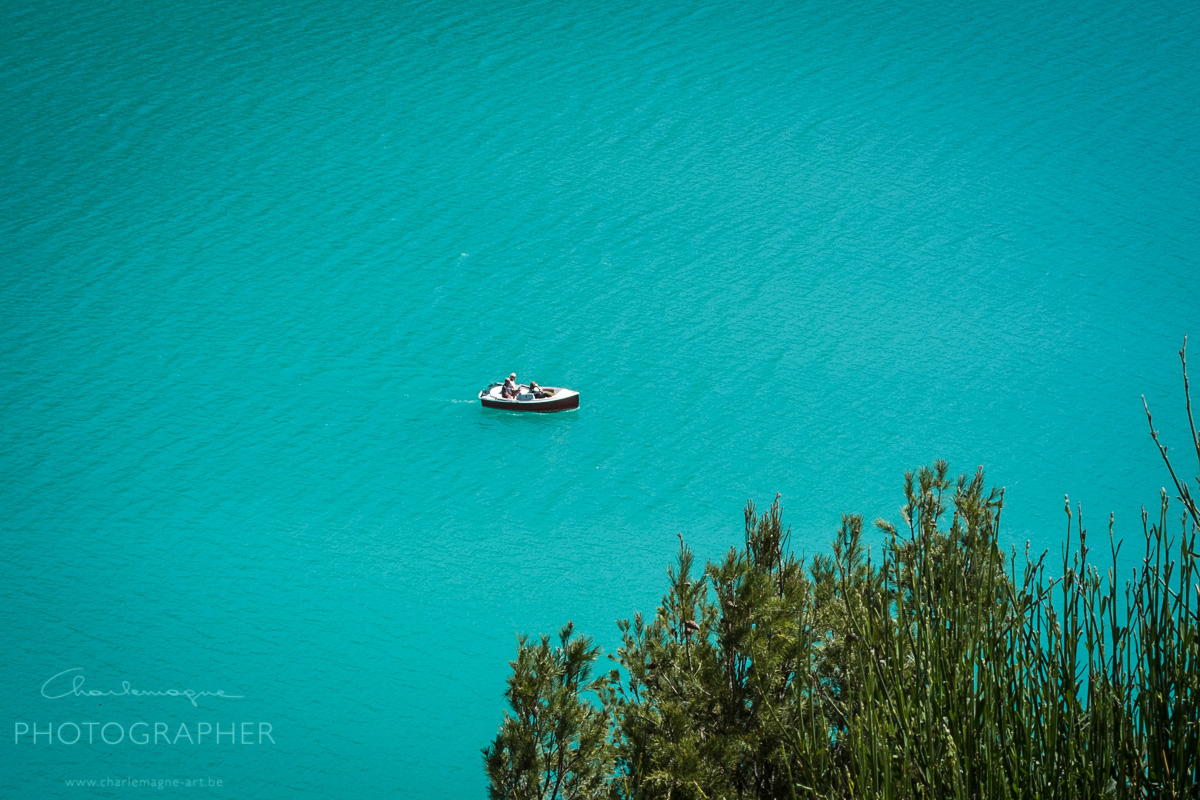
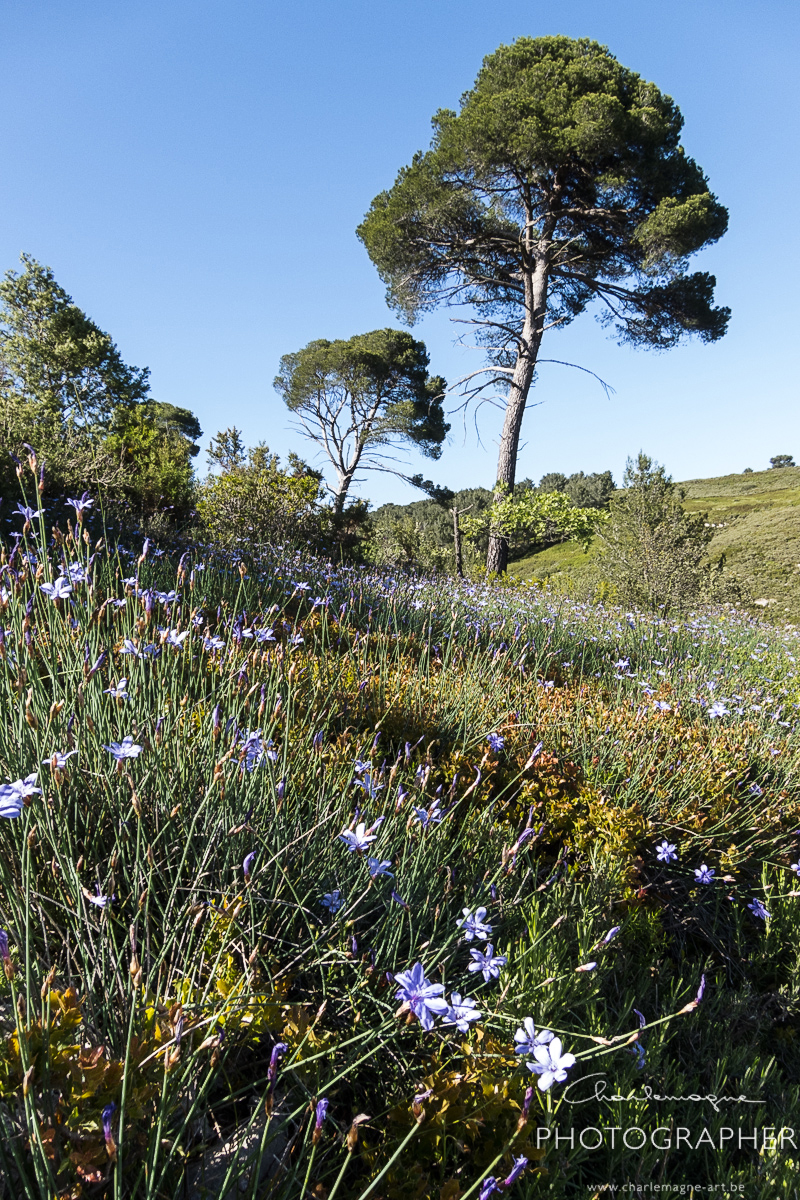
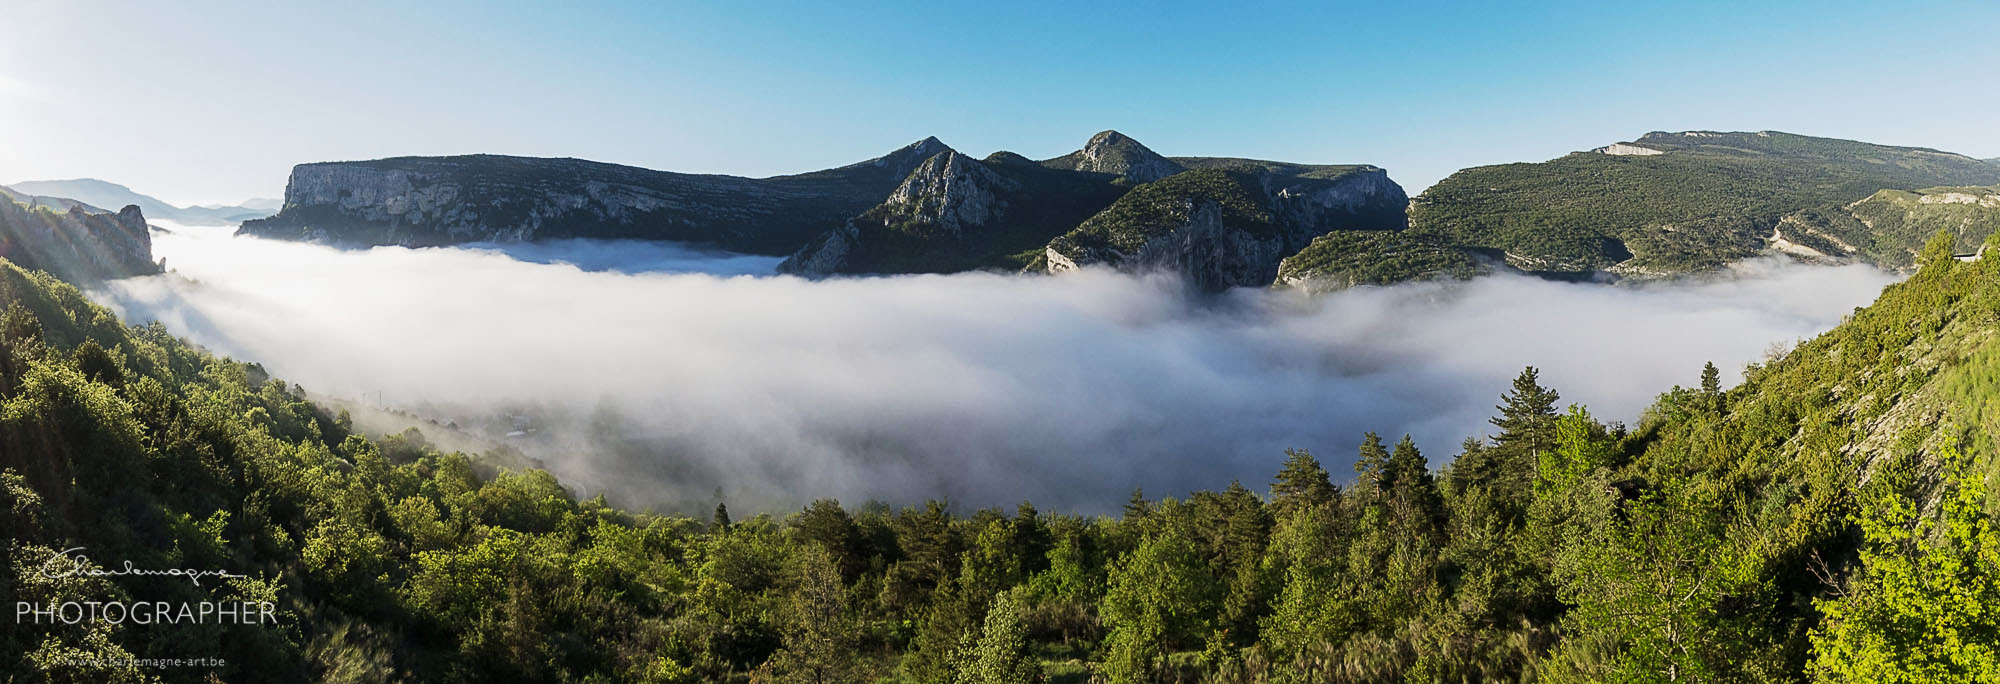
Enough talking, let me show you some pictures. For your info, I have done quite some editing in Lightroom. You won’t notice the lack of sharpness here, I worked a lot on the tonal range in the images, etcetera.

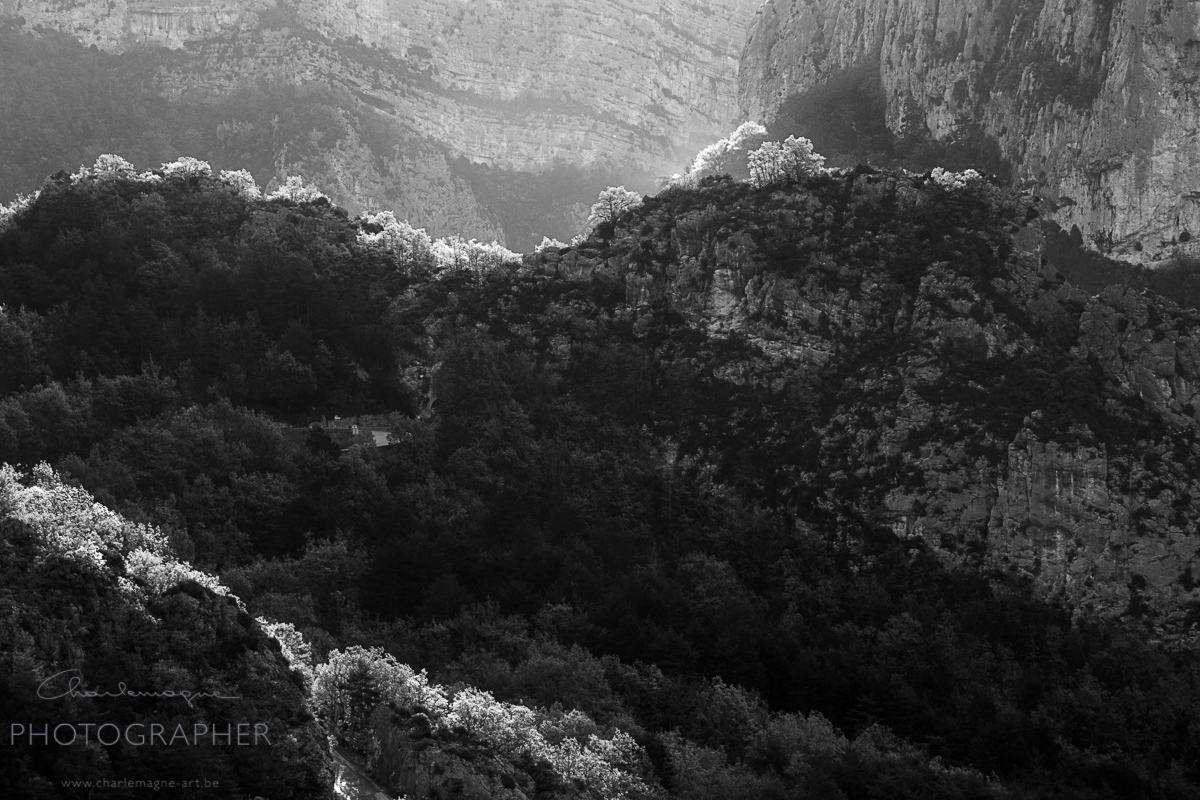
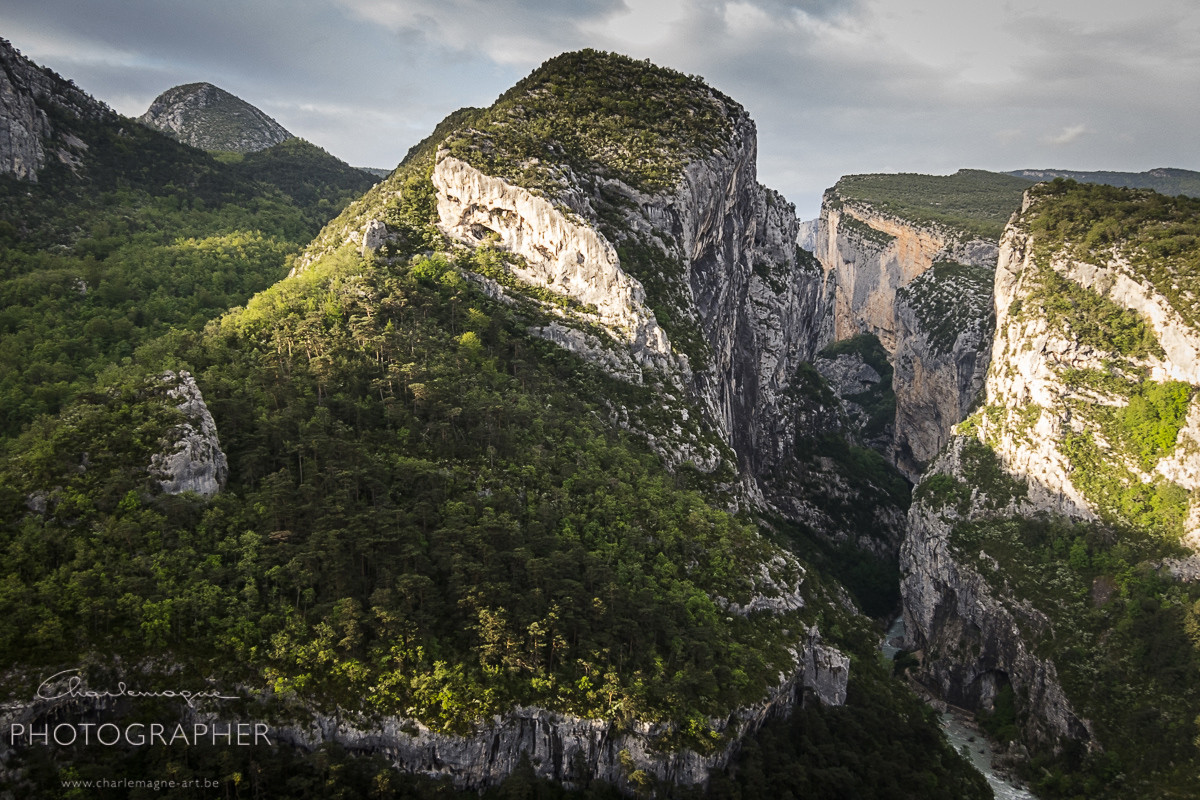
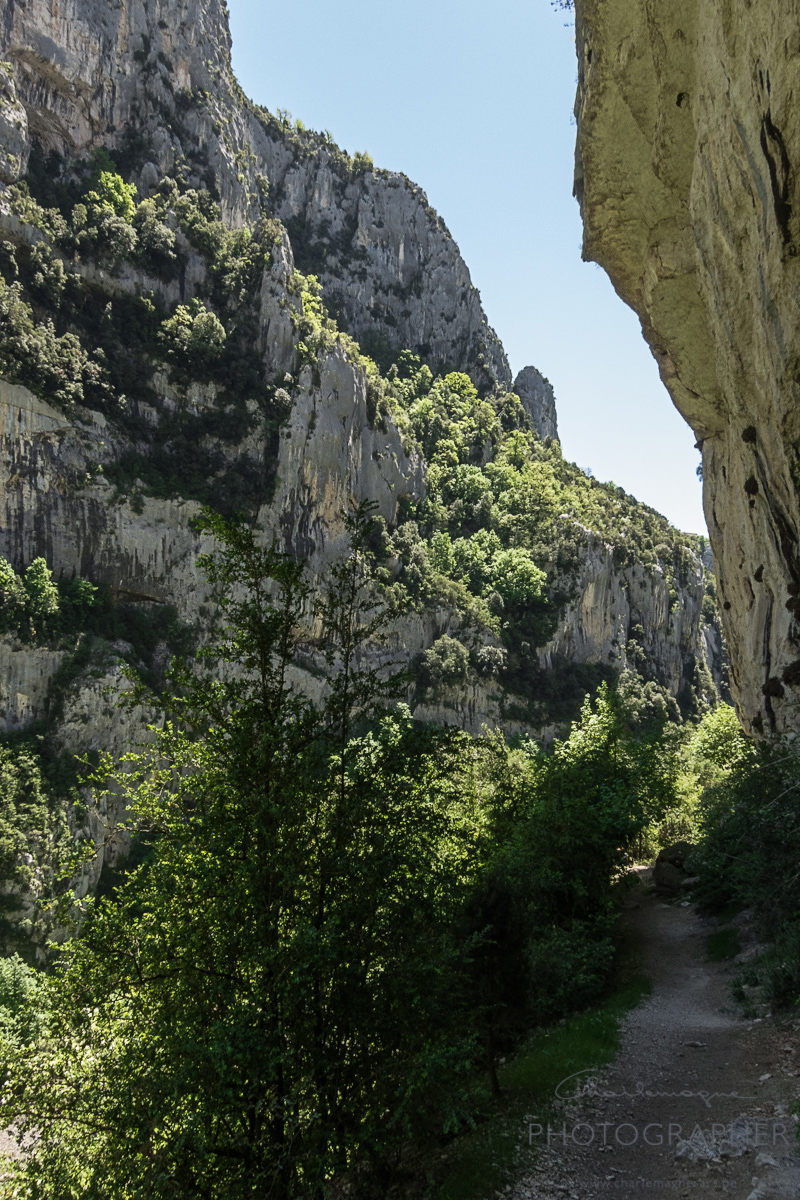
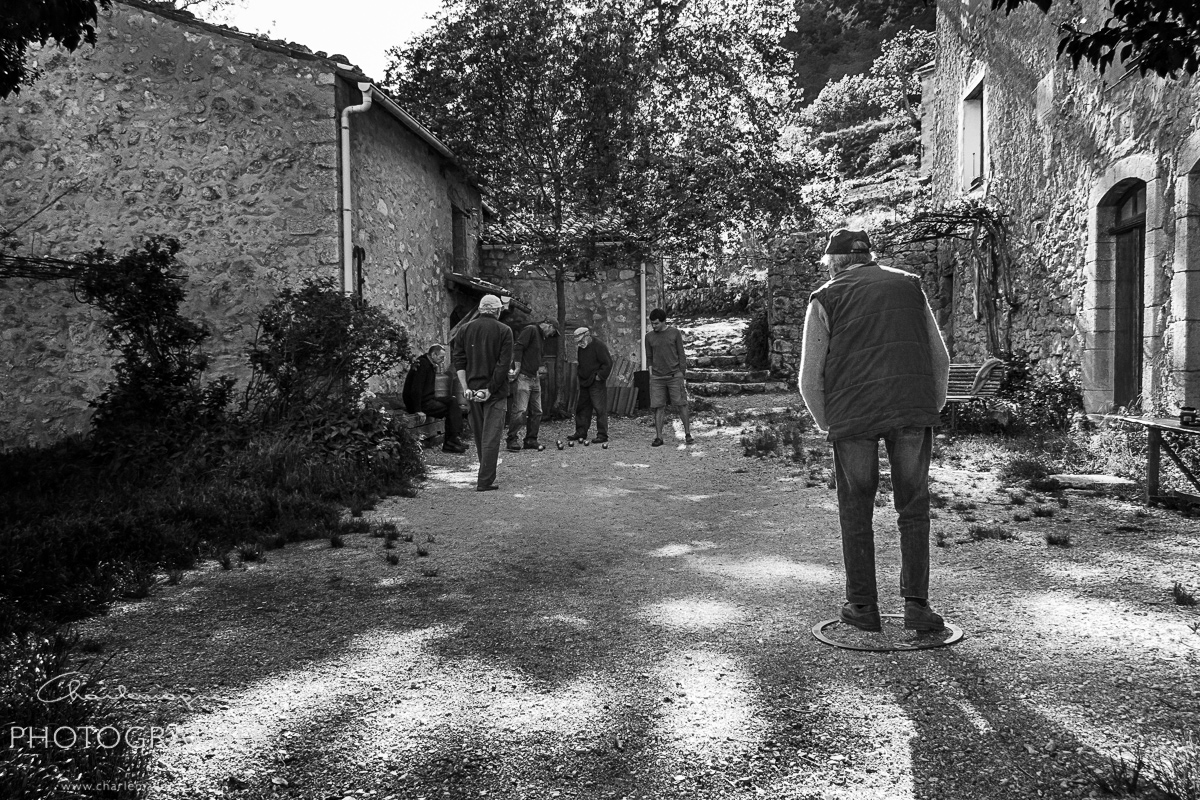
charlemagne-art-gorgesduverdon-1601

charlemagne-art-gorgesduverdon-1588

charlemagne-art-gorgesduverdon-1630

charlemagne-art-gorgesduverdon-1659

charlemagne-art-gorgesduverdon-1684

charlemagne-art-gorgesduverdon-1705

charlemagne-art-gorgesduverdon-1709

charlemagne-art-gorgesduverdon-1715

charlemagne-art-gorgesduverdon-pano

The last image is a photoshop stitched image from 6 shots.

So is it a worthy camera, yes sure it absolutely is a very good travel companion if you don’t wish to focus on photography, but it takes some more time to get good pictures out of it, and you’ll never be able to get really pro-quality pictures out of it.

After all I’m not really a material geek. Sure I love my camera and lenses, but for me a lot of photography is in the eye of the photographer. I’m sure a good photographer can make good pictures with a compact, a bad photographer will not manage taking good pictures with pro gear. I enjoyed being with my son, taking a picture from time to time for the memories, and that is a different mindset than going on a photography trip.

take care, and I hope you come again soon.

Ludwig
Salomé on a sunday morning

people, Personal Pictures, photo gear, Uncategorized

>Hi,

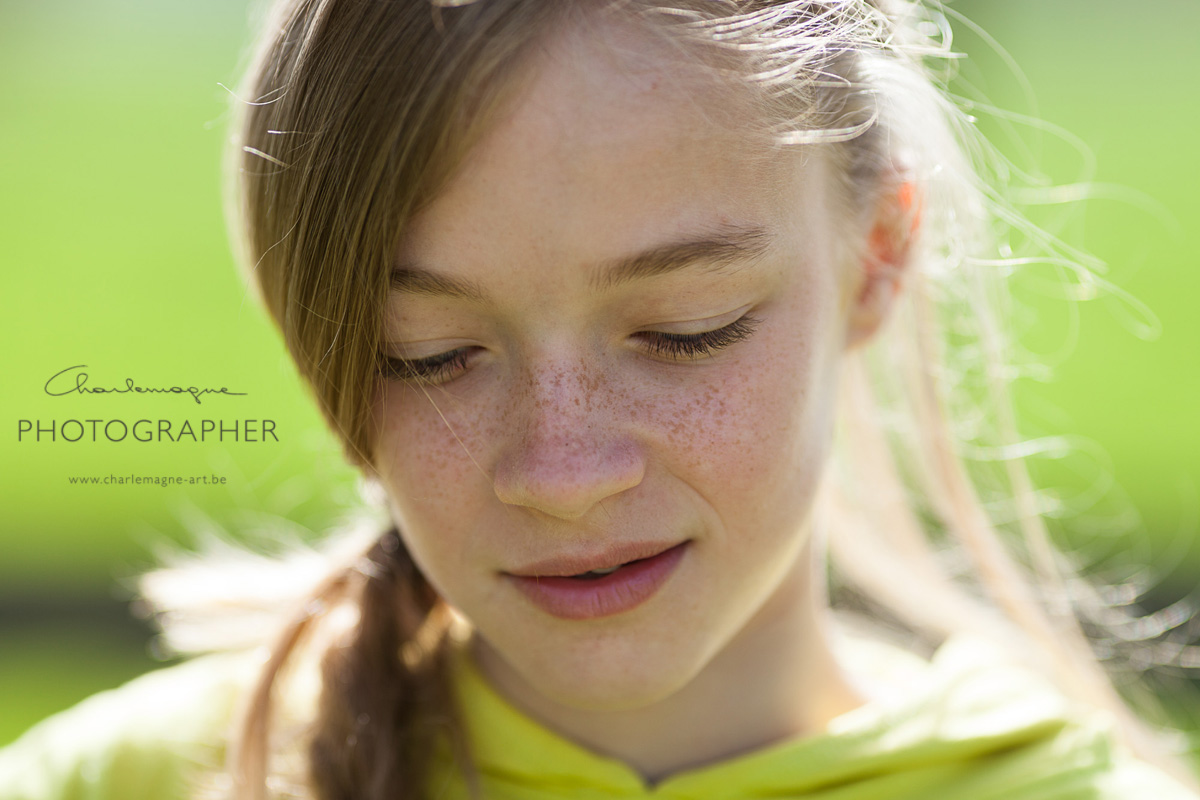
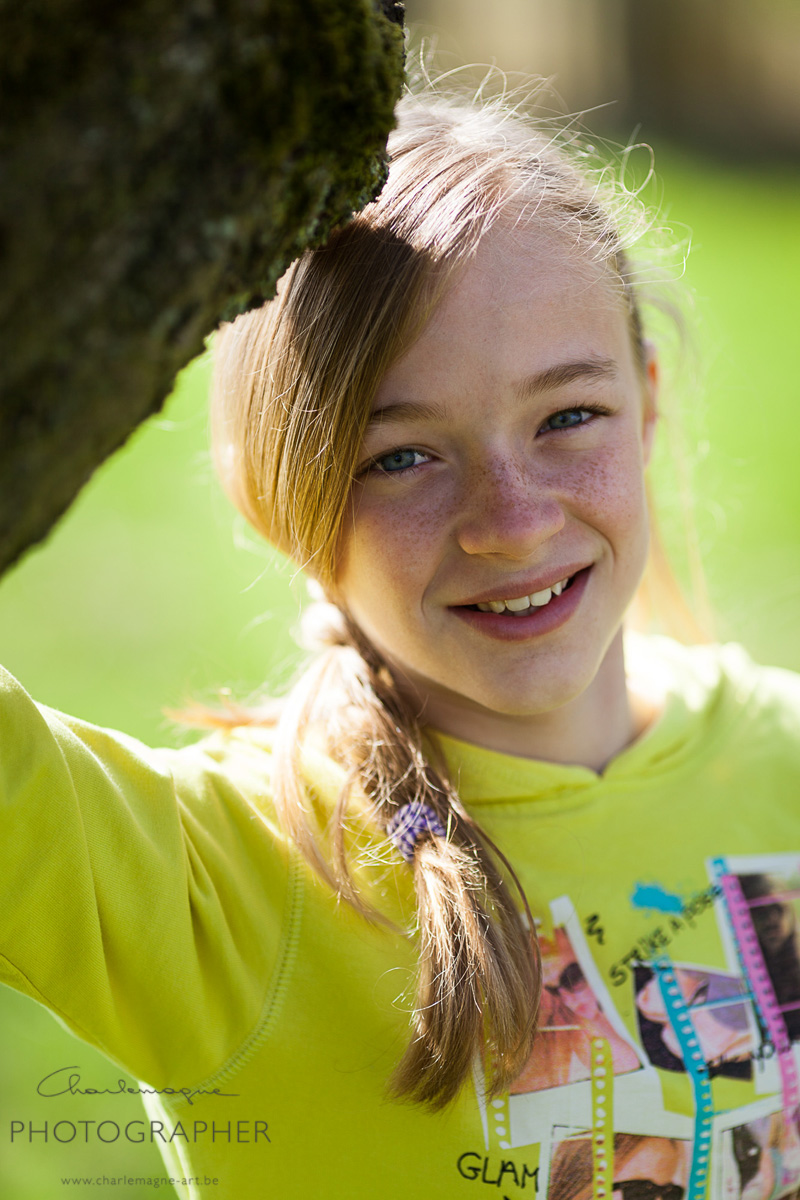
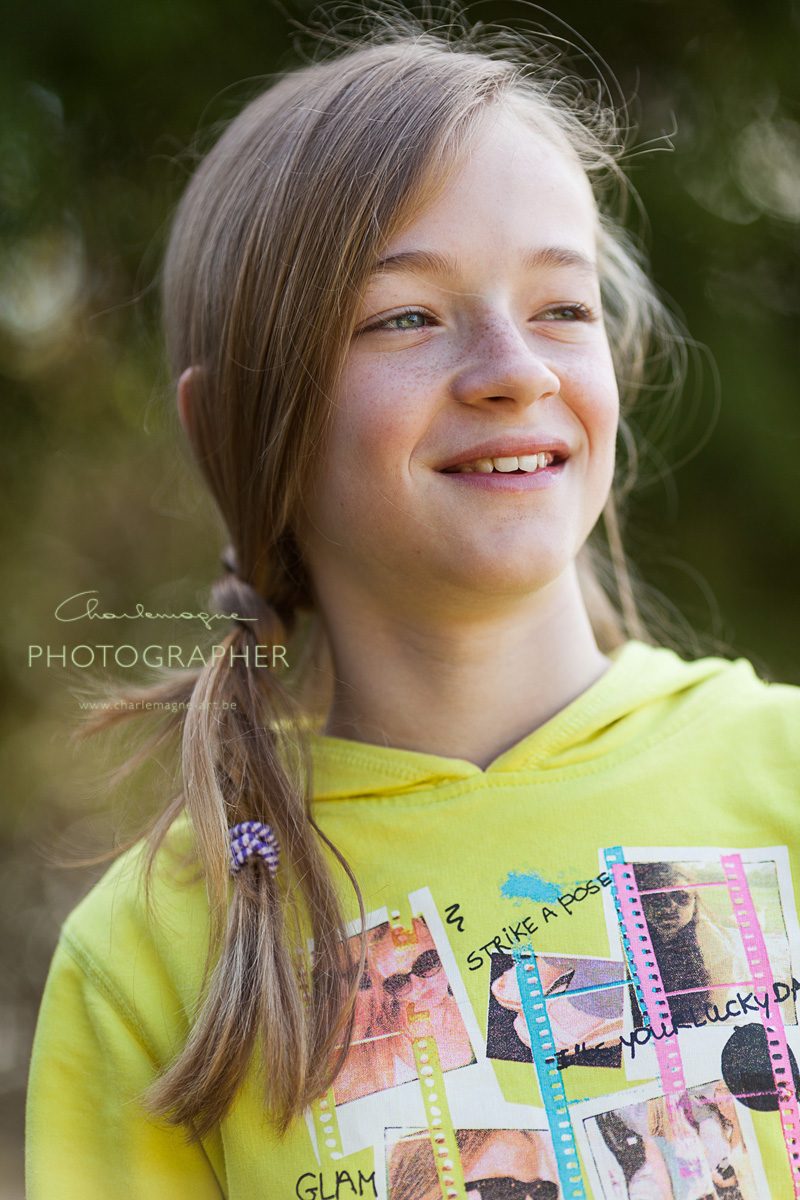
some weeks ago I did an impromptu shoot with Salomé.

Salomé is one of my nieces, and she needed some pictures for thank you cards.

She dropped in on a sunday morning and we had about half an hour for making some pictures.

Fortunately the weather was great, and since we have had so much rain these last 6 months, the green was GREEN!

I took my two main portrait lenses, 85mm and 135mm, but all these shots are with the Canon 135mm f2 L.

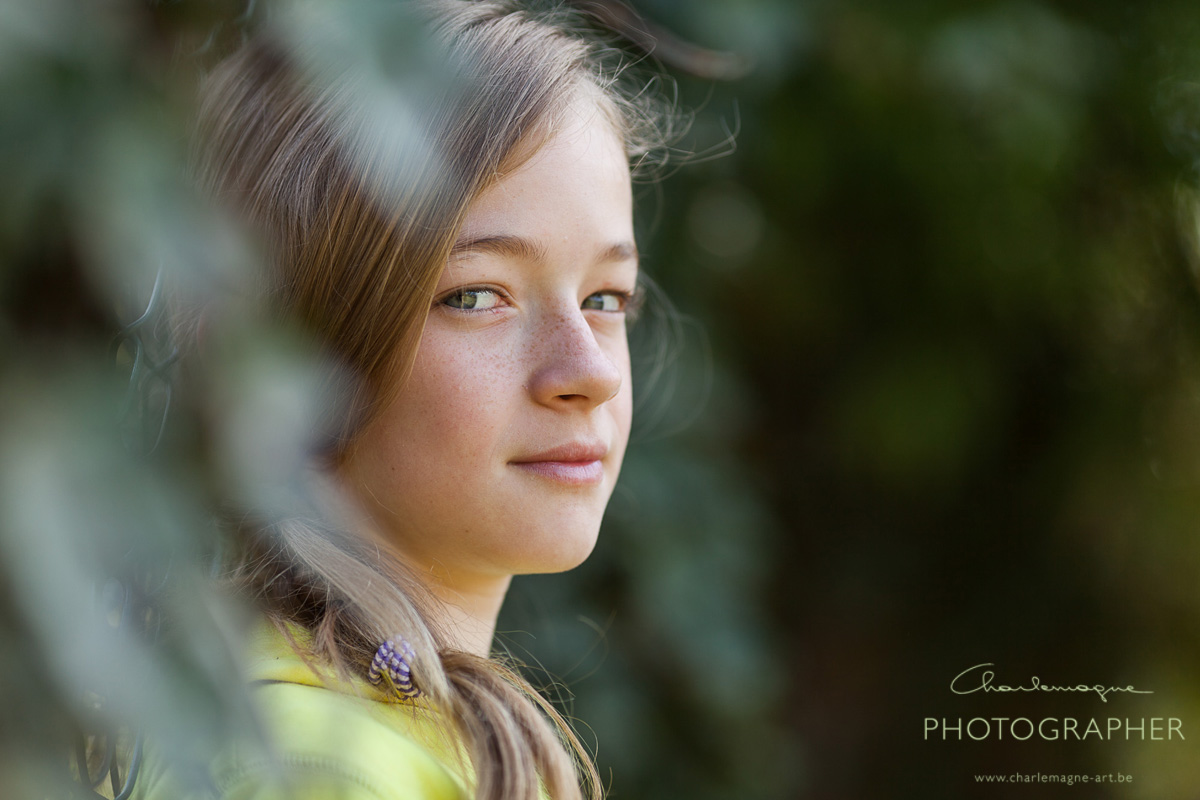
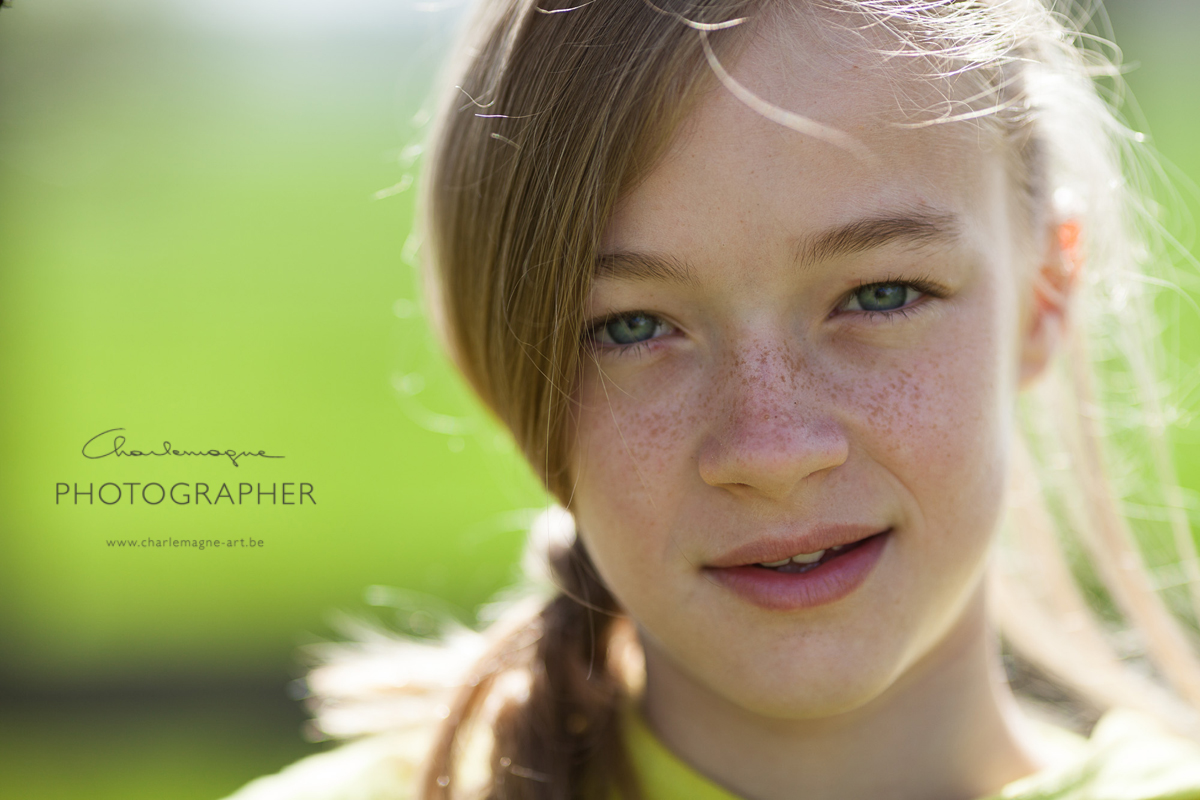
For me this is the best lens I have, in terms of image quality. It has plenty of contrast, even in strong backlit images, it is very sharp, from the maximum aperture on, and it has creamy soft bokeh.

Main advice in bright sun conditions: shoot with the sun in the back of your model. It will prevent your subject from peeping the eyes, and you get a beautiful hairlight (a bit strong I admit) for free.

Images have only slightly been enhanced in Lightroom. I have an import standard of +20 contrast +15 clarity, and I did nothing else.

The best of the pack (in my opinion 😉 )

charlemagne-art_Salome-13

charlemagne-art_Salome-9

charlemagne-art_Salome-20

charlemagne-art_Salome-22

charlemagne-art_Salome-14

See you soon for the Harley Davidson images (see my facebook page – Ludwig Desmet)
Take care, and come again soon,

Ludwig