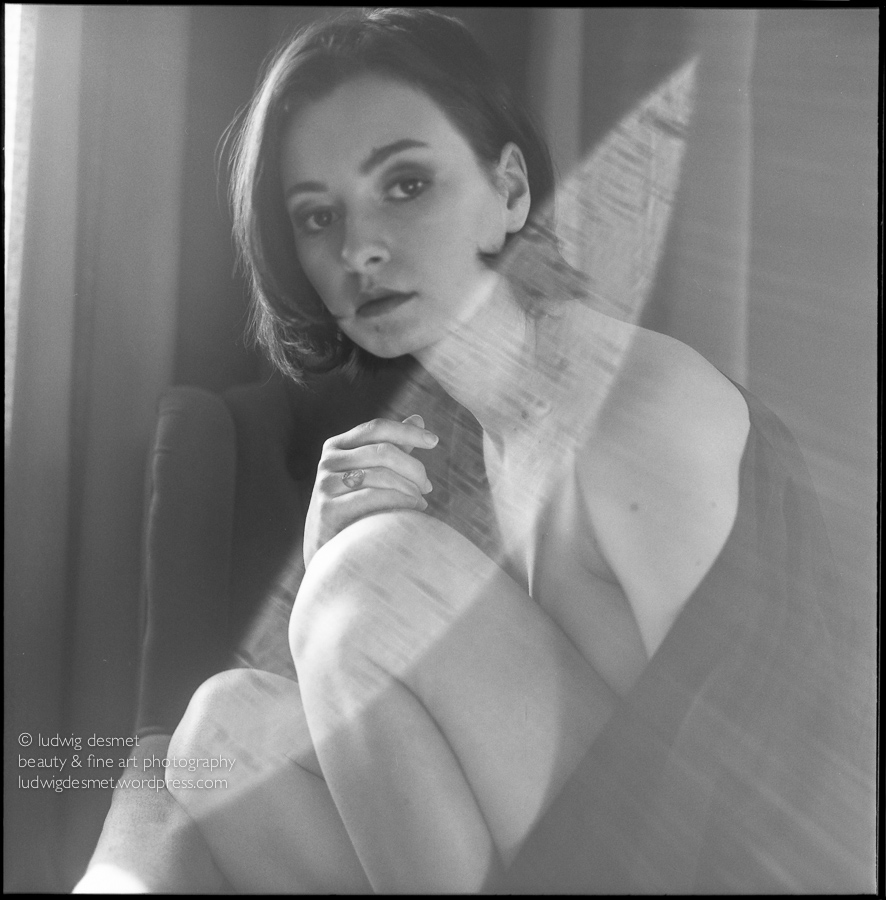
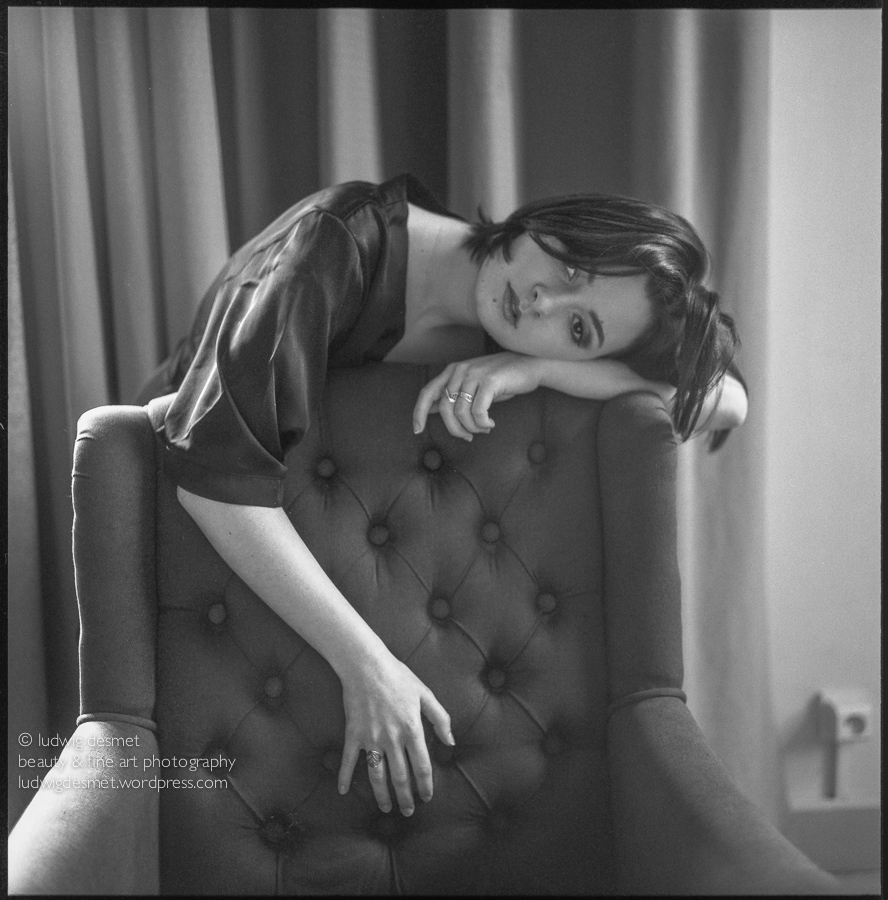
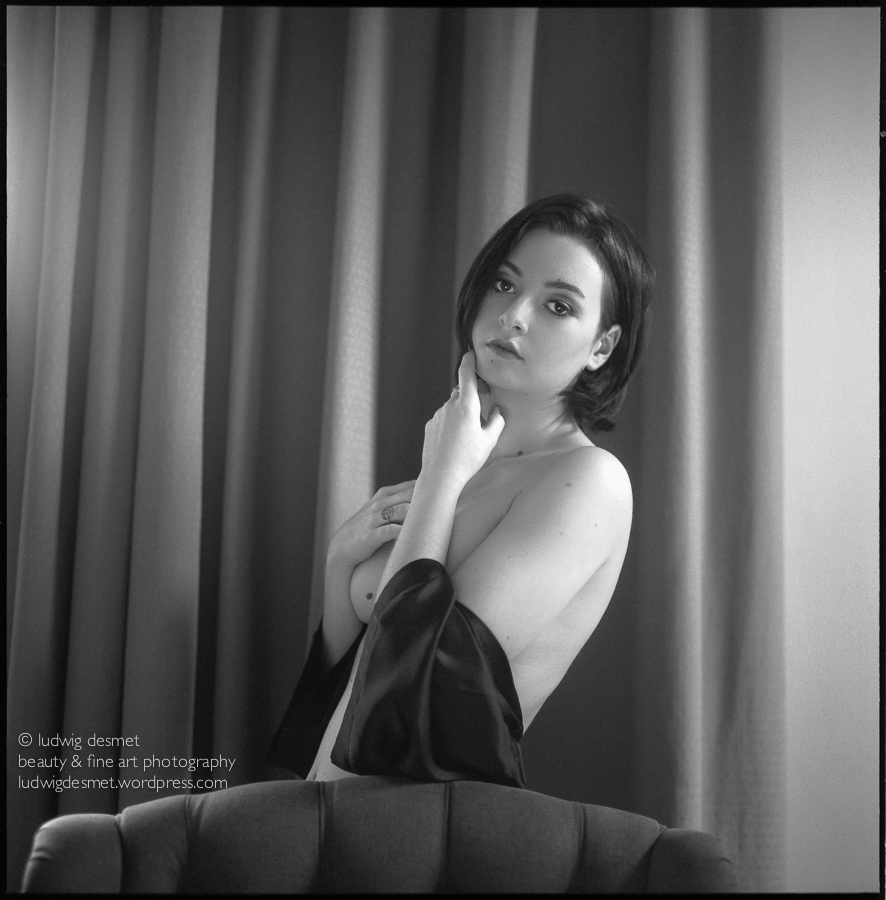
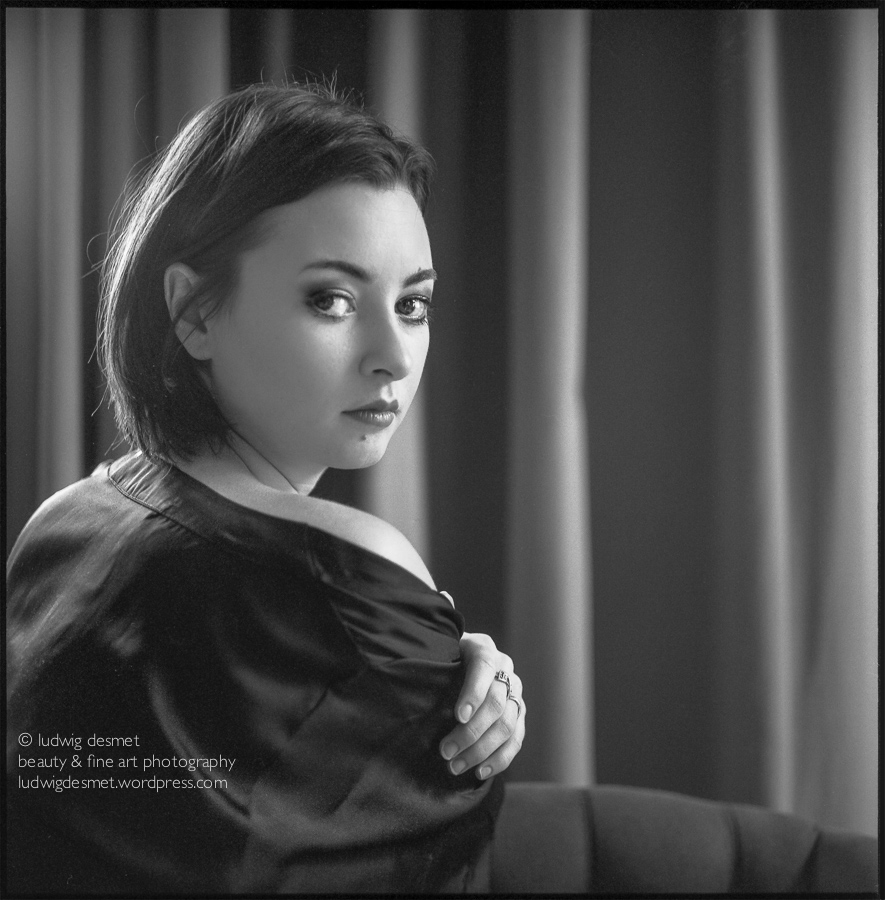
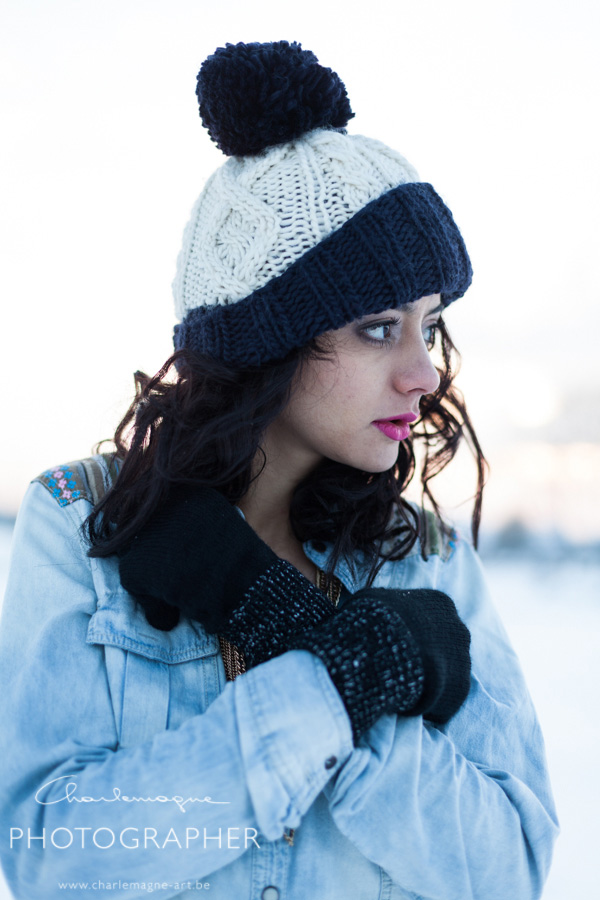
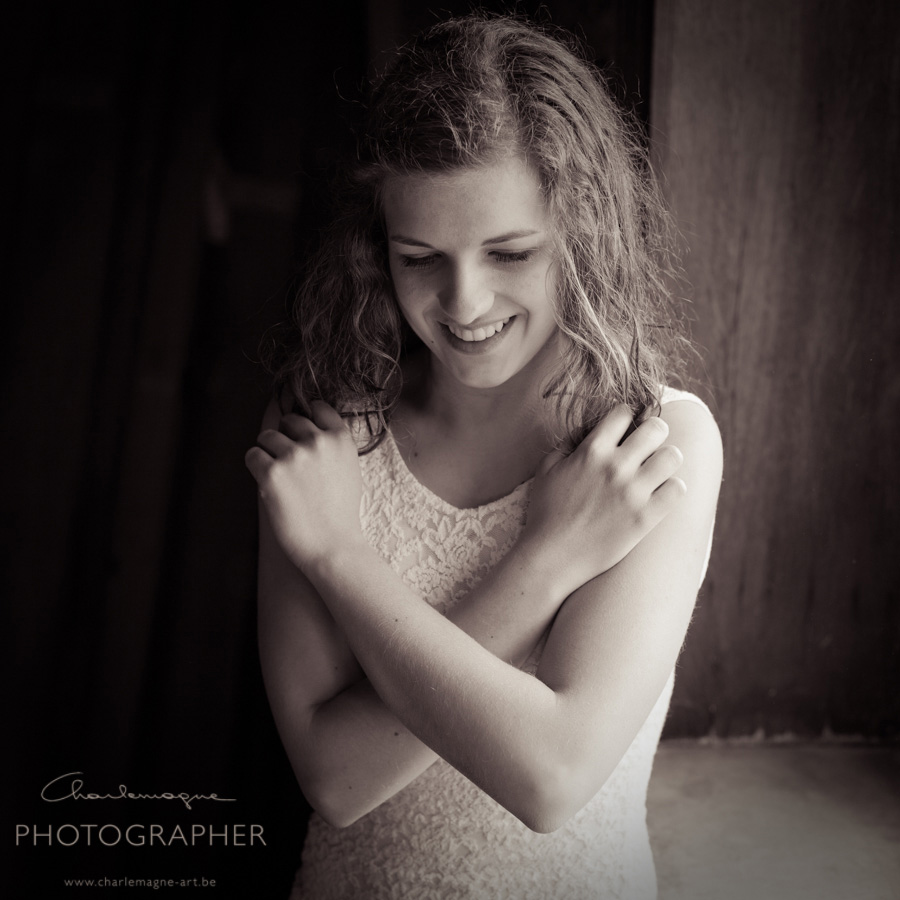
A little bit of fashion … the sequel

Analog, beauty, location, people, photo gear, portrait, street, Uncategorized

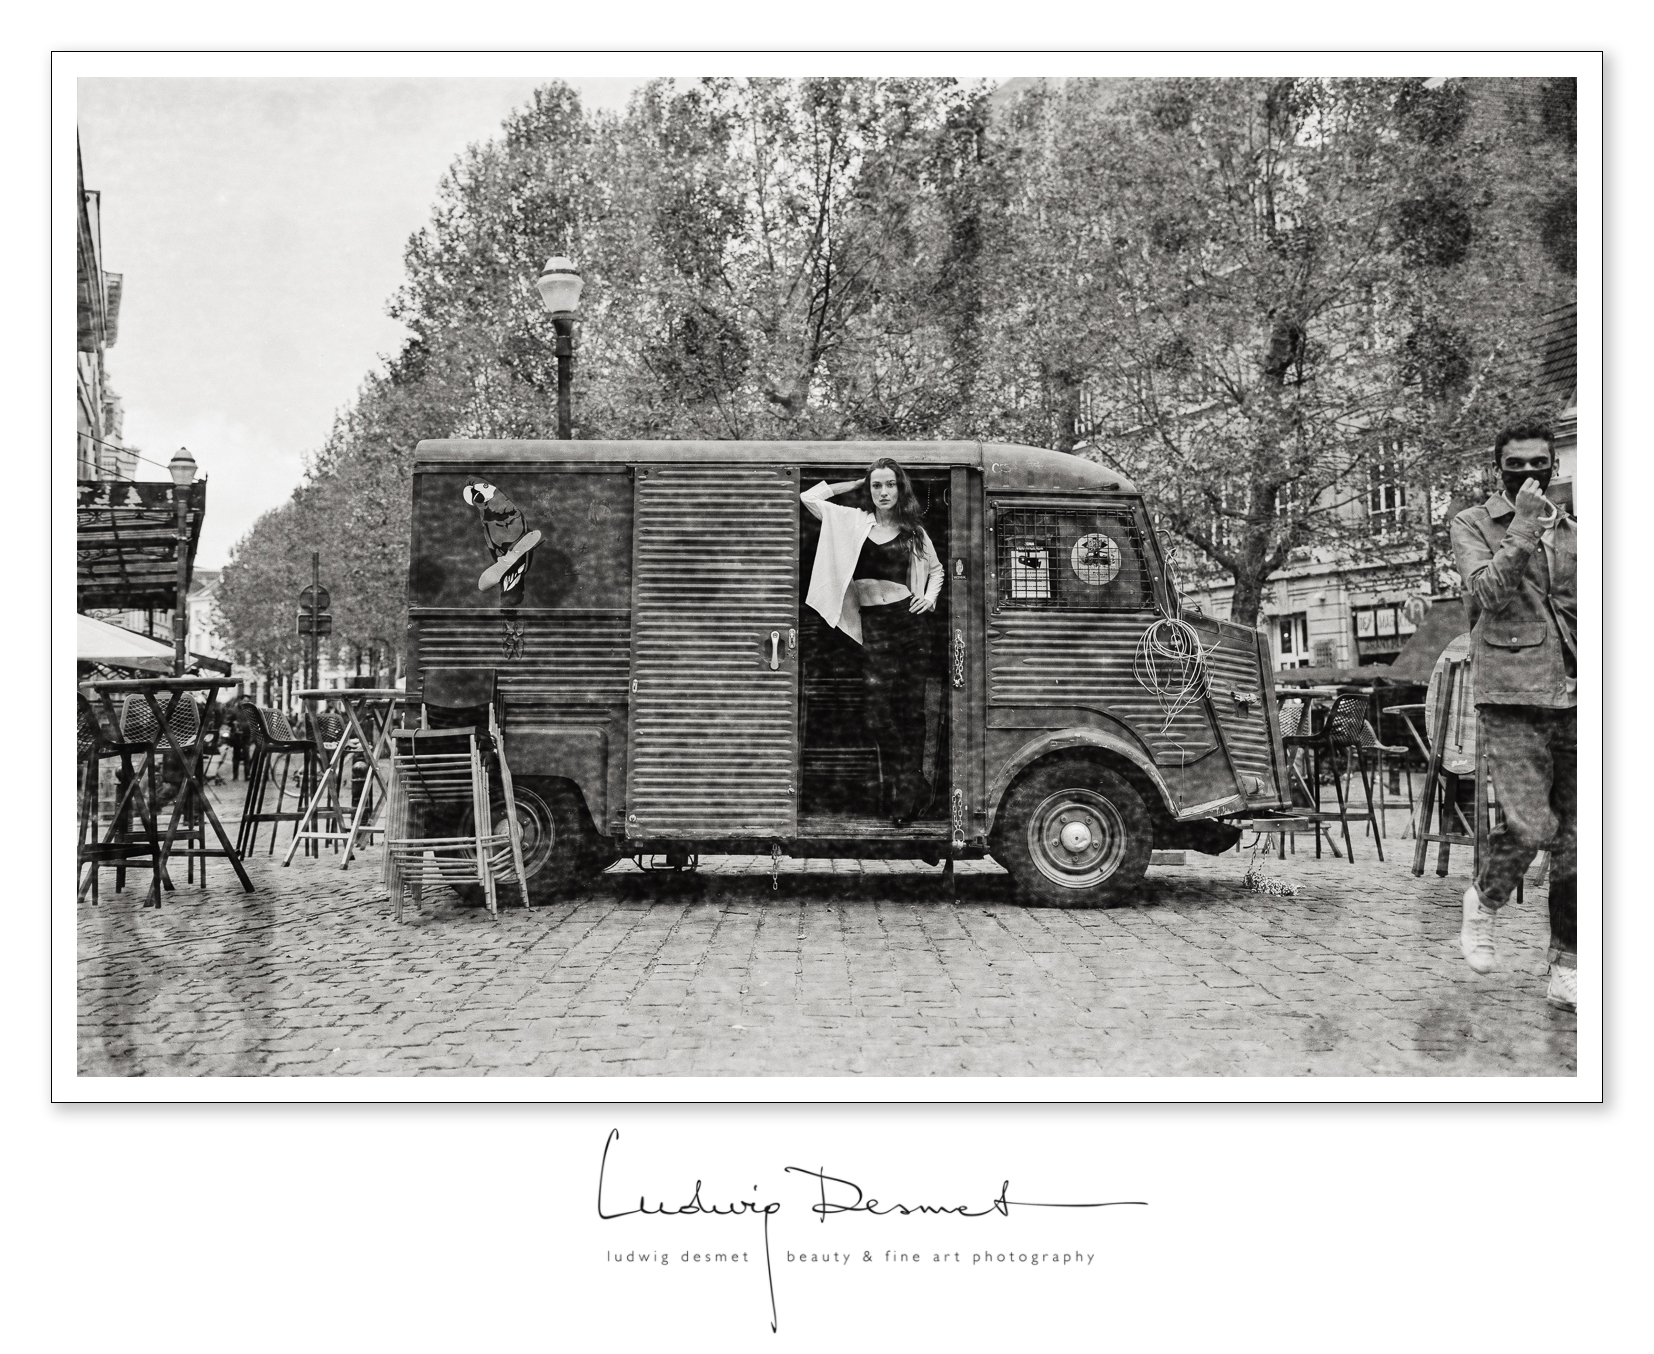
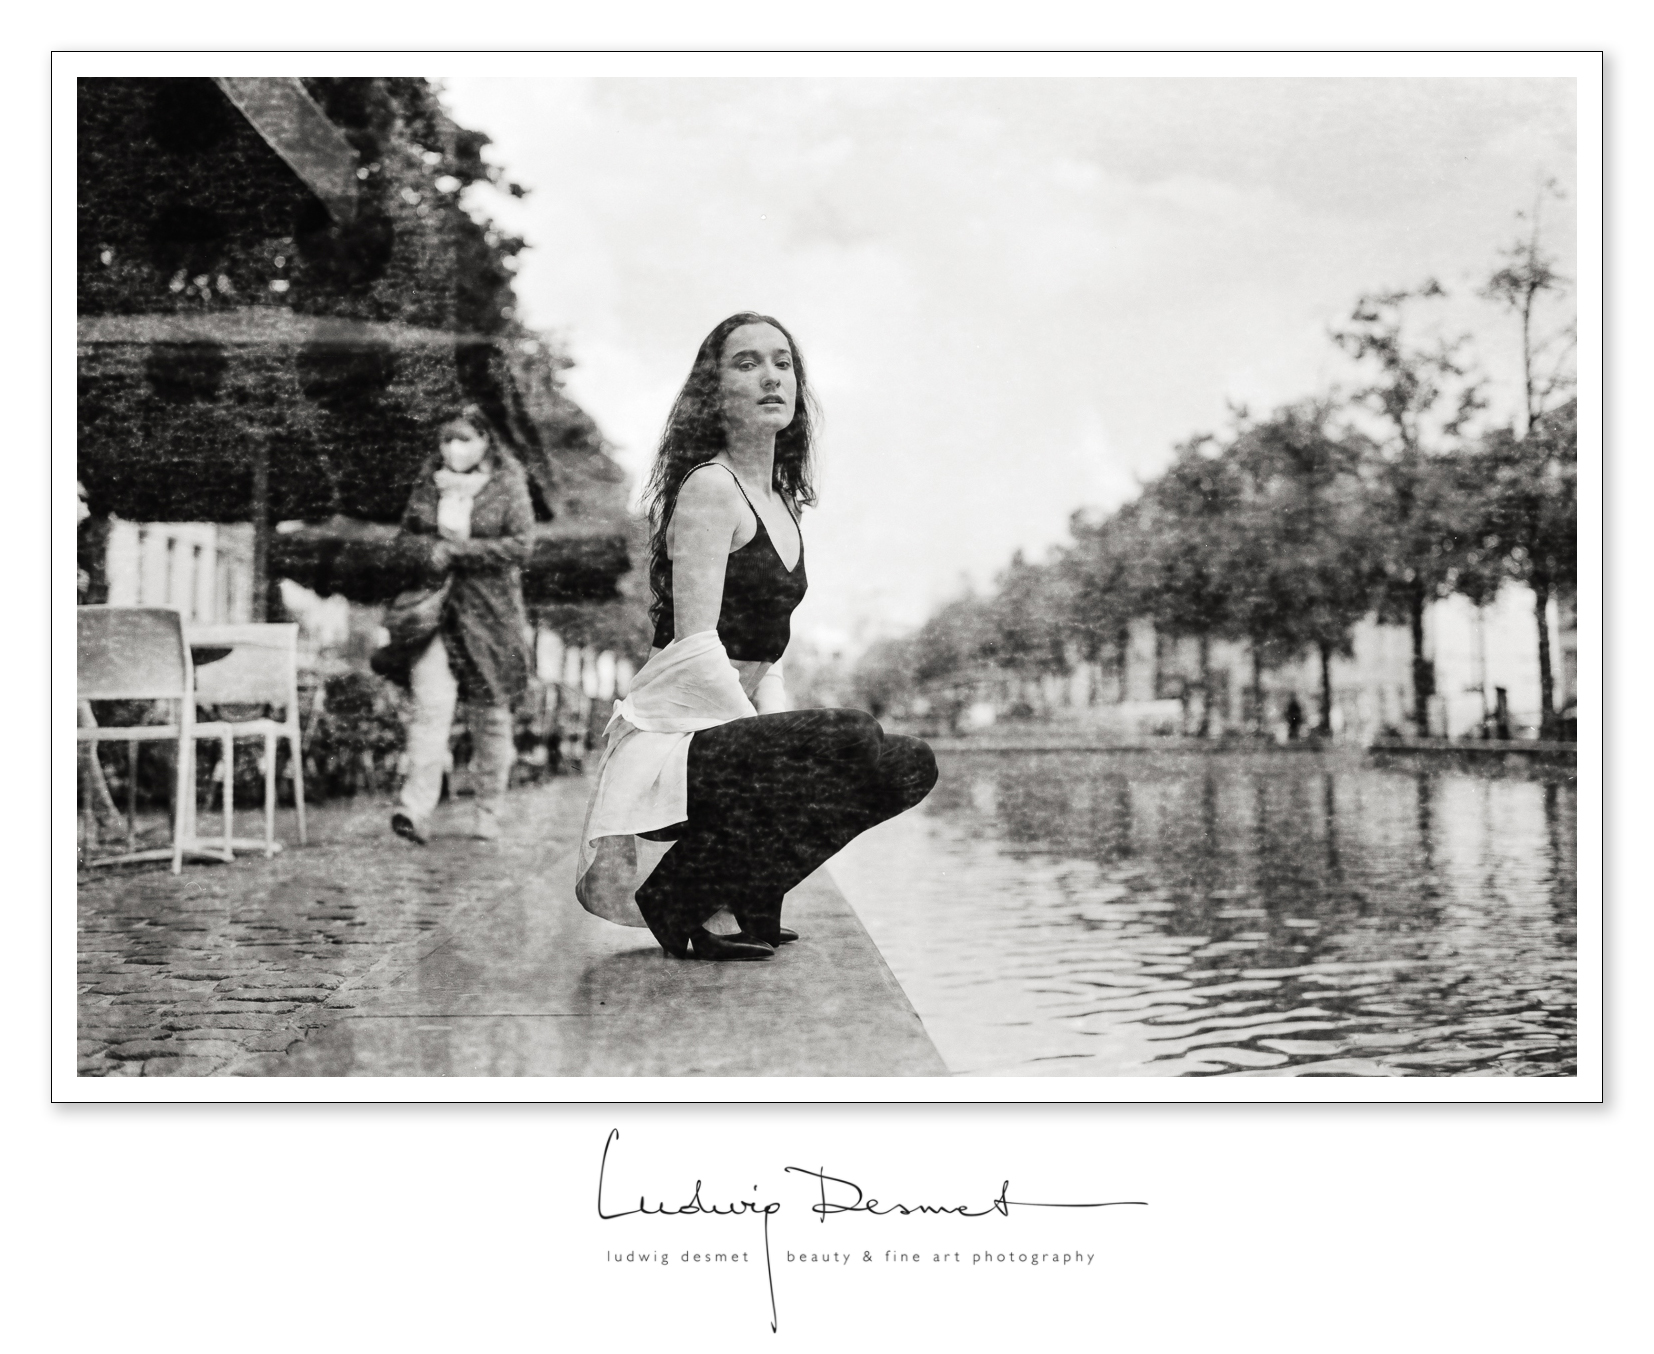
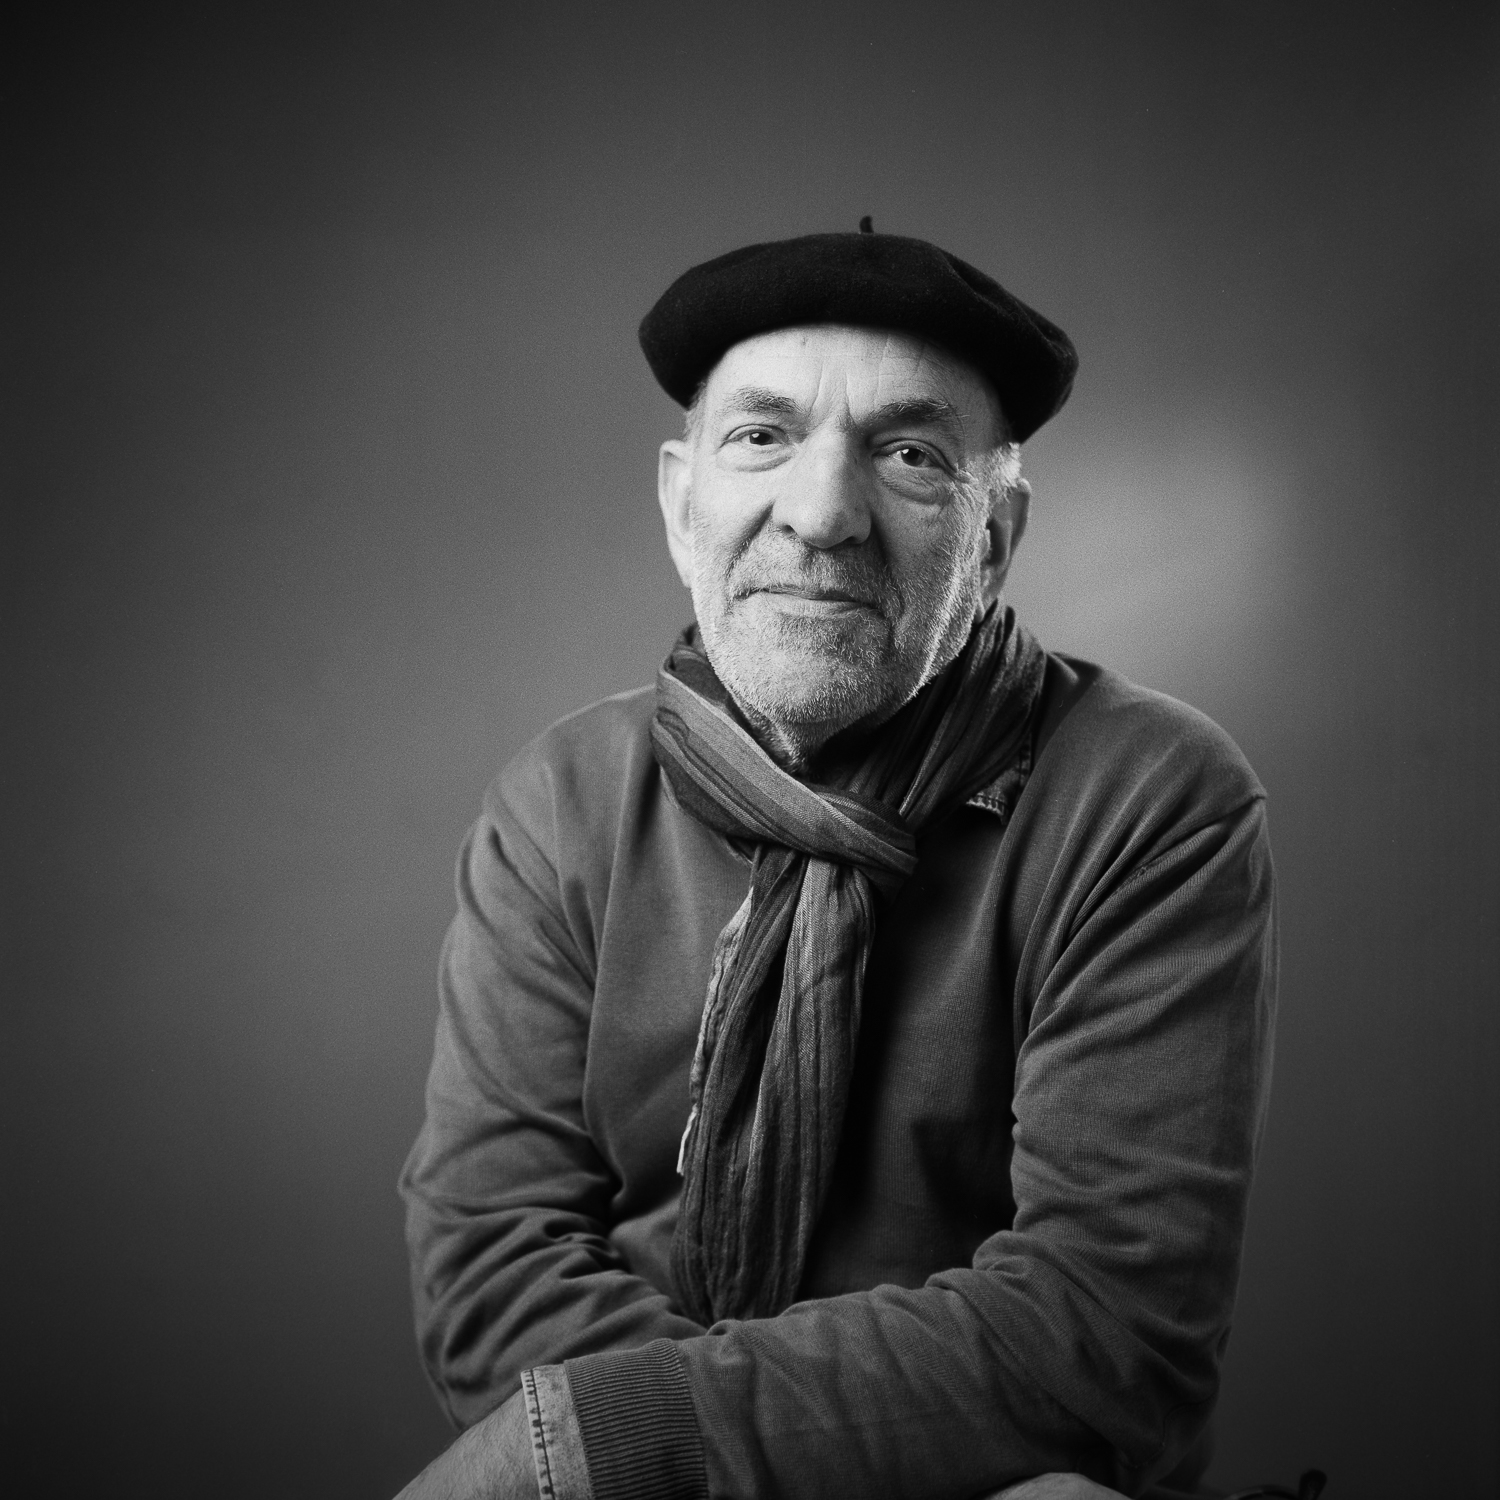
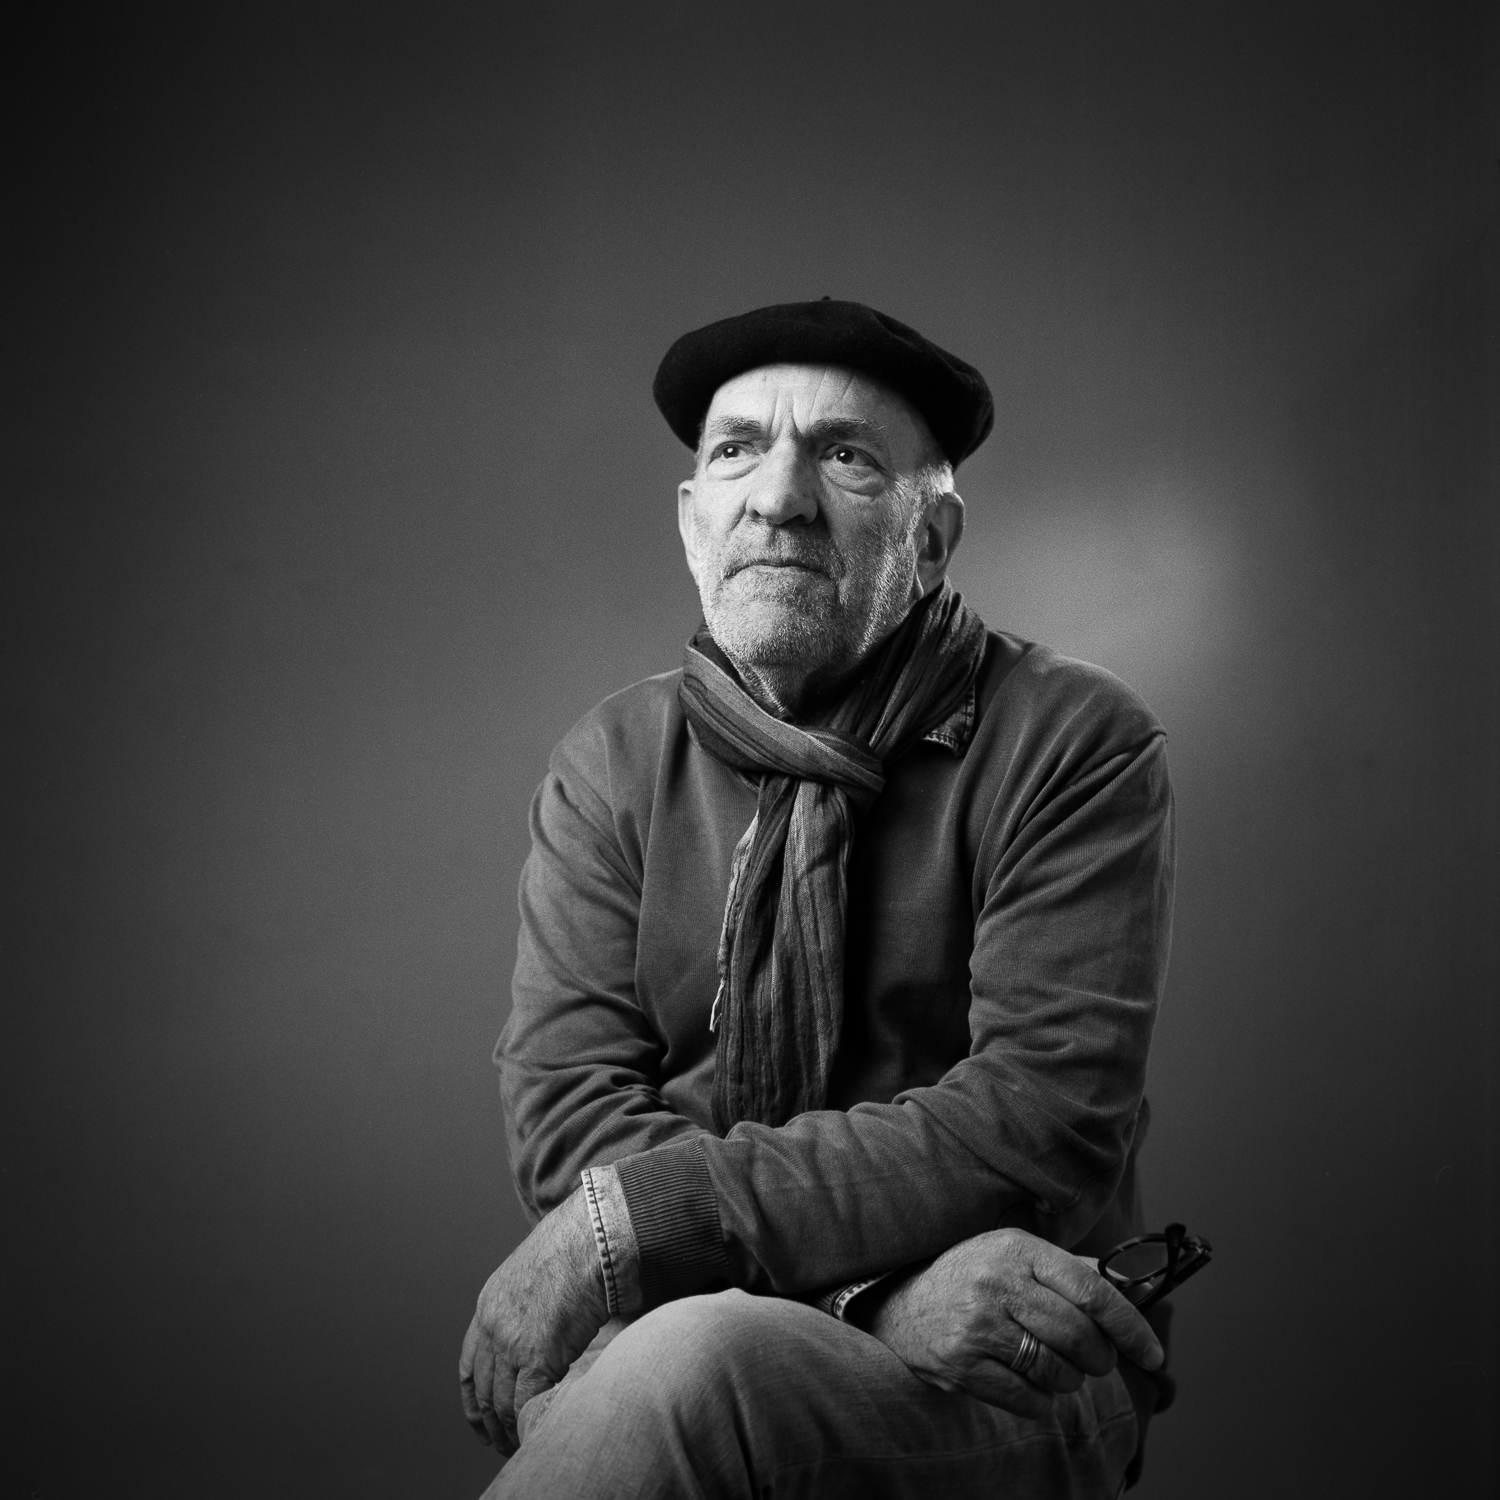
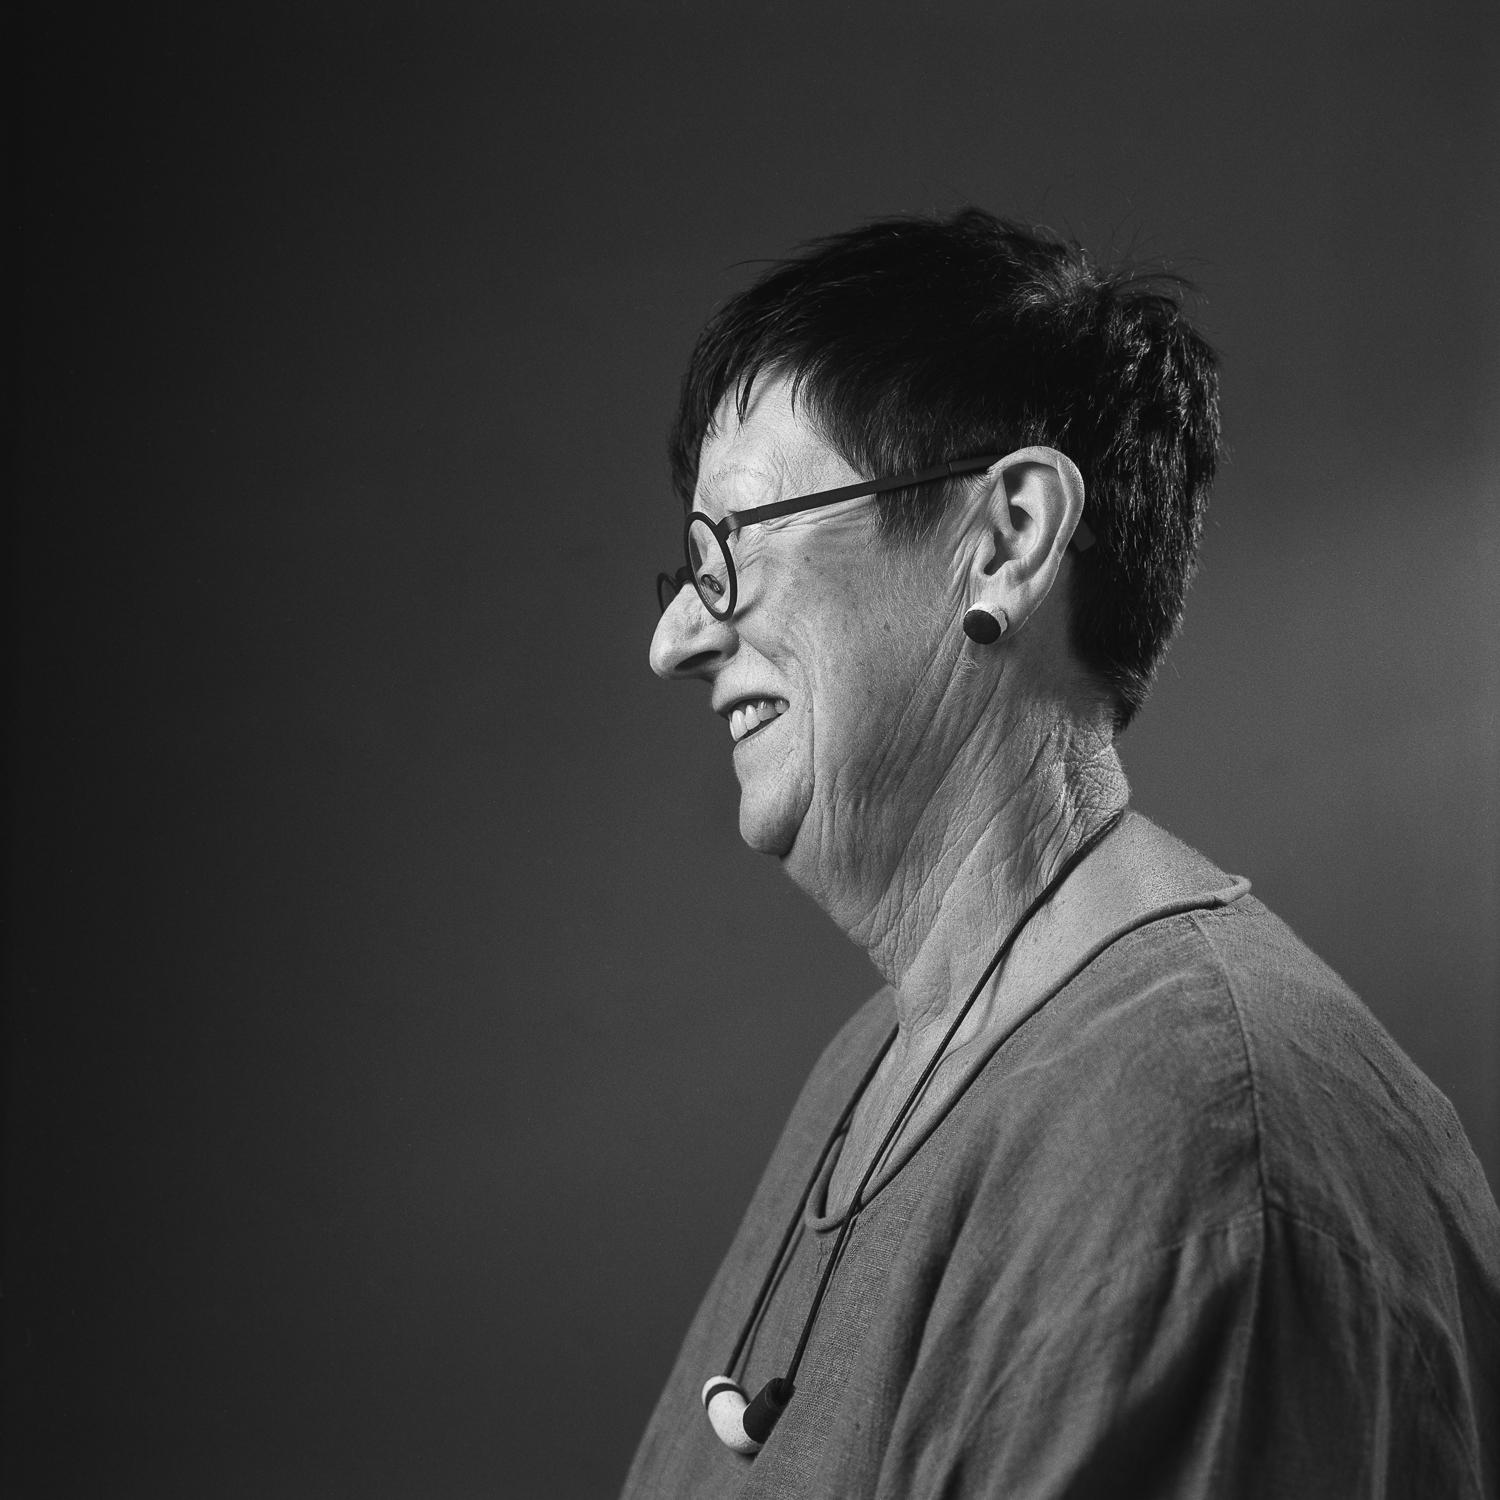
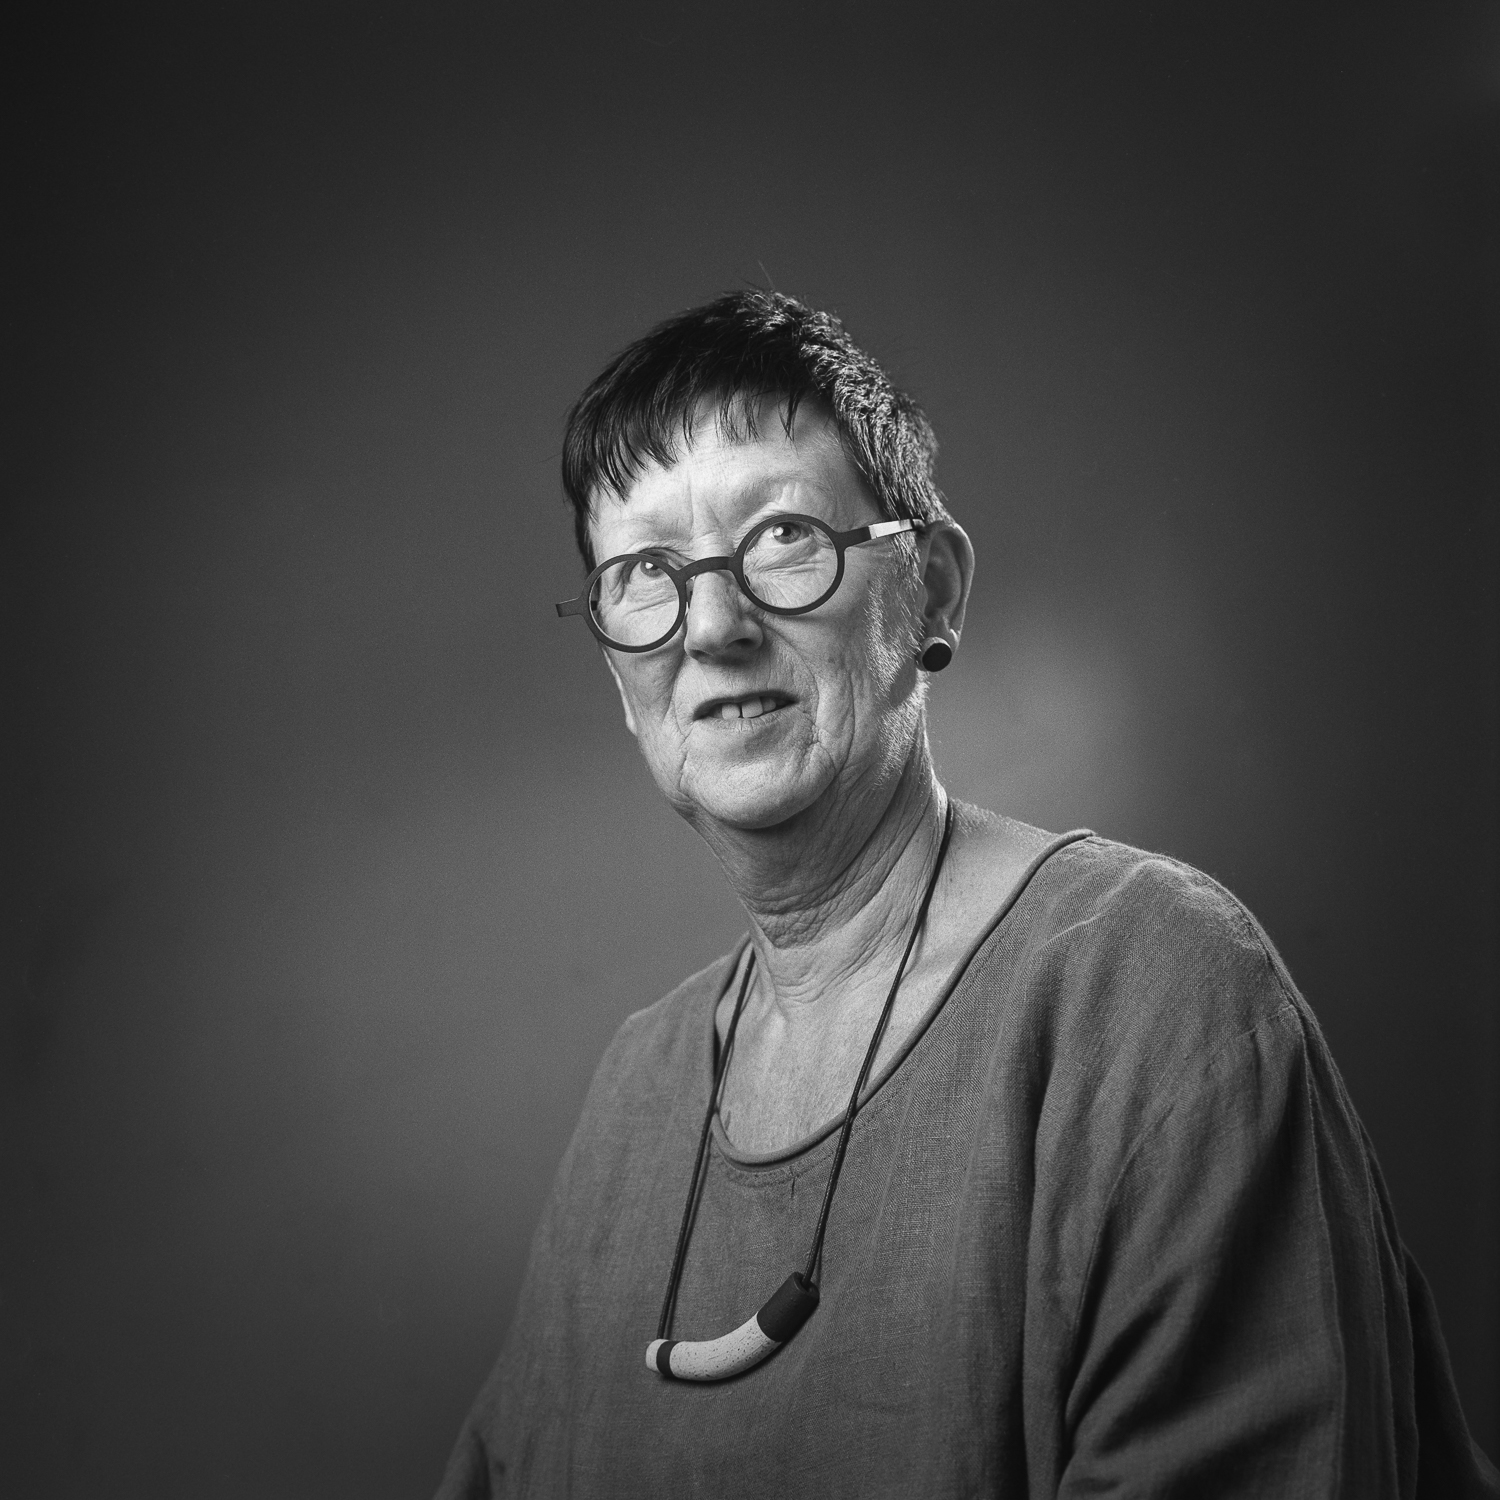
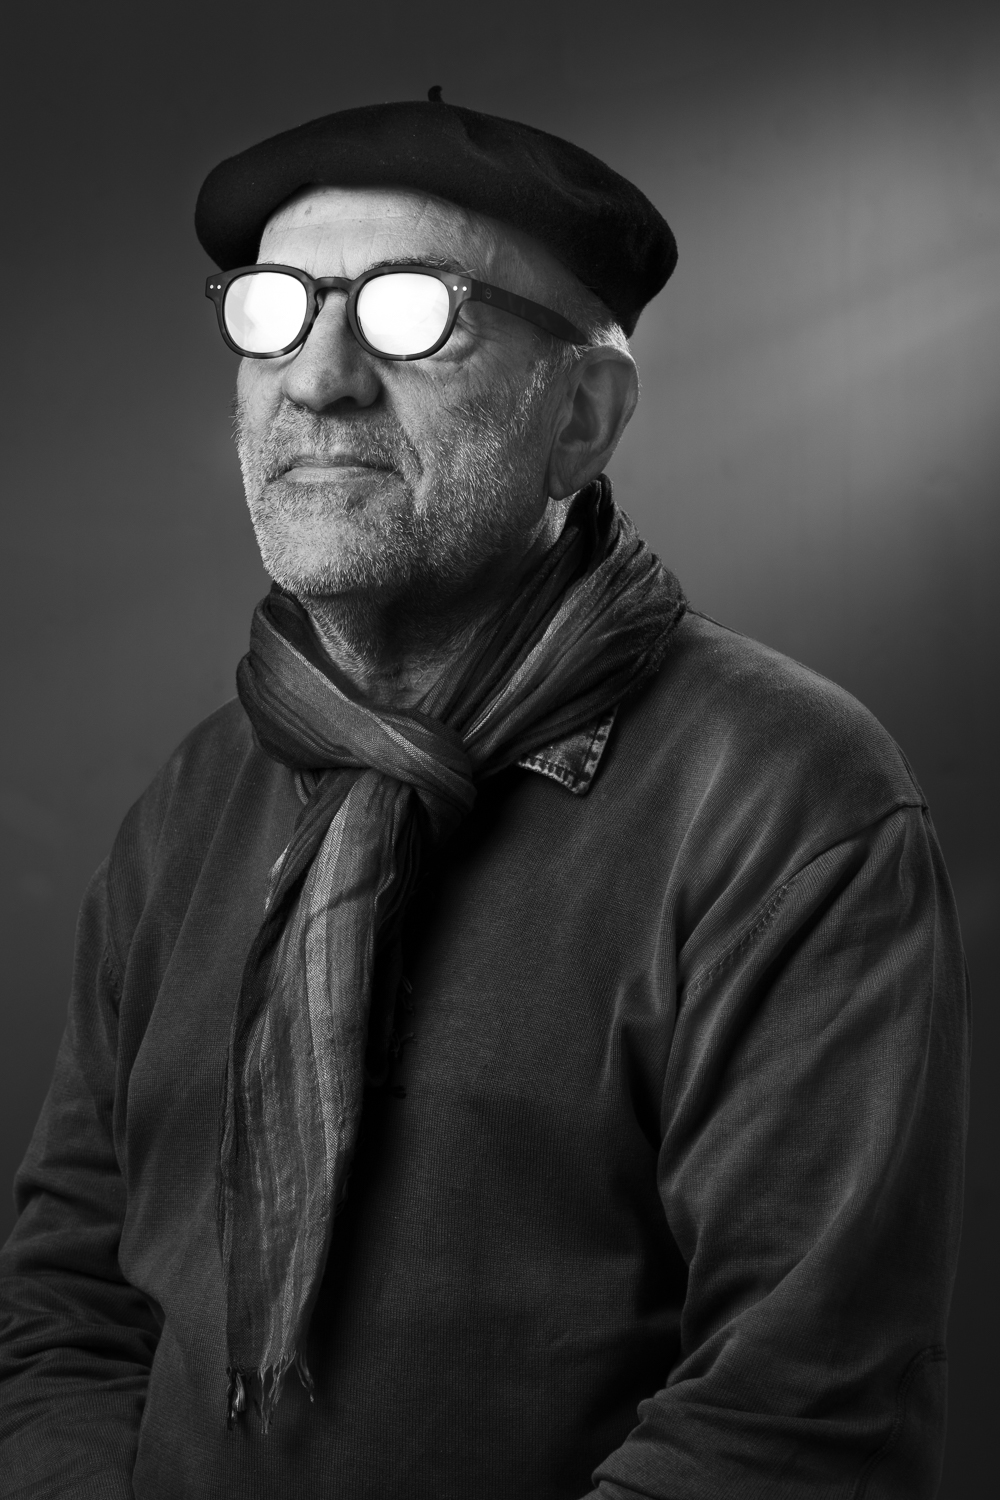
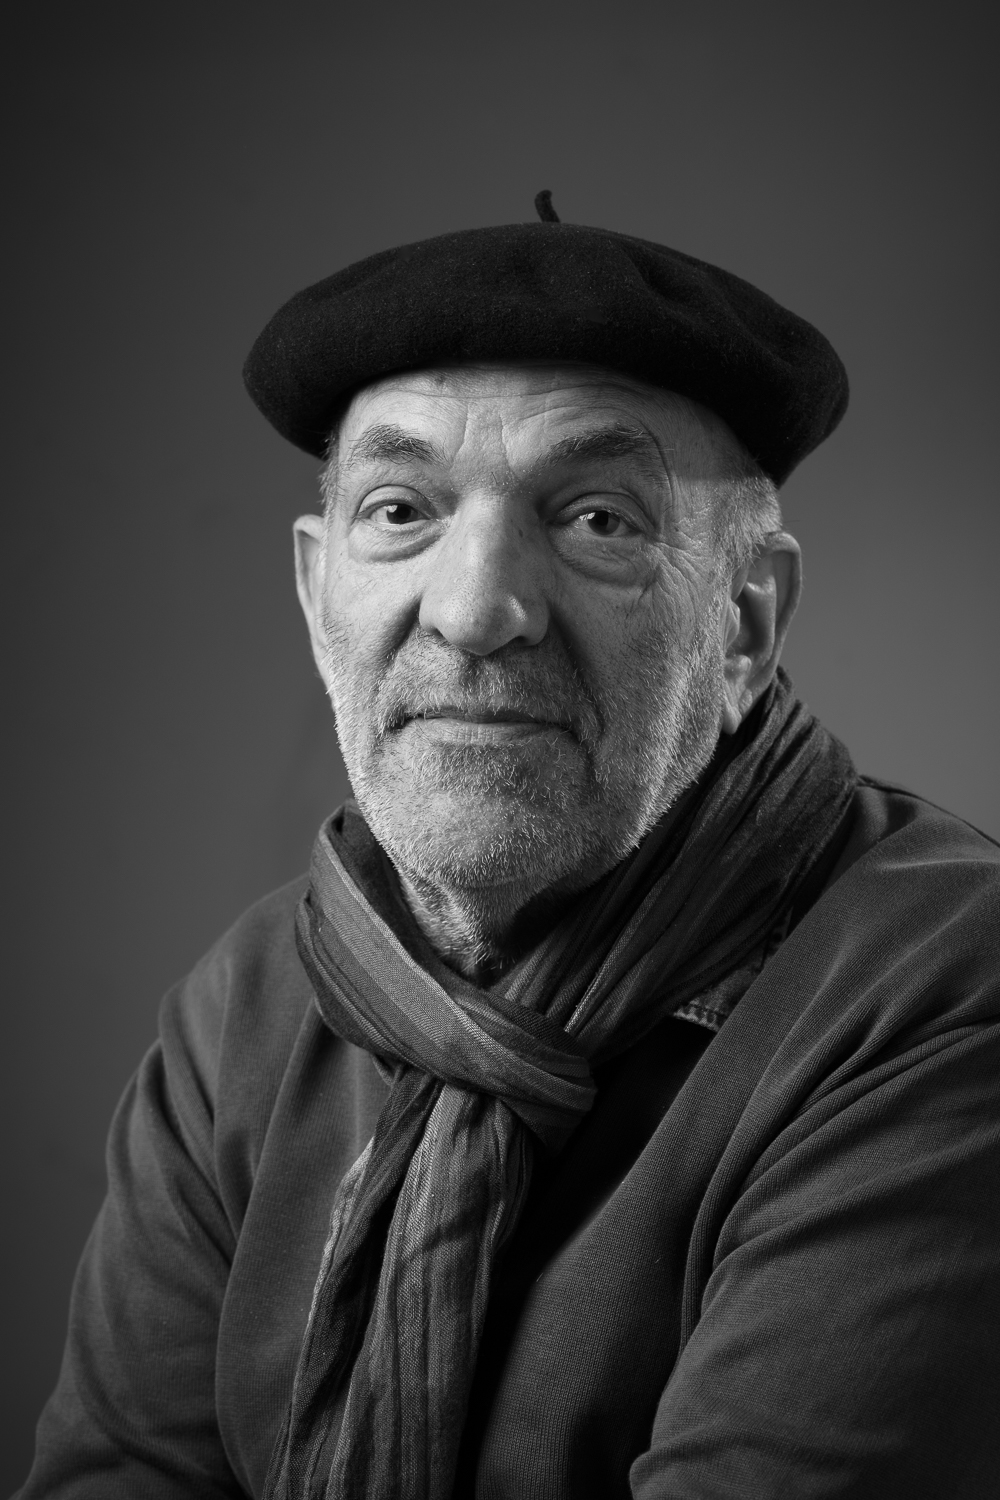
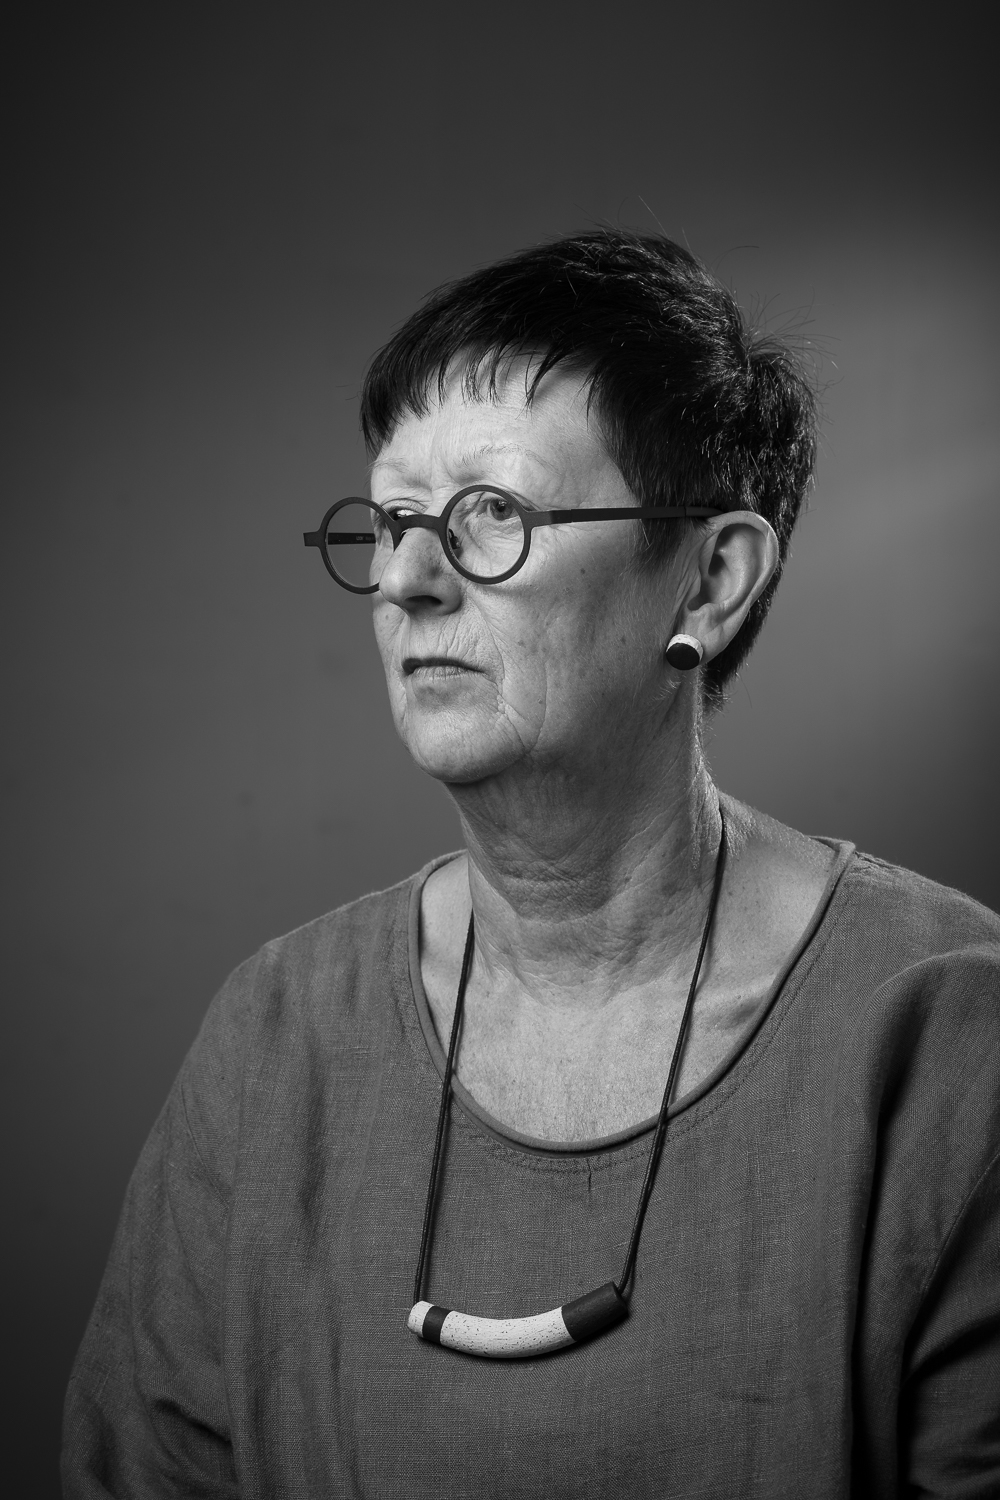
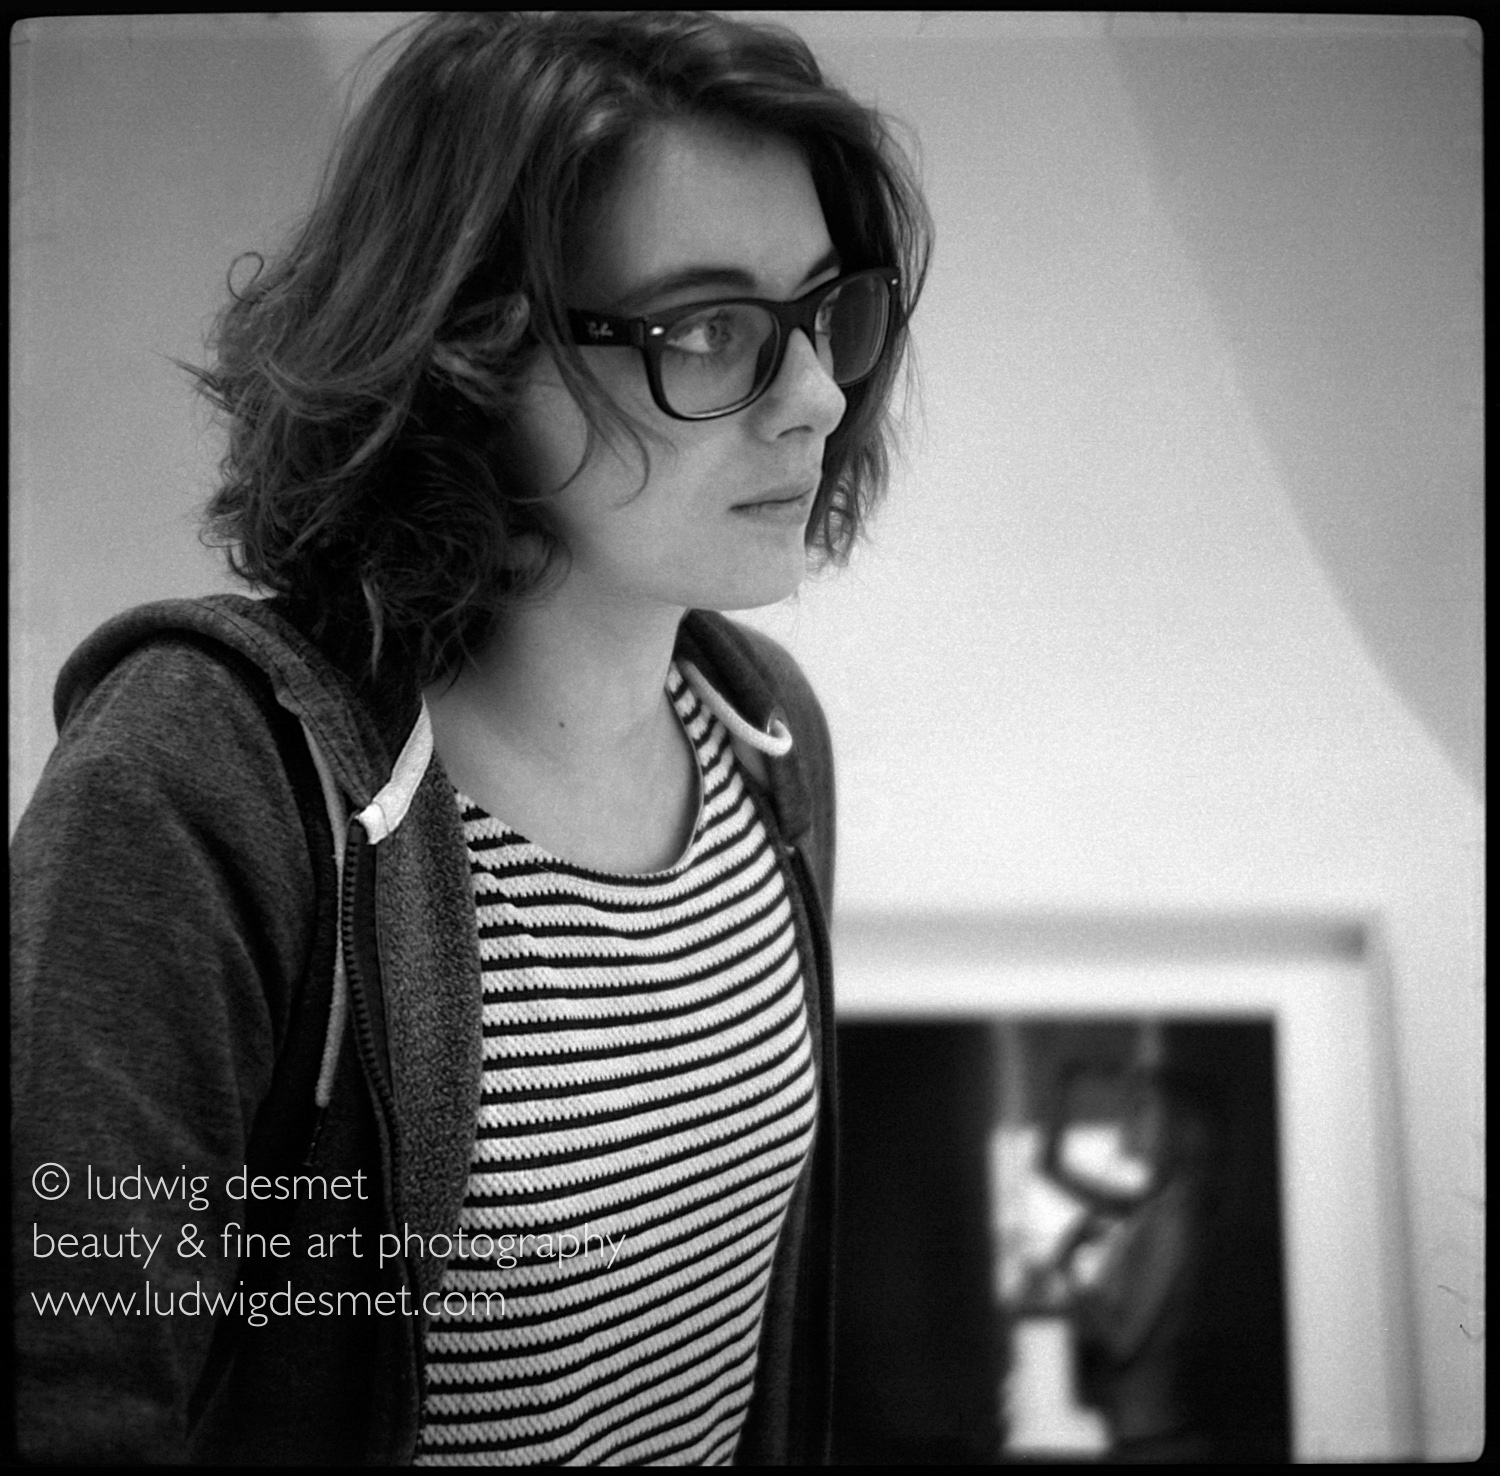
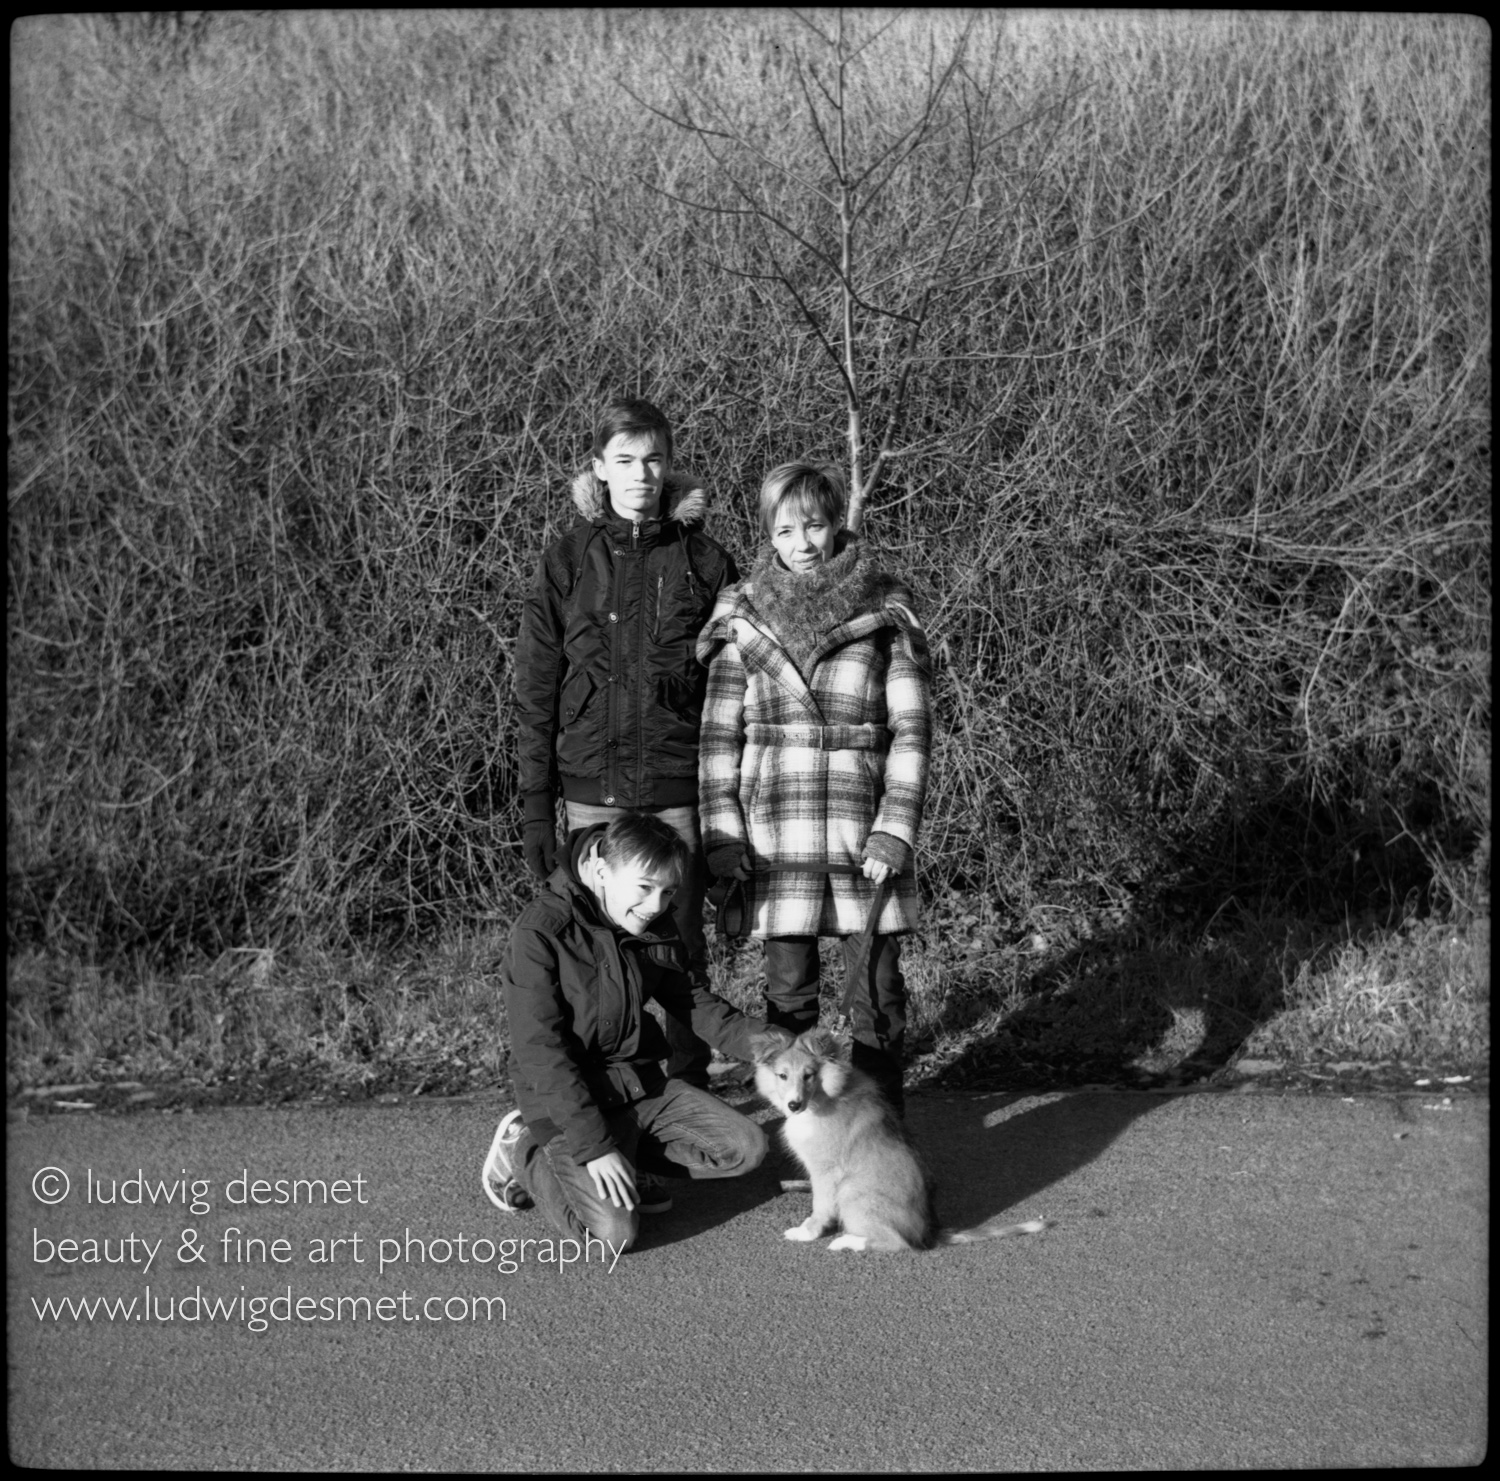
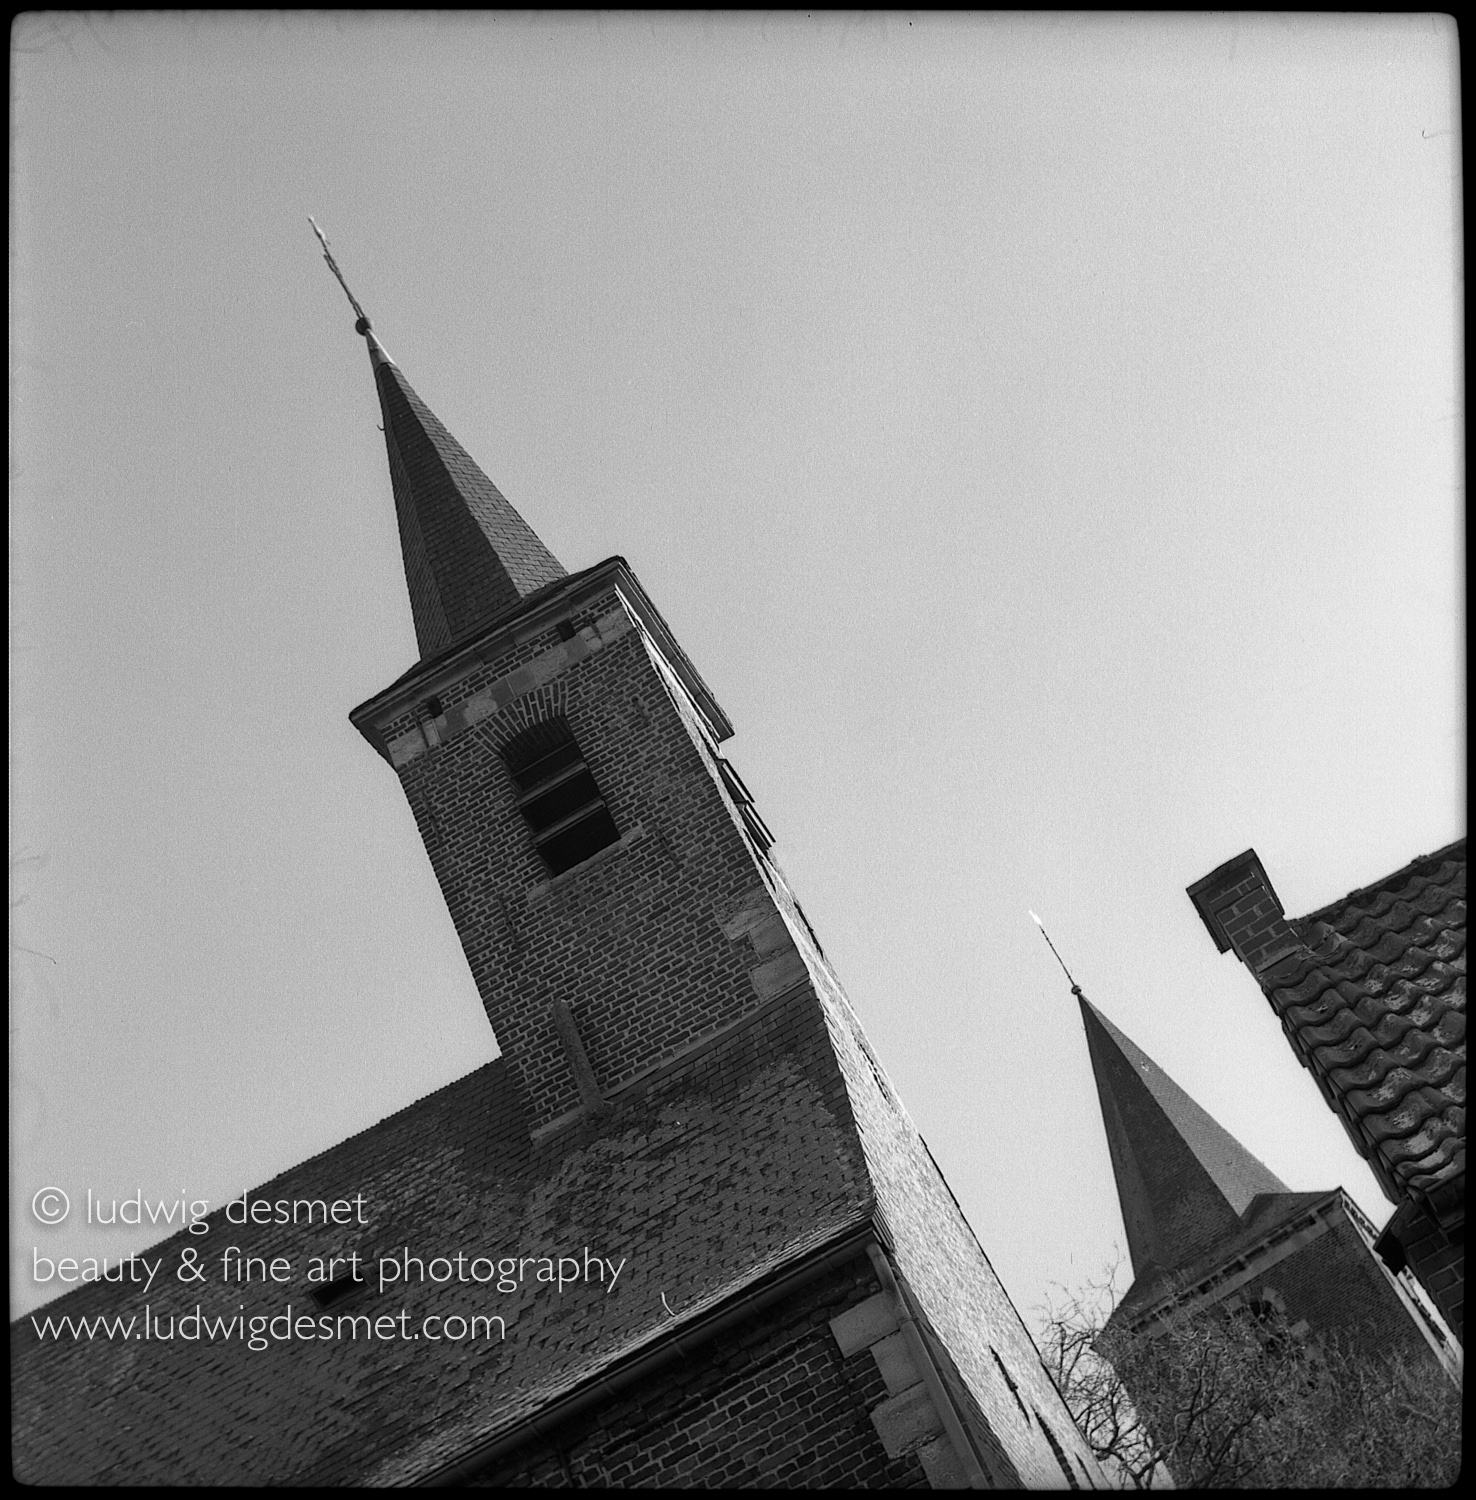
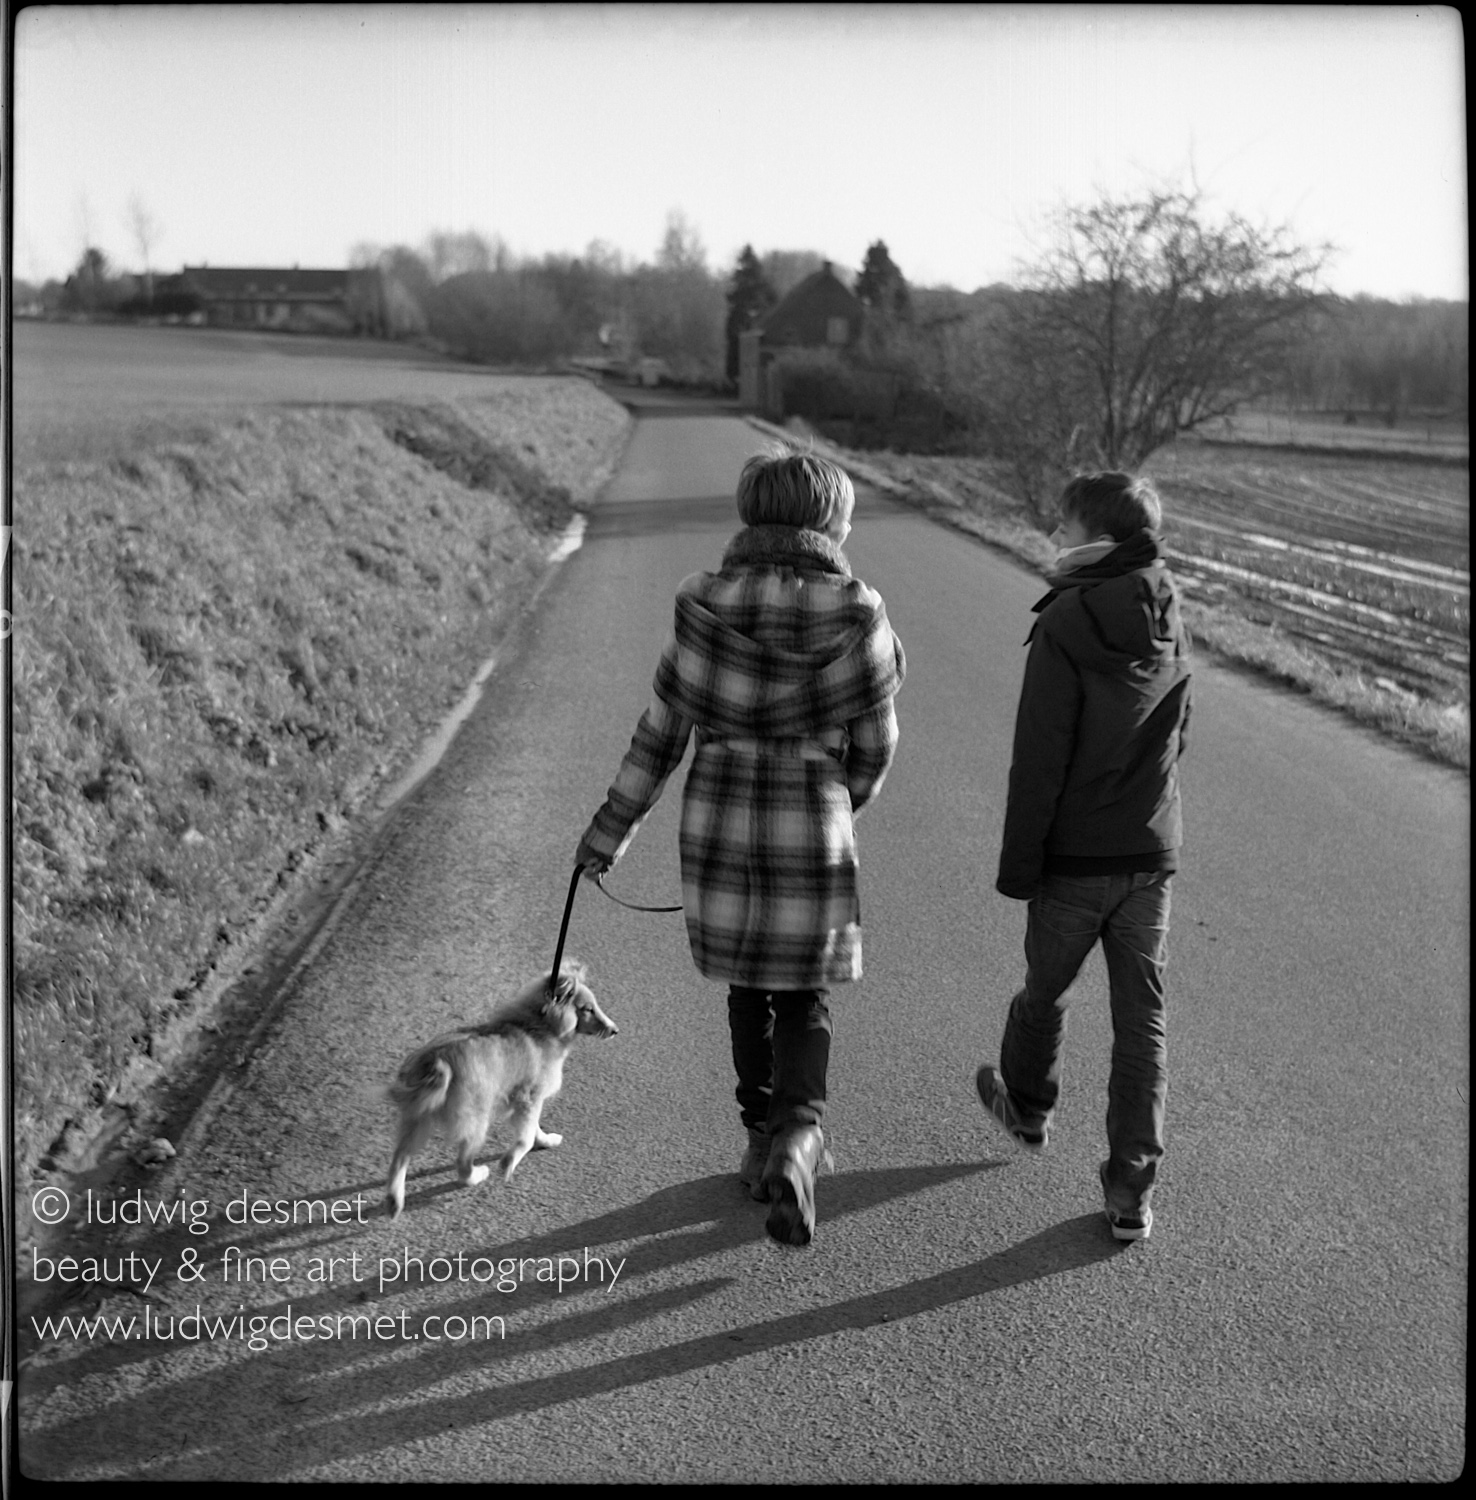
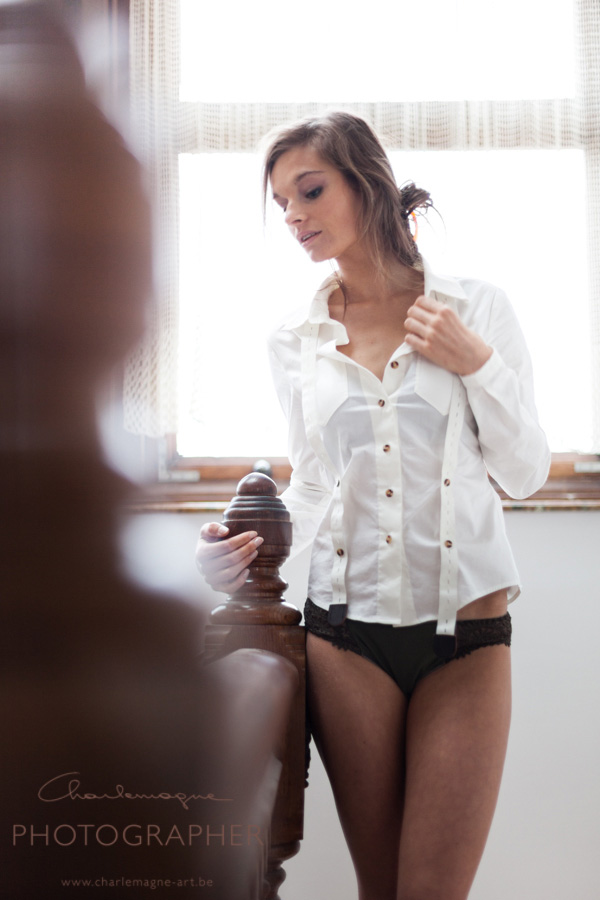
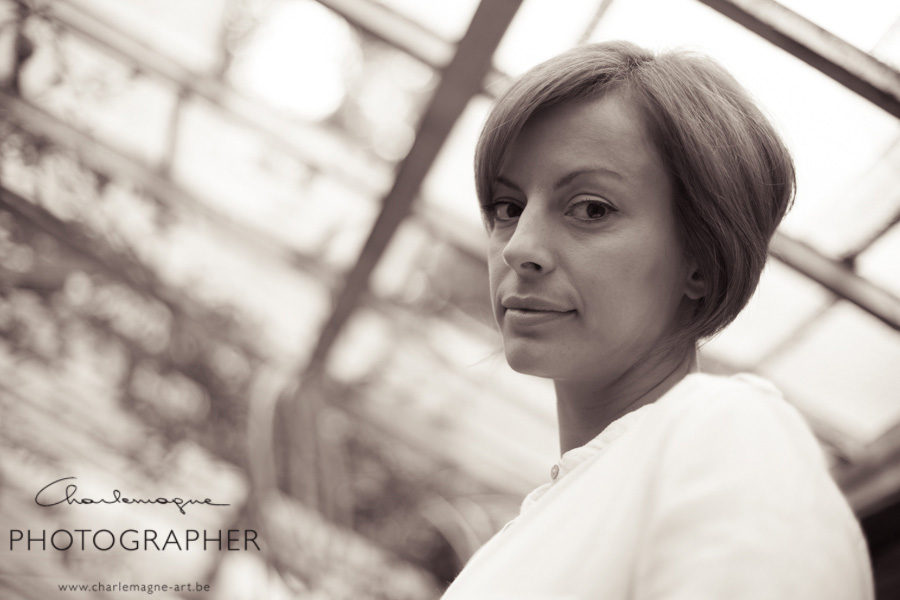
remember these: … A little bit of fashion ? Those were all taken a couple of years ago in Brussels, when I met Erika Albonetti for a morning session. They were shot on film with the Rolleiflex twin lens reflex I have been cherishing for a couple of years now.

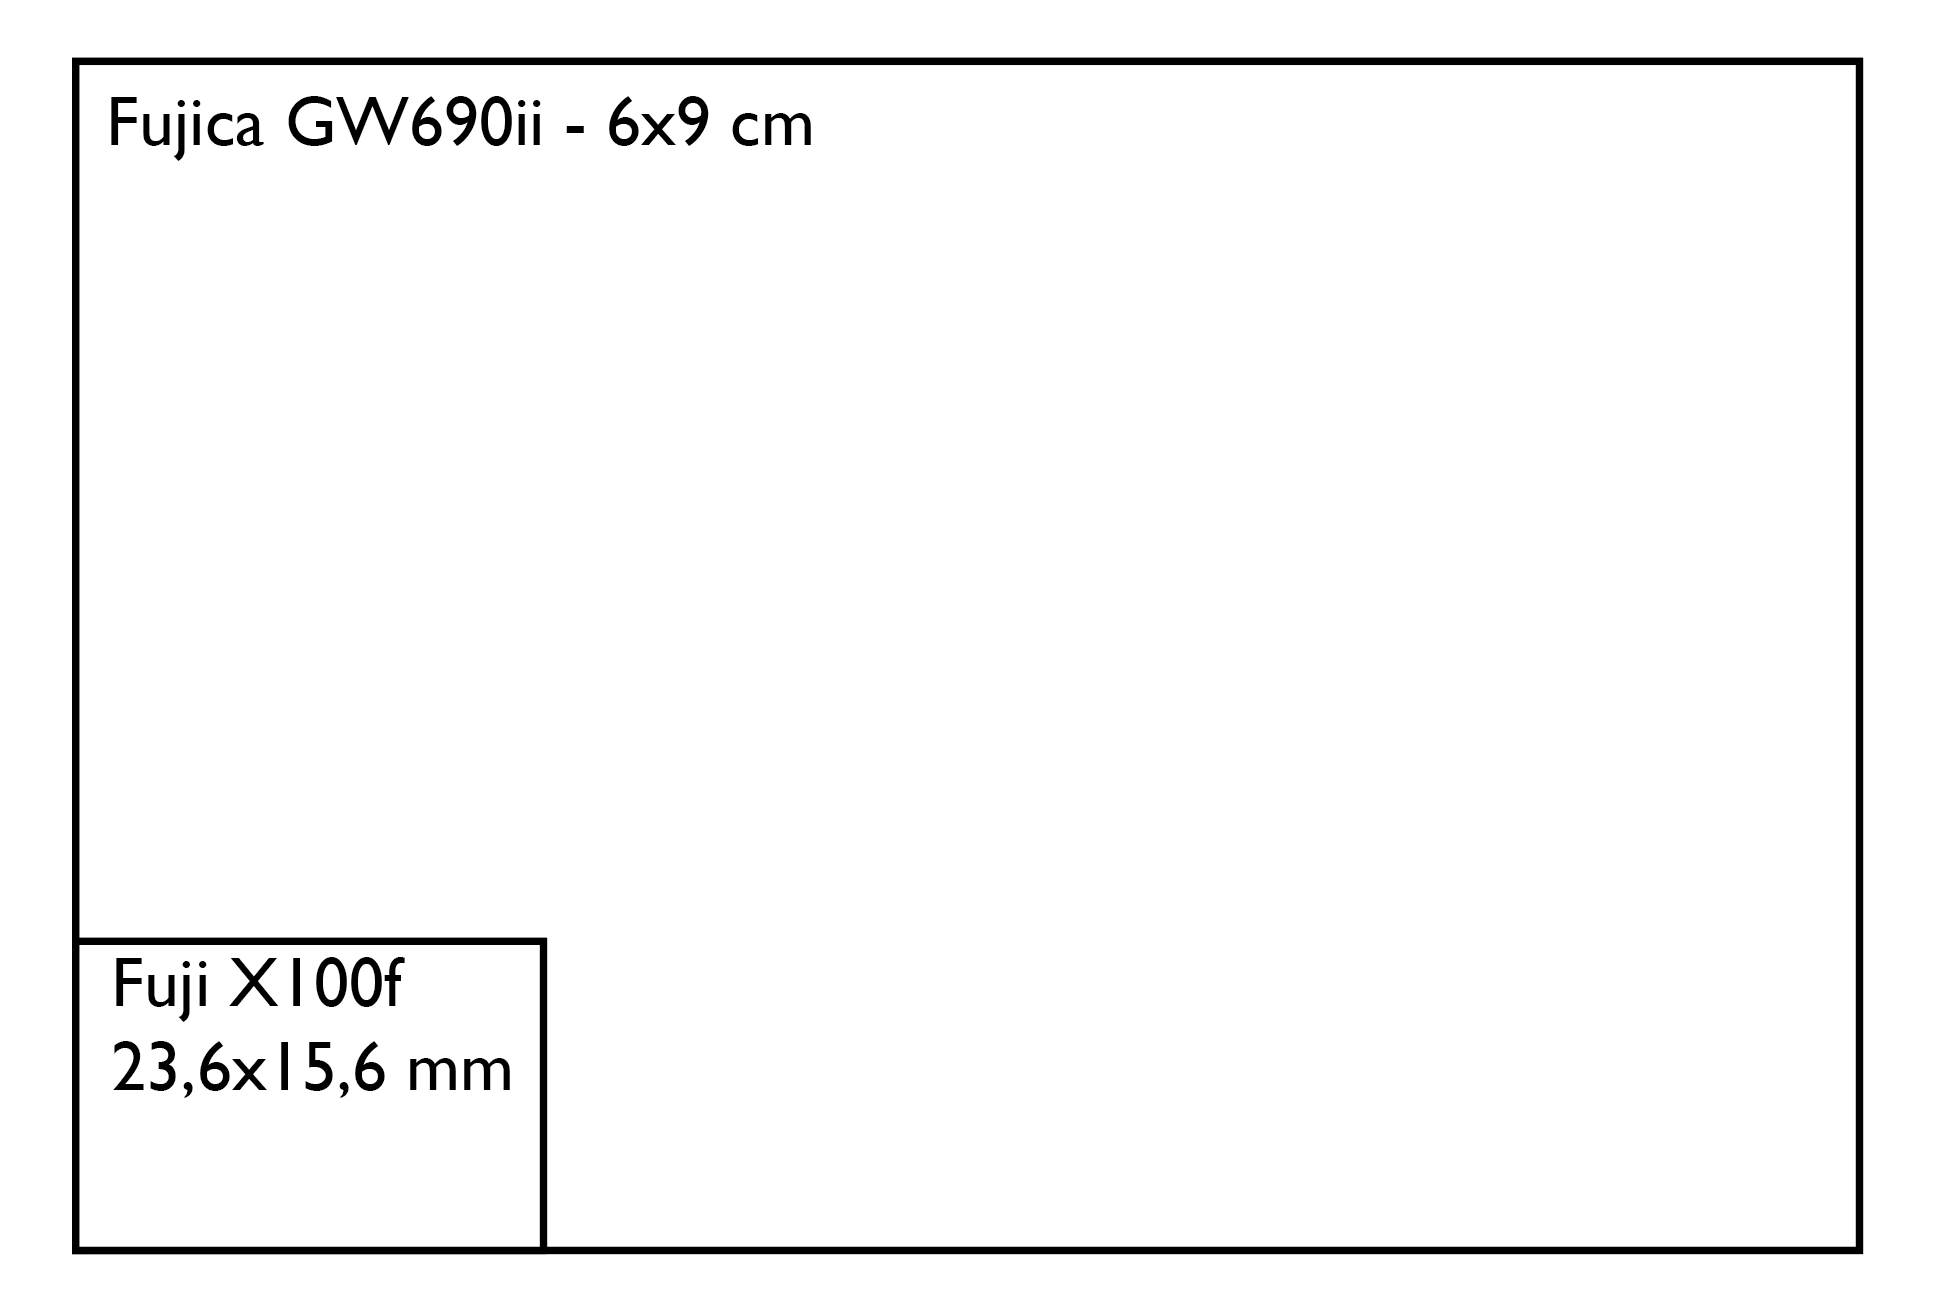
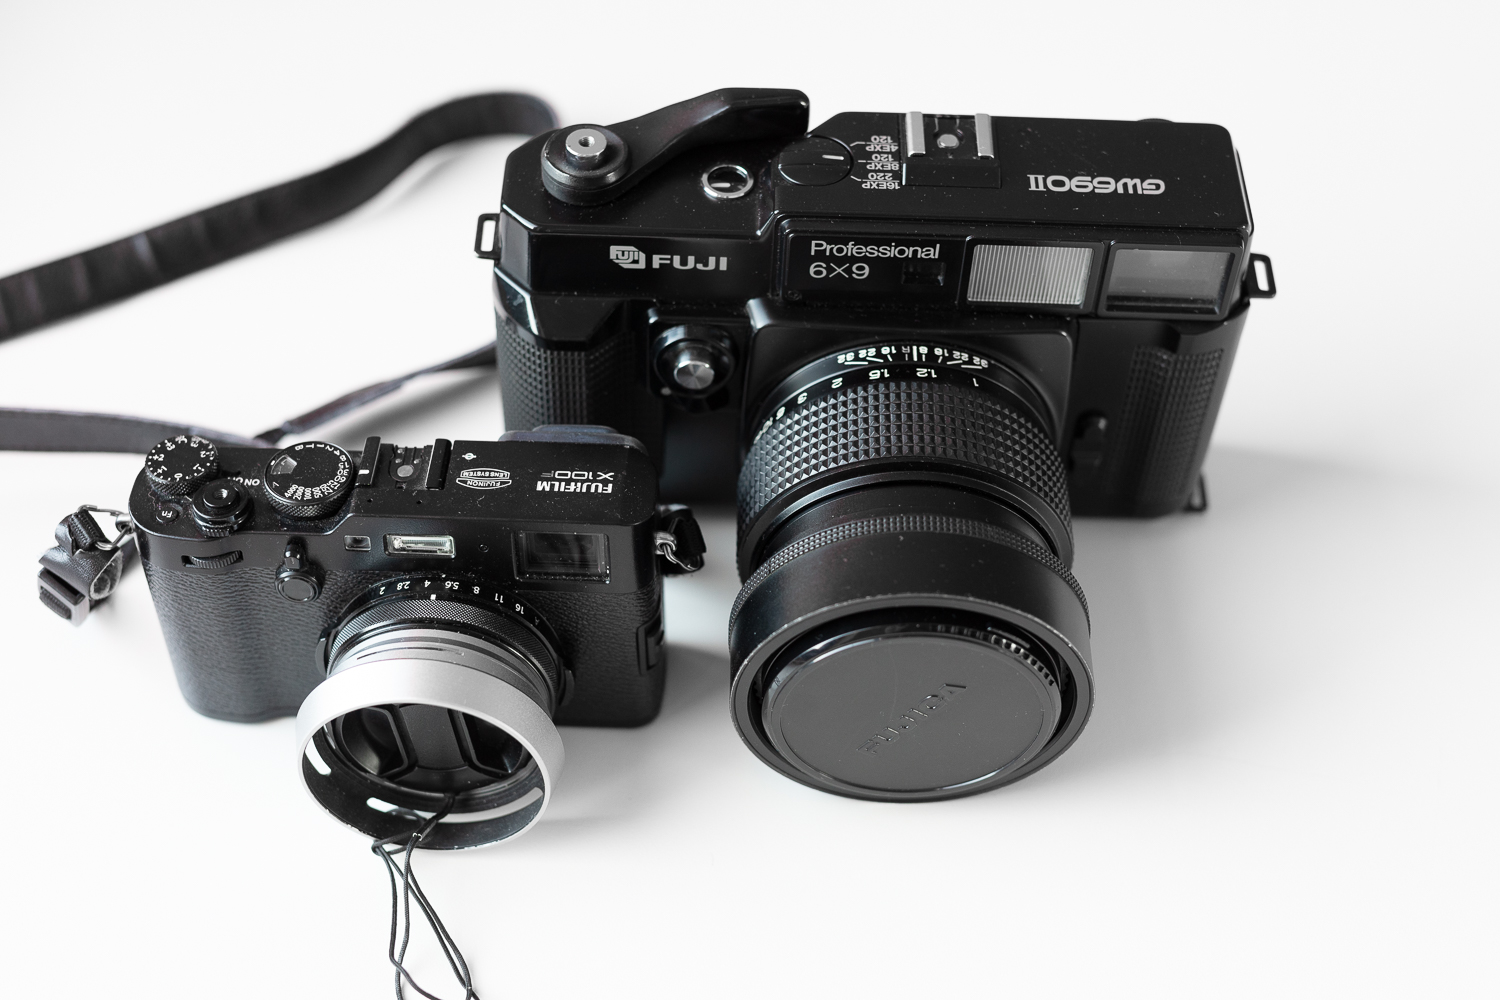
Time for a new ‘working collectible’, (although you’ve seen some results before with this camera here). The Fujica GW690ii, with a fixed 90mm f3.5 lens. Nicknamed the Texas Leica, it handles more or less like a Leica, but then one for big hands 😉

See the comparison with my Fuji X100f here, a big chuck of camera:

It is a viewfinder camera, but then in the medium format class, the negatives are with their size of  6×9 cm also huge in comparison with the X100f sensor size. (14.66 times bigger area)

This large format gives a narrower depth of film, so even with relatively closed apertures you still get narrow sharpness and softer backgrounds.

Like a lot of analog camera’s of older age, the Fujica has the shutter built into the lens, not in the camera. The shutter is a leaf shutter, a bit similar like an aperture, so opening from the center of the lens. The shutter speed is to be set on the lens as well as the aperture. focusing is manual and the viewfinder proves to be a lot more accurate than the matte screen on the Rolleiflex.

The camera itself is very simple in operation, there’s only a switch to be set to the right type of film 120 or 220, two shutter release buttons (one on top, one on the front side) and a film advancing lever (which you need to crank one and a half turn for a complete transport). There’s no built in light meter and no electronics at all, despite its rather modern looks and recent built year(1985), that’s rare. It has a built in frame counter (counts one unit per 10 frames) on the bottom of the camera. If the counter says 10 it has shot 100 frames. It also came in 6×7 (GW670) and 6×8 (GW680) film formats. These camera’s are well known for their robustness, with a fixed lens and so little things that can break, that seems logical. It weighs 1440 grams. It is frequently sold on Ebay, for prices ranging from €400 – €700.

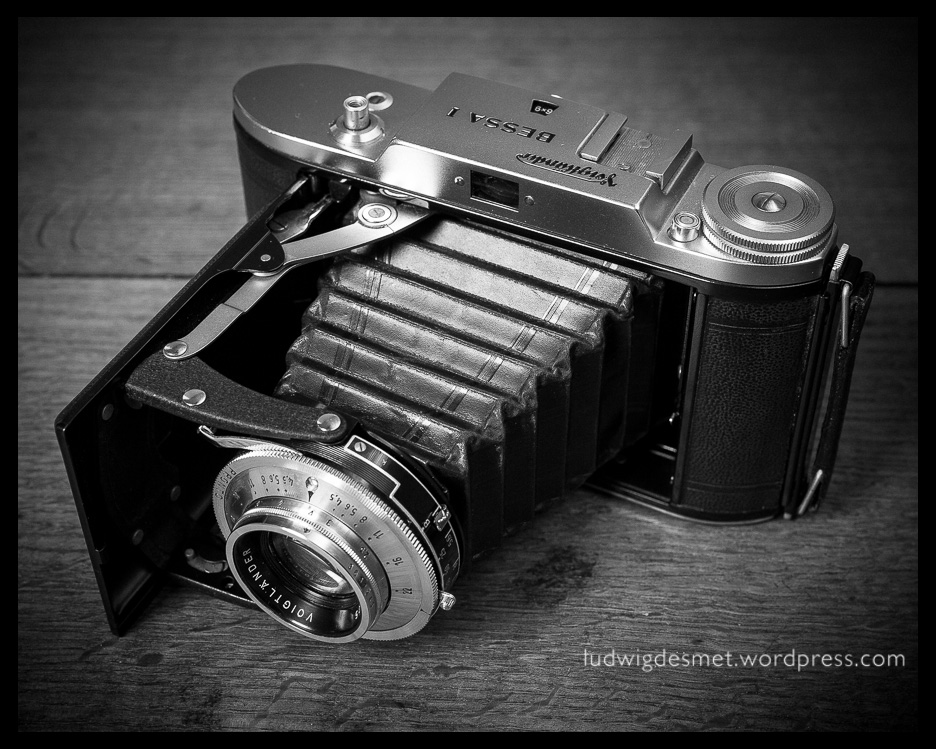
As said before, focussing is a lot easier on this camera than on the Rolleiflex or for what its worth with the Voightlander Bessa I also have and which has the same film size but only a metering scale on the lens. With the Fujica I get every frame to be sharp (if I pay attention)!

Altough I still like the square format more, I’m ok with this 2×3 aspect ratio which we all know from current digital reflex camera’s. The number of shots per roll gets more limited though (8 in stead of 12) and thus you even need to be more attentive for each shot.

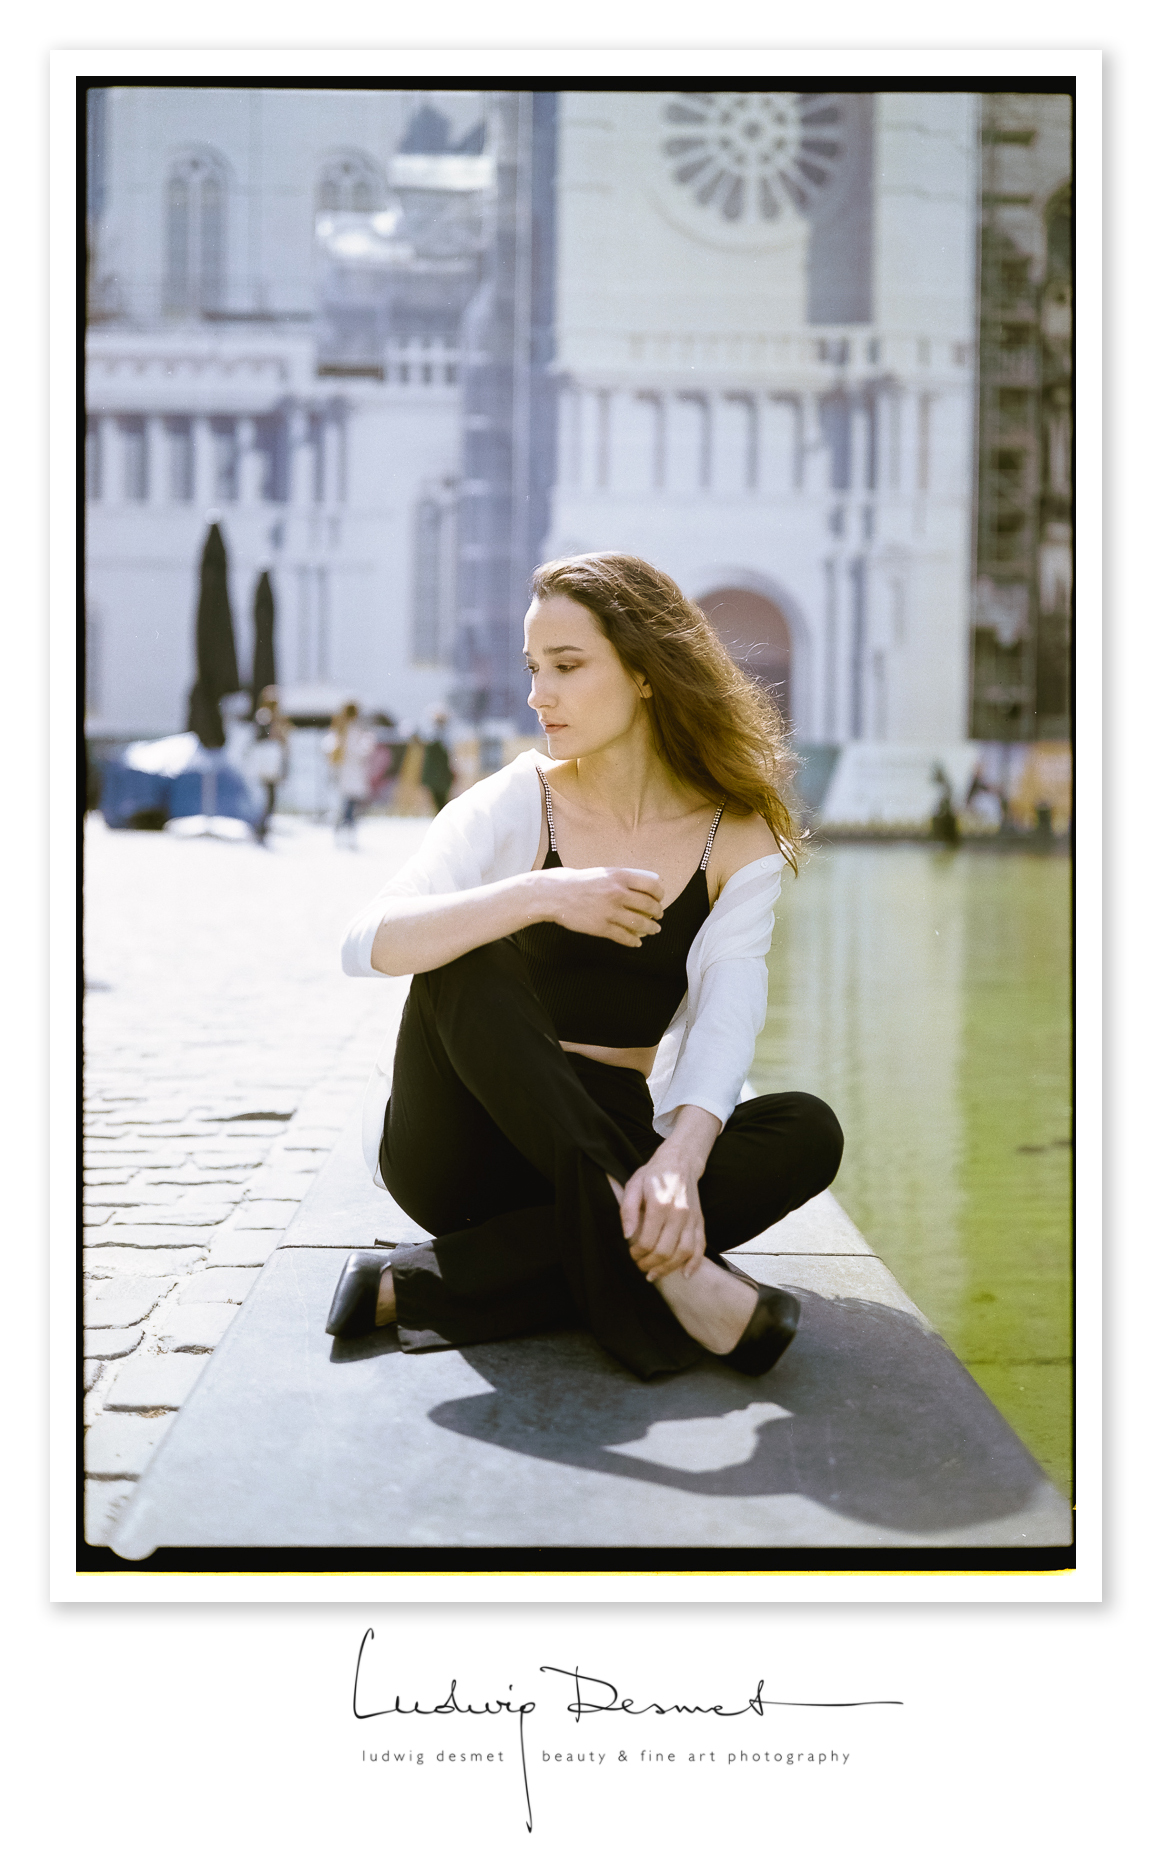
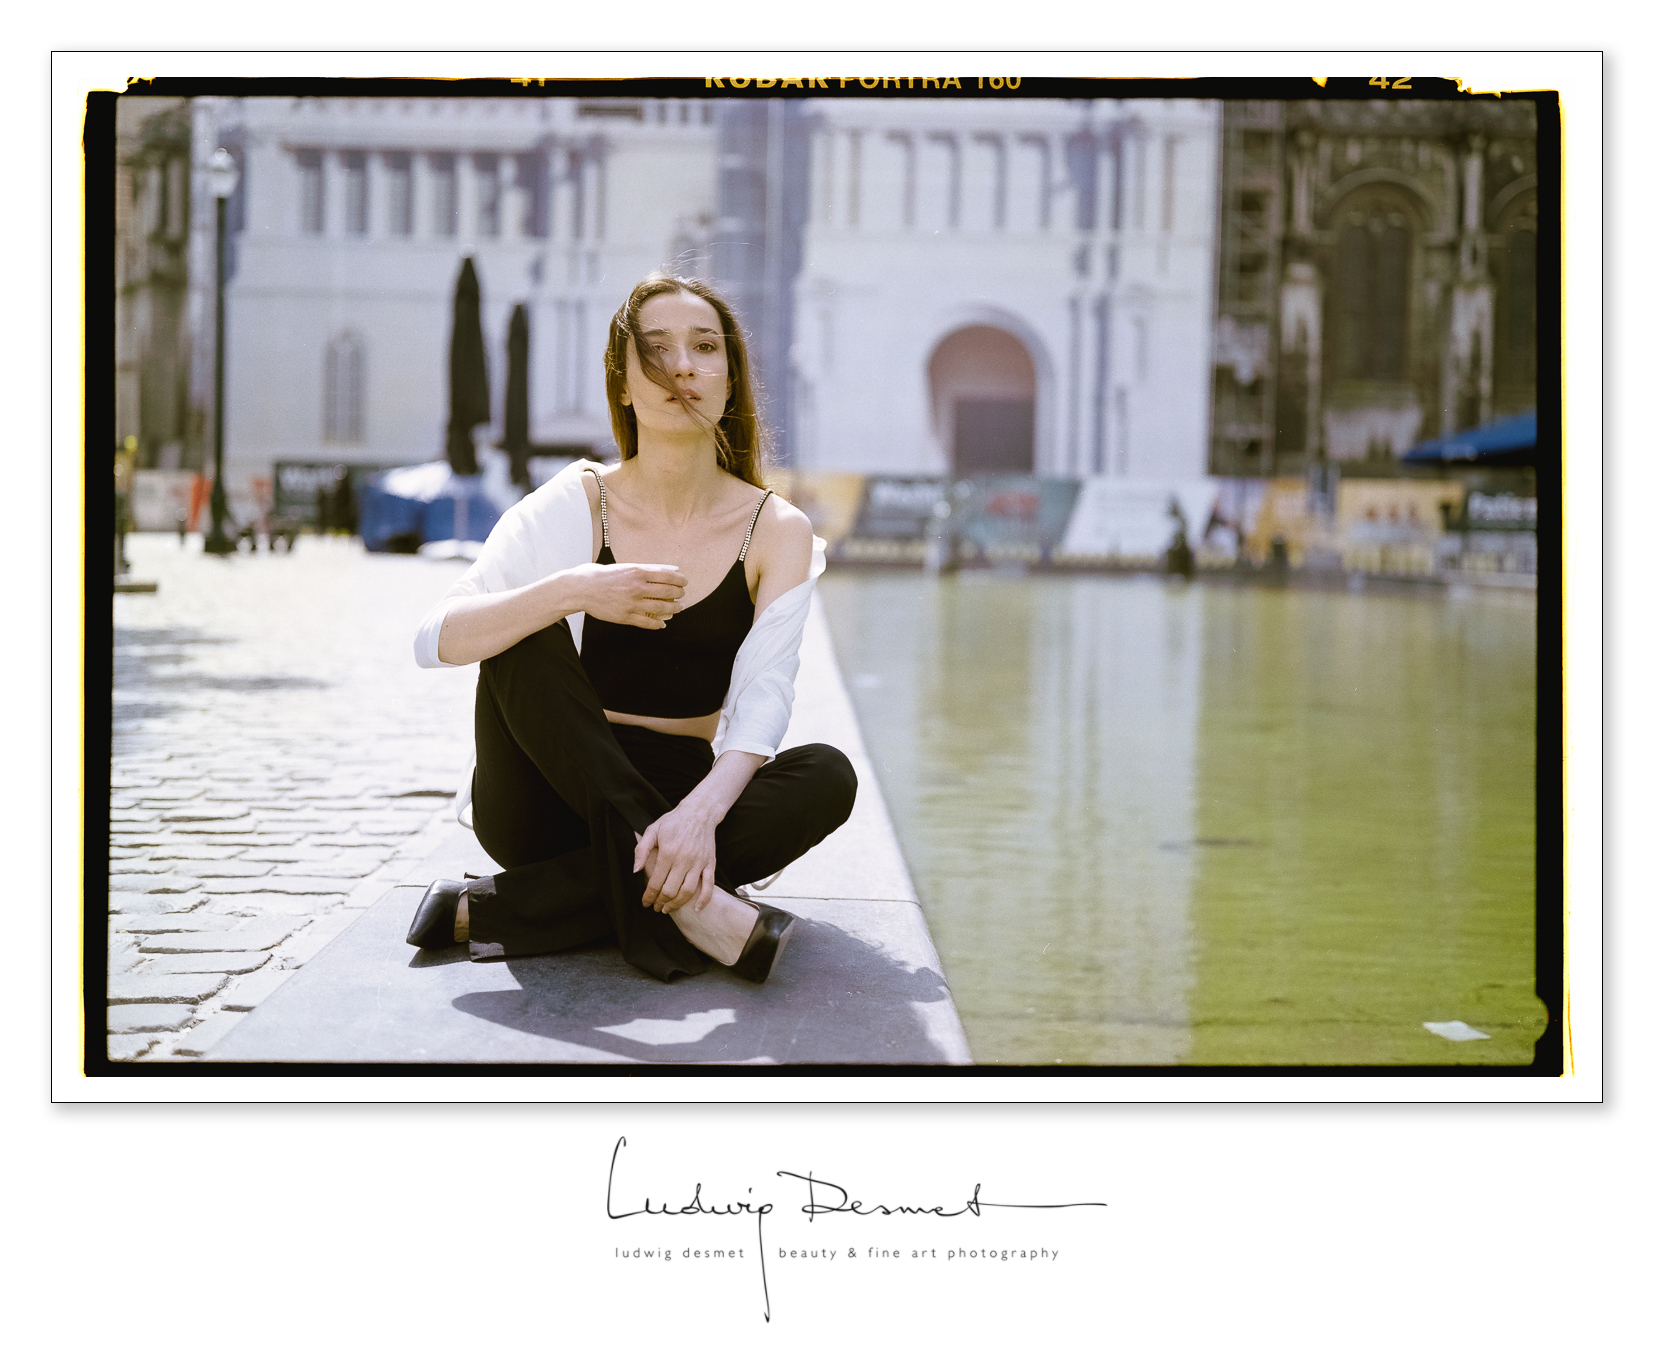
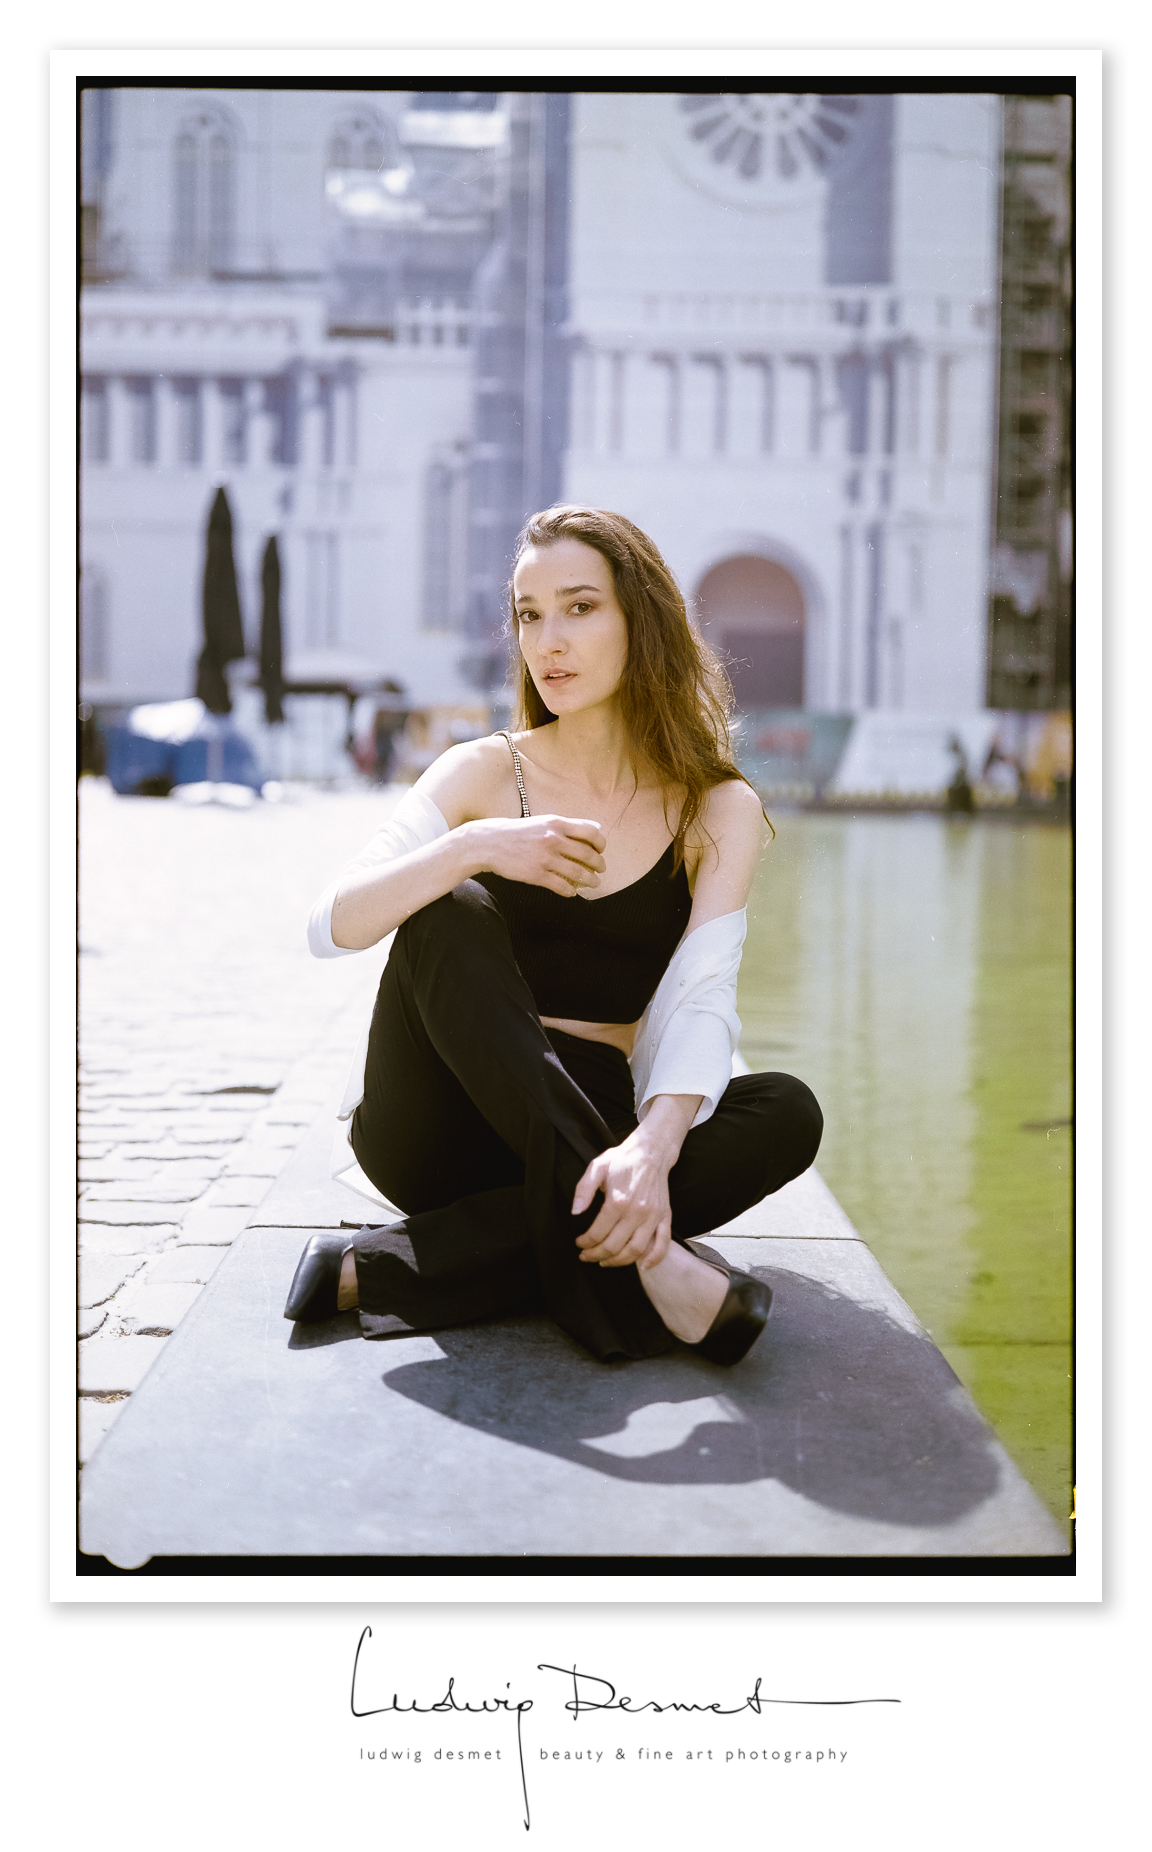
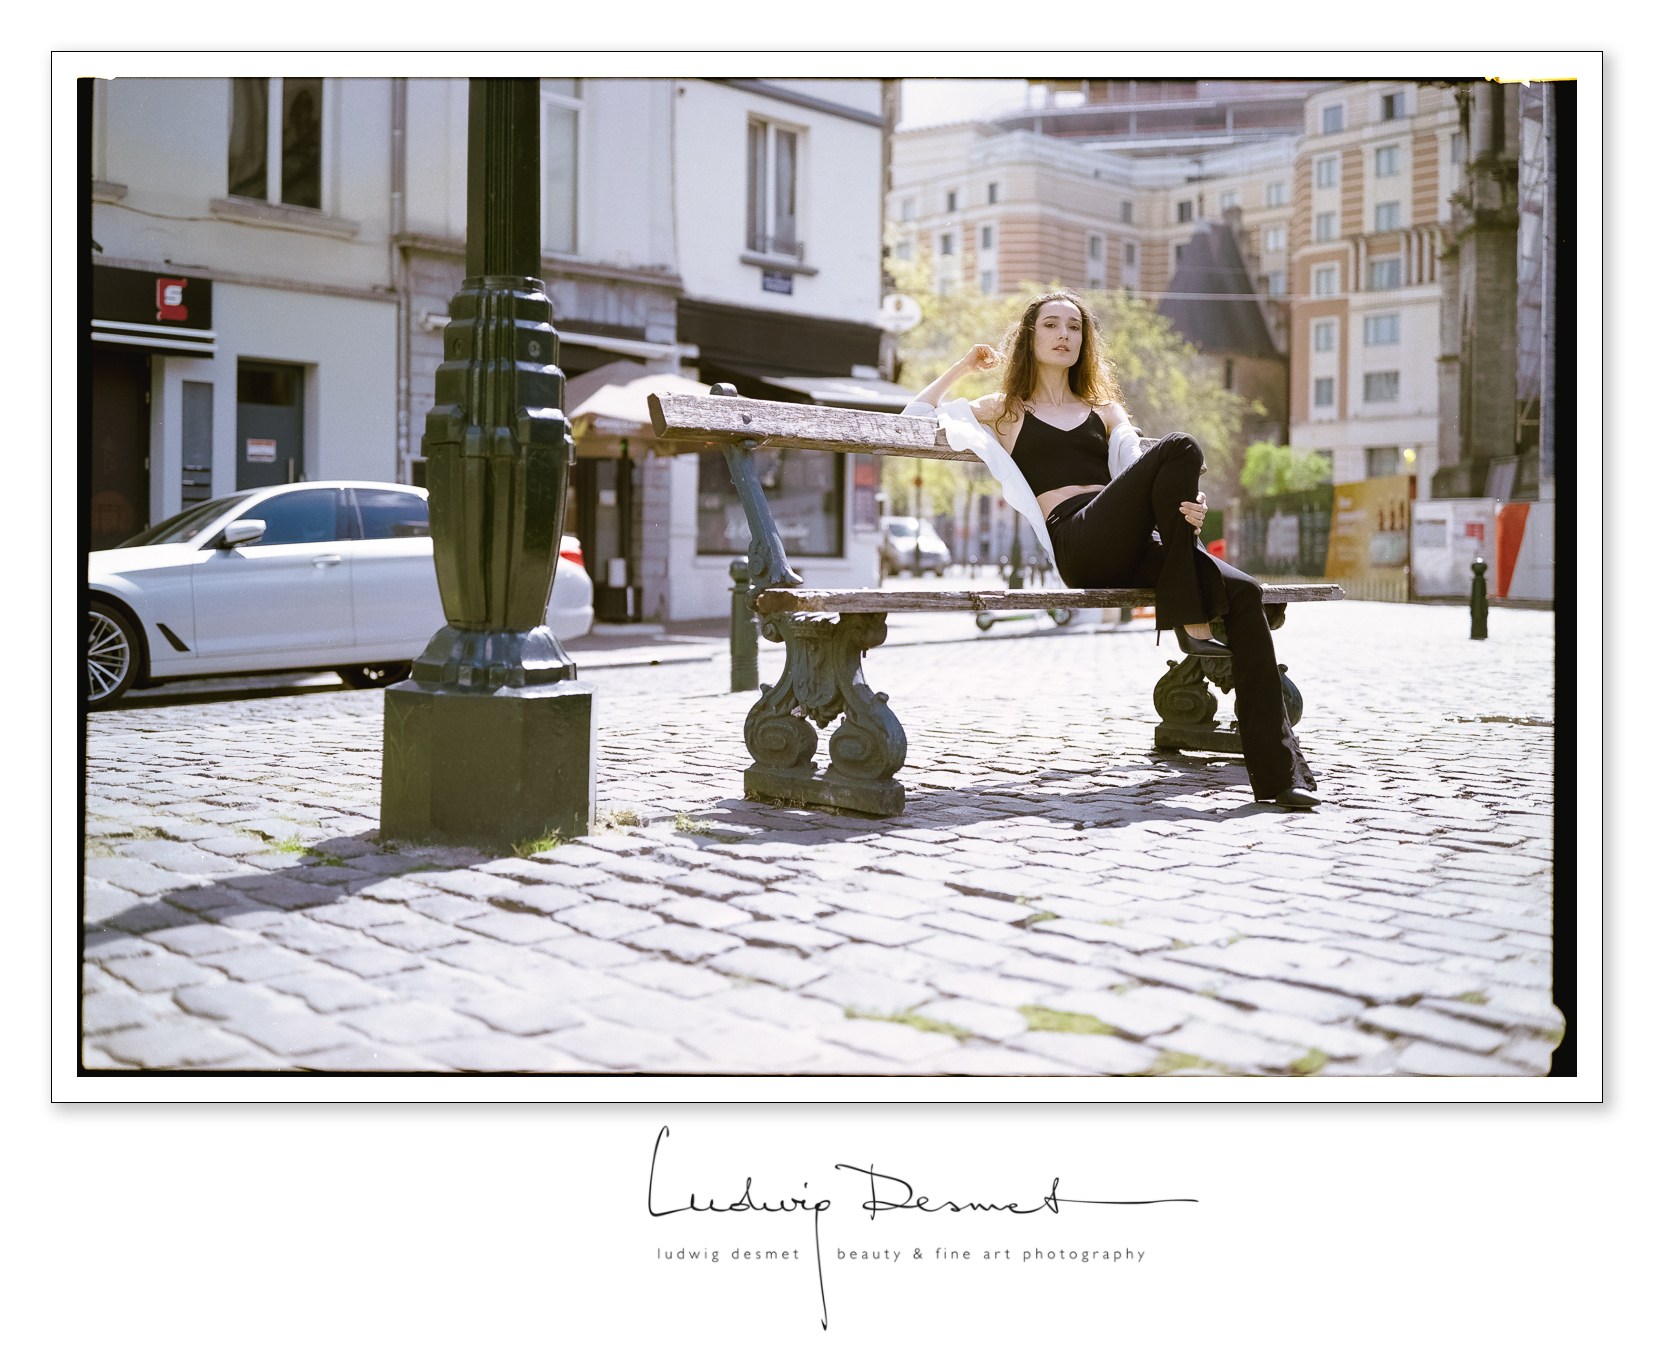
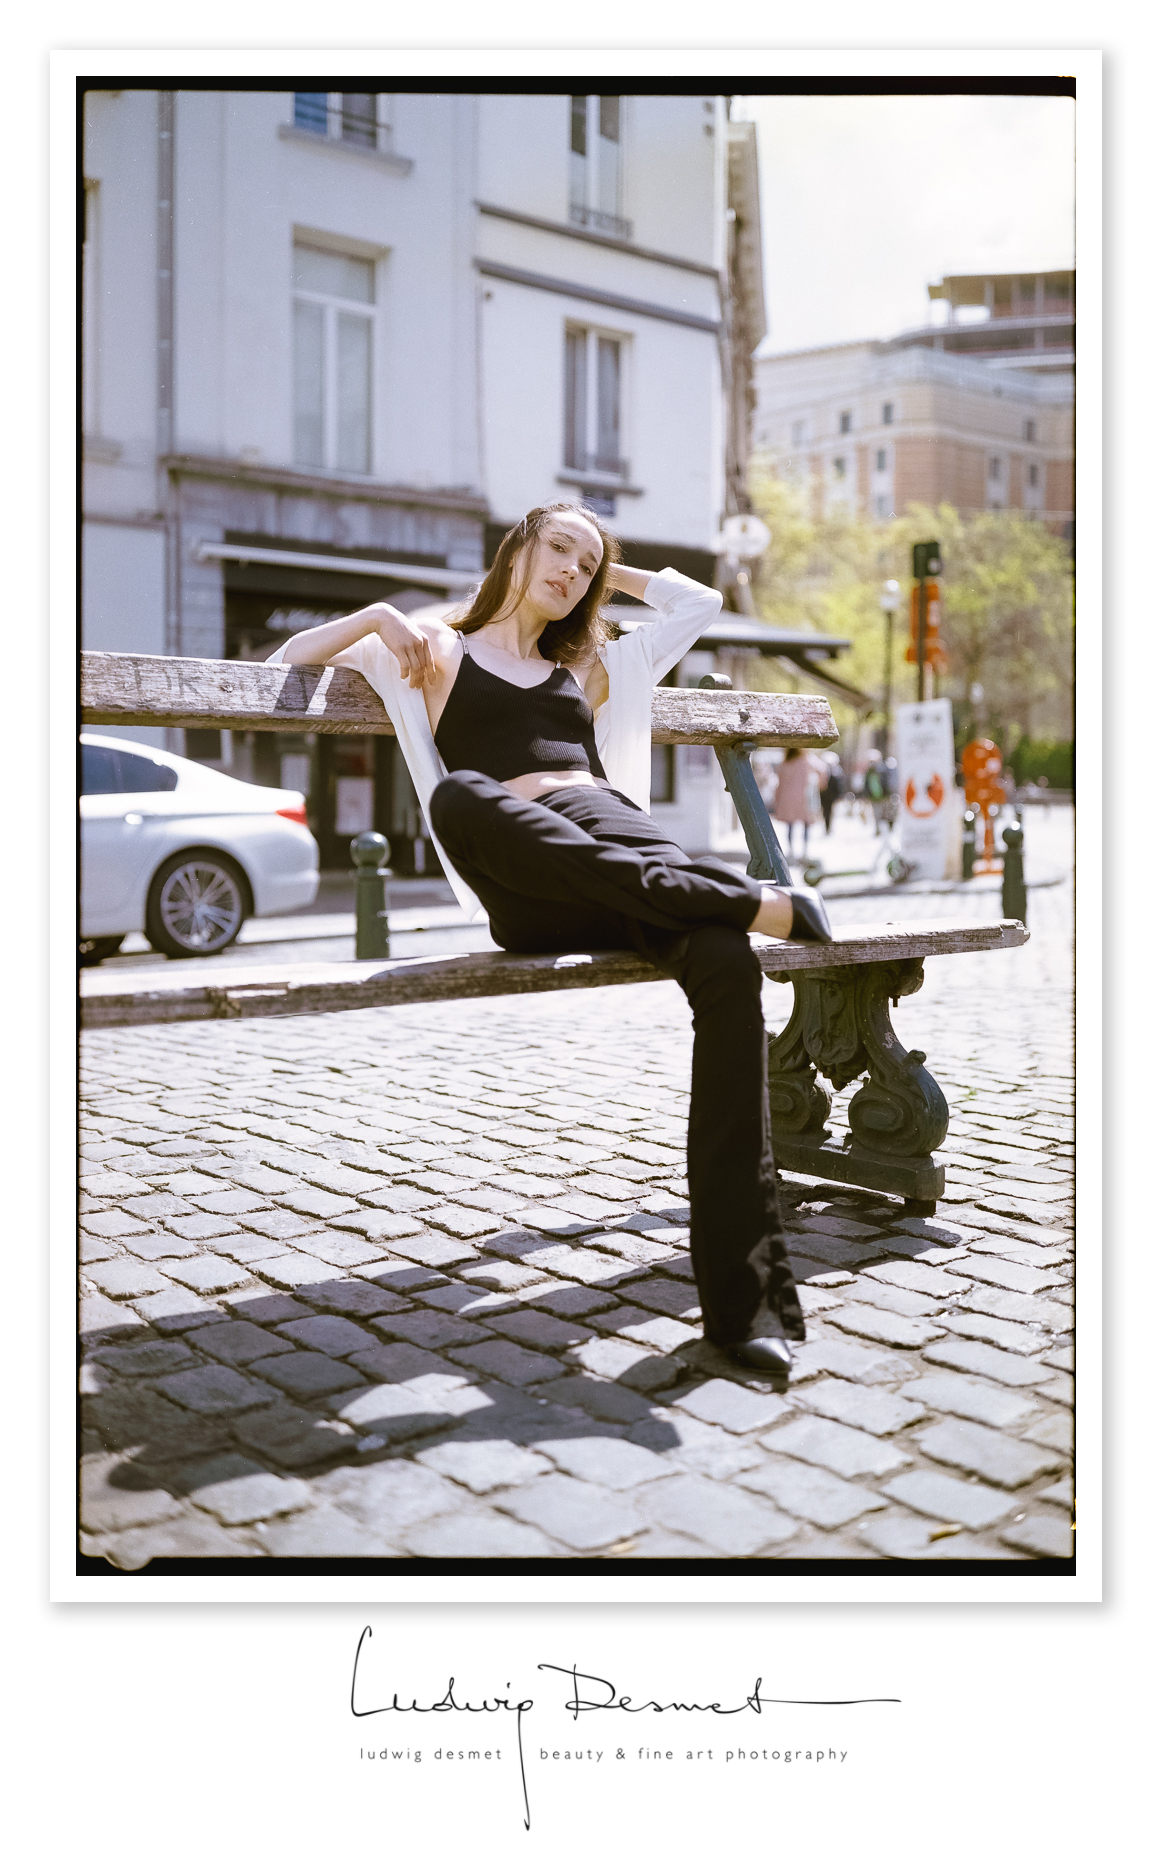
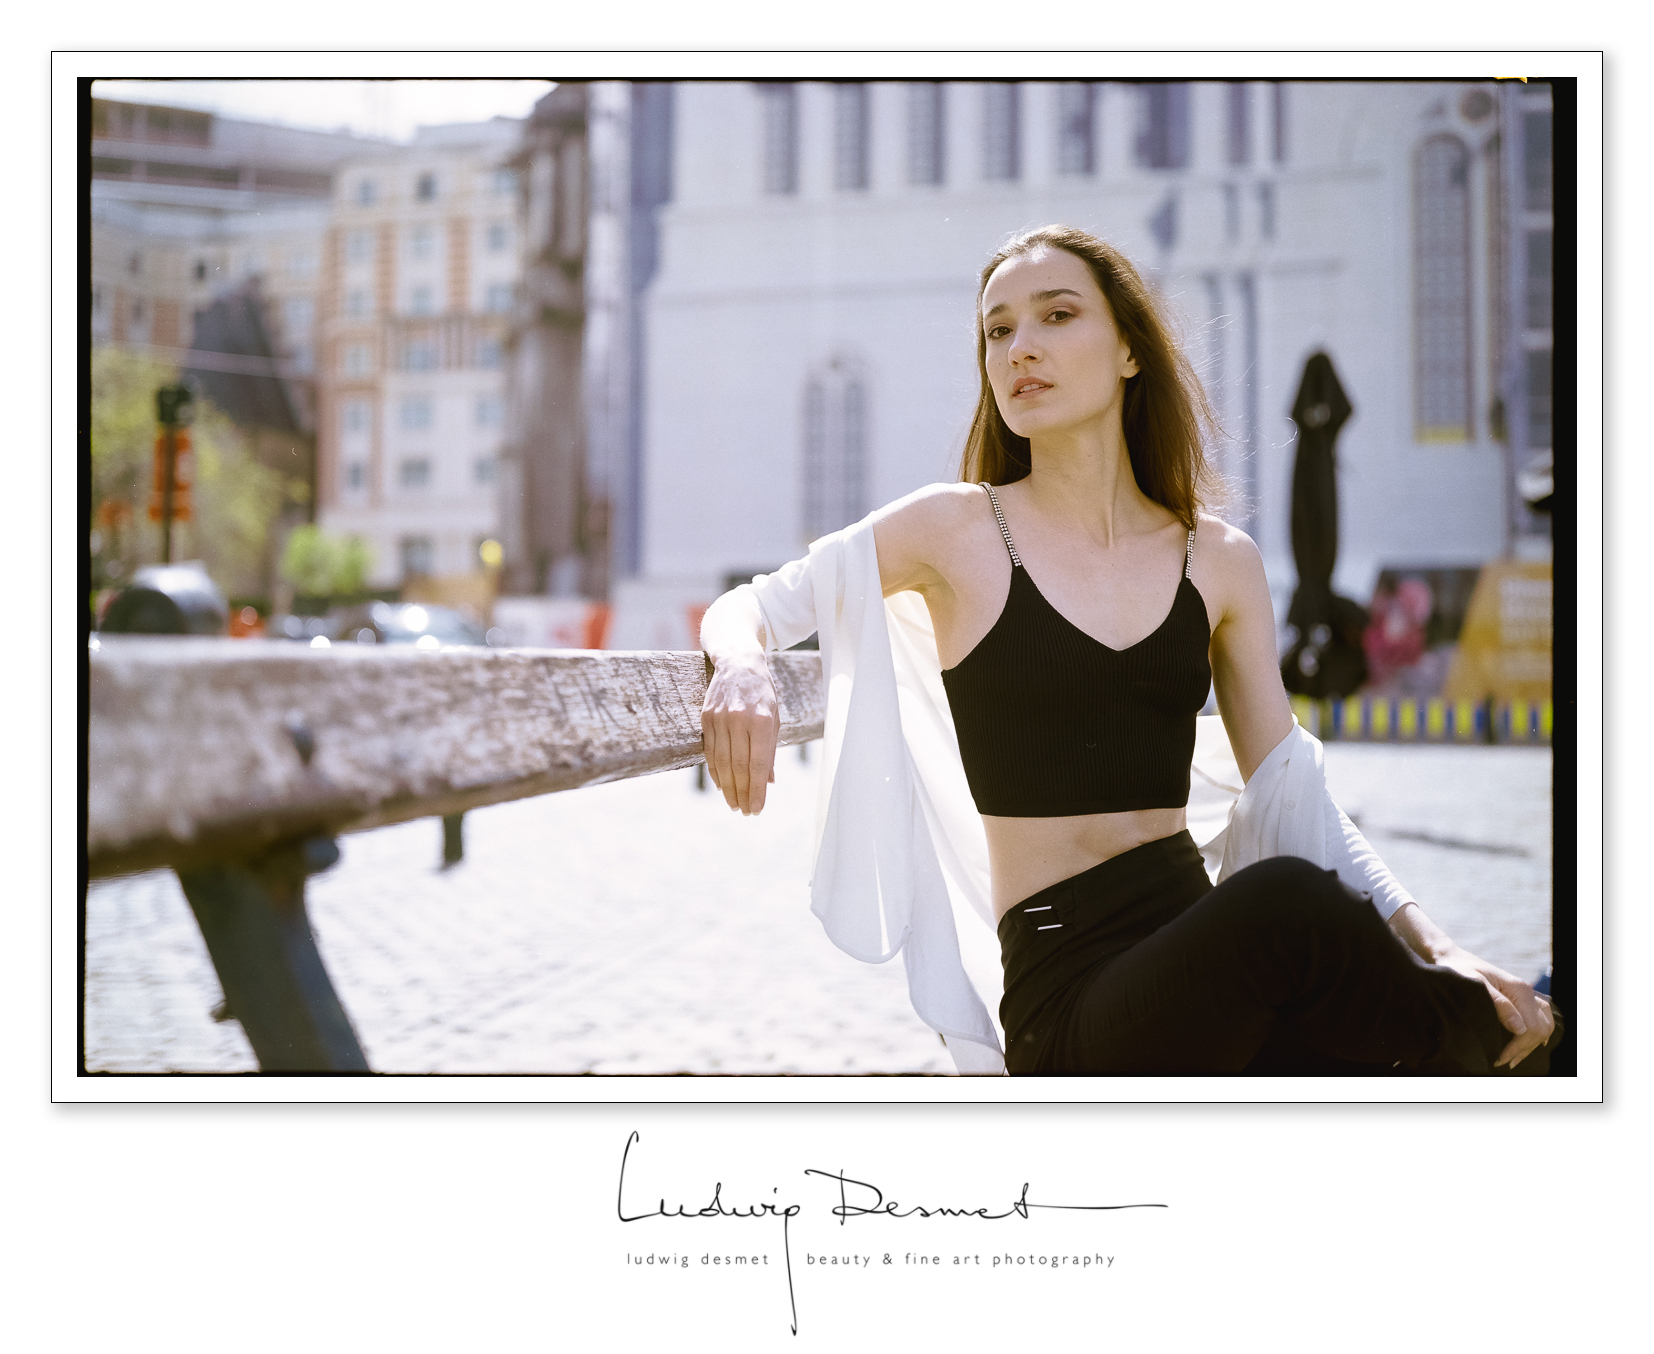
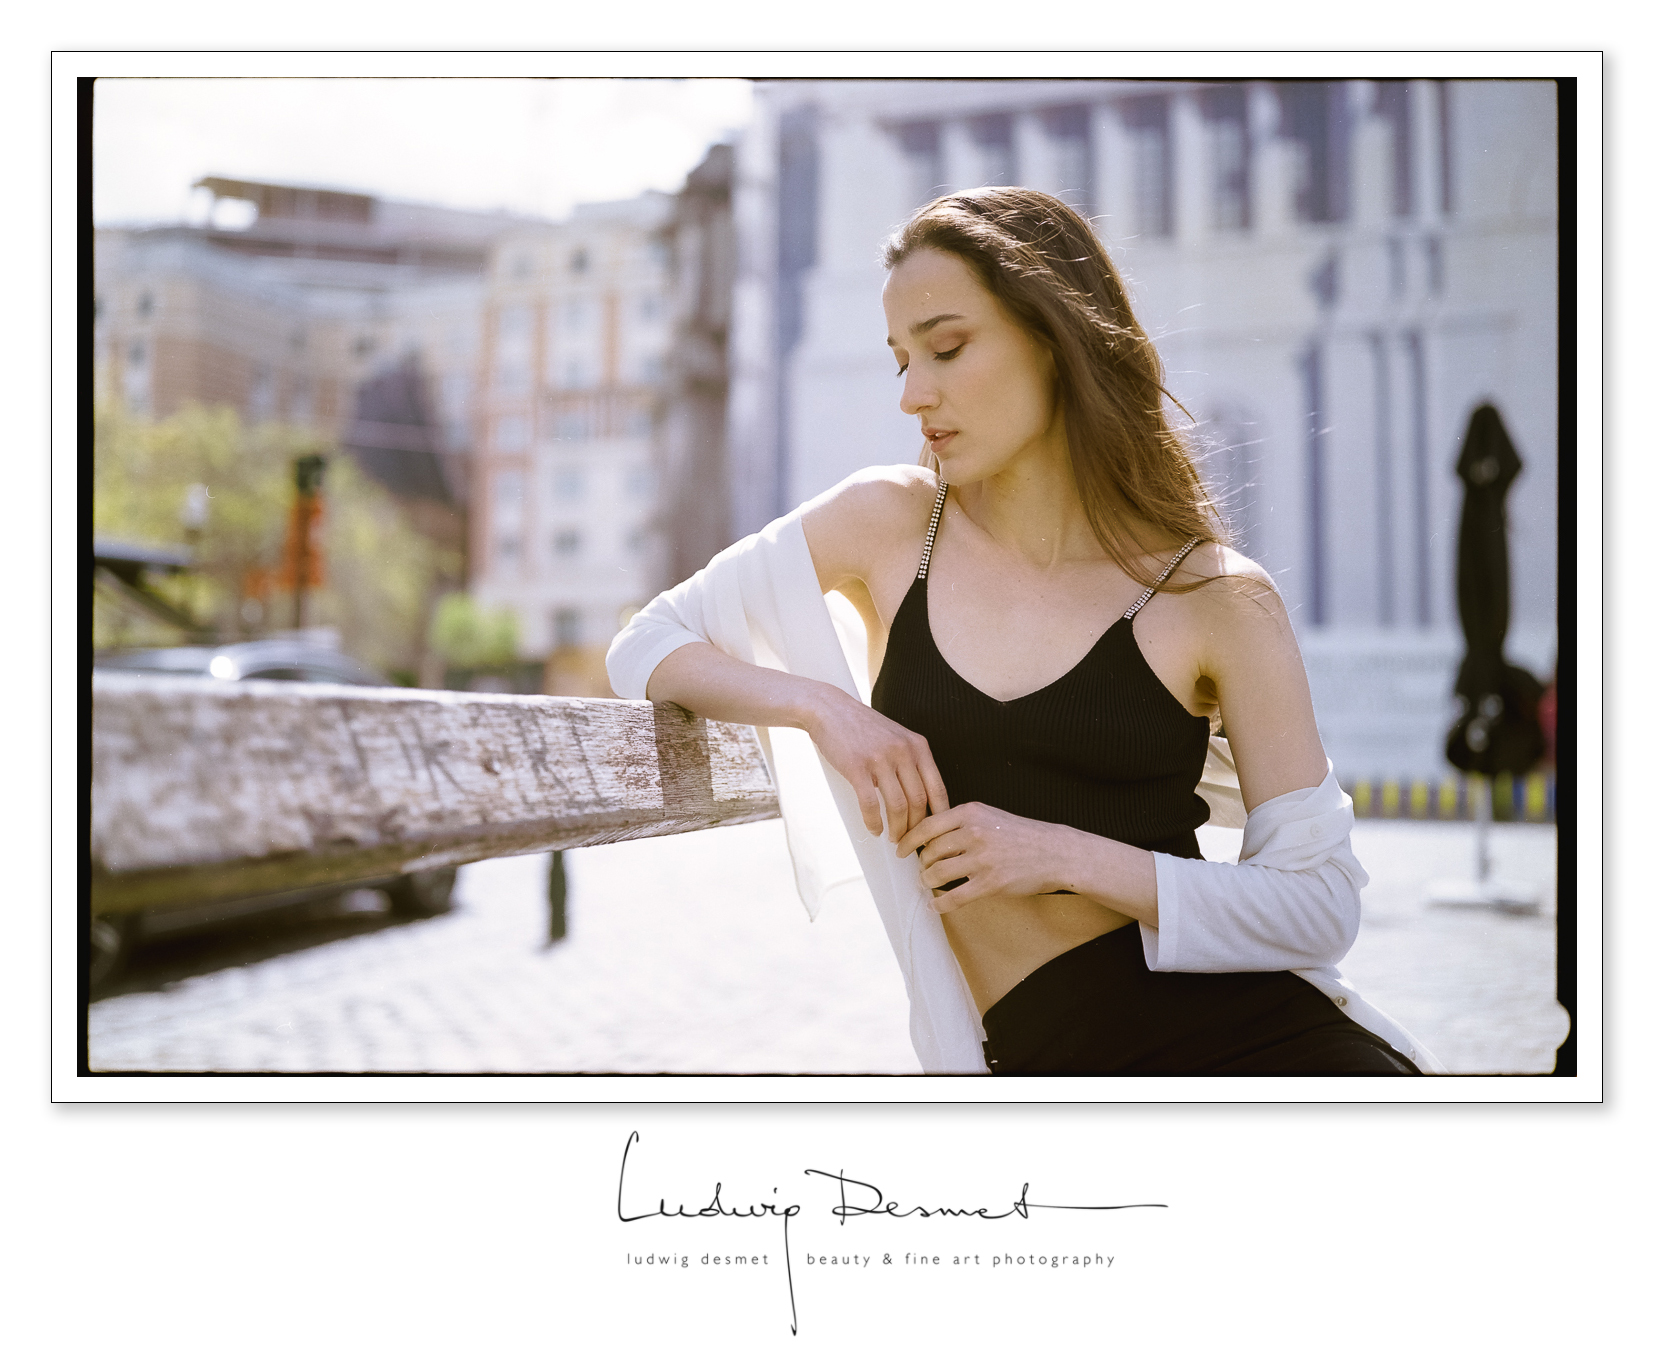
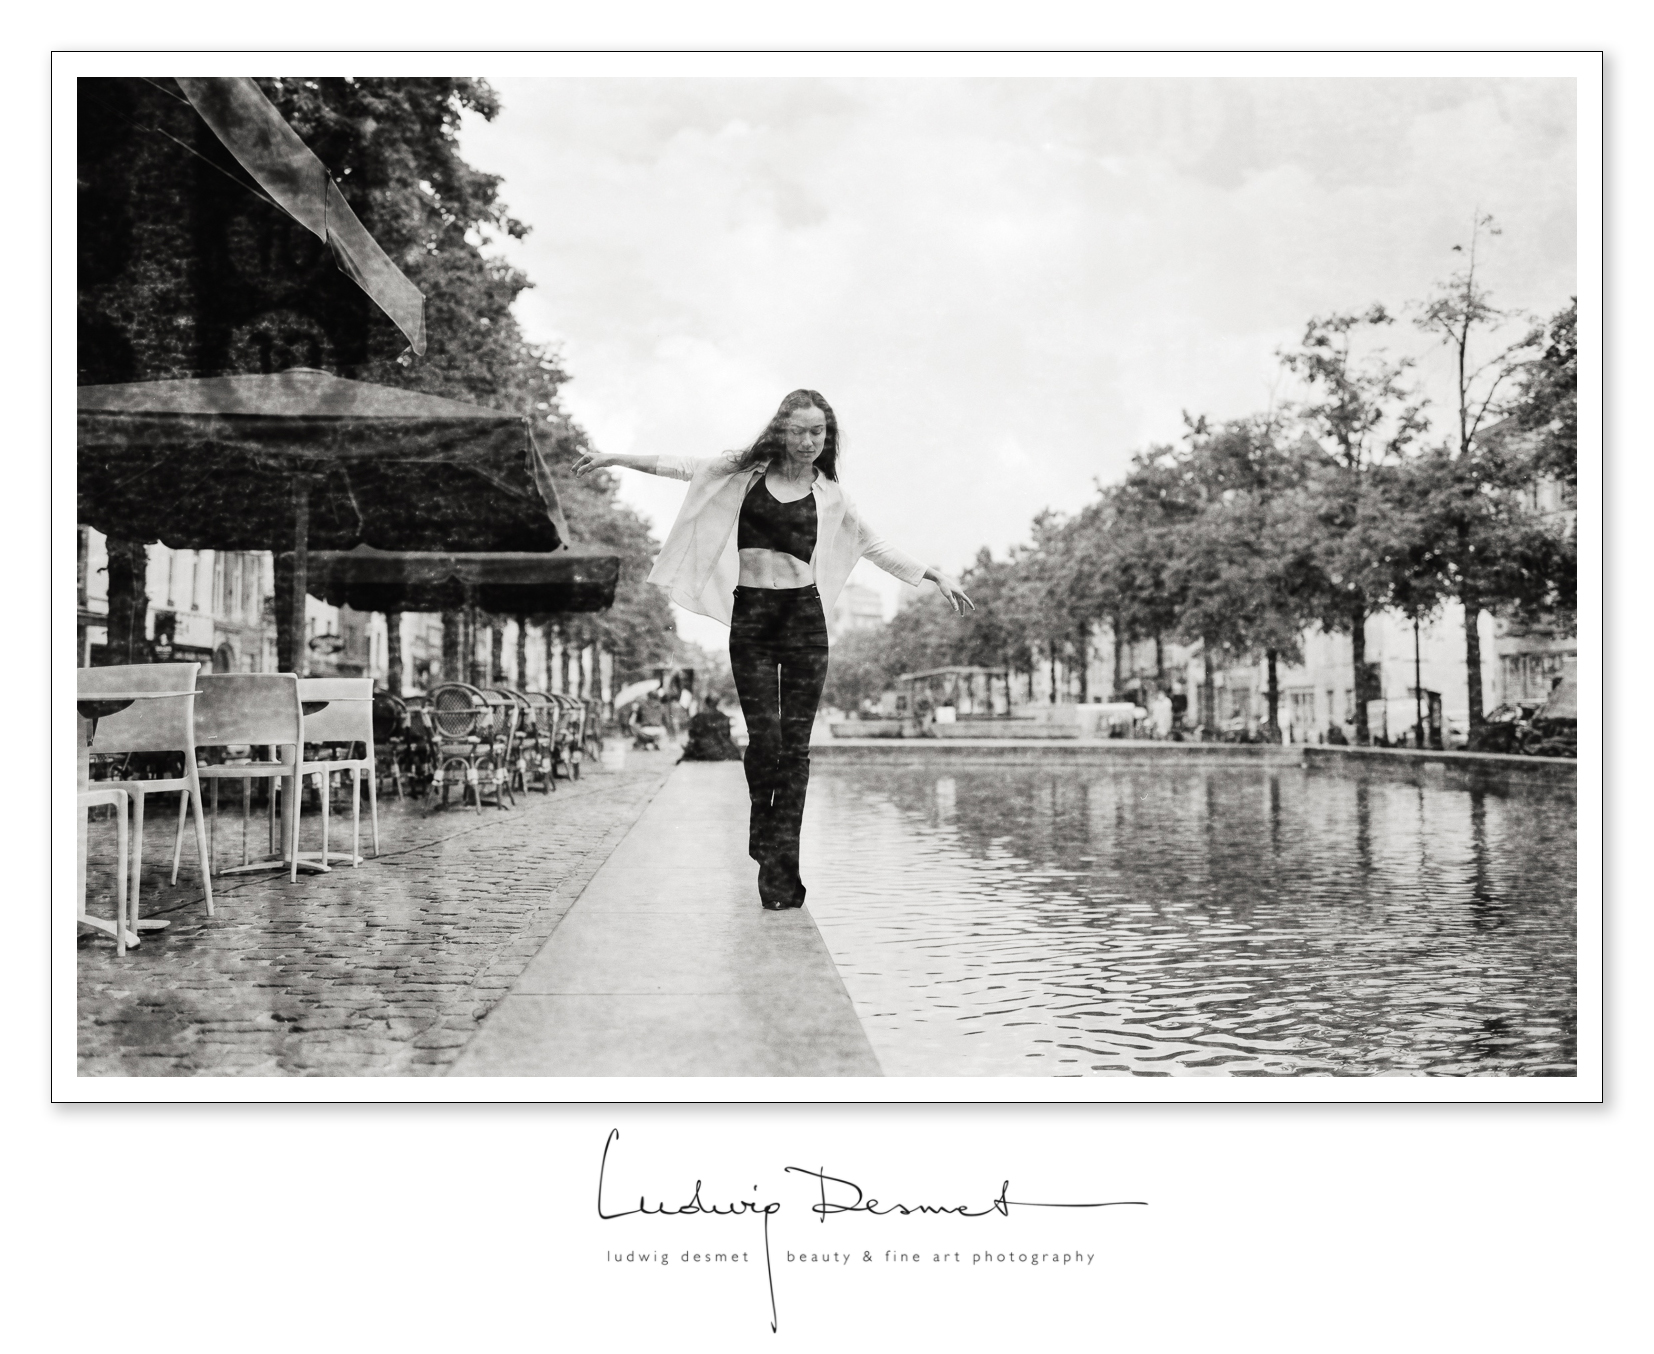
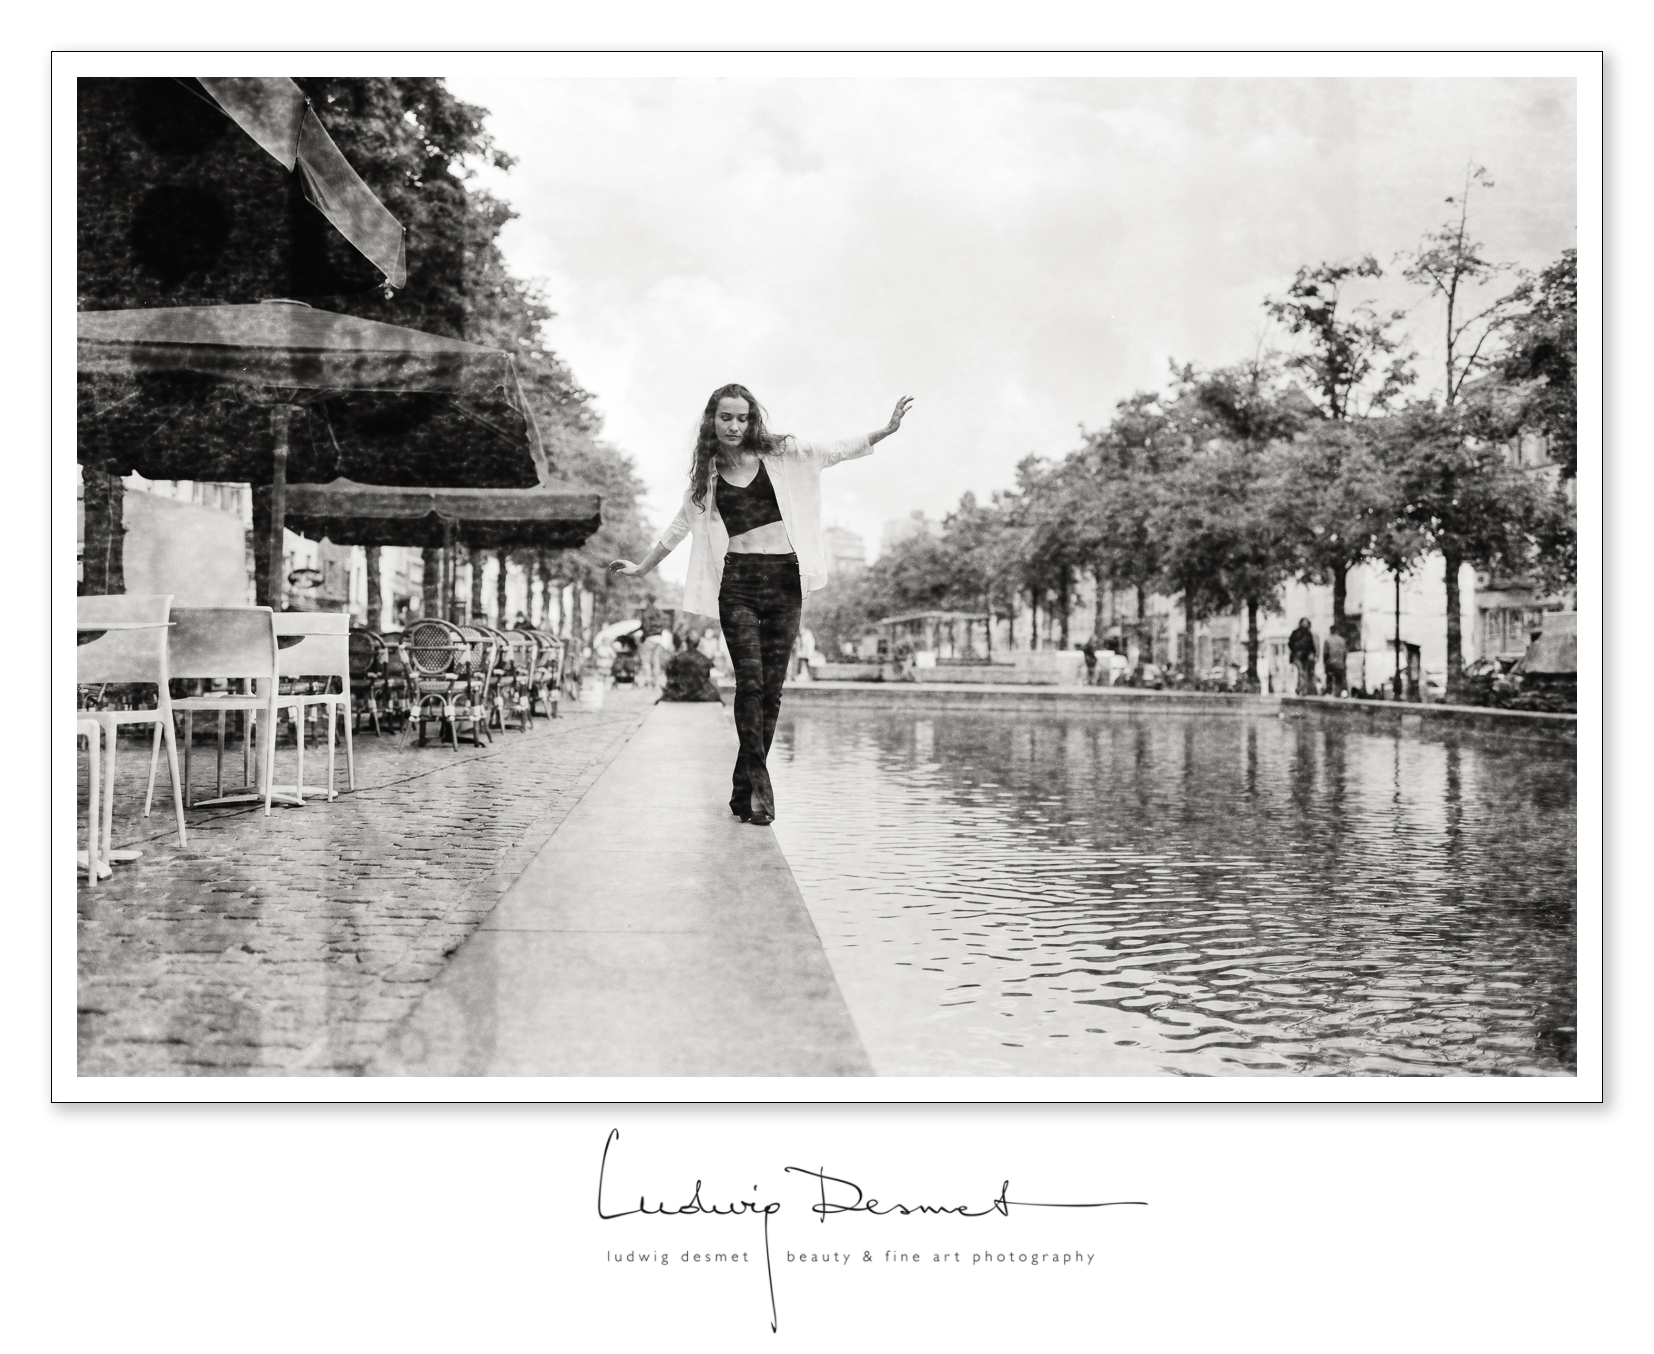
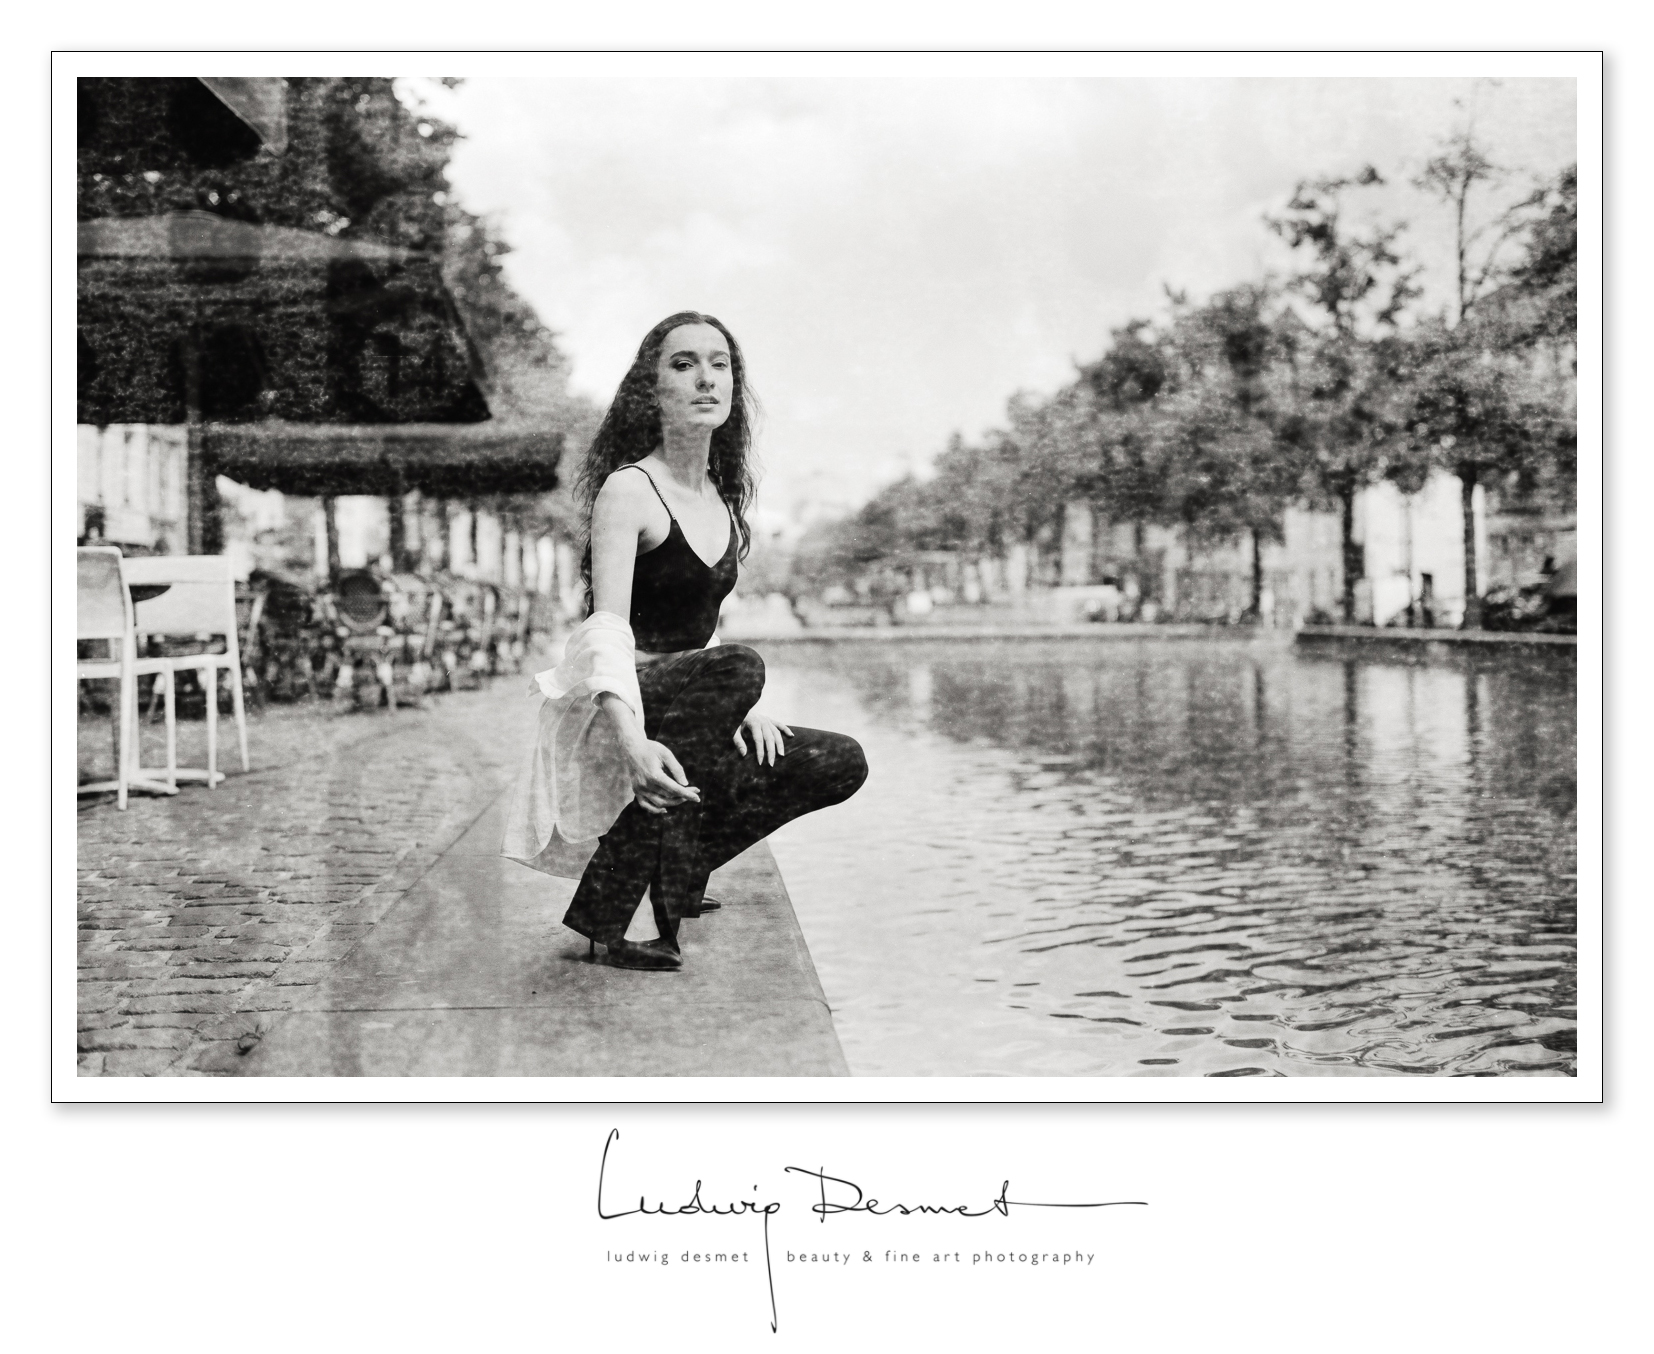
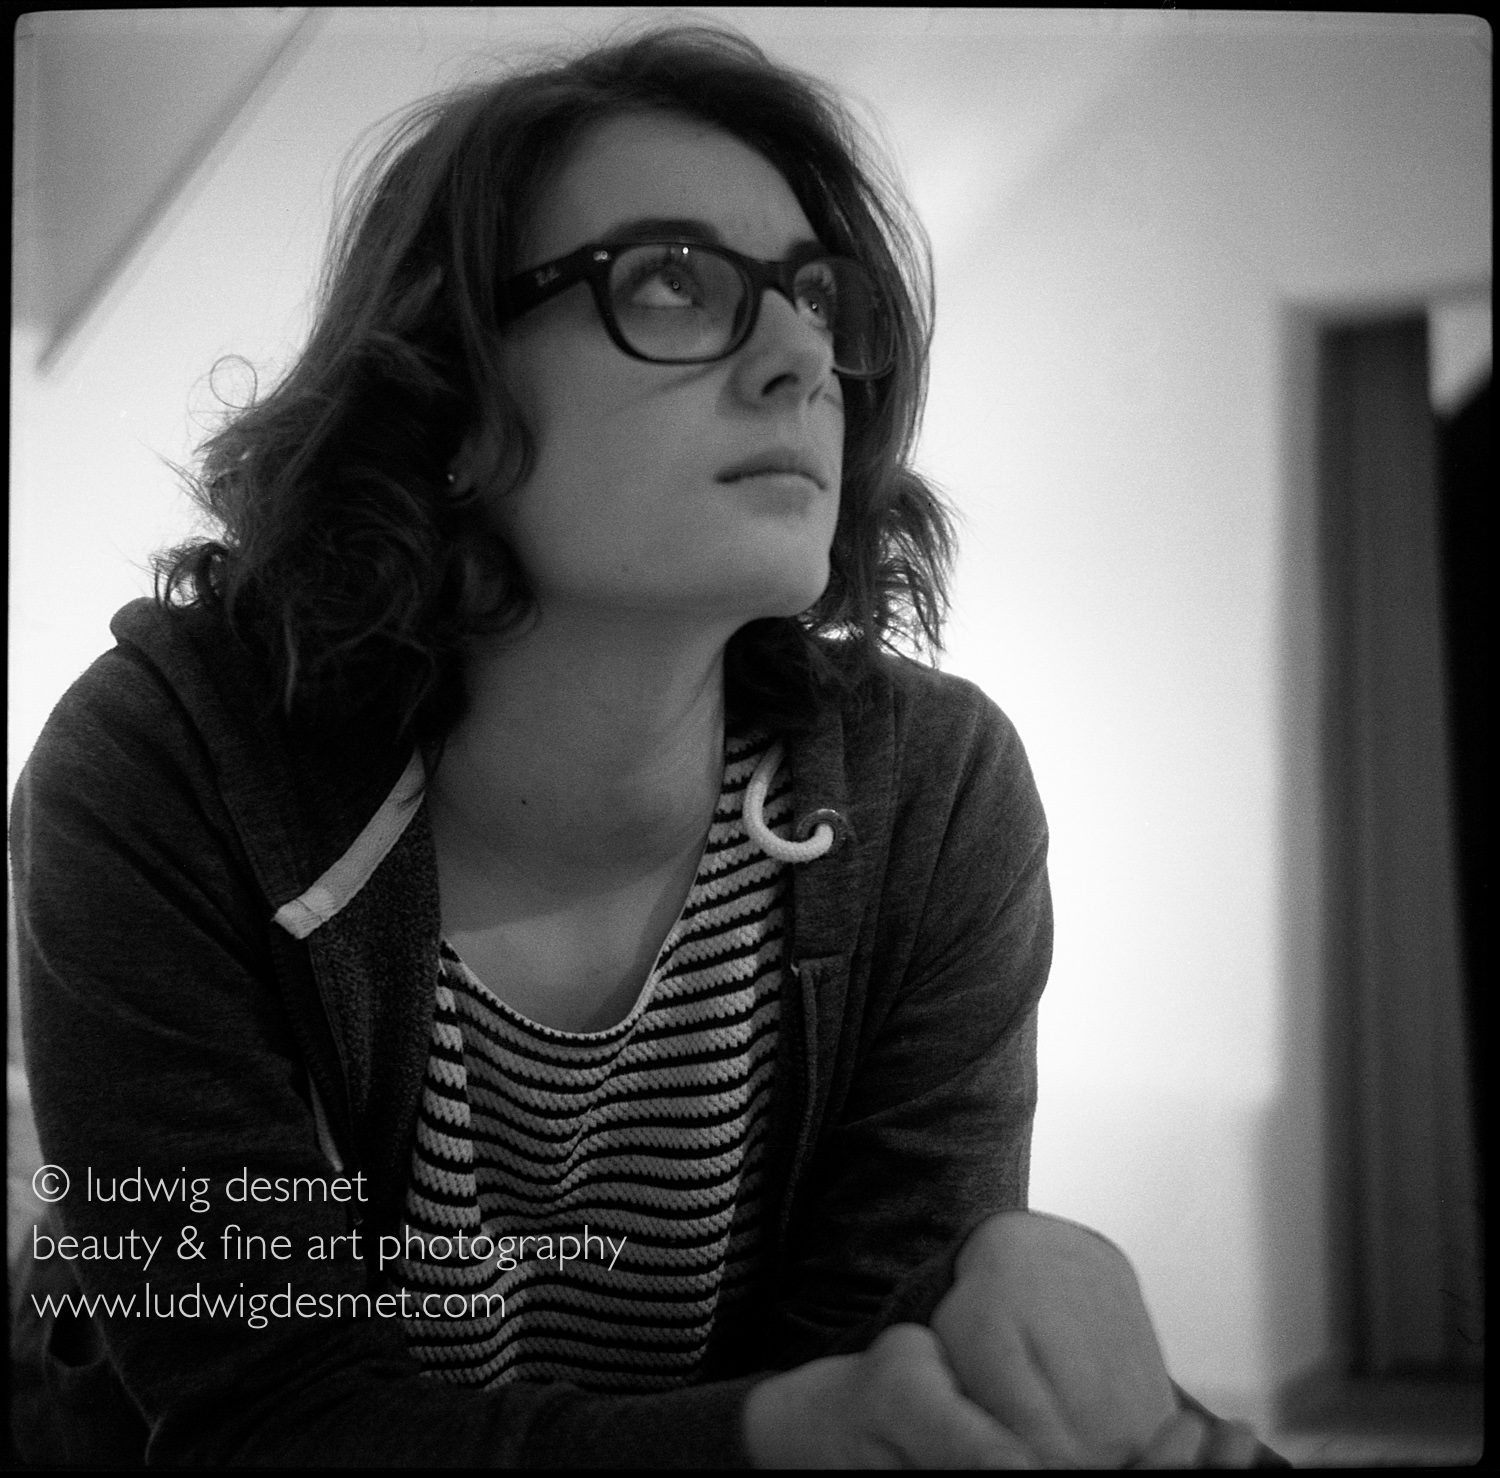
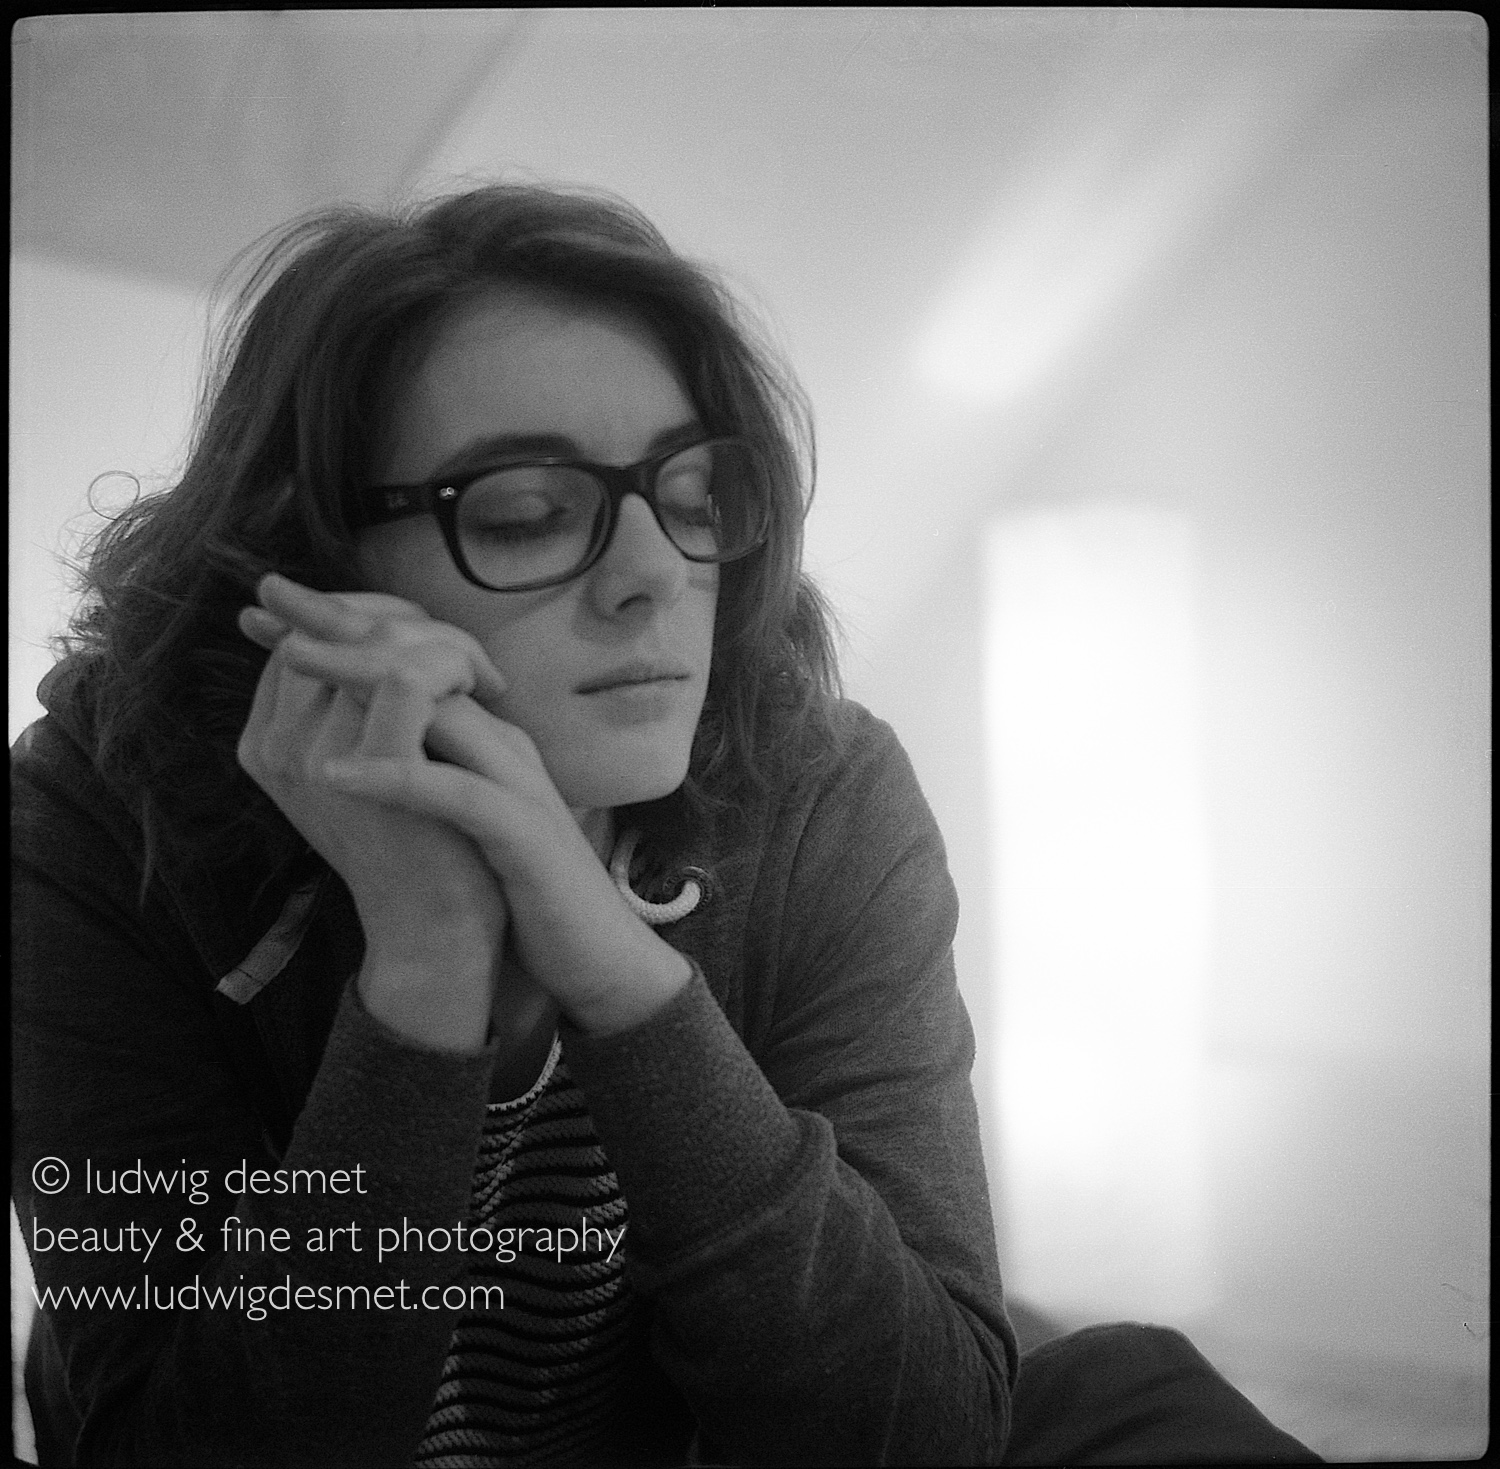
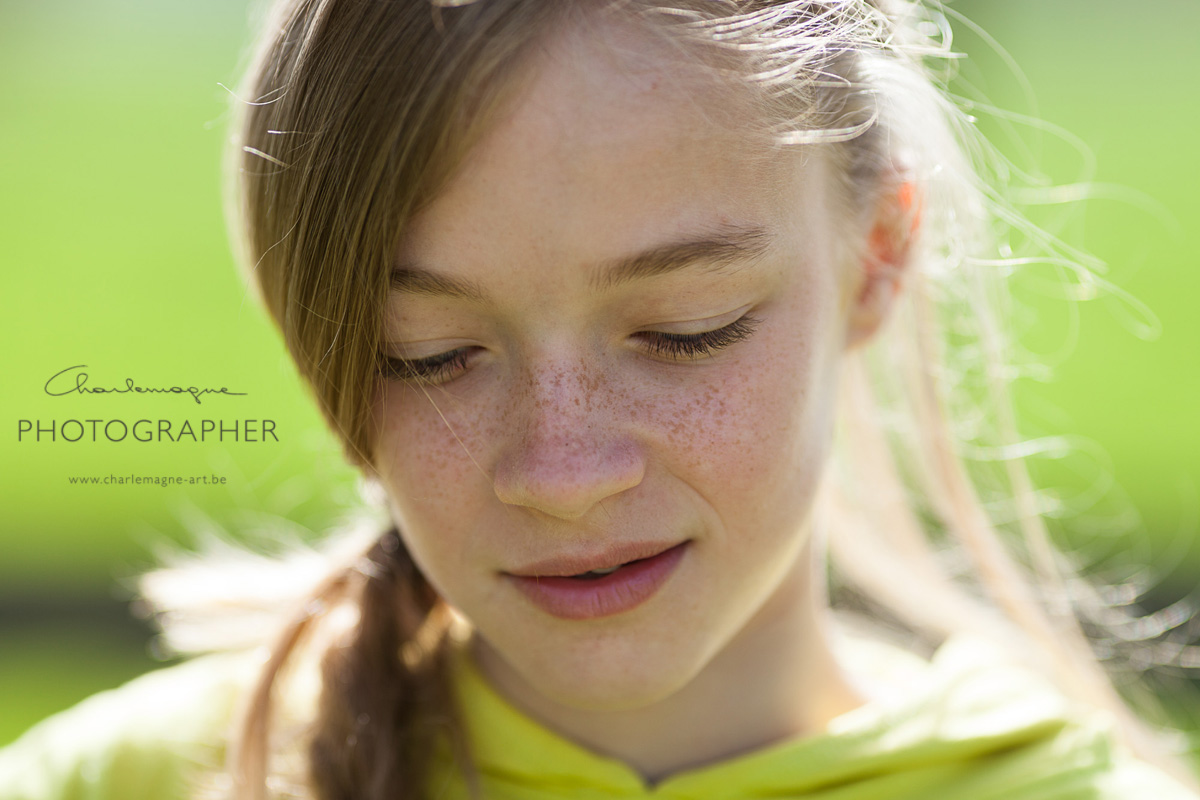
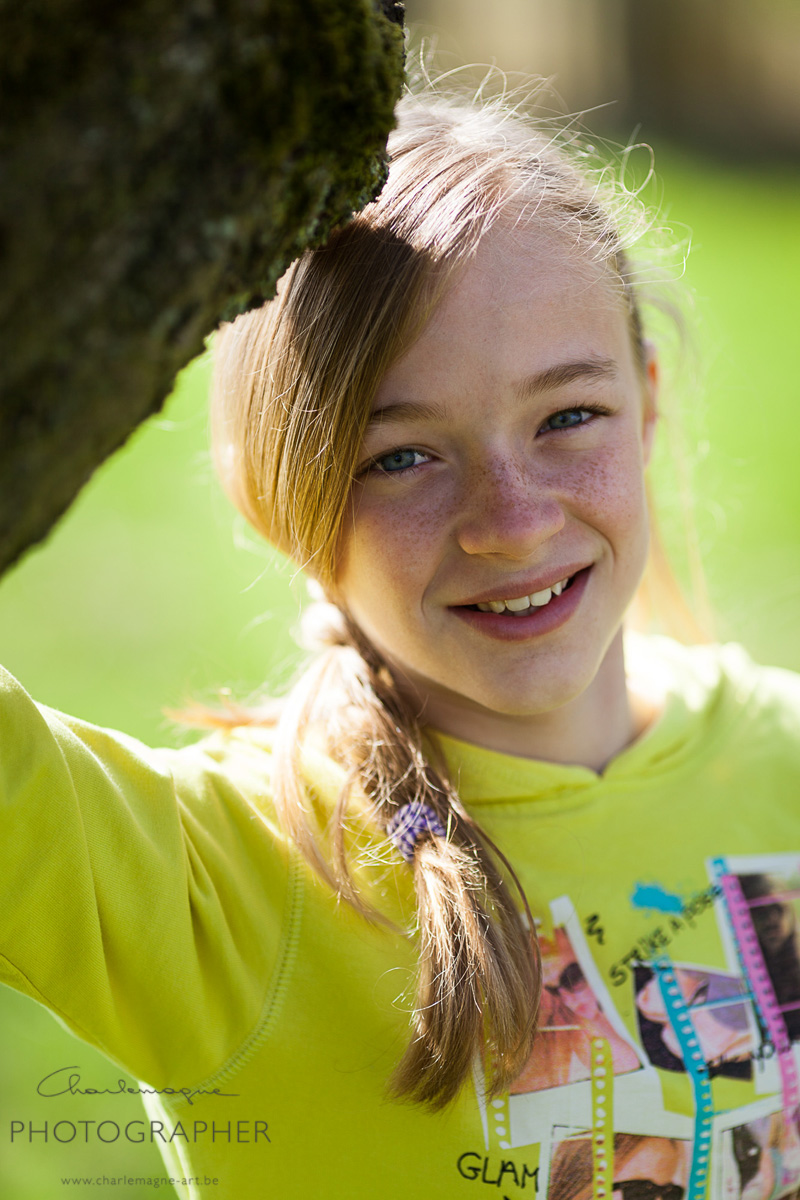
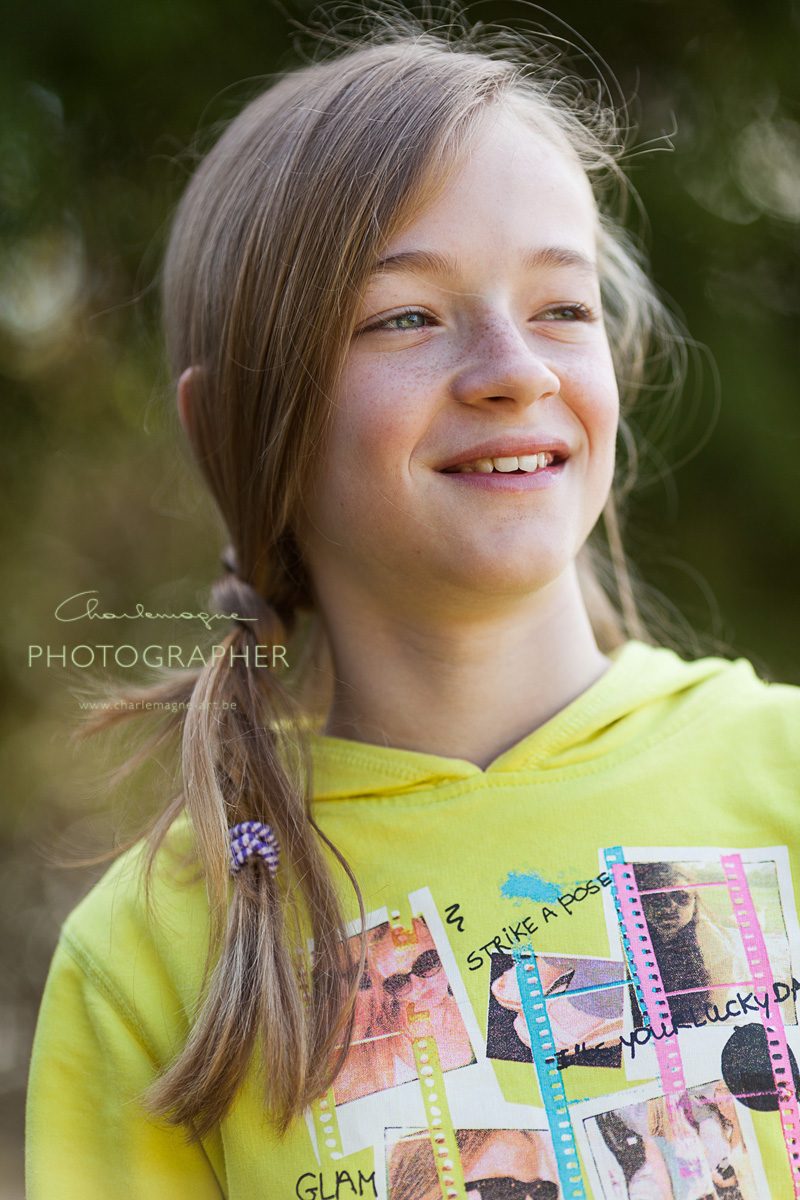
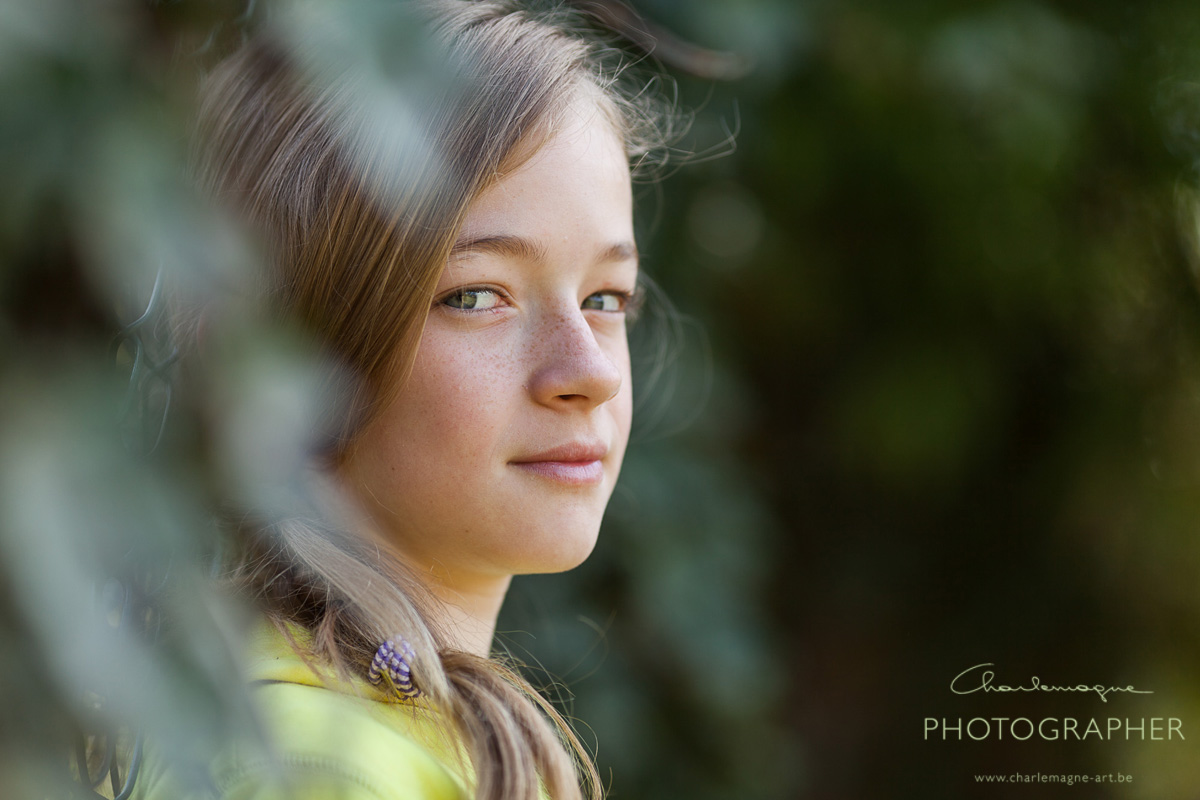
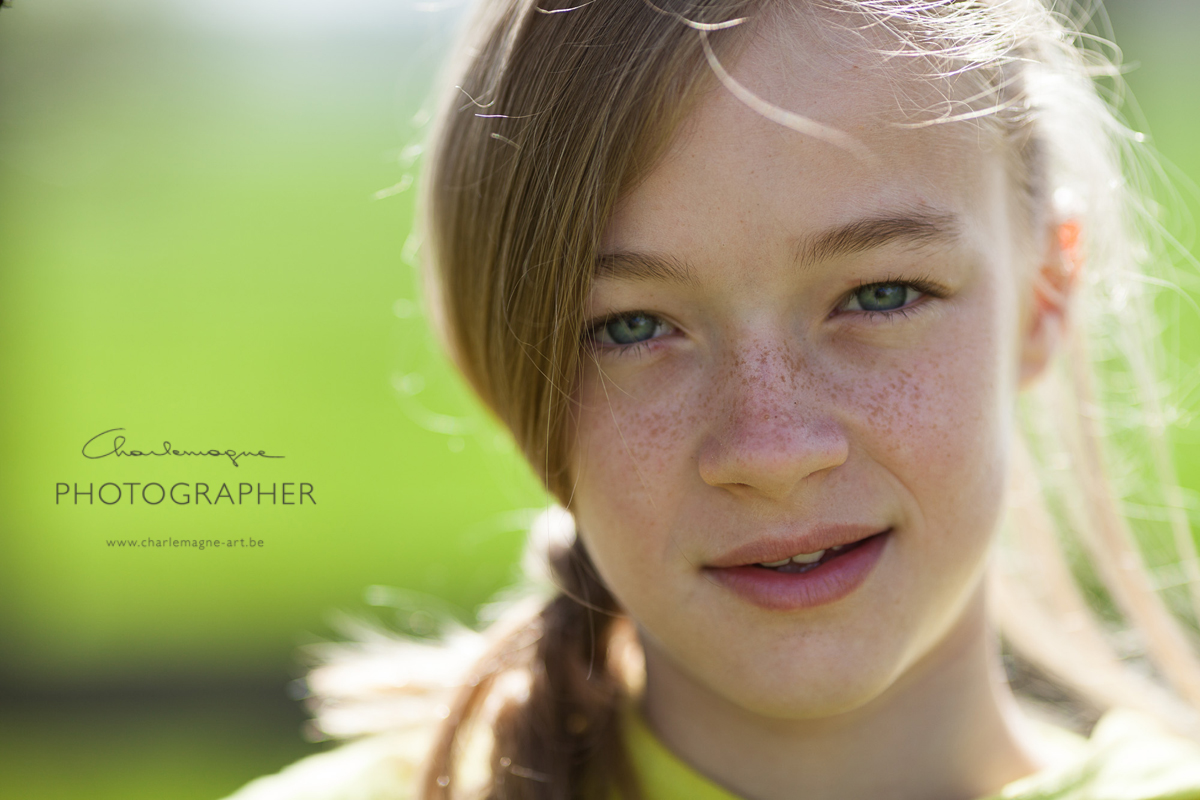
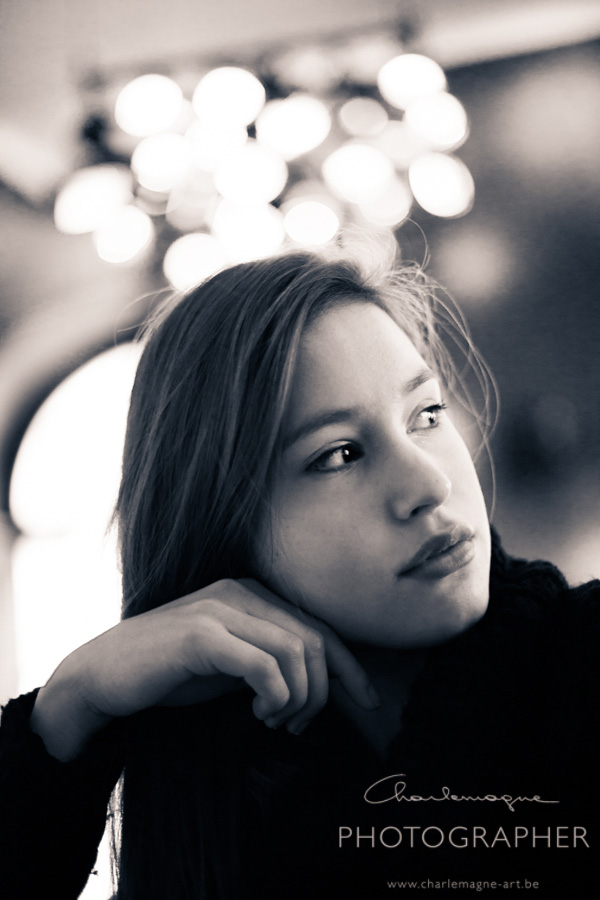
The images were made in Brussels, with Sofi ka, an Ukrainian model traveling Europe on a regular basis. We had a walk in Brussels in the morning, enjoying beautiful light in the city.

I shot this film in colour (Kodak Portra 160) and then another film in Black and white (see below). One film, alle shots: Sofi Ka in Brussels.

All negatives are ‘DSLR-scanned’ and converted to positives with Negative Lab Pro in Lightroom.

I also shot another film, which apparently was a gift from someone, and after further investigation by Ilford, the film turned out to be from 1992 … it came out all mottled and speckled, including the backpaper frame numbers in the negatives 🙁  bummer, although some people seem to appreciate the artistic qualities of it. …

Mjeah, maybe with a little bit of sepia colouring and some vignetting 😀 let me know what you thing

that’ll be all for today, thanks for reading!

Ludwig


Landscape photography with a Fujifilm x100T

landscapes, location, photo gear, tests

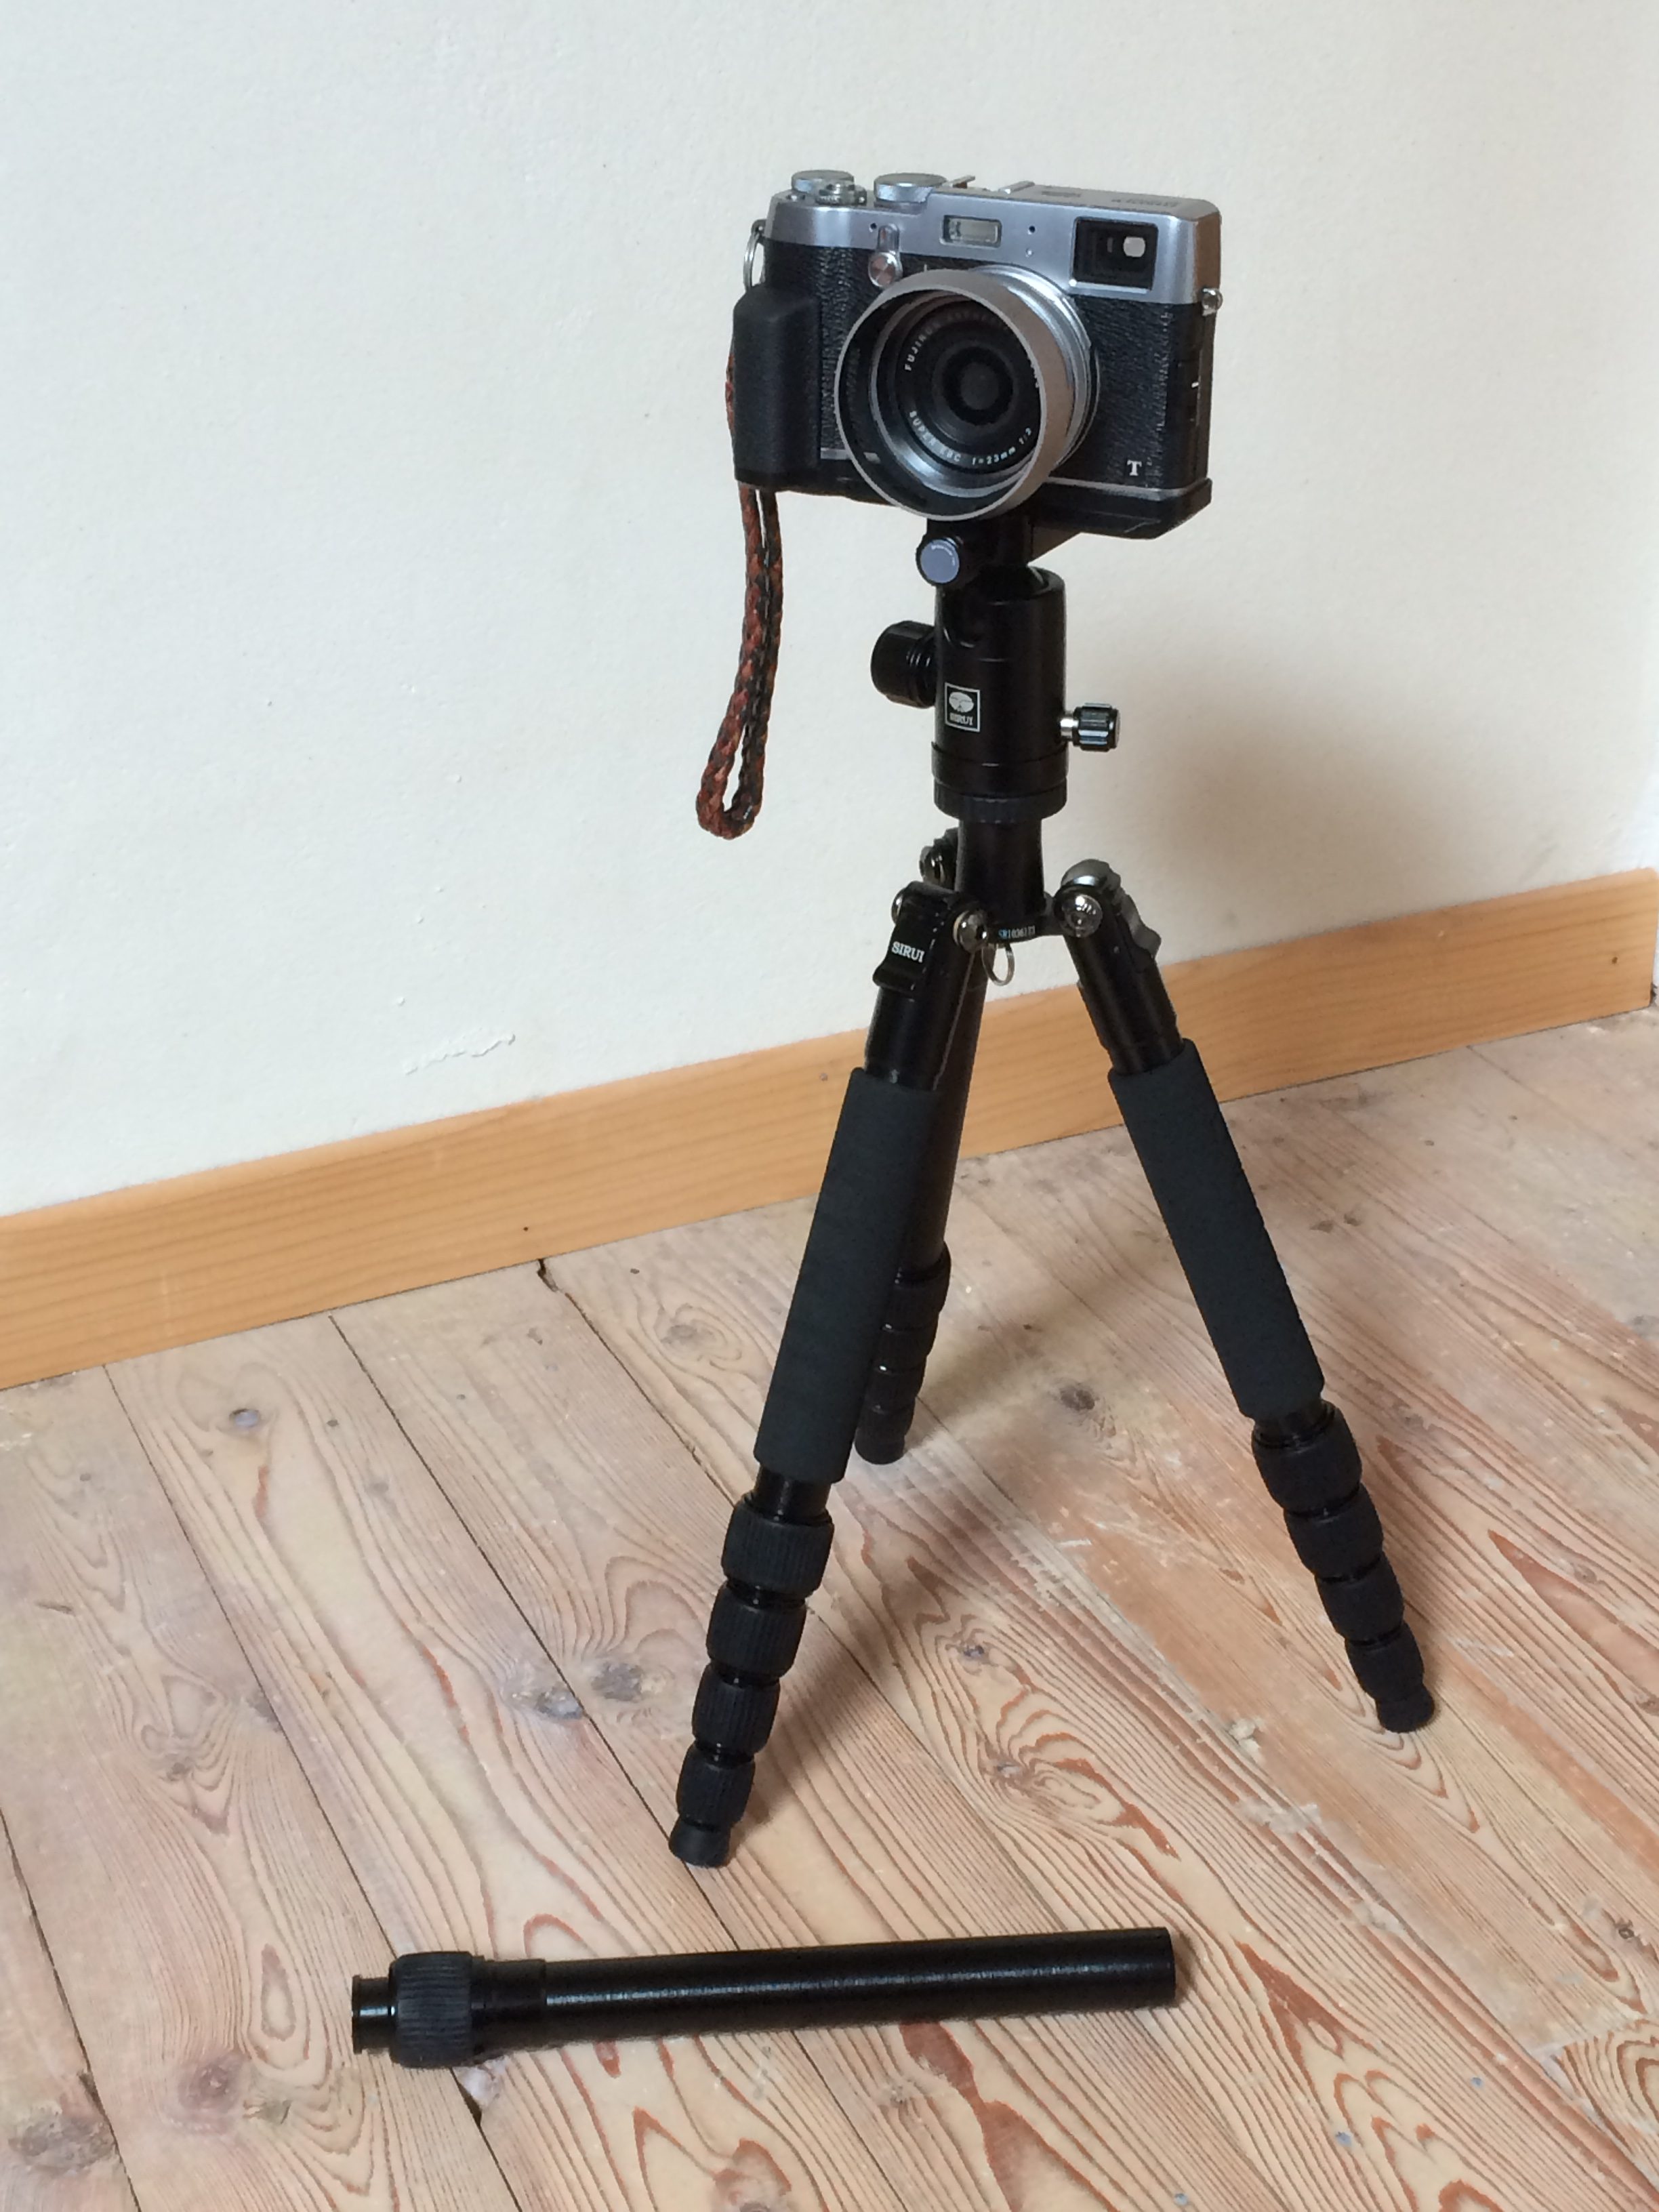
A couple of weeks ago I was with another group at Côte d’Opale in France, for teaching landscape photography to adults in the KISP.be photography program. I wanted to pack light on gear to be able to focus on helping out my students and still be able to take some pictures myself. This made me decide that for this weekend I would only take my small Fujifilm x100T, and my lightweight Sirui tripod, bought for motorcycle traveling. The camera has a 16Mp APS-c sensor and a fixed focal length lens of 23mm or 35mm equivalent if compared to full frame viewing angle. It has a relatively wide f/2.0 max. aperture, and closes down to f16. I have it equipped with the optional sunshade and an extra hand-grip. The hand grip features the same dovetail grooves for arca-swiss compatible tripods as the camera itself does. So the grip bottomplate becomes the tripod plate.

This post will not focus on pixel-peepers image quality, rather on user experience.

Images down below.

THE GEAR USED.

Fujifilm x100T with MHG-X100 grip and the additional sun shade from Fujifilm. I use a custom strap from an old light-meter if I remember well.

Sirui T005-KX, featured also in this article, where I commented on using it with my DSLR. As you can see the tripod has a two segment center column which I mostly do not use, for extra stability. I have not needed the extra reach on this trip, and by omitting it, the ballhead has greater stability.

PRO limited gear set:

First and most important difference with a complete bag full of landscape gear is of course weight. Taking with me a professional range full frame camera body and a couple of quality lenses + my Berlebach tripod is a physical challenge not to be underestimated. 5kgs of photo gear, 3kgs of tripod, a bag of at least 1.5kgs and some food and drink supplies easily brings 10-12 kgs on the scale. The x100T and the Sirui mini tripod together weigh about 1.5kgs. A light backpack with some water and food supplies and I’m off like a butterfly to the cliffs of Cap-Griz-Nez. So this was for me a huge benefit, I never felt tired physically caused by dragging around gear.

Second benefit, and directly linked to the first one of saved weight, is manoeuvrability on difficult terrain. When dealing with a heavy tripod, with an expensive camera + lens, with a backpack that has the remainder of your gear on the back, you are limited in movements, in places where you can get safely with all your gear, in where you want to drop your bag to get out your filters, or just another lens, … With my lightweight setup I could take camera and tripod in one hand, leaving my other hand free for climbing and rock balancing exercises without limitations.


CONTRA limited gear set:

What I missed the most was the variation I have in focal lengths when travelling fully equipped with my DSLR setup. Although I mostly have fixed focal length lenses (24mm – 17-40mm Zoom – 50mm – 100mm – 135mm), they still allow me great variety in compositions, in bringing out distant landscape details or in compositing out disturbing elements. I can go much wider (17mm vs 35mm is a huge difference in viewing angle) or much narrower if I need to. I never missed a lens longer than 135mm in my landscape work. (This could be solved by adding the wide angle and the telephoto extender lenses you can buy for this camera, but they are rather expensive, and you loose some portability)

Next most missed was the Tilt-Shift lens I traditionally use on landscape trips. I often look for foreground elements in my compositions, to create depth in a wide angle view. The tilt-shift lens gives me the ability to get extreme depth of field in such cases, without the need for closing down the aperture too much. It also allows me to make stitched panoramic images with a horizontal viewing angle comparable to the 17mm lens. If I would need to limit my DSLR setup to one lens for landscape, it would be this lens: Canon TS-E 24mm f3.4 L II. (I’m afraid this cannot be solved with this setup)

Next thing I missed is the ability to do automatic bracketing, at least I couldn’t find it in the menu, I since have looked it up on the internet and it is perfectly possible to do AE bracketing in 3 exposures. Shame on me, I should have read-the-f*******g-manual. So I ended up doing manual bracketing for most of the time. (little tip, always use bracketing, even when not needed. the time needed for bracketing exposures is minimal compared to the time needed to find your composition, setting up your tripod, setting the focus correct, etc. …  different exposures will give you more choice for development afterwards). (Solved issue, the bracketing function is under the ‘drive’ button. I looked trough the menu’s only.)

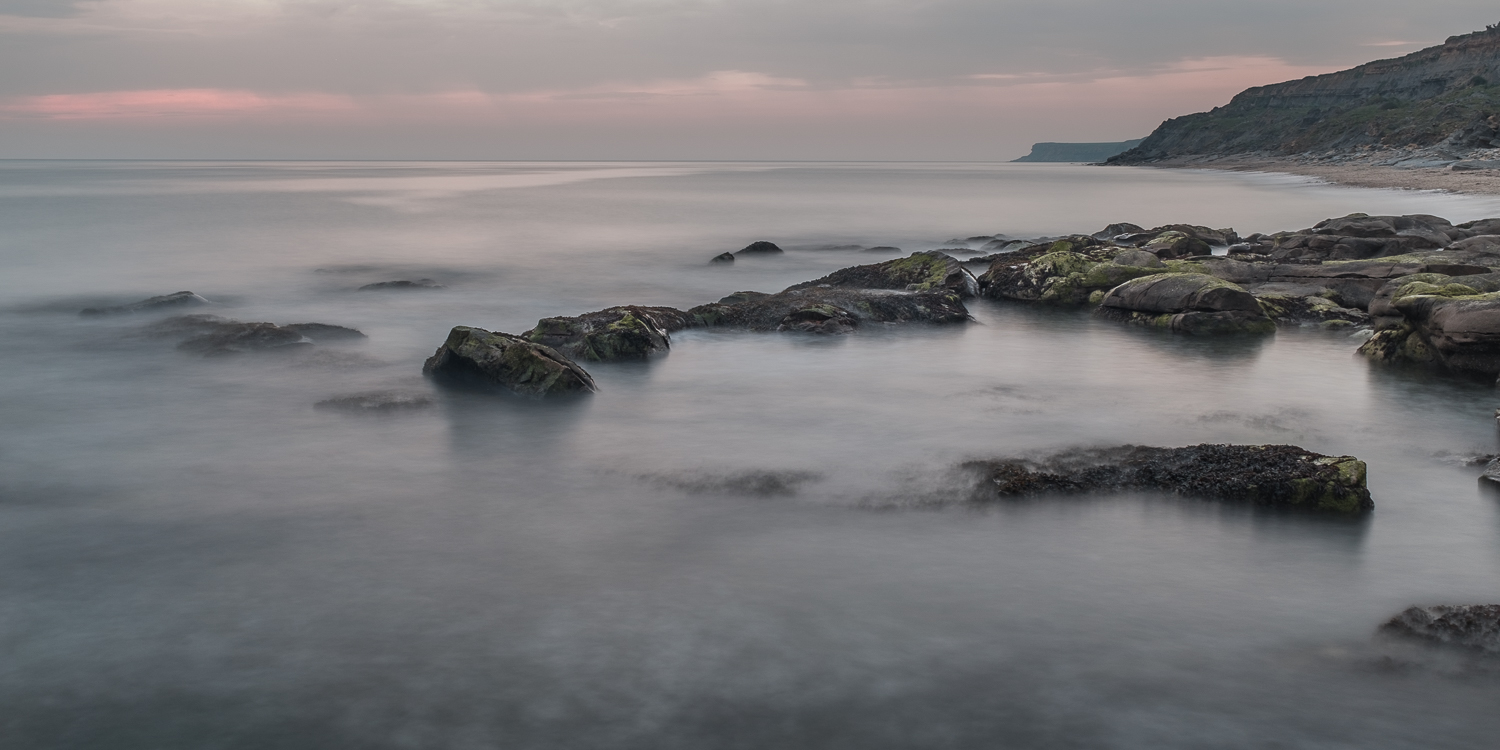
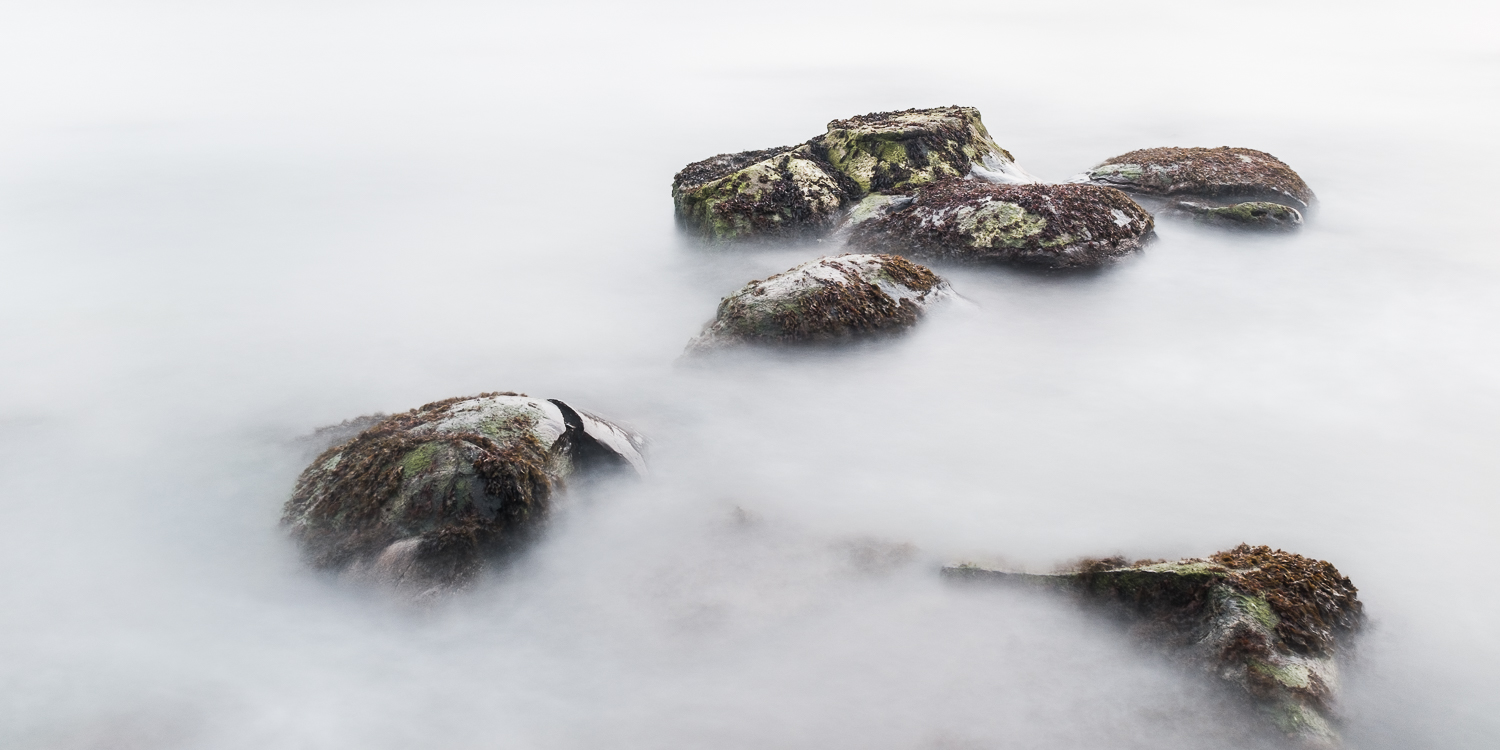
Another thing I missed (because I don’t have it) is the ability to use filters on the Fujifilm x100T. The camera has a built in ND filter (3 stops) but this is not enough for flatting out water surfaces or for streaking cloud movements over a long distance. It does help to lengthen your shutter speeds a little when shooting at dawn or at dusk, but it is not enough in most situations with broad daylight. This could be solved by investing in a filter system for this camera, there are several systems available on the market, like for instance the LEE seven 5 system. (there are two pictures below with the sea flattened out, they are taken late in the evening at a shutter speed of 30 seconds.

that’s about it, the rest was comfort 😉

Oh by the way, there’s a lot of ranting going around about these system camera’s and battery life. I had two batteries, did not finish the first one the first day, which lasted from 6:31:51 am. (first picture) till 22:31:58 pm. (last picture). Of course I did not take a massive amount of images (92) because my main task is teaching, but in landscape photography I never do.

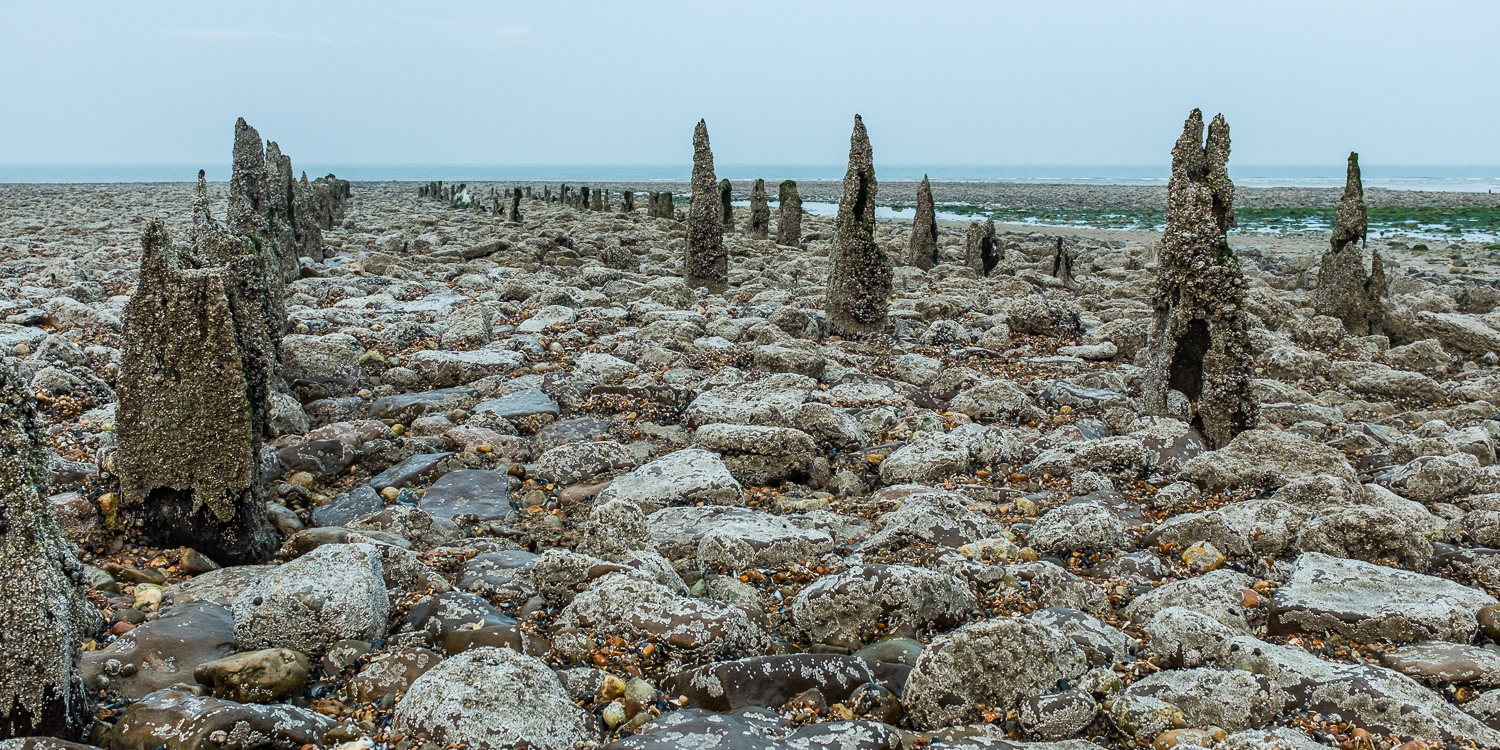
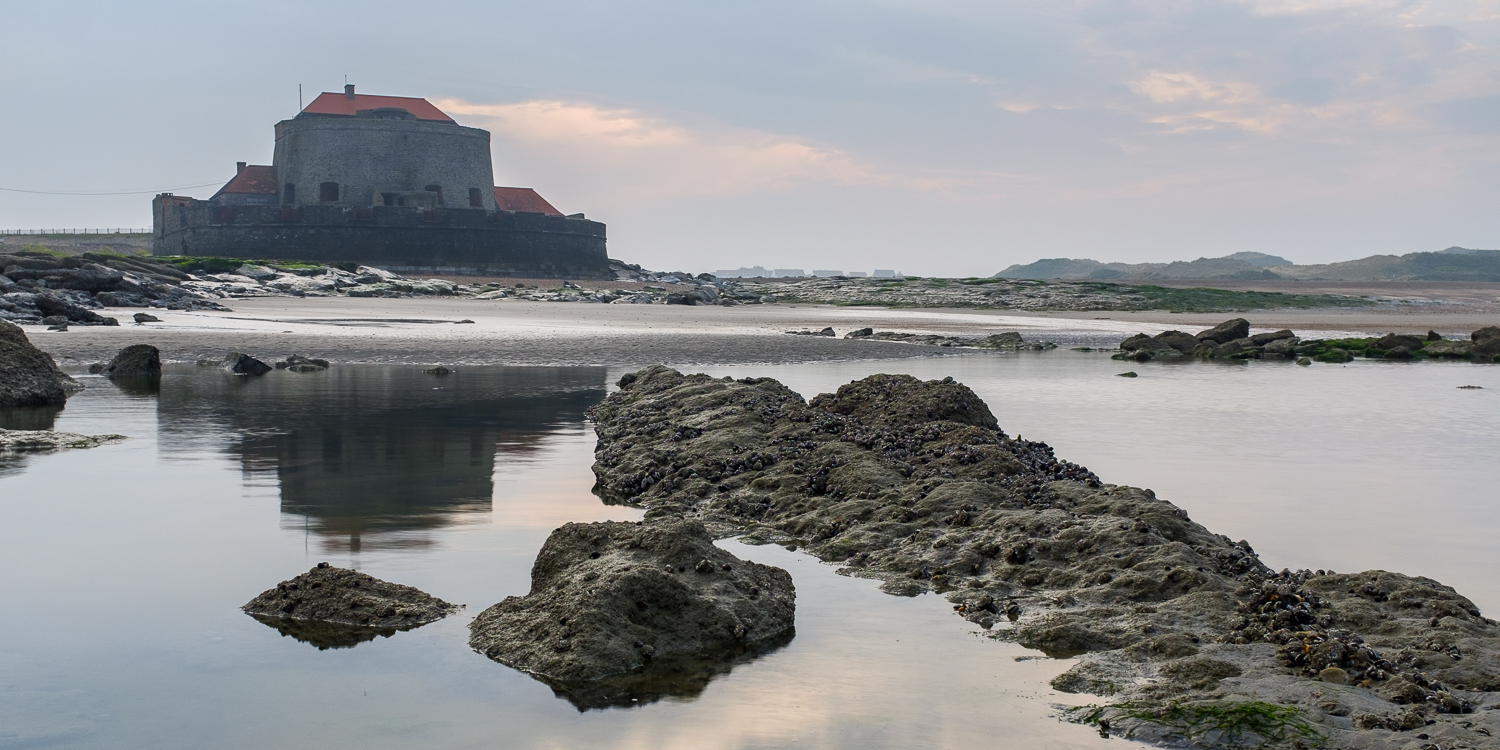
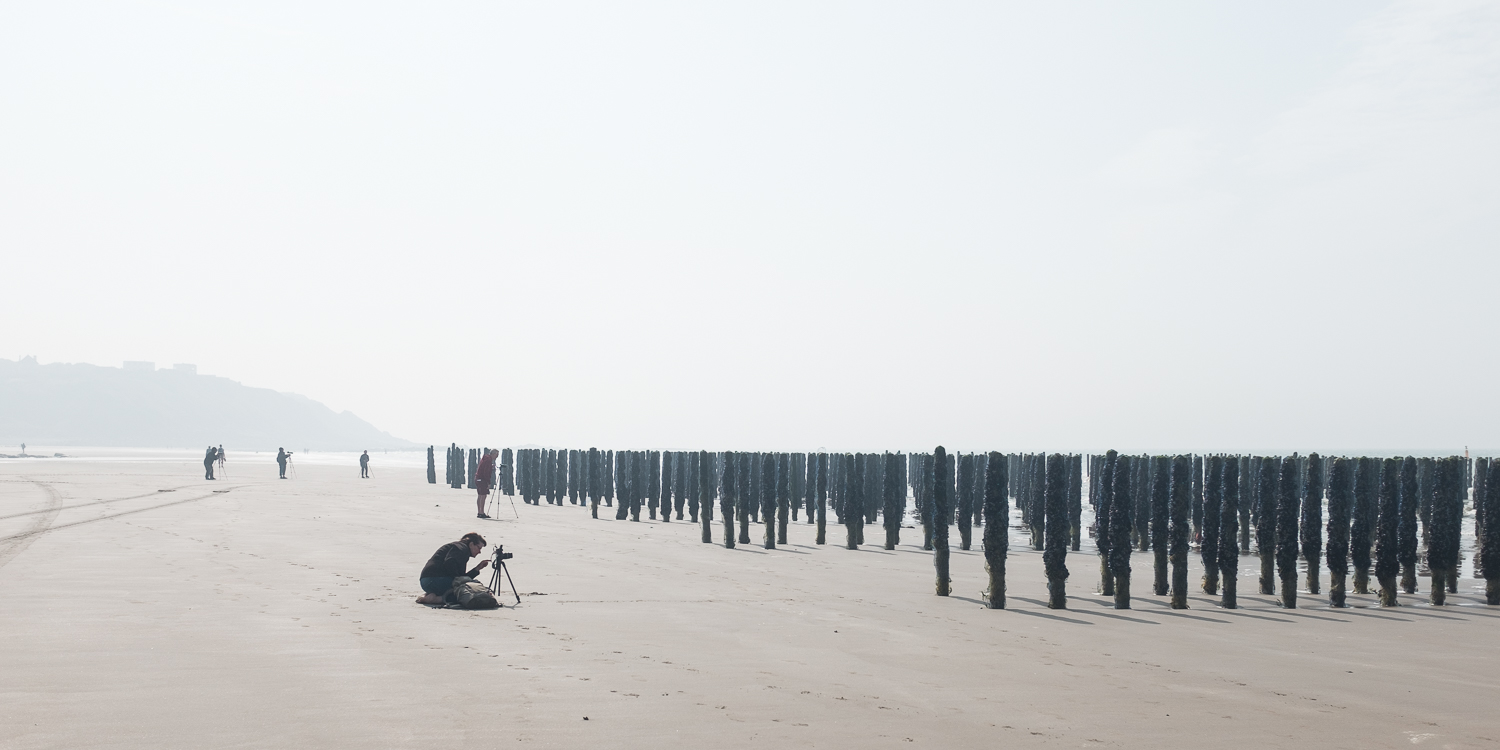
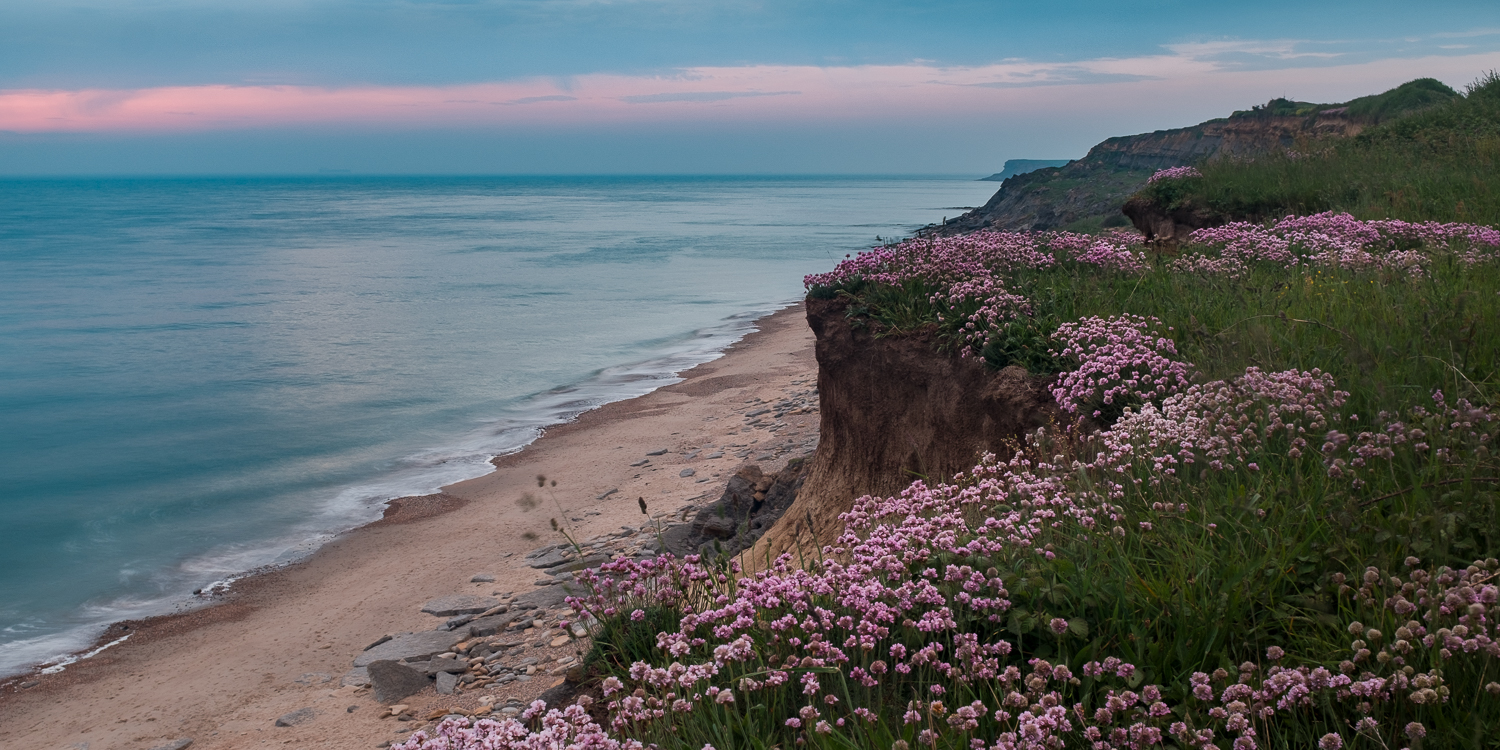
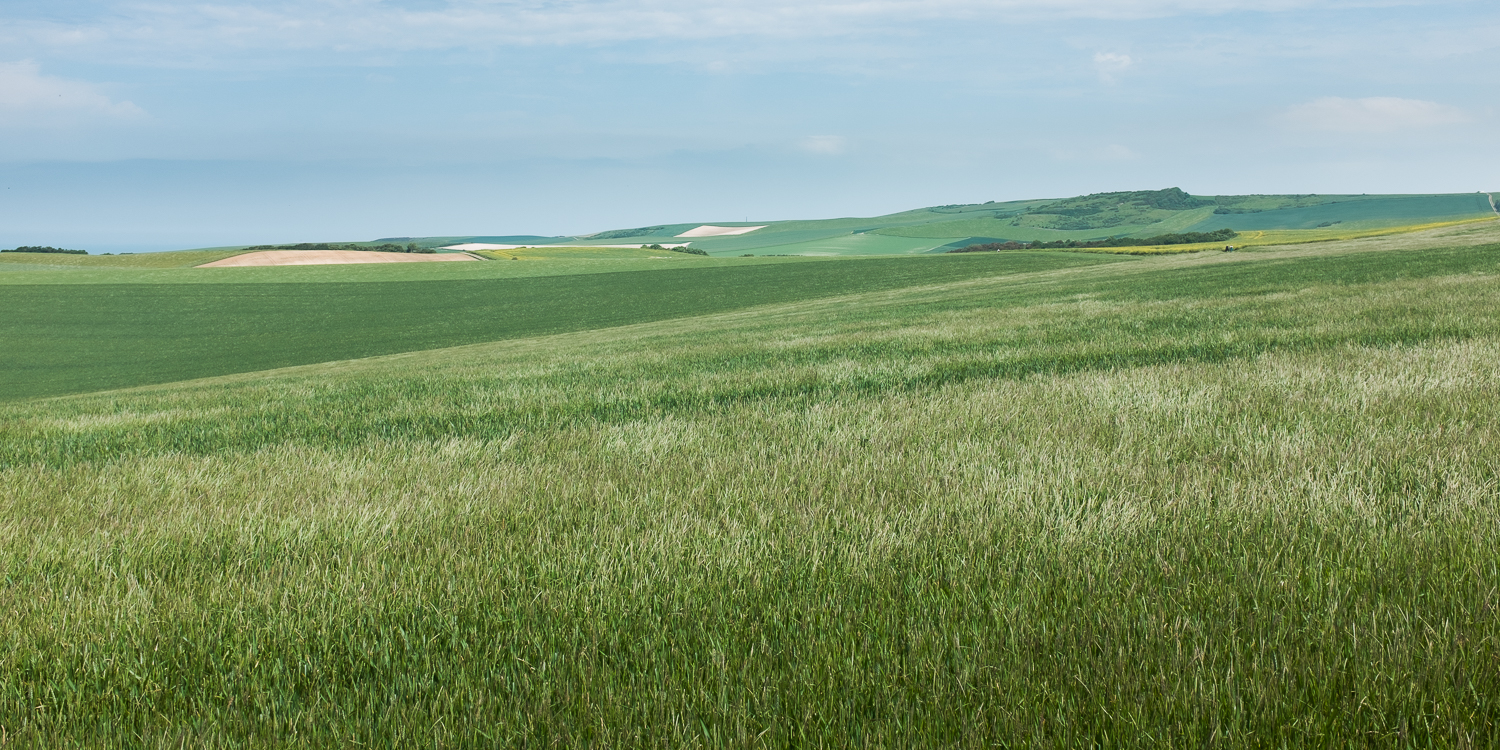
some images of our trip, with the occasional student in the frame.

I cropped all images to the same 2×1 ratio, I kind of like them that way.


Thanks for viewing, if you have any questions about this article, please comment, and on a side-note, after seeing my images of this weekend, I might sell this camera to buy its successor, the x100F, so if you are interested in buying mine, drop me a line.

Ludwig


DANCE ! – shooting some dance movements in the studio

personal tips & tricks, photo gear, Tips and Tricks

Hi there,

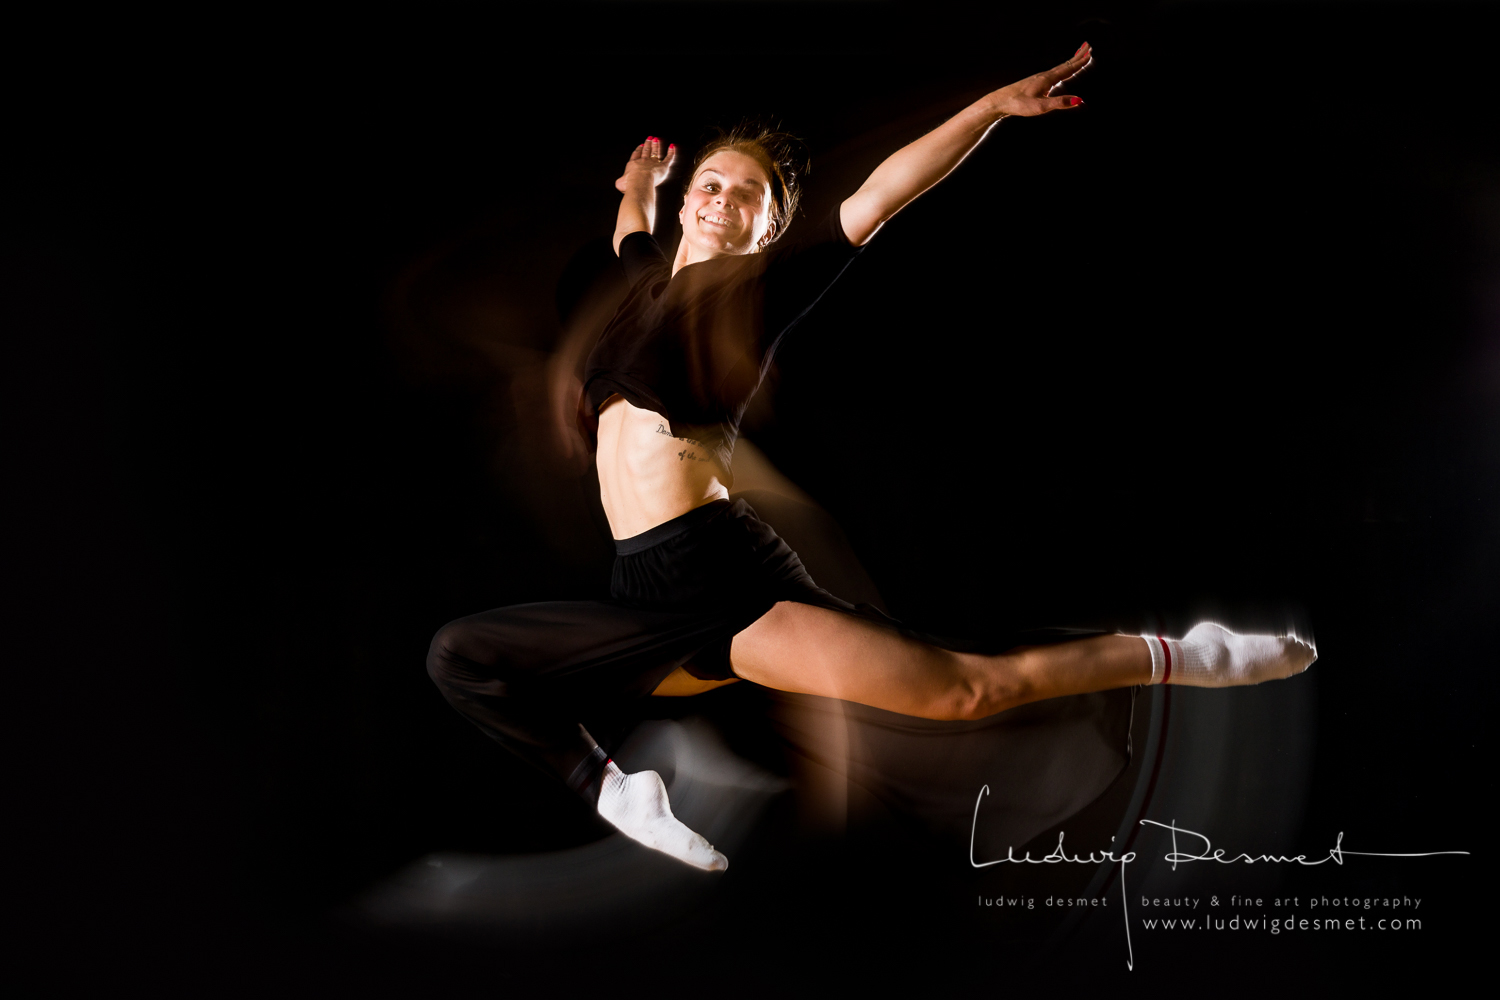
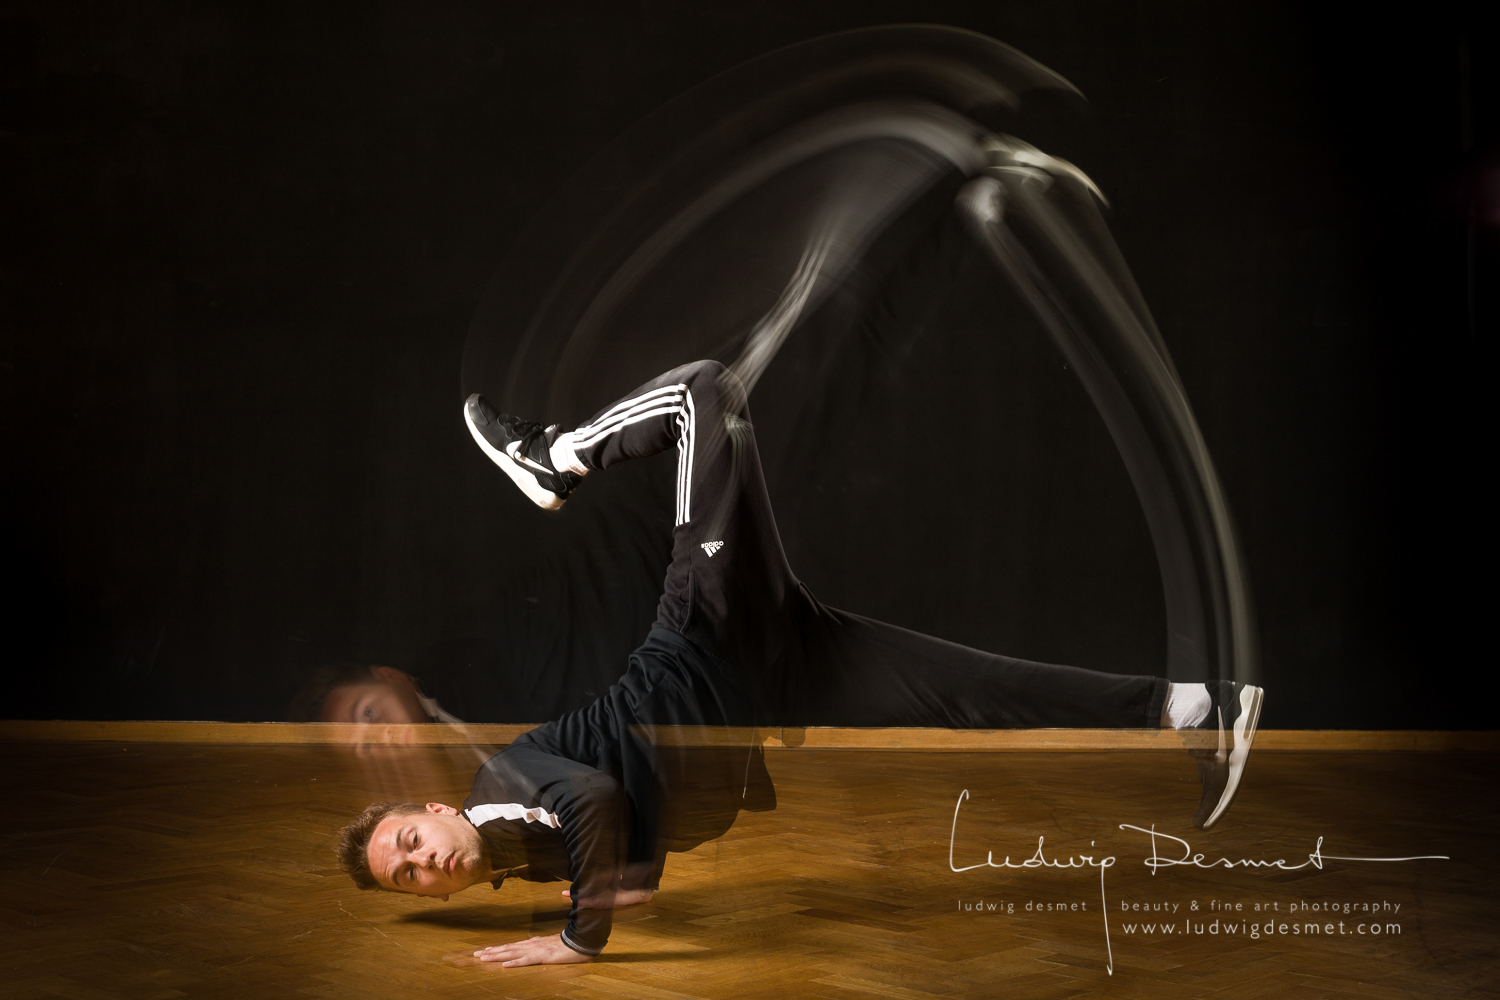
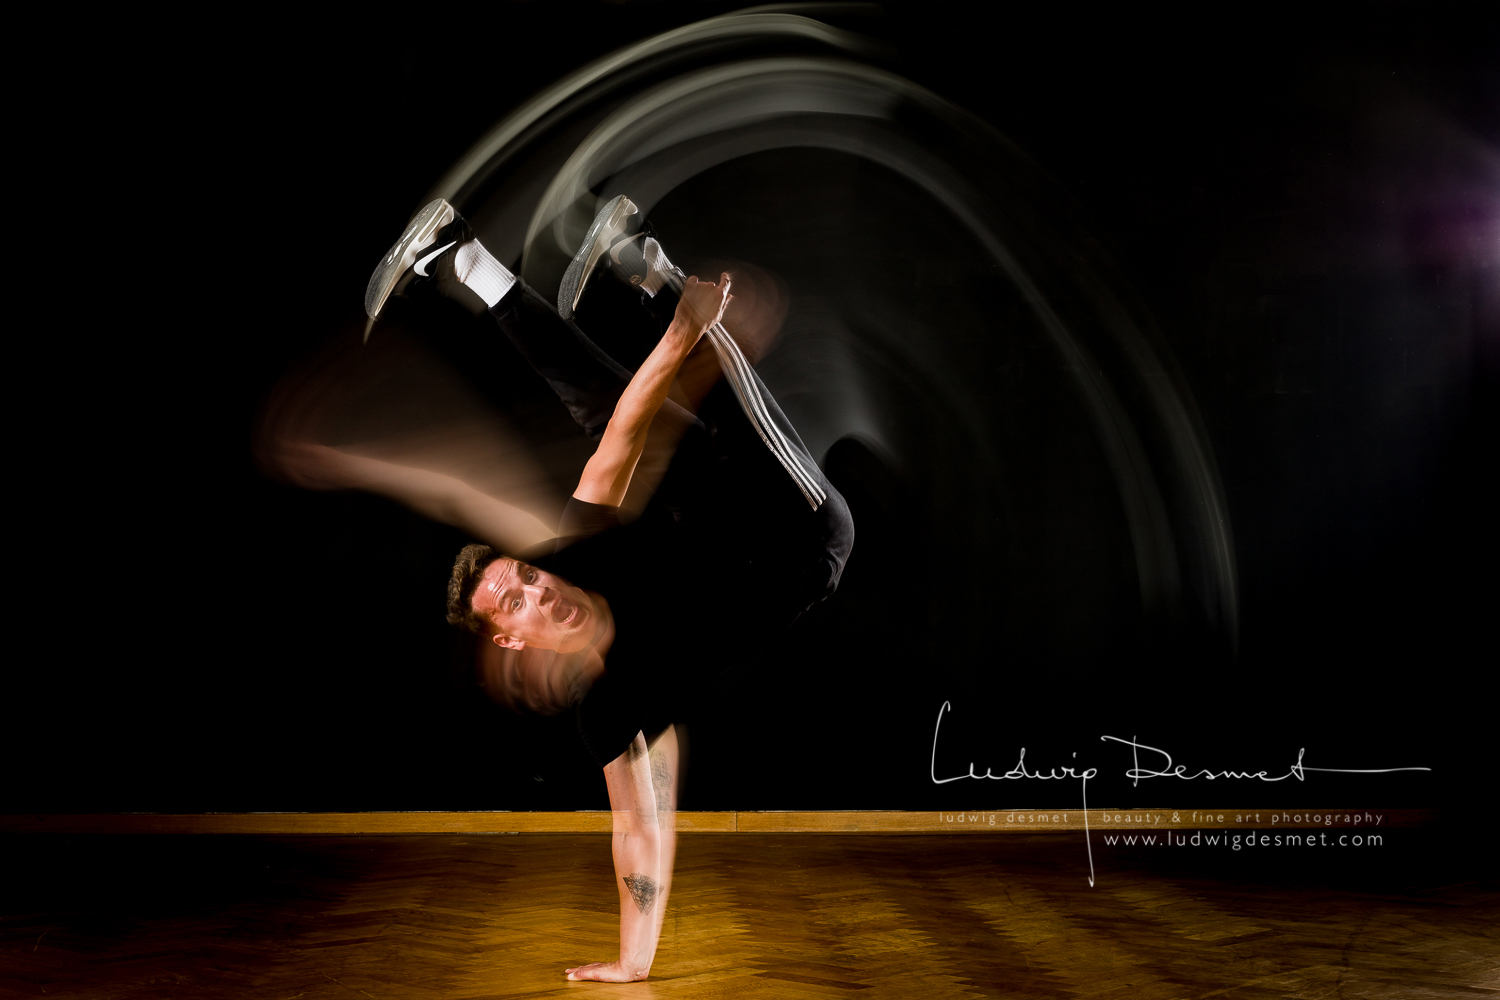
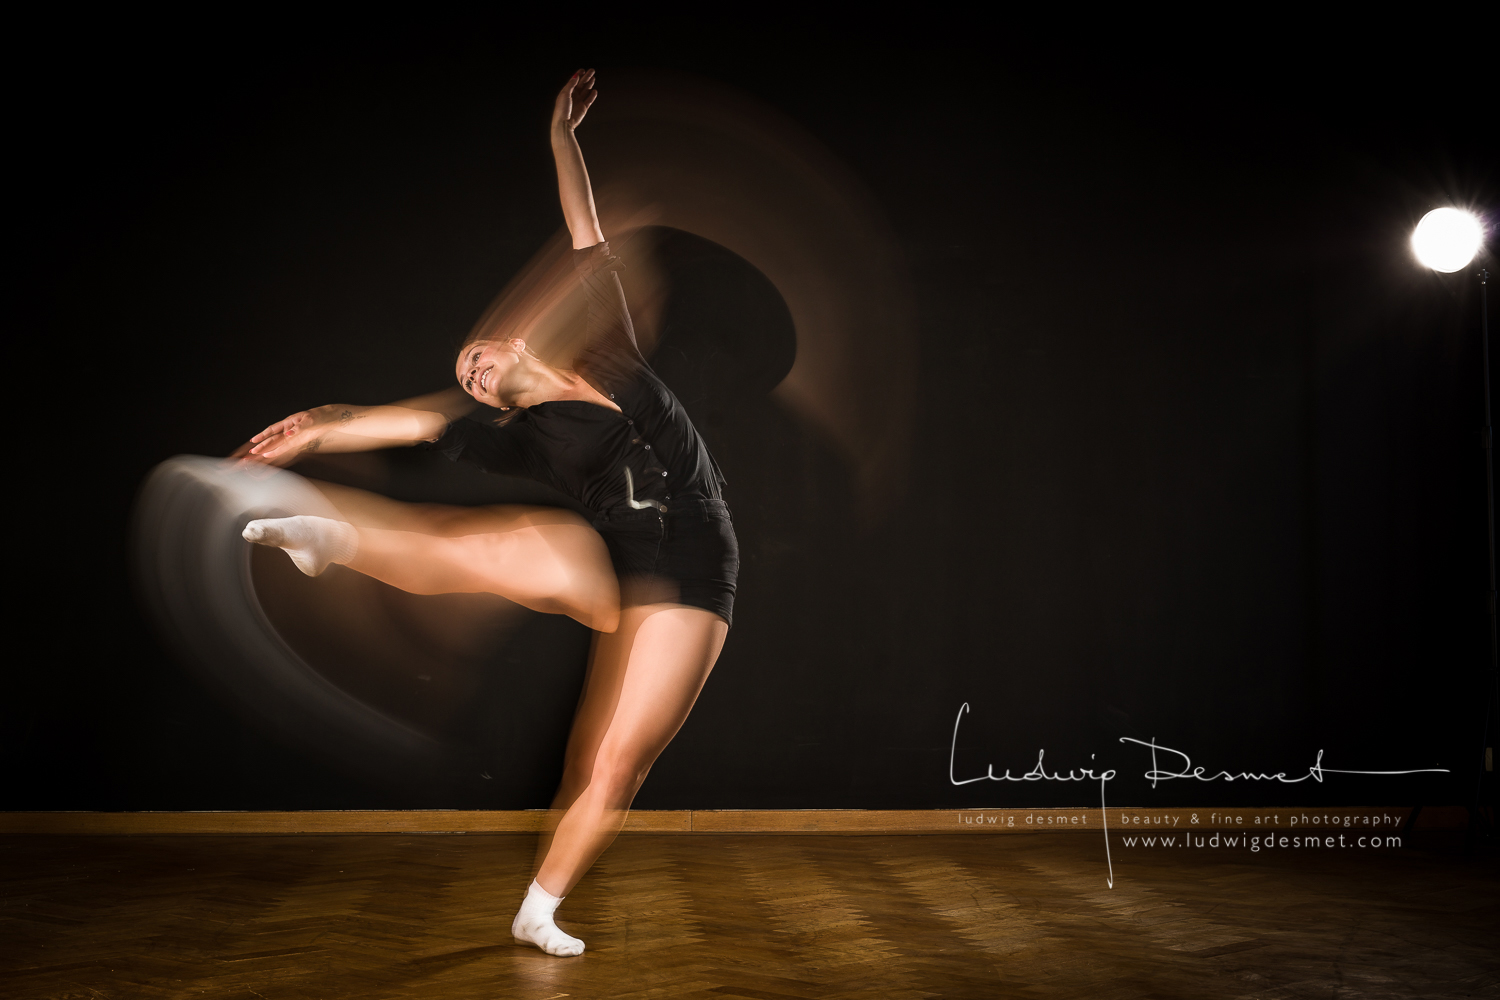
last weekend I had a meetup with Lisa and her friend, both dancers, she’s more into the classic dance, he’s more of a break-dancer.

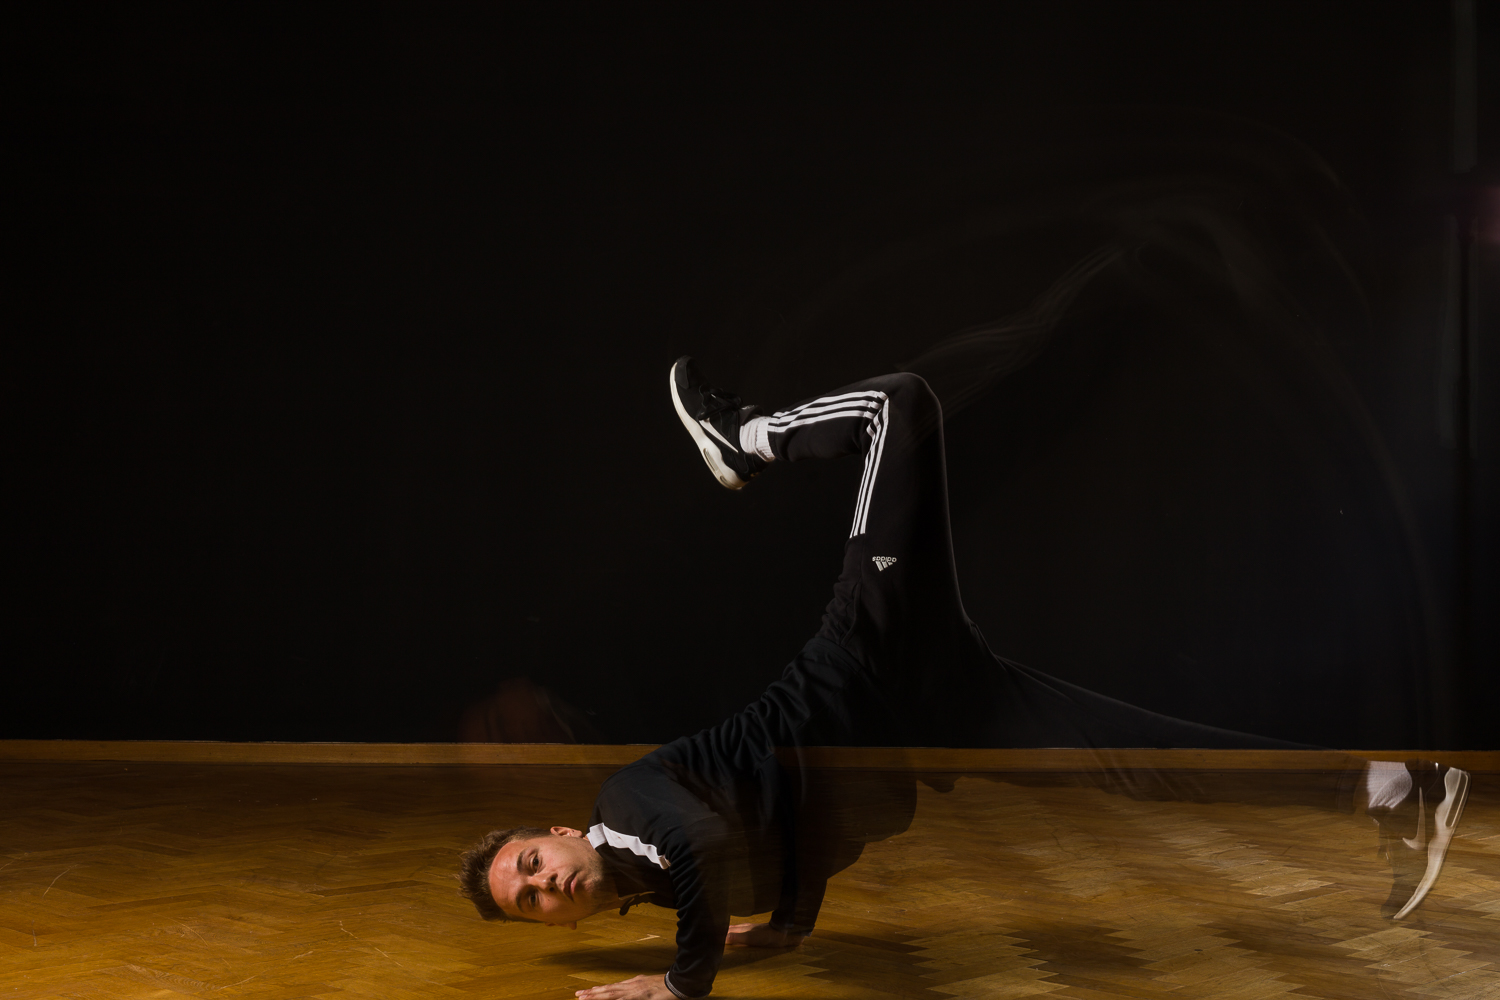
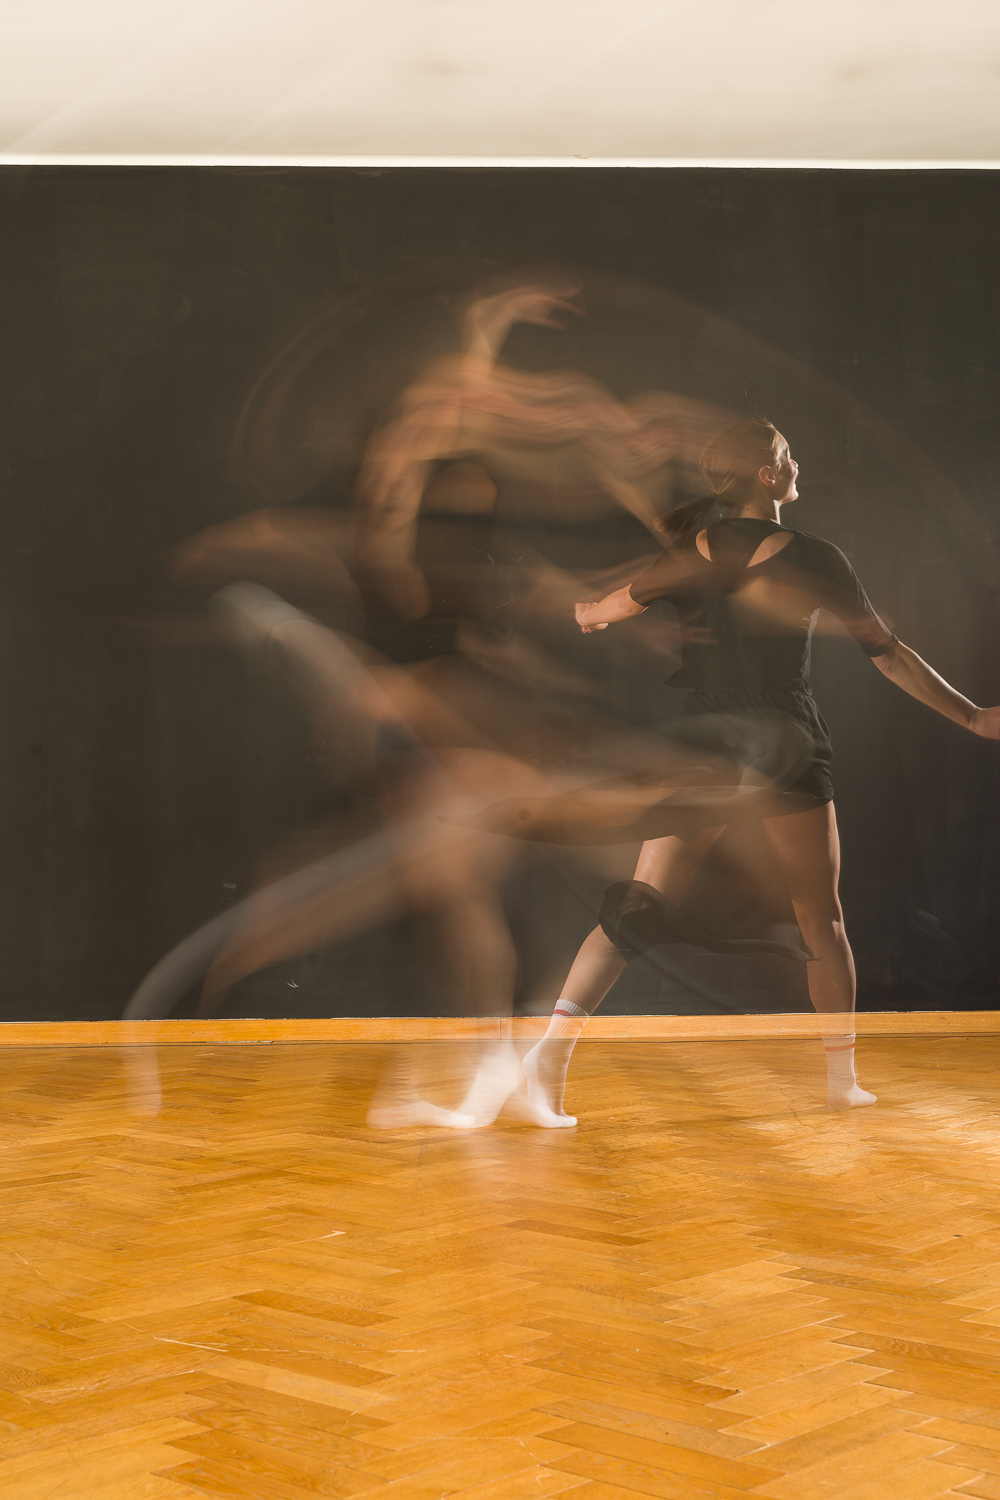
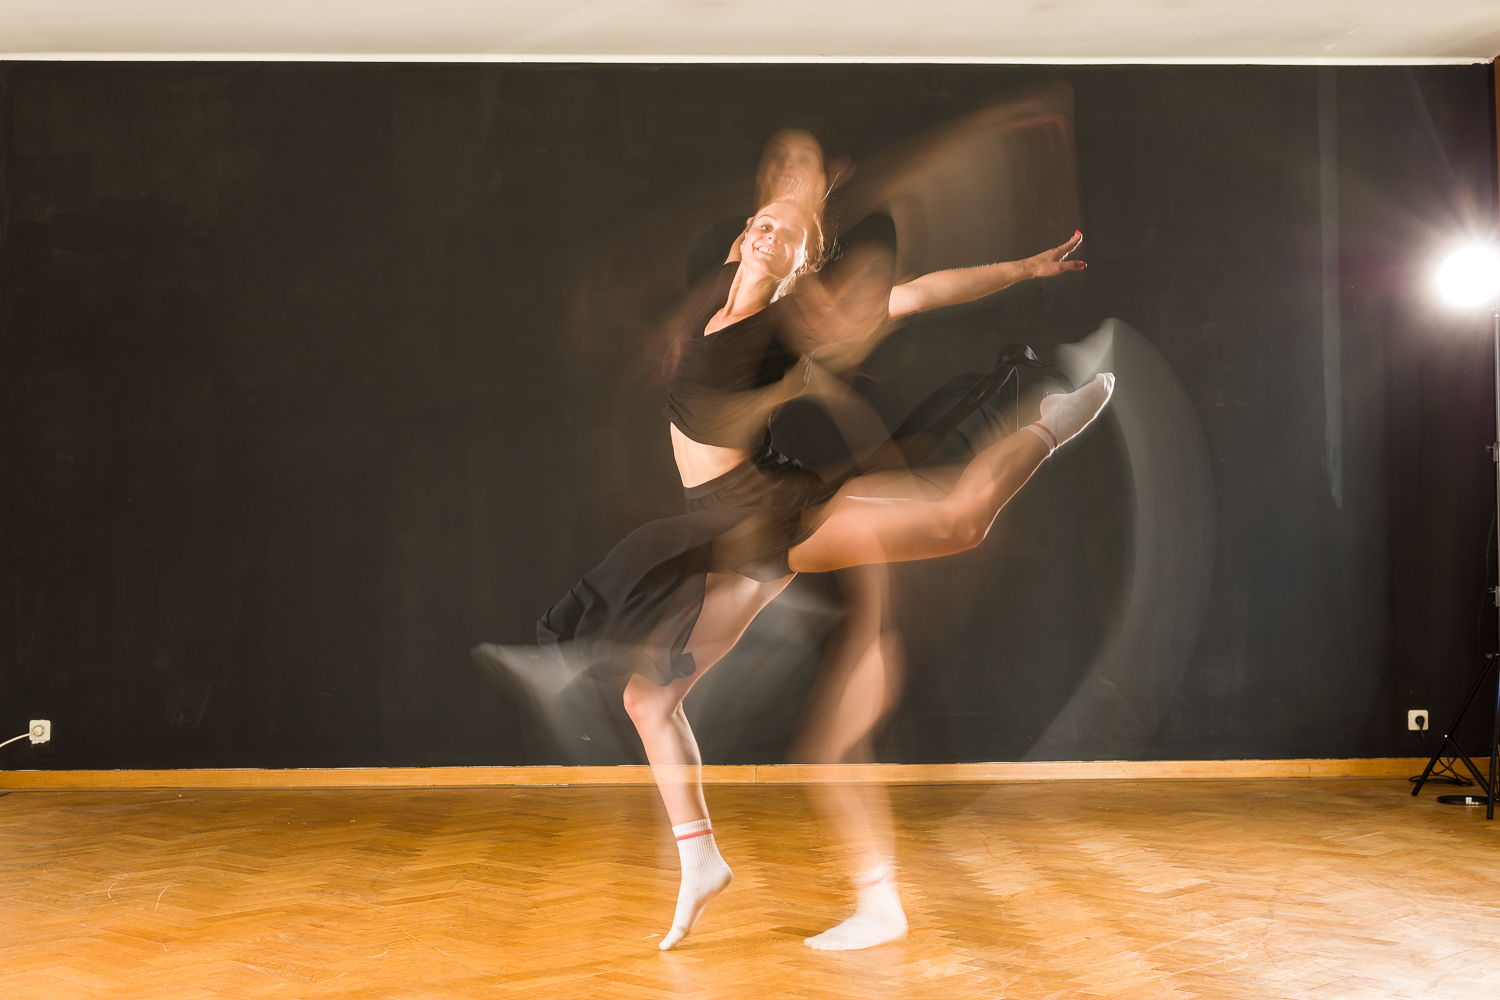
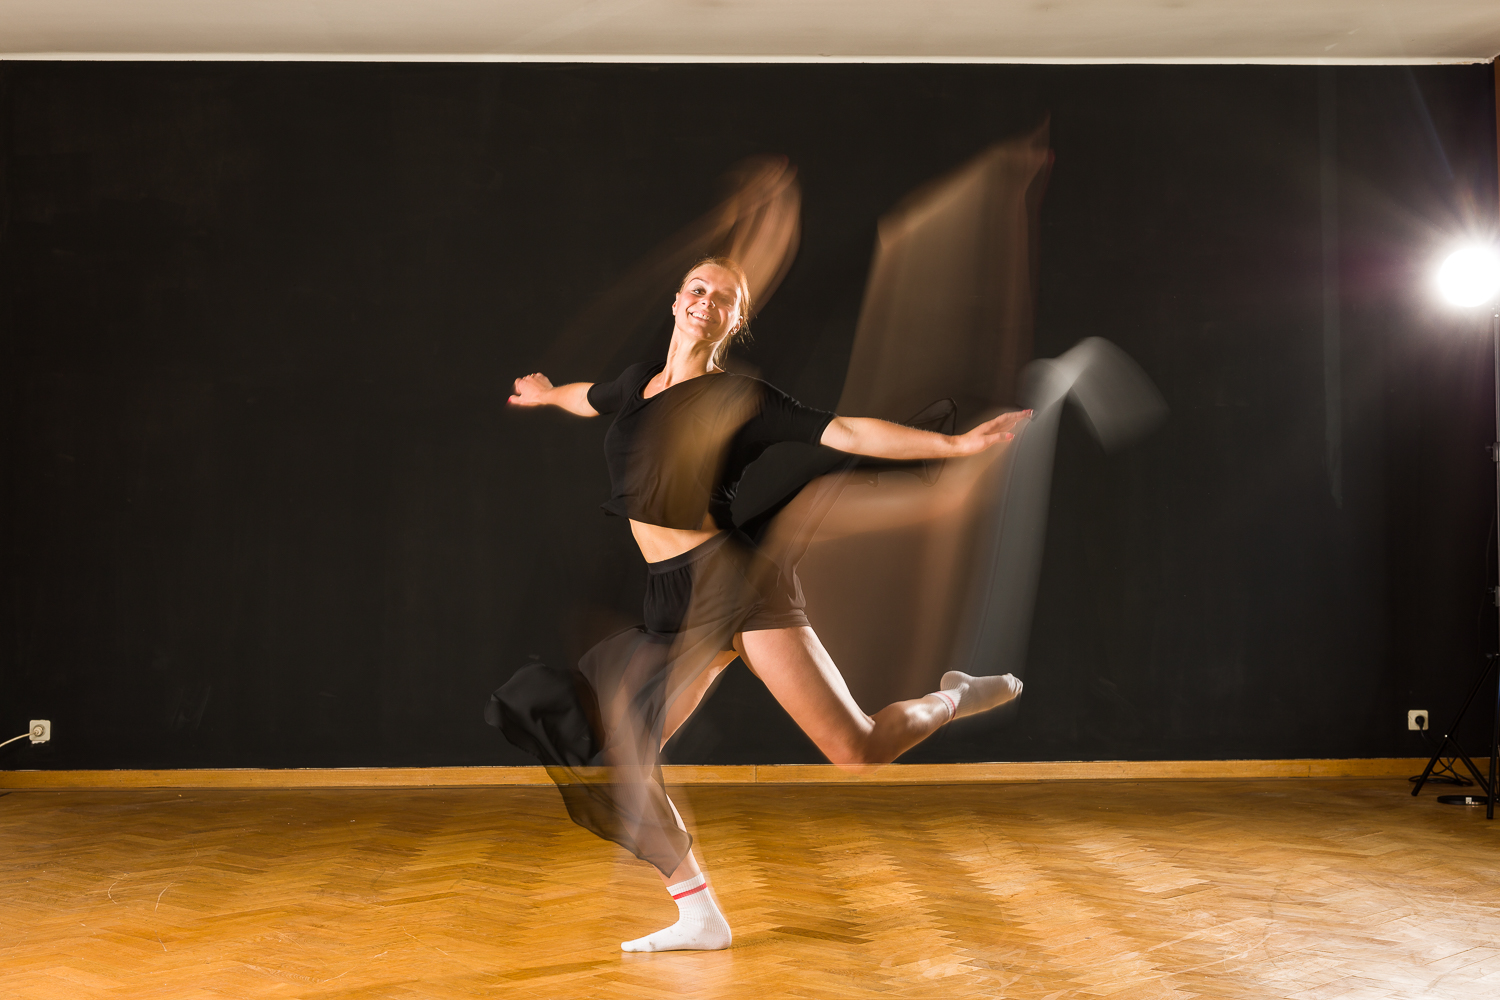
I will show you some images, but I would also love to talk about the technique that I used to get to these.

first some images:

nice hey 🙂

thanks to both athletes, they had a good exercise session.

How is it done?

We wanted both the movement, and a good image of the static phase. I rarely work with flash but here it is absolutely needed.

this is the setup: I have one studio flash with large softbox on the left of the scene, providing the main illumination of the stationary phase. (flash) I have a second studioflash at the right side of the scene, providing a rim light at the moment of flash. I have a third flash on the camera, Canon does not allow to fire remote flashes at the end of the shutter time without a dedicated Canon flash. This is a Canon 580EX II and is used in manual settings at 1/64th of full power. It is merely used as a ‘master’ or ‘trigger’ for the studio flashes, synchronising on the second curtain, this means just before the shutter closes. I have available light from the right side, just behind me. (outside light, strong enough to make the motion trails during shutter time, but not to strong to overly brighten the environment. This is actually better done with a strong continuous light like a 500W halogen spot, but I don’t have one.)

The camera is set to bulb, on a tripod, and with a cable release. This is all part of a relatively simple preparation phase. 😉

Now comes the tricky part, how to get just the good shot? Simple: You activate the shutter time by pressing and holding the shutter button, let the movement roll and close the shutter when the movement has finished. Simple? Yeah, think again. Some movements only take a blink of an eye before they are gone, finished, over and out. For some movements you need to have the flash triggered exactly at the end of the movement, and you have to be aware that there’s a little ‘delay’ between pressing the button and the actual start of the shutter time. My best images came with shutter times between 1/5th and 2/5th of a second!

to illustrate the process of the Bulb-shutter time:

Easy, isn’t it. Well, both dancers have at least 20 times repeated every move, before I could define the right starting moment, and the right moment to stop. Then 10 more times to get the one lucky shot we needed. Maybe I’m getting old, or slow in reactions. 🙂

Make sure to have your models wear dark clothing, otherwise you’ll get a lot of messy blotches from the movement phase. You want them to wear light coloured clothing at hand or feet, unfortunately they did not have white gloves. The brighter, the more visible the movement trail will be.


some mistakes:

no movement visible – too little continuous light, only the flash fixes the image

cable release gets stuck, way too long exposure

start too early, left foot clearly visible in starting point, stop also a little too late, left foot is coming down already.

start and stop too late, left foot is almost up at start, and way over the best position at stop.

thanks for reading, it was fun to do, and I learned a lot about dancing

cheers, come back again soon.


Ludwig


Analog or digital?

Analog, people, Personal Pictures, photo gear, portrait

I have invited two people to my studio and did a small analog vs. digital test.

I have, for the first time ever, linked my studio flashes with my old Rolleiflex 6×6 camera, and shot a roll of images with it, next to my Canon 5Ds with 100mm Macro lens.

What about the outcome, is high res digital better than medium format analog?

I think quality wise that is a no-brainer, our new camera’s and lenses are waay, no waaaaaaaay better than the old stuff, they are sharper, AF is spot on every time,  they have less grain (or noise) (films shots done on Ilford FP4 Plus 125) and for sure less dust to retouch. Digital is more convenient, more flexible, more secure (with immediate feedback) … it seems to be more of everything.

Then why still use analog? To me it is more fun, more concentration, at the same time more relaxing, it lets you look forward to the results, it’s more challenging, … people react differently when shooting with a 60 year old camera, they are curious, they are amused, wondering what might be the result, … I also find the images to have some sort of ‘alive’ feeling, the out of focus area’s are more interesting, the framing is square by nature, which I love … although the last arguments might all be nostalgia.

Here are the images, the square ones are analog:


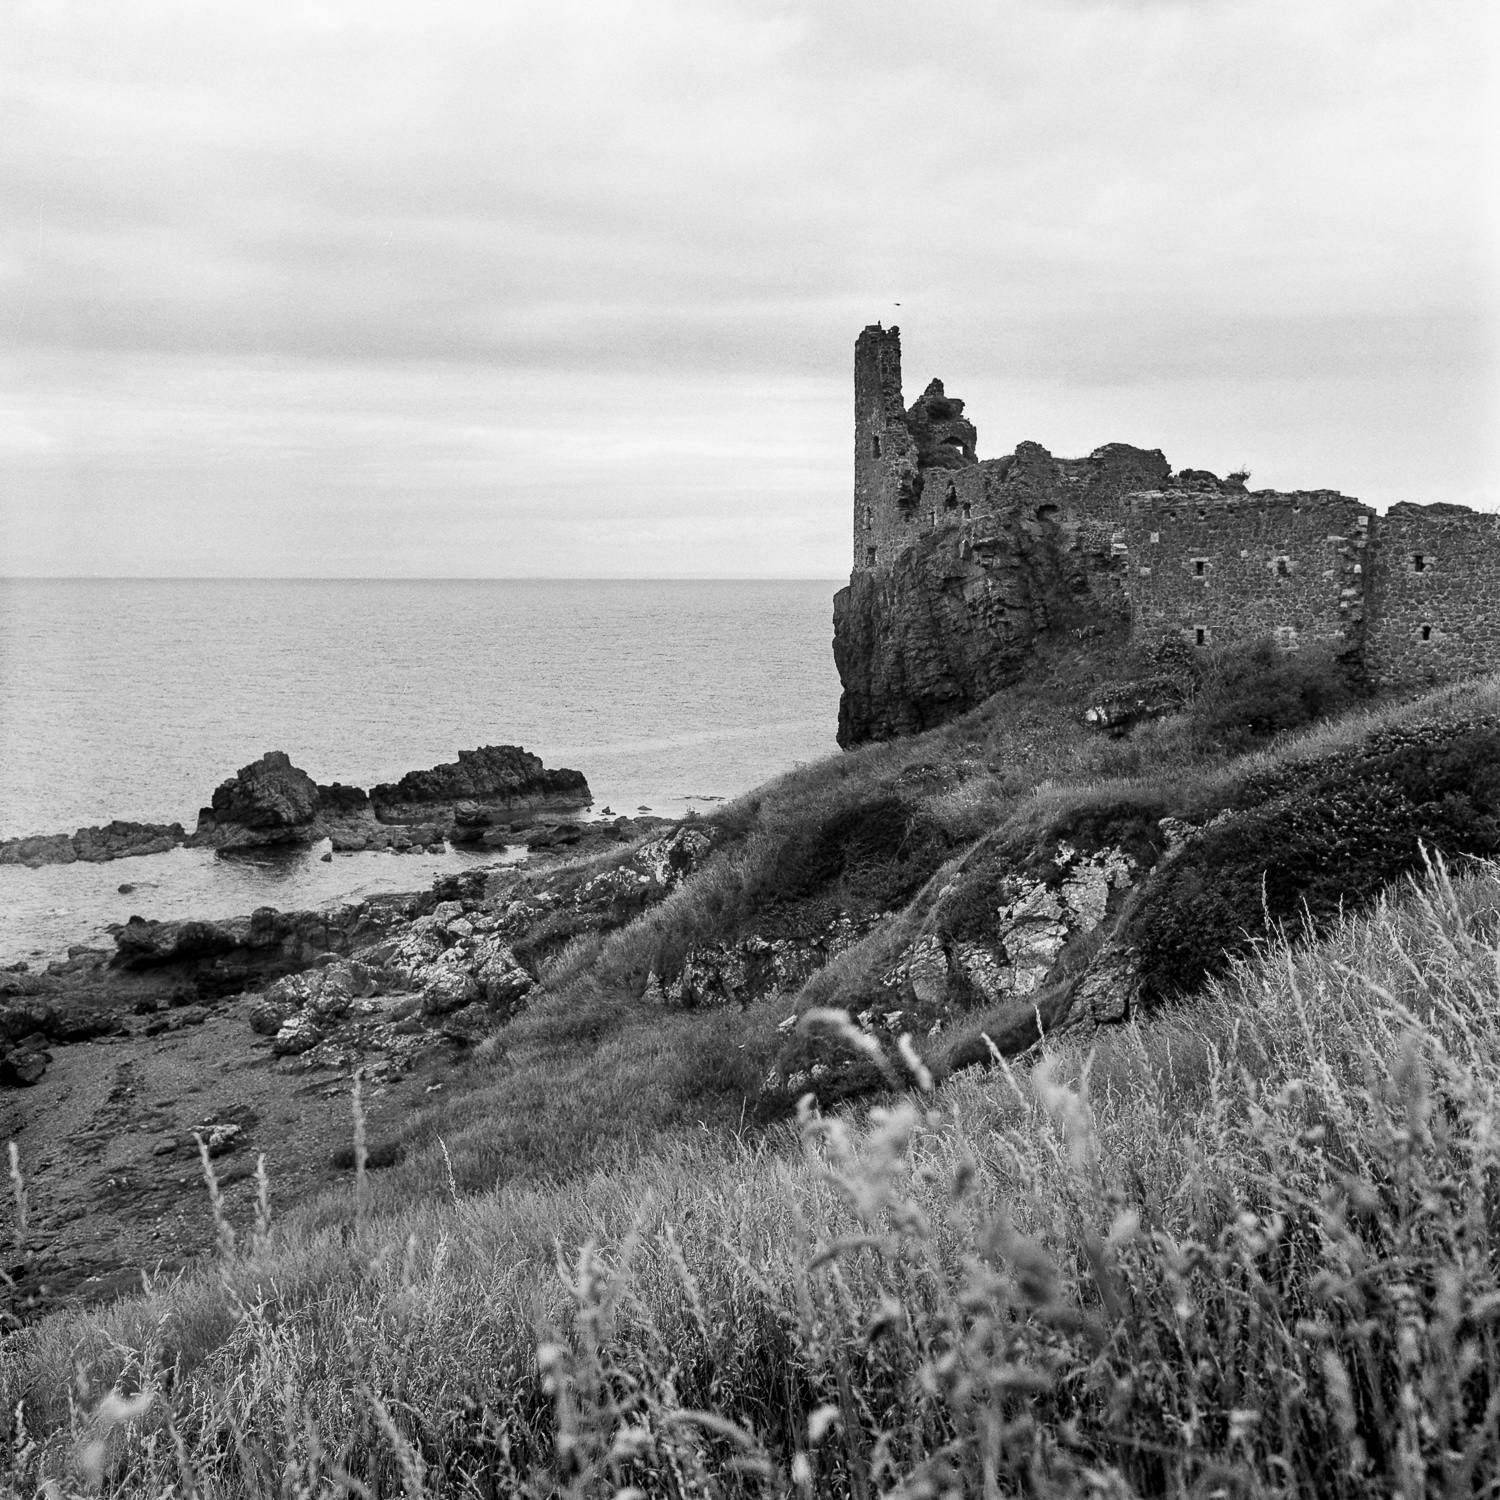
With the Rolleiflex in Scotland – Part II – Dunure

Analog, landscapes, location, photo gear, travel

See here for part one – Glentrool.

Coming from Glentrool, and taking the ferry in Ardrossan late in the evening, I could spend a couple of hours at ease in Dunure, a very small fishermen’s town a couple of miles south-west from Ayr.

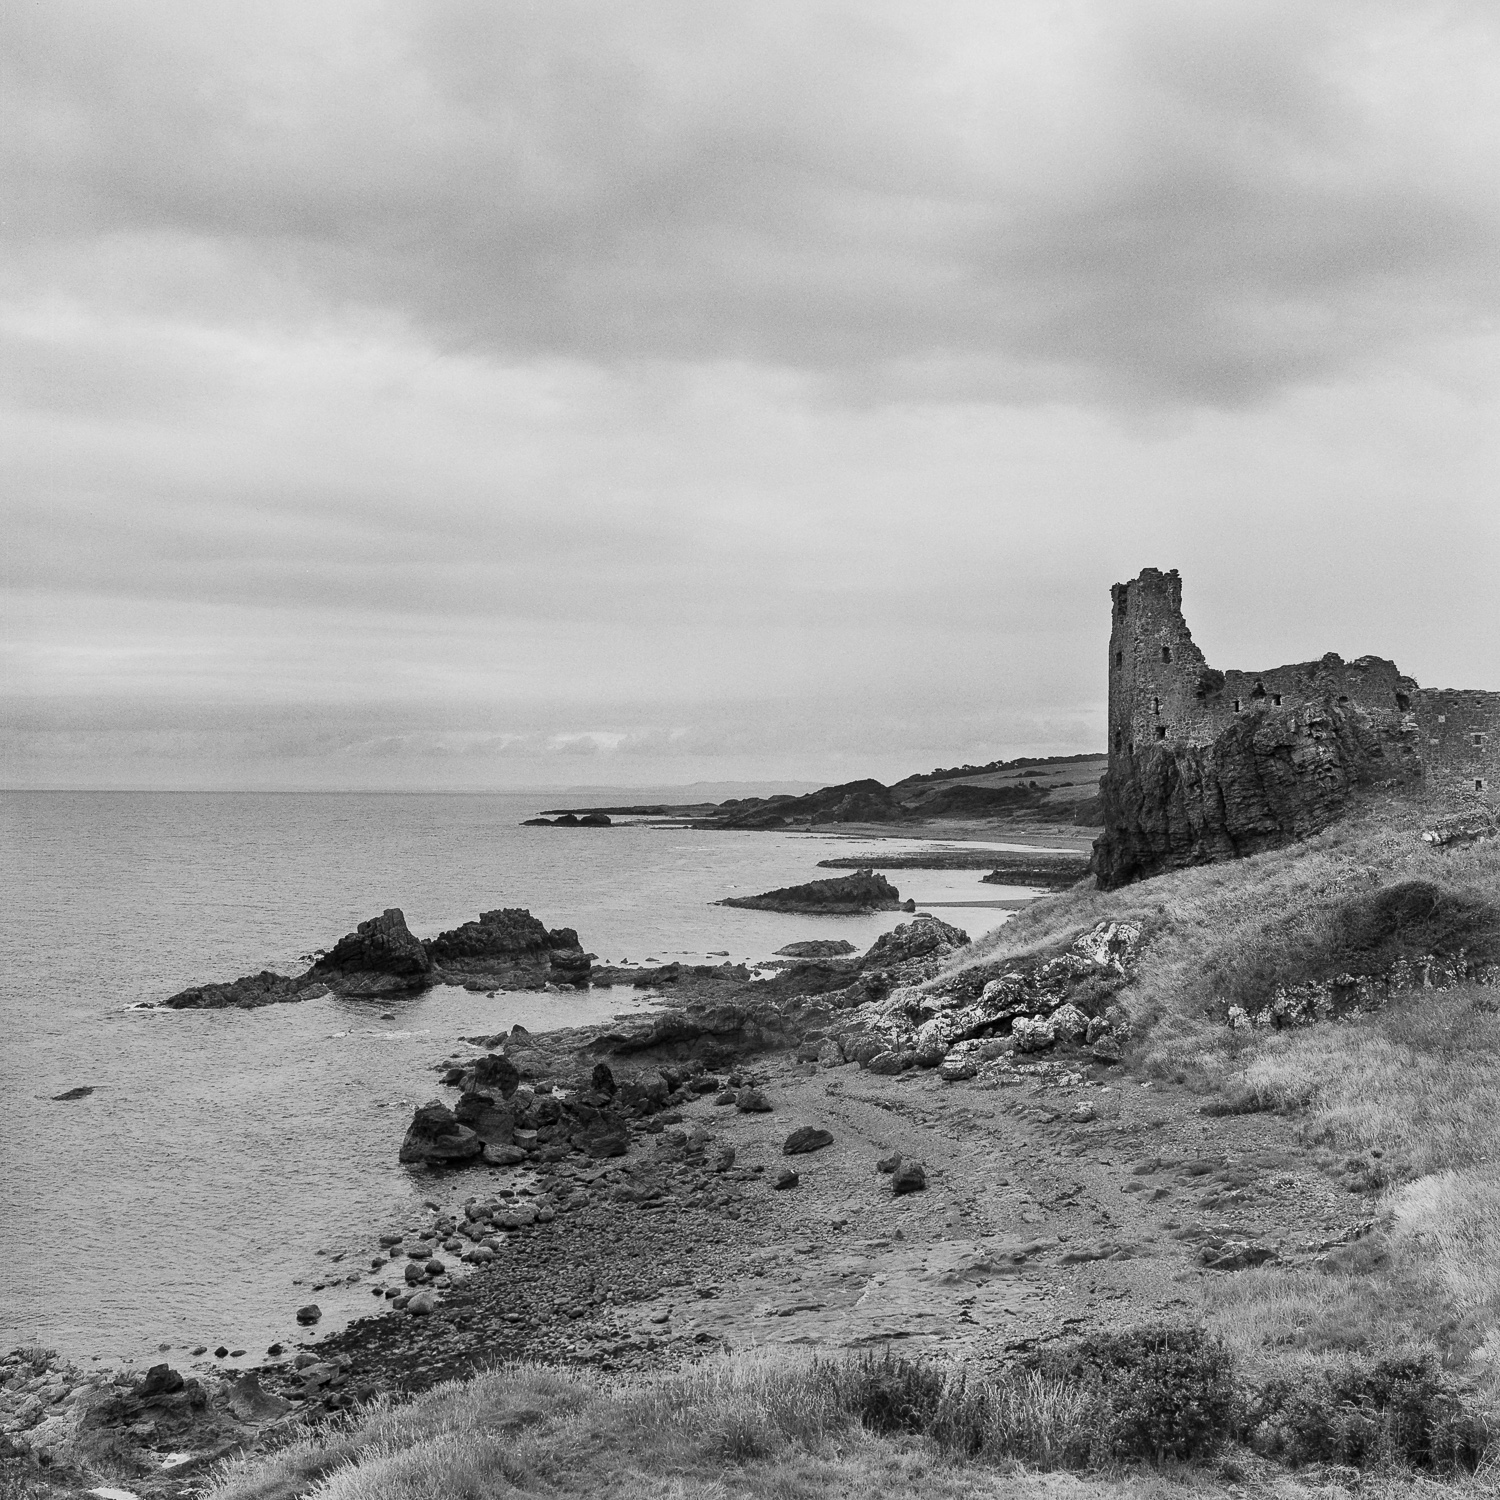
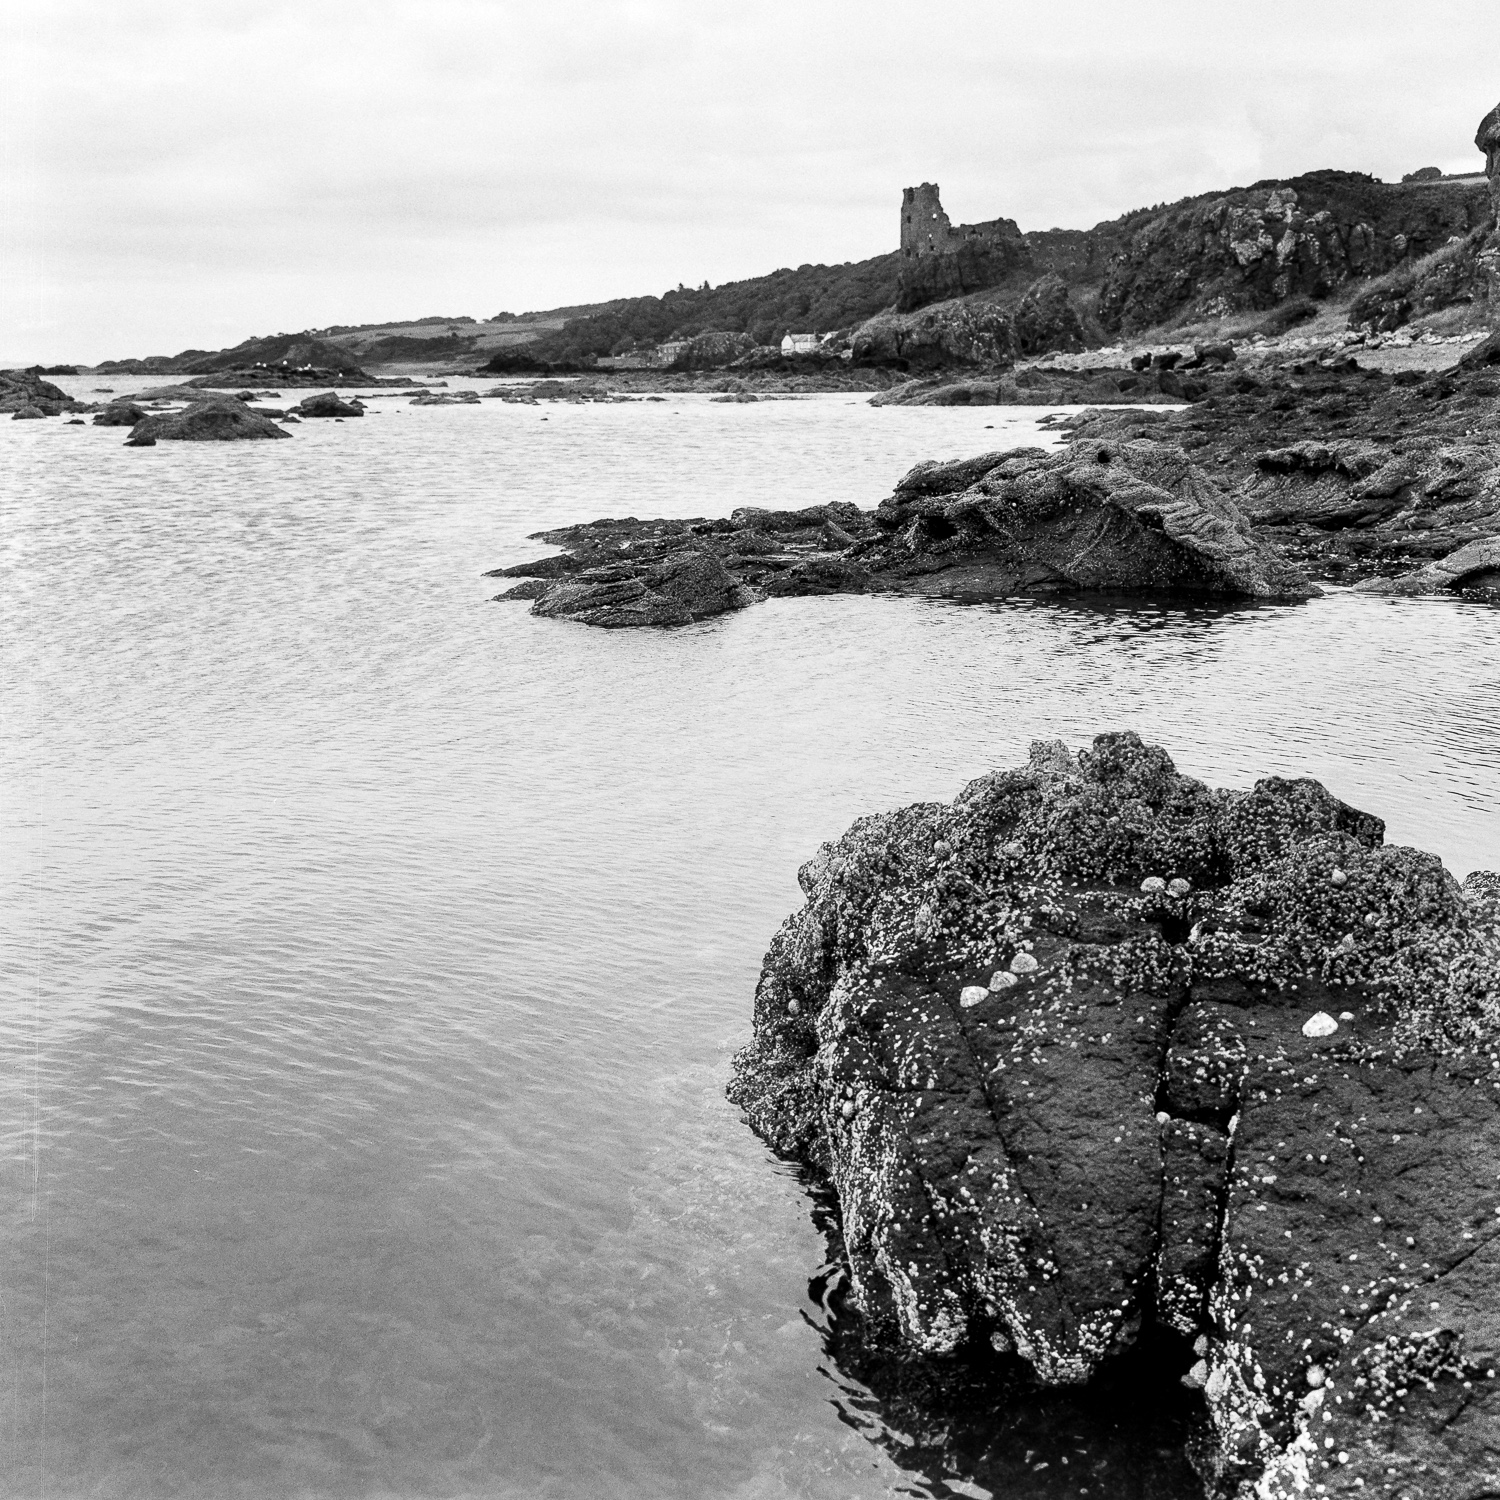
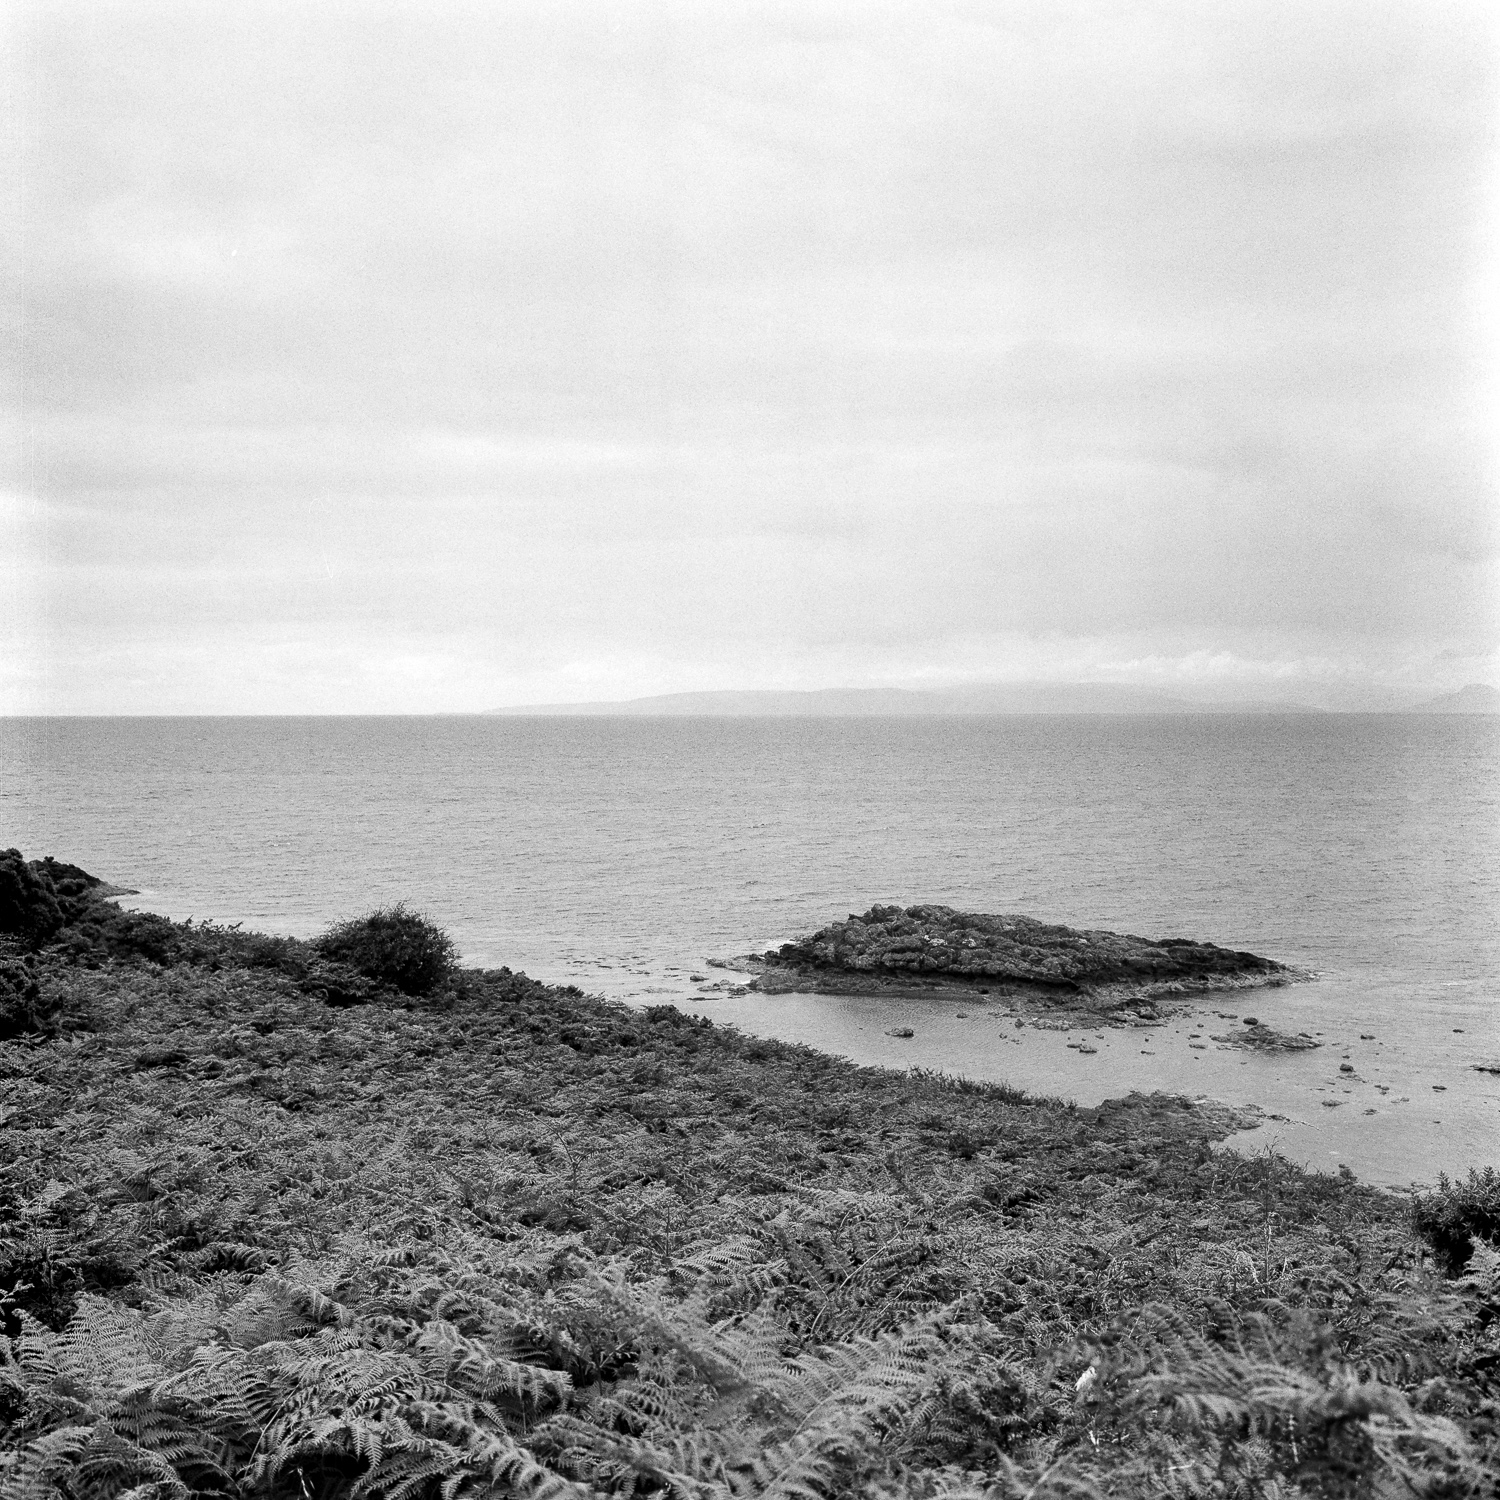
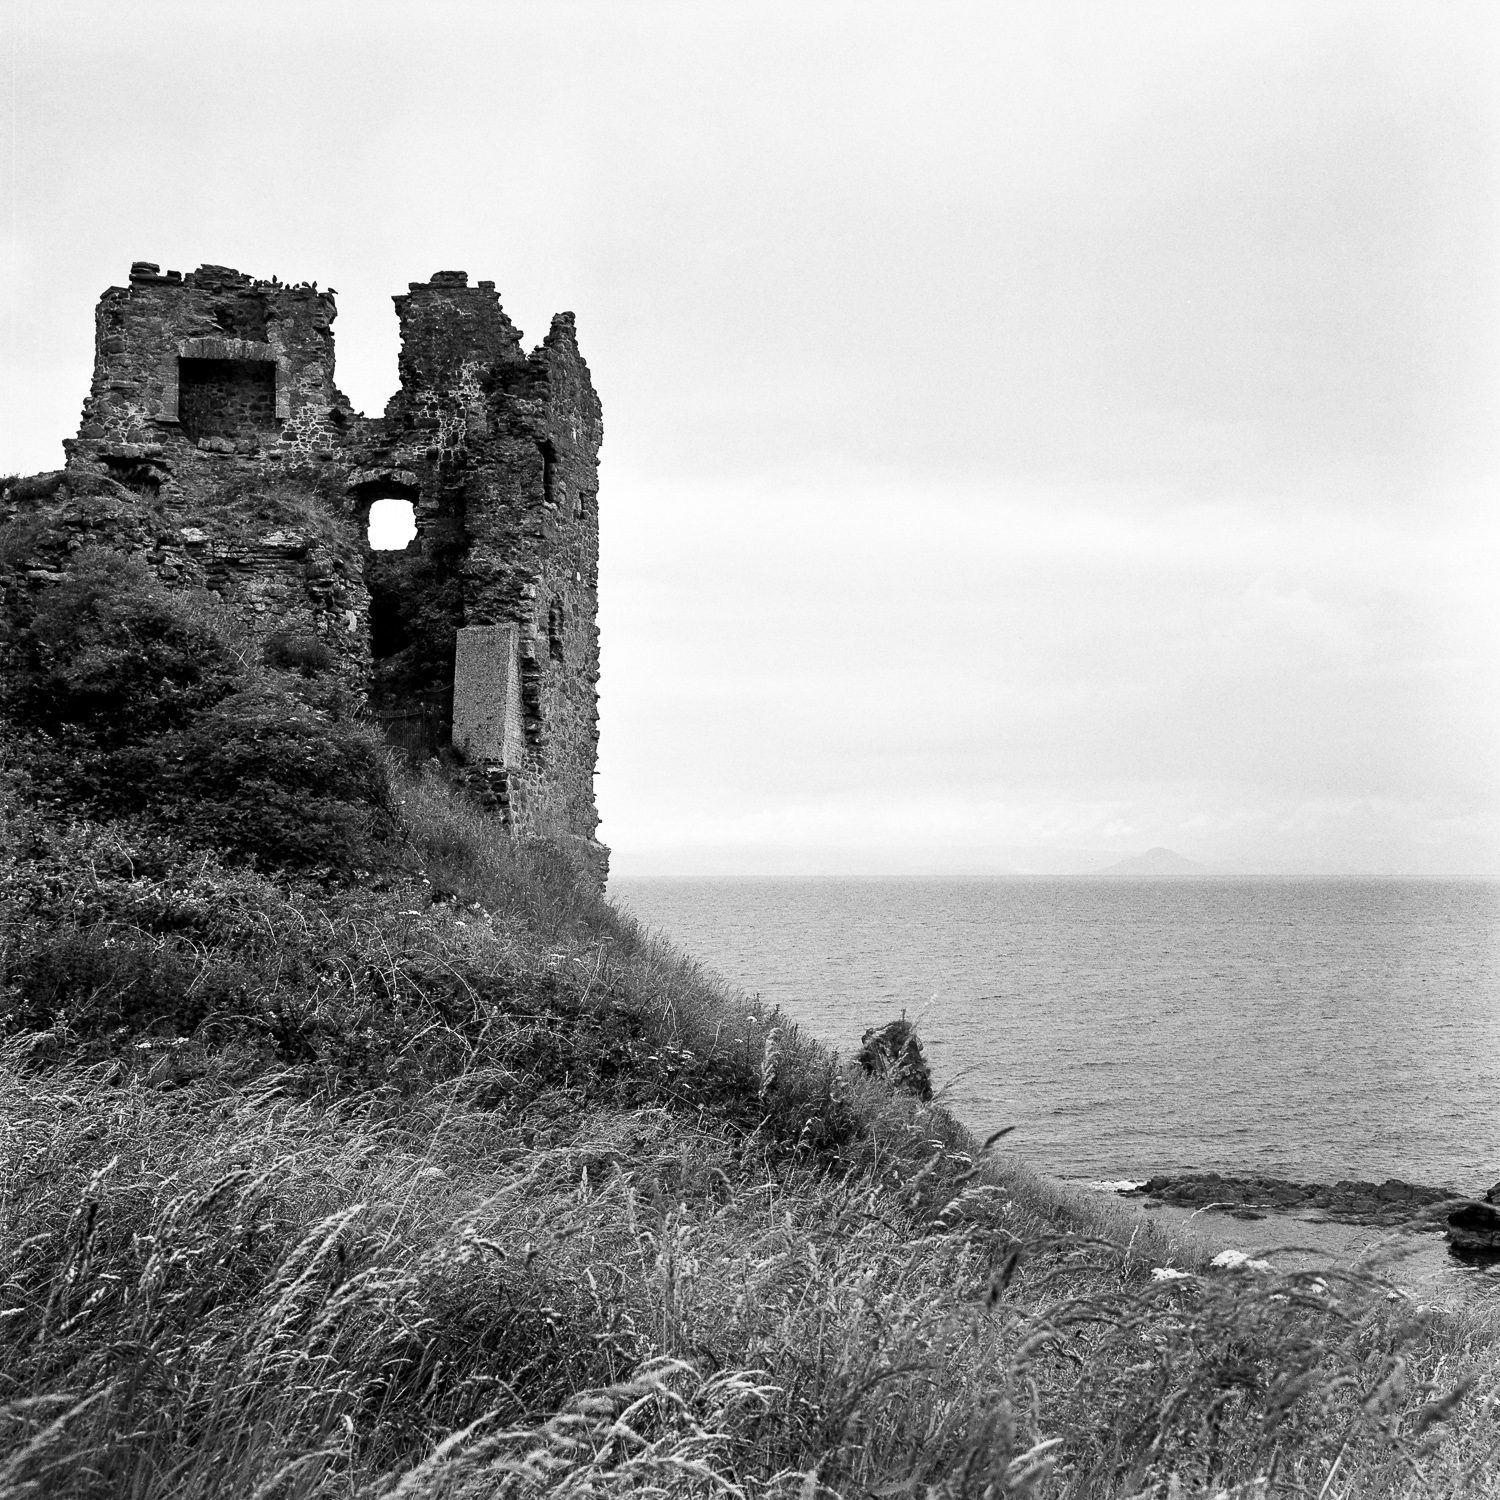
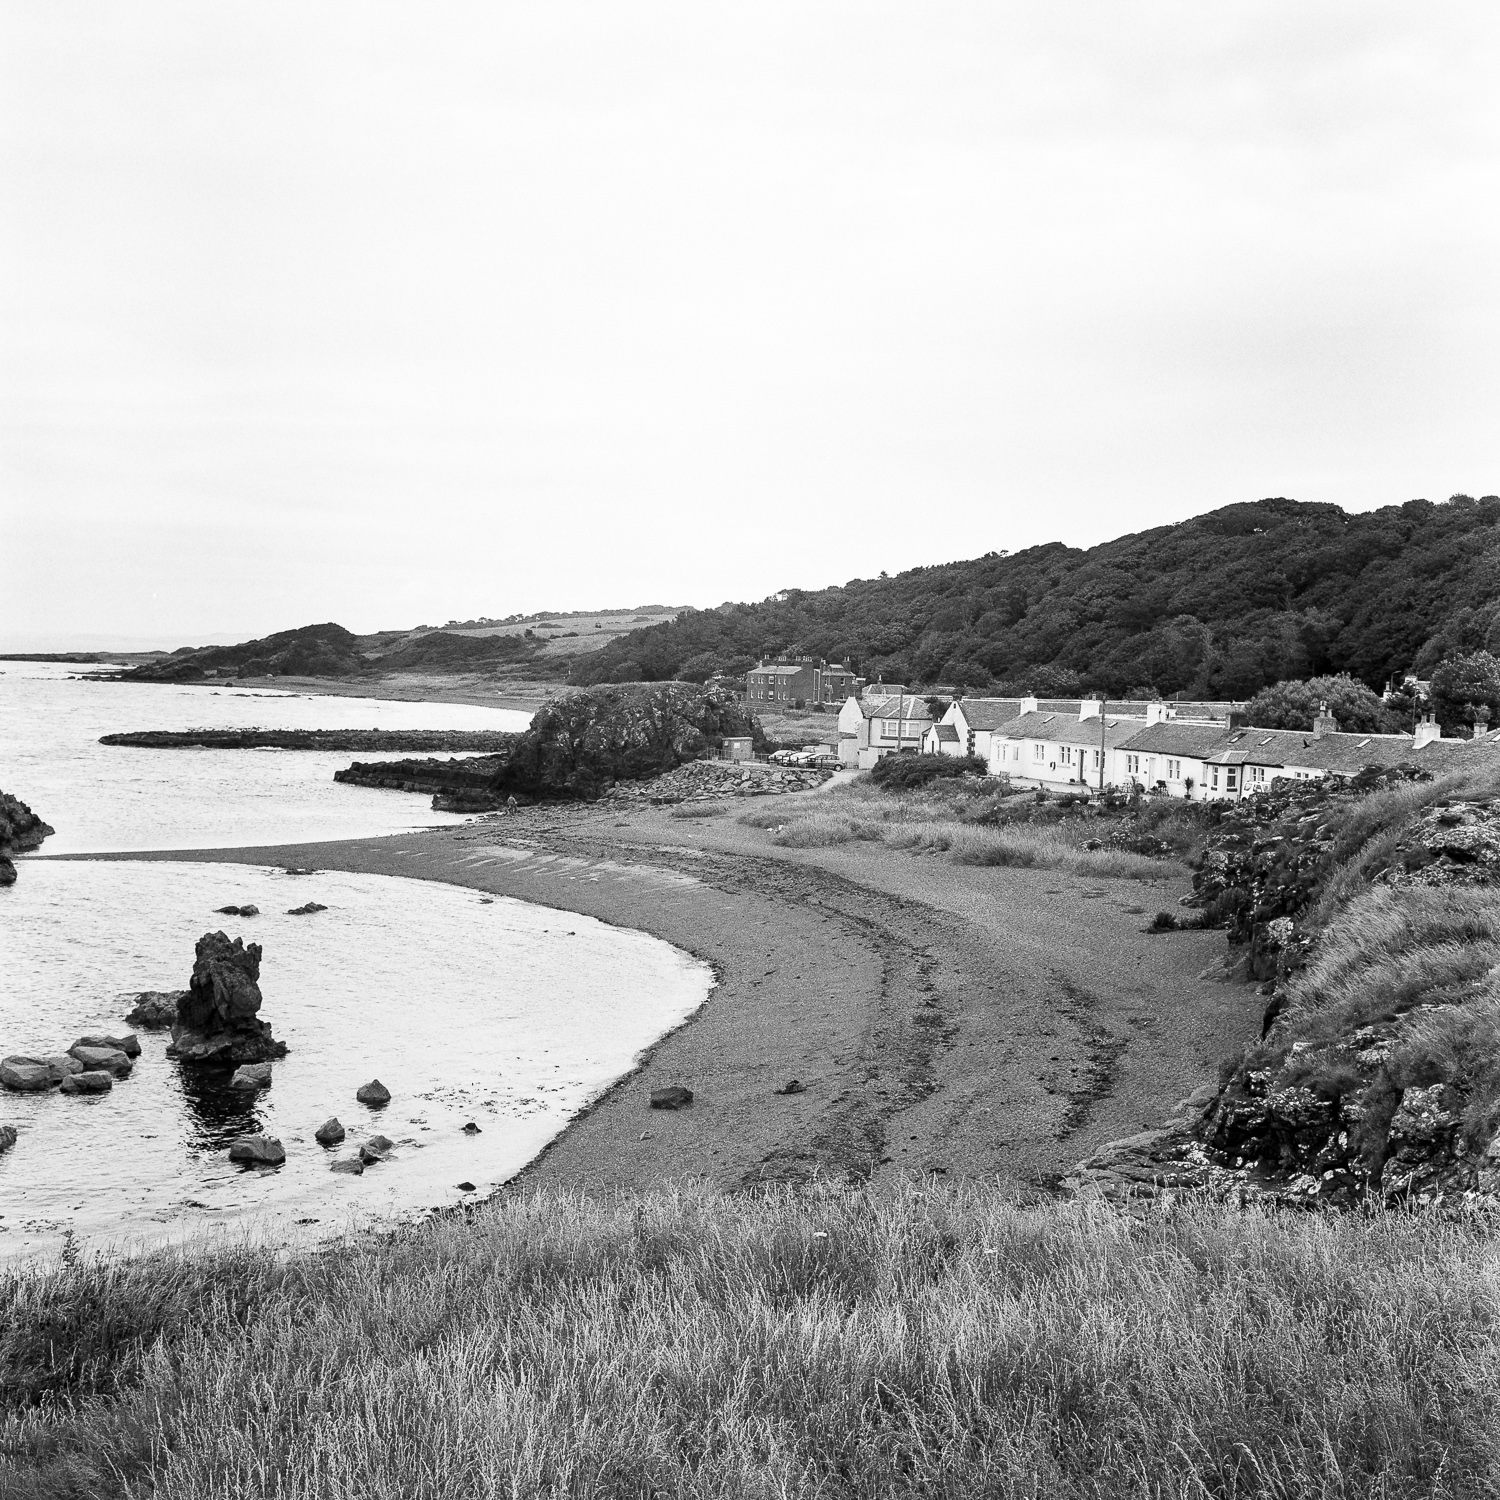
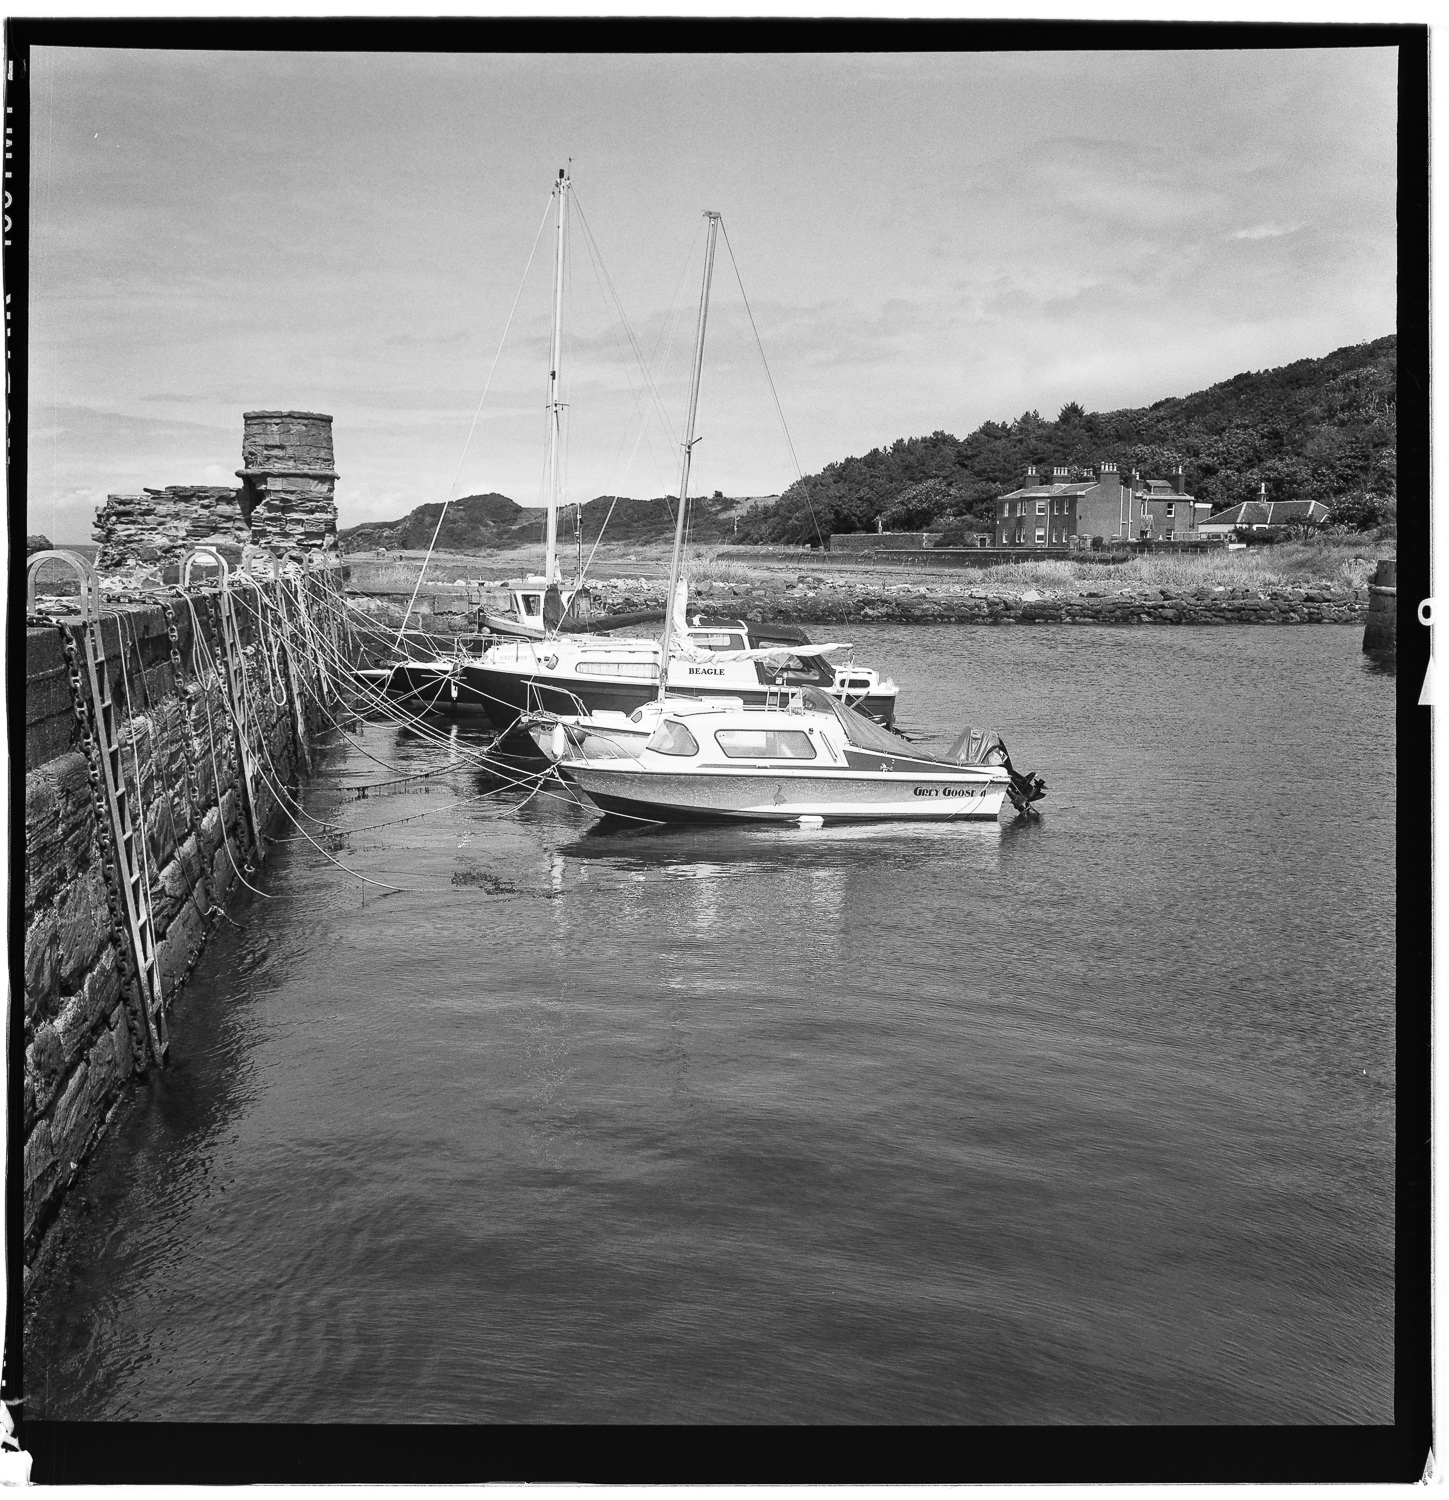
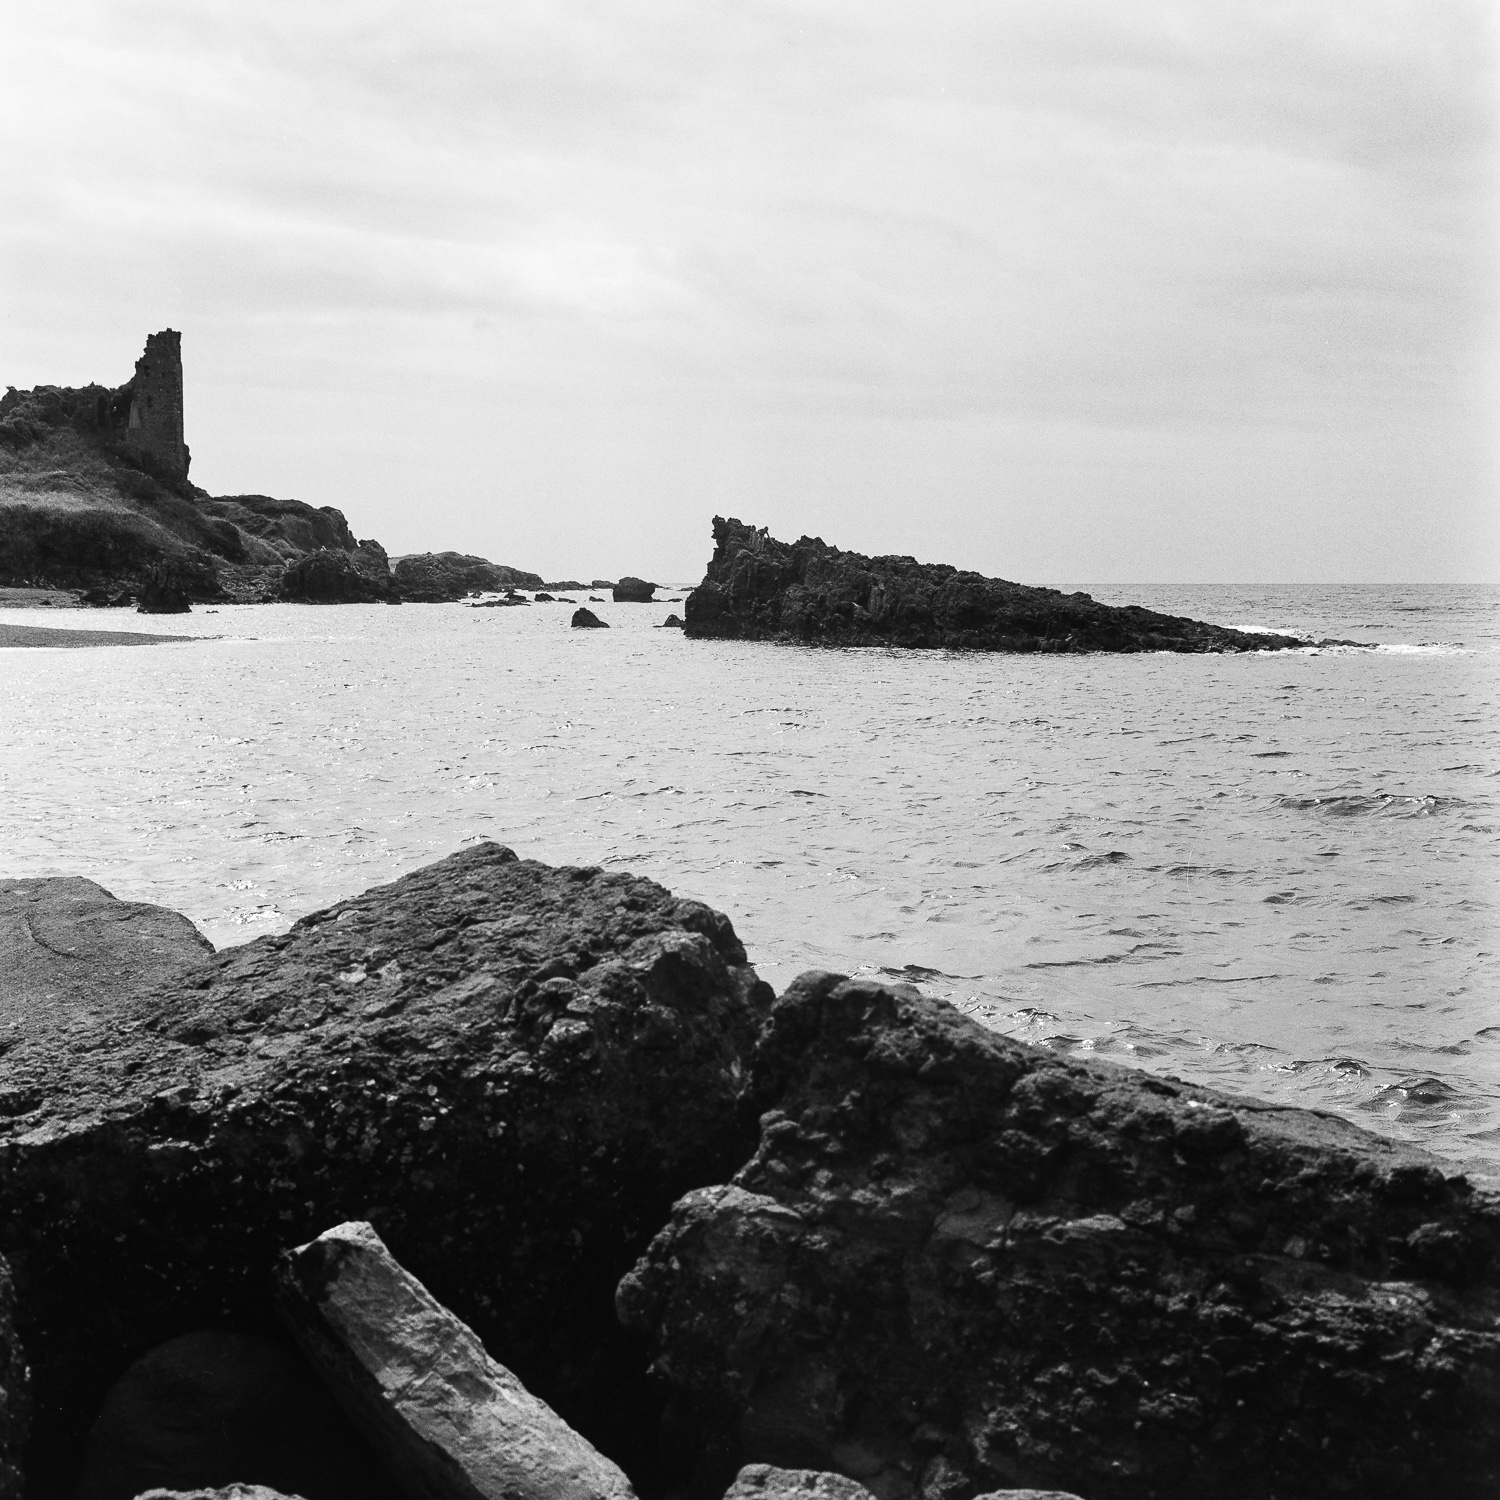
That is one of the main joys of travelling alone, not being influenced by companions, to make way, or to discover more things on the go, but just decide for yourself when and where to stop. I had driven past a small road sign along the A719 pointing to Dunure, and then another one, and I saw the rooftops of the houses just along the coast, from this main road, so I decided to turn around and check it out. It proved to be the ideal midday stop. What you see in the pictures is Dunure Castle and surroundings, in some images you will see an island in the distance, (Isle of Arran). Some images of the harbour area, and the facade of the Harbour View Coffee shop, where I had lunch that day. It is the first place that shows up on Google maps when you zoom in on Dunure, and very well documented by pictures as well. Little did I know 🙂 They provided me with a fine meal, and a place to charge my cellphone. Lovely lady-owner, very friendly and servile.

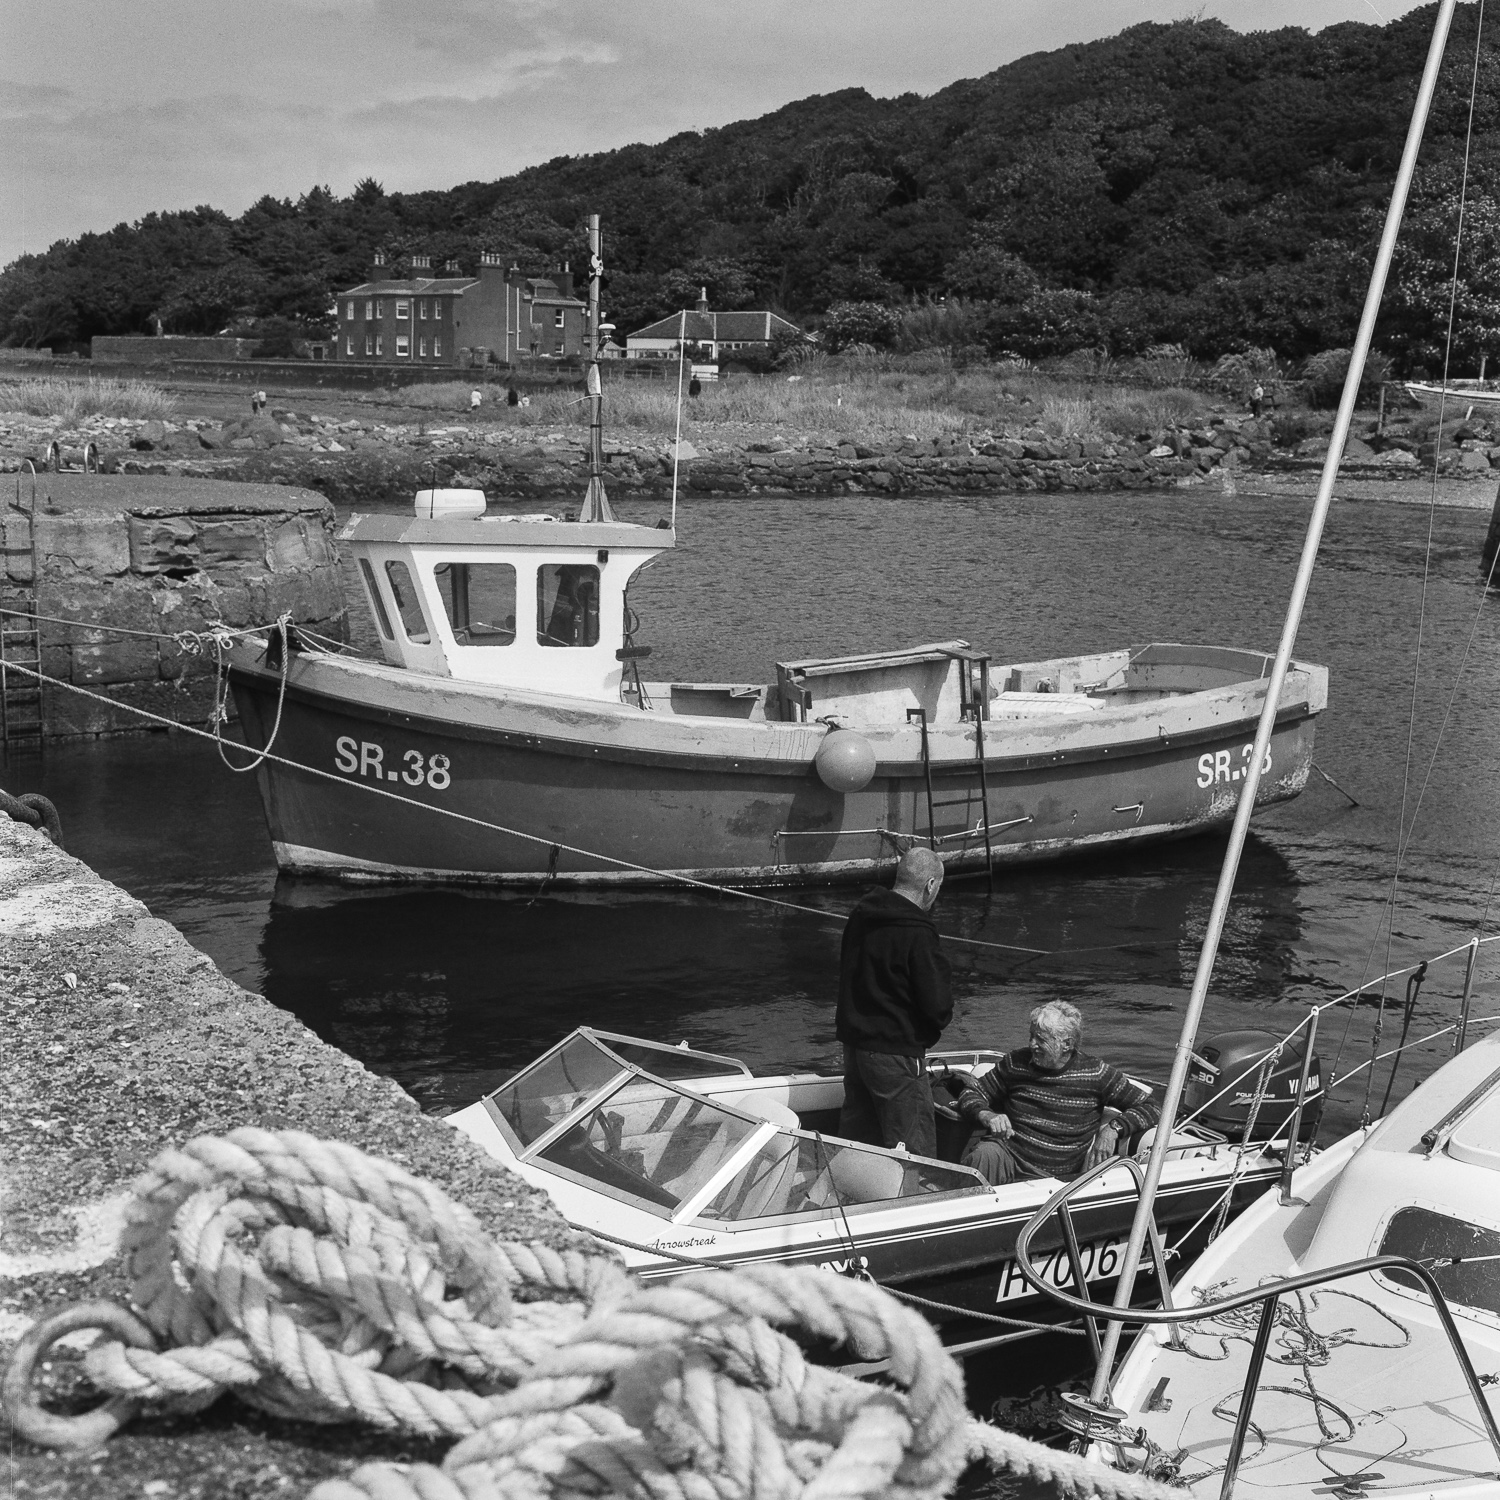
Time was all overcast when I arrived, but with sun coming trough after noon. A very enjoyable time there. I shot one roll of Kodak TMax400 with the Rolleiflex 3.5 6×6 camera. So here you see the entire film, I have not made a selection, you see what I’ve seen and what I’ve shot. Lab developed, home scanned and digitally redeveloped in Adobe Lightroom. You’ll notice some scratches on the left side of the images. These are probably from the lab, that’s why I decided to start developing film again myself. Oooo, it’s been like 25 years, exciting 😀 … (edit: scroll down for the link for part III)

part III of this series, another roll of film shot in the harbour of Ardrossan

Film ‘scanning’ with the DSLR camera

Analog, Lightroom, personal tips & tricks, photo gear, Tips and Tricks

Ok, something I wanted to do for a long time:

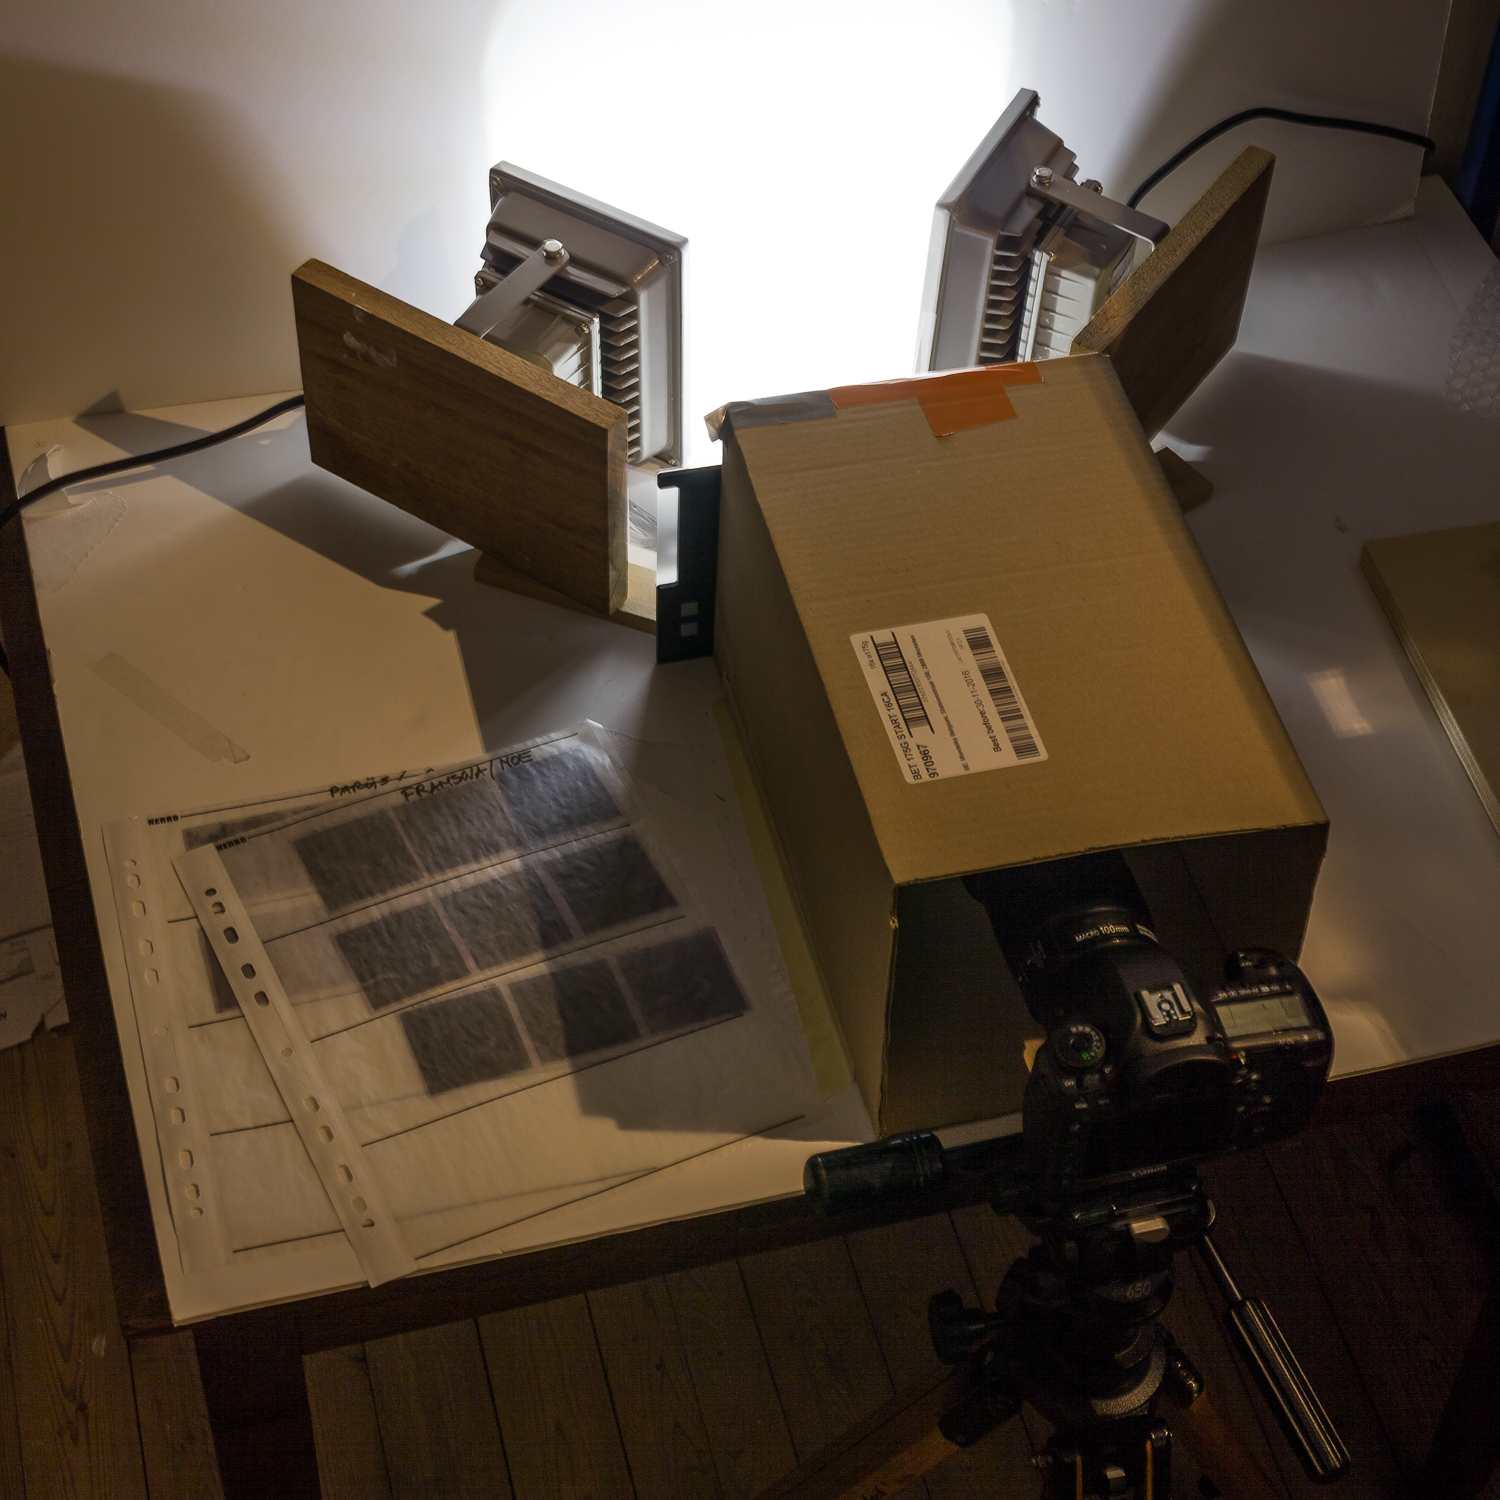
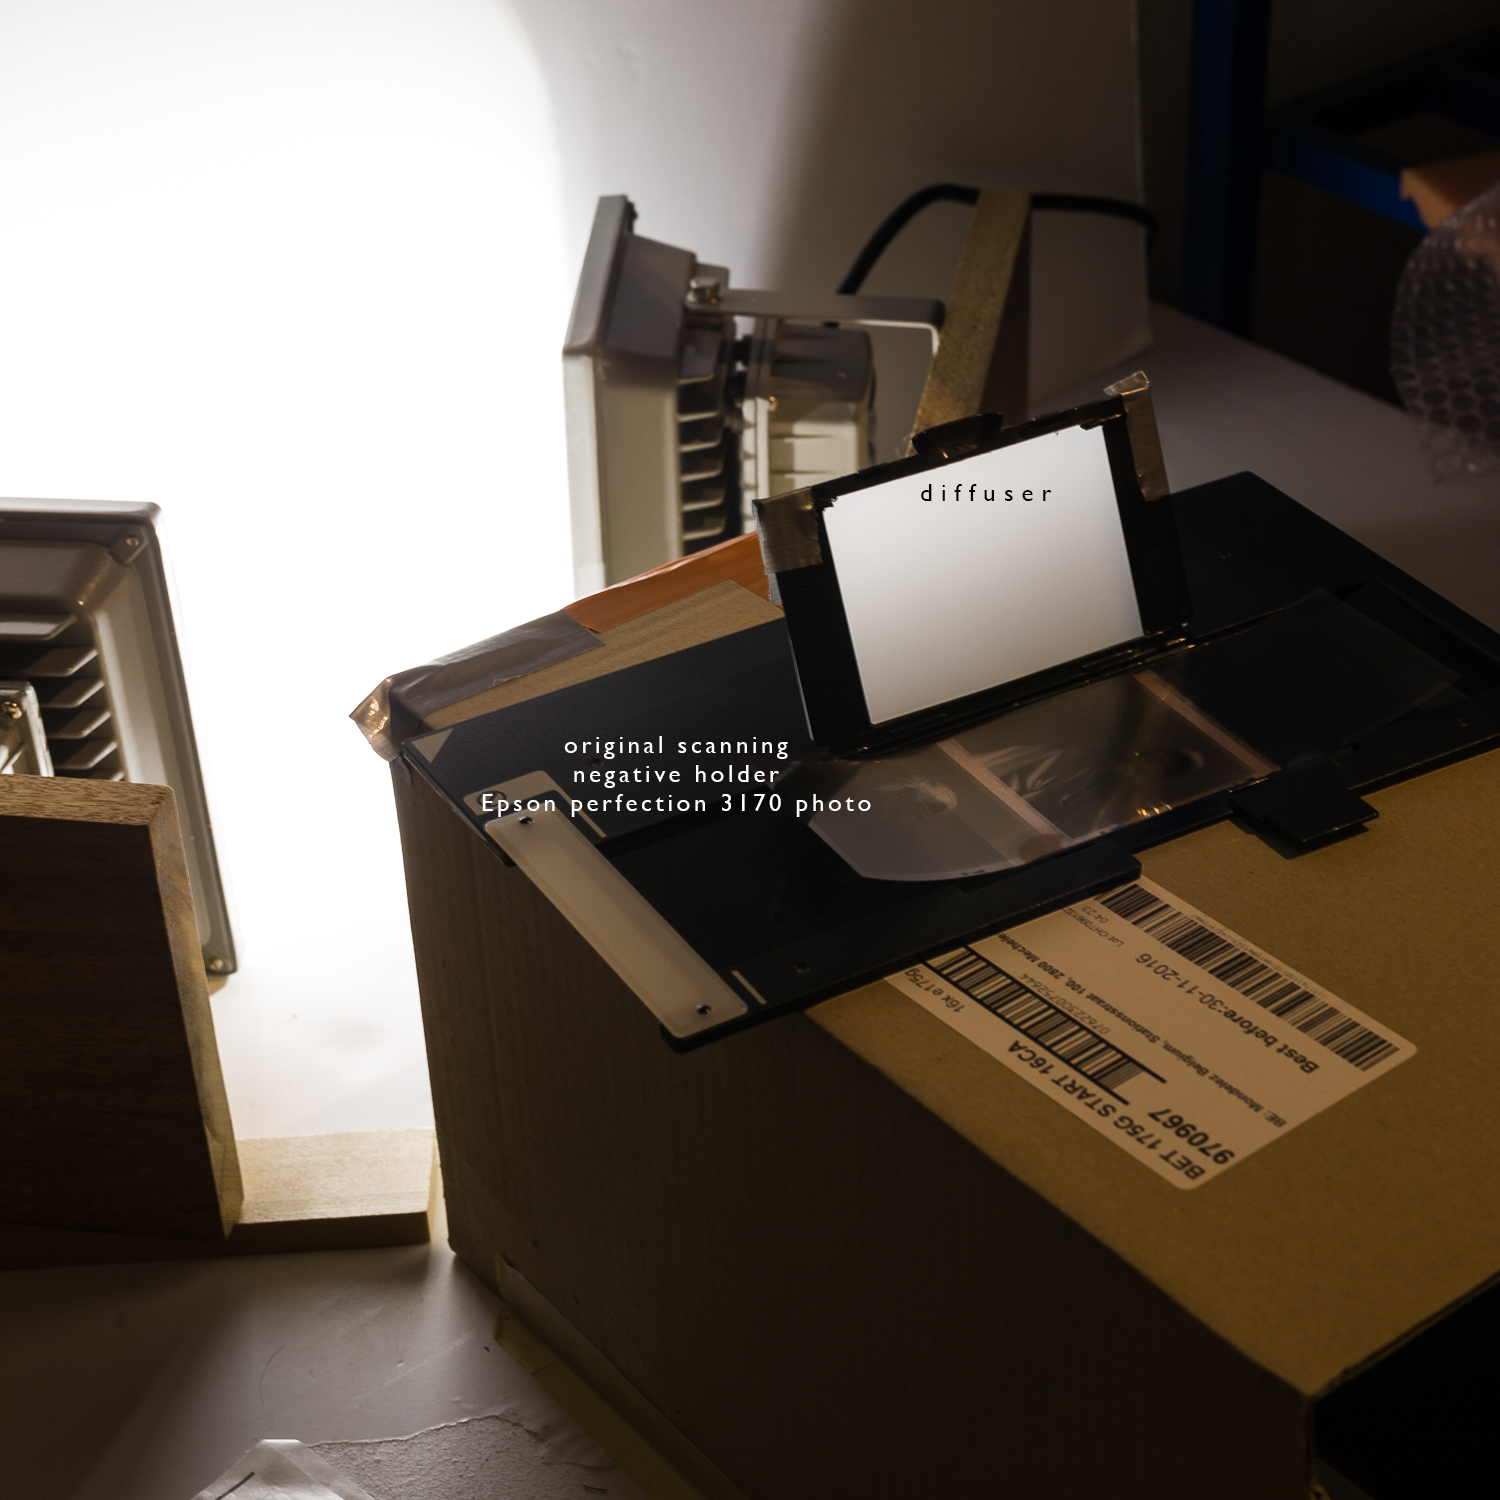
On some fora, people have been asking how I scan my negatives, actually I’ve quit scanning, and digitise my 6×6 negatives with the Canon 5Ds high resolution camera, and a Canon 100mm Macro lens. For me it is quicker than scanning, I get a RAW negative file to work with, and I had all gear I needed for building a simple setup.

I have been looking for a new scanner for a while, genre Epson V800, but found them to be a little too expensive for my taste and limited use. I already had this Canon 5Ds camera, and I had a Macro lens, so I wanted to give it a try digitising with the camera in stead. I’ve built this setup to do so, (actually writing this blog post has inspired me to make it even better) …

see images below …

• I have two lamps (generic building LED lamps from a DIY store) that I point to the back, where I have a white foam board installed. I don’t care about the white balance because I work with black and white film, so I get rid of all colour anyway.

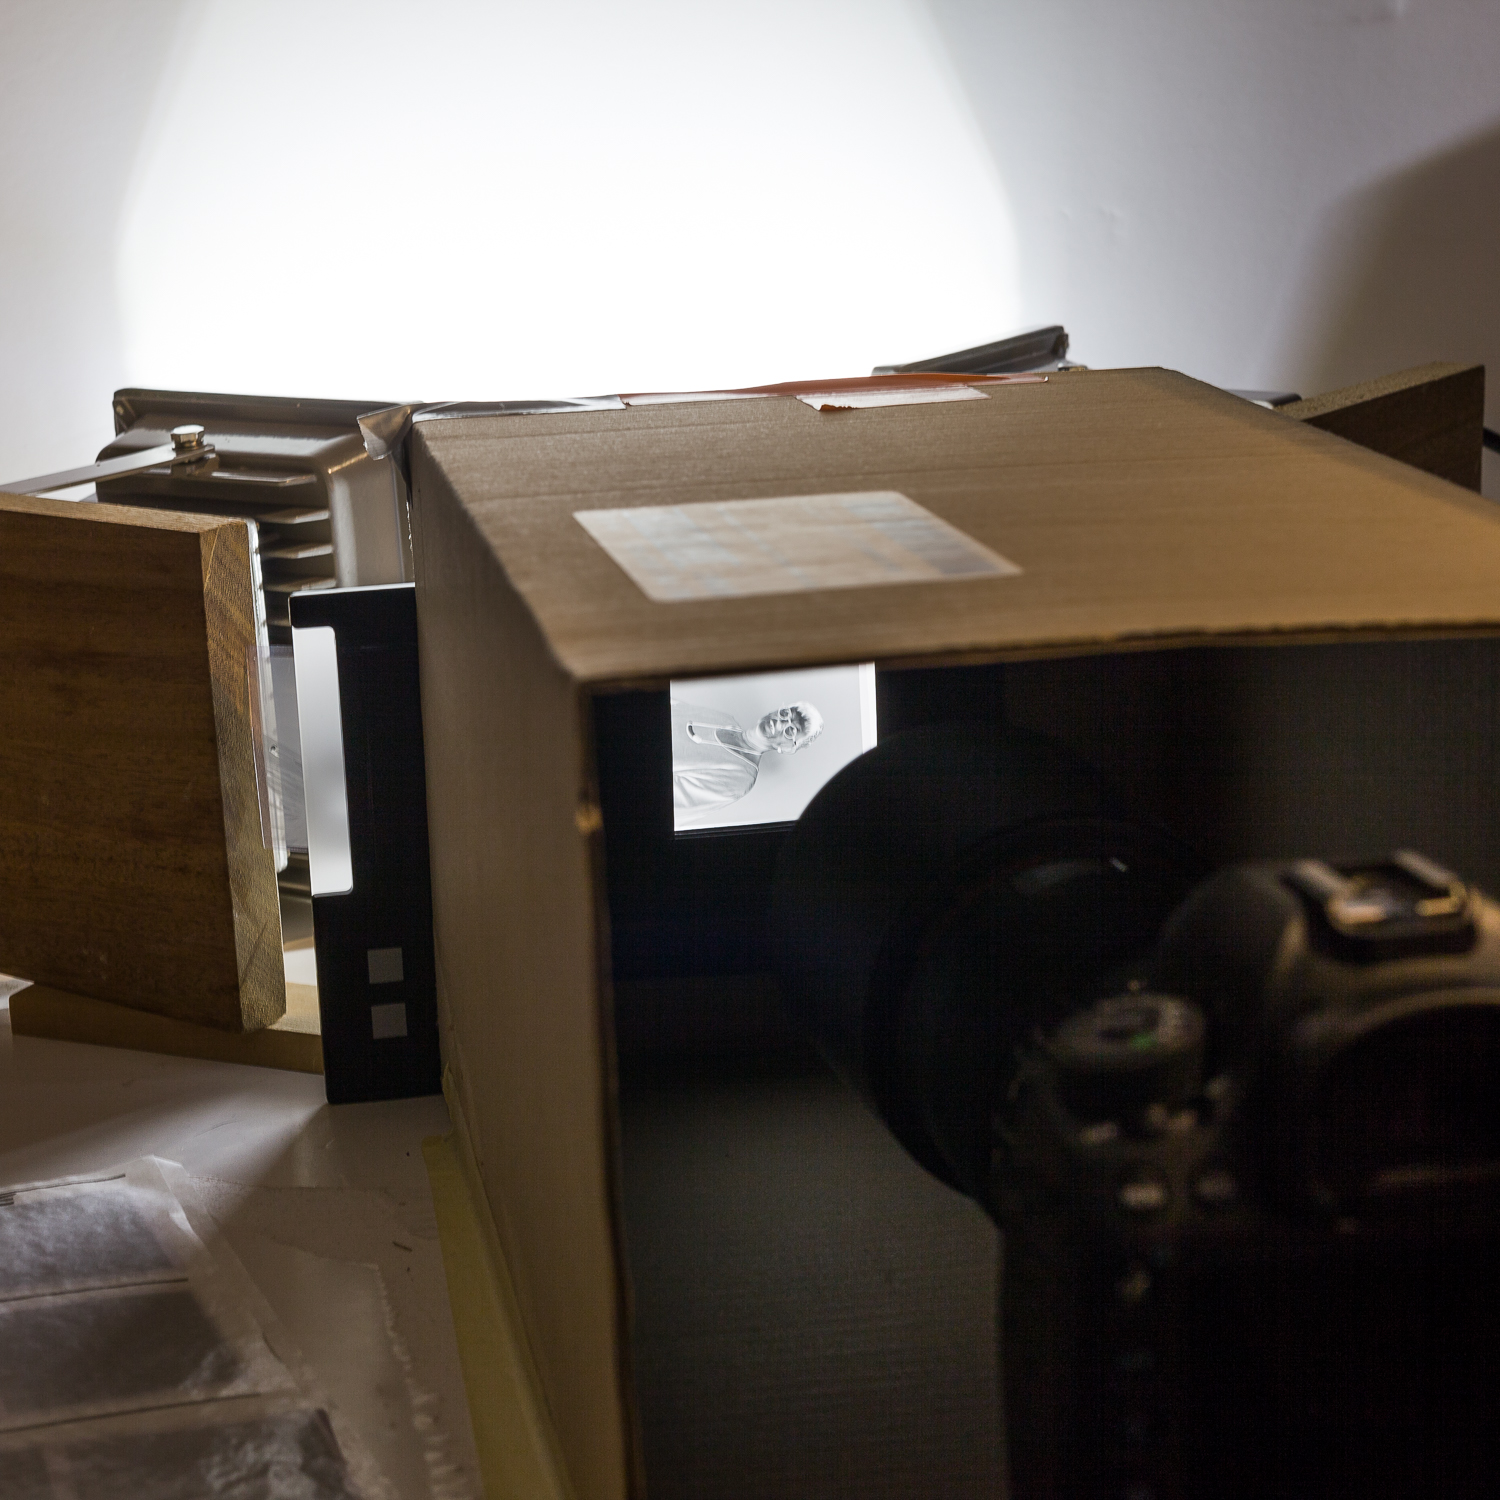
• At a relatively small distance (30cm – 1 foot) I have a cardboard box, fixed to a base board (same white foam board, cardboard box taped to it), with a hole in the back end, a little bigger than the negatives I am working with. On the inside of the box, I have put a black paper, with a square cut hole in it, to better fit the actual size of the negatives. The front side of the cardboard box is open, and takes the camera.

• I use a negative holder from an old scanner, but I cut the film frame a tad wider, to be able to see the negative’s edges all around. I kept the original diffusor window.

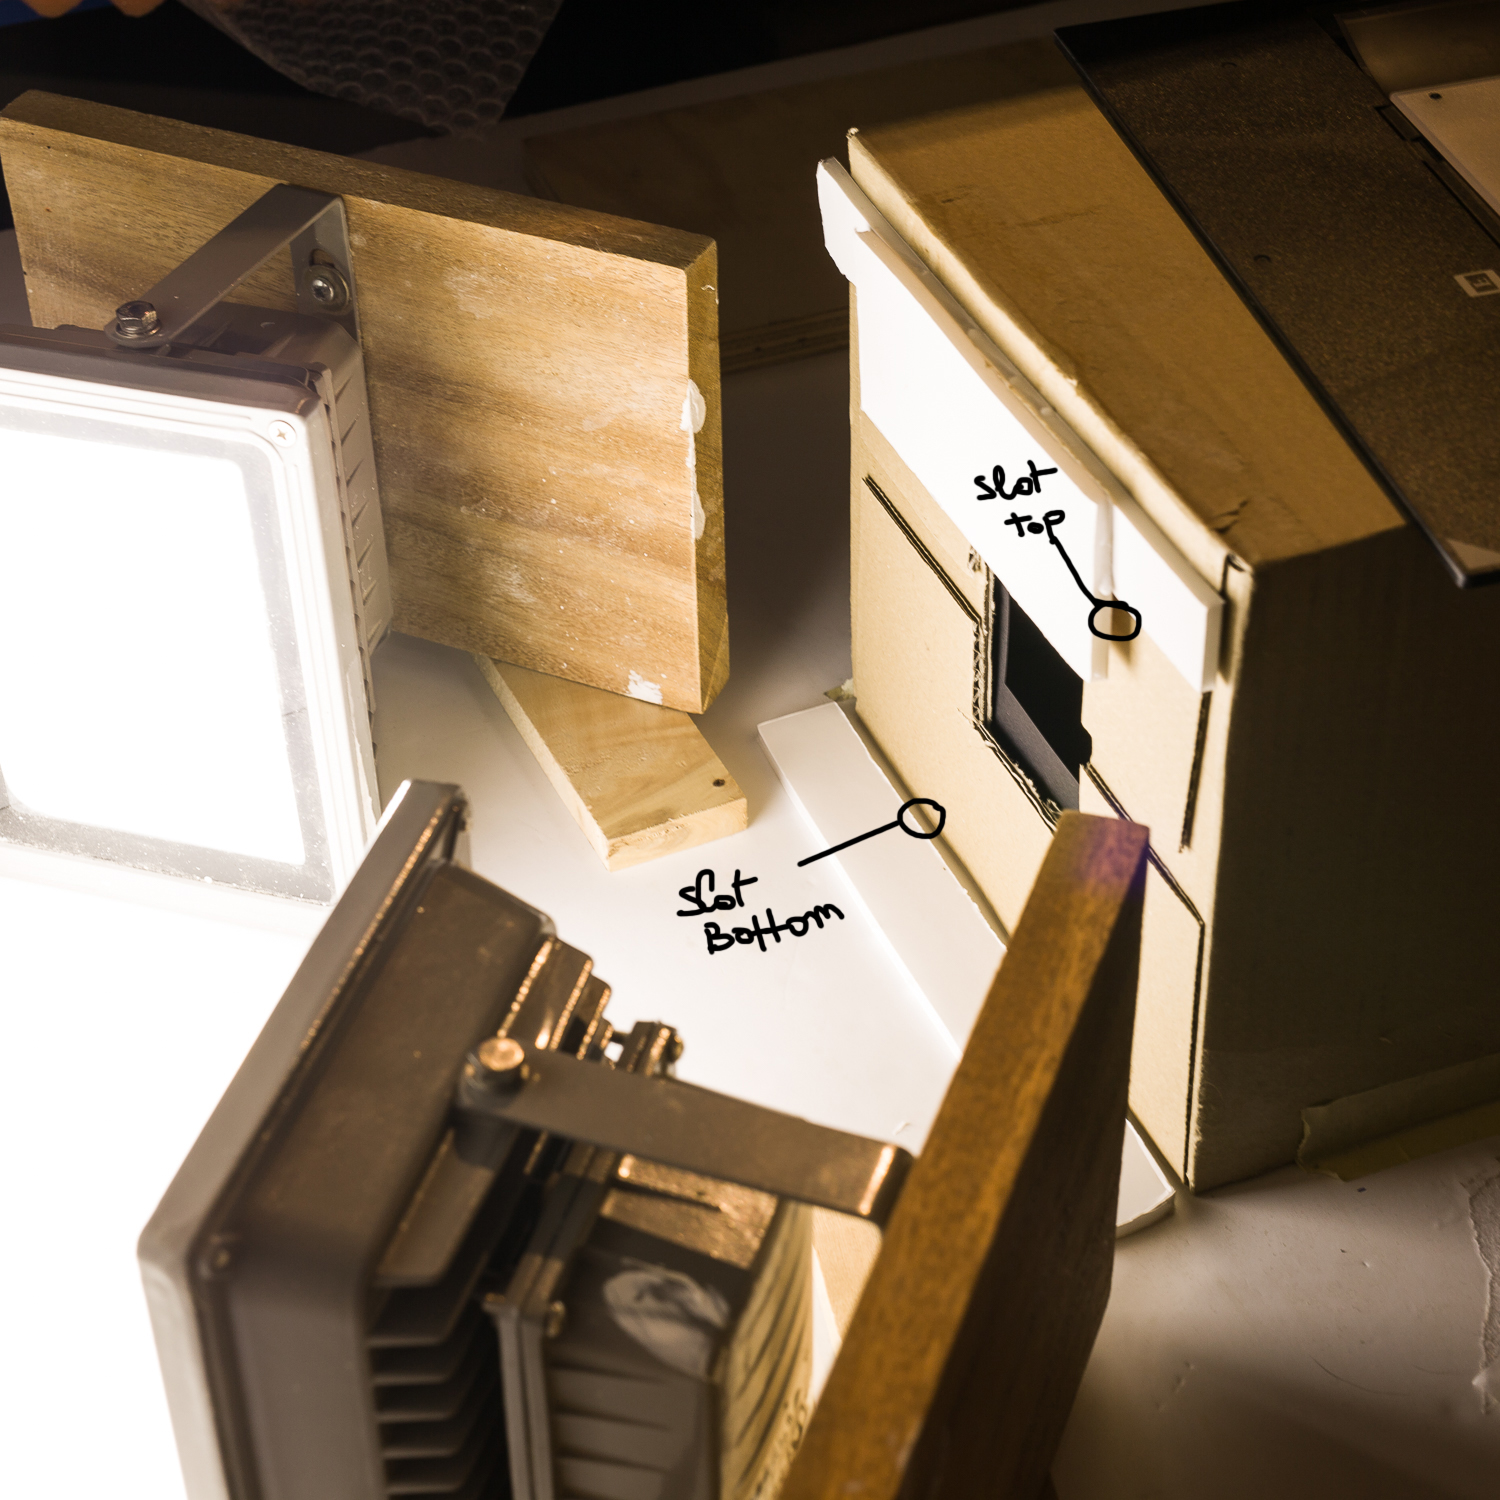
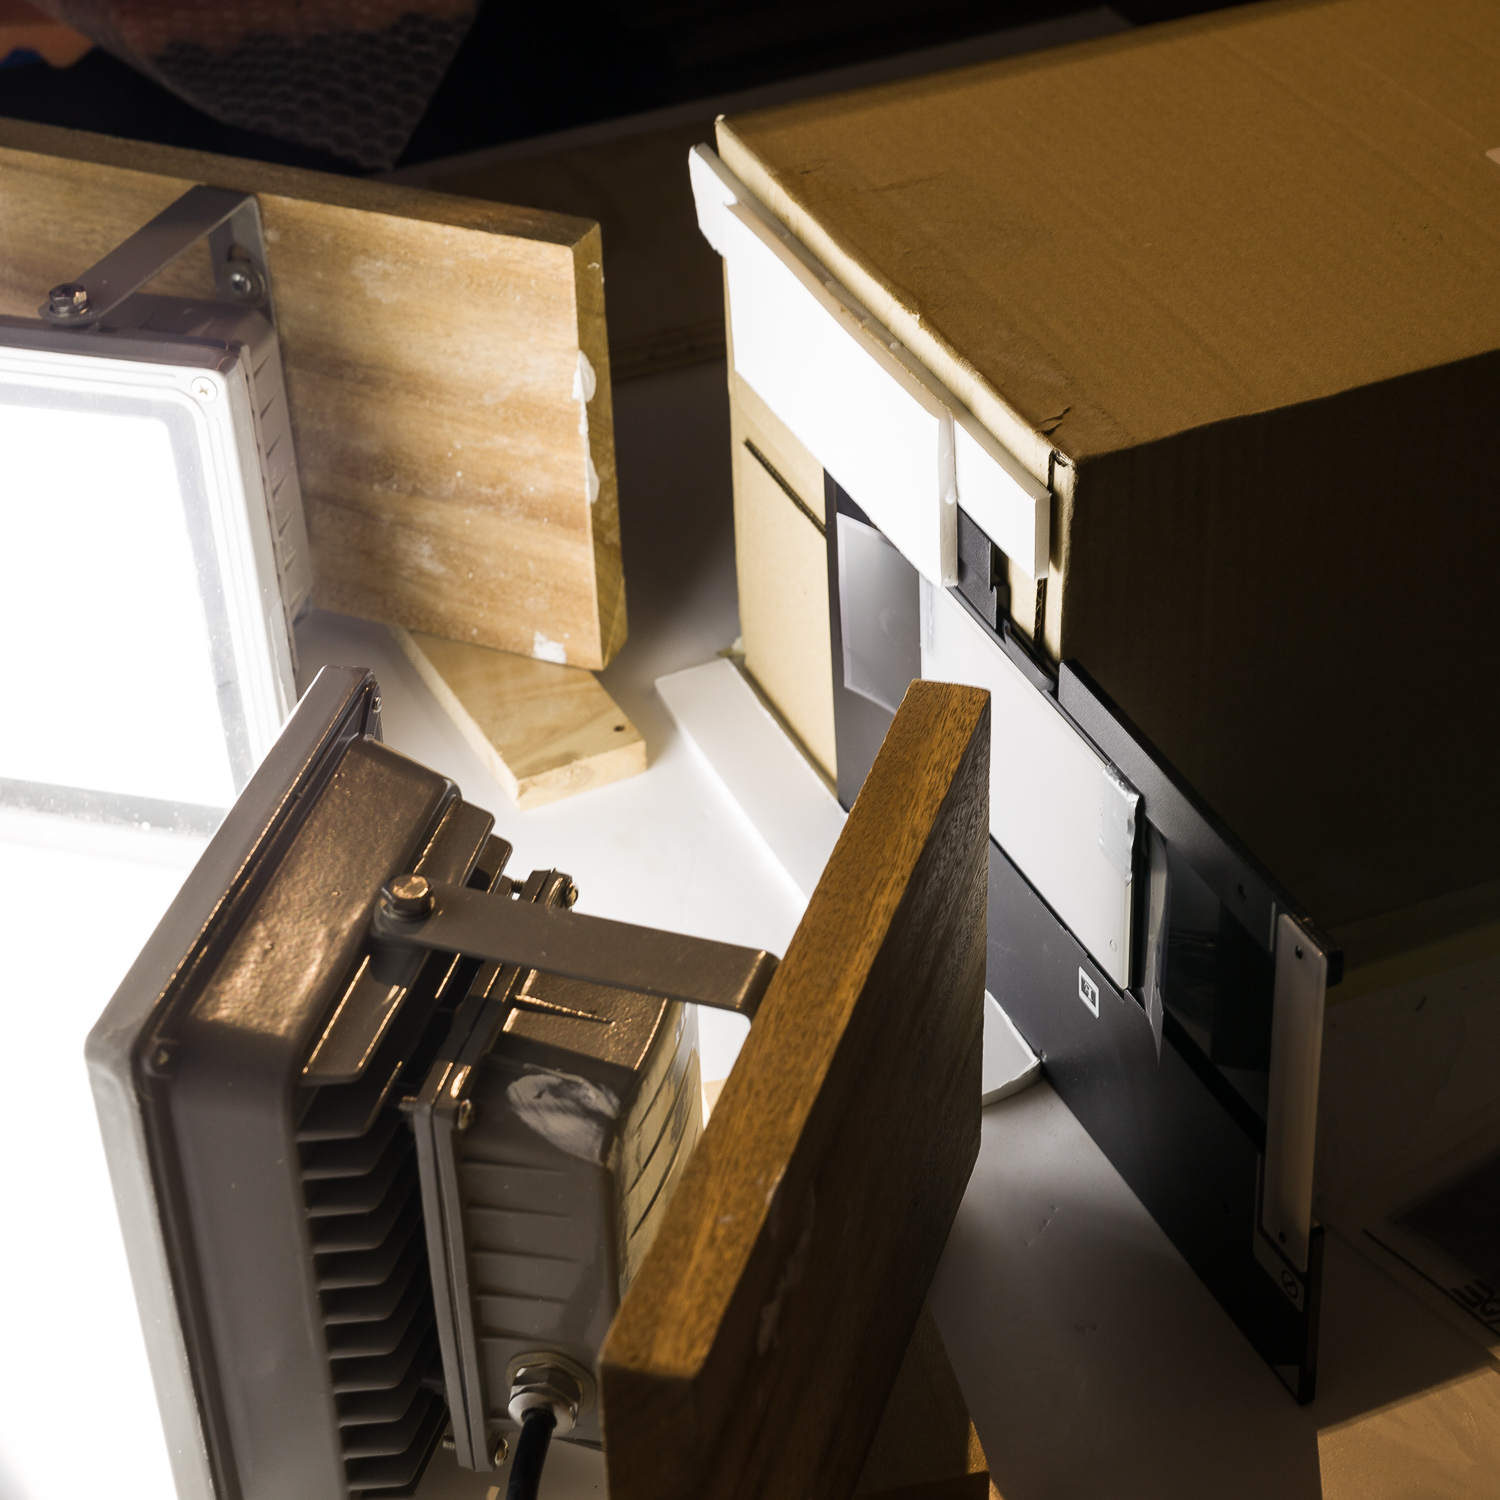
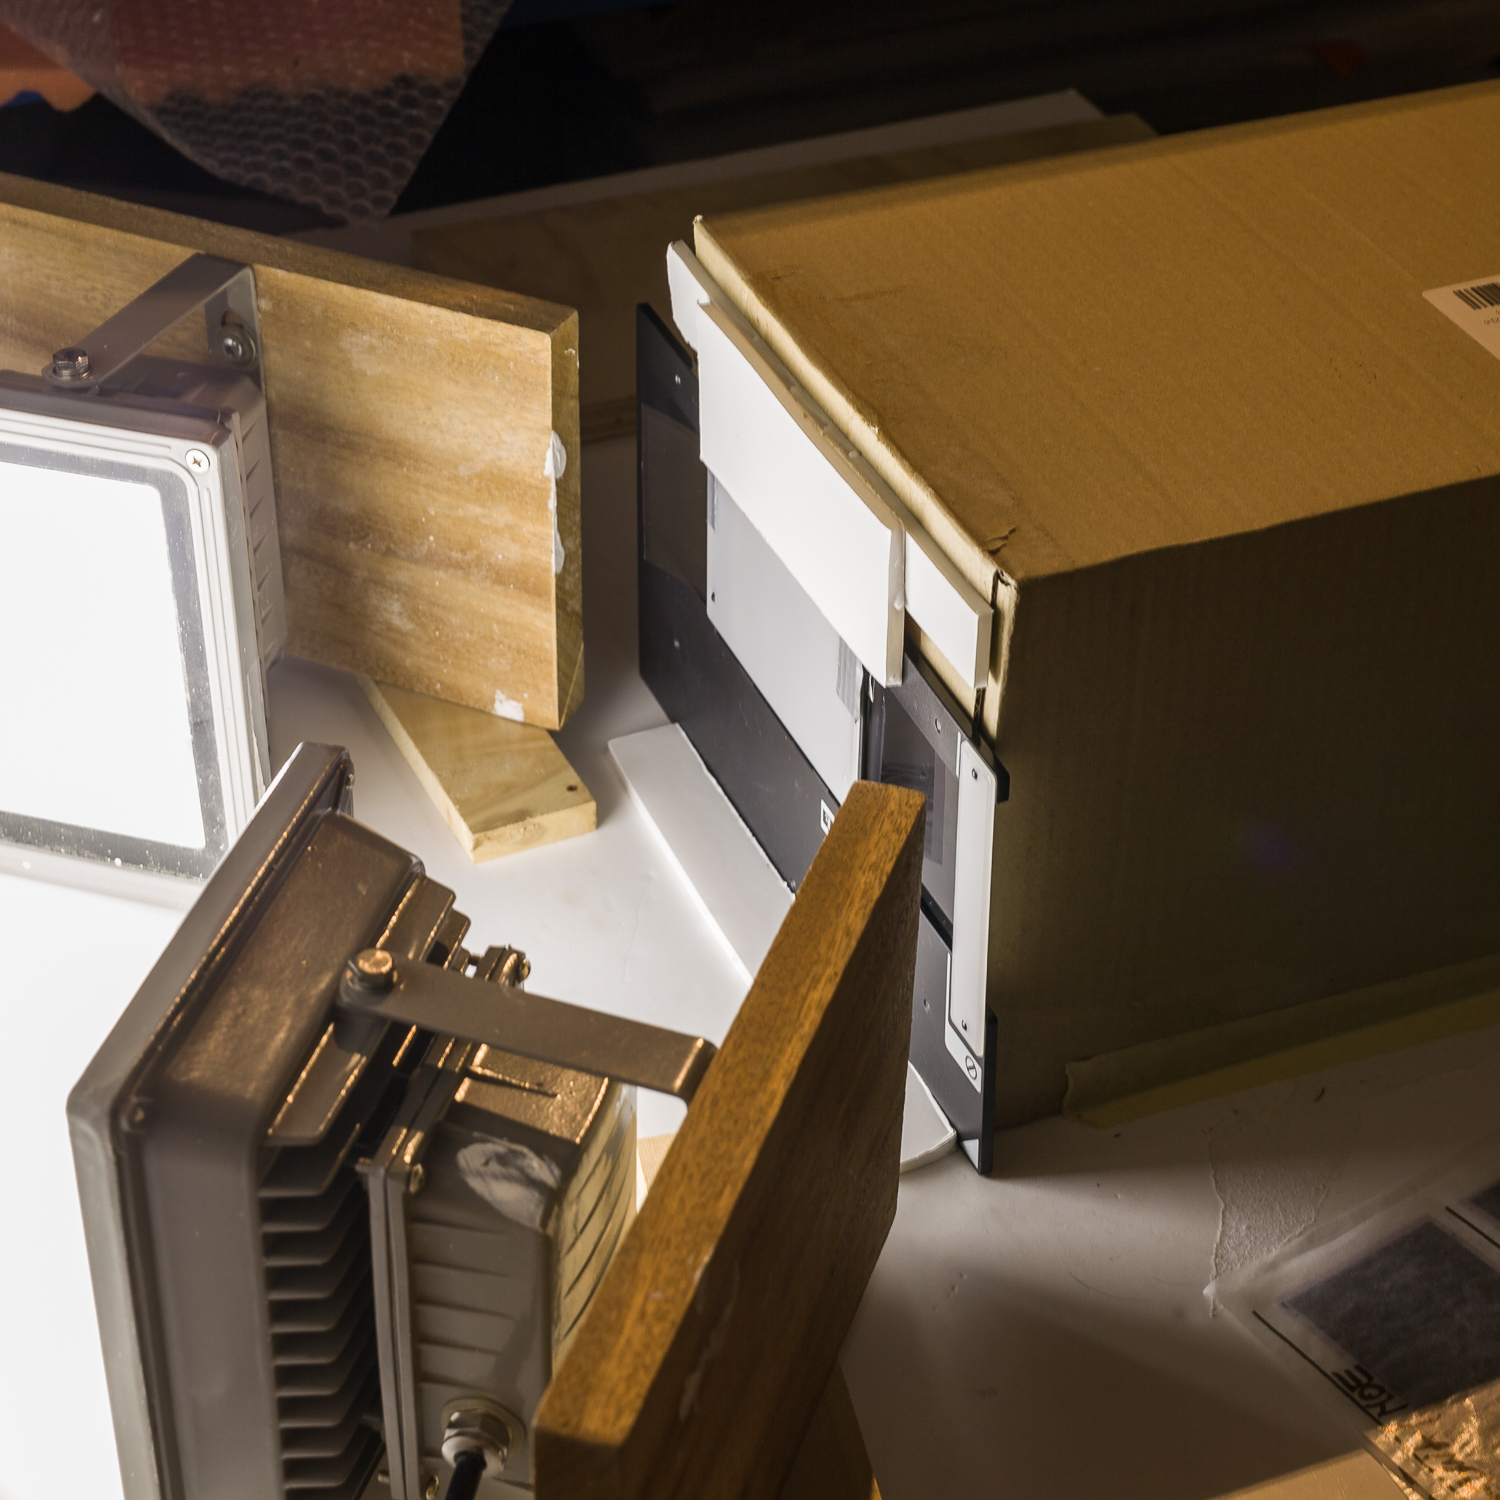
• On the base foam board, I fixed a sort of slot (foam board strip with double sided tape fixing) that holds the bottom of the film holder, between the slot and the cardboard box. On top of the cardboard box, I fixed a second slot, that holds the top edge lid of the film holder, and I slide the film holder in from left to right (right to left on the images)

• I put my camera to fit the film frame (with a little margin all around) and I have my settings to give best quality: ISO100, f8 1/6 sec … I vary shutter speeds based on the negatives I have (sometimes the negatives are a tad under- or overexposed, I try to have as much light as possible in my ‘scans’ without clipping the highlights). Low Iso for the least noise possible, f8 seems to be the limit aperture before diffraction sets in on this camera, shutter speed long enough to get rid of the flickering effect in the lamps. I work on a tripod and with a 2 second interval between mirror lock-up and opening the shutter. (standard available on the Canon 5Ds, to prevent camera shake due to the mirror flipping up)

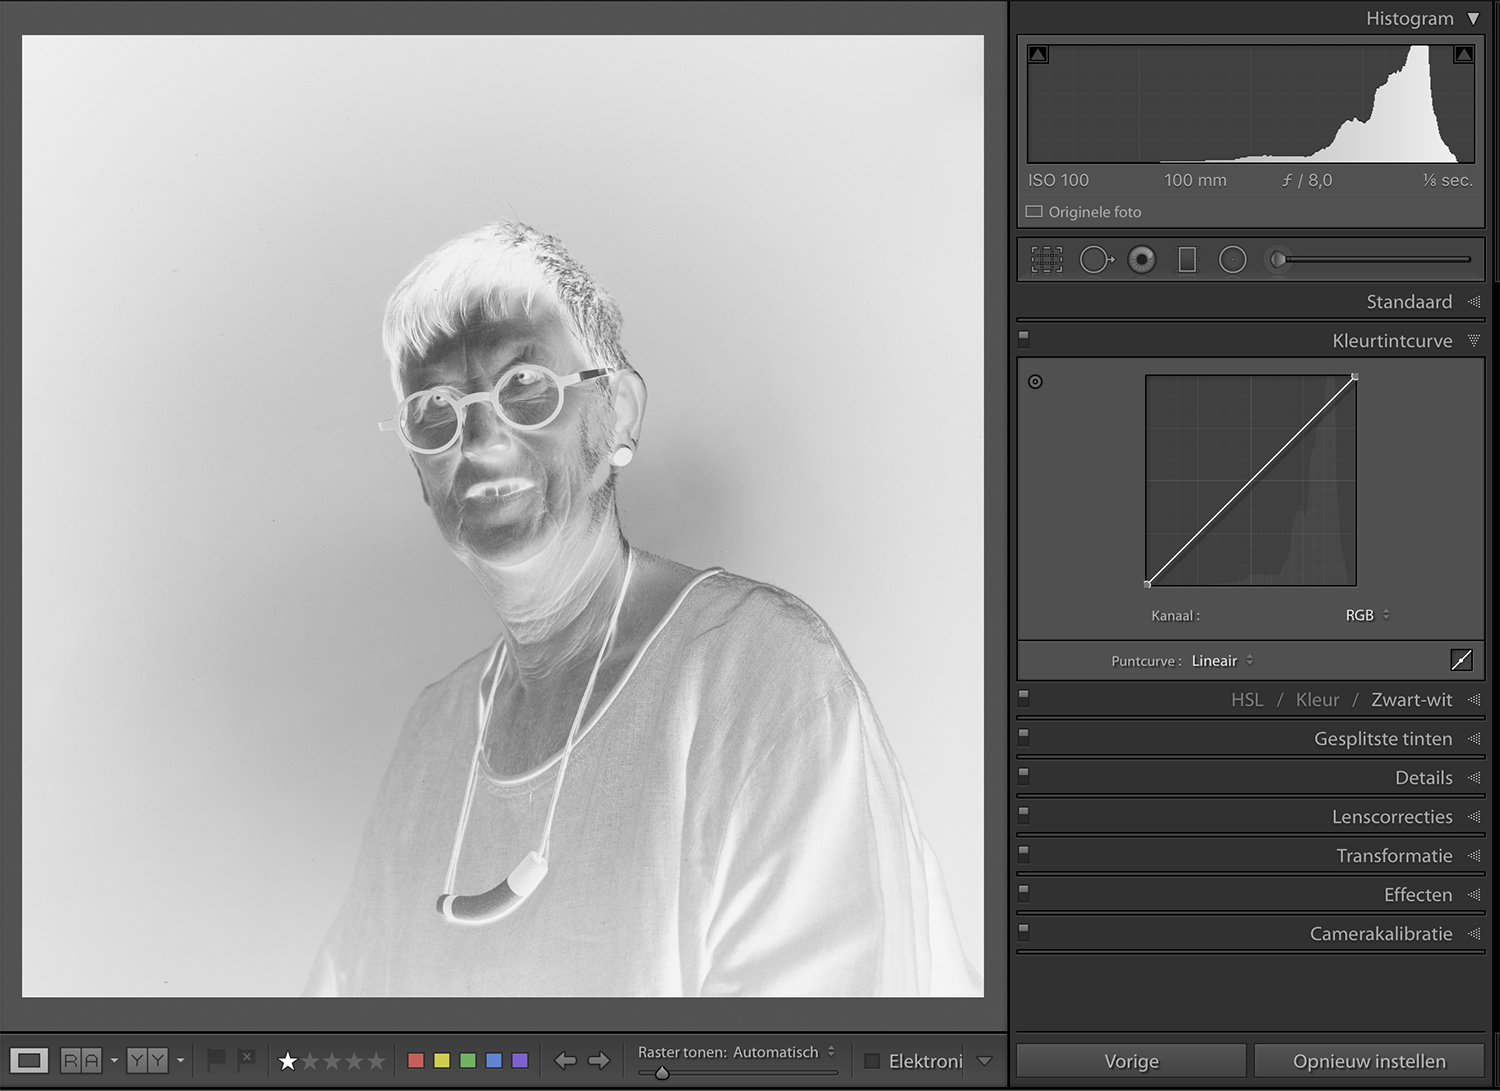
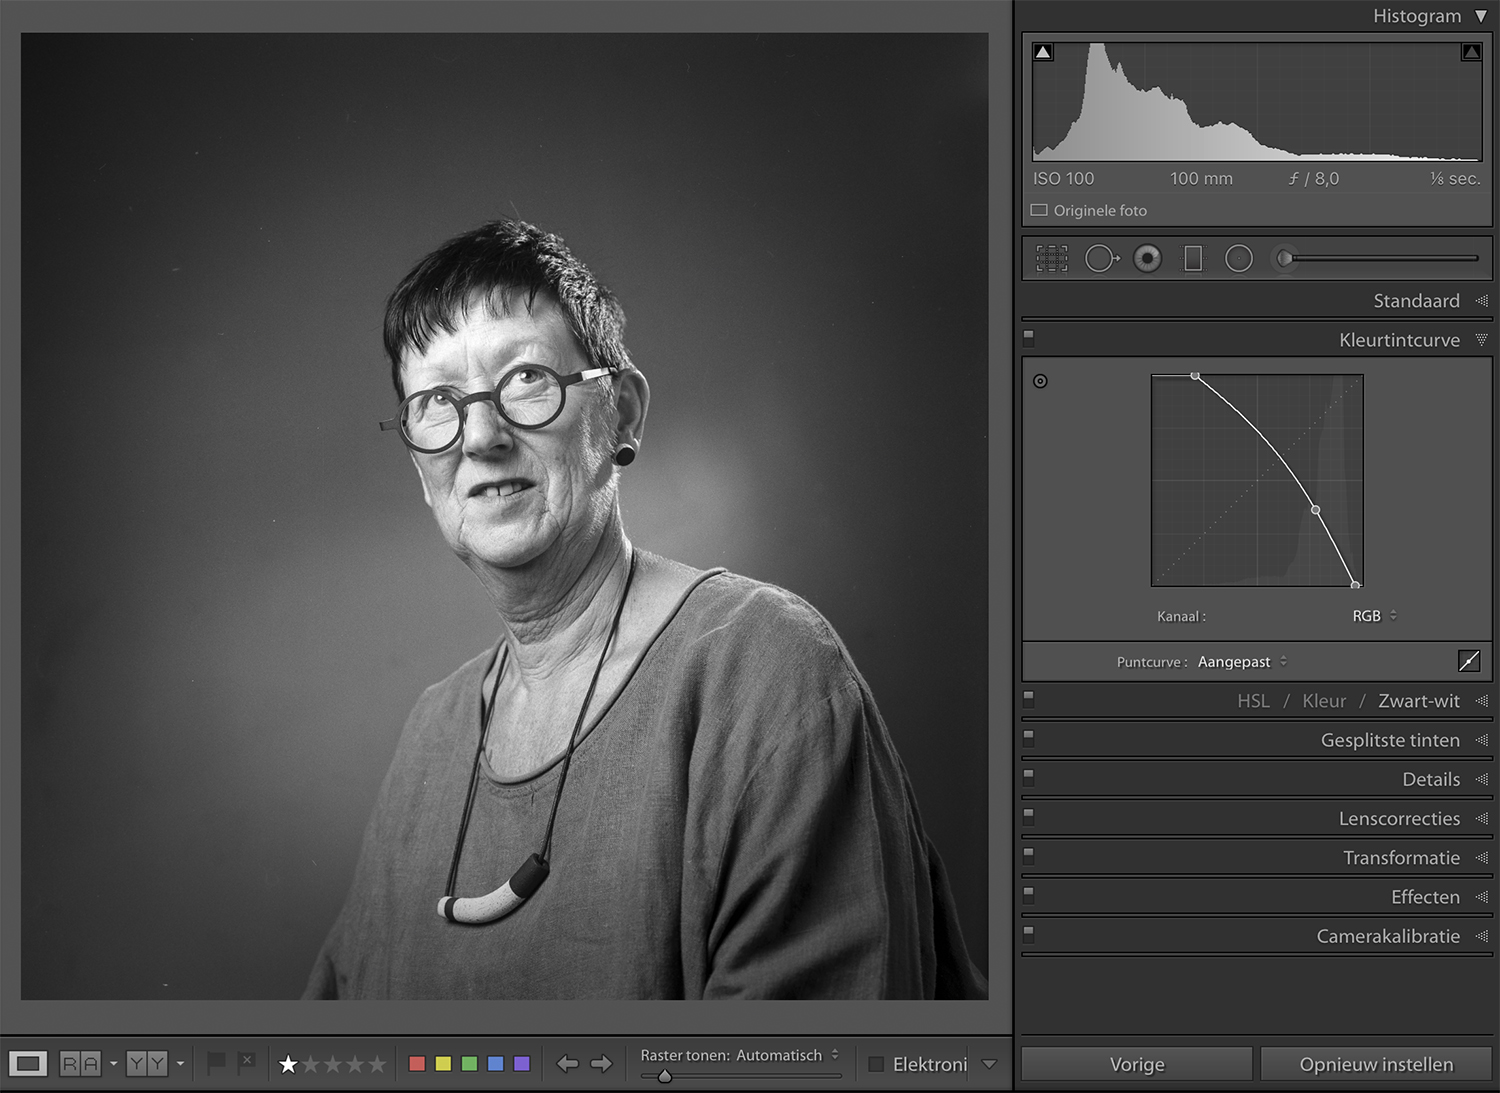
• I import the images in LR and reverse them by using the tone curve panel. In this same panel I also manage the white and black point settings by moving in the left and right corner point to where the histogram starts/ends, and eventually a lightening or contrast tone curve.

• Then I further develop the image using the standard development panel and local adjustments (that takes the most ‘getting used to’ because all sliders work ‘negative’)

• I remove dust and scratches in photoshop.


the images should clarify a lot:

the complete setup:


a look over the camera’s shoulder:

the negative holder removed to change the film strip

the back end of the cardboard box, notice the black paper frame on the inside, and the (modified today) film holder slot for top and bottom edge of the film holder.

film holder sliding in place, notice the top ‘tab’ being held by the slot

film holder in place, looking on the diffusor

Lightroom, tone curve for negative-positive conversion

I manage to scan a film of 12 exposures in about 15 minutes, with a resolution of at least 5000×5000 pixels. That is perfectly fine with me, and gives me all film detail, up to the grain in the film.

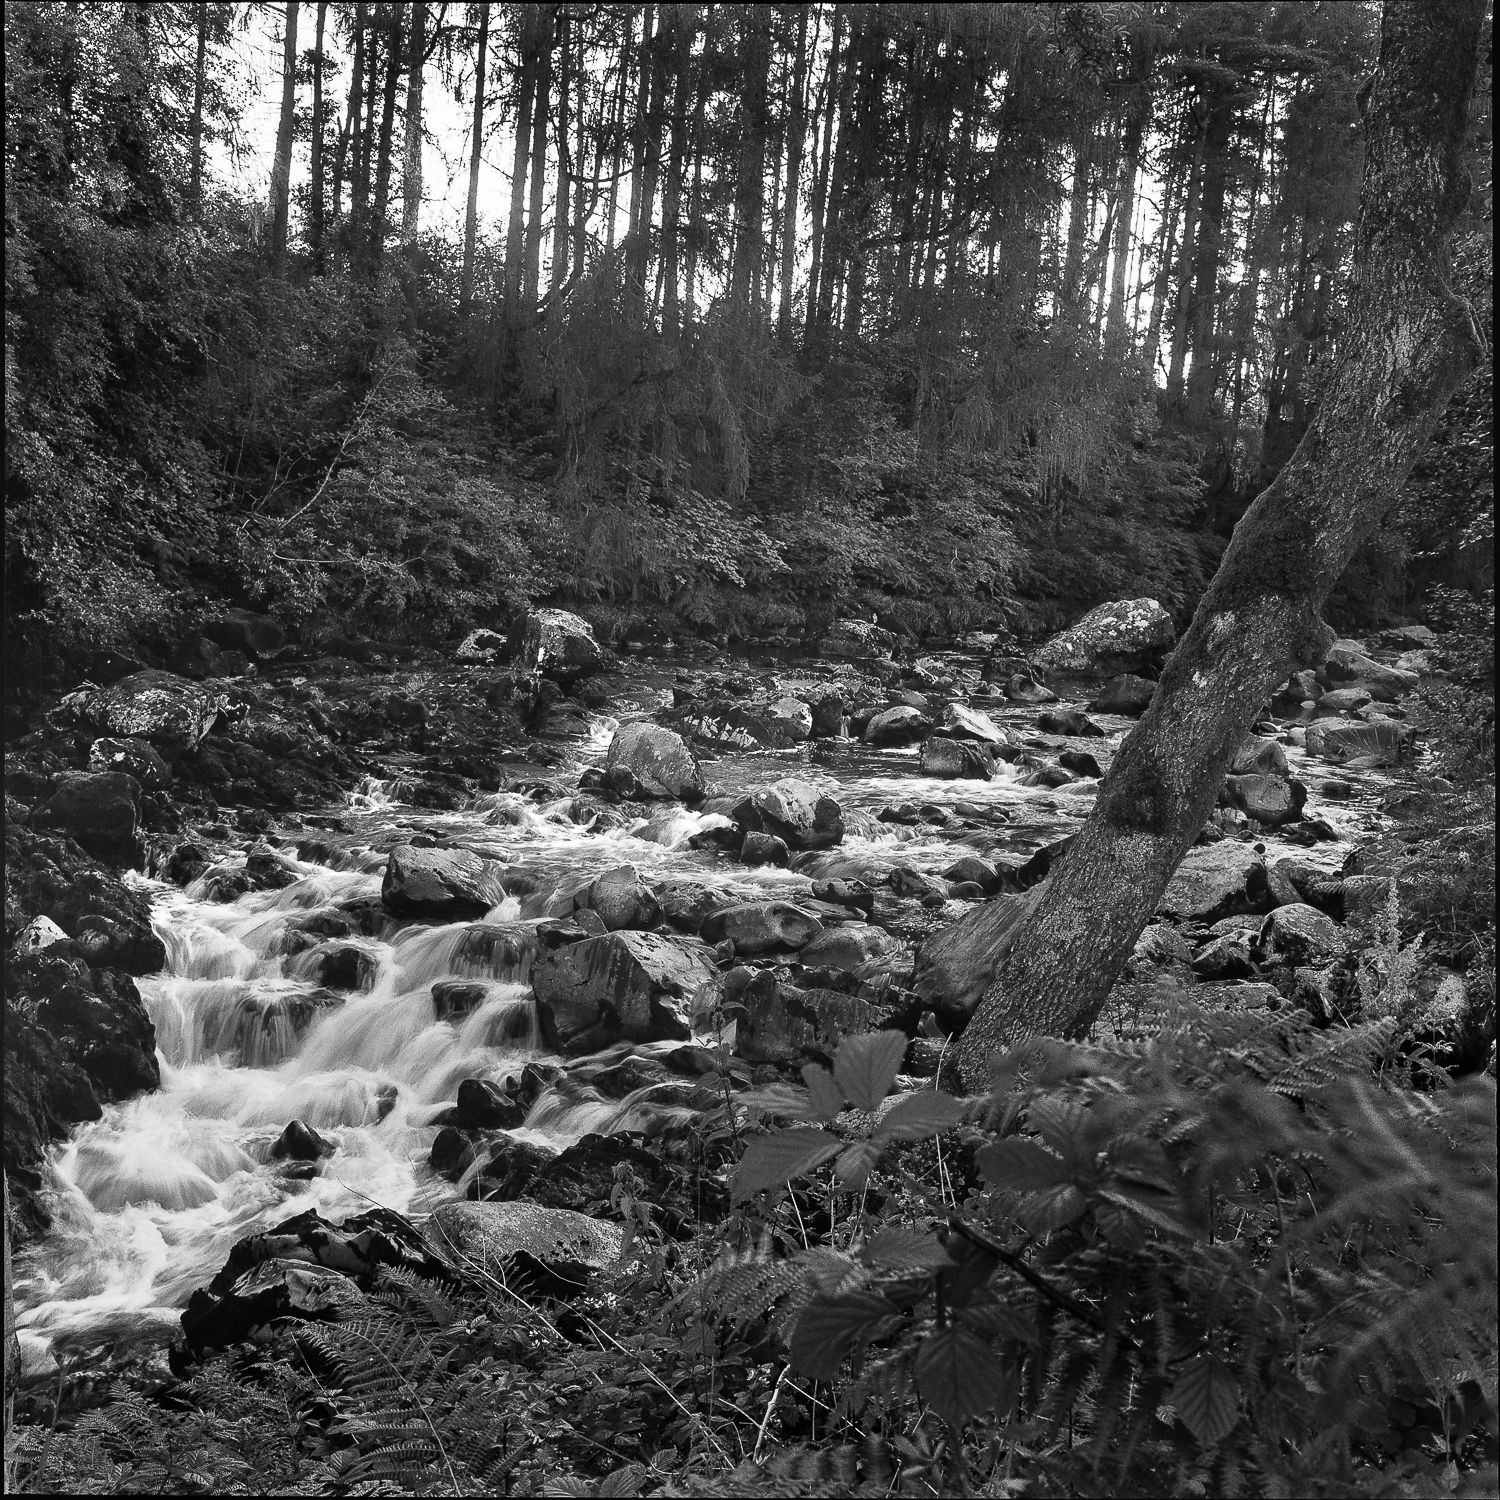
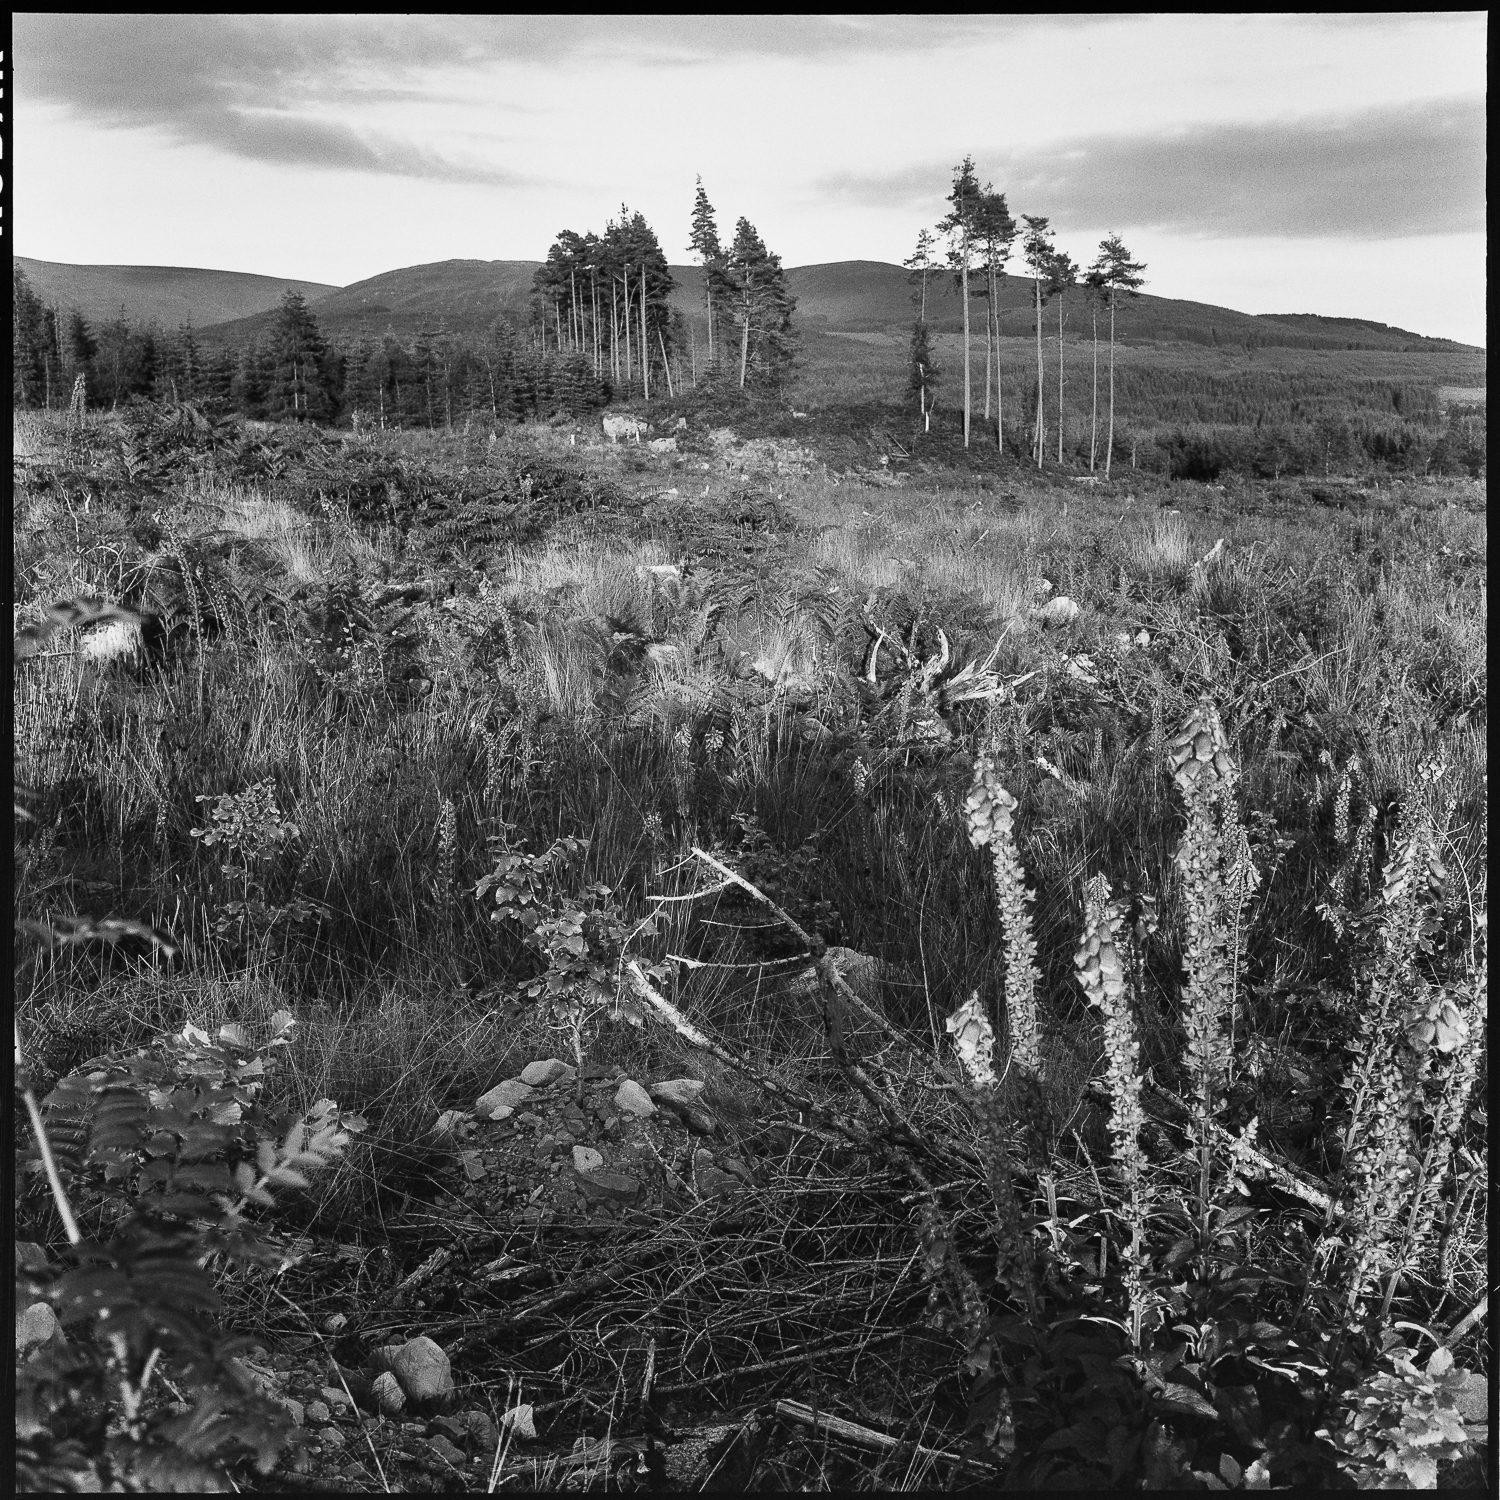
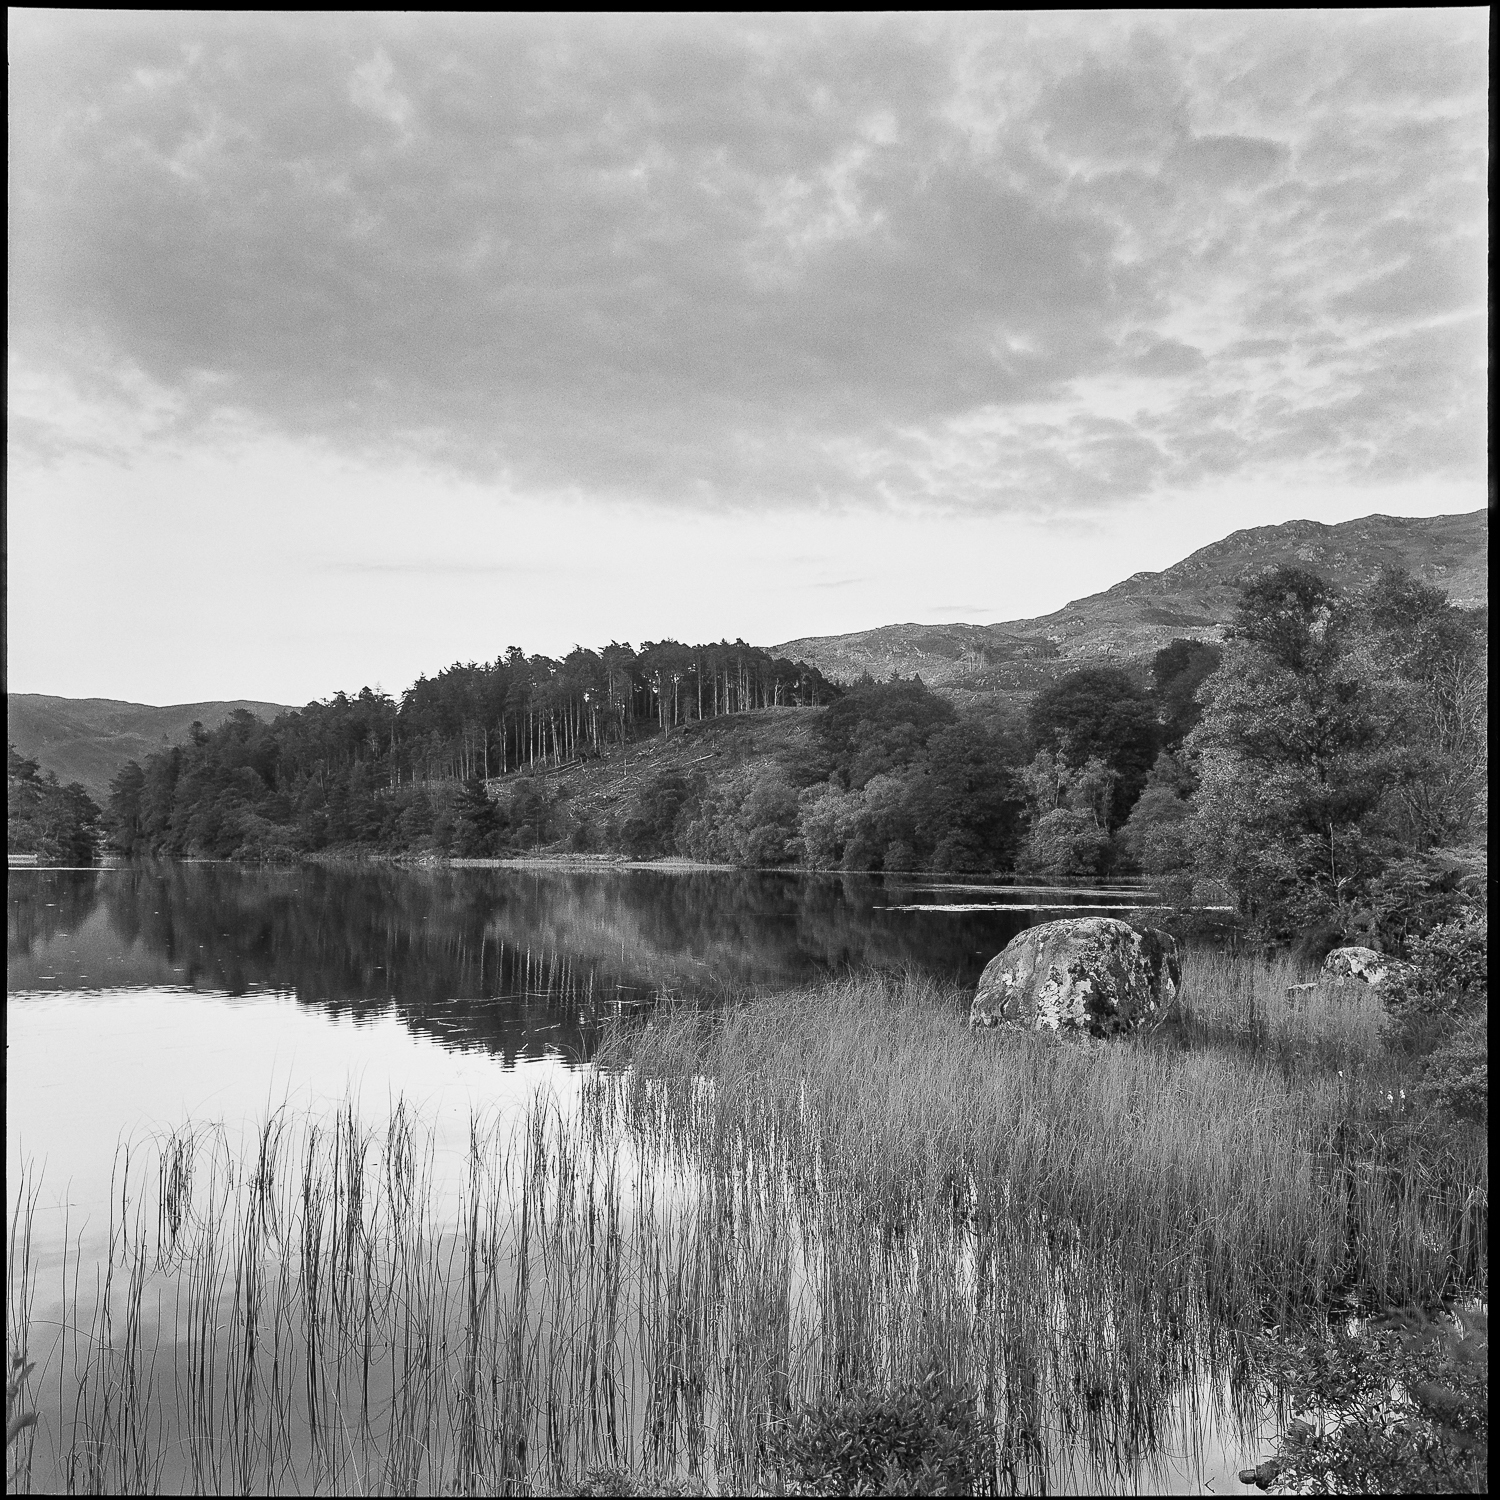
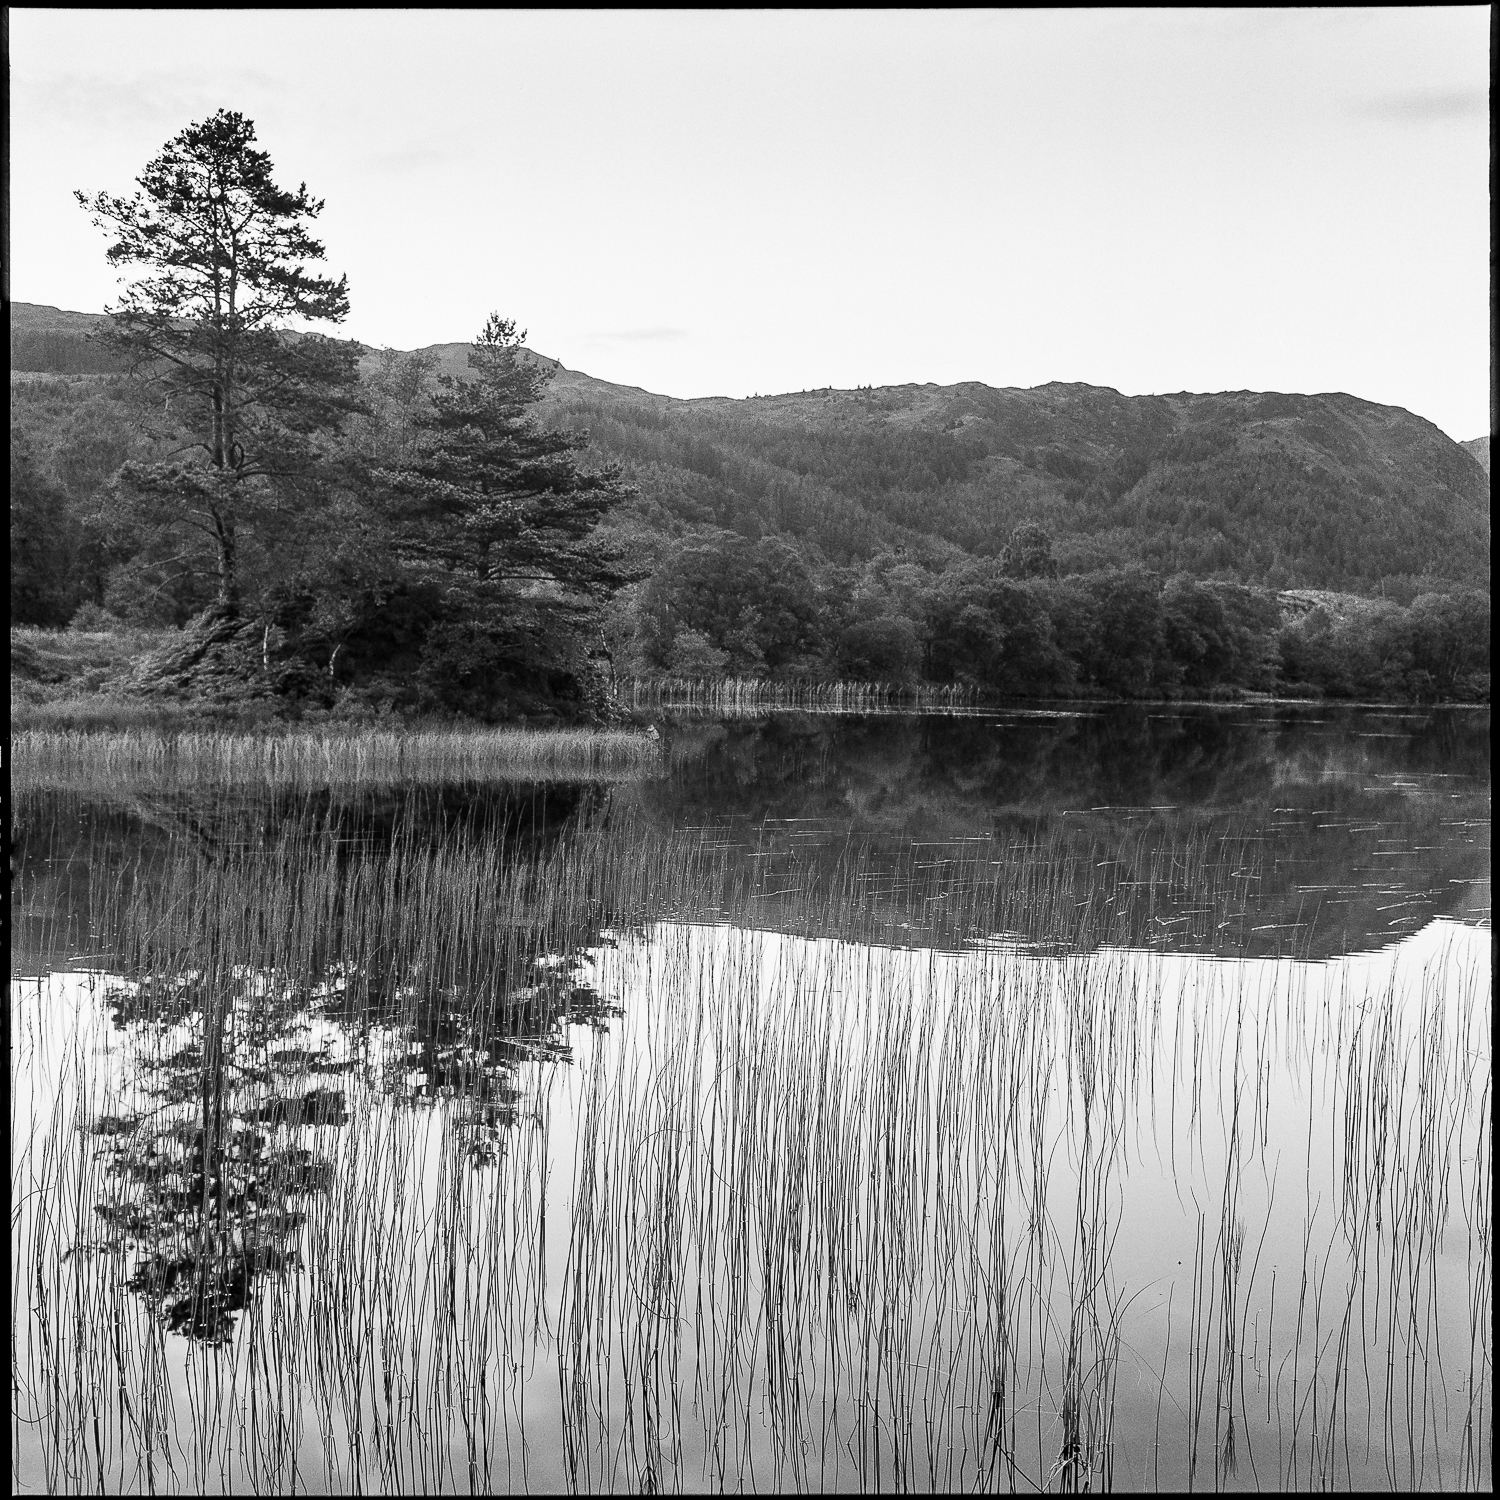
With the Rolleiflex in Scotland – Part I – Glentrool

Analog, landscapes, photo gear

I have been on a motortrip to Scotland last summer, and I had quite some doubts for taking the Rolleiflex (analog camera from the late 50’s) with me, for sake of luggage space, camera safety, etcetera. I have to say that it gave me a lot of pleasure during my trip. It helped me to literally stay still from time to time, and to take the time to enjoy the landscape.

I have stopped in several places with the aim to shoot an entire roll of film in each place.

These images are from my first picture stop.

This place called Glentrool, and Loch Trool, and is located in Galloway forest park, Scotland. Here I shot a roll of Kodak Tmax400 film on a late sunny evening, I had pitched up my tent, cooked a simple but welcome meal after a day of riding (from York that day, over Barnard Castle, trough the North Pennines, along the Hadrian Wall into Dumfries and then Galloway forest park. The bike was filled up with gas for next day and I had some time left before the sun would set. First some images near the Glentrool Visitor Centre, just next to the river ‘Water of Minnoch’, where I met the first midges, then up on my motorbike again I followed a small and bumpy road up to Loch Trool. Despite literally a million midges by the lake, I kept going 😉 . I had my mini tripod with me on the trip, and a wire shutter release, so I could shoot till late in the evening (the lake shots).

there’s more to come from this trip, stay tuned.

All images shot with Rolleiflex 3.5 on Kodak TMax-400 film. Shutter speeds and aperture settings vary.

thank you for watching,

Ludwig

part II – Dunure

Sirui mini tripod – my thoughts + a color image from Scotland, and a black and white from Corsica.

landscapes, photo gear

Hi there, for a change a gear review post.

For landscape work I have been a pleased owner of a Berlebach report tripod for many years now. I have had a little issue with it last year, which has been solved amazingly well by the Berlebach company, see my post about it here: https://www.ludwigdesmet.com/2016/09/19/thumbs-up-for-excellent-customer-service-berlebach/

I have taken this tripod with me on my motorbike on many occasions, mostly when giving classes to adults, but it is not very practical because the tripod is big. When mounted it extends beyond the two big panniers I have on my large bike! (BMW R1200GS).

So I have been looking for a smaller tripod for last summer’s trip to Scotland, and for lighter travelling to Corsica weeks after that. I bought the Sirui T-005X with C-10S ballhead, from the T05X Series Traveler Ultralight

It is a lightweight, very compact package, weighs 0.8 kgs and has a maximum height of 137cm and a packing size of 33 cm. This makes it ideal for my motorcycle travels or when you are traveling light in any other way.

How did it fare?

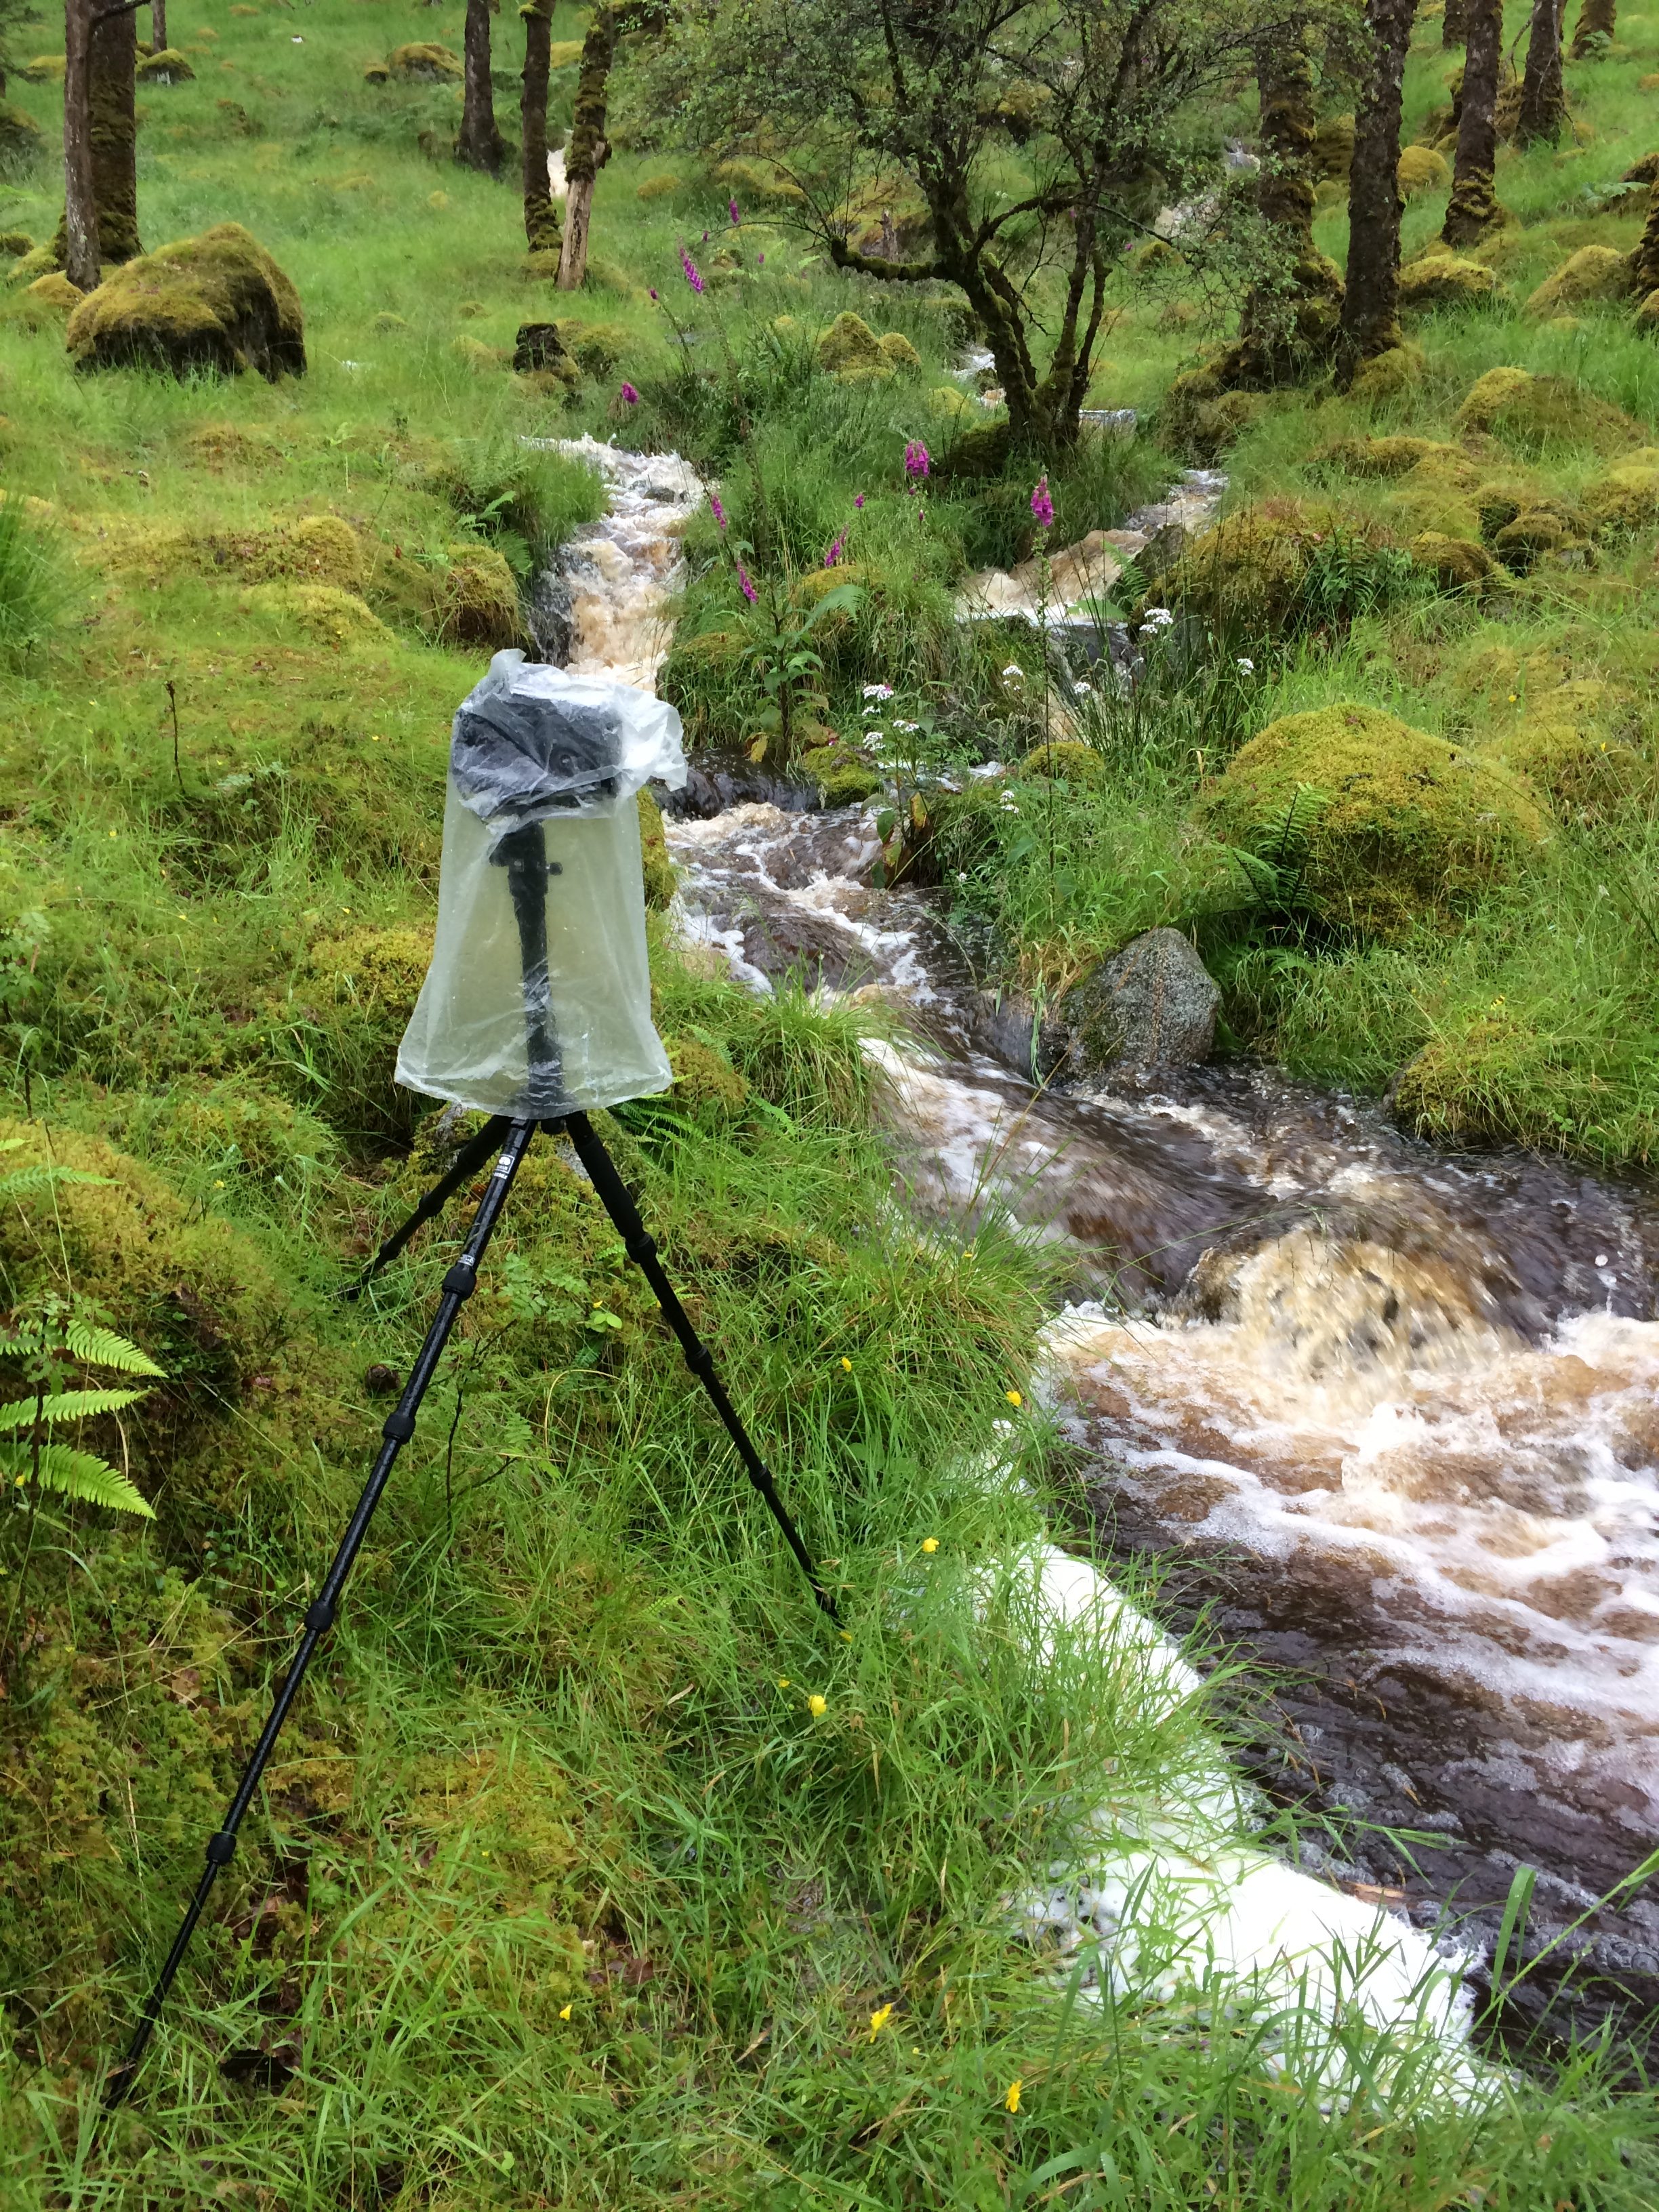
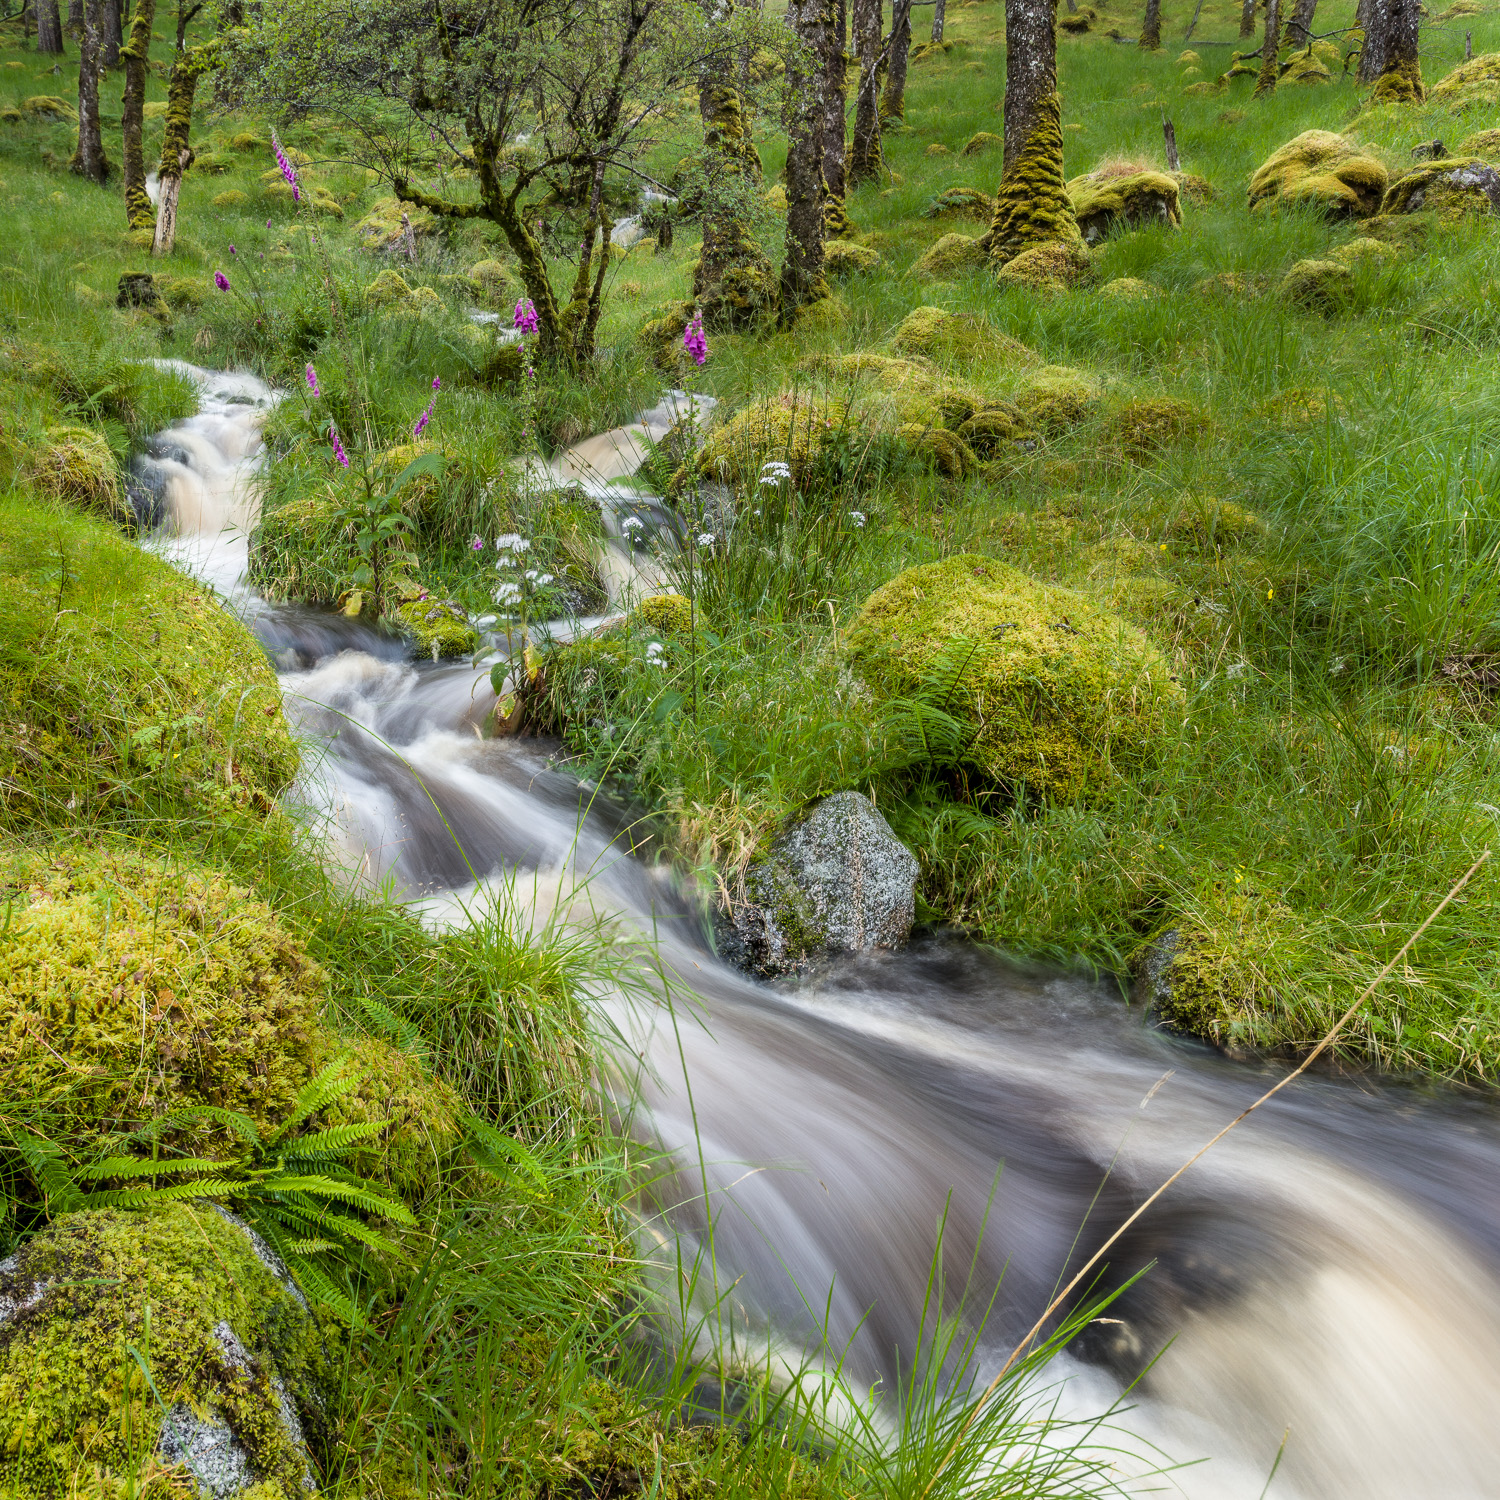
I found it very well performing in quiet weather conditions. The image below is a behind the scene’s shot on a trip out, rain pouring down all day, overcast and not much light, so a tripod was mandatory for I had pretty long shutter times. 0,6s at f11 and ISO100 for the below image.

Image taken in Strontian, Ariundle, Scotland.

as you can see the tripod legs have several spread angle’s, which comes in handy on uneven terrain. The feet are very tiny at approximately 18mm diameter, so some care on where to put them is to be taken. Otherwise, the tripod gave me a perfectly sharp image.

When walking with the camera, the ball head clearly is too weak for a big DSLR (Canon 5Ds) even with a moderately light lens on it. (Canons 17-40 mm f4L, with a weight of 475g) The camera will start heading down soon, no matter how tight you fasten the head knob.

Otherwise, no complaints here.

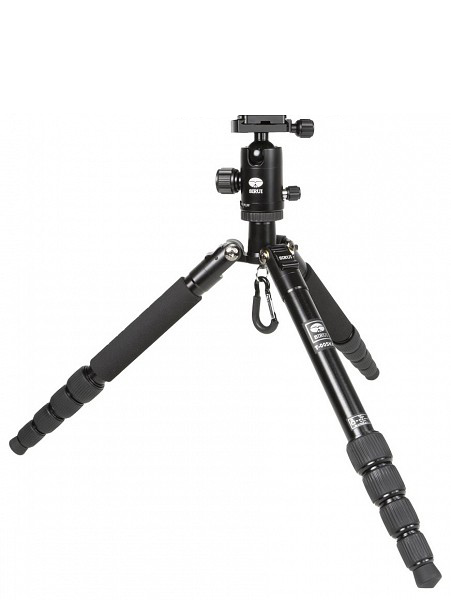
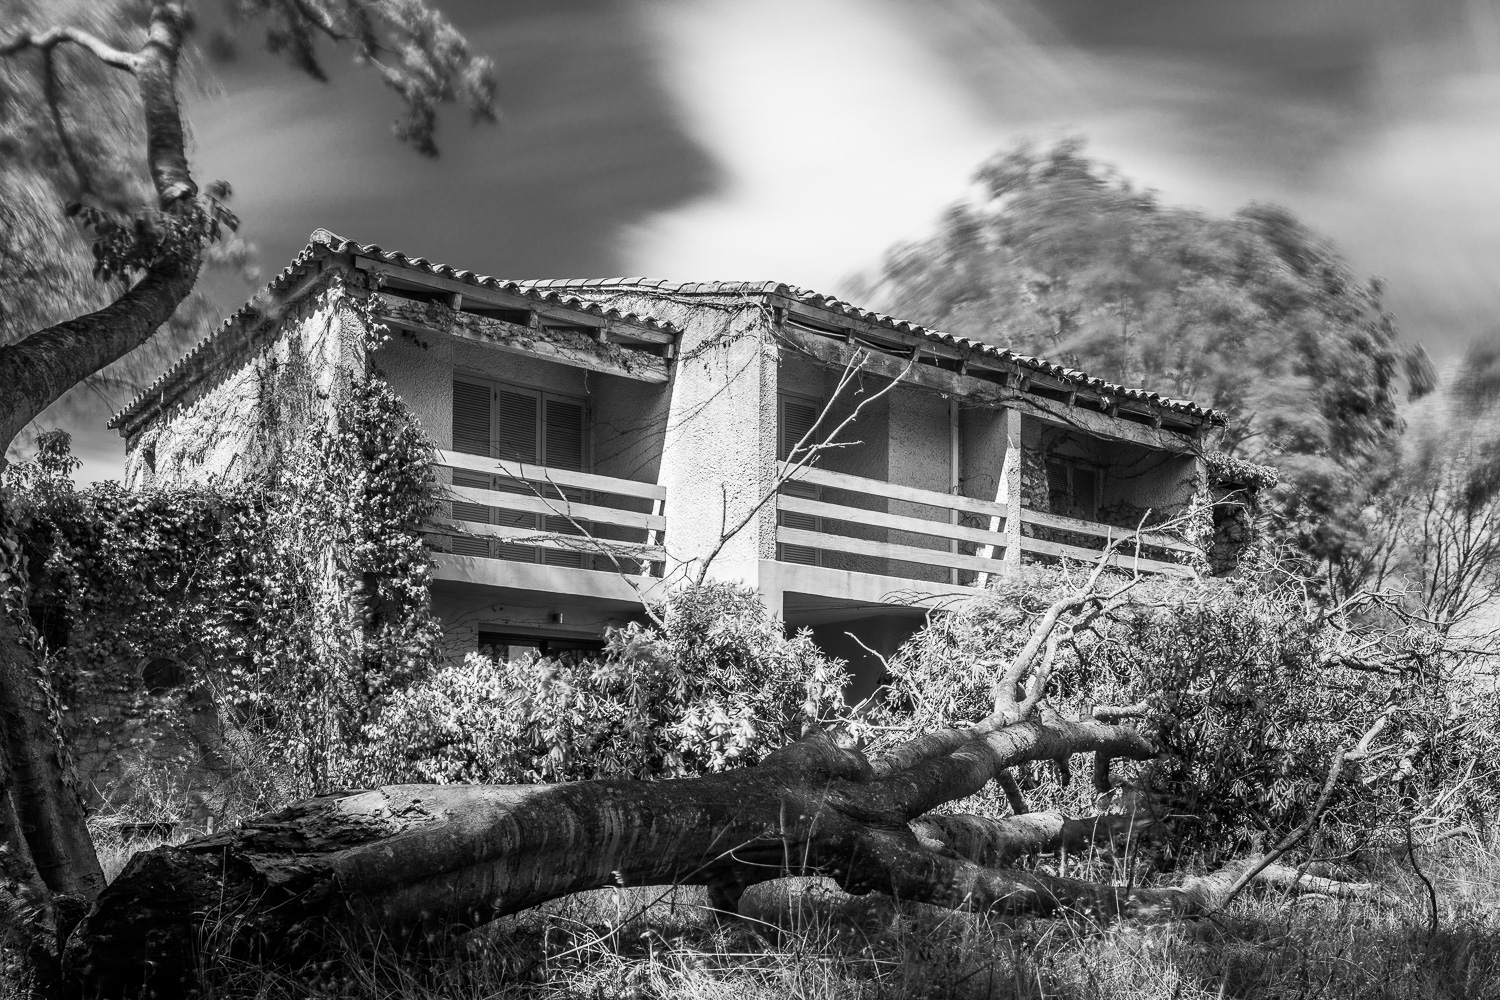
In Corsica I stumbled upon a deserted hotel, that inspired me to do some long exposure shots. The weather was sunny with clouds, and a rather strong wind, with gusts up to 80km/h (45-50 miles), the building was partly surrounded by green area, with scattered trees. Still I chose to remove the center column of the tripod, for increased stability. (the center column only supported in a single point is the least stable element in all tripods) The removal of the center column is really easy, and the ballhead then screws directly on the tripod base, resulting a much stabler unit. I have no behind the scenes image of this setup so I’ll grap a marketing image from Siriu:

I still had the tripod set up with the legs fully extended in most images, and made perfectly sharp images with shutter speeds over 2 minutes: 121s f13 ISO125 and detail below. I have no images that show camera movements, so I think this is very good proof of the stability of this setup.


The downsides:

I find the leg opening/closing grips rather soft, and some seem to show some wear already, curious to know how long they will last. Also the camera plate is very small, this is clearly not aimed at DSLR users, but more towards the high end compact, light system camera’s. Fortunately the system is Arca Swiss compatible, so I can use my Berlebach dovetail type plates in stead. The ball head, although said to hold 4kgs, will certainly not hold its position when on the move. 4 leg segments are a bit long to extend, especially compared to my Berlebach, that has only two segments.

The pro’s:

Very light, very compact, budget friendly, stable within limits, easy to convert to ‘without center column’, then it is even more stable. Not expensive, comes with a carrying bag.

Verdict.

I am very pleased with this little tripod, it fits my motorcycle panniers, it is very light, it extends high enough for my landscape needs and it is stable in light windy weather. I’m a bit afraid that heavy conditions will not be good friends with this tripod, but If you are looking for an easy to carry companion for night shots or occasional landscape work, I can recommend! And at a very fair price of € 109, it won’t break the bank!


Ludwig


Thumbs up for excellent customer service – Berlebach

photo gear, Uncategorized

I do not often speak about material I use, or my brand of camera’s being better than the other one, … you know what I mean, mainly because I don’t think gear matters all that much.

It is a pleasant thing to know  your gear will be working whenever you need it, so I do appreciate reliability and so, but I don’t think that you’ll absolutely need the latest gear to make good images.

This said, I would like to write this little post about the makers of the tripod I have been using for about 6 years now. It has been facing salty sea water, clamping down on my motorbike, rain and ice, mud and dirt, and all nice things in between. The brand is Berlebach. They are nice ash-wood tripods, comparable to the type of tripods land surveyors use for their theodolites. Not excessively expensive, very sturdy, very stable (wood has the natural ability to absorb vibrations), very well finished and beautiful to look at. They don’t get your fingers freezing in cold temperatures, all good things. The downsides: they are heavy, mine does have long leg segments, which makes them(it) a bit cumbersome on long hikes. Mine is from the Report series, and it features a very handy ball-joint built into the tripod itself. This makes levelling the tripod a piece of cake, no matter what surface you are working on. The head is a three way head, all metal, beautifully finished and with a very tight grip.

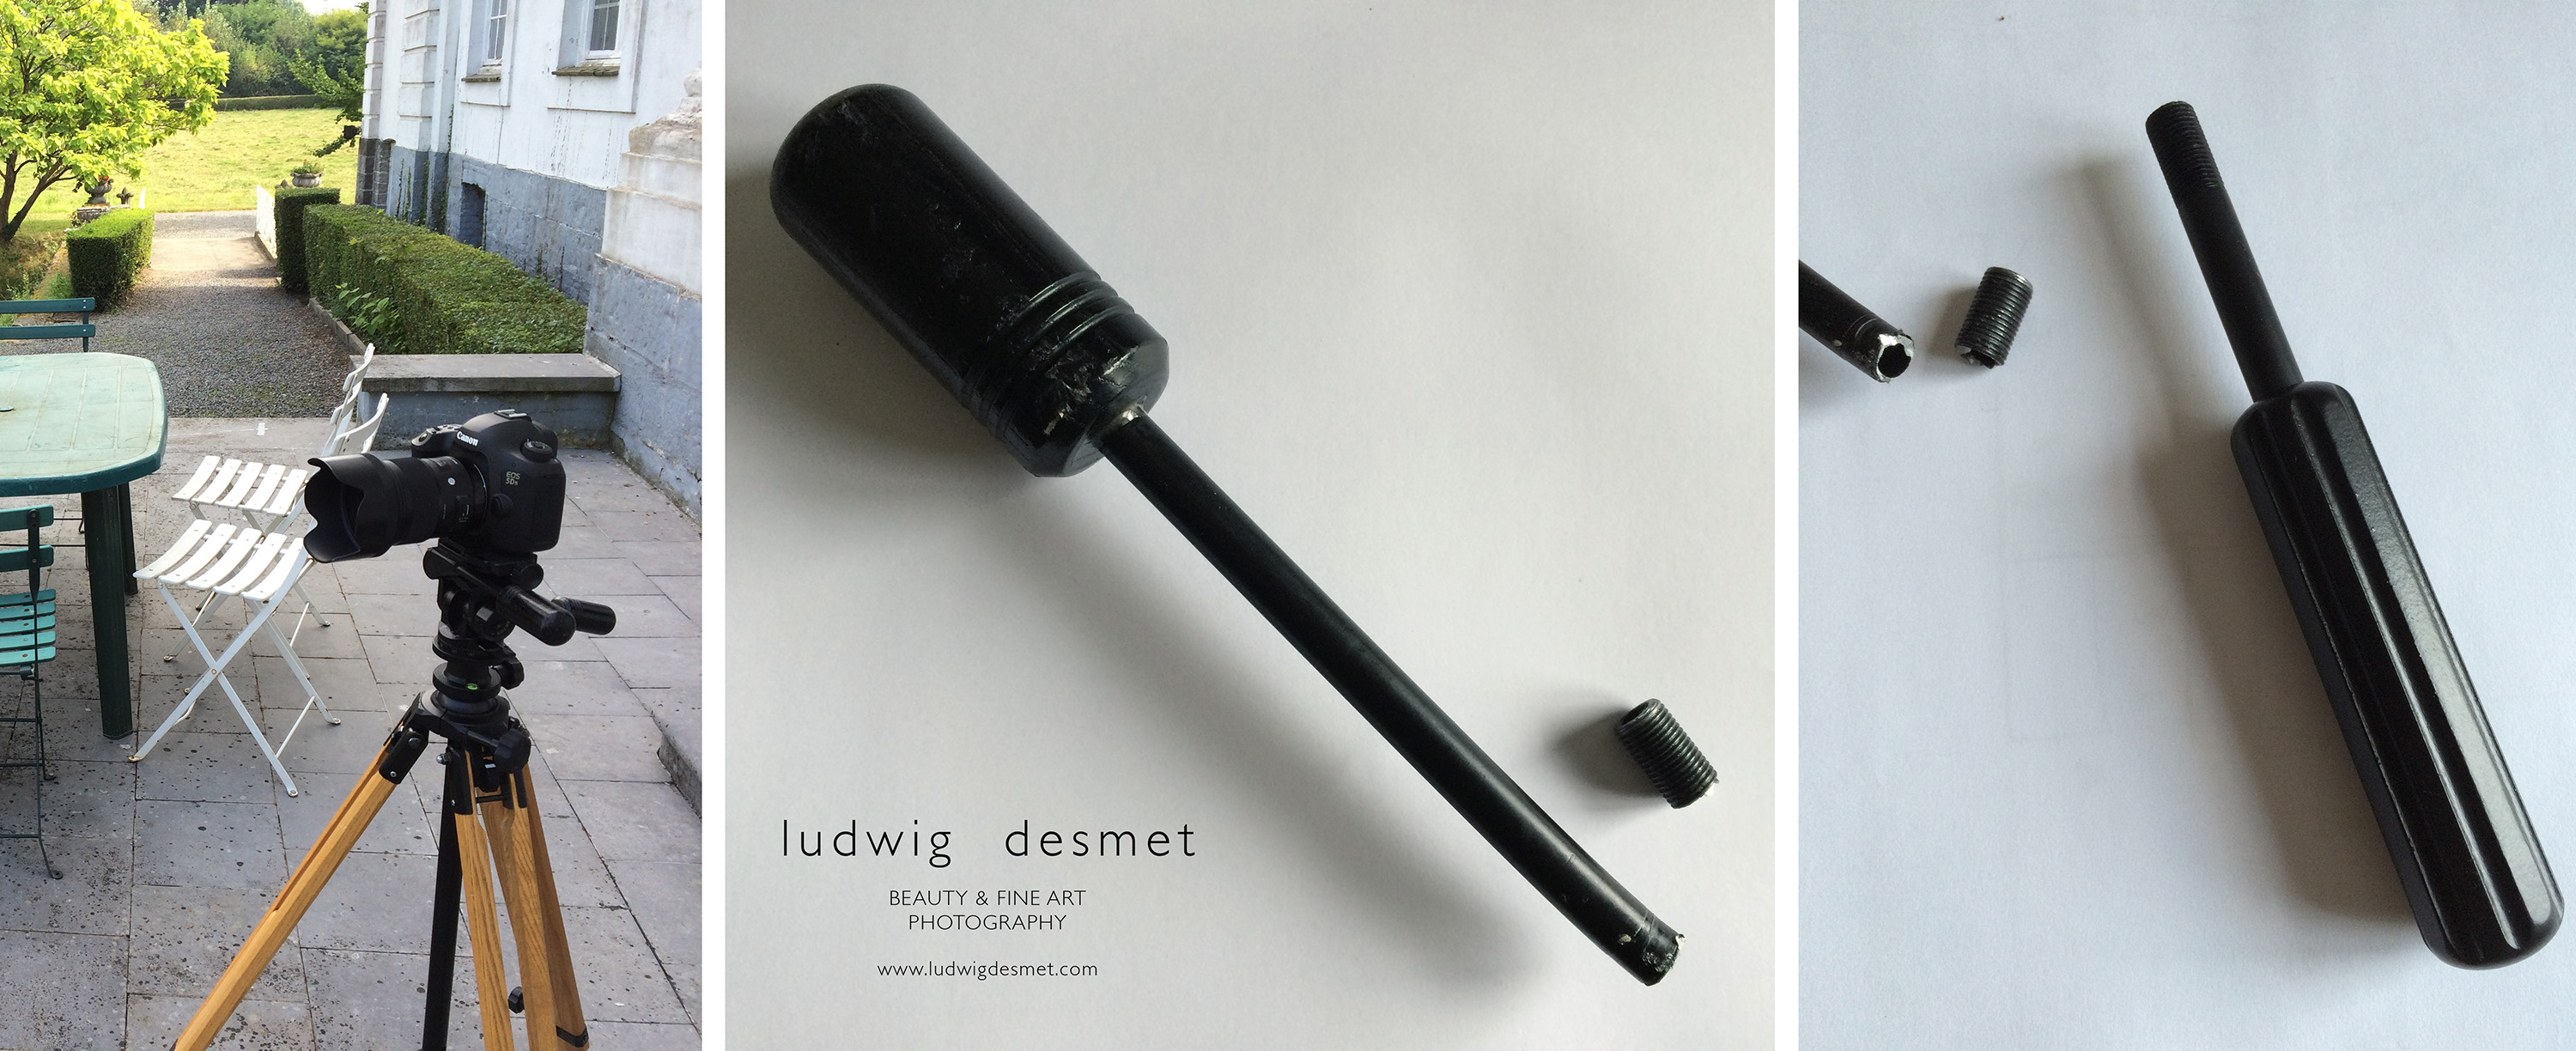
Now, after six years of good service, one of the handles broke. It happened on the way back from the institute where I teach photography classes. My tripod was tightly secured on my motor when suddenly I took a road bump (they happen to be quite present here in Belgium) and I heard some clattering under the bike. Stopped, saw the handle in the middle of the street. It just broke off of the tripod head. No idea why or if it had been damaged before or …

So I sent an email to customer service to ask if they still could provide a replacement for this handle. The answer was short and very clear “Dear Ludwig, we will send you a new handle”. I thanked them and asked if this would be a payable replacement, that I would understand that since my tripod was at least 5 years old (didn’t bother looking how old it was exactly) …

Again a quick reply: “No, it will be sent free of charge, we only need your post address.”

😀 😀 😀

It dropped into my mailbox a couple of days later, not the same design, but even more handy, since a little smaller. Now here is my thought about this all: Where do you find companies these days that, after 6 years of buying their goods, will replace a part for free, send it for free, all with a smile? Thank you Berlebach!! www.berlebach.de


berlebach-tripod

ludwig

Working Collectibles – Agfa Isolette

Analog, Personal Pictures, photo gear

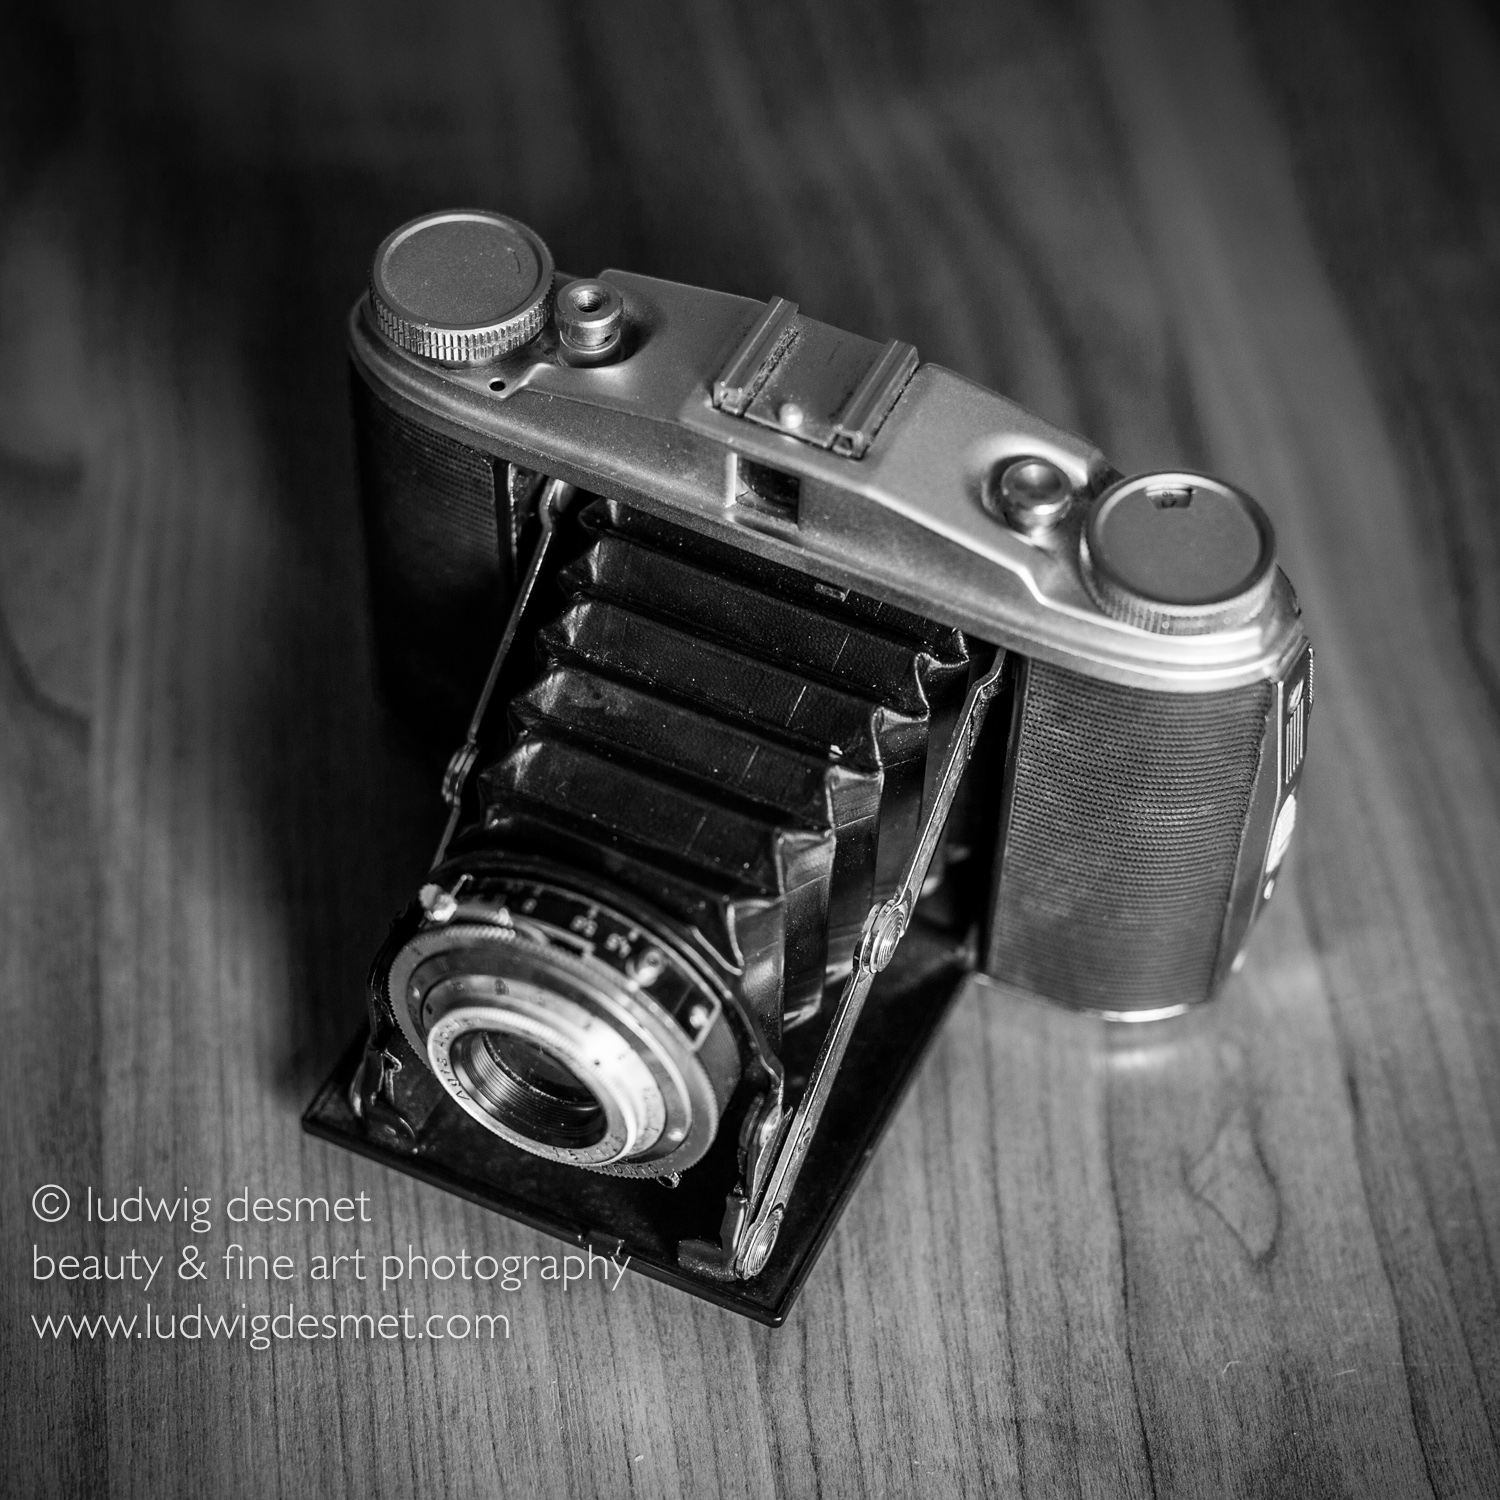
I have told you about a bunch of camera’s I could buy recently, this is the next chapter. I have shown you images from a Yashica TLR, A Rolleiflex TLR, the Voightlander Bessa I I owned many years now, here some images taken with an Agfa Isolette II.

The Camera is A nice folding viewfinder camera, which means it comes handy when folded, and will fit easily in any vest-pocket. (14 x 9,5 x 3,5cm) It takes standard 120 film rolls, easily available still in Belgium. It has a simple viewfinder with no indications in it of any kind, hardly a simple aid for compositing. It has an Agfa Apotar 1:4.5 f85 mm lens, and a Pronto shutter with speeds B – 1/25 up to 1/200s and a self-timer mechanism. It was made during the 50’s of the previous century. This camera can be found for a really low budget (50-75€ should get you a fine working camera), and as such, it is a perfect way to get into medium format film photography.

Ludwig Desmet_collectibles-01

What I find most difficult with this kind of camera, is focusing correctly. The focusing ring has a distance scale, so you will need to either measure subject distance, guess it, or get yourself a distance measuring tool of some kind. With the large negative format (57x57mm approx) you get a shallow depth of field, even with a not so small aperture as f4.5, so focus is easily a bit off, especially in close up work.

A beautiful niece in the first three images, and a couple of walking-by family pictures.

Taken on Kodak Tmax400 film.

Ludwig Desmet_collectibles_Isolette-01 Ludwig Desmet_collectibles_Isolette-02 Ludwig Desmet_collectibles_Isolette-03 Ludwig Desmet_collectibles_Isolette-04 Ludwig Desmet_collectibles_Isolette-05 Ludwig Desmet_collectibles_Isolette-06

Working collectibles

Analog, people, photo gear

Can you imagine yourself within about 65 years, still photographing with the digital camera you have right now? Probably not. Nowadays’s technology is not meant to last for longer than 5, maybe 10 years. Even if there is no limited life time built into your gear (which might be the case, some say), the fast paced digital evolution will make sure that within 10 years from now, your current camera will be outdated and old-fashioned.

The advantage of working with really old camera’s is that they will probably never be outdated or old-fashioned, at least not anymore than they are right now. It’s like an oldtimer car, it can’t get out of fashion, it already is, it has become vintage and will forever continue to keep it’s ‘admirers qualities’. I have been able to acquire some old film camera’s, which I am testing right now. I have to admit that the image quality in most of them is not up to current standards. Contemporary optics are way better, giving better results on a small sensor than the old stuff I am talking about. Even on the larger format negatives (6×9 cm) you do not get the image quality a modern DSLR is capable of. But the images have a different feeling to it. Compare it to vinyl vs. digital music. I’m by far not a connoisseur of vinyl, but some are convinced that vinyl has a true’er sound.

What I am certain however, when the day comes that my 5D mark II camera is not up to par with the new developments in camera technology anymore, these old filmcamera’s will deliver just as good as they do today. They are all mechanical, and if you take well care of them and have them serviced regularly, and even more important, use them regularly, they will probably last a couple of decades more.

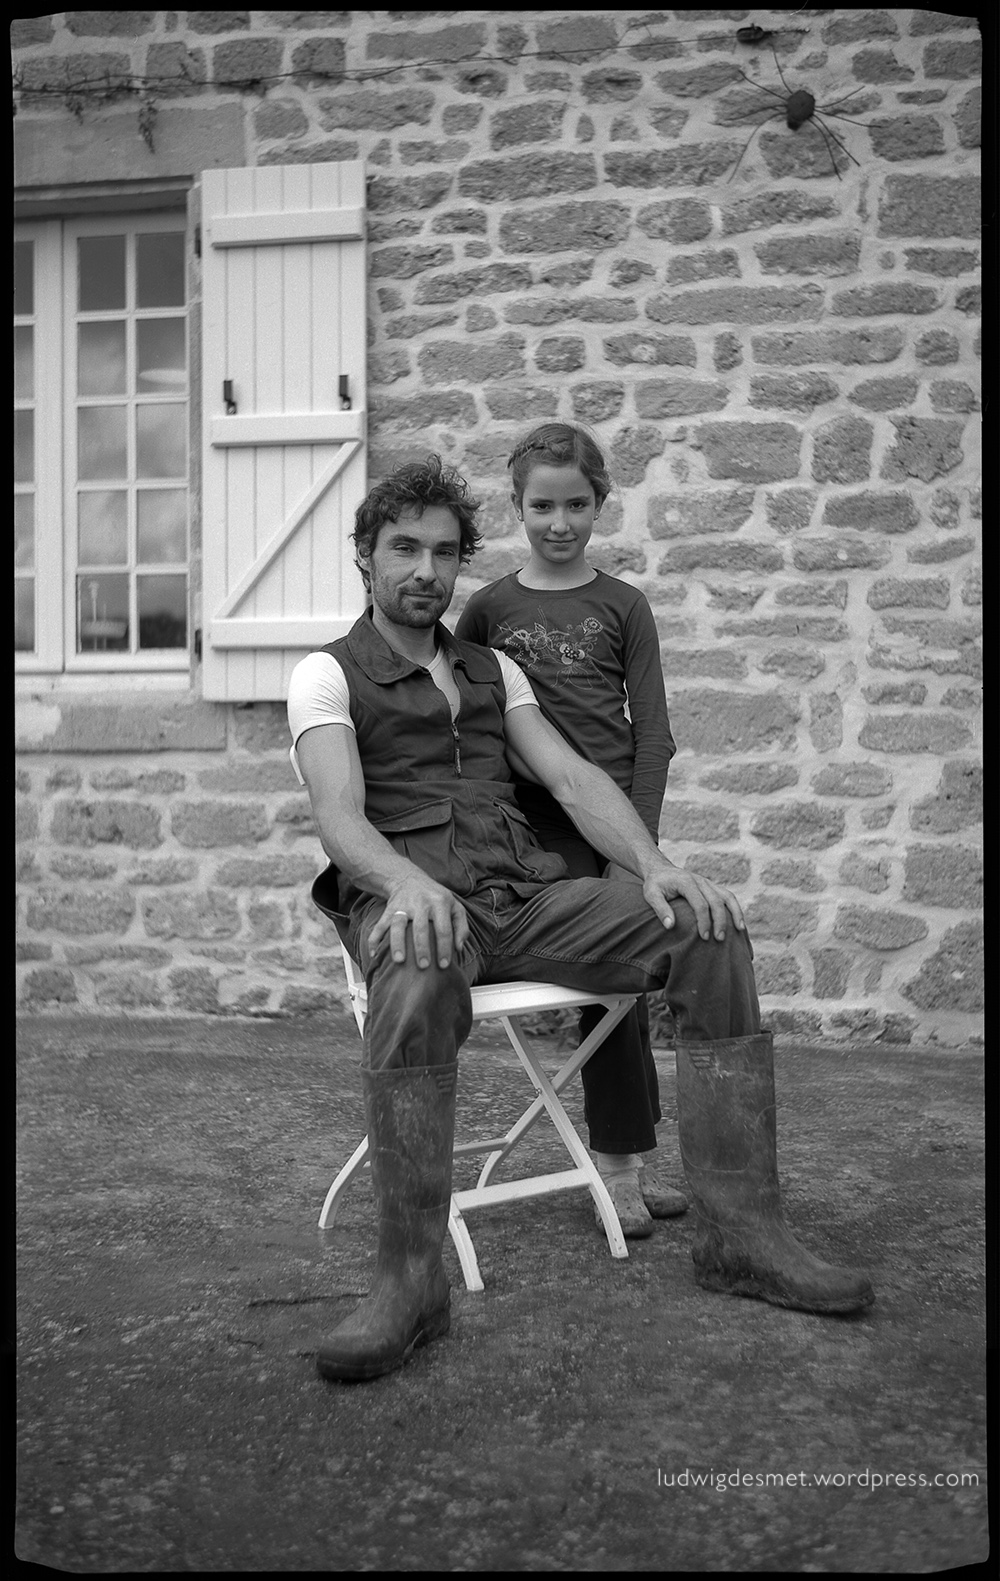
Enjoy this wonderful portrait of my friend Peter and his daughter, taken with a Voightländer Bessa I, (1949-1957?) on Kodak T-Max 100 film. Negative size 6×9 cm. Scanned on Epson Perfection 3170 Photo.


LudwigDesmet_PandA_small_WM


the camera it was taken with: On a regular 120 film roll, you can make 8 exposures. This makes you want to think about pressing the shutter twice before you actually do. It has of course no auto focus, no auto light meter, no auto film transport, a very tiny viewing window that makes compositing your image a bit ‘un-precise’ at least, but it is very well built, beautifully finished and still working after 65 years.

LD_Voightlander_Bessa-0804


Come back again soon, for some more images with my Rolleiflex TLR, and the first images with the new (old) Yashica 635


Ludwig

I scratched my focusing screen – Square crop on Canon 5D II

personal tips & tricks, photo gear

Since photographing with the Rolleiflex camera, I have enjoyed it so much that I wanted a square crop compositing aid on my Canon 5D mark II.

I had read about Katzeye optics on the internet, mailed them, but they were unable to make me a replacement focusing screen for the 5D II.

After searching the internet, an alternative option seemed to be unavailable.

I have been using a special focusing screen replacement for a while (Eg-S, also called super precision focusing screen), that has a better visual reference for the actual depth of field.

This has left me with two no longer used focusing screens (the original ones for my two camera’s), so I thought I’d give it a go.

Brute force and an ‘I don’t care’ mind is the only thing left 😀  so I decided to ‘scratch’ my focusing screen with square crop lines.

What you’ll need:

A focusing screen that is of no importance to you (one you can do absolutely without)

A needle

An iron ruler

A loupe

A fine marker pen

fine motor skills

some nerve.

Some pictures of the process (I’m not responsible for any camera abuse that might result from this blog post)

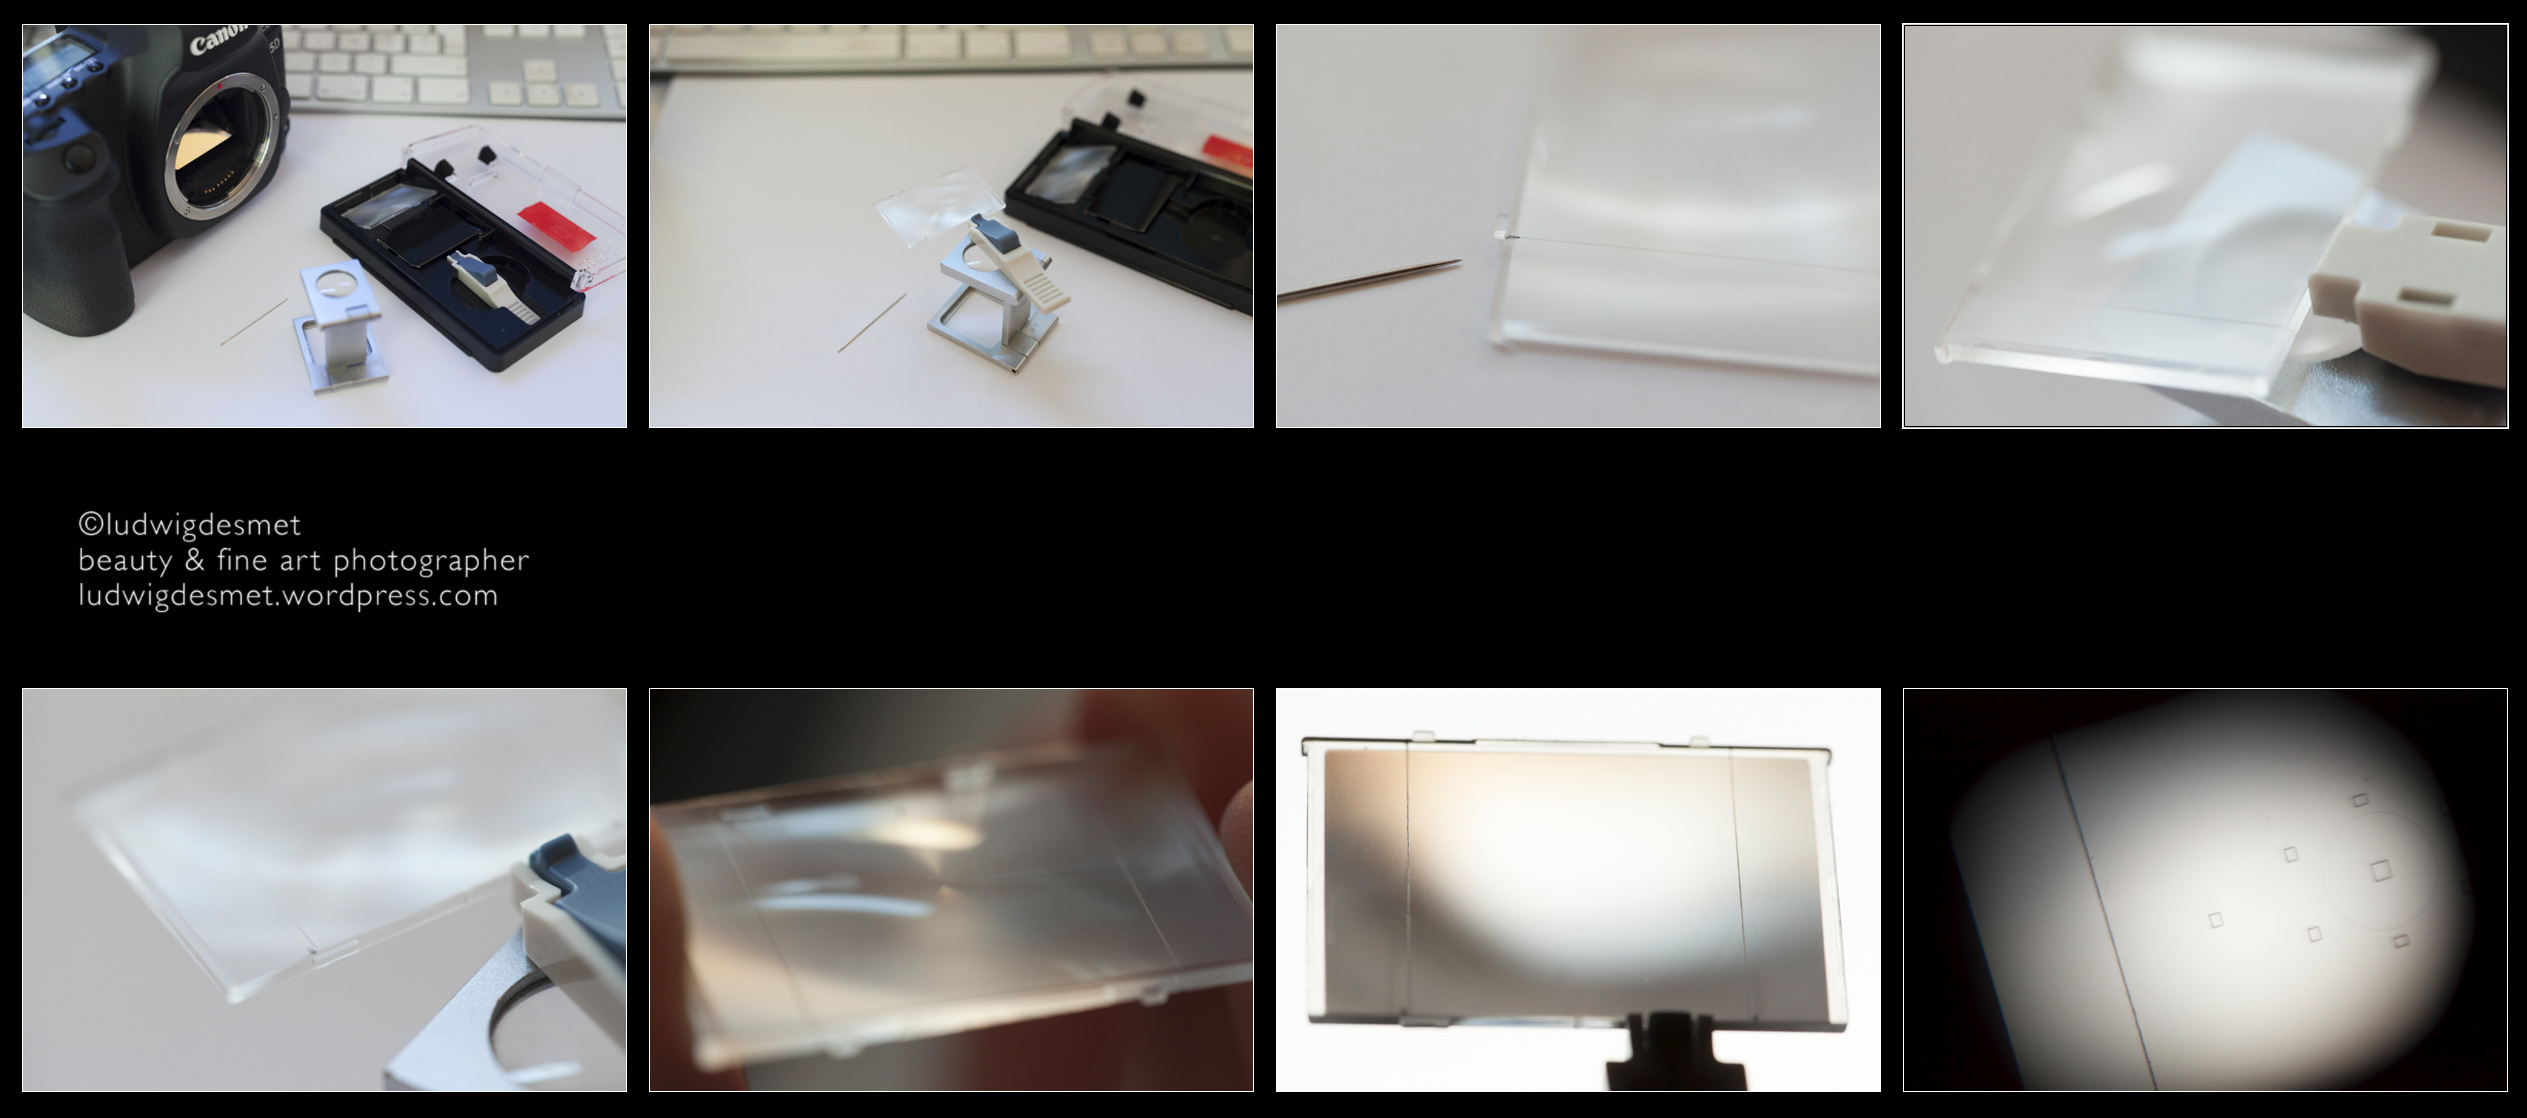
focusing screen square crop

the following steps will be needed :  (FS=Focusing screen)

1. With the help of the focusing screen replacement tool (delivered with the Canon focusing screen replacements) you will remove the FS.

2. With a fine marker put a small reference dot at 6mm from the edge of the ground surface of the FS, this is not the edge of the FS.

3. With a metal ruler and a sharp needle (any kind of sewing needle will do) just slightly scratch the ground surface of the FS parallel to the edge of the FS.

4. Do this on two sides (left and right)

5. Put back the FS in the camera, with the help of the provided tool.

Tadaaaah, two vertical lines in the ocular view. They give at least an idea of where the square crop will fall.

thank you for reading, remember, I take no responsibility for possible damage to your gear.

ludwig

Pauline on film – NSFW

beauty, Nude, Personal Pictures, photo gear

Ludwig Desmet-KISP_materie-3345

I told you before I would talk a bit more about the Rolleiflex I use for shooting on film.

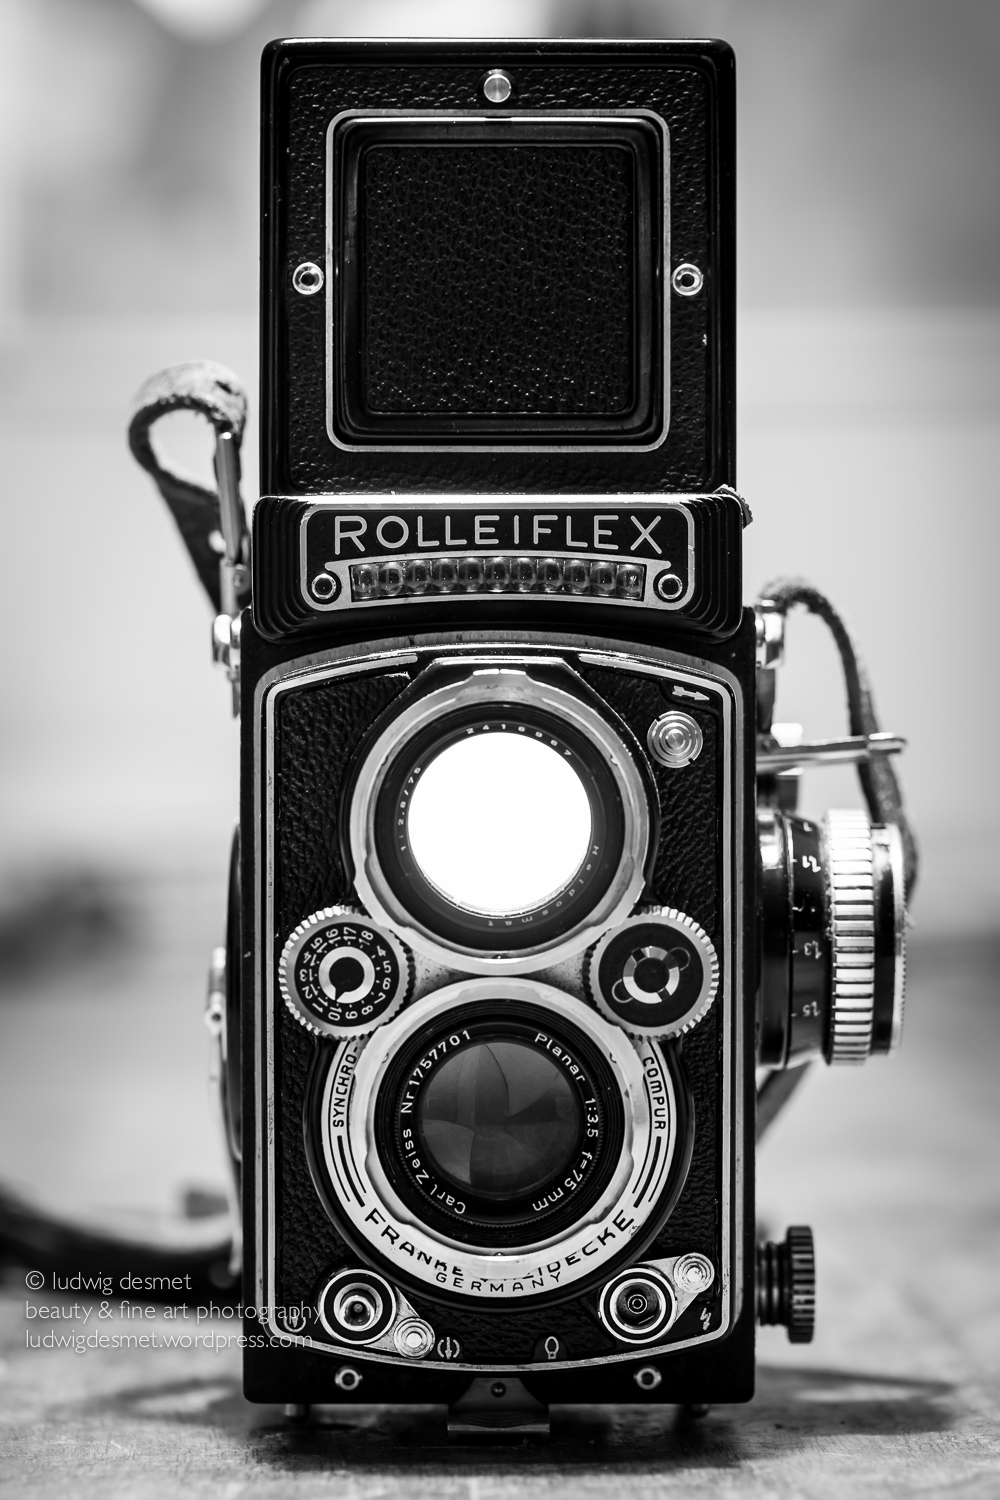
The camera is a Twin Lens Reflex, built in the late 50’s, so the camera is about 60 years old.

The construction with the two lenses, of which the upper lens is for viewing only (viewing lens) and the lower lens is for taking the image (taking lens) has advantages and disadvantages. In comparison to the older camera’s that used flat film sheets, where one had to remove the matte focusing screen before putting in the film holder for taking the image, this camera allows to shoot multiple images without moving anything. There is a 45° tilted mirror behind the viewing lens, projecting a mirrored image on the horizontal focusing screen.

Of course viewfinder camera’s existed as well, but they had no visual reference of the focusing plane, or the sharpness of the subject when changing focus. A photographer using a viewfinder camera had to use the distance scale on the lens, and the not so trusty guesswork for camera to subject distance.

Both lenses of the this TLR move forward and backward while focussing, and so provide an identical image on the ground glass as the image to be expected on the film. Still, the smallest amount of inaccuracy of the lens focusing mechanism leads to bad focusing, and I believe this camera suffers at least some looseness in the forward-backward movement.

Dealing with this complex mechanism of focusing, meant also that these camera’s are mostly fixed focal length. Some camera’s came in different focal length versions, but camera’s with interchangeable lenses where very rare. (Except for the Mamiya C)

This camera comes with a 75 mm f3.5 lens, it also existed in a f2.8 version, usually much more expensive on the secondhand market. 75 mm on 6×6 film format has an equal viewing angle to a 38 mm lens on Full frame DSLR, or a 24 mm lens on a 1.6 crop camera, so a rather ‘wide-standard’ viewing angle.

The lens is certainly not paramount, and suffers heavily from flare, as can be seen in the images below (does somebody have a lens hood for this camera for me?). An aperture of 3.5 gives a good amount of image unsharpness on medium format. 2.8 would be nicer of course. The images lack a bit of contrast and sharpness.

Composing with the mirrored image on the focusing plane is a bit of a habit.

Shutter speed range is limited, from 2 seconds to 1/500th of a second, thus mostly limiting the wide open apertures in bright light. The mirror does not move, since it is not obstructing the film plane, so there are not vibrations from this side. Activating the shutter however demands some finger movement (unlike today’s DSLR’s where pushing the shutter entirely only takes some tenth of a millimeter) causing some hand stress and maybe movement unsharpness. Shutter speeds as long as 1/15th. of a second seem not possible to me without image shake. Maybe with some more experience.

The camera has a built in exposure meter, but it no longer works, so exposer should be metered with another camera, or with a hand held meter, I use the latter.

Film for this camera is widely available here in Belgium, both black and white and color film. Not sure about slides. Development is still available too, although it can take a while (1-2 weeks) before getting the negatives back. Scanning the negatives, as well as retouching them (from dust) is a tedious process.

The biggest advantages for me is that I spend more time composing, and checking out if everything is well in place before taking the image. It learns me to concentrate more on details, on exposure, on posing etc. … One roll of film equals 12 exposures, after that the fun is over. 😀 The fact that you see the image mirrored gives you a fresh view on your scene, revealing flaws in your image/composing remaining unnoticed as you set it up. (But I still have a lot to learn)

A second big advantage is that the images are square format. This gives me a more relaxed feeling when composing, and I believe that the images are more harmonious too. I kind of like this square format more and more. (This made me thinking about modifying a matte screen for my 5D mark II to indicate ‘square’ cropping).

changes I have had:

I had the original focusing screen replaced with a focusing screen with split prism and microprism focusing aids, and that adds to the accuracy of focussing with the camera.  I also had the shutter speeds checked out by the same specialist repair shop that also changed the focusing screen.

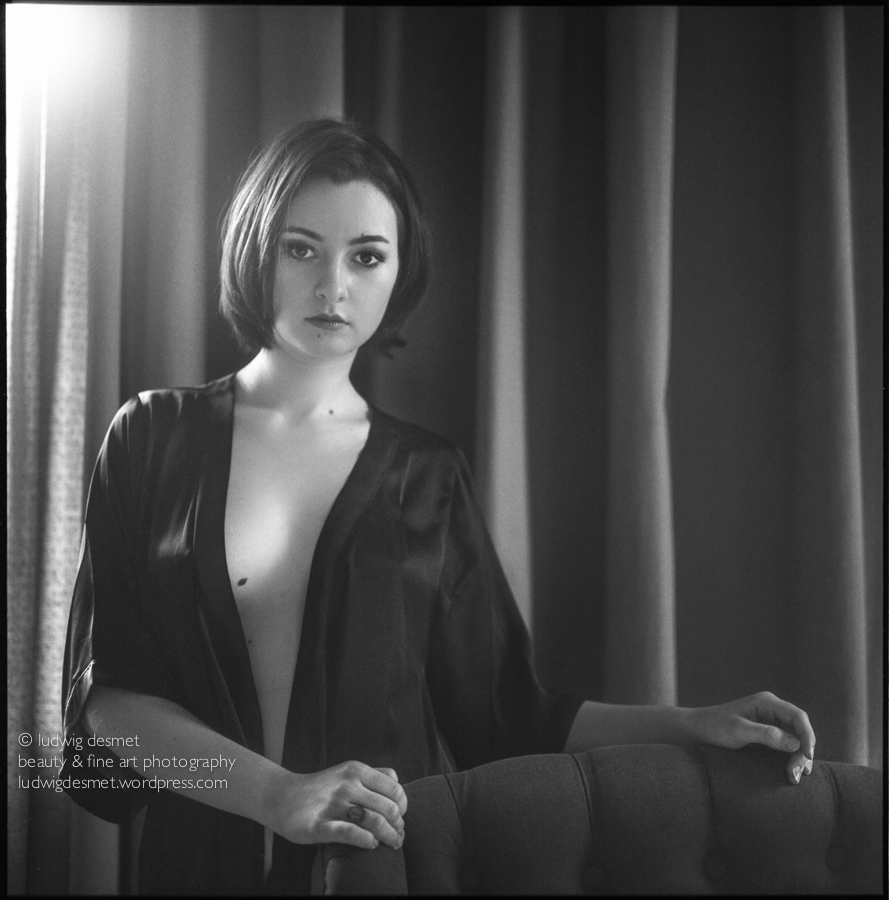
To be continued. Enjoy this small portrait series I made with Pauline lately – Rolleiflex 3.5E – Tmax 400 film.

Ludwig Desmet-PaulineM-007

Ludwig Desmet-PaulineM-010

Ludwig Desmet-PaulineM-006

Ludwig Desmet-PaulineM-005

Ludwig Desmet-PaulineM-004

Ludwig Desmet-PaulineM-002

thank you for reading, see you soon,

Ludwig

Presentation

beauty, exhibition, photo gear, Uncategorized

very short notice, but not too late. Tomorrow evening I will be giving a live presentation about my beauty shoots.
How do I do things, which gear do I use, preparations, locations, models, the shoot, development etc.
Tomorrow night, in Ronse, Belgium. Just be there, or you’ll have missed it. 😉

Presentatie Ronse uitnodiging

Battle of the 50’s Part II – Canon 50 mm f1.4 USM vs. Sigma 50 mm f1.4 DG HSM Art

Personal Pictures, photo gear, tests

A lot of good rumors about the Sigma 50mm Art that was announced for the end of April. I have decided to order one as soon as it was available here in Belgium, and I wanted to do a comparison between this praised newcomer and the 50 mm f1.4 I have been using since about two years. (see battle of the 50’s for a comparison between Canon’s cheap (fantastic plastic) 50 mm f1.8 and the second in line 50mm f1.4 from Canon as well)

So this time a comparison between the Sigma 50mm f1.4 DG HSM Art and the Canon EF 50 mm f1.4 USM.

Both aimed at the full frame market, a rather old design for the Canon, brand new for the Sigma, part of the ‘Art’ series of new lenses from the latter.

In my photography I often have to deal with difficult light situations (I mostly work with natural light only) in dim lit interiors. I so have decided a couple of years ago to mainly go with fixed focal length lenses with big apertures. I currently have a Canon 24 mm f1.4 L II, a 50 mm f 1.4 (Canon and Sigma, although the Canon has already been sold and will be transferred to its new owner as soon as this test is over) a Canon 85 mm f1.8, a Canon 100 mm f2:8 macro (NEW) and a Canon 135 mm f2.0 L. A lot of glass and a lot of weight in my photo bag.

Additional weight for this 50 mm lens from Sigma too, compared to the Canon f1.4 (290 g) the Sigma comes at 815 grammes, meaning a lot more weight to carry. In combination with the Canon 5D mark II I use, this combo weighs about 1700 grams all together. My wife complained about the weight when I had her review the images of my last shoot.

The design of the Sigma lens is definitely more attractive, with is matte finish and sleek all black no colors approach. It comes with a hood and caps, and a square semi-hard lens case. The price here in Belgium is 839 € (Art & Craft pre-order) while the Canon comes at 339 € at the same shop.

All images for this test have been taken in my backyard or home studio, no special things going on here, except for young vegetable sprouts struggling against the spring rains we had lately.

As far as needed, all images are taken with tripod, live view magnification for focussing and with the same 5D II camera. Self timer to prevent touch shake.

The images show the entire scene on top, 100% crops from unedited images (except standard sharpening in LR5) below. The aperture setting is mentioned on every crop. All Jpg’s are saved at 100% quality. Take care, some of these images are big! All these images are for informational purpose only, no legal claims made!

You should really look at the images full size to be able to judge on the results obtained!

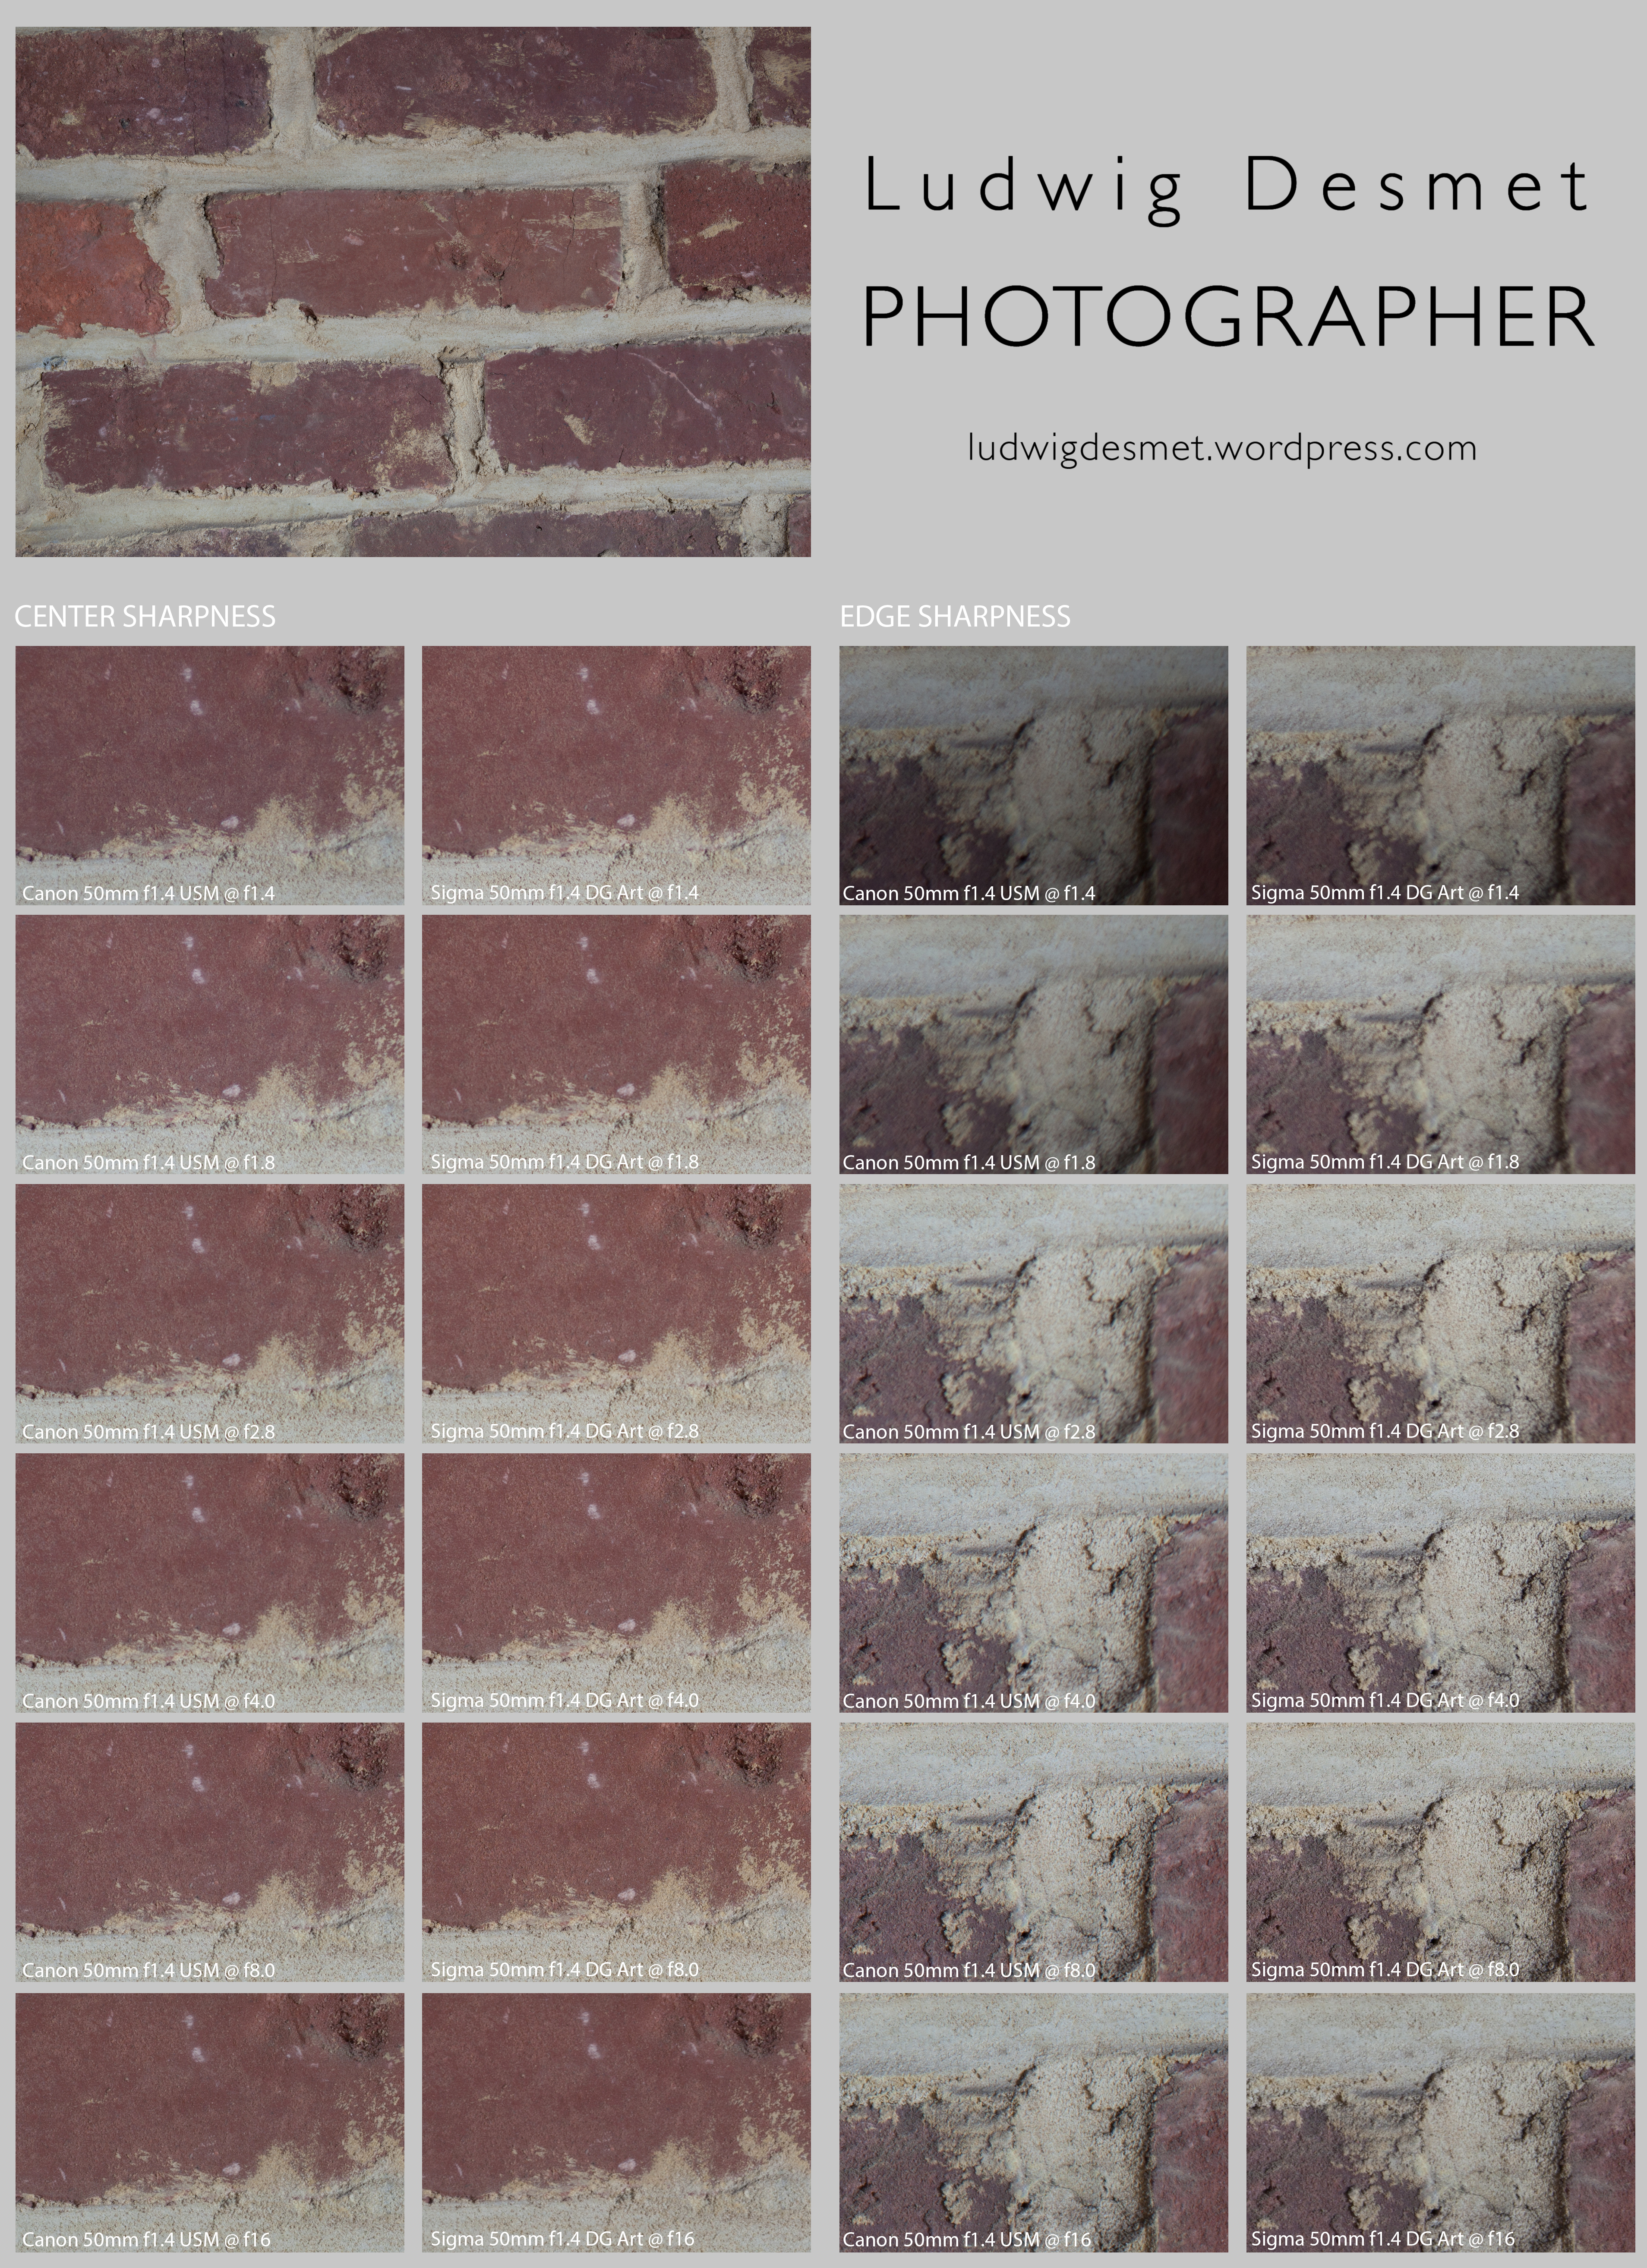
Sharpness center and edge:

Left to right: Canon center sharpness, Sigma center sharpness, Canon edge sharpness, Sigma edge sharpness.

Full size on click, 11.9 Mb Jpg file.

Sigma vs Canon 50mmtest-sharpcomp

My observations:

Center sharpness Canon: soft wide open, reaches full sharpness at f2.8, stays sharp till f8.0, a little diffraction softening at f16

Center sharpness Sigma: similar sharpness wide open as the Canon at f2.8, small increments of additional sharpness till f8.0, clearly visible diffraction effects at f16

Edge sharpness Canon: strong image distortions in this part of the image at f1.4 and f1.8, as if the image has had a rotational blur, gradually improving image quality, acceptably sharp at f8.0, soft degradation at f16

Edge sharpness Sigma: similarly sharp at f1.4 as the Canon at f1.8, but no distortions, f4.0 similar to Canon at f8.0 and sharpest at f8.0 and better image detail as the Canon at f8.0. More diffraction degradation at f16 than Canon.

Note the strong vignetting on the Canon f1.4 USM when used wide open. Less visible on the Sigma.

Vignetting is becoming invisible at f4.0 for the Canon, at f2.8 for Sigma.

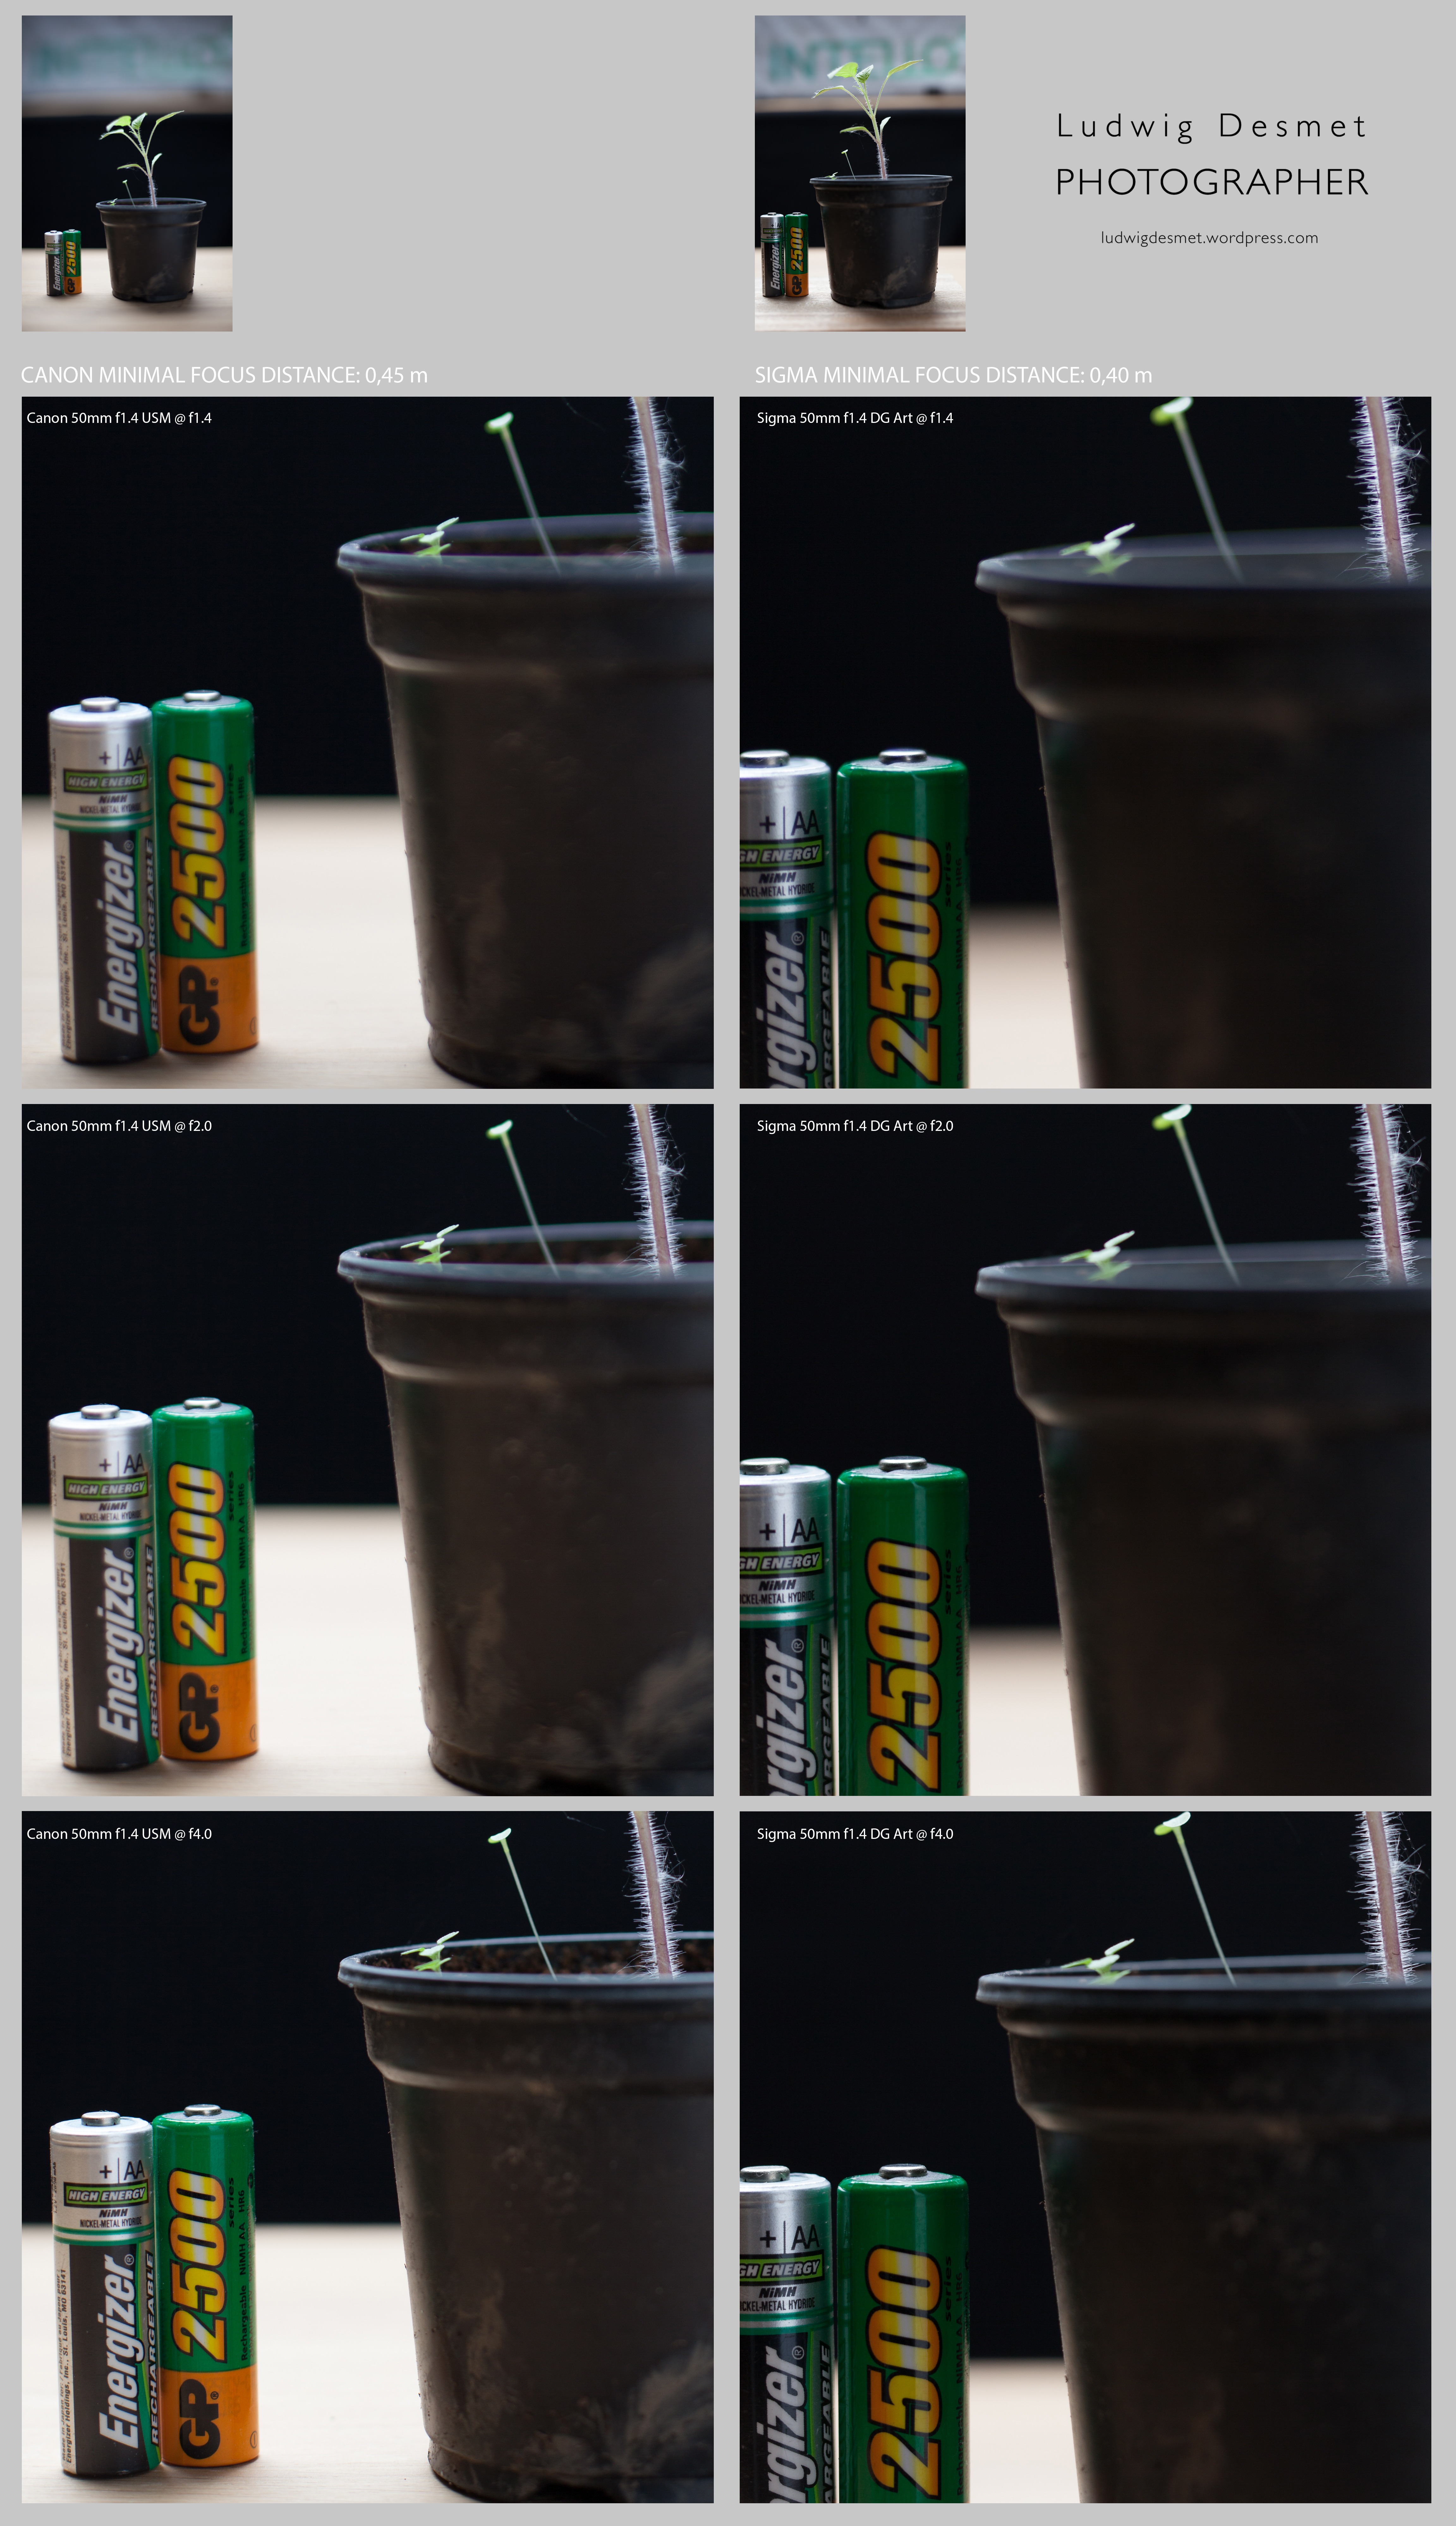
Minimal focussing distance. Sharpness and magnification:

the minimal focus distance for the Canon is 0.45 m, for the Sigma it is at 0.4 m, so a bigger magnification is possible.

Another set of images, both showing the magnification comparison, and a crop showing sharpness with different apertures.

Sigma vs Canon 50mmtest-minfocus

my observations:

similar as previous test, very weak performance at the image edge for Canon, at least one stop better sharpness for the Sigma in both center and edge.

The Sigma lens has however more problems with purple fringing when used wide open (note the hairs on the plant stem). This reminds me of the ‘quick’n dirty 85mm lens test’ I did a couple of years ago, where similar fringing problems where appearing with the Sigma 85 mm f1.4

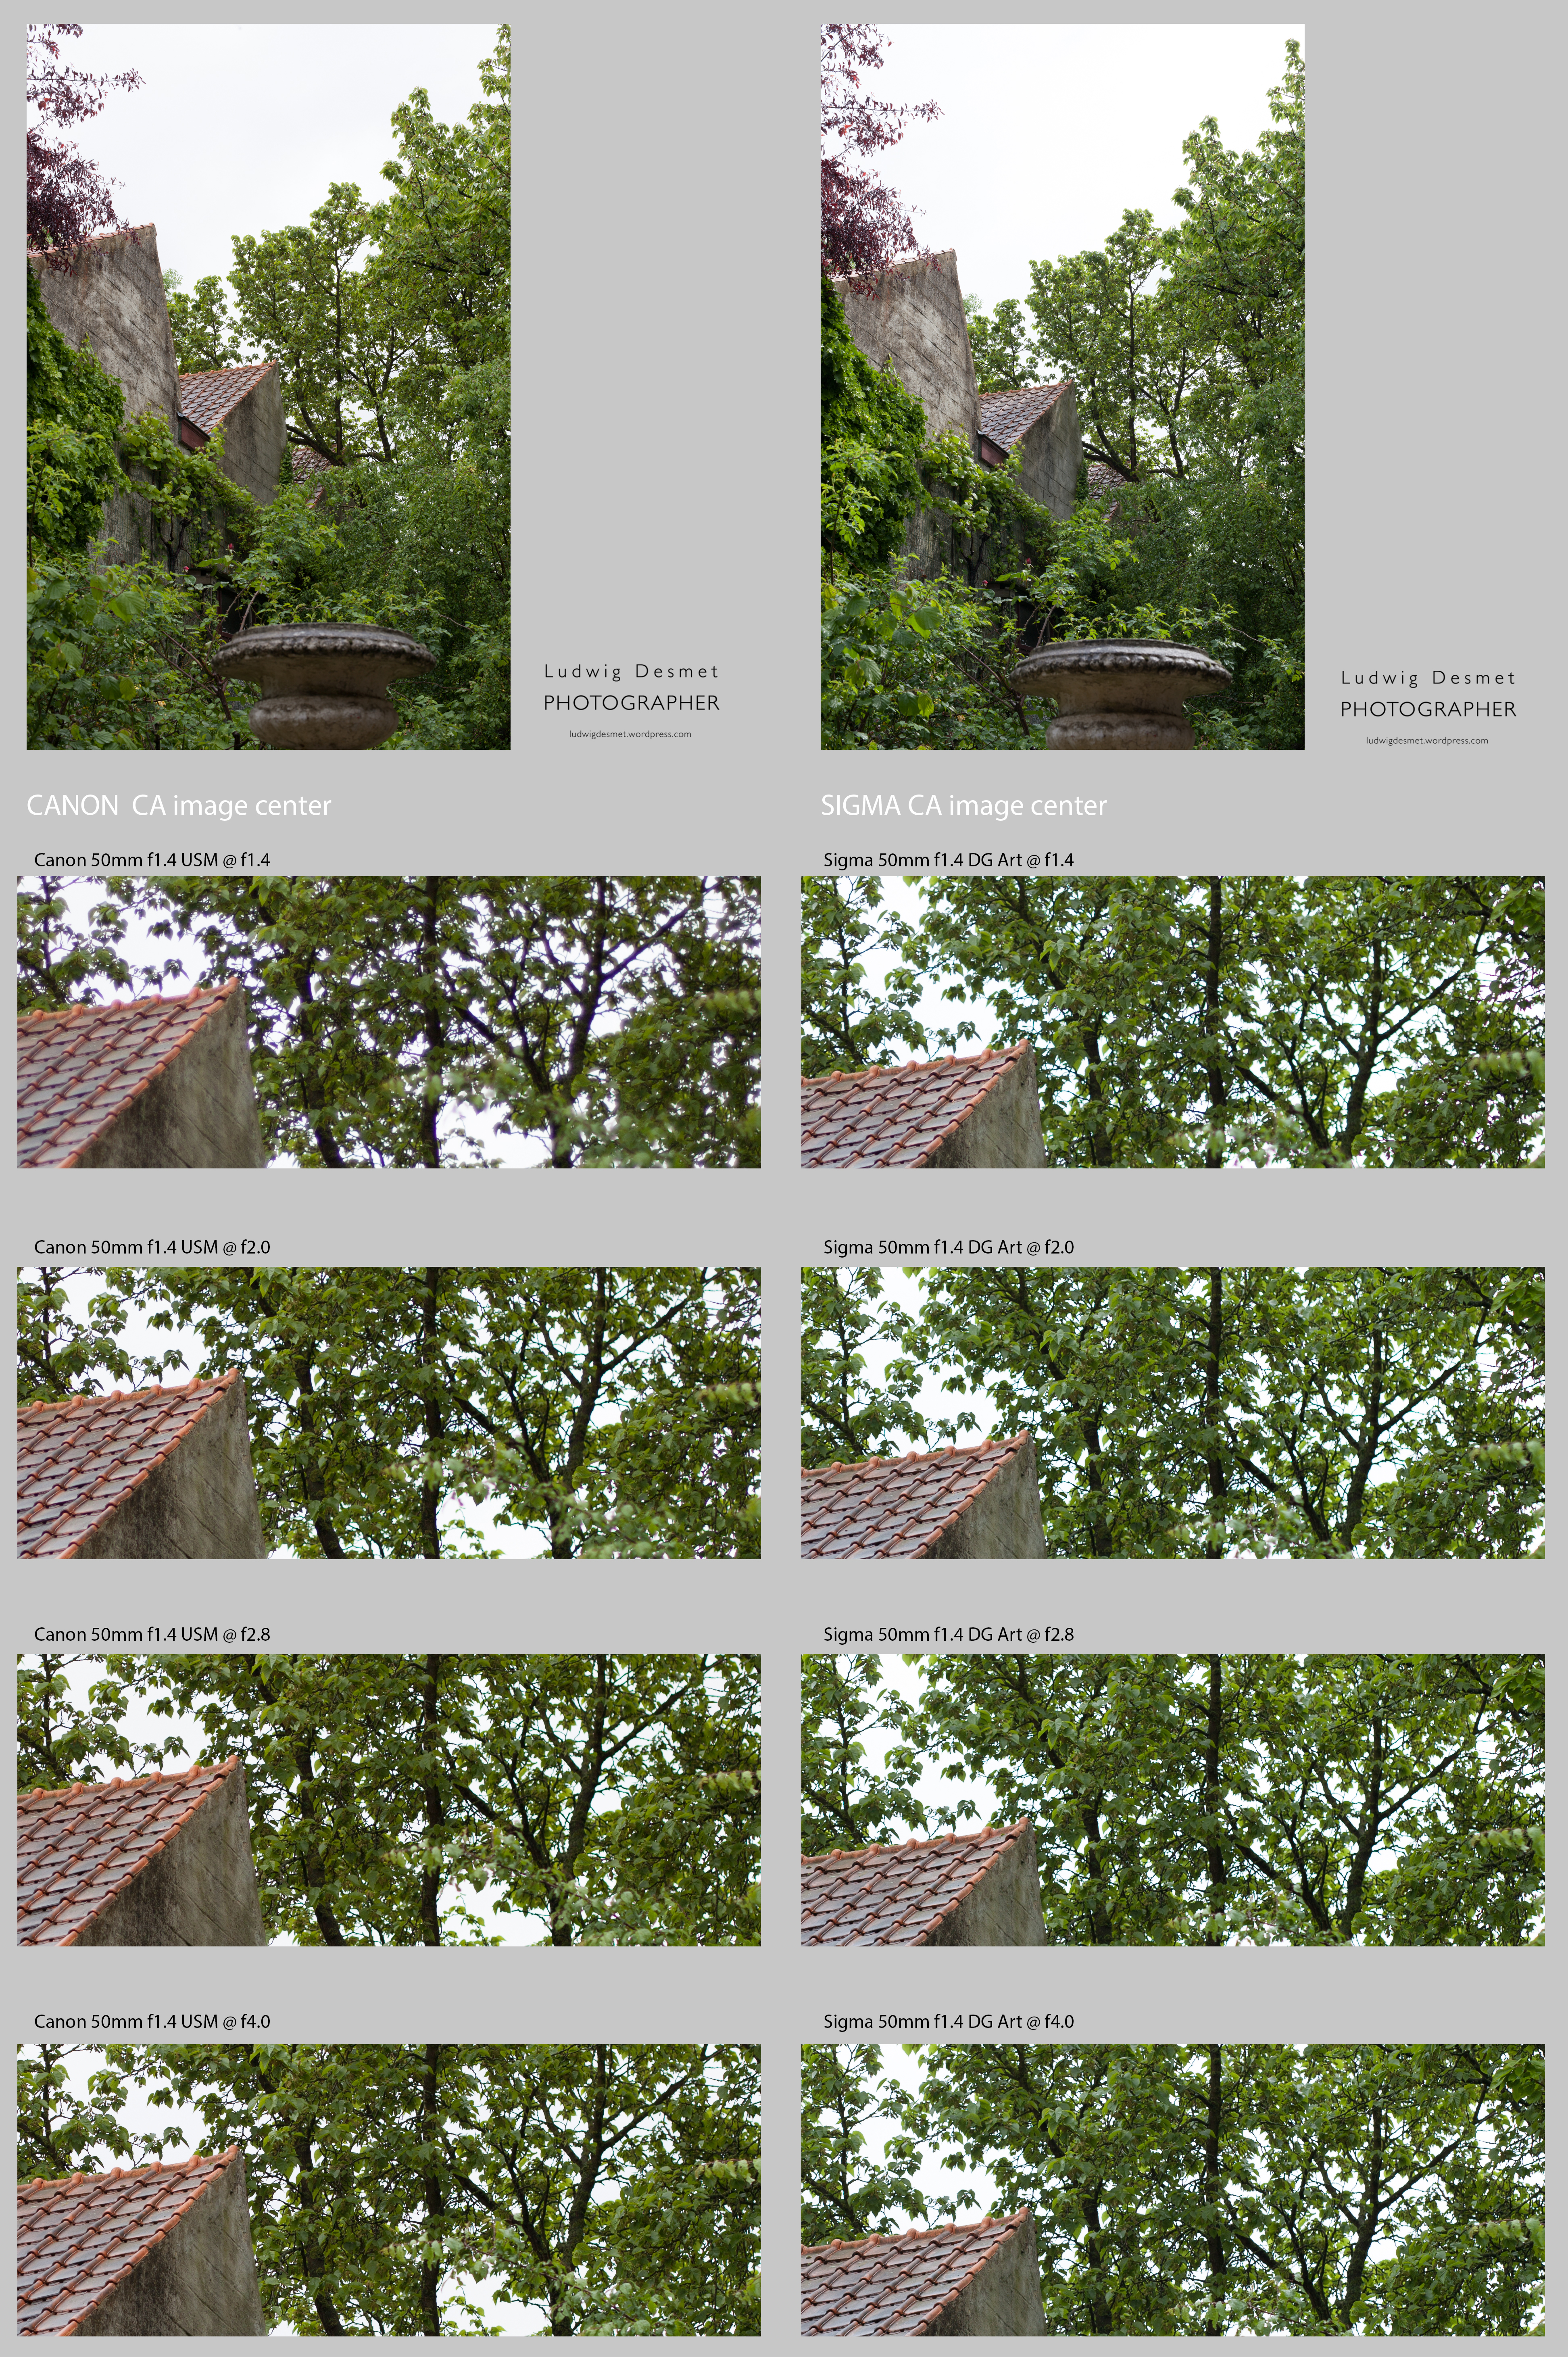
Chromatic Aberration and color fringe:

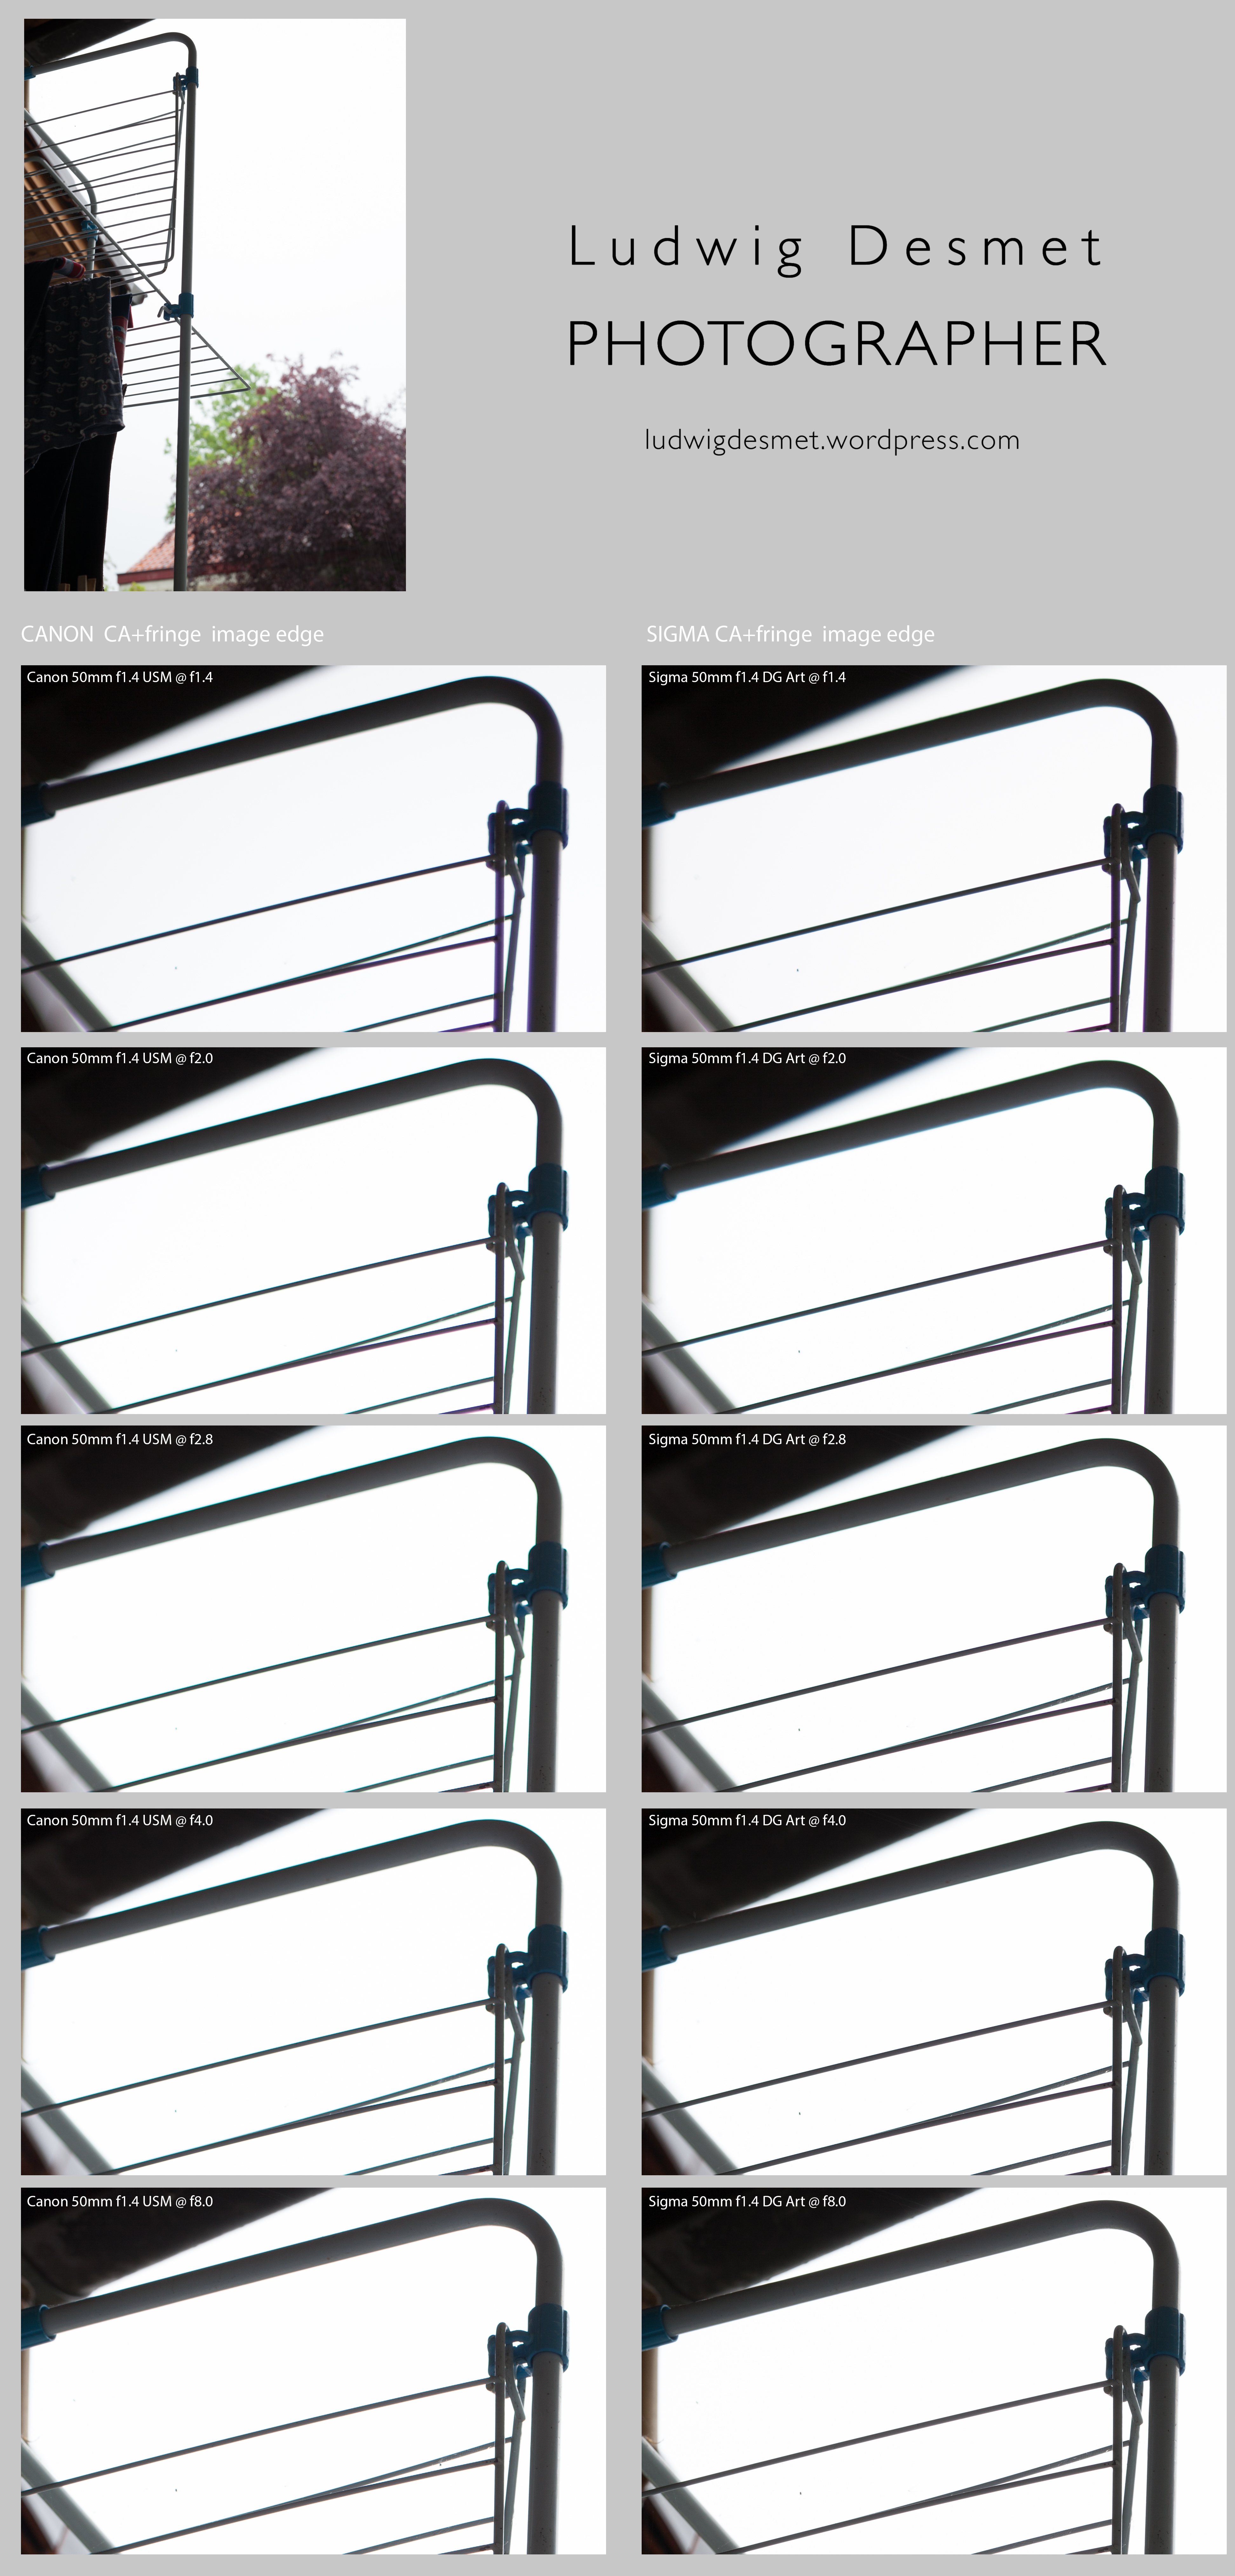
I remember from the previous test that the Canon proved horrible in the shots with the branches agains bright background. Let’s see what the Sigma does in comparison. I had no clear sky as the previous time today, but I kind of see the same things happening here.

Sigma vs Canon 50mmtest-CA center

Sigma vs Canon 50mmtest-CA edge

The Canon f1.4 USM suffers from severe fringing in high contrast areas, when used wide open. (strange that this phenomenon did not show in the plant close up) This is even apparent in live view, making it hard to focus correctly. When stopping down to 2.0, this greatly improves, and then we see similar things in both lenses, the Sigma not noticeably performing better in this aspect, showing purple fringing in front of the focus area, green fringing behind the focus plane.

In both examples in this test however (overcast sky, dull weather) I have noticed very little CA in both lenses, a little bit of cyan-orange at f8.0 in the Canon image close to none in the Sigma. I suppose that in higher contrast situations, that might be worse. (to be confirmed).

Worth noticing in this respect is that the Sigma 50mm Art lens profile is not yet currently available in the standard Lightroom 5.4 upgrade, nor could I find a link to a profile for this lens on the web (may 13, 2014)

Longitudinal CA:

Chromatic aberration that is visible in the unsharp areas in front and behind the sharp area. Not the magenta shift in front of the sharp area, the green shift behind. Both images taken at f2.0. Remarkably higher in the Canon. Note the big difference in sharpness and contrast in the sharp areas between the two of them. Best viewed at 100% of course.

Sigma vs Canon Longitudinal CA

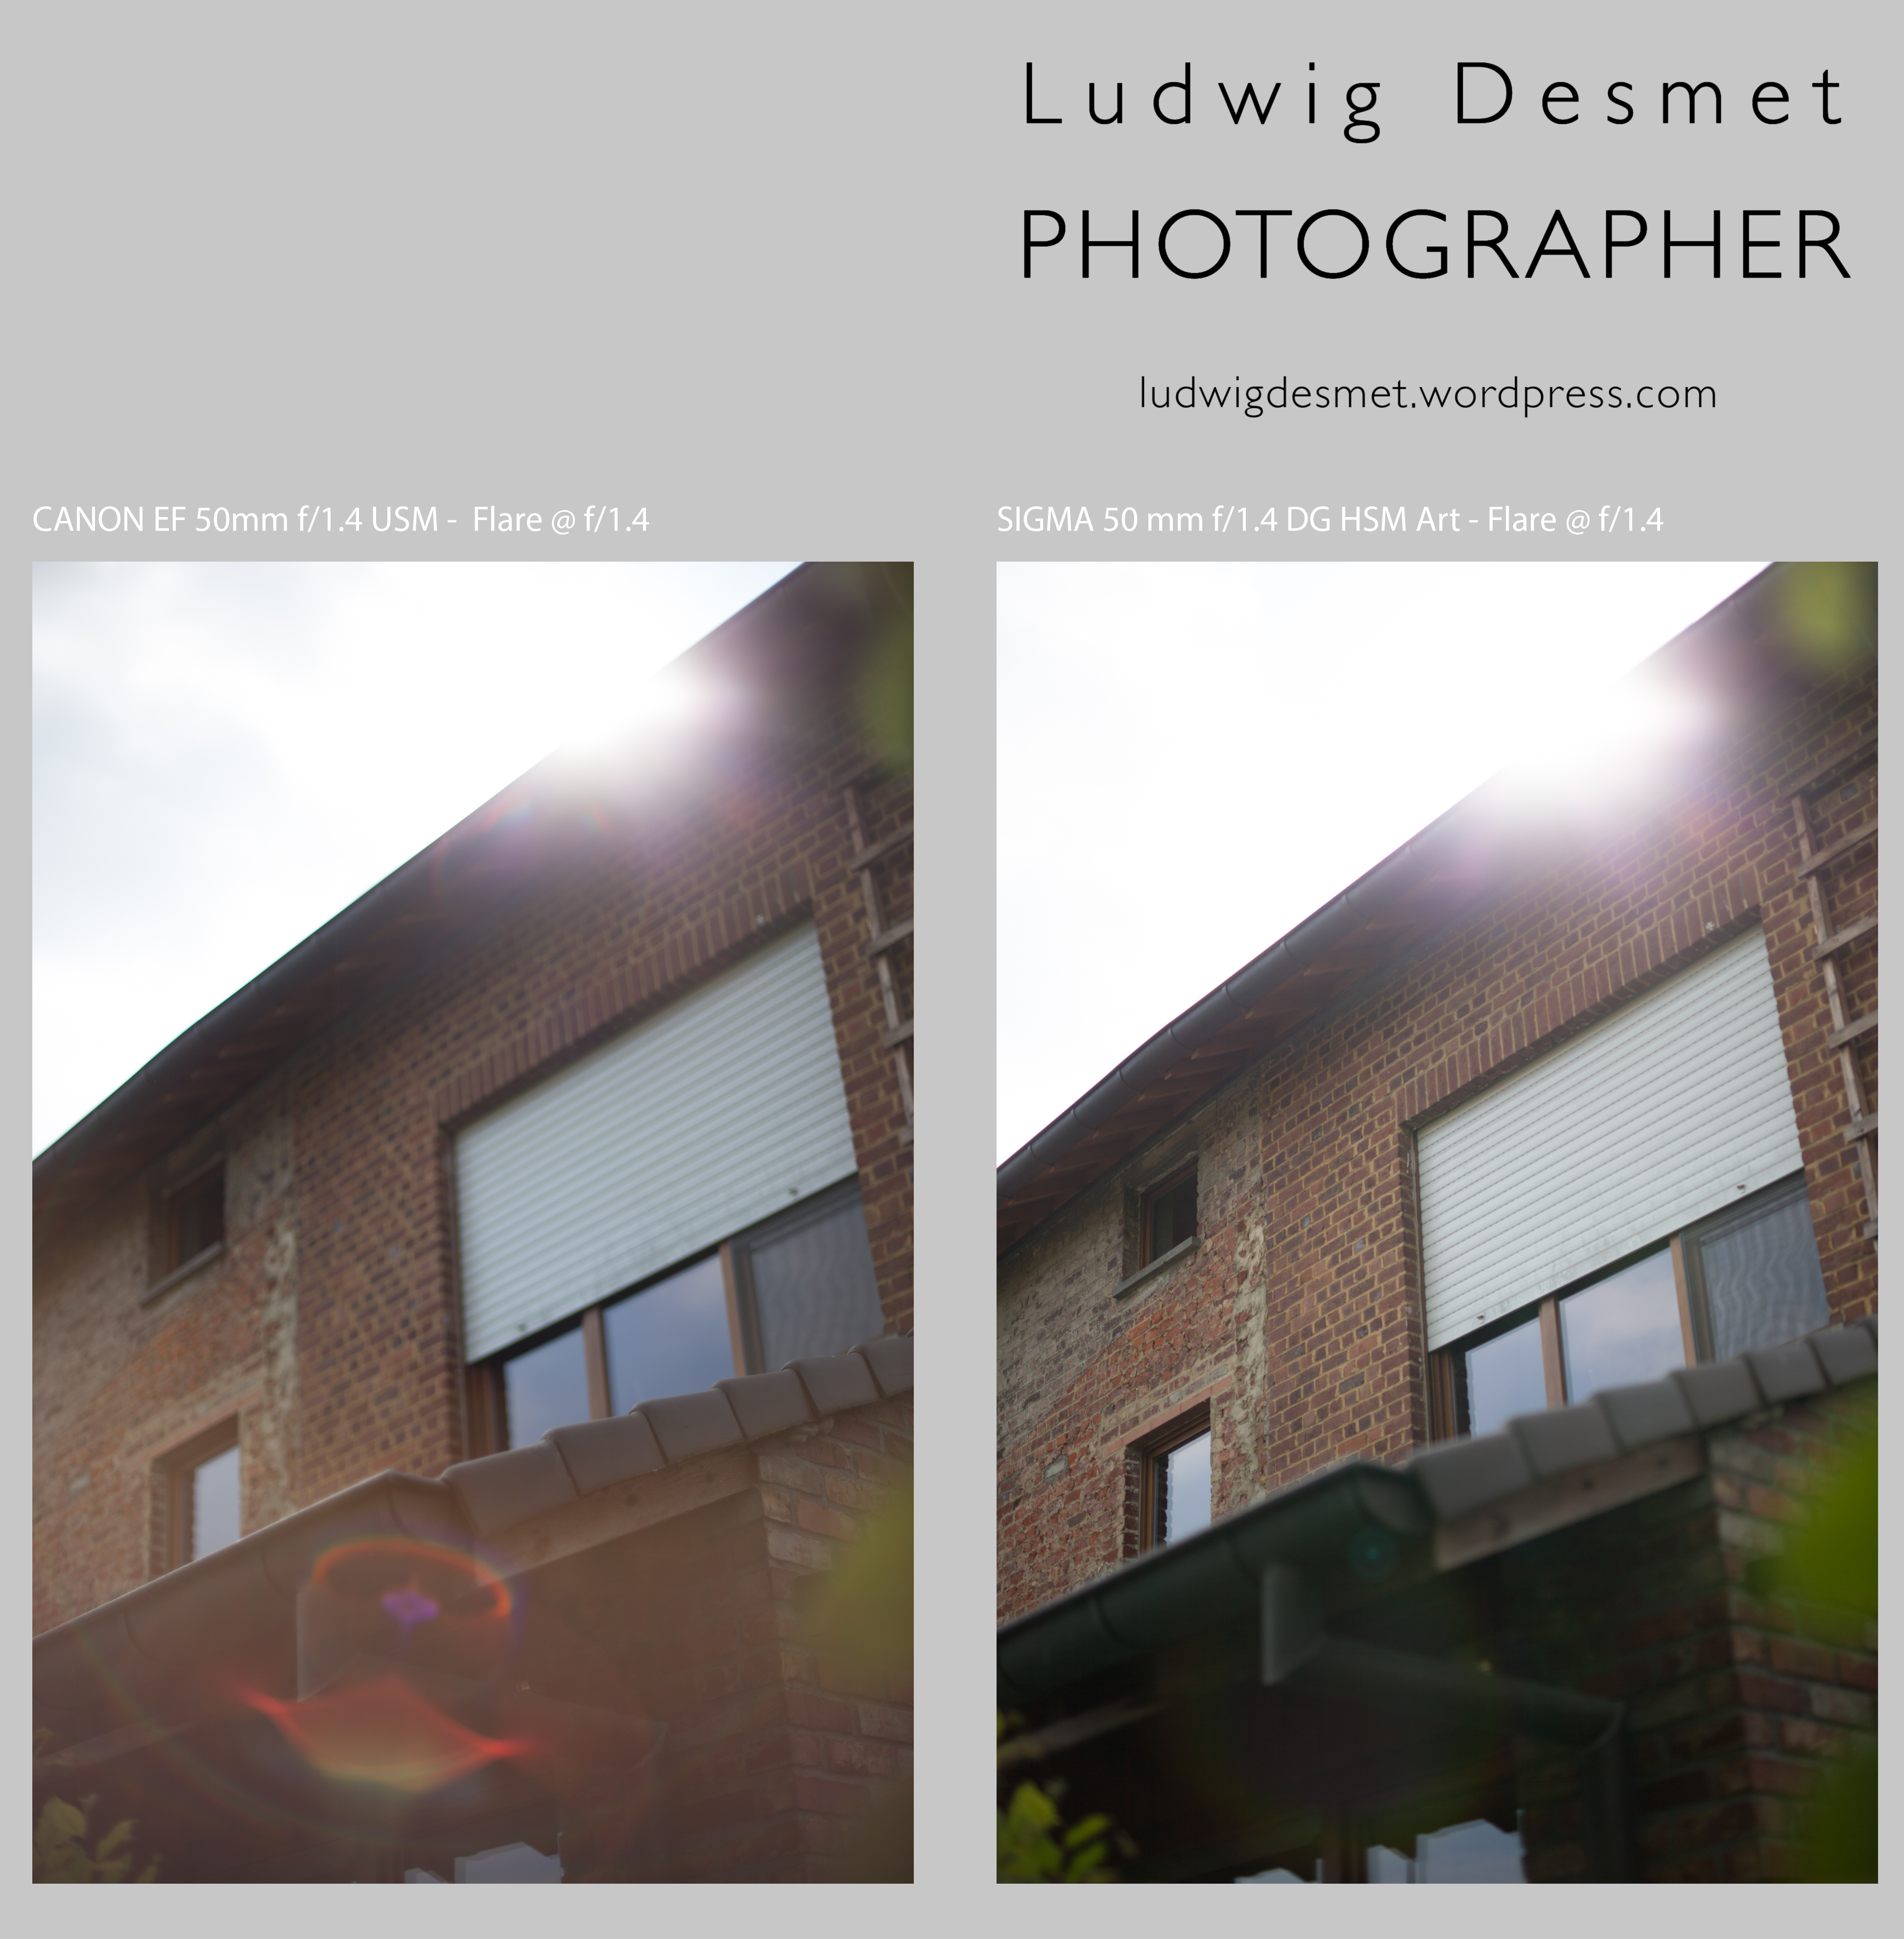
Flare:

Canon to the left, Sigma to the right.

Sigma vs Canon 50mmtest-Flare

My observations: Do I really need to? It’s obvious I guess.

Bokeh:

Canon to the left, Sigma to the right. I think Sigma’s bokeh is softer and smoother. In the Canon unsharpness, there is still some structure and noise. Not 1/1 images but big enough to analyze.

Sigma vs Canon 50mmtest-Bokeh

Thank you for reading, I think I will keep my Sigma, and trade on the Canon.

You are welcome to share this comparative review, I take no responsibilities of any kind 😉

come back again for some real world image samples of this lens in my shoots!

best,

Ludwig

Sensor cleaning

photo gear, Tips and Tricks

I’ve had my camera’s about 2 years/3 years now, and I never had the nerve to clean the sensor. I have always been afraid something might happen to the sensor surface while cleaning it. Till now.

Some weeks ago I went to a local shop buying the necessary equipment.

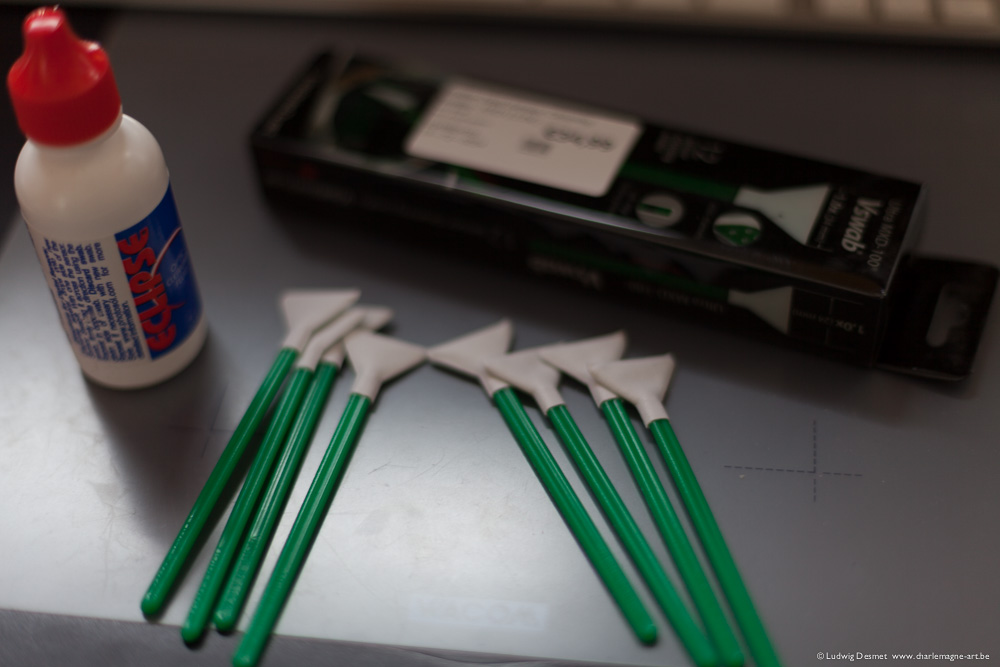
I received a bottle of Eclipse, optical cleaning fluid (www.photosol.com) and a box of Vswab Ultra MXD-100 from VisibleDust (12 pcs). Attention, you should always get the right swabs for your size of sensor. Full frame, aps-c x1.6 or aps-c x1.5 or aps-c x1.3, depending on your type of reflex camera. The bottle is good for at least a hundred sensor wipes, the box of swabs will be quickly gone, as I discovered quite soon. The swabs are individually packed in plastic foil, and should only be unpacked just before use. (the image below is after cleaning 2 sensors)

I’m not sure it’s the best tools around, but it’s the stuff they recommend. Since I have no experience with other makes, I can’t judge. One remark, it might be a good idea to use one of those static brushes, to wipe of loose dirt first, but I don’t have one, so I couldn’t use it.

Ludwig_desmet-sensorclean-4583

What I could judge, is how dirty my sensors were before cleaning.

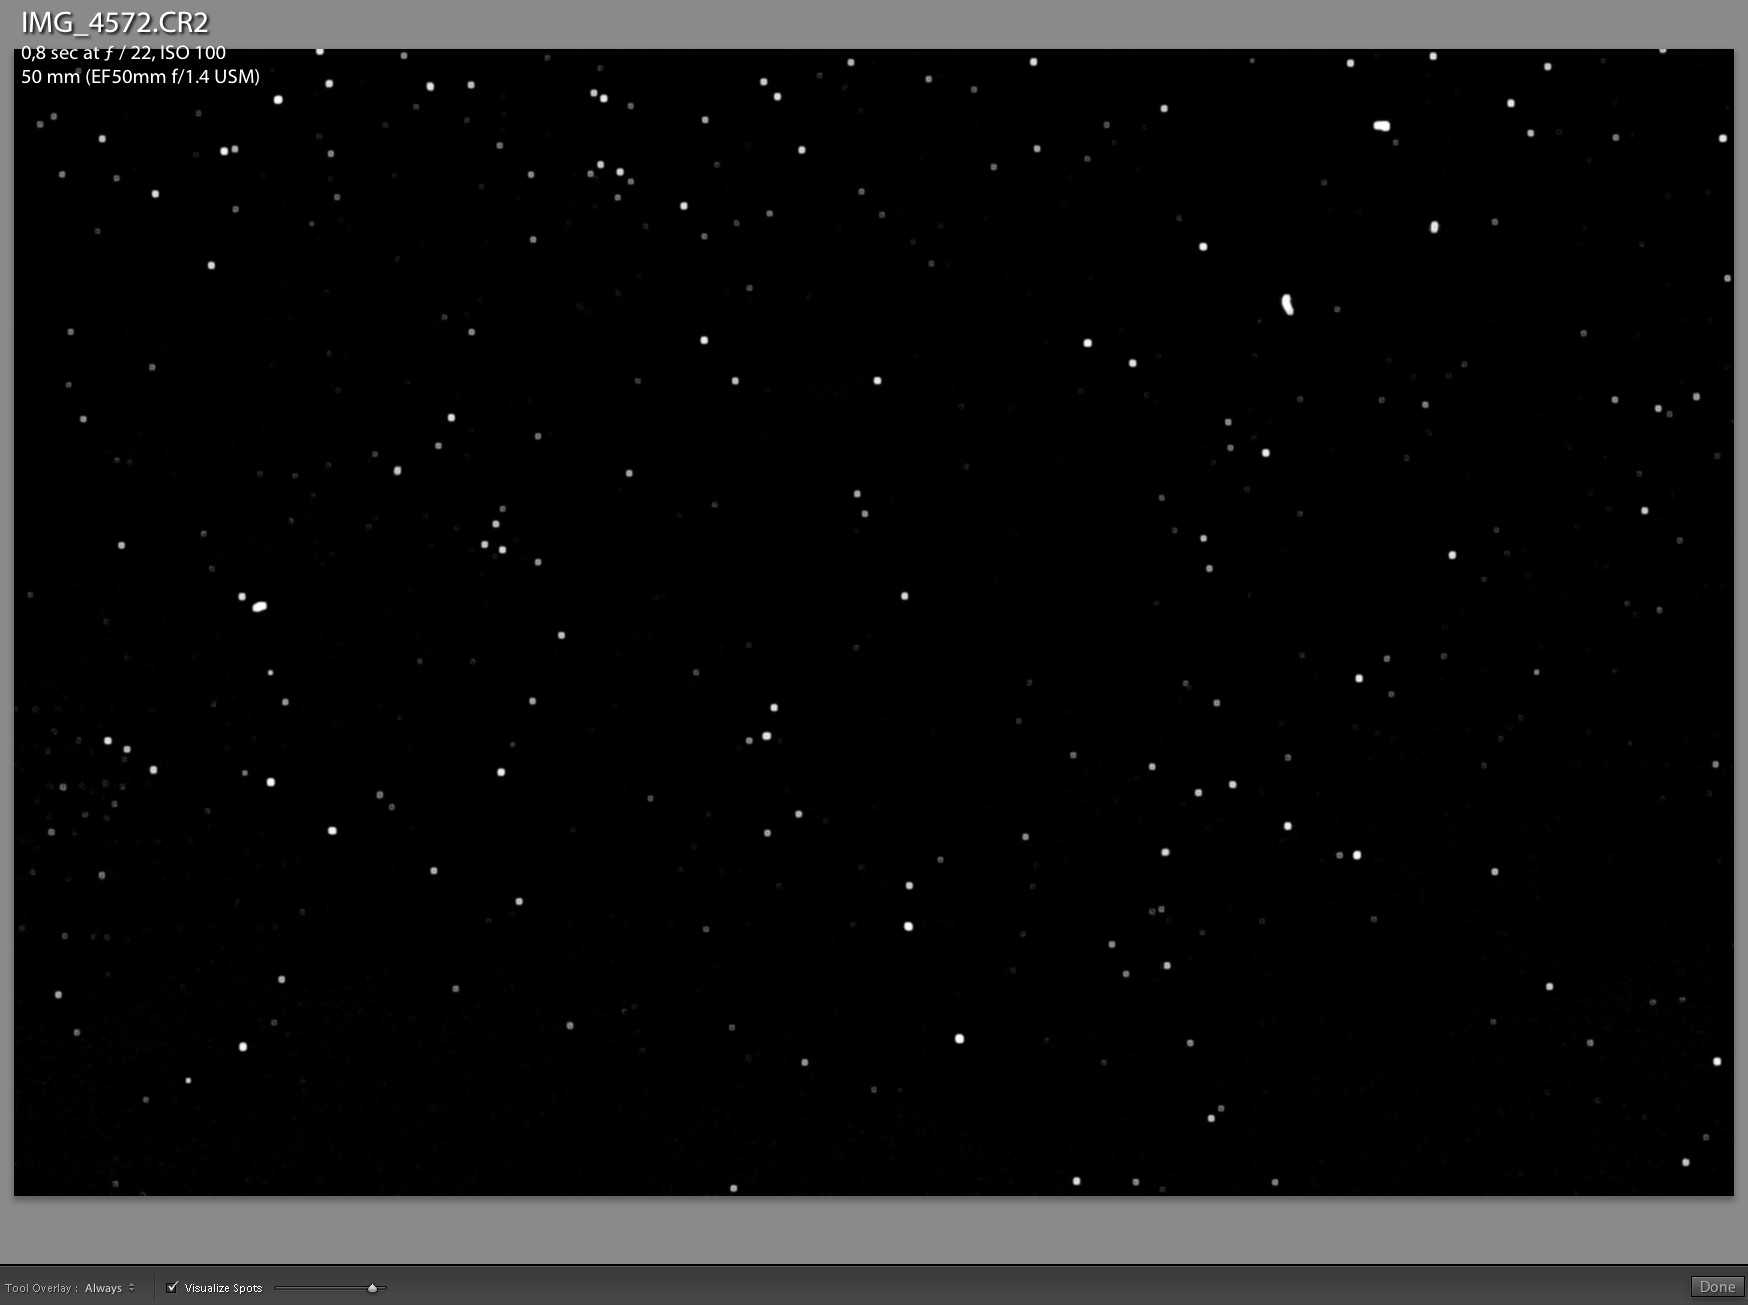
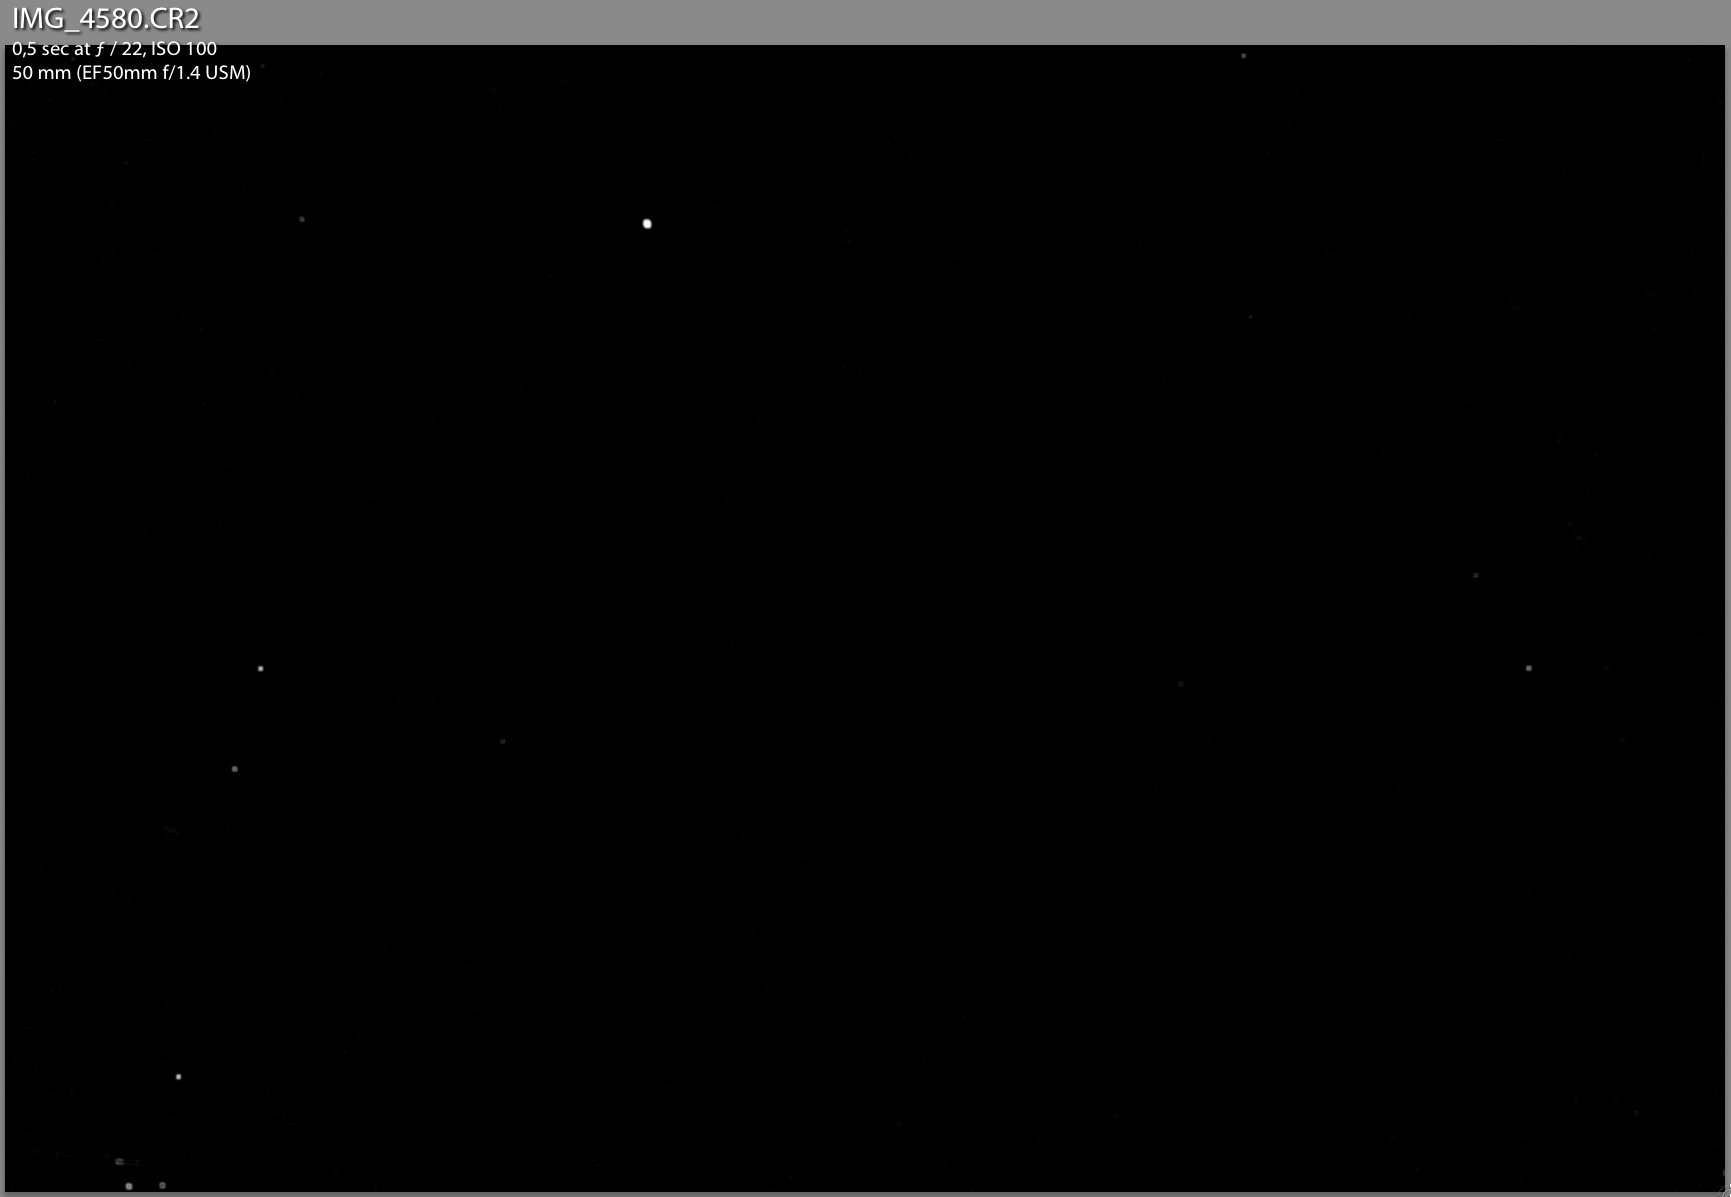
The best thing to do to reveal dust on your sensor, is photographing an even surface (or a grey cloudy sky) and make sure you have your lens off focus (only possible in manual focus mode) dial in your smallest possible aperture value, and adapt shutter speed to have a slightly overexposed image. It should look something like this:

(ALL IMAGES CLICKABLE FOR BIGGER VIEW)

Ludwig_desmet-sensorclean-4572

this is an image of an overcast grey cloudy sky, f22 – 0,5 sec at ISO 100.

In Adobe lightroom 5, you can easily judge on how much dust you’ve gathered on your sensor by selecting the spot removal tool, and then checking the box visualizing spots just below the image. this turns your image into a black and white image, with all dust visible. (depending on the position of the visualization slider, you’ll see even the smallest dust spot)

Screen Shot 2014-01-06 at 10.54.33

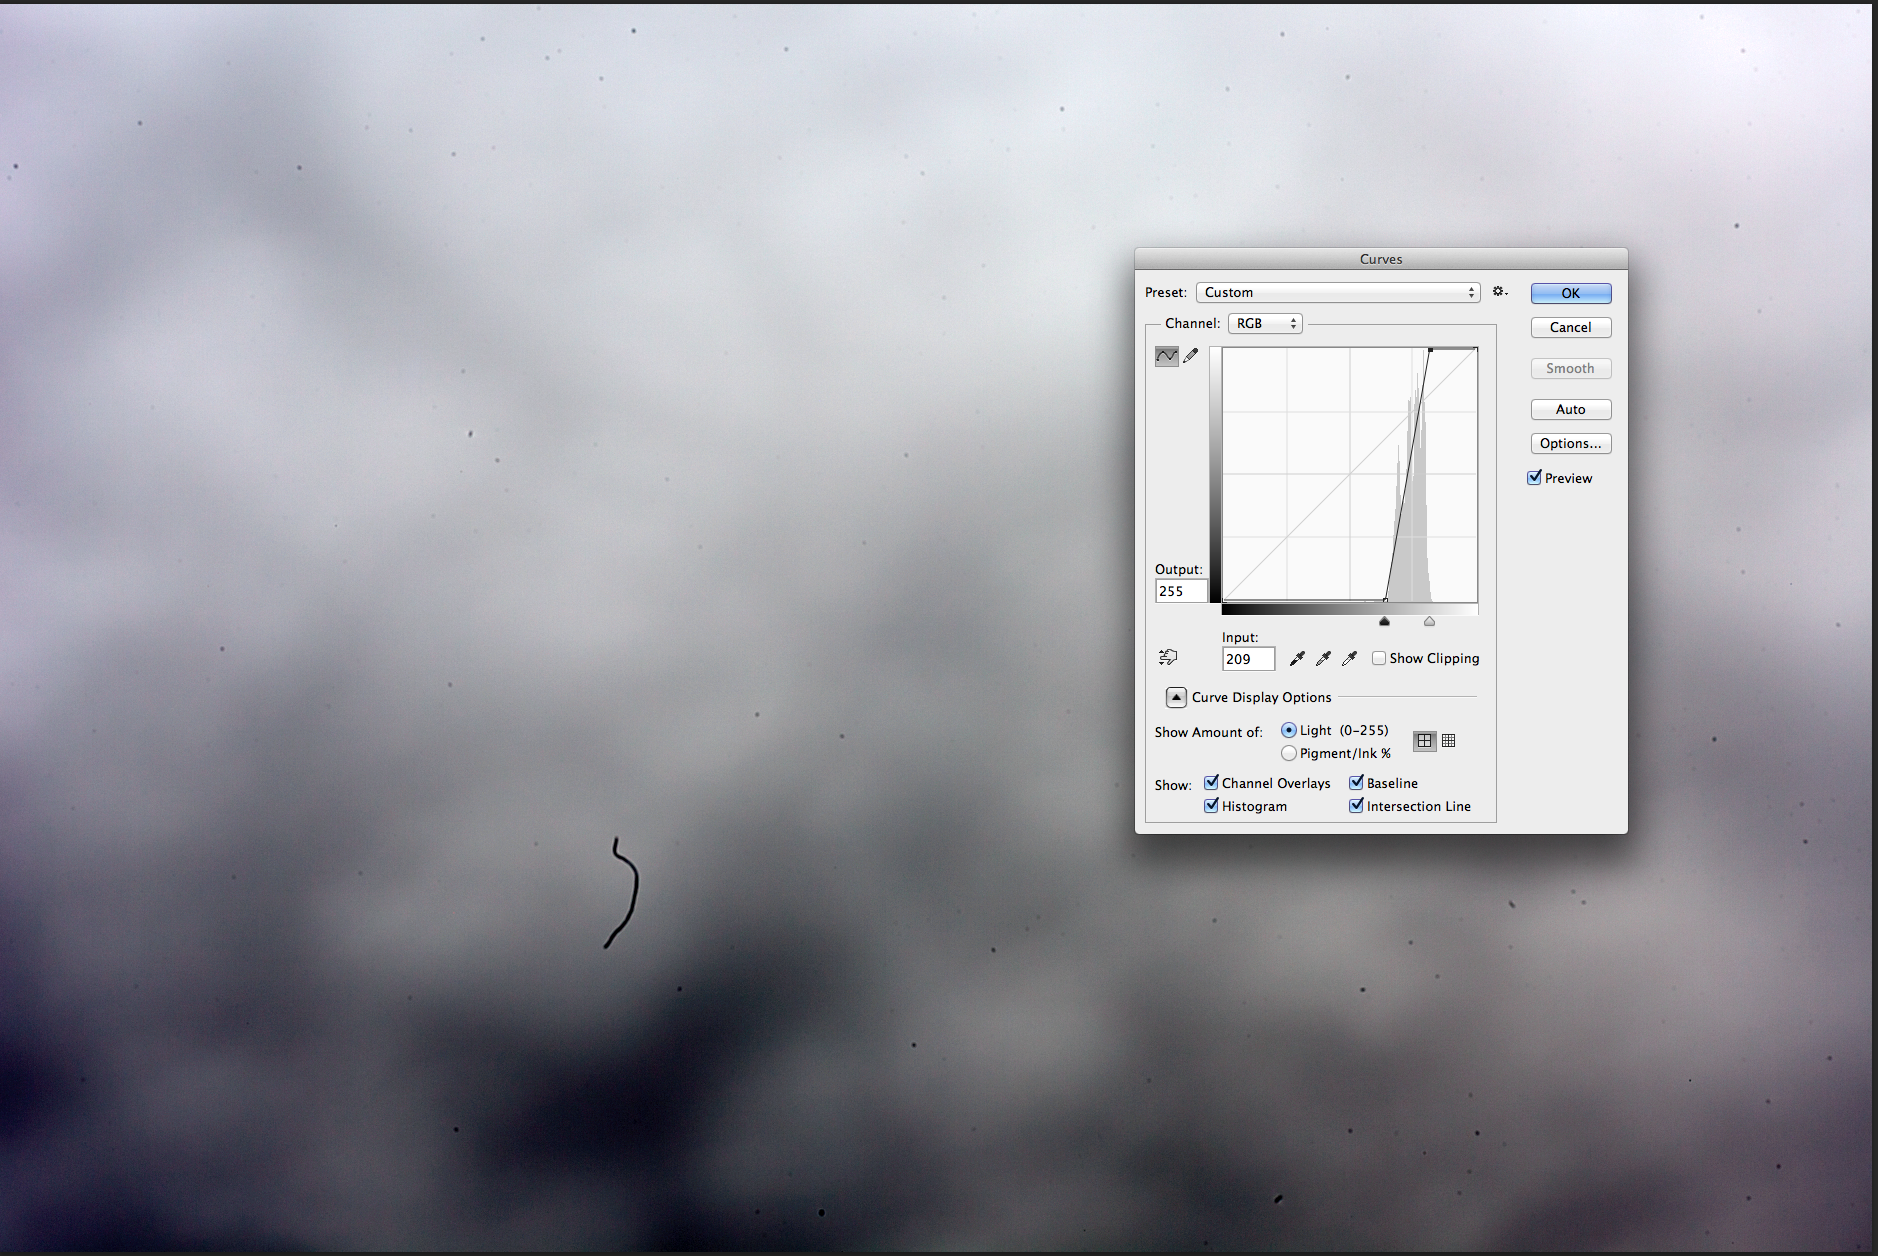
For those not working in Adobe Lightroom, in photoshop, you can similarly visualize the dust spots by putting a curve on your image, and putting the white and black point just left and right of your histogram. Since you have a low contrast image, your histogram should be rather small.

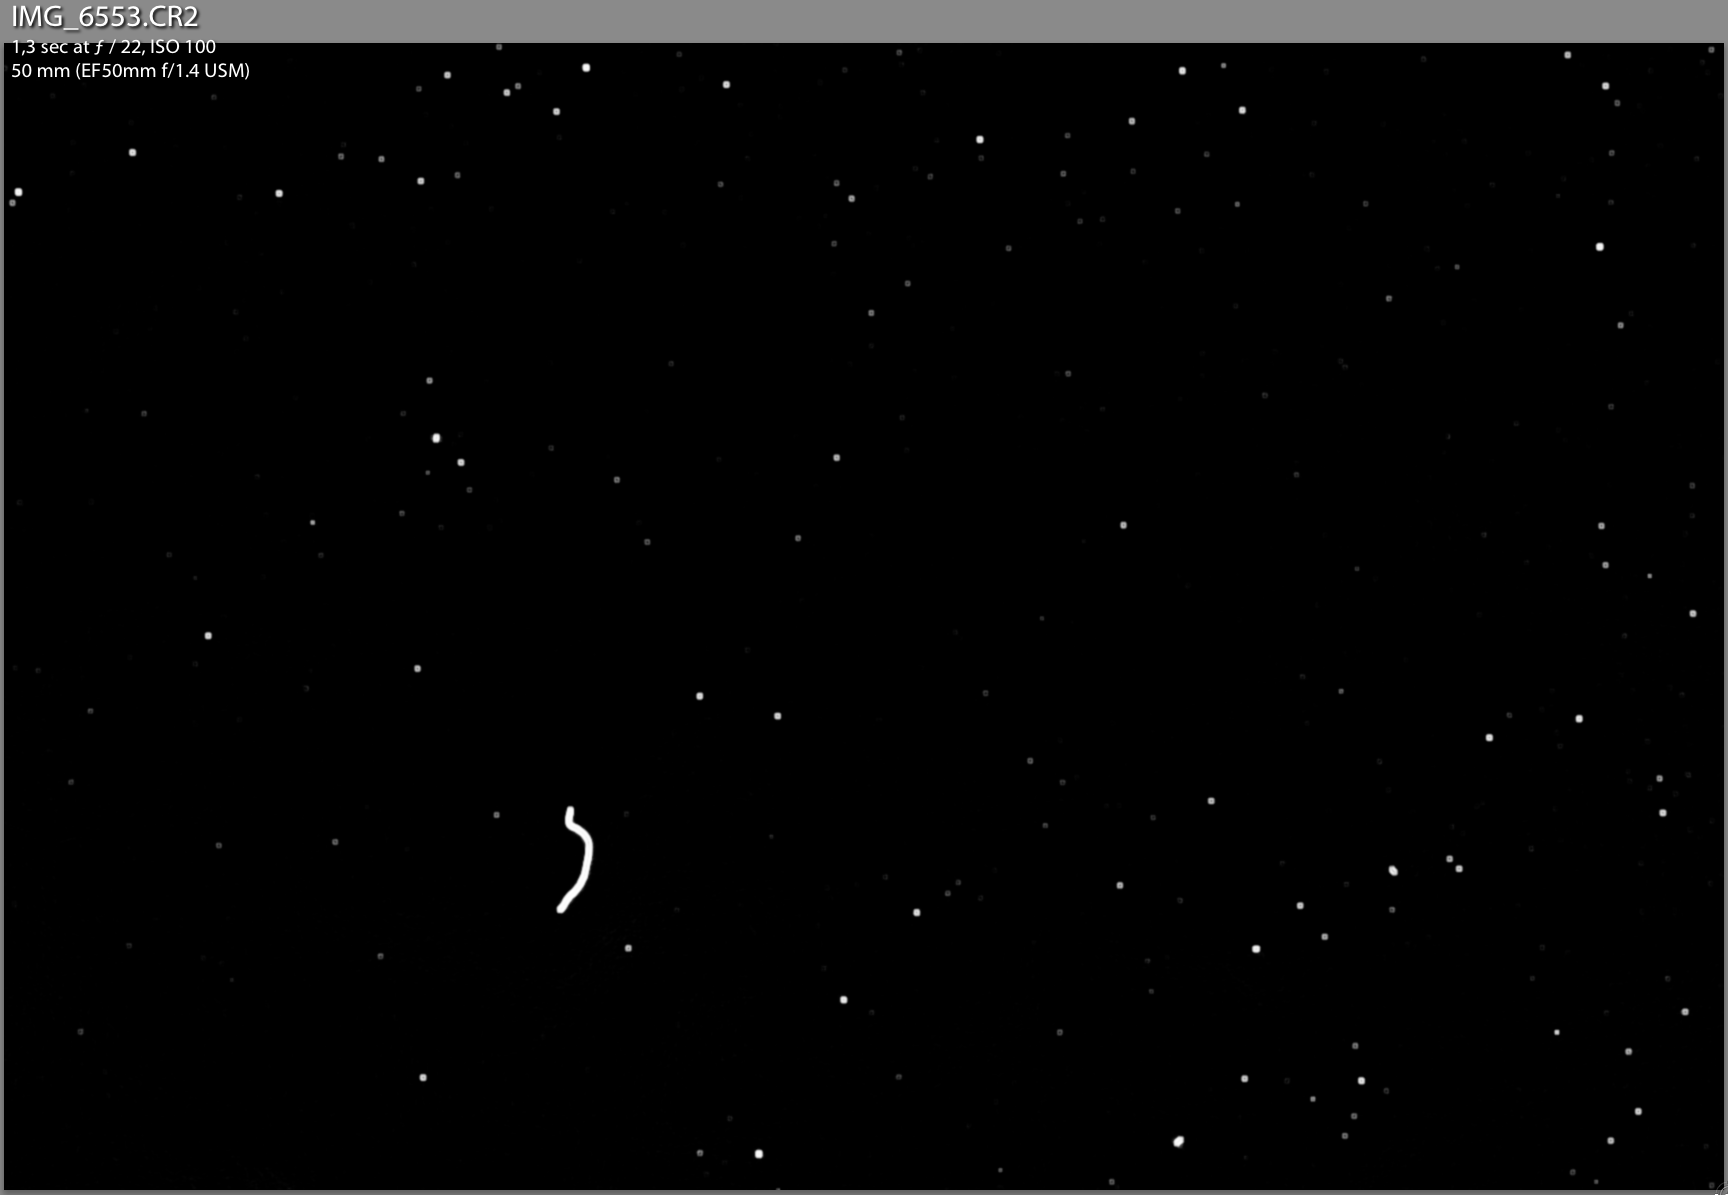
This is the first image of the other camera, with the above explained curve applied:

Screen Shot 2014-01-06 at 11.16.04

So these definitely need cleaning.

How to proceed? (this is for Canon 5D II, but it should be fairly similar on any other system)

1. make sure your battery is fully charged.

2. Get your lens of of the camera

3. find the menu item that says sensor cleaning -> manual cleaning

4. the camera warns you that the sensor will be exposed for manual cleaning.

5. Make sure you work in a clean environment, and have everything ready (enough light to clearly see where you put your swab down, cleaning fluid, sensor cleaning swab, …)

6. push the ok button on your camera. The mirror locks in the up position, the shutter opens. This remains so until you turn off your camera. If your battery is well charged, that should give you plenty of time to clean your sensor.

7. put some drops of cleaning fluid onto the first swab, insert it gently into your camera house, and put it down on one short side of your sensor. If you bought the right set of swabs, it should neatly fit the width of your sensor.

8. gently sweep across the sensor till you reach the other end, flip it over and sweep back. (in this way, you use both sides of the swab, without the risk of re-disposing any dust from the first used side. It took a while till I found out that that is probably the best way to do it. you’ll see in the different stage images.)

9. gently lift the swab away from the sensor (when you have reached the starting point of course)

10. dispose the used swab, no use in re-using the swabs, they are full of sticky dirt now.

11. switch of the camera, this should close the shutter and lower the mirror

12. put a lens on, and check the results. Repeat if necessary.

I used four swabs per camera, that’s because I’m a total beginner in sensor cleaning. I feel comfortable now to say that 3, maybe even 2 swabs should do to clean a sensor.

result after cleaning: You’ll still notice some dirt spots, but I can live with that for now (it was late yesterday evening, and I had to eat 😉 )

Also have I set the visualize threshold high, so you can see even the smallest spot of dust.

Screen Shot 2014-01-06 at 11.07.33

Camera 2, before cleaning:

Screen Shot 2014-01-06 at 11.09.22

And after cleaning:

Screen Shot 2014-01-06 at 11.09.37

Not perfect, but for a first attempt very much ok with me.

see you soon, I’ll be posting another ‘at the Mansion’ shoot very shortly,

take care

Ludwig

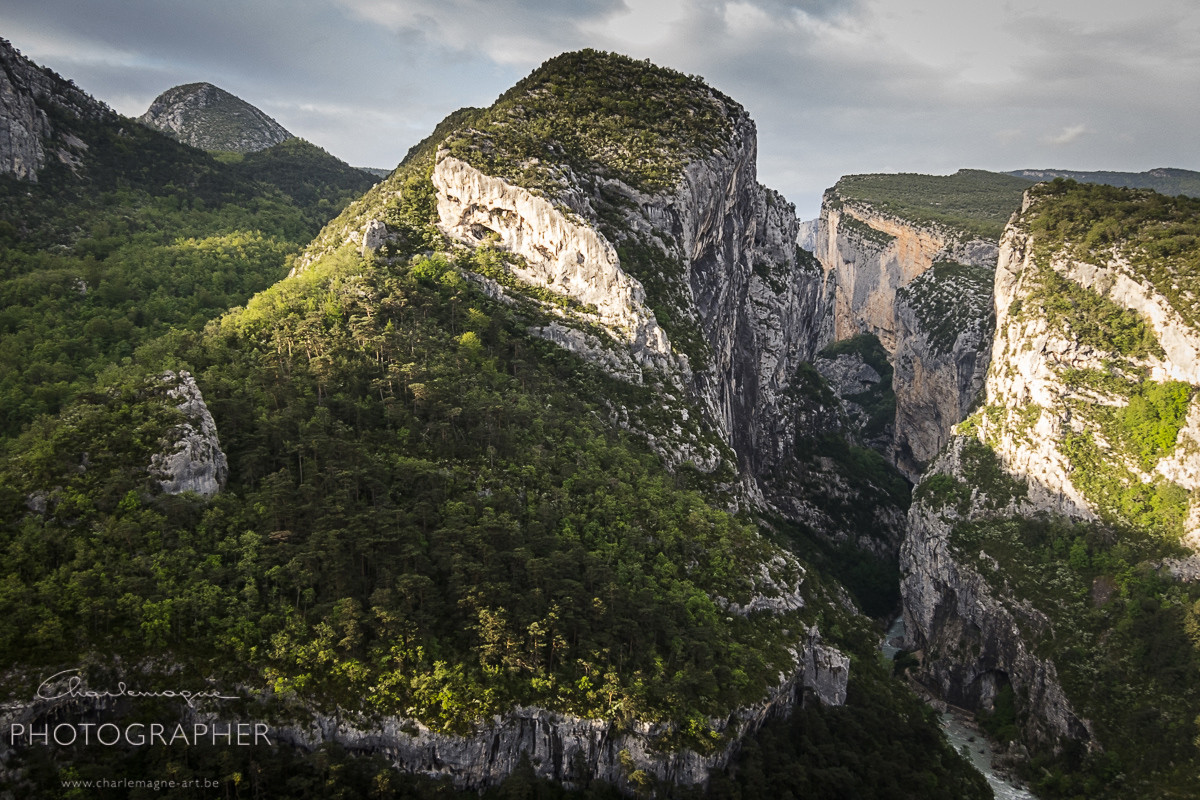
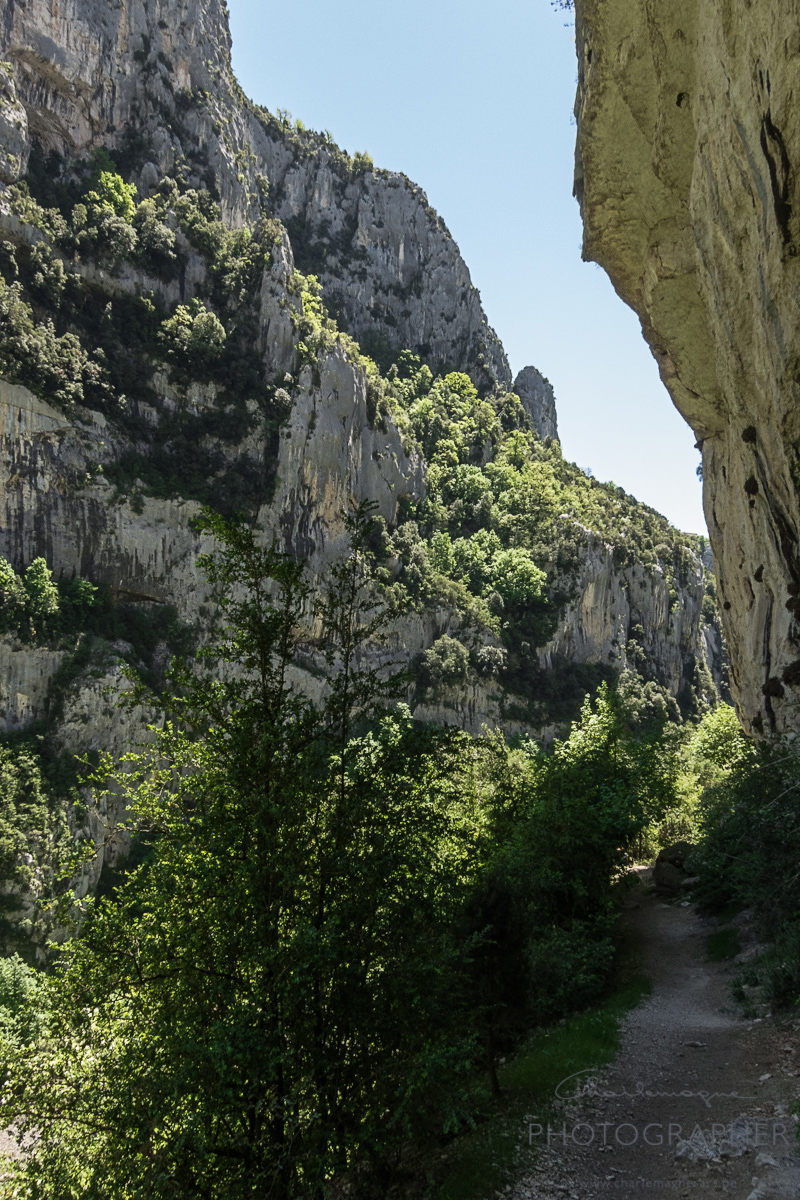
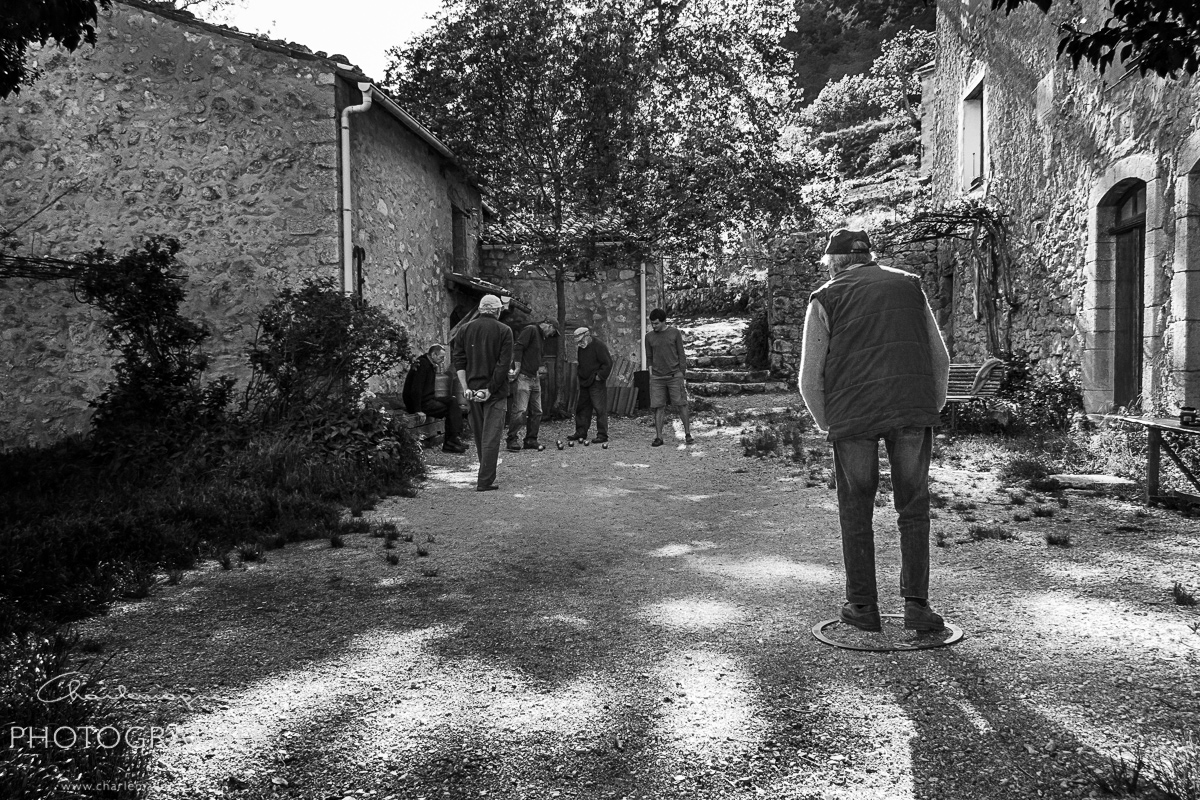
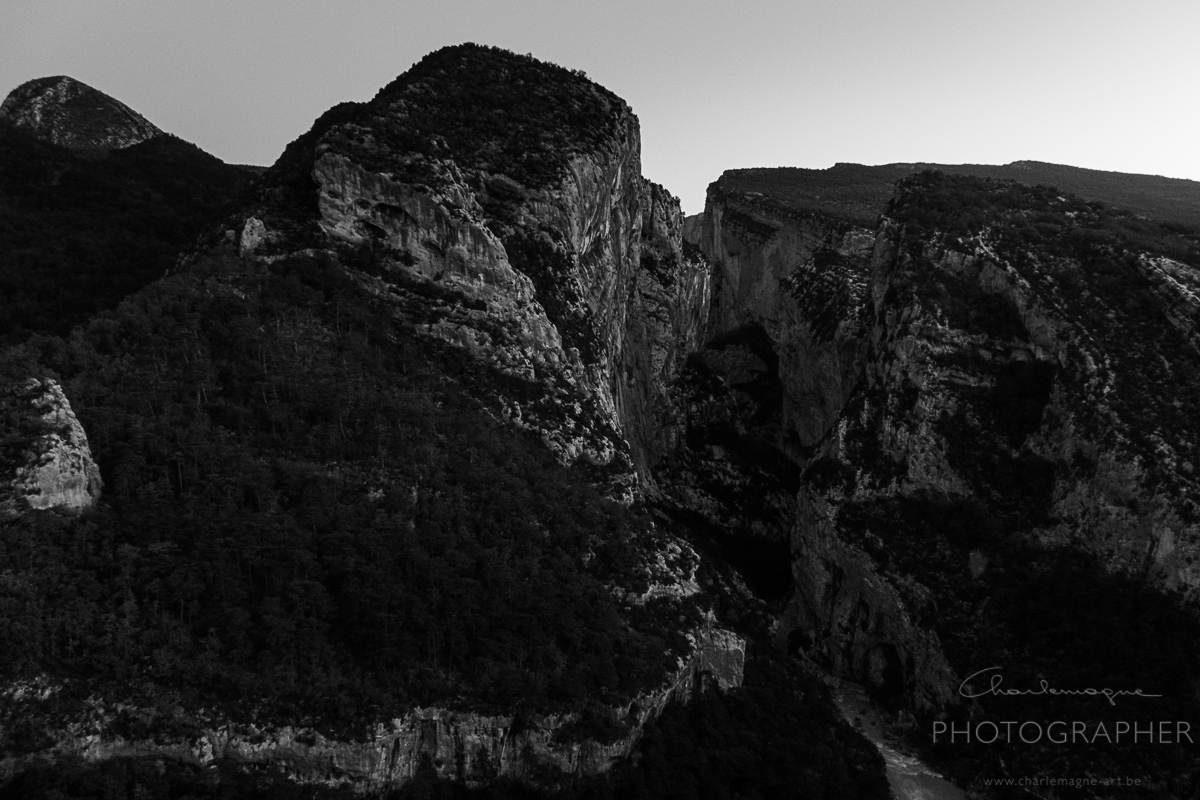
shooting the Verdon with the Canon Powershot S95

landscapes, Personal Pictures, photo gear

Hello there,

I was on a men-only weekend with my oldest son a couple of weeks ago.

We had a lot of fun together, rafting, mountain hiking, drinking beer (at least me), etc. …

I didn’t want to focus on photography that weekend, because of the father and son thing so I only took my compact camera with me. The Canon Powershot S95.

I have used it on weekends out before, but never in a landscape environment. see my post Barcelona Highlights

It is a good compact, but probably not the best you can get.

I don’t want to go into details about this, just put the pros and cons next to each other, compared to my reflex camera.

Compared to the Canon 5D markII and some proper lenses, these are the most relevant cons:

the lens lacks sharpness in the entire zoom range

the sensor has a much smaller dynamic range (whites blowing out or blacks going dead)

it has a much slower reaction time (it’s not a reflex, so there’s a short time lag between pressing the shutter and the picture taken.

it has slower and not so performant AutoFocus (although the AF from the 5D mark II is not top either)

The colors tend to get over-saturated.

these are the pros:

its lightweight compared to any reflex camera 195g vs. 850g without lens for the 5D II

it fits in almost any pocket

it is almost stealth-like compared to a reflex camera, so it doesn’t bother people when it appears (not so important for landscape, but important for street photography)

its silent (except maybe from the lens ring clicks, which are quite noisy)

A pro for this compact, vs some other compacts:

it has all exposure modes, including full manual (P, AV, TV, M), so you can play with the settings as you would with a reflex camera, you can even choose to set the focus manually.

Enough talking, let me show you some pictures. For your info, I have done quite some editing in Lightroom. You won’t notice the lack of sharpness here, I worked a lot on the tonal range in the images, etcetera.

charlemagne-art-gorgesduverdon-1601

charlemagne-art-gorgesduverdon-1588

charlemagne-art-gorgesduverdon-1630

charlemagne-art-gorgesduverdon-1659

charlemagne-art-gorgesduverdon-1684

charlemagne-art-gorgesduverdon-1705

charlemagne-art-gorgesduverdon-1709

charlemagne-art-gorgesduverdon-1715

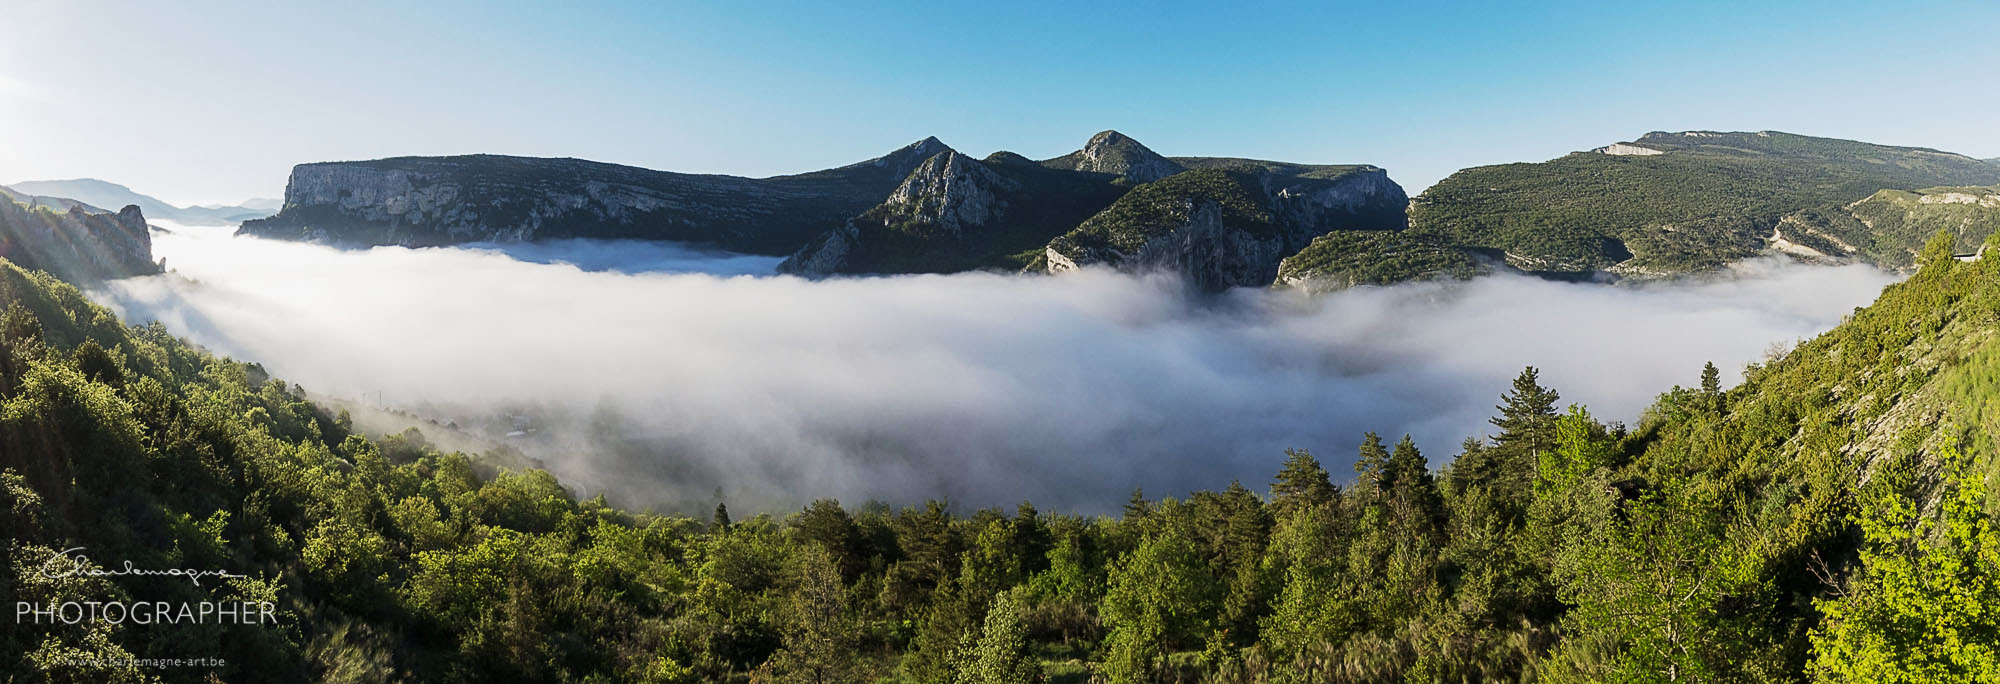
charlemagne-art-gorgesduverdon-pano

The last image is a photoshop stitched image from 6 shots.

So is it a worthy camera, yes sure it absolutely is a very good travel companion if you don’t wish to focus on photography, but it takes some more time to get good pictures out of it, and you’ll never be able to get really pro-quality pictures out of it.

After all I’m not really a material geek. Sure I love my camera and lenses, but for me a lot of photography is in the eye of the photographer. I’m sure a good photographer can make good pictures with a compact, a bad photographer will not manage taking good pictures with pro gear. I enjoyed being with my son, taking a picture from time to time for the memories, and that is a different mindset than going on a photography trip.

take care, and I hope you come again soon.

Ludwig

Salomé on a sunday morning

people, Personal Pictures, photo gear, Uncategorized

>Hi,

some weeks ago I did an impromptu shoot with Salomé.

Salomé is one of my nieces, and she needed some pictures for thank you cards.

She dropped in on a sunday morning and we had about half an hour for making some pictures.

Fortunately the weather was great, and since we have had so much rain these last 6 months, the green was GREEN!

I took my two main portrait lenses, 85mm and 135mm, but all these shots are with the Canon 135mm f2 L.

For me this is the best lens I have, in terms of image quality. It has plenty of contrast, even in strong backlit images, it is very sharp, from the maximum aperture on, and it has creamy soft bokeh.

Main advice in bright sun conditions: shoot with the sun in the back of your model. It will prevent your subject from peeping the eyes, and you get a beautiful hairlight (a bit strong I admit) for free.

Images have only slightly been enhanced in Lightroom. I have an import standard of +20 contrast +15 clarity, and I did nothing else.

The best of the pack (in my opinion 😉 )

charlemagne-art_Salome-13

charlemagne-art_Salome-9

charlemagne-art_Salome-20

charlemagne-art_Salome-22

charlemagne-art_Salome-14

See you soon for the Harley Davidson images (see my facebook page – Ludwig Desmet)

Take care, and come again soon,

Ludwig

The best possible add-on for your dslr.

beauty, Personal Pictures, photo gear

I give evening classes for adults, teaching them the very basics of photography. They learn about aperture, shutter speed and iso settings, the basics of composition, light metering, Depth of Field, how to handle their camera etc. …

In about 5 months, they become a bit more aware of the ins and outs of digital photography.

Soon, after a couple of months, the same question comes up in every group: ‘I’m willing to invest in some more equipment, what should I buy?’.

You should see this question in the understanding that most people bought a DSLR (digital single lens reflex) without any technical knowledge about photography, and mostly they have followed the sellers advice of buying a body and a kit-lens (or two kit-lenses).

These zoom kit-lenses generally have a maximum aperture of about f 1:4.0 closing further down to f1:5.6 on zooming.

Especially when we talk about DOF (depth of field) and the relation between the aperture setting and the span of depth of field, my students quickly realize that with their zoom lenses with relatively small maximum apertures, they will never get the result they want.

A bigger aperture setting gives a more shallow depth of field, this means that the bigger your aperture is, the blurrier the background will be. An effect often sought after, to make the subject ‘pop up’ from the background.

So my advice mostly is: ‘buy yourself a good portrait lens, that is a fixed focal length lens, 50 mm for a camera with crop sensor, 85 mm for a full frame camera. It’s cheap, it’s lightweight and small, you can shoot in low light conditions, because the big maximum aperture lets in a maximum amount of light, and it will allow you to work creatively with the shallow depth of field it can give you.’

The best value for money you get with a 50mm f1:1.8 lens, which will cost about 120 € in Canon and Nikon.

Some examples with my Canon 50 mm f1:1.4

charlemagne-art_50mm-1794

charlemagne-art_50mm-1826

charlemagne-art_50mm-6546

charlemagne-art_50mm-6976

charlemagne-art_50mm-7821

charlemagne-art_50mm-8226

see you soon for more pictures!

Take care and happy shooting!

Ludwig
Lynn Studio shoot

people, Personal Pictures, photo gear

I wanted to share some pictures with you from my latest school work. Yes, I still follow classes in Photography. I’m currently in the people/portrait class, and the first studio shoot was to be done with one flashlight. We could use whatever modifiers we wanted, and we had to work towards a chosen sample image.

I had chosen this image as my goal for this assignment: I don’t know the photographer of this image, if someone knows, pls. let me know so I can credit the image.

I knew that it was going to be a fairly hard thing to get, this soft light coming from everywhere. I was pretty sure that I needed indirect light, so I chose for two huge reflector panels (Polystyrene boards, 1.20m wide at 2m heigh). I already had left the idea of lighting the background as in my sample image.
I had a perfect model for this picture, Lynn. She is a hairdresser, and specializing for make-up-artist, and she prepared herself the best she could, based on this example picture.
This is my setup:

I have been working with my 85 mm 1.8 in order to be able to just hide behind the reflector. Otherwise I had too much flare from the lightsource.

these are some results with this setup:


After that we tried a second alternative, the softbox, and one reflector to the left of my model. I experimented a bit with different positions for shooting, and different poses.

Result was quite satisfactory, so we decided to do a completely different setup, just for fun.
I wanted a very localized light, and I had no snoot available, so a gridded flash with barndoors did the trick.
I turned these images into BW because they made me think of these movie stars, longing for the hero to come back home.

Second half of the evening, we didn’t have the studio available anymore, so we did some freestyling in the hallway after that, with a reportage flash off-camera, combined with my Tri-Grip silver/white reflector. These are taken with the 135mm f2.

Hope you liked reading, feel free to comment!