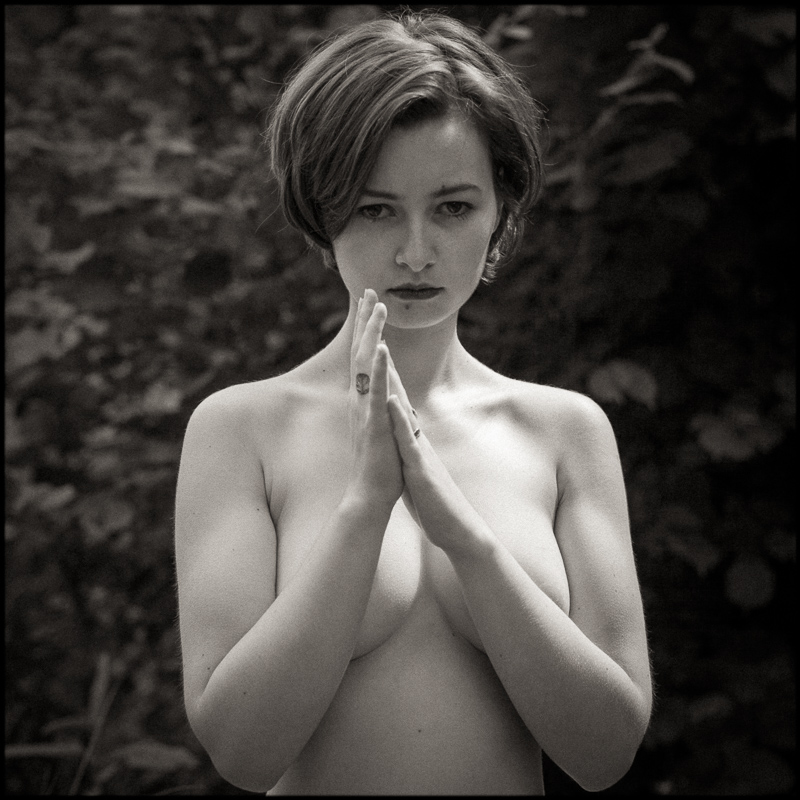
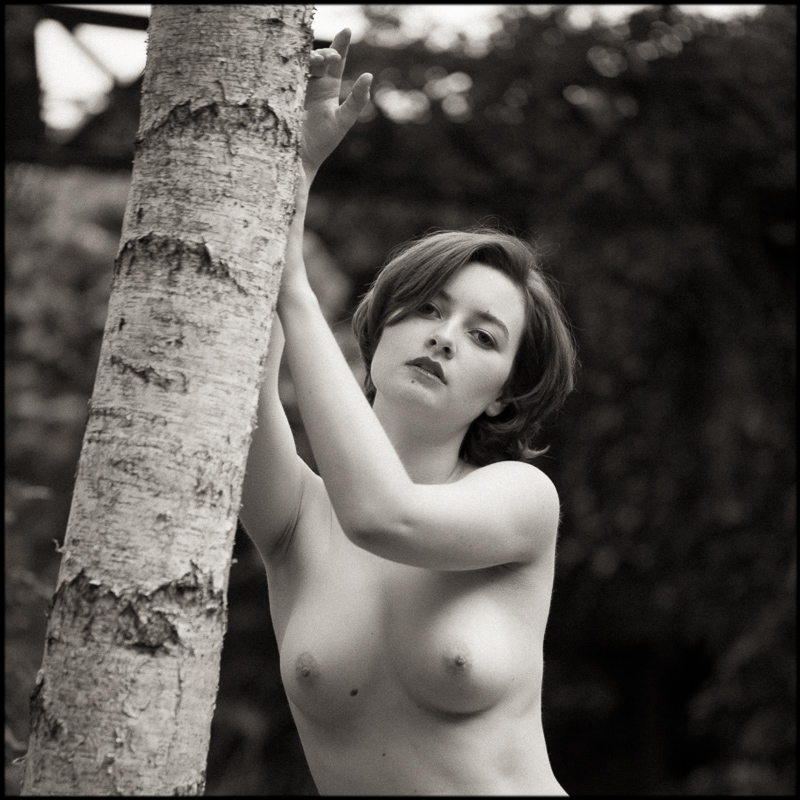
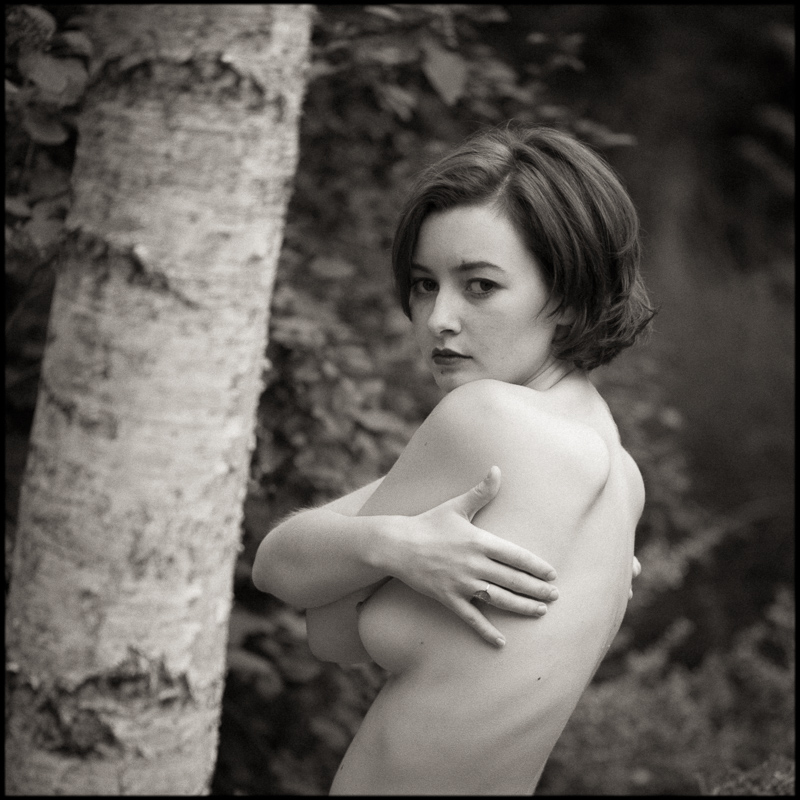
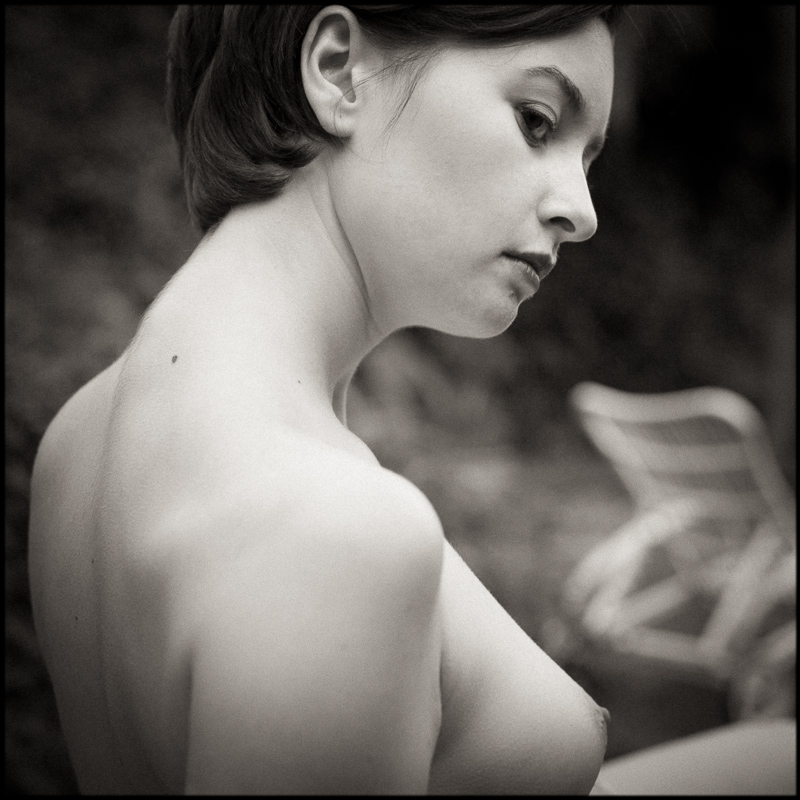
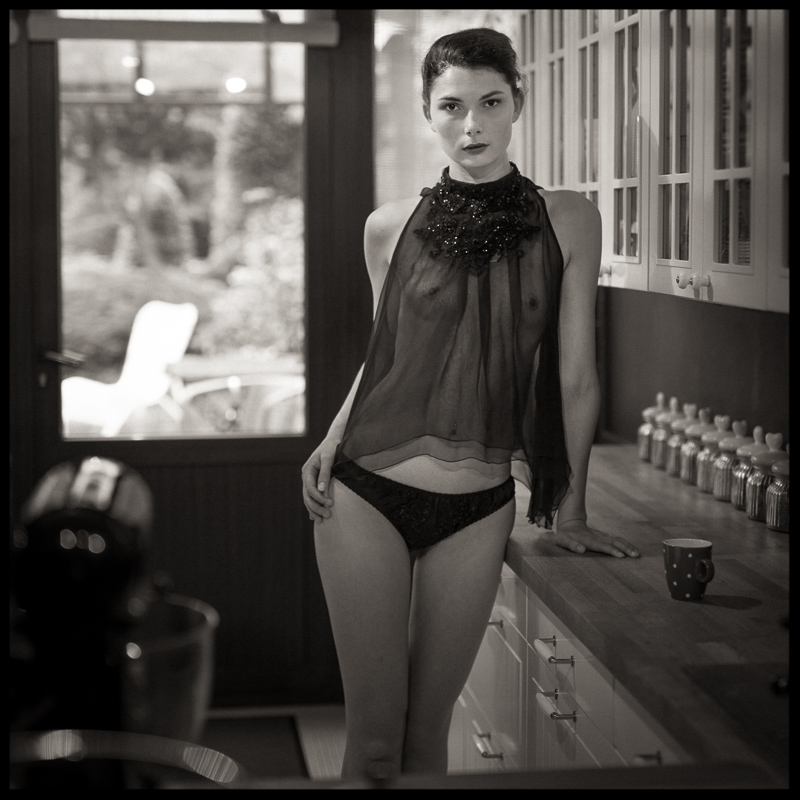
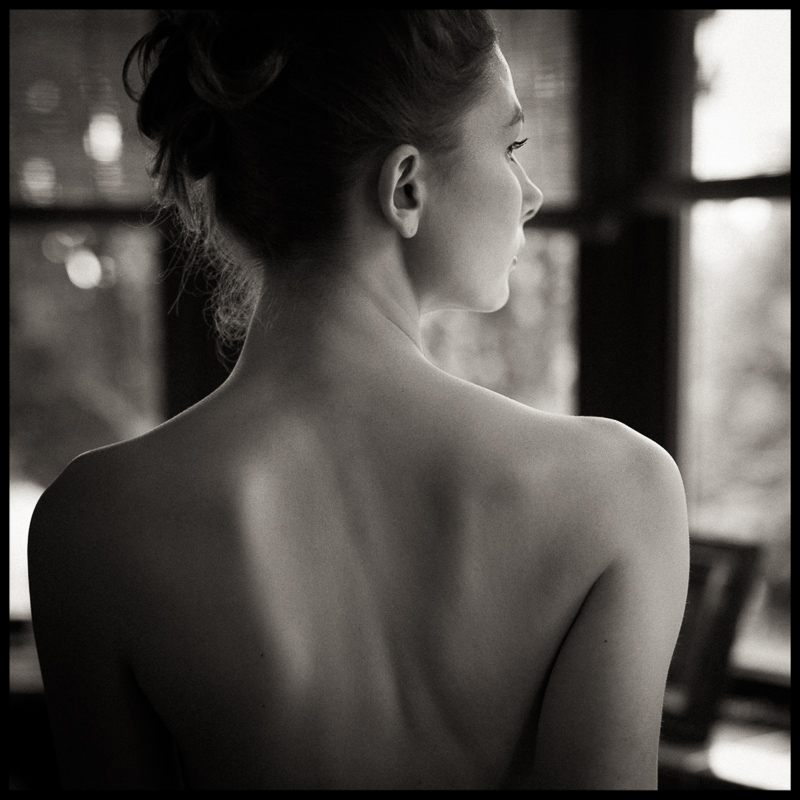
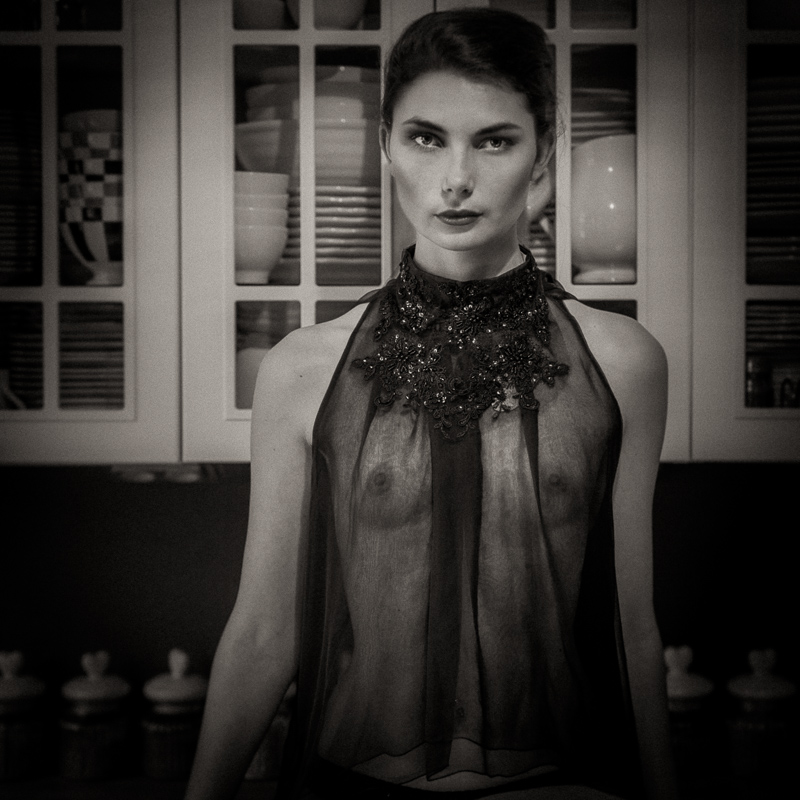
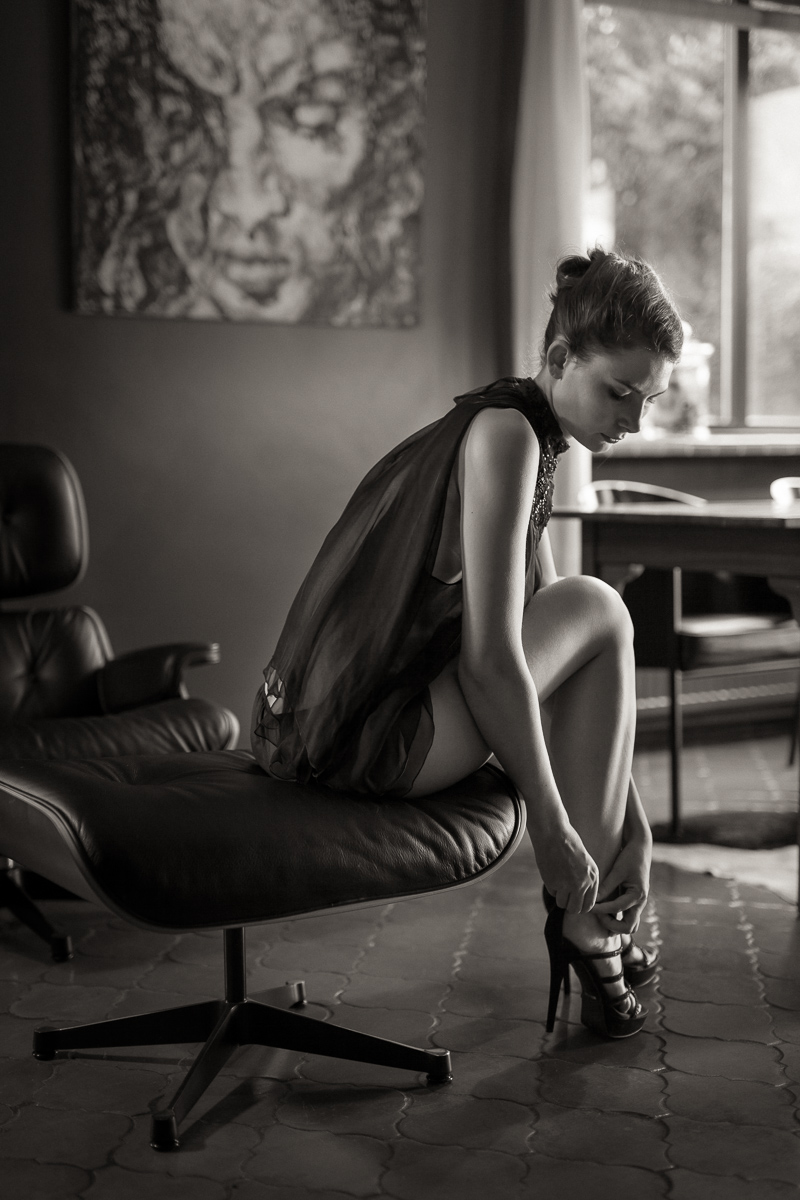
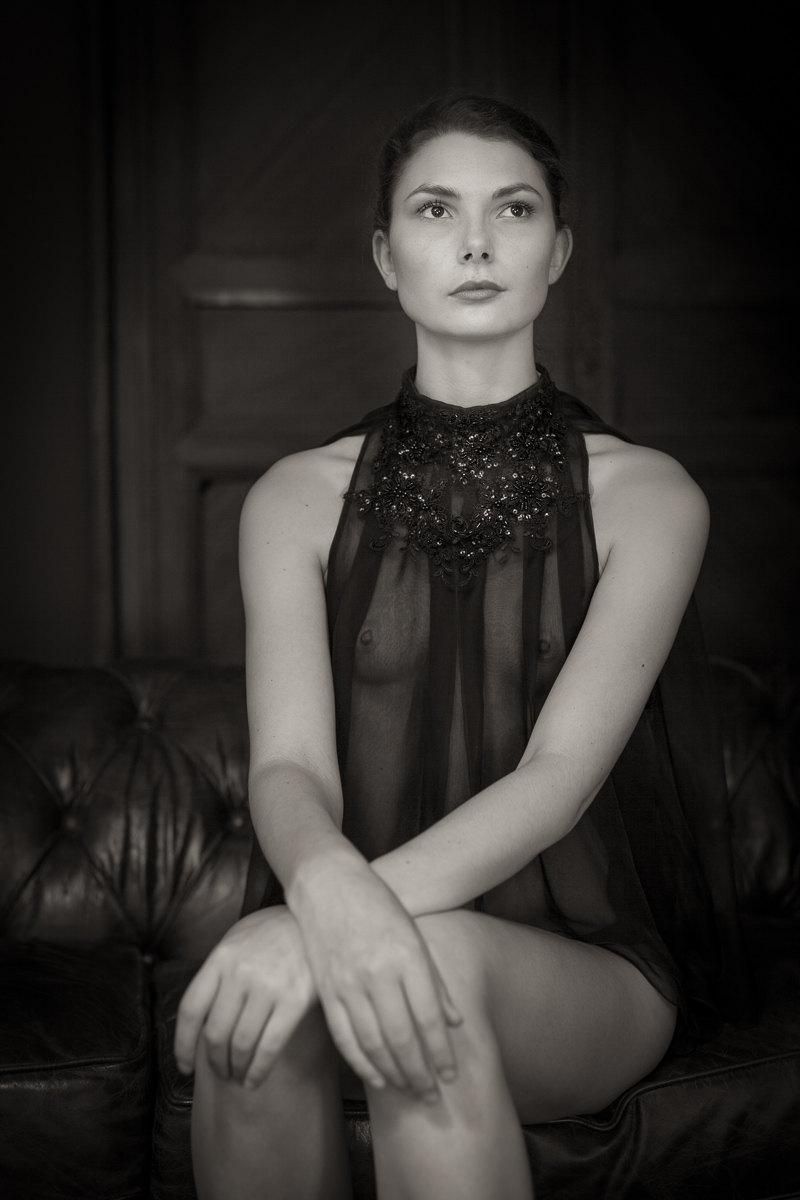
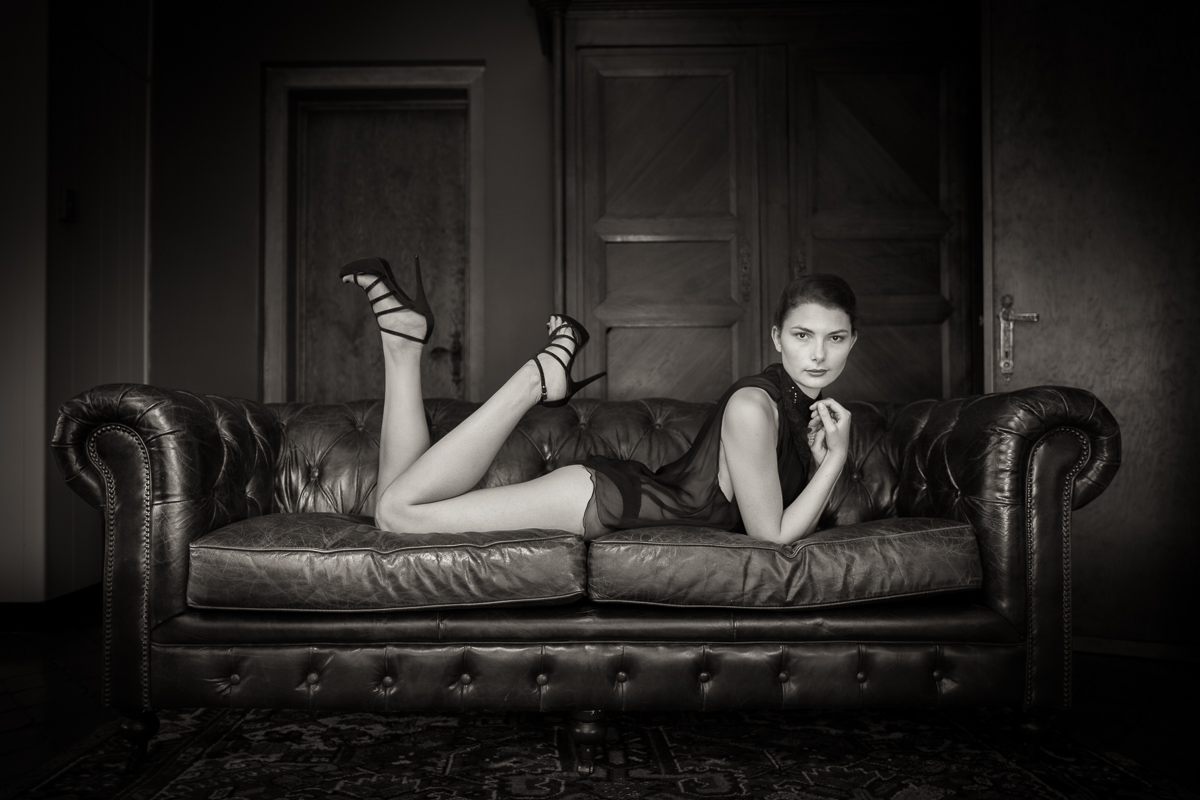
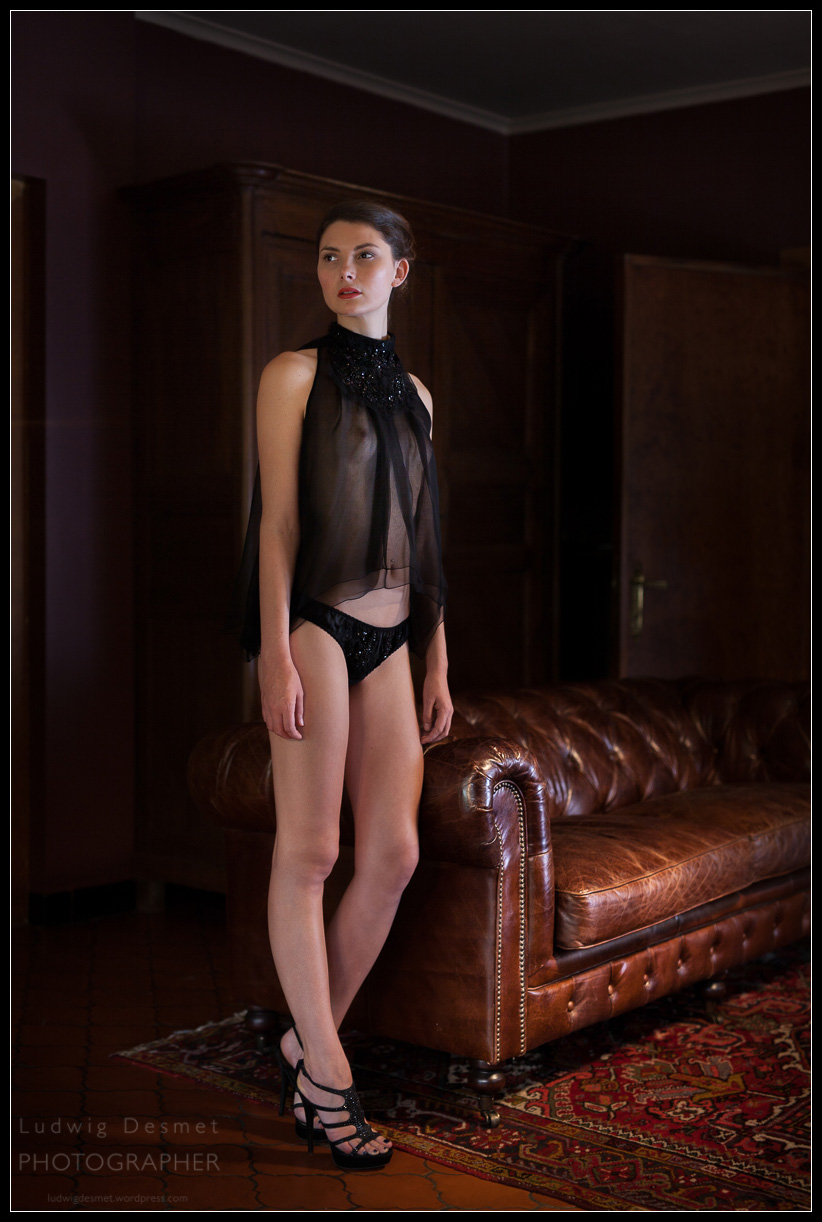
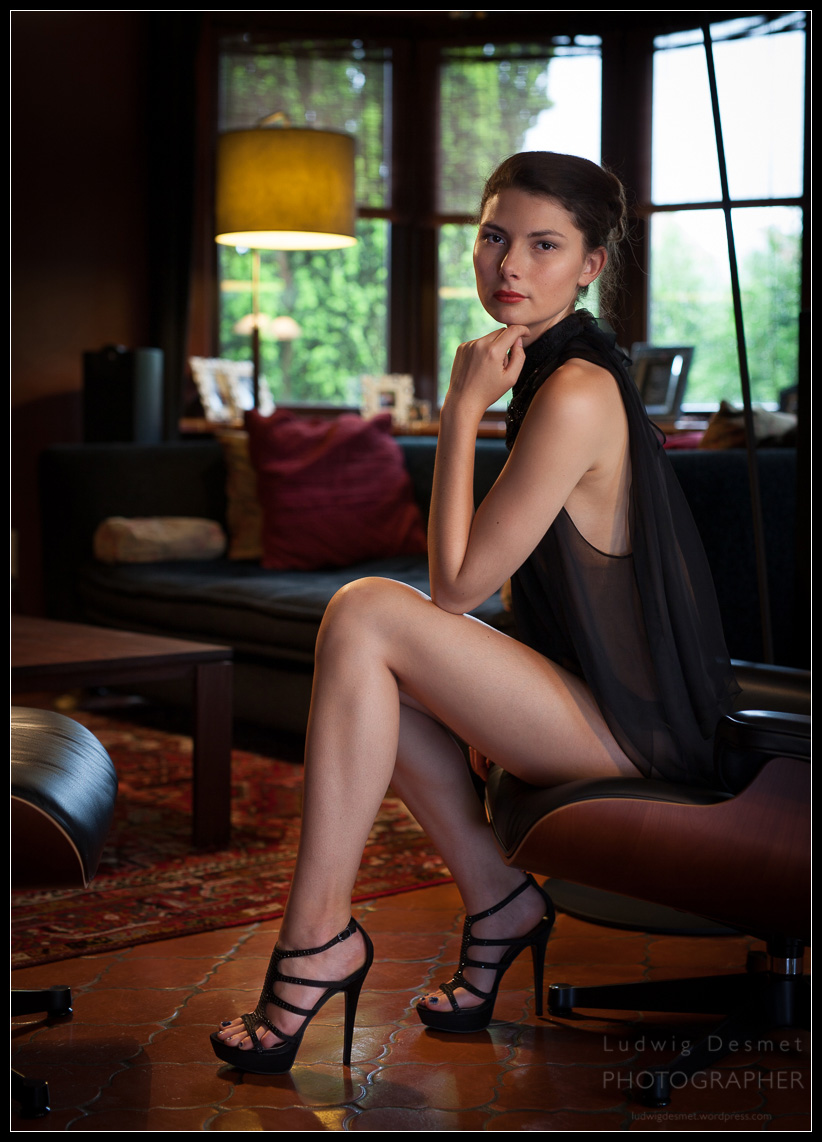
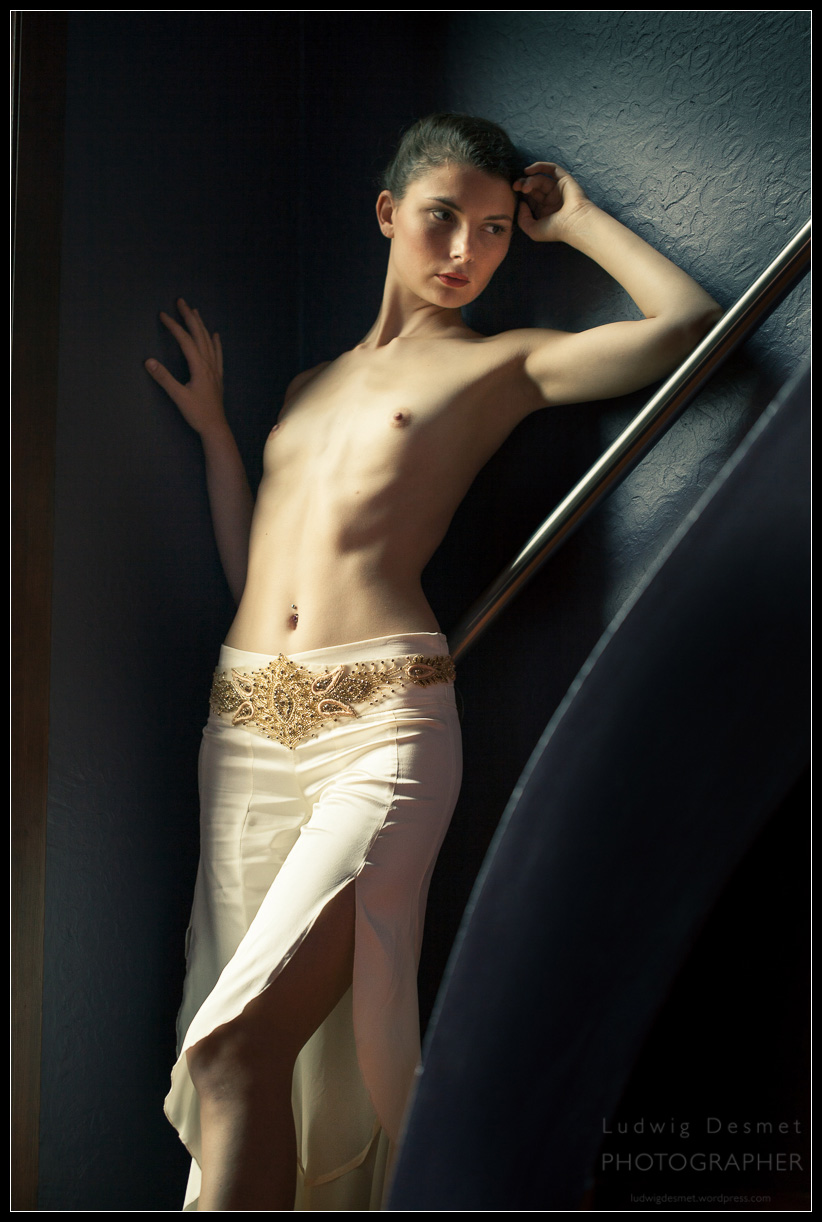
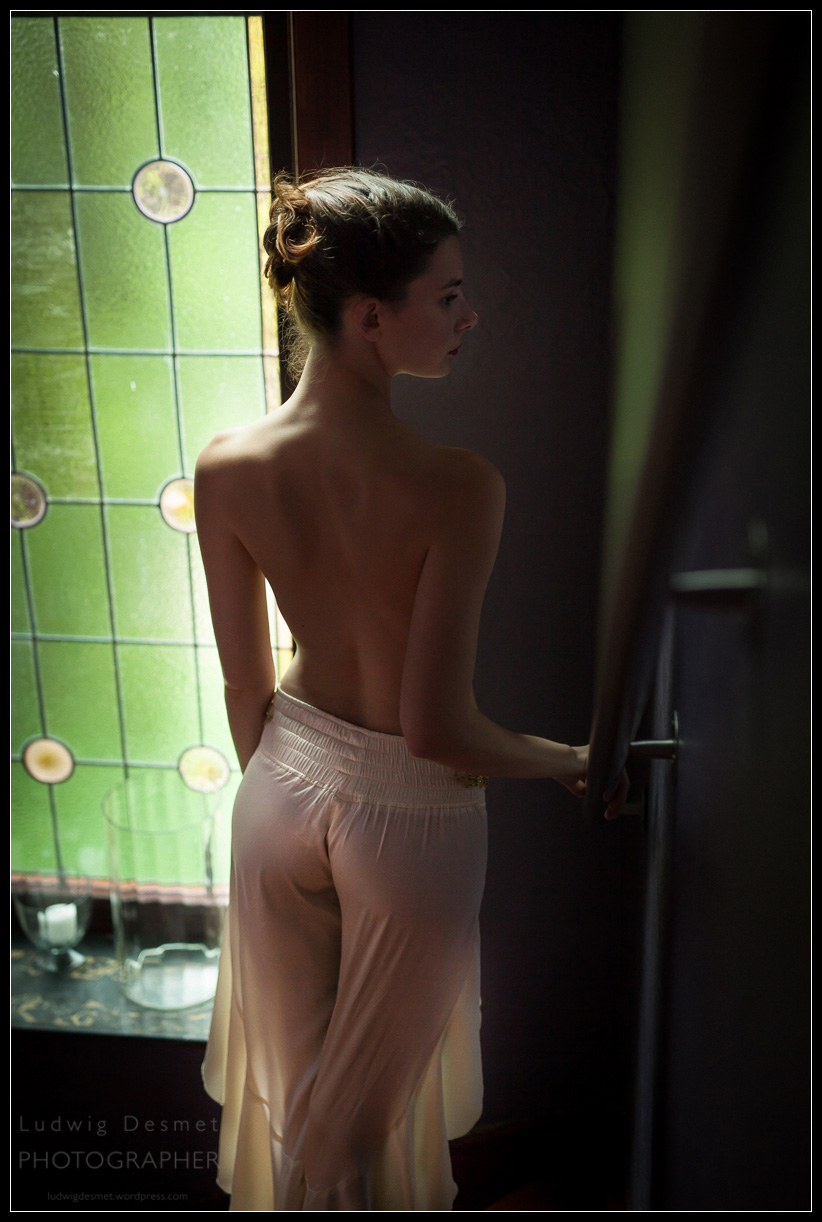
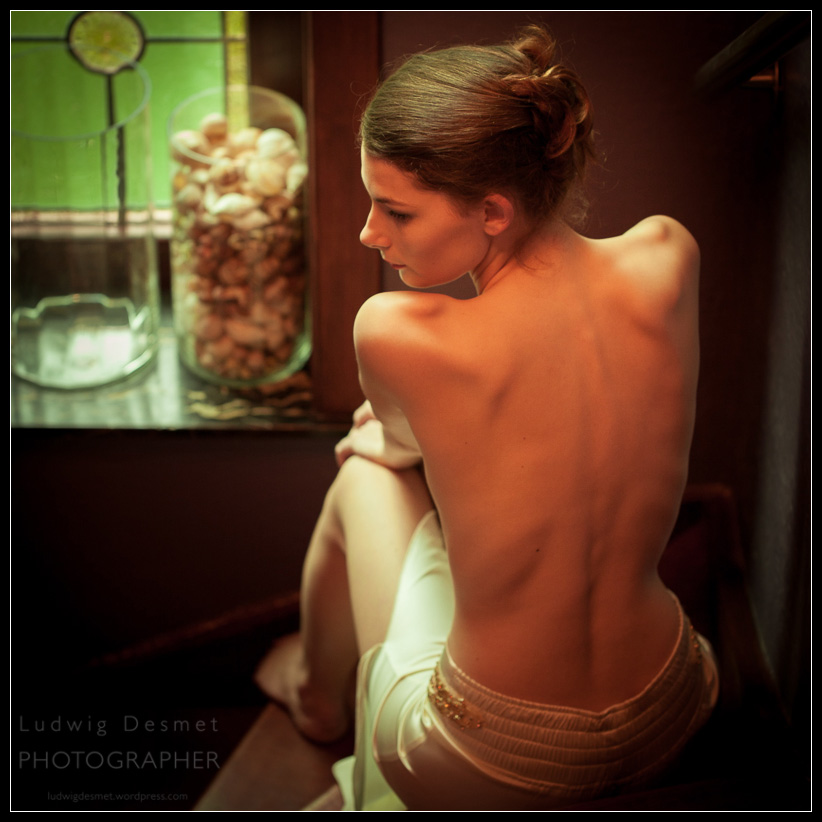
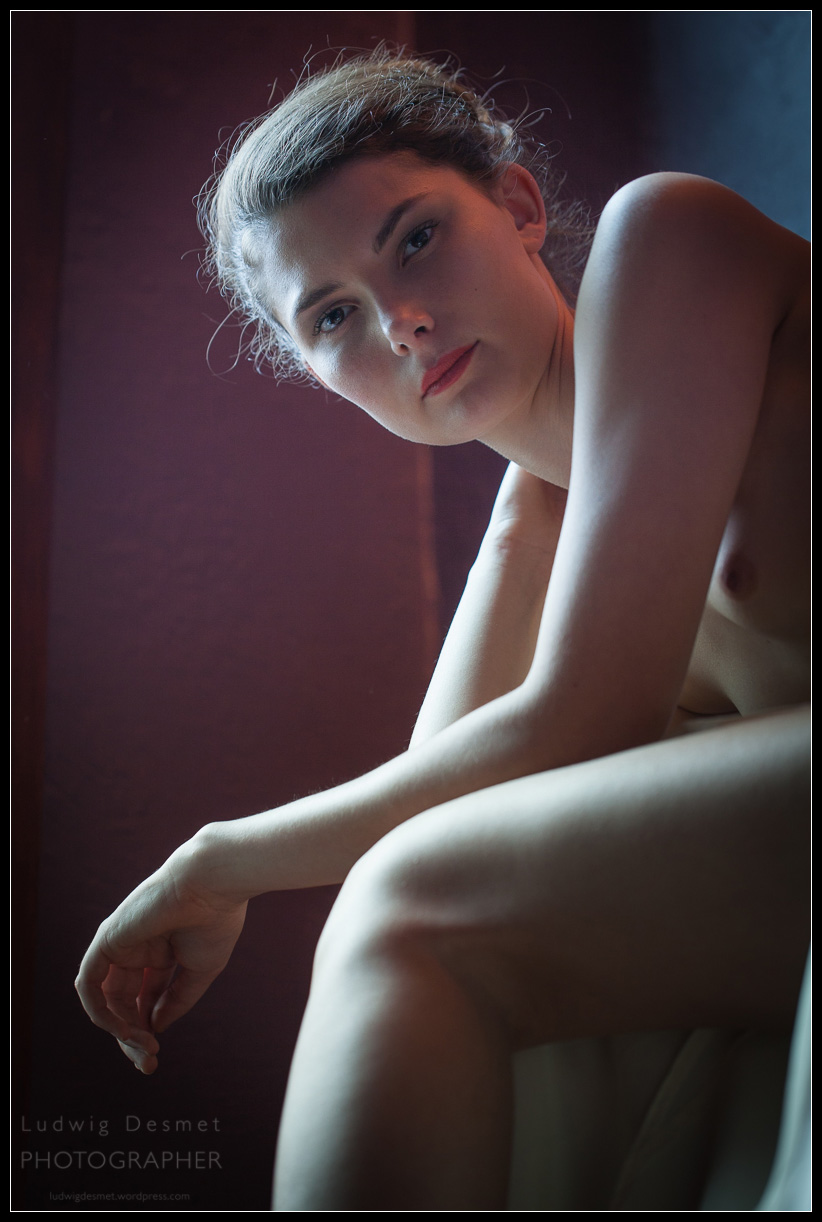
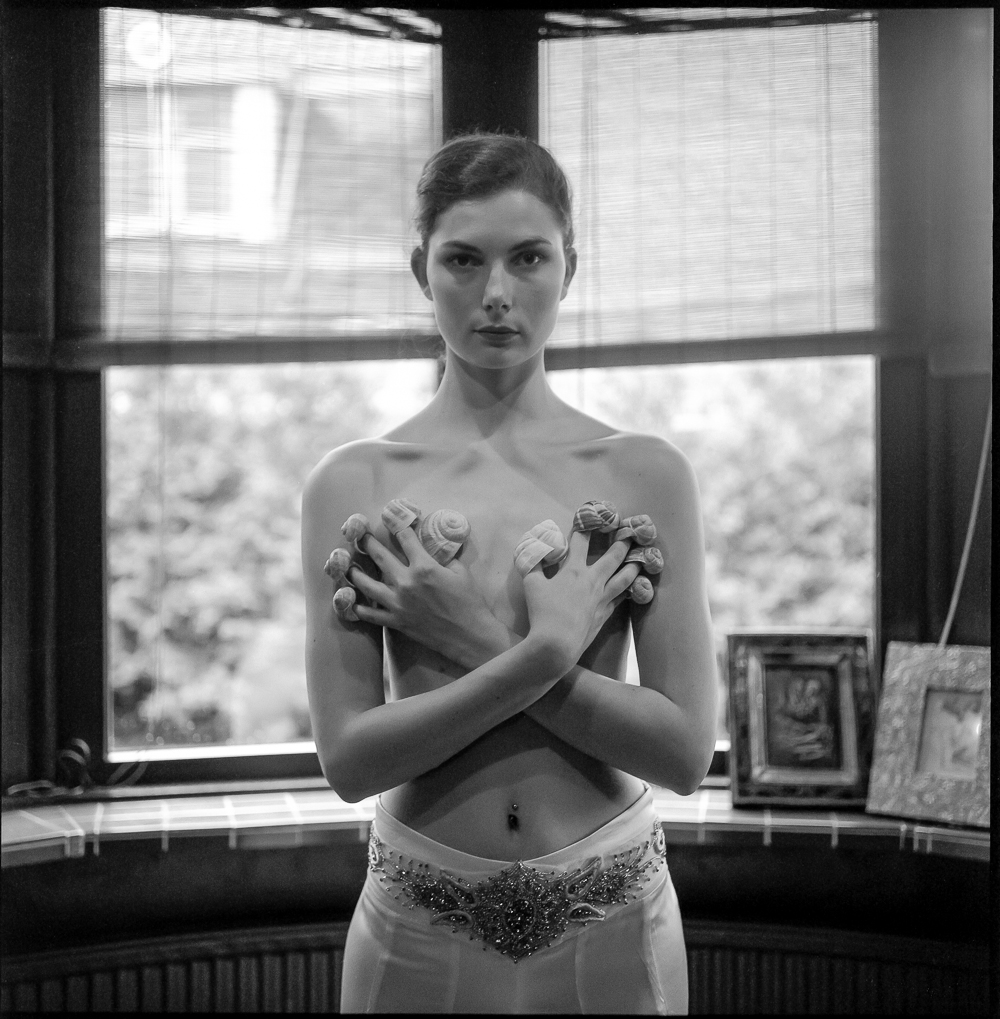
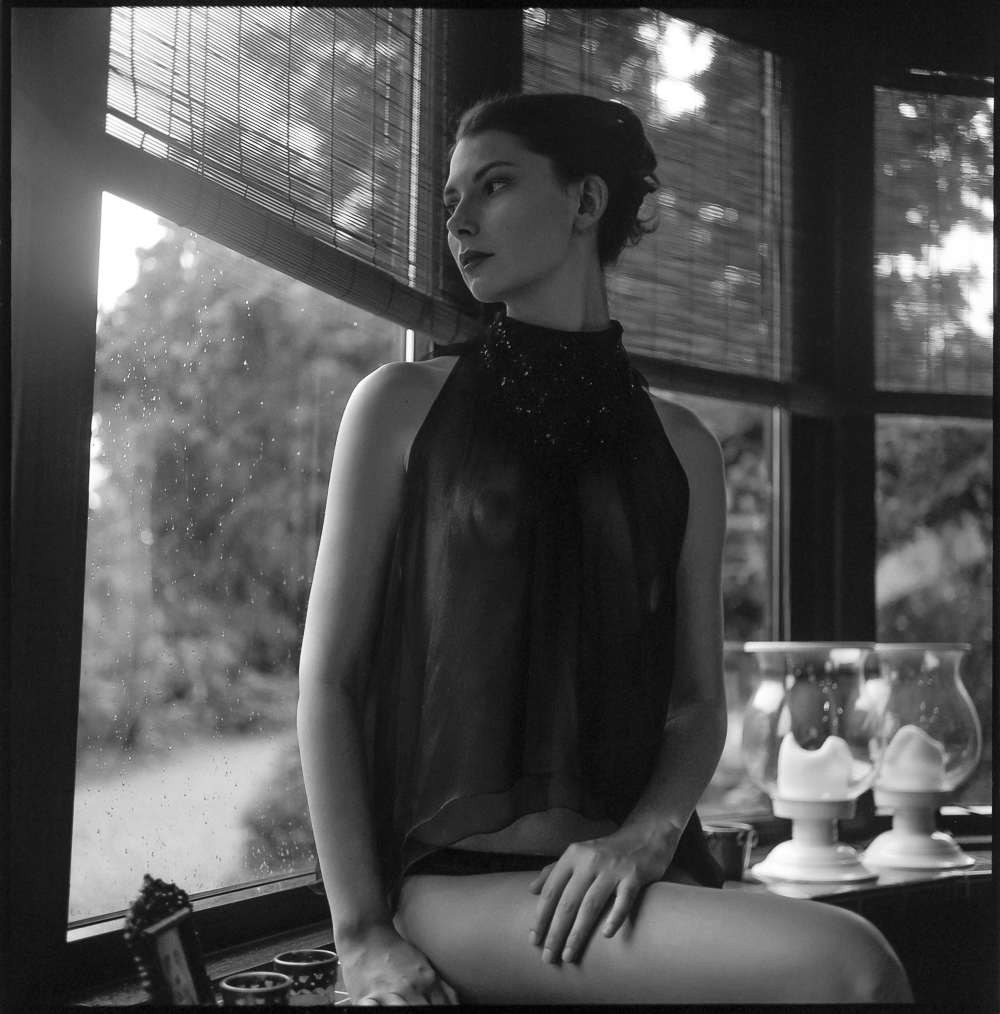
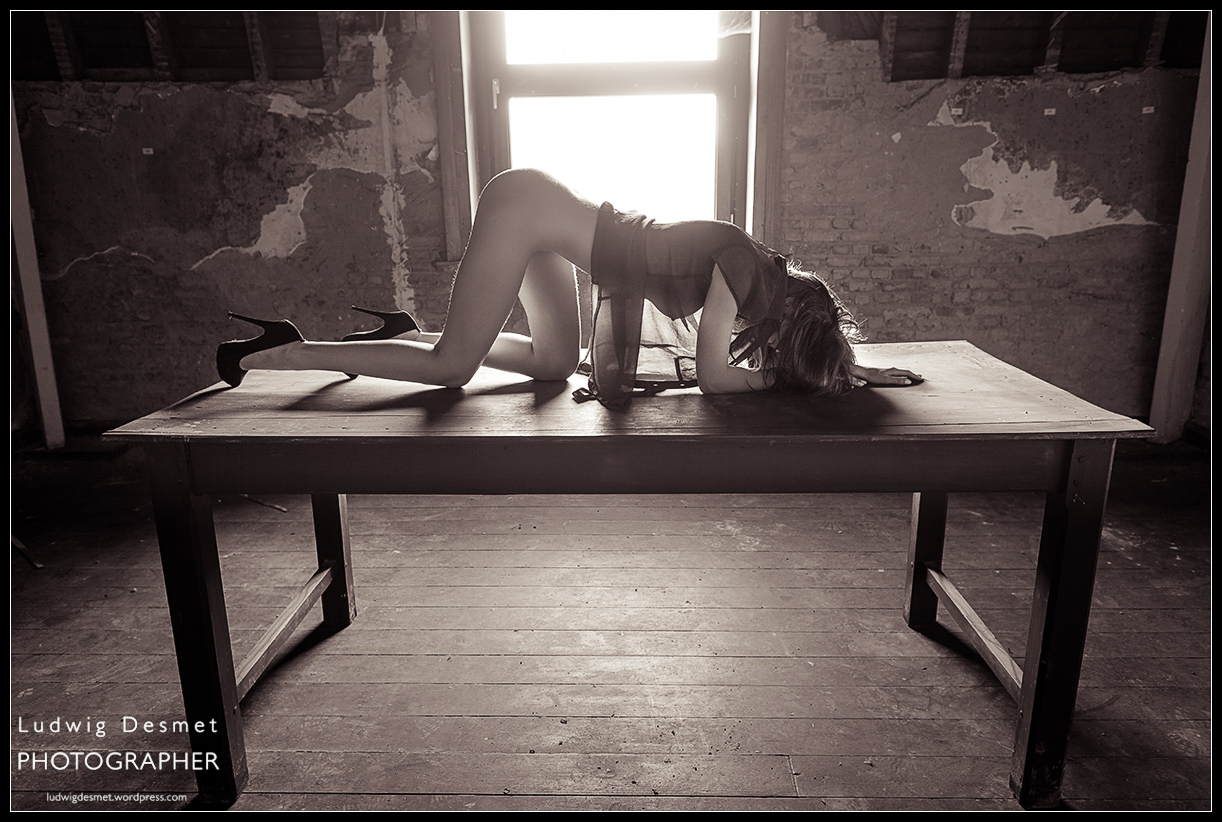
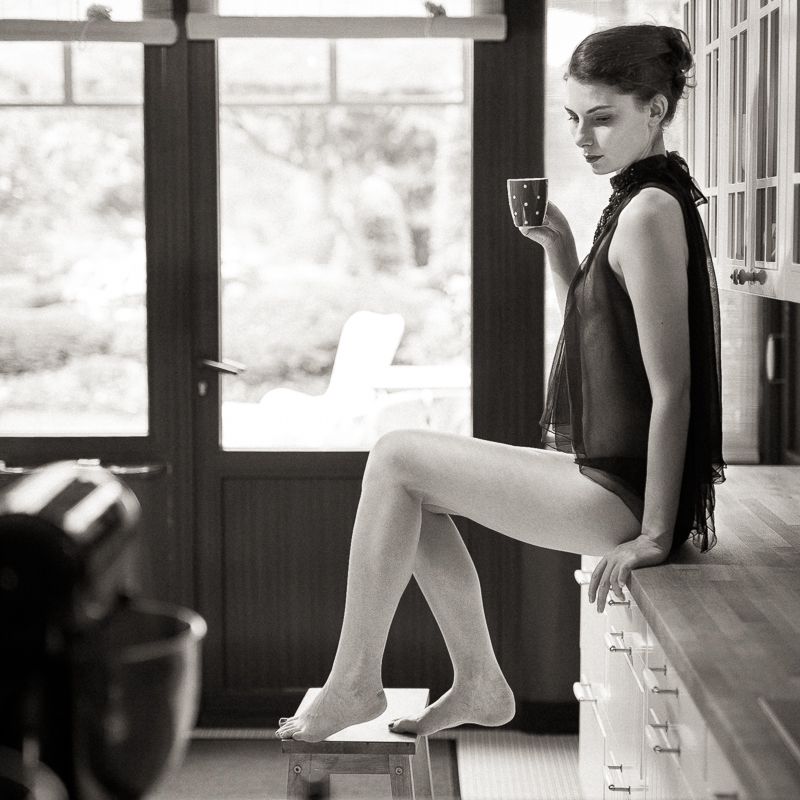
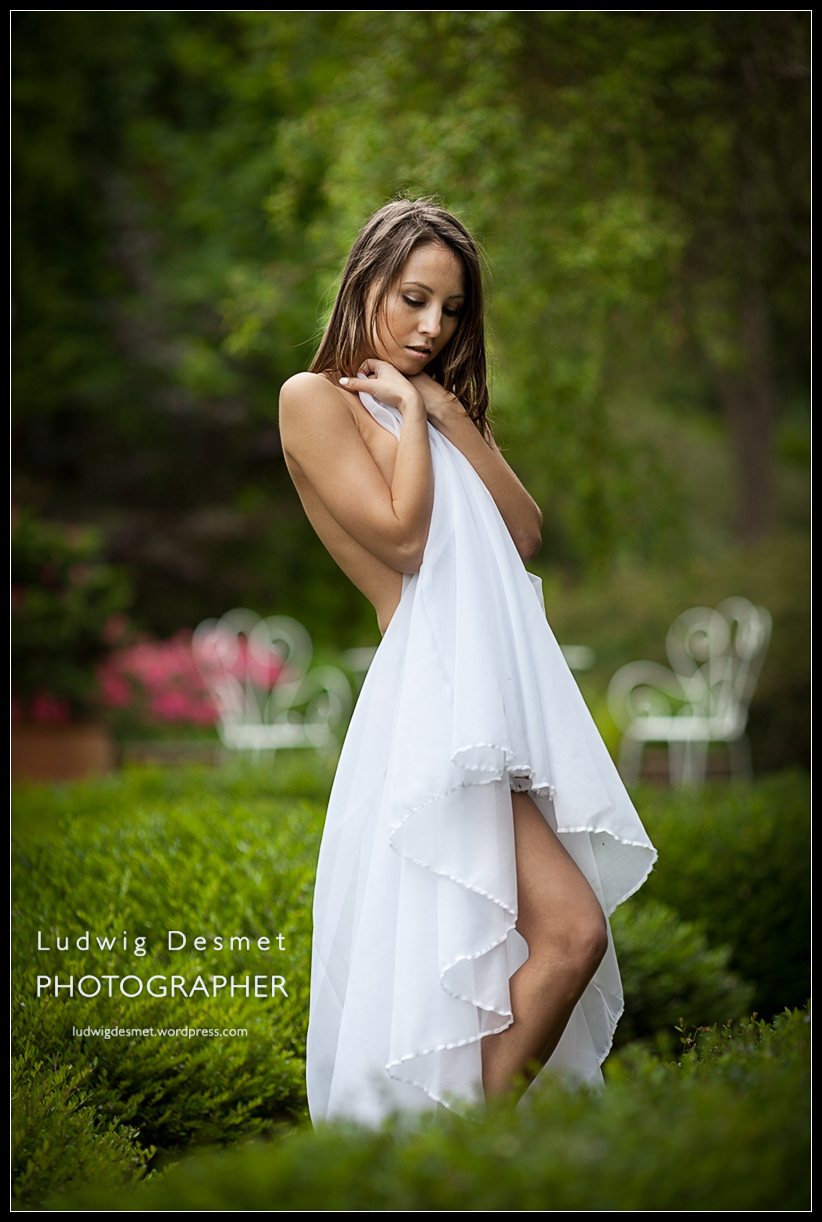
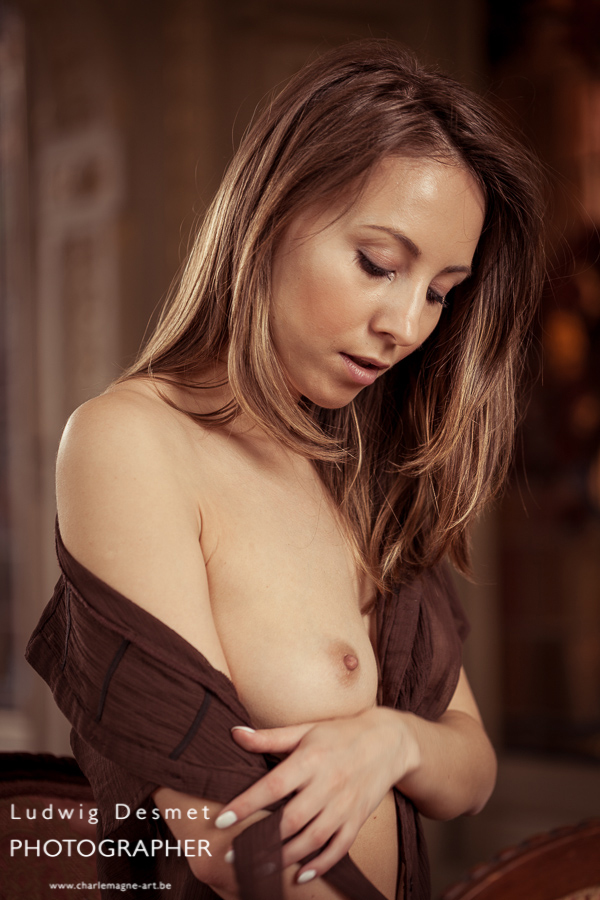
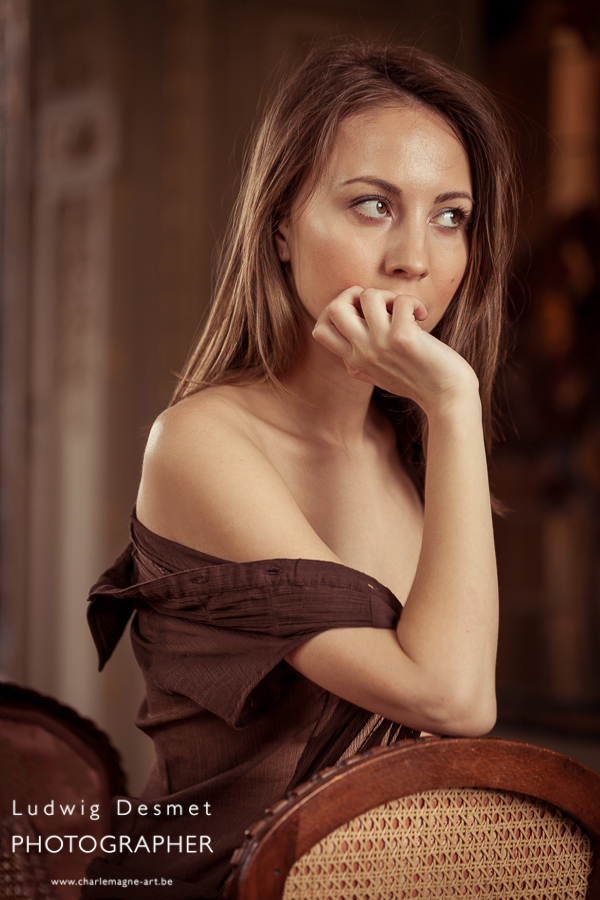
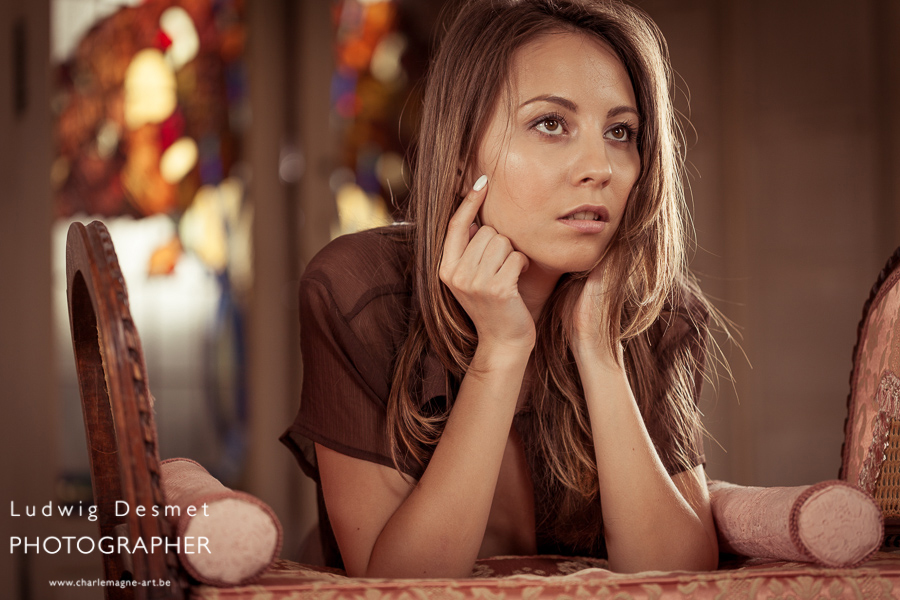
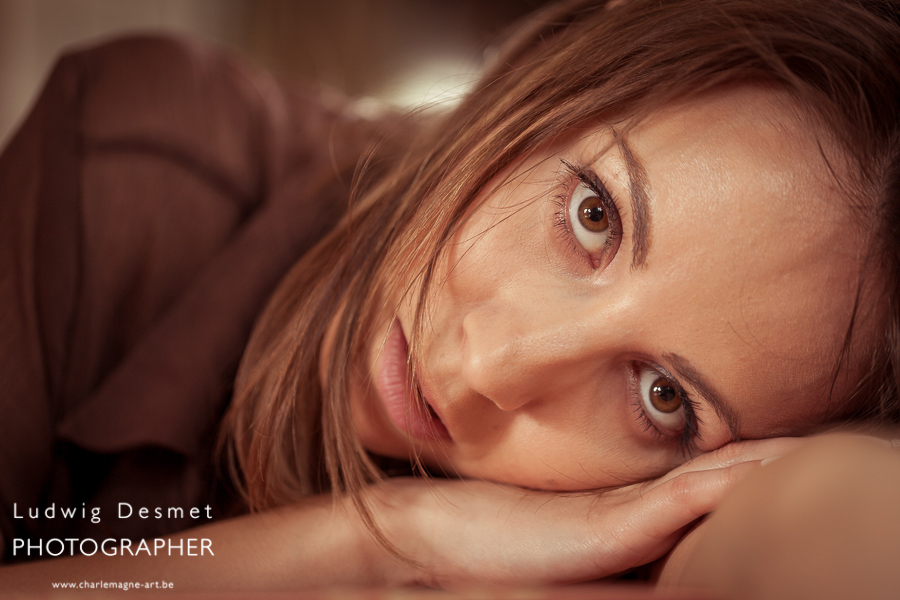
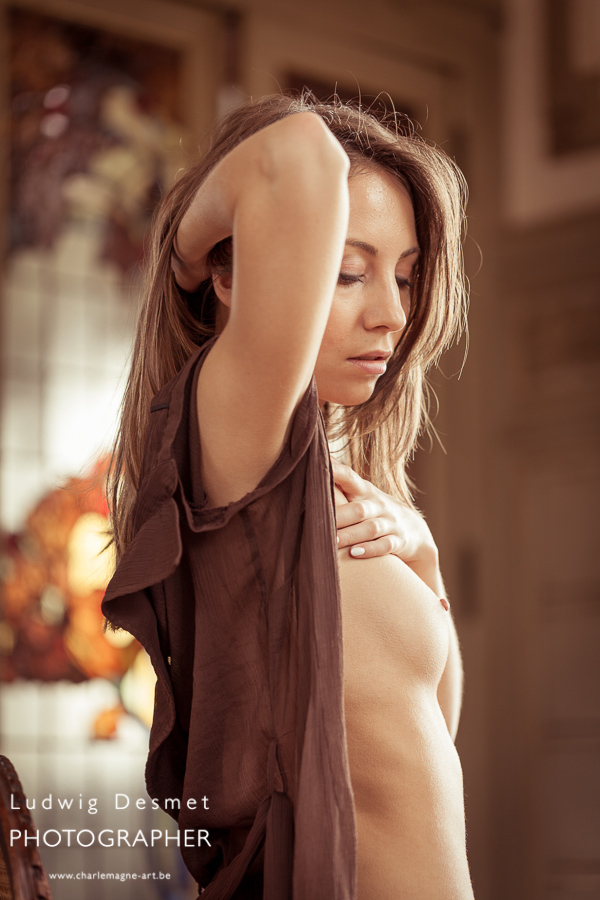
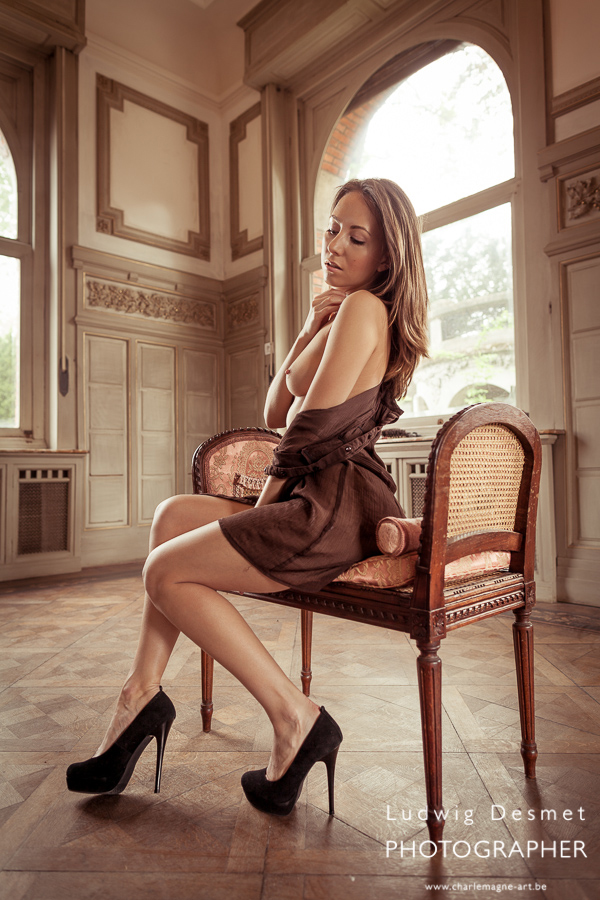
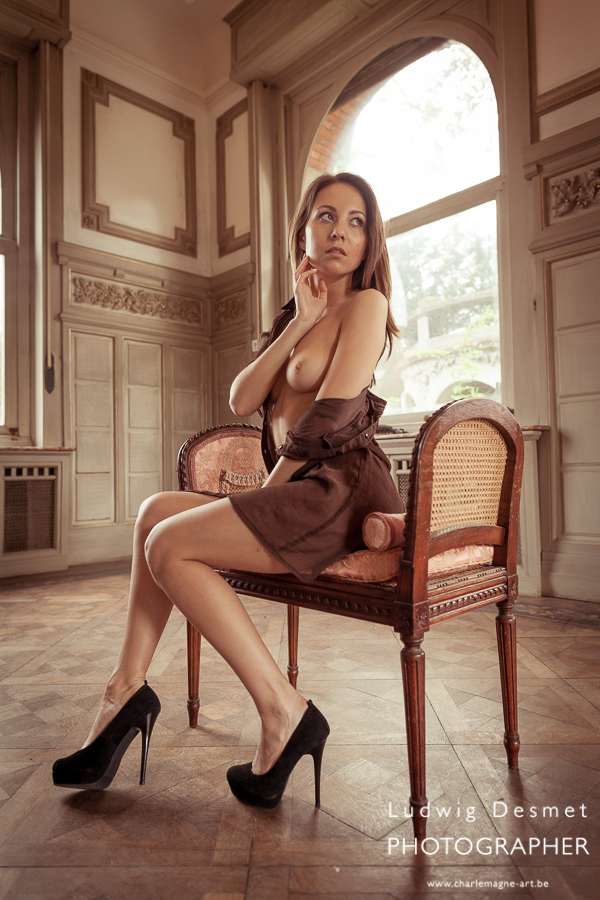
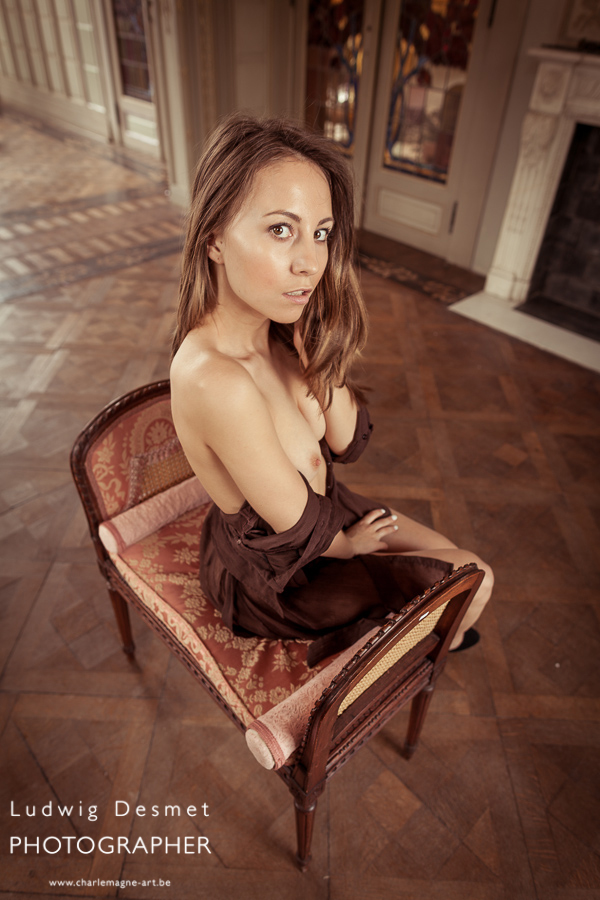
Pauline M. at the Garden of Eden NSFW

beauty, Personal Pictures

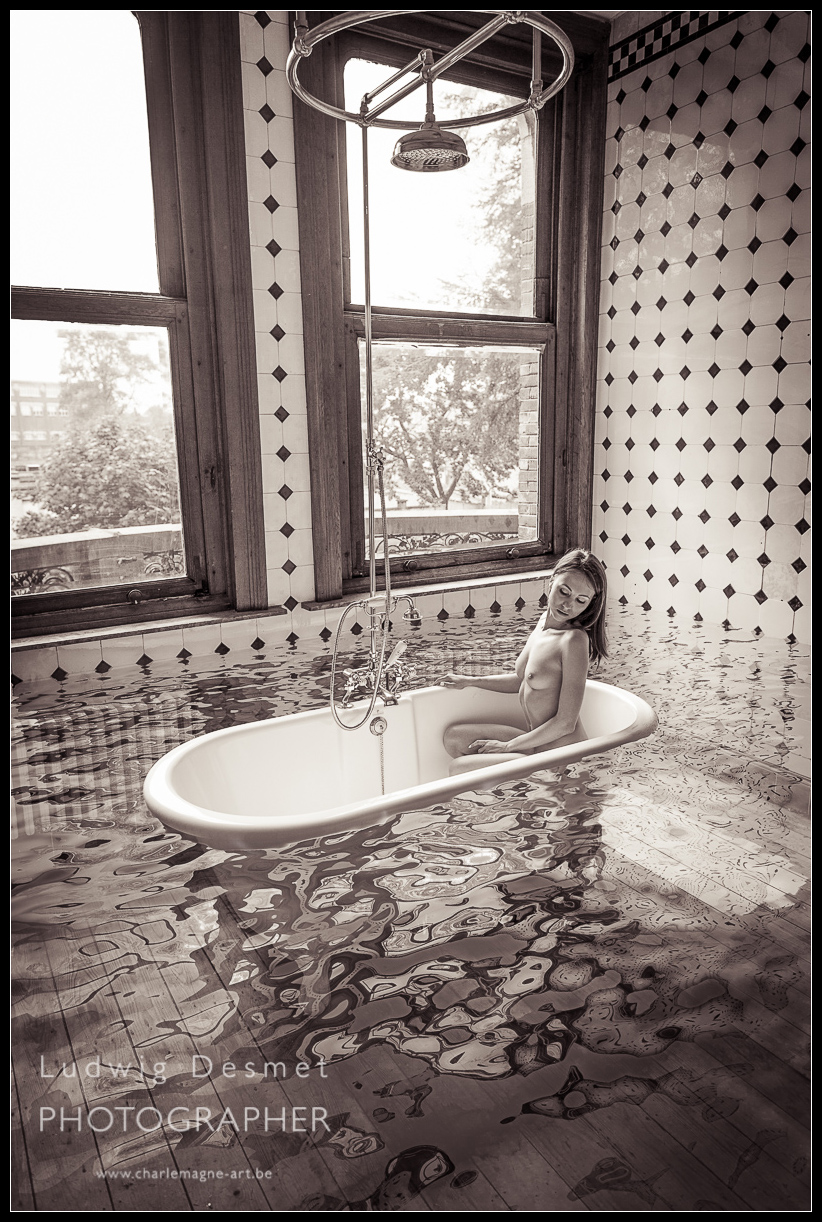
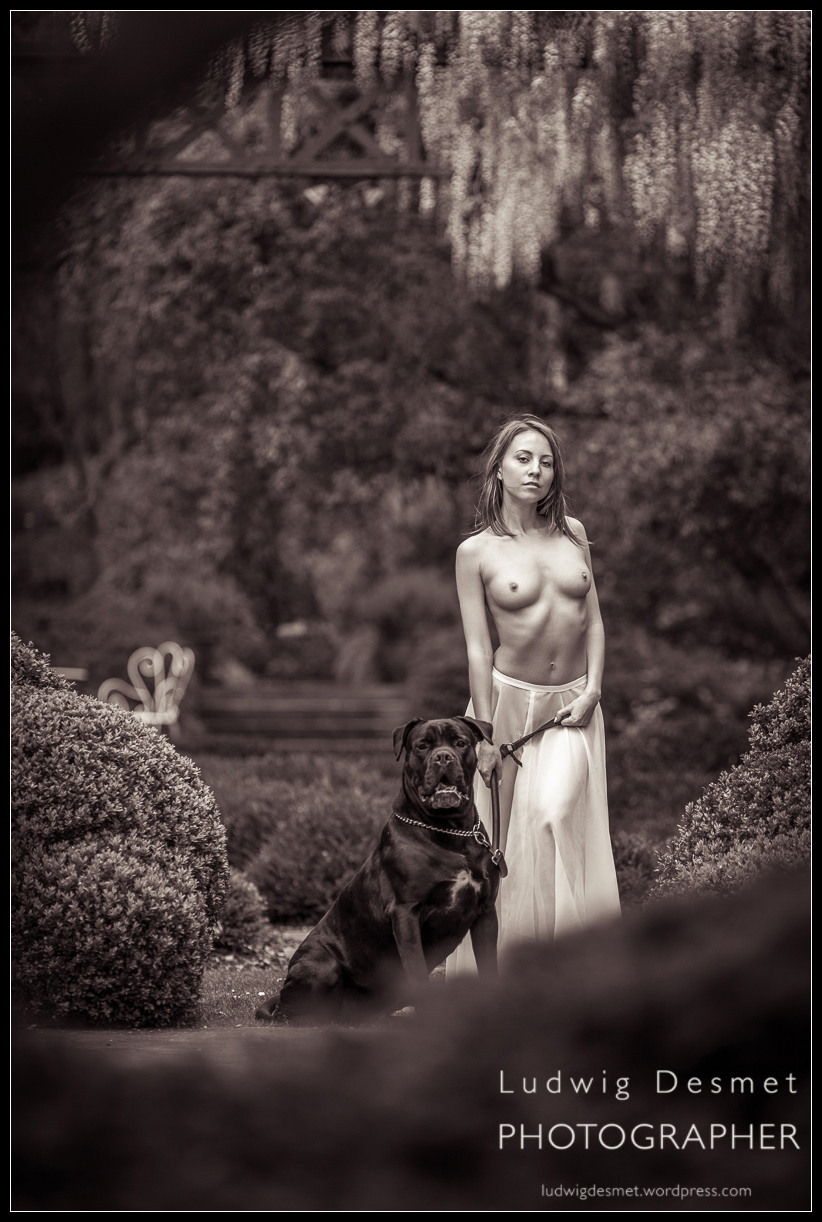
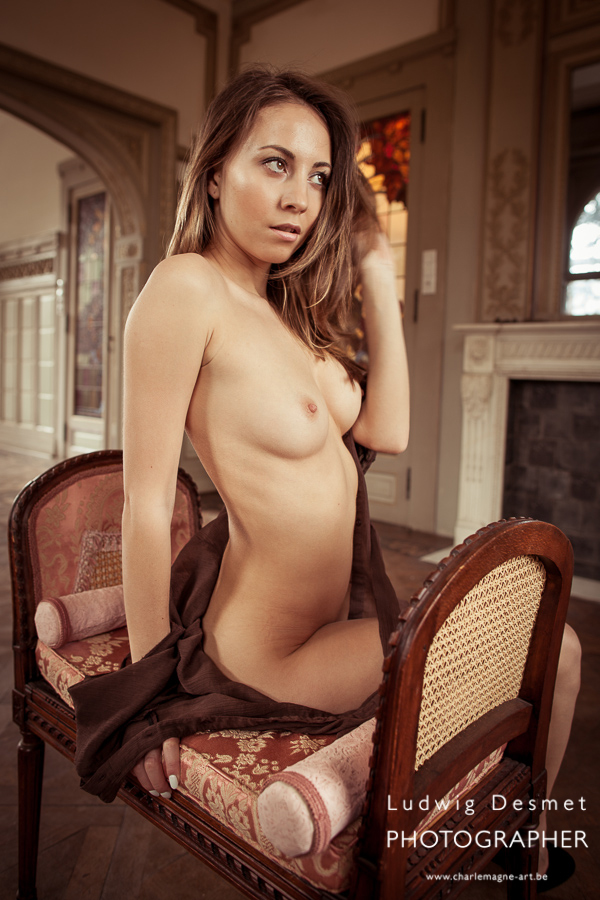
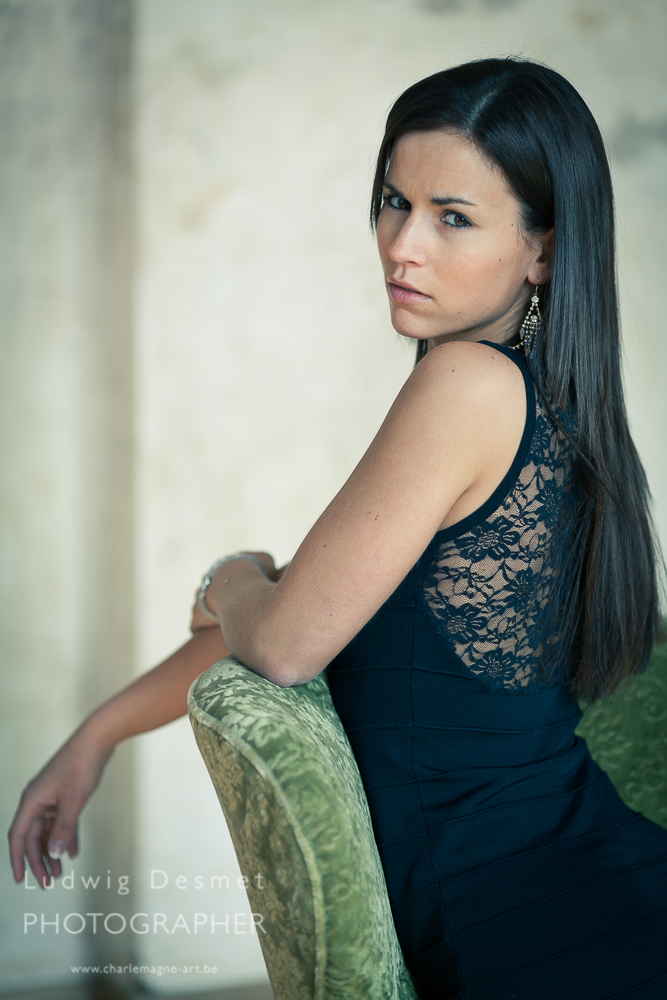
If i remember well, I think Adam and Eve met at the garden of eden.

I think they must have had a similar feeling as the one I had when I first saw this garden.

It is absolutely fabulous, and I love taking my models here. I can’t thank you enough, Sabine, for lending me the result of your hard labour and work.

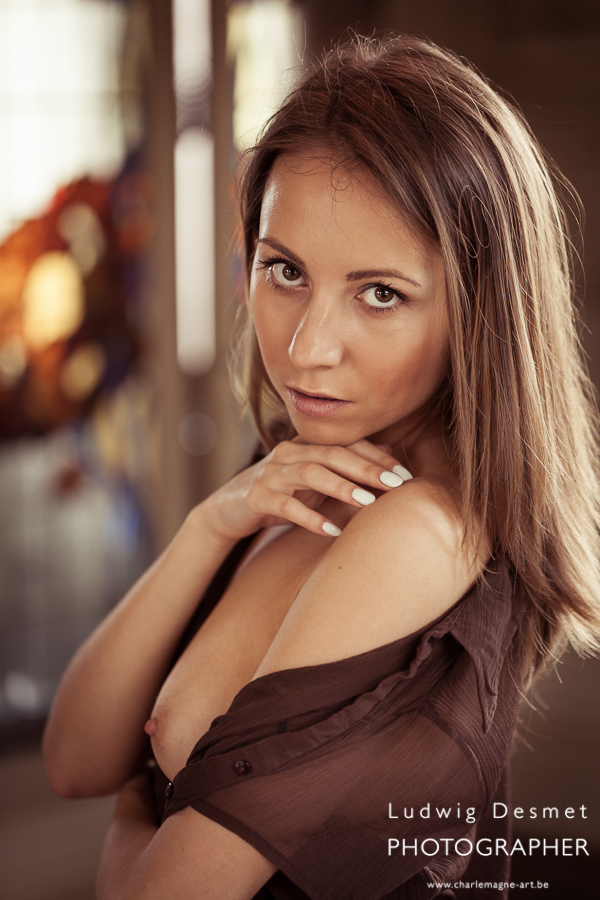
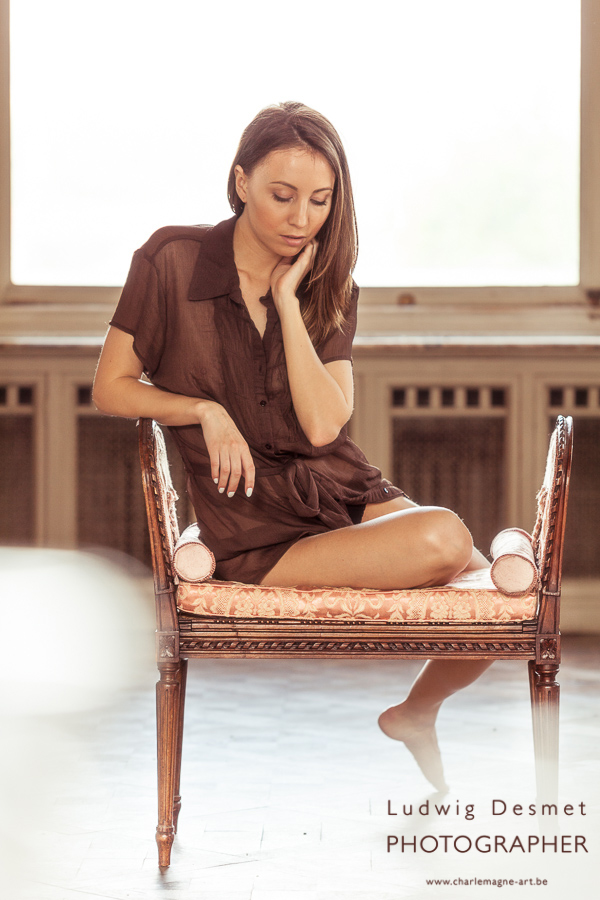
Next chapter in the shoot with Pauline.

A great model, lots of character and willing to integrate my ideas in this shoot.

Thanks again Pauline, I enjoyed working with you.

Ludwigdesmet_PaulineM-garden--2

Ludwigdesmet_PaulineM-garden--3

Ludwigdesmet_PaulineM-garden--4

Ludwigdesmet_PaulineM-garden--5

Ludwigdesmet_PaulineM-garden--6

Ludwigdesmet_PaulineM-garden--7

Come again soon for my next post, another before and after image, with Lightroom development tricks explained.

happy photography,

ludwig

Tatjana at Sabine’s house, B&W

beauty, erotic, Personal Pictures

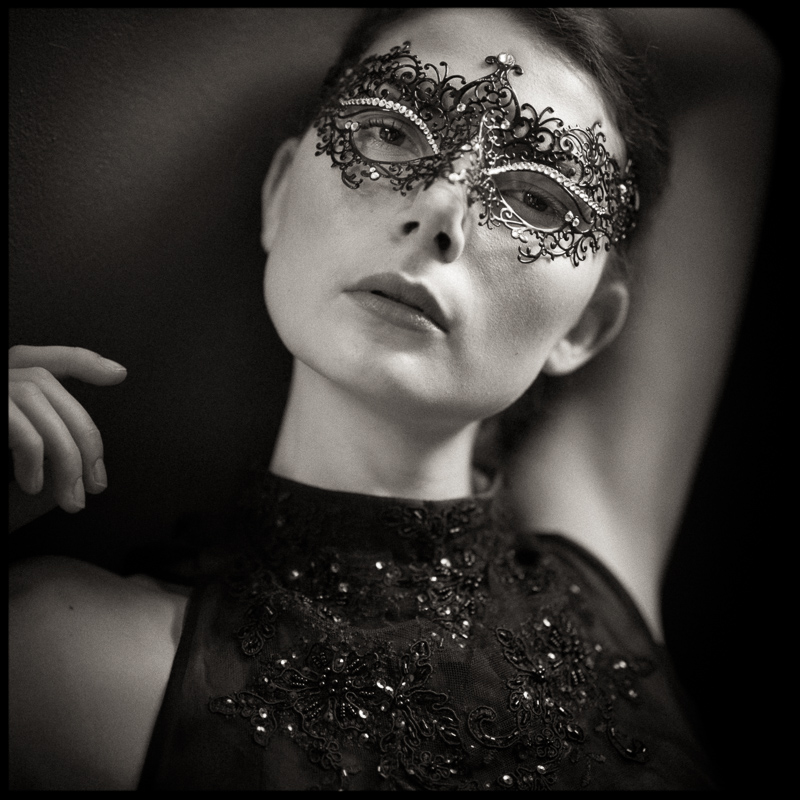
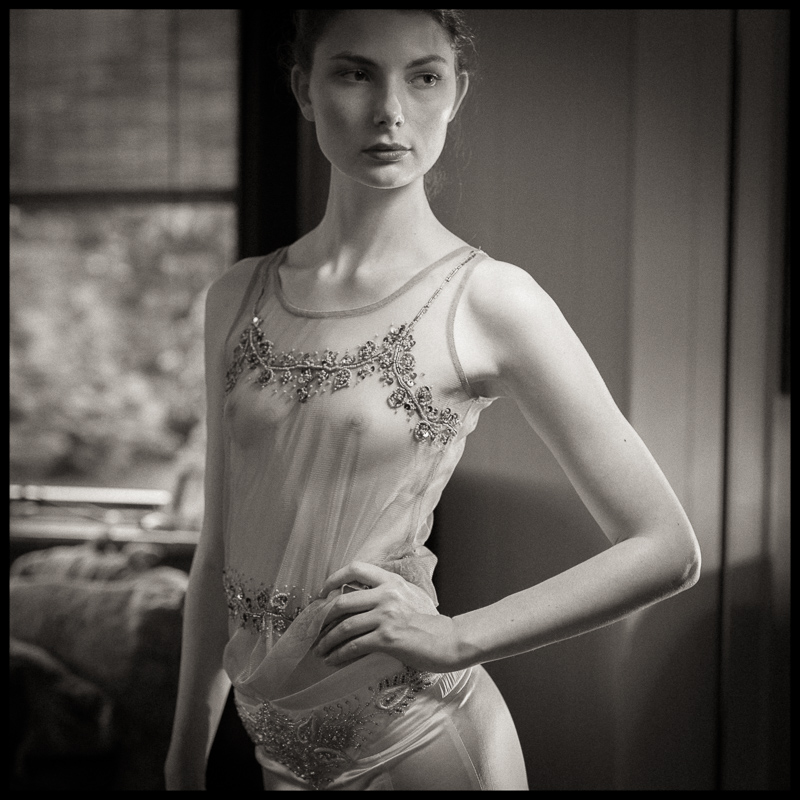
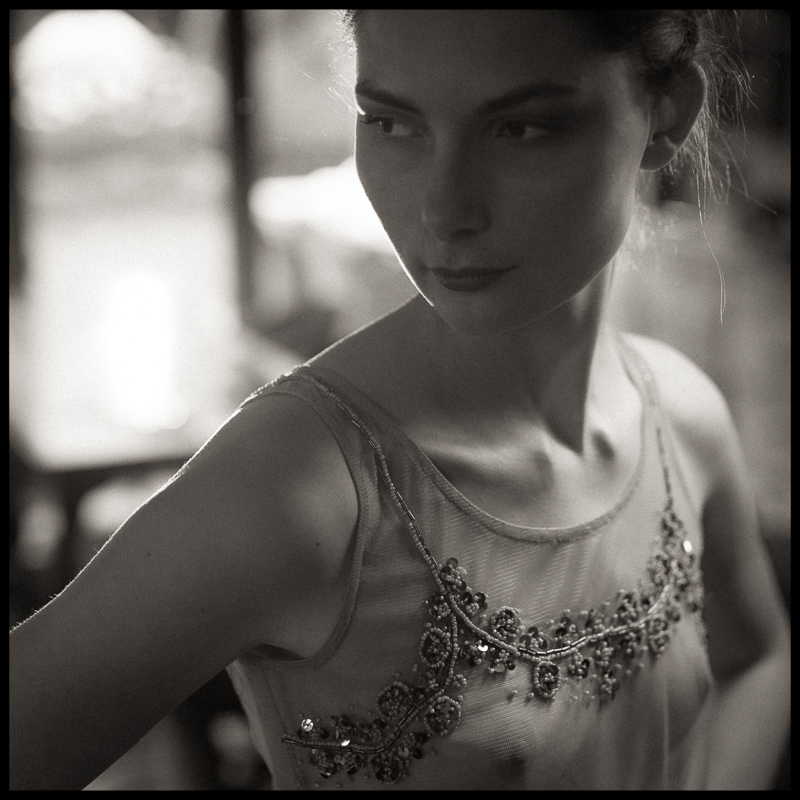
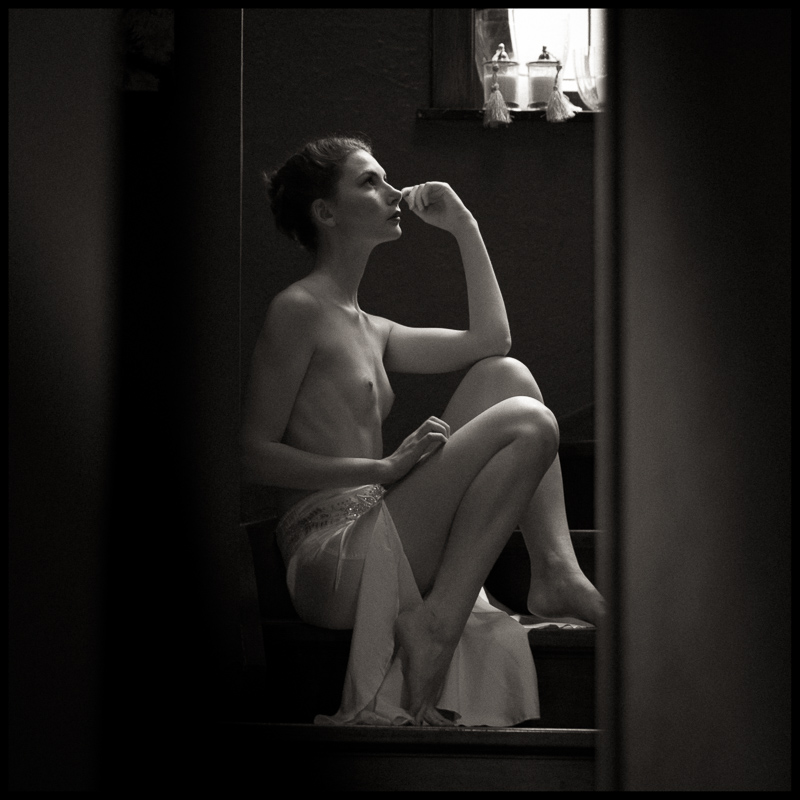
Next chapter from this same shoot.

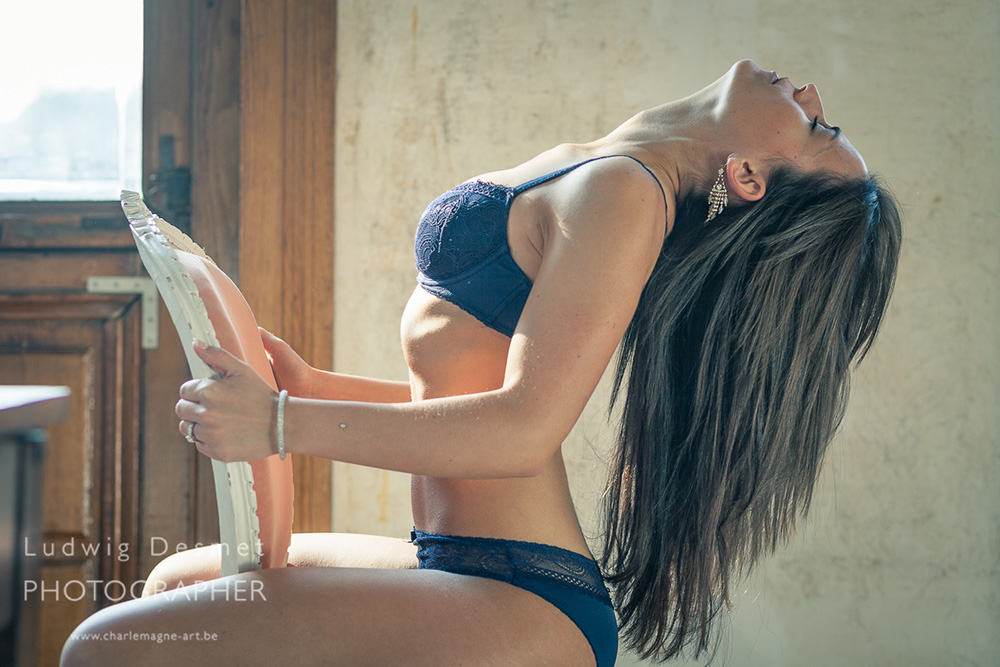
I have shown some images I took on film, some digital, developed in color, now some digital images, developed black and white.

You will probably notice that I use square format more often in my images lately. i think they have a more balanced frame, more stable and that fits my photography well.

That is probably also one of the reasons why I love working with the analog 6×6 camera. It frees you from the question of shooting horizontal or vertical. Peace of mind, really.

All in all I think this was a very fruitful shooting session, don’t hesitate to communicate your thoughts and ideas.

Model: Tatjana DN

Hair: Nathalie R.

MU: Heidi H.

Lingerie and mask: Tutti-Passi

Thank you to Sabine, for granting me access to her house for this shoot.

All images except fourth (Canon 100mm f2.8 Macro L IS) and last (Canon 24mm f1.4 L) are taken with the new Sigma 50mm 1.4 DG.

Ludwigdesmet_Ttjn--7

Ludwigdesmet_Ttjn--3

Ludwigdesmet_Ttjn--4

Ludwigdesmet_Ttjn--6

Ludwigdesmet_Ttjn-

Ludwigdesmet_Ttjn-2

Ludwigdesmet_Ttjn-8905

Ludwigdesmet_Ttjn-8930

Ludwigdesmet_Ttjn-8964

Ludwigdesmet_Ttjn-8977

I hope you enjoyed,

Ludwig

Good news today – Tzipac Eros photography contest

beauty, contests, Personal Pictures

I received confirmation that seven of my thirteen entries in the Tzipac Eros award 2014 have been accepted for stage two judgement.

I have entered images from different shoots in 2 categories: Erotic/provocative and Fine Art.

Garden of Eden, not yet published here, is one of the selected images.

Final results of this contest to be expected end of august, I will certainly keep you informed about it.

More info on the contest organisation here:

http://www.tzipac.com

Tatjana at Sabine’s house

beauty, erotic, Personal Pictures

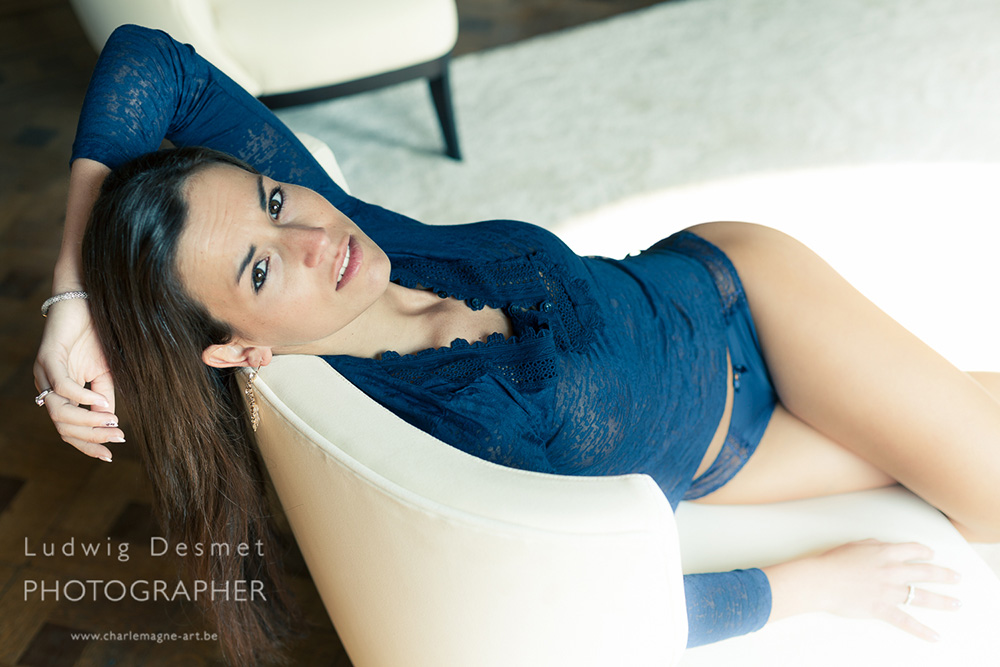
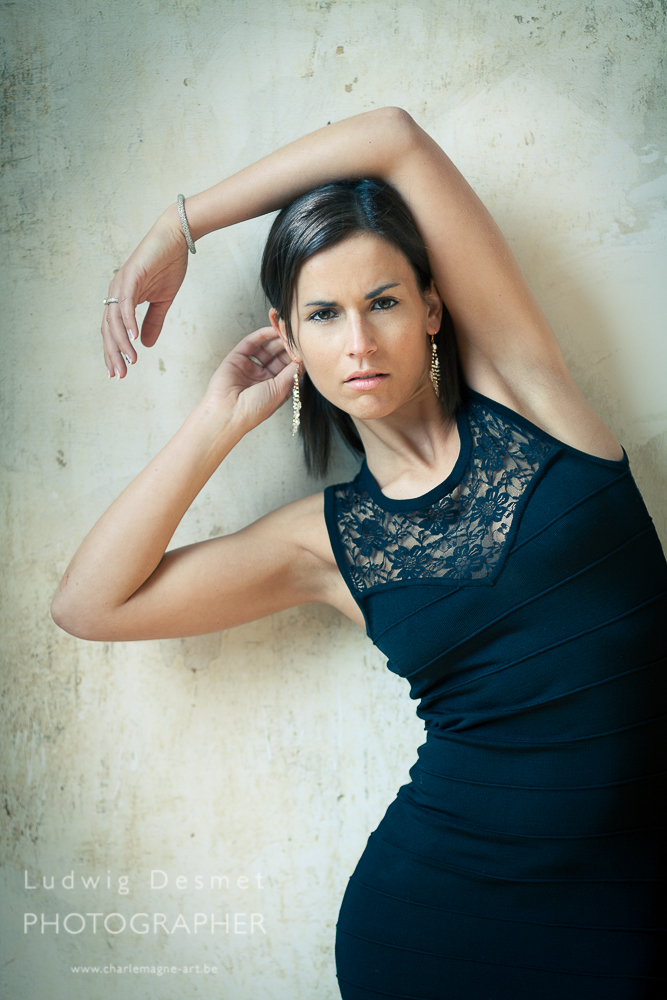
a series of color images I took at the house with the wonderful garden, in Ronse.

Sabine saw my work in the ‘Kunst omhulst in Villa 99’ exhibit, and she tracked me down on Facebook. Per return, I saw pictures of her garden and I immediately fell in love with the beauty and romantic feeling the garden expresses. I had a first shoot with Anna O. in the garden itself, and now her house interior was decor for this shoot with Tatjana. Sabine is a painting artist herself, and very open minded for these collaborations. Thank you Sabine, for having me at your home that day. Tatjana is a non professional model, but very experienced in model shoots anyway. She was really open to work with, and a lovely personality. We were so indulged in the shoot that we had to hurry to catch the train at the scheduled time.

Rain all afternoon, so we didn’t have the possibility to shoot in the garden that day, but the interior of the house proved very adequate for a ‘natural beauty’ shoot.

Make up: Heidi H.

Hair: Nathalie R.

Lingerie was willingly provided by Tutti-Passi, woman friendly pleasure shop.

Hope you like this small selection of images.

I will soon show a second series of black and white images from that same shoot.

Ludwigdesmet_Ttjn_for blog-8941

Ludwigdesmet_Ttjn_for blog-8954

Ludwigdesmet_Ttjn_for blog-9626

Ludwigdesmet_Ttjn_for blog-9632

Ludwigdesmet_Ttjn_for blog-9644

Ludwigdesmet_Ttjn_for blog-9656

Images taken with Canon 5D II and Sigma 50 mm f1.4 DG Art and Canon EF 100 mm f2.8 Macro IS L. In the first and second image I used a strobist flash off camera to get some additional light. It is bounced on a reflector, right side from the camera.

Hope to see you again soon, don’t hesitate to leave a comment, ask questions or whatever.

Ludwig

Tatjana on film II

beauty, Personal Pictures

A couple more film images from the shoot Tatjana at Sabine’s house, Kodak T-max 400 on Rolleiflex 3.5

Model: Tatjana DN

Make up: Heidi Huys

Hair: Nathalie Renard

This is the first model shoot where I used the 60 years old Rolleiflex camera and it did just fine.

I found the square aspect ratio from the middle format Rolleiflex a relief to work with. No more hard decisions on shooting vertical vs. horizontal.

Sabine’s husband is collecting ‘snail houses’, we made good use of them. 😉

Ludwigdesmet_Tatjana_analoog-002

Ludwigdesmet_Tatjana_analoog-003

thank you for reading,

Ludwig

Tatjana on film

beauty, Personal Pictures

From the shoot Tatjana at Sabine’s house, Kodak T-max 400 on Rolleiflex 3.5

Model: Tatjana DN

Make up: Heidi Huys

Hair: Nathalie Renard

Many thanks to Sabine V. for letting me use her home as a setting.

I’ll do another post soon with a little more information on the camera.

Ludwigdesmet_Tatjana_analoog-007

thank you for watching,

Ludwig

HDR composited image workflow

architecture, Personal Pictures, personal tips & tricks, Tips and Tricks

Making a panoramic image in Photoshop is pretty simple, in the menu you go to file->automate->Photomerge, there you select your images, press enter and photoshop does it all for you, no hassle. You’ll just need to crop afterwards and your done.

Making a HDR image in Photoshop is pretty simple too, in the menu you go to file-> automate->Merge to HDR Pro, follow some easy steps, choose if you want to work 16 bit or 32 bit, choose wether you want to edit in Adobe Camera Raw or just save a 32 bit file, and further edit in ACR or Lightroom (since version 4)

Now making a panoramic image that has been shot in exposure bracketing, is a little more complicated, although a logic iteration of the above two workflows.

Here’s what needs to be done (Lightroom/Photoshop workflow)

000. Work with your Autofocus off for your exposures, focus once, then leave your focus be, work manually, work on a tripod, with preferably a panoramic head, or, as in this case with a Tilt-Shift lens.

00. Make sure you get sufficient overlap in between images (1/3 of your image is a good average)

0. Make sure you get the same exposure bracketing series in all your images

1. Grab your first bracketing series in Lightroom, right click and Edit in -> Merge to HDR Pro in Photoshop.

2. Photoshop will run trough a series of actions, and will bring up the HDR pro interface.

3. Now you’ll choose 32 bit, remove ghosts if necessary (only available from 3 or more images, and good if you have moving elements in-between images.) and just click OK.

4. Your 32 bit tif file will appear awful in Photoshop, no panic, just click the save button. (not save as, as this might save your image in a different directory than the original one)

5. Back in Lightroom, you should be able to see your image as filename-edit.tif You can edit the image just the way you edit RAW files, except now you have 10 stops exposure range up and down. Work with exposure, highlights, shadows, blacks and whites to get your image correctly edited. It might be a good idea to do lenscorrections in at this stage. (lens deformations and chromatic aberration, no perspective corrections)

6. Do this for all your bracketing series, try to develop the different images the same way. Avoid too many local corrections, as you will not be able to synchronize them because they will need to be applied in a different spot in every different 32 bit image.

7. Now the final step is just to make a panoramic image from all our previously edited images: select all your edited 32 bit files and right click -> edit in -> Merge to Panorama in Photoshop

8. Photoshop will gather all images and nicely align them out, make layer masks according to the images content (actually it searches for places where there’s no geometrical difference in two consecutive layers, to make the transition at that spot. That may lead to awkward layer masks, but the result is generally good.

9. Crop the image to get rid of white edges (photoshop will do transformations to compensate for lens corrections, or to get the perspective in-between images working ok)

flatten and further edit if needed (sharpening, filters, …)

10. Sit back and enjoy your work.

Visual representation of the workflow (click for bigger):

workflow

A small version of the final image.

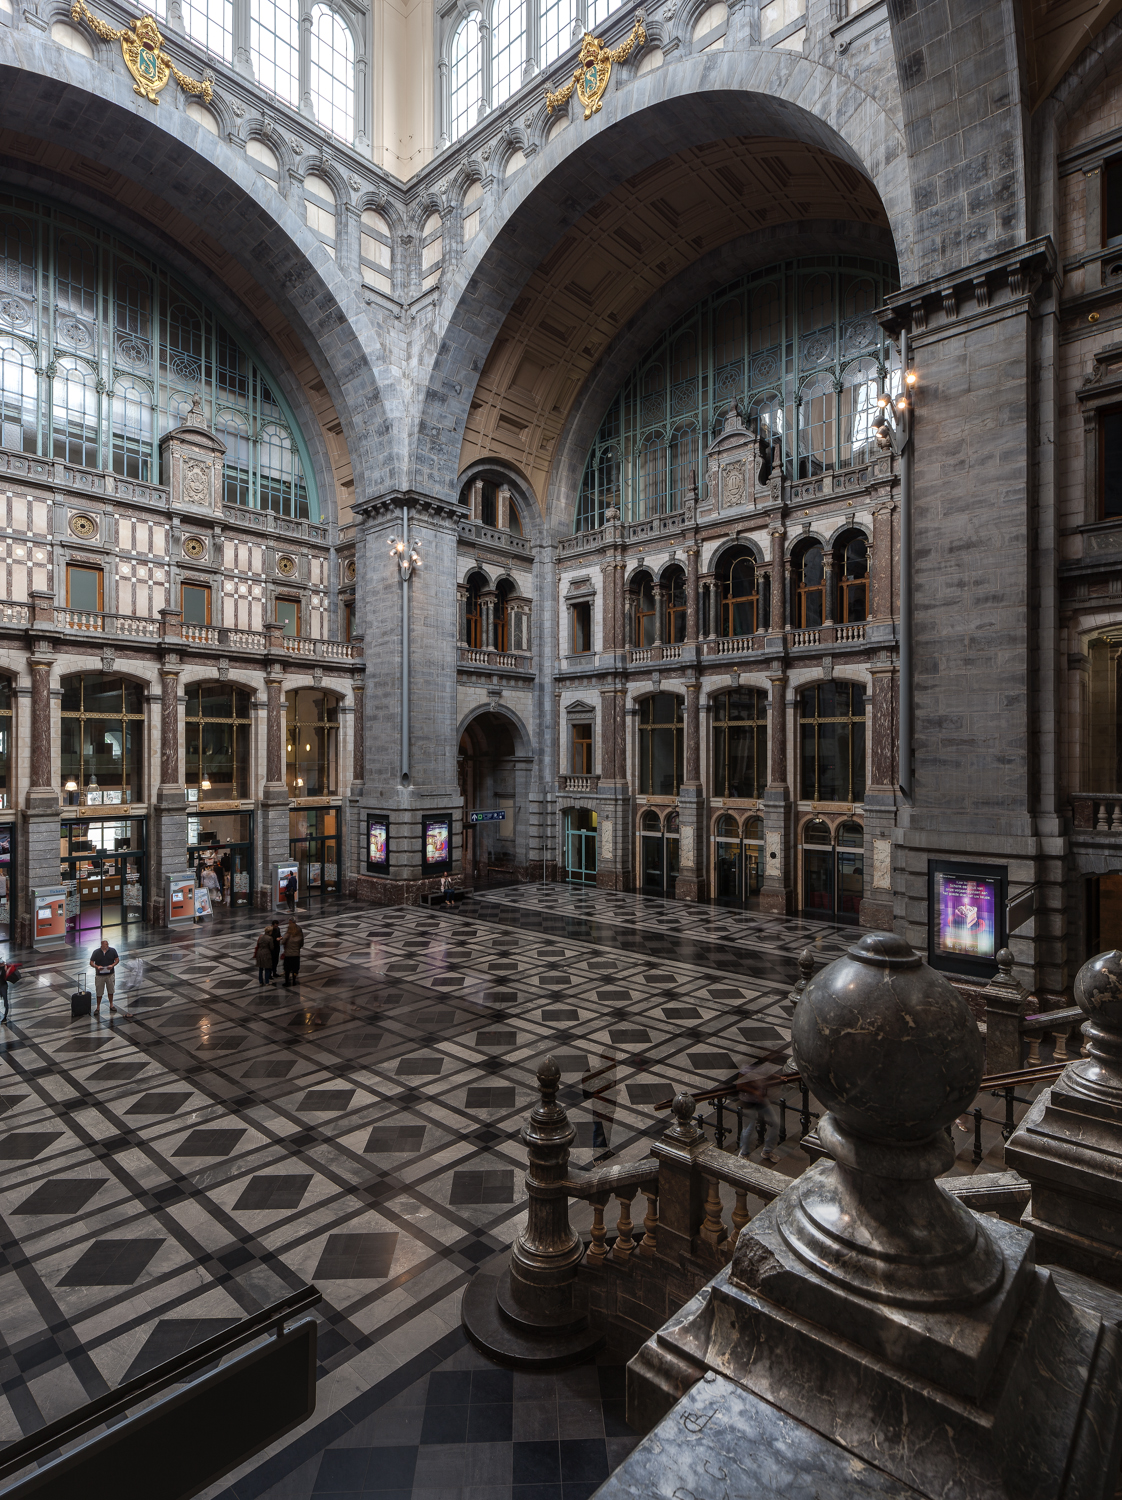
This is the entrance hall of the Antwerpen Centraal train station:

Ludwigdesmet_HDR_PANO-2

Thank you for reading, you might as well follow my blog now you’re here :p

Ludwig

Table top I

beauty, erotic, Personal Pictures

I will continue my single image posts until I run out of stock :p

Result of the ‘At the Mansion’ shoot with Anna O., in Ronse Belgium.

Styling and photography by me.

Make up and model: Anna Orlova

Limited edition prints available.

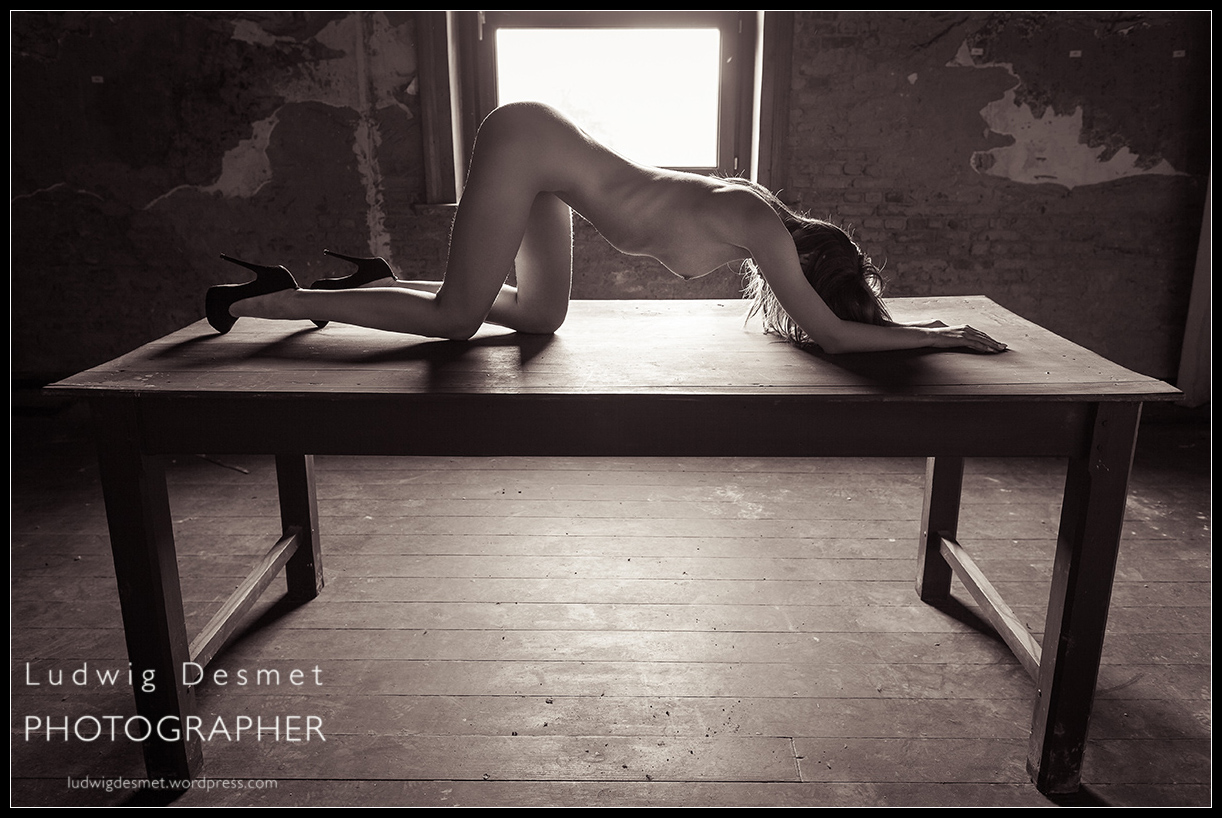
Table Top Nude I

Ludwigdesmet_AnnaO-8706

It is ok to like 😉

About the technique, I still work mainly (if not only) with natural light. This image has been made with the help of a tripod, because of the relatively long shutter speed, and in an attempt to keep a clean, frontal composition. I have multiple images of this session, but I think this one best expresses the beautiful shape of Anna’s body. No light source except the window light. Some light is bouncing back from the wall just behind me.

Canon 5D II – Canon EF 24 mm f1.4 L II – 1/10sec – f3.5 – ISO 100.

Ludwig

Flooded Bathroom

beauty, Personal Pictures

One single image today.

Result of the Mansion shoot with Anna Orlova, in Ronse Belgium.

Styling and photography by me.

Make up and model: Anna Orlova

Limited edition prints available.

LudwigDesmet_AnnaO-8723

I have to admit that I did some tricky stuff on this one.

Post processing and 3D image manipulation/rendering by me.

thank you for watching!

ludwig

Battle of the 50’s Part II – Canon 50 mm f1.4 USM vs. Sigma 50 mm f1.4 DG HSM Art

Personal Pictures, photo gear, tests

A lot of good rumors about the Sigma 50mm Art that was announced for the end of April. I have decided to order one as soon as it was available here in Belgium, and I wanted to do a comparison between this praised newcomer and the 50 mm f1.4 I have been using since about two years. (see battle of the 50’s for a comparison between Canon’s cheap (fantastic plastic) 50 mm f1.8 and the second in line 50mm f1.4 from Canon as well)

So this time a comparison between the Sigma 50mm f1.4 DG HSM Art and the Canon EF 50 mm f1.4 USM.

Both aimed at the full frame market, a rather old design for the Canon, brand new for the Sigma, part of the ‘Art’ series of new lenses from the latter.

In my photography I often have to deal with difficult light situations (I mostly work with natural light only) in dim lit interiors. I so have decided a couple of years ago to mainly go with fixed focal length lenses with big apertures. I currently have a Canon 24 mm f1.4 L II, a 50 mm f 1.4 (Canon and Sigma, although the Canon has already been sold and will be transferred to its new owner as soon as this test is over) a Canon 85 mm f1.8, a Canon 100 mm f2:8 macro (NEW) and a Canon 135 mm f2.0 L. A lot of glass and a lot of weight in my photo bag.

Additional weight for this 50 mm lens from Sigma too, compared to the Canon f1.4 (290 g) the Sigma comes at 815 grammes, meaning a lot more weight to carry. In combination with the Canon 5D mark II I use, this combo weighs about 1700 grams all together. My wife complained about the weight when I had her review the images of my last shoot.

The design of the Sigma lens is definitely more attractive, with is matte finish and sleek all black no colors approach. It comes with a hood and caps, and a square semi-hard lens case. The price here in Belgium is 839 € (Art & Craft pre-order) while the Canon comes at 339 € at the same shop.

All images for this test have been taken in my backyard or home studio, no special things going on here, except for young vegetable sprouts struggling against the spring rains we had lately.

As far as needed, all images are taken with tripod, live view magnification for focussing and with the same 5D II camera. Self timer to prevent touch shake.

The images show the entire scene on top, 100% crops from unedited images (except standard sharpening in LR5) below. The aperture setting is mentioned on every crop. All Jpg’s are saved at 100% quality. Take care, some of these images are big! All these images are for informational purpose only, no legal claims made!

You should really look at the images full size to be able to judge on the results obtained!

Sharpness center and edge:

Left to right: Canon center sharpness, Sigma center sharpness, Canon edge sharpness, Sigma edge sharpness.

Full size on click, 11.9 Mb Jpg file.
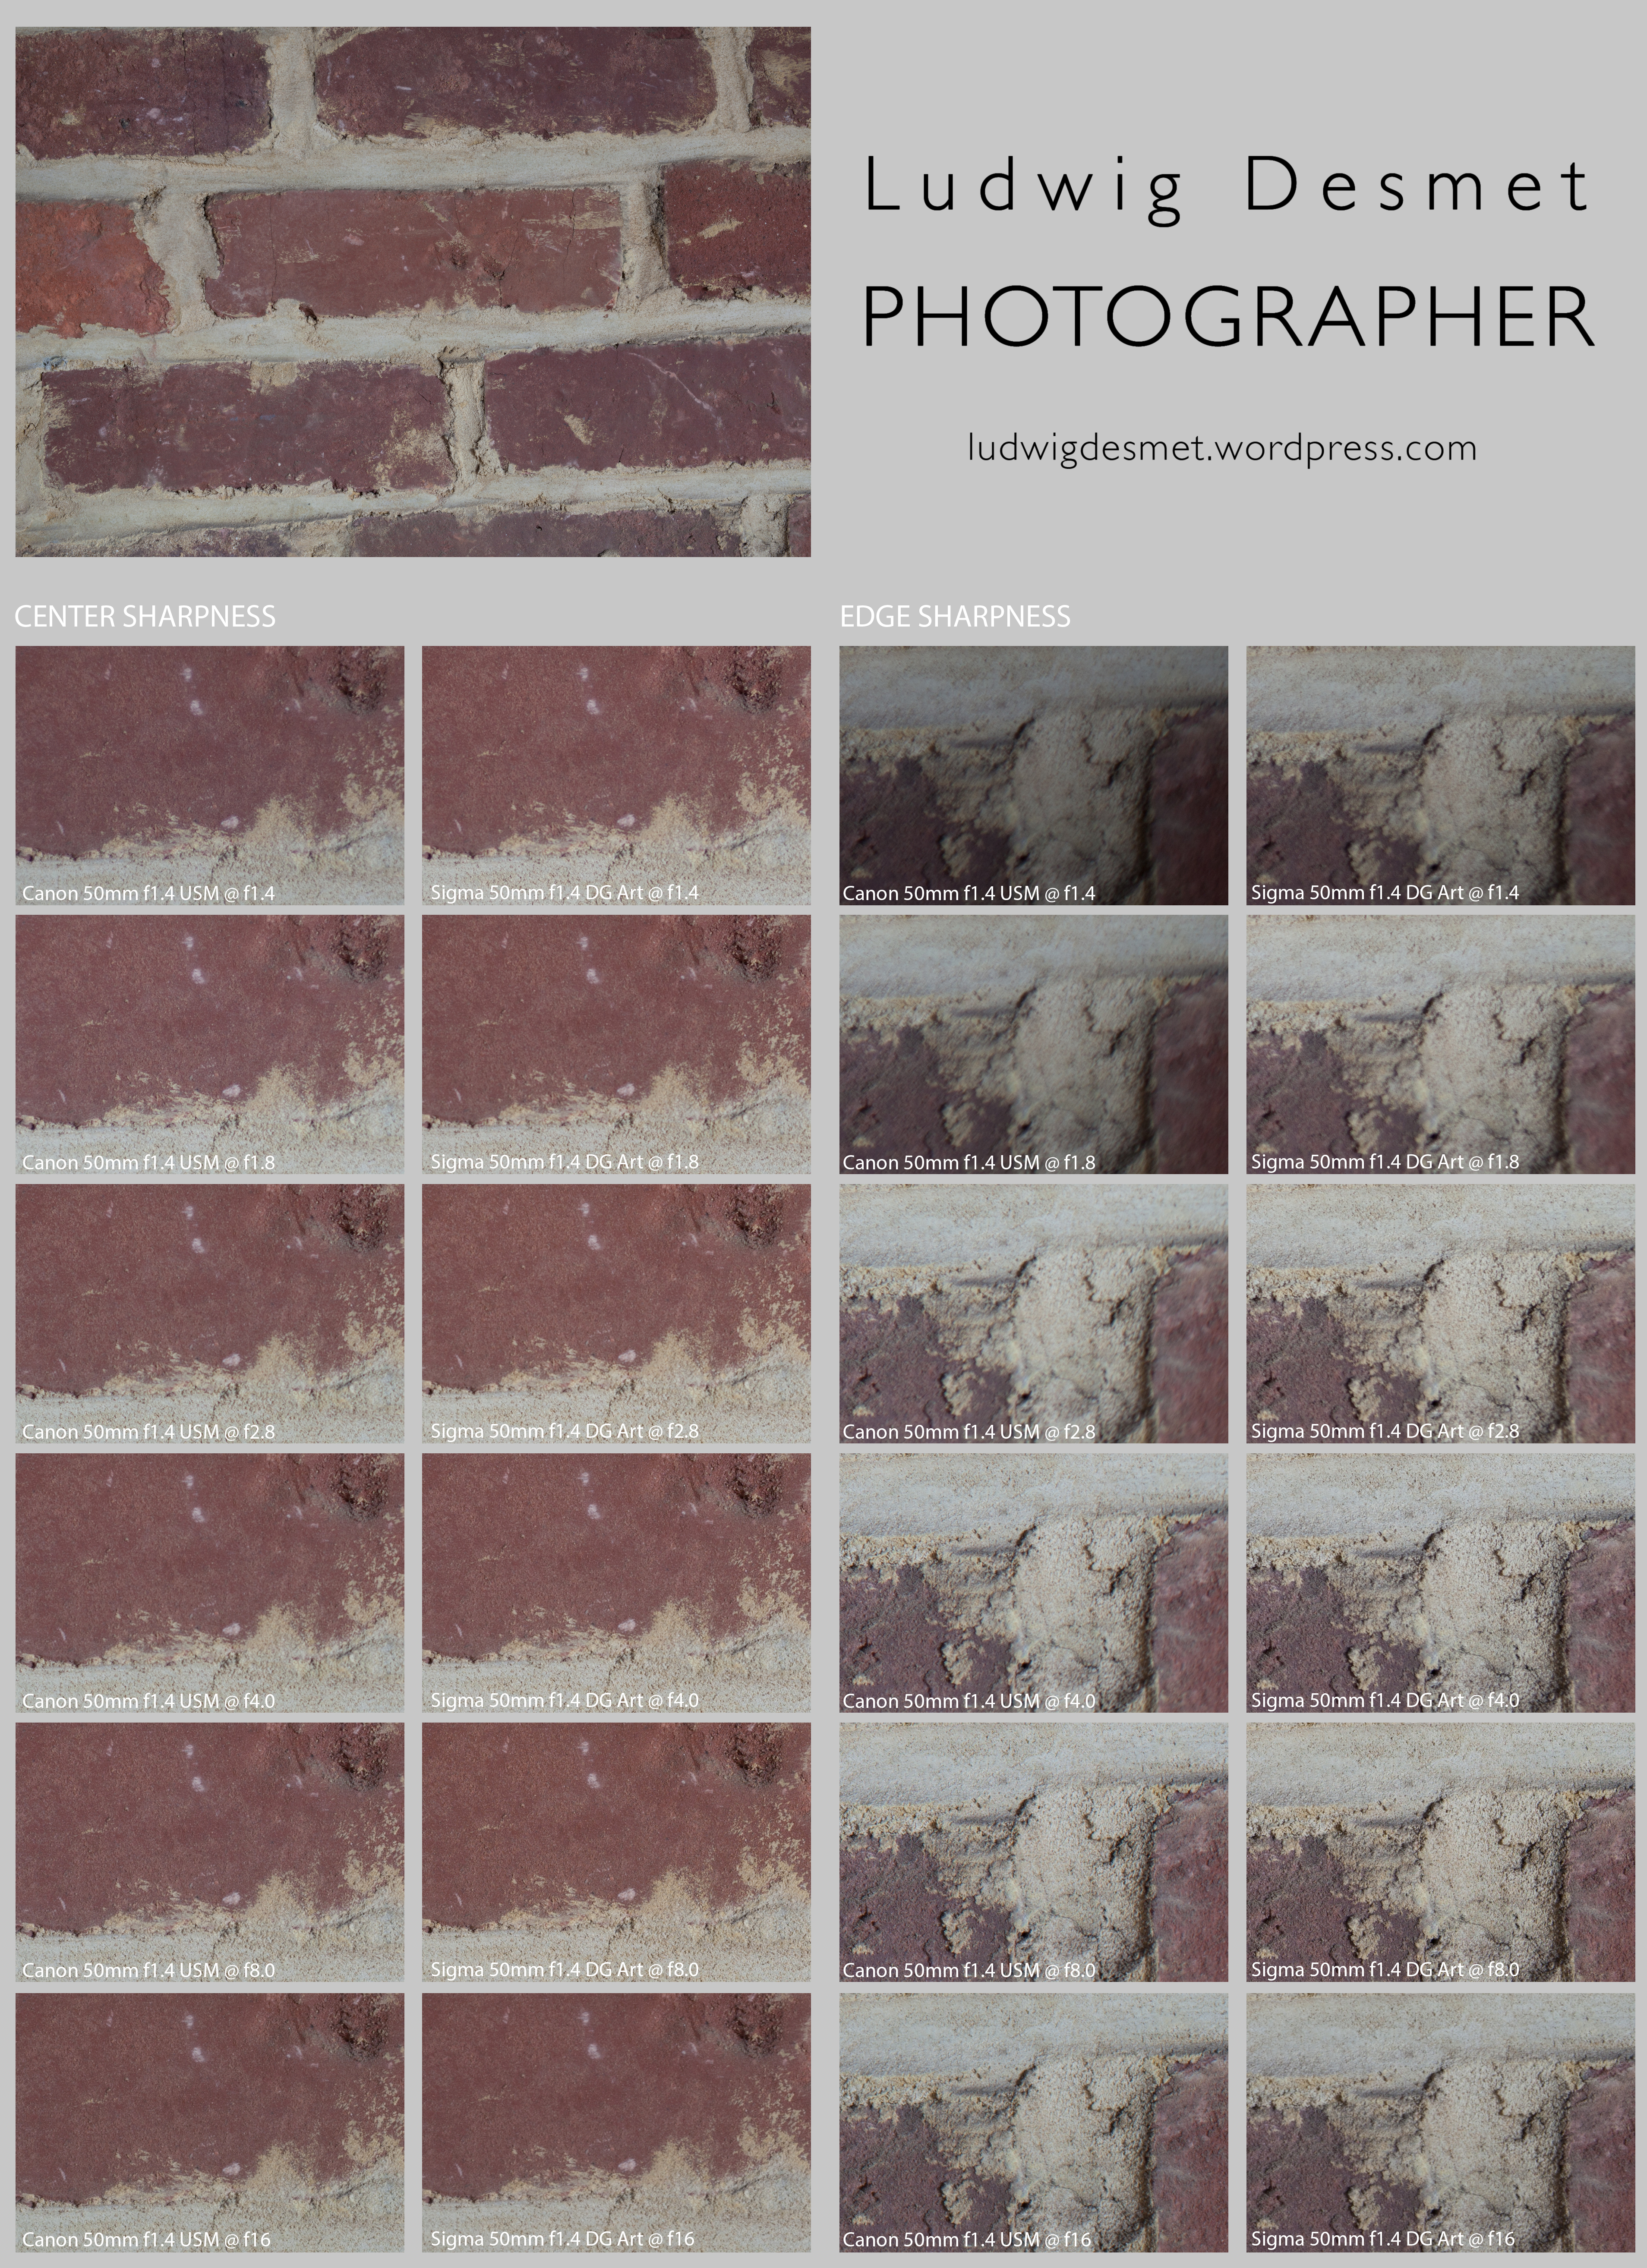
Sigma vs Canon 50mmtest-sharpcomp

My observations:

Center sharpness Canon: soft wide open, reaches full sharpness at f2.8, stays sharp till f8.0, a little diffraction softening at f16

Center sharpness Sigma: similar sharpness wide open as the Canon at f2.8, small increments of additional sharpness till f8.0, clearly visible diffraction effects at f16

Edge sharpness Canon: strong image distortions in this part of the image at f1.4 and f1.8, as if the image has had a rotational blur, gradually improving image quality, acceptably sharp at f8.0, soft degradation at f16

Edge sharpness Sigma: similarly sharp at f1.4 as the Canon at f1.8, but no distortions, f4.0 similar to Canon at f8.0 and sharpest at f8.0 and better image detail as the Canon at f8.0. More diffraction degradation at f16 than Canon.

Note the strong vignetting on the Canon f1.4 USM when used wide open. Less visible on the Sigma.

Vignetting is becoming invisible at f4.0 for the Canon, at f2.8 for Sigma.

Minimal focussing distance. Sharpness and magnification:

the minimal focus distance for the Canon is 0.45 m, for the Sigma it is at 0.4 m, so a bigger magnification is possible.

Another set of images, both showing the magnification comparison, and a crop showing sharpness with different apertures.
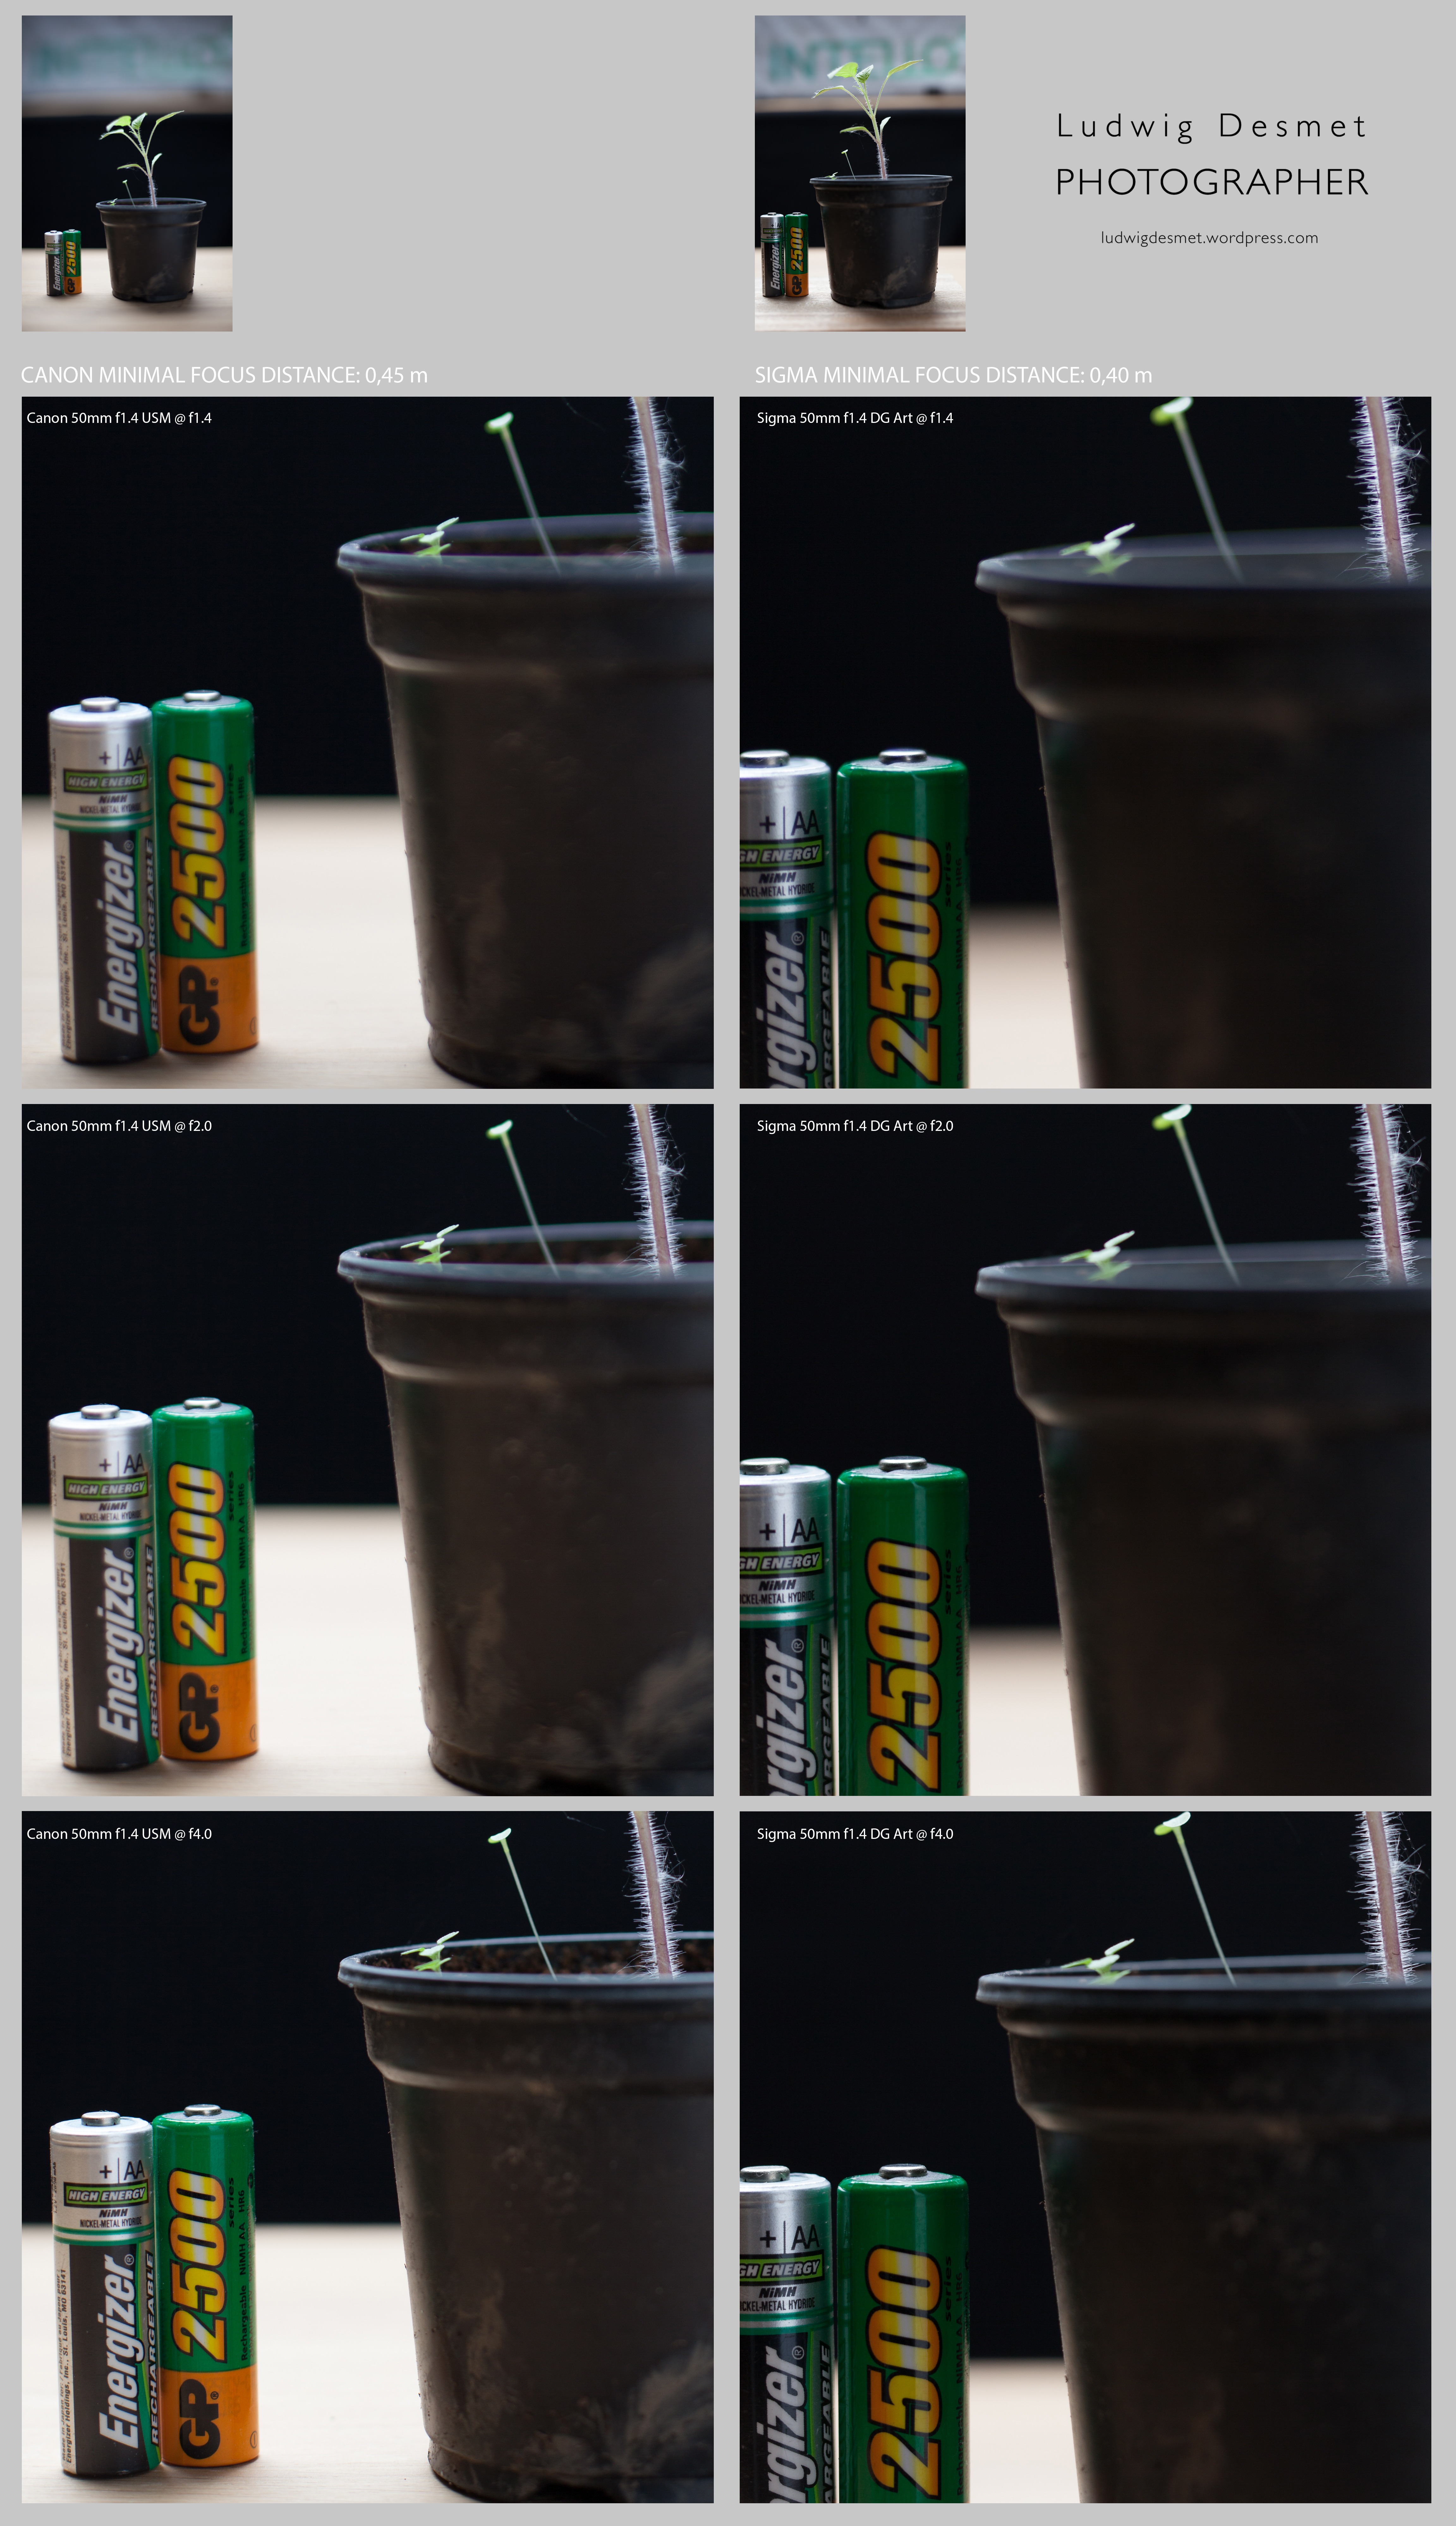
Sigma vs Canon 50mmtest-minfocus

my observations:

similar as previous test, very weak performance at the image edge for Canon, at least one stop better sharpness for the Sigma in both center and edge.

The Sigma lens has however more problems with purple fringing when used wide open (note the hairs on the plant stem). This reminds me of the ‘quick’n dirty 85mm lens test’ I did a couple of years ago, where similar fringing problems where appearing with the Sigma 85 mm f1.4

Chromatic Aberration and color fringe:

I remember from the previous test that the Canon proved horrible in the shots with the branches agains bright background. Let’s see what the Sigma does in comparison. I had no clear sky as the previous time today, but I kind of see the same things happening here.
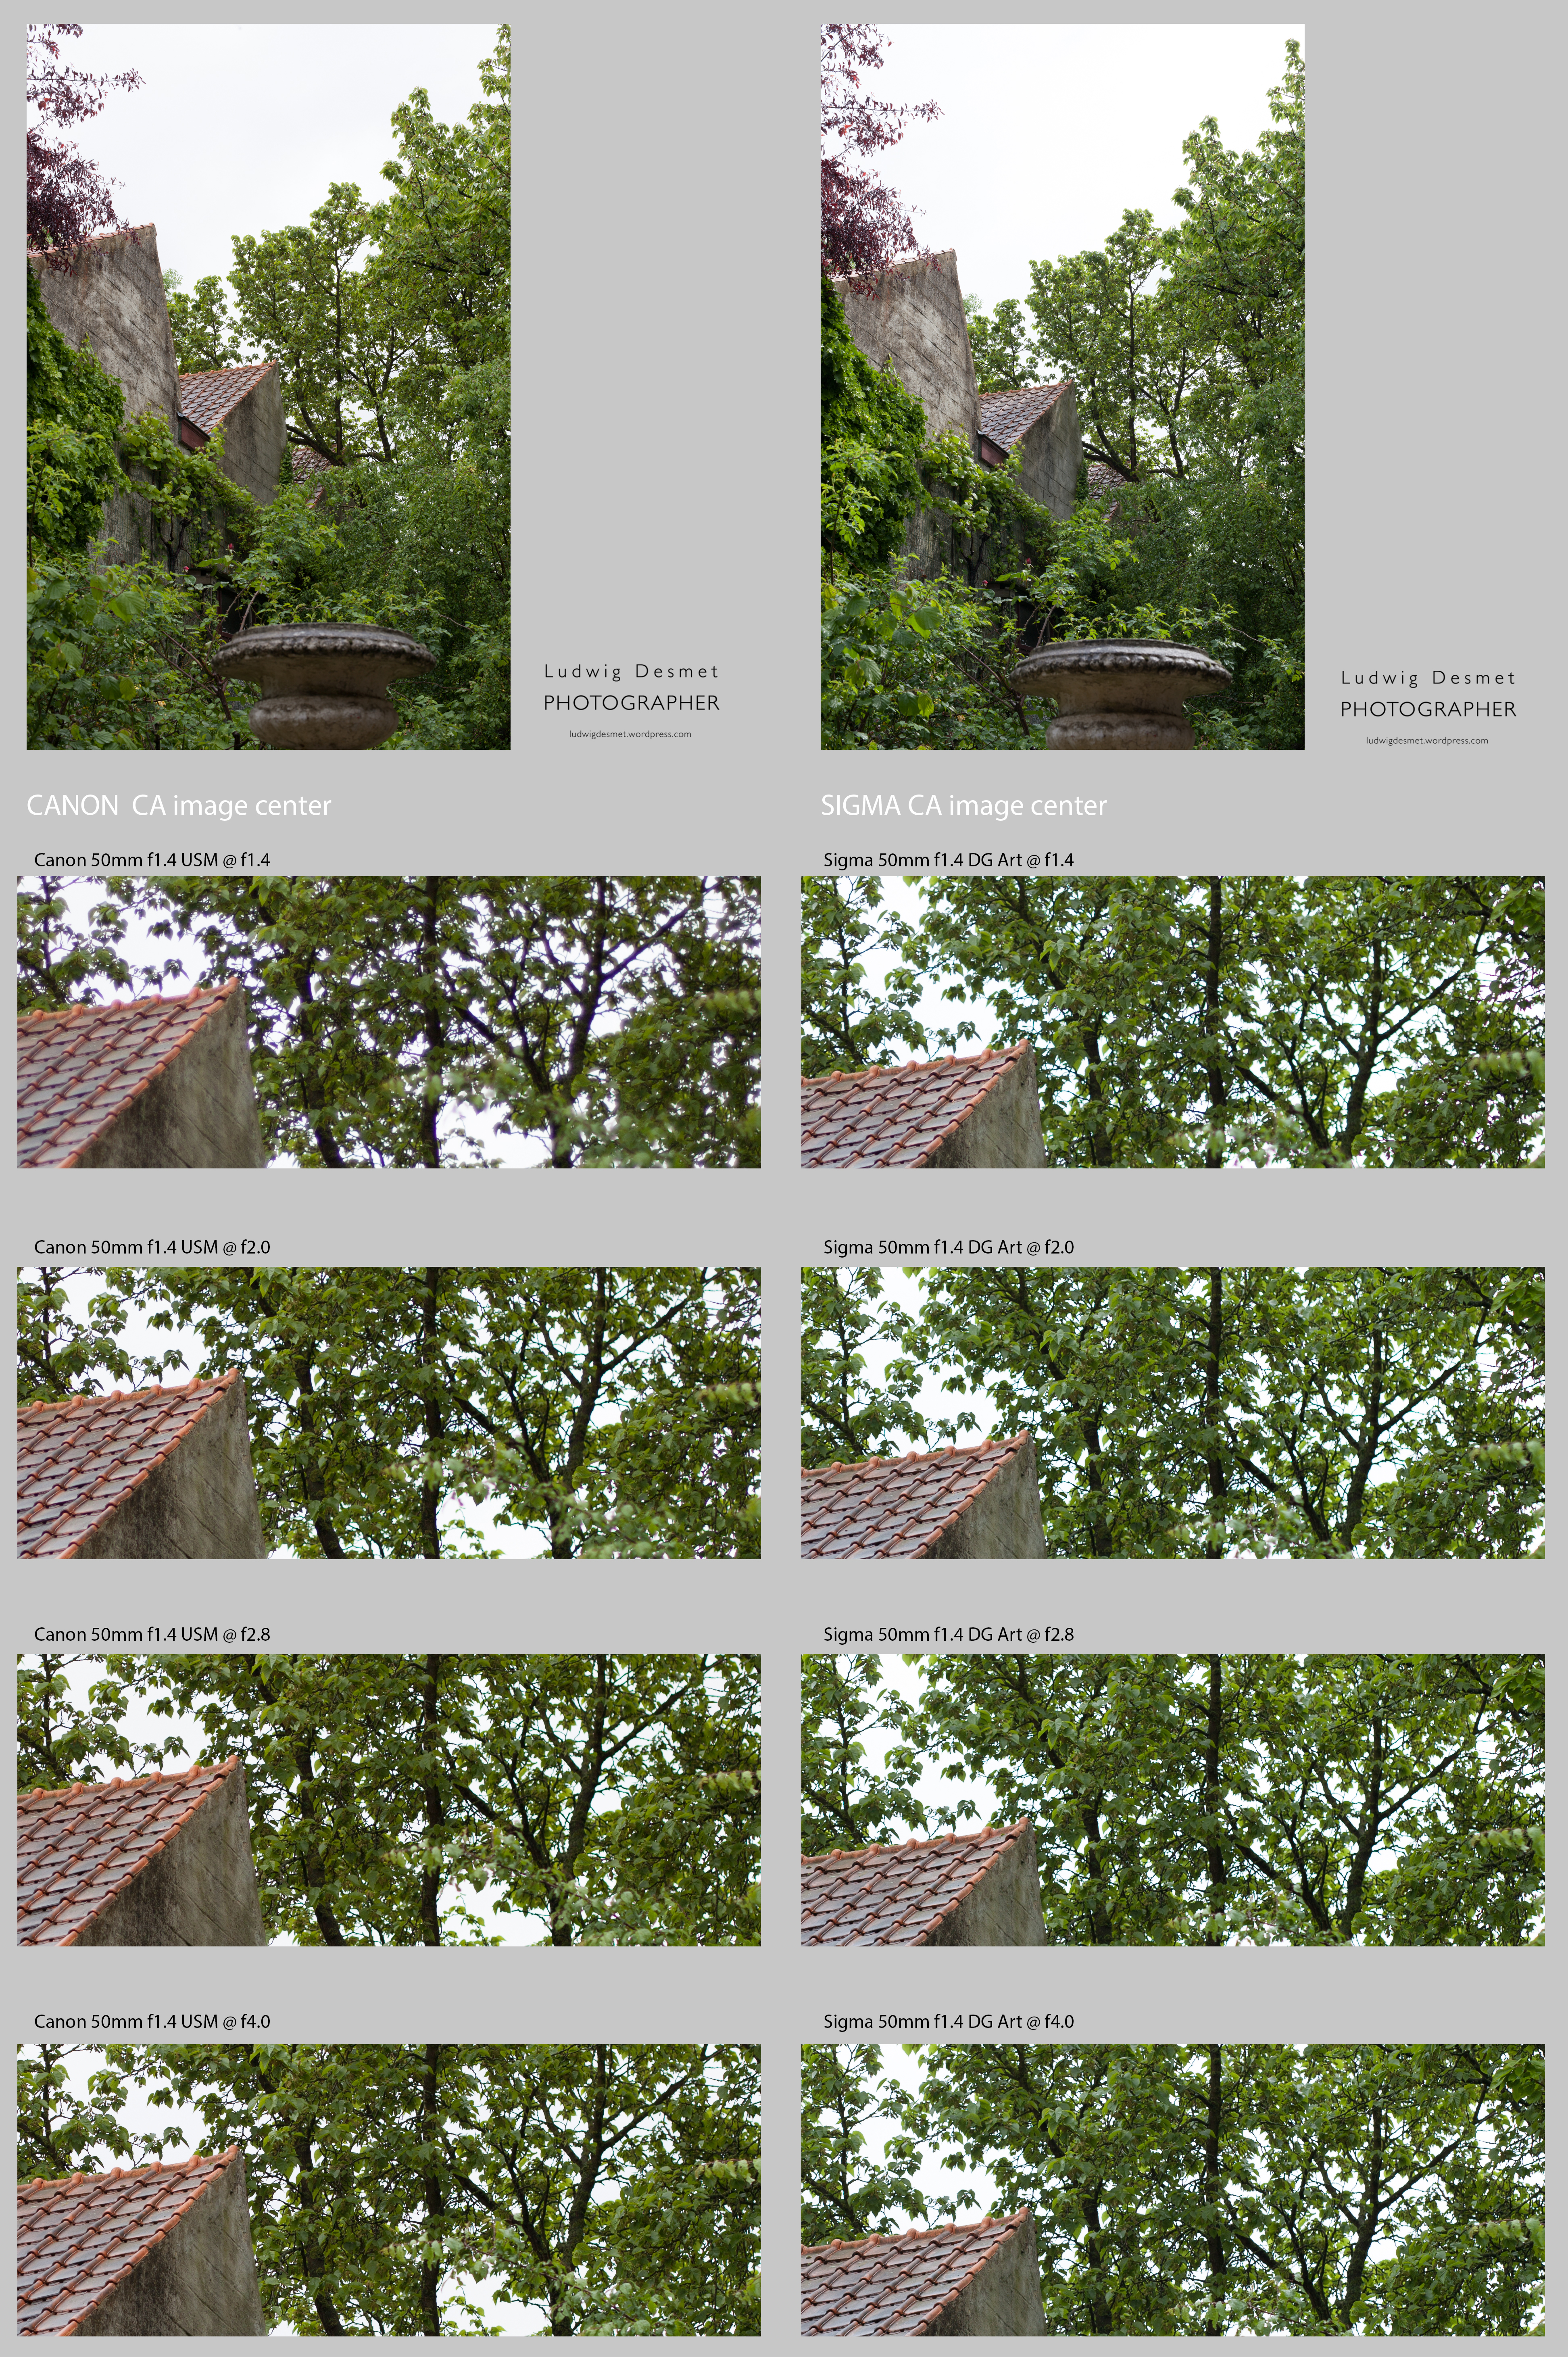
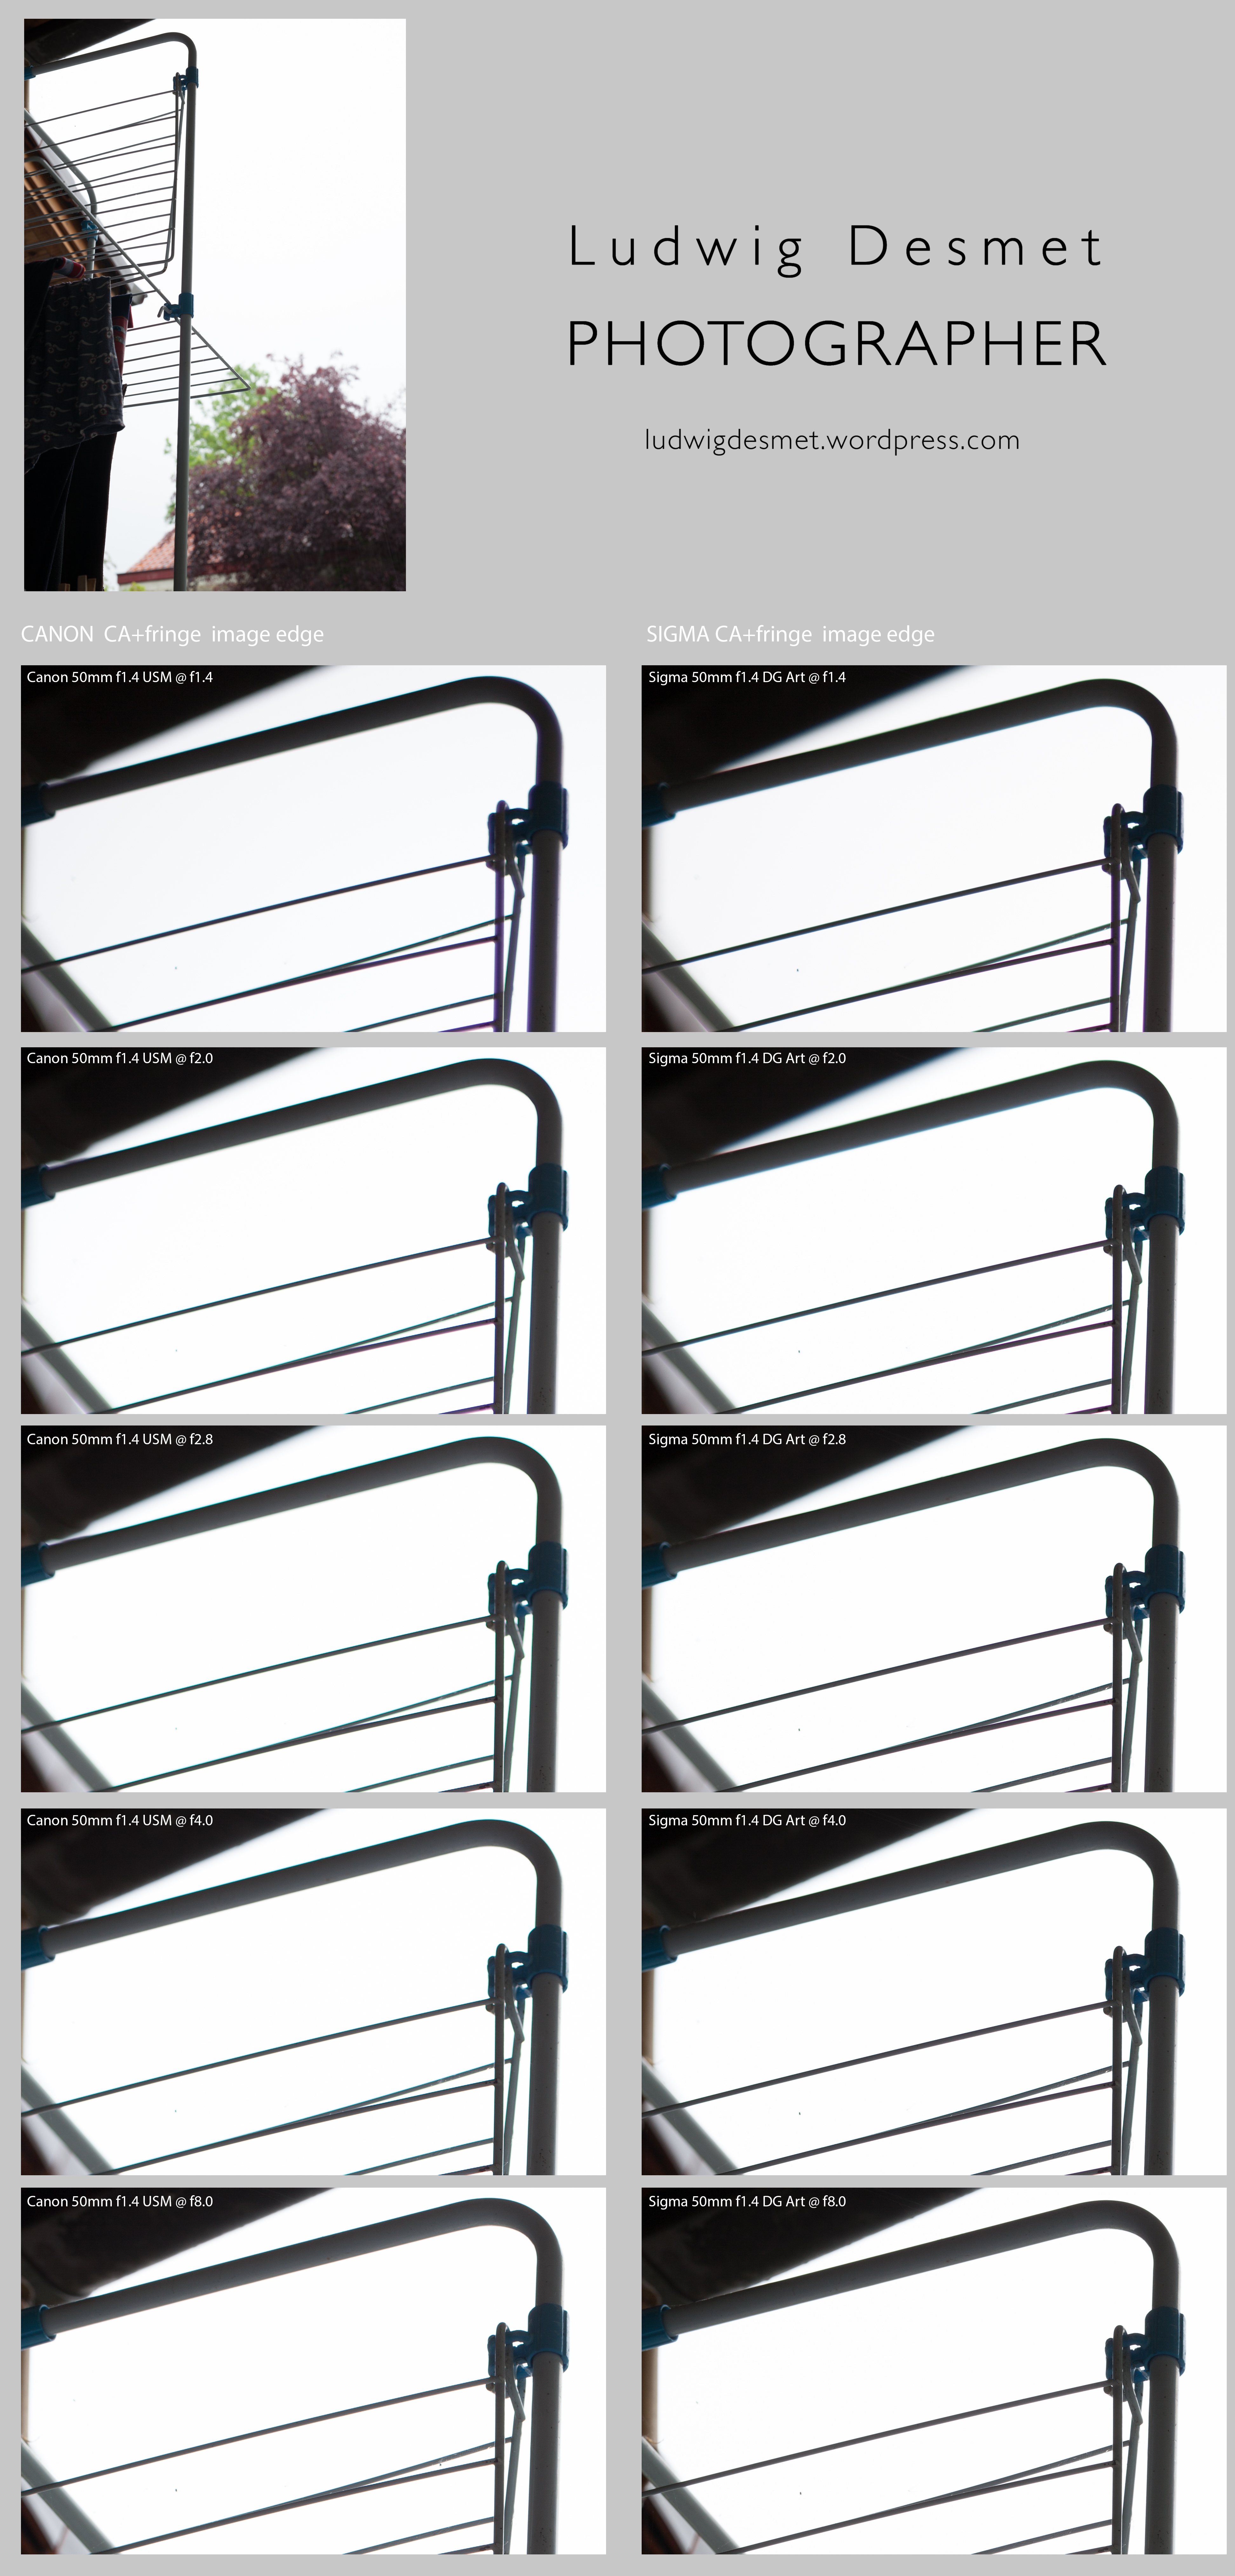
Sigma vs Canon 50mmtest-CA center

Sigma vs Canon 50mmtest-CA edge

The Canon f1.4 USM suffers from severe fringing in high contrast areas, when used wide open. (strange that this phenomenon did not show in the plant close up) This is even apparent in live view, making it hard to focus correctly. When stopping down to 2.0, this greatly improves, and then we see similar things in both lenses, the Sigma not noticeably performing better in this aspect, showing purple fringing in front of the focus area, green fringing behind the focus plane.

In both examples in this test however (overcast sky, dull weather) I have noticed very little CA in both lenses, a little bit of cyan-orange at f8.0 in the Canon image close to none in the Sigma. I suppose that in higher contrast situations, that might be worse. (to be confirmed).

Worth noticing in this respect is that the Sigma 50mm Art lens profile is not yet currently available in the standard Lightroom 5.4 upgrade, nor could I find a link to a profile for this lens on the web (may 13, 2014)

Longitudinal CA:

Chromatic aberration that is visible in the unsharp areas in front and behind the sharp area. Not the magenta shift in front of the sharp area, the green shift behind. Both images taken at f2.0. Remarkably higher in the Canon. Note the big difference in sharpness and contrast in the sharp areas between the two of them. Best viewed at 100% of course.
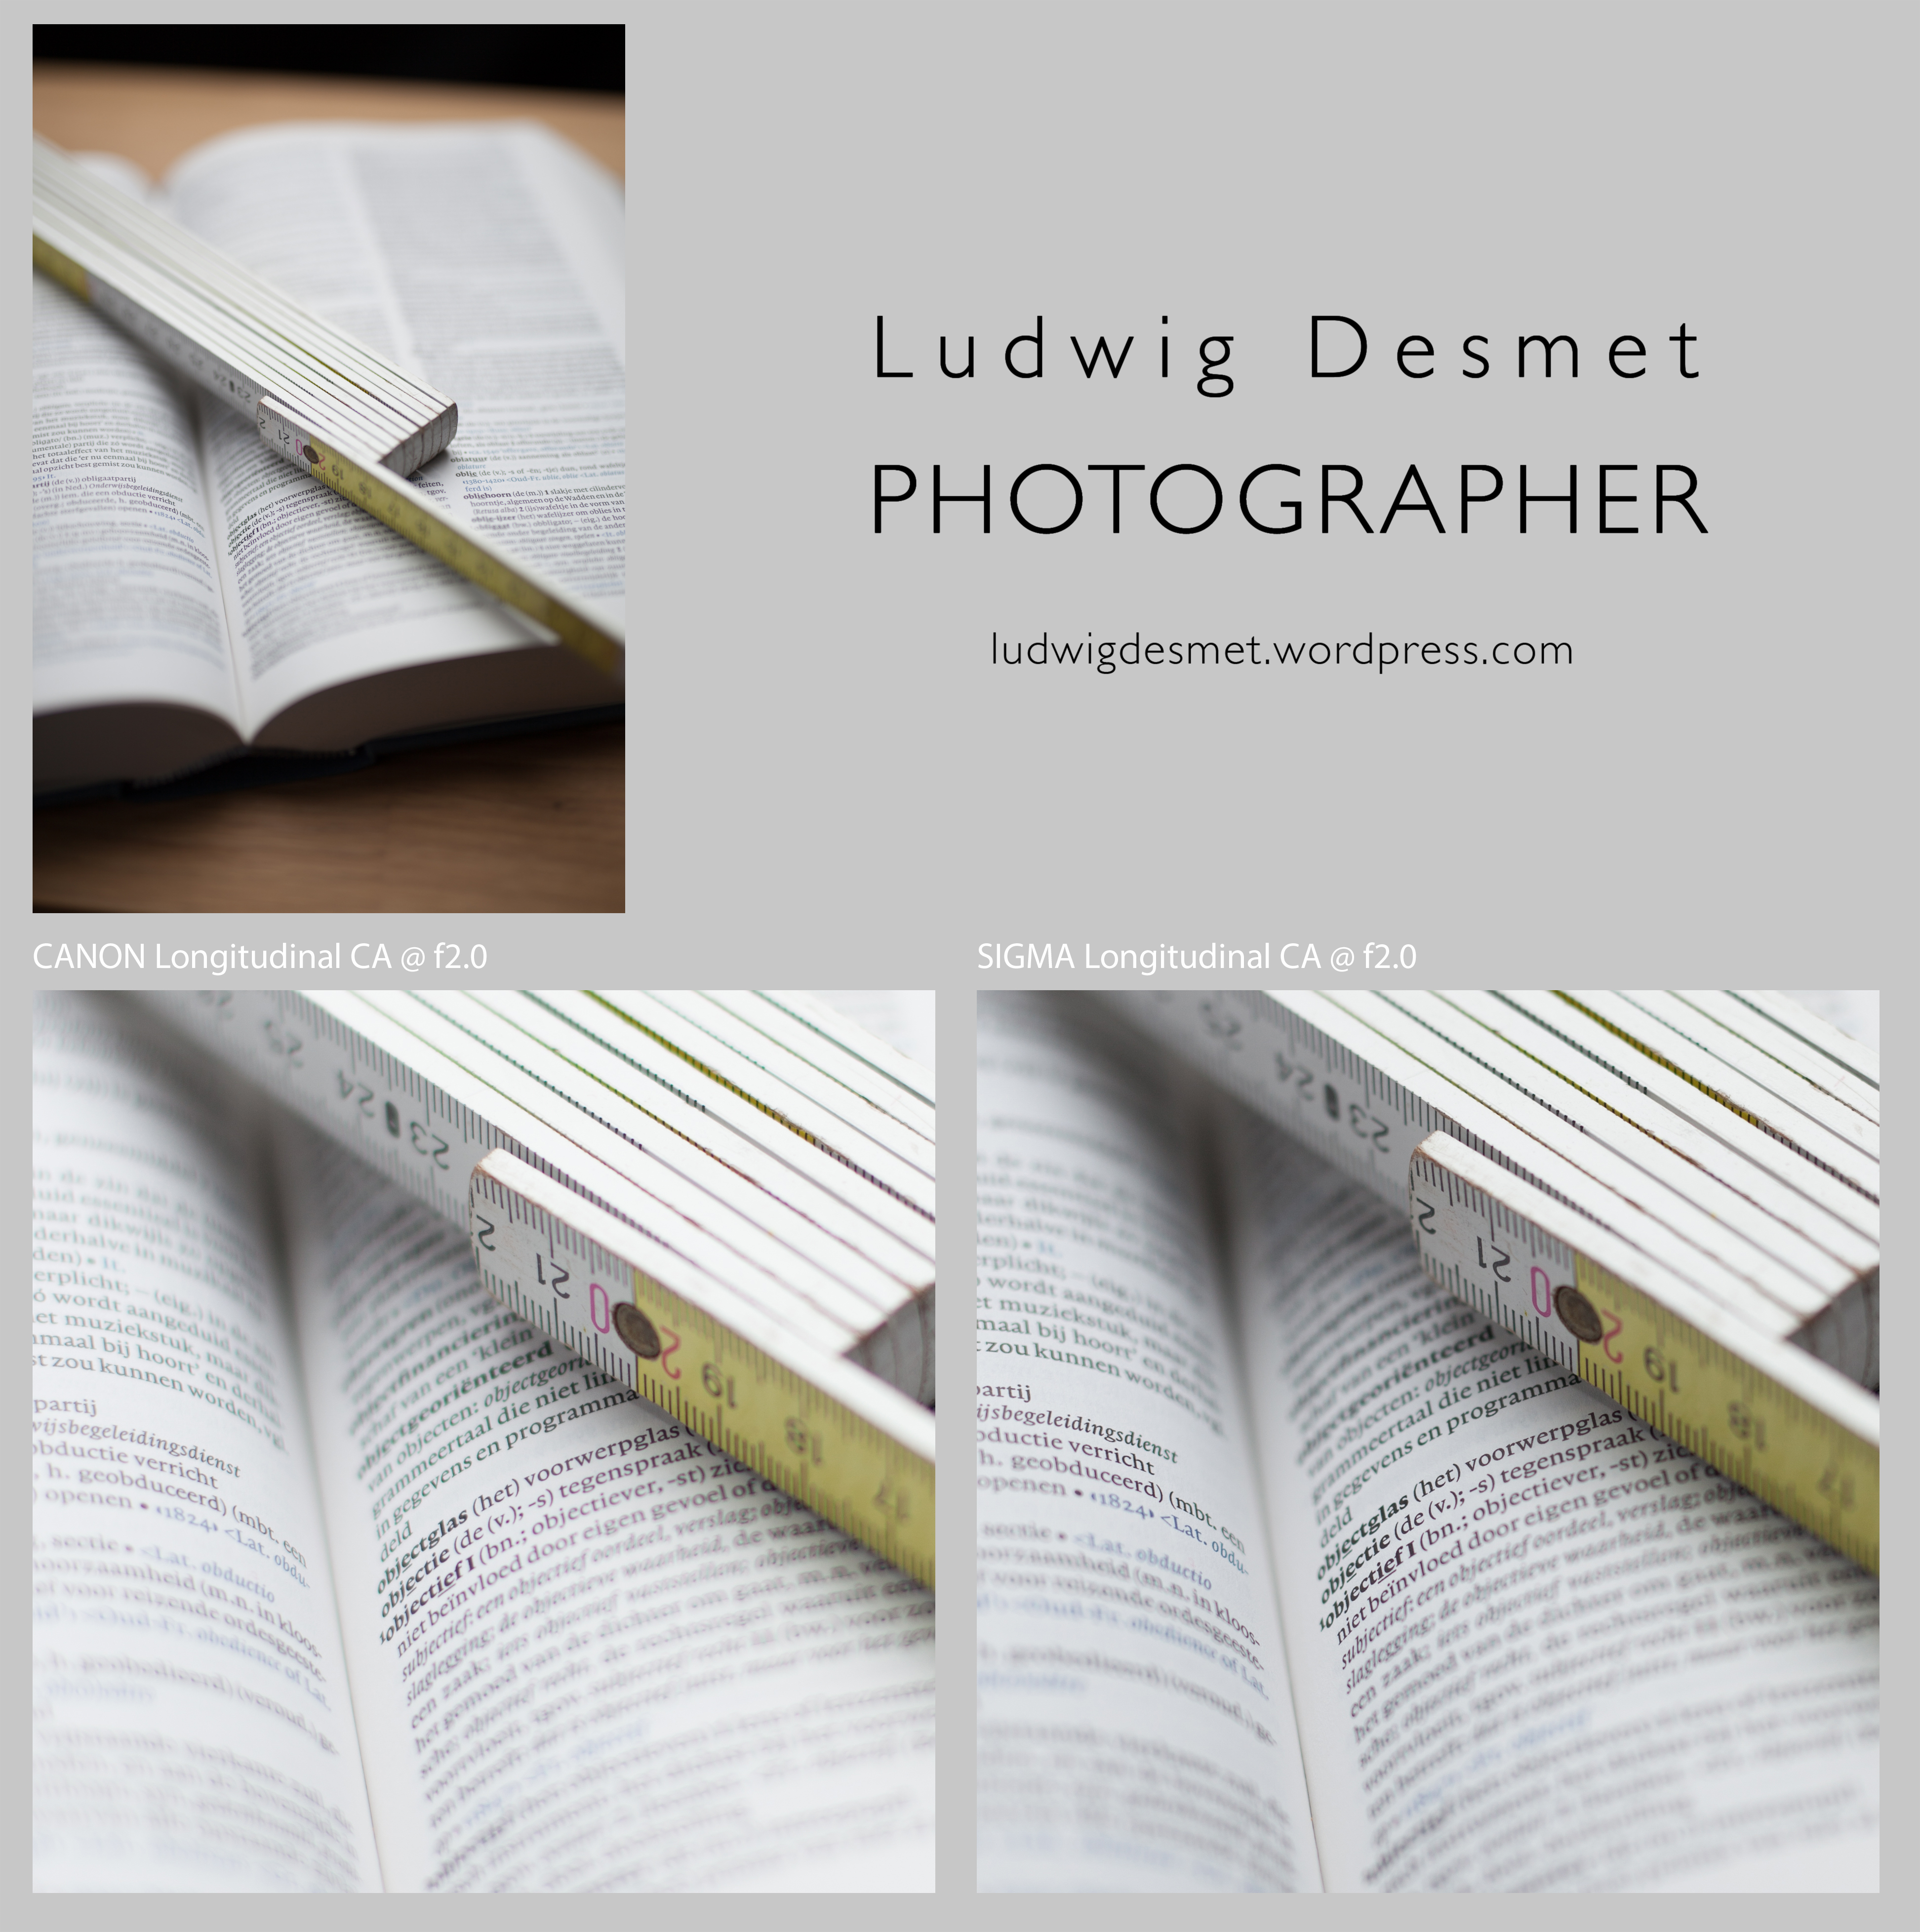
Sigma vs Canon Longitudinal CA

Flare:

Canon to the left, Sigma to the right.
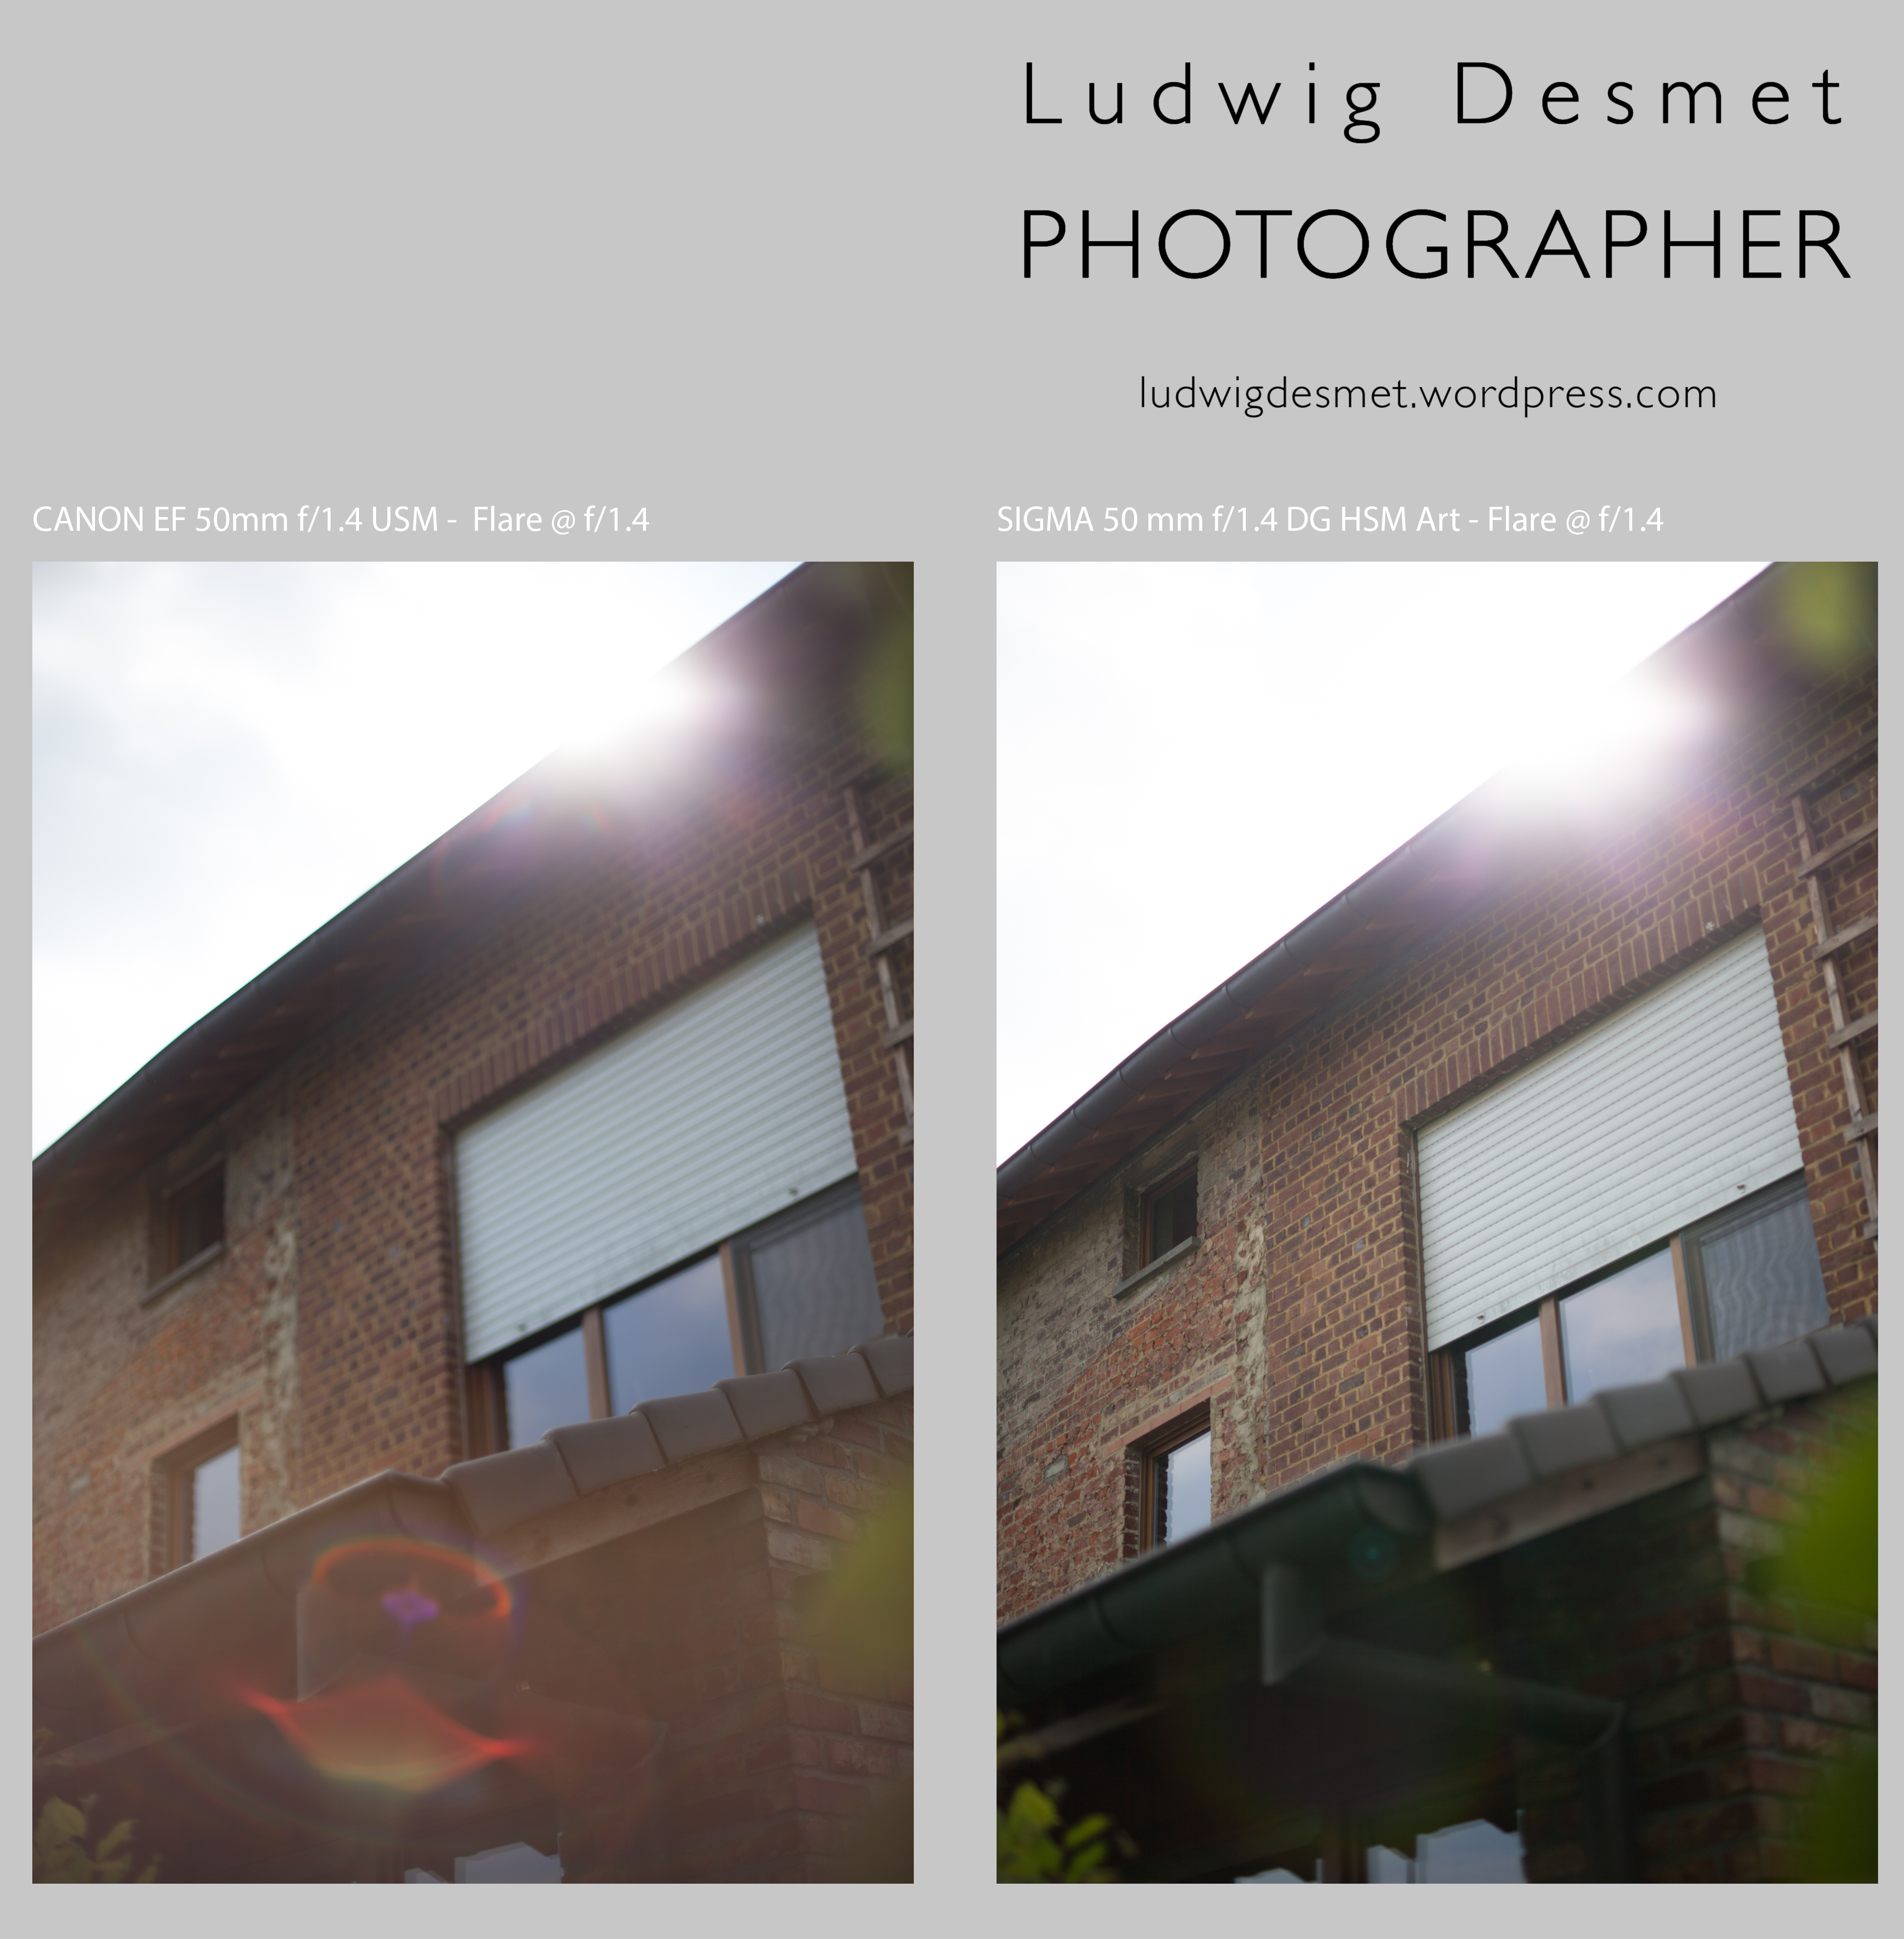
Sigma vs Canon 50mmtest-Flare

My observations: Do I really need to? It’s obvious I guess.

Bokeh:

Canon to the left, Sigma to the right. I think Sigma’s bokeh is softer and smoother. In the Canon unsharpness, there is still some structure and noise. Not 1/1 images but big enough to analyze.

Sigma vs Canon 50mmtest-Bokeh

Thank you for reading, I think I will keep my Sigma, and trade on the Canon.

You are welcome to share this comparative review, I take no responsibilities of any kind 😉

come back again for some real world image samples of this lens in my shoots!

best,

Ludwig
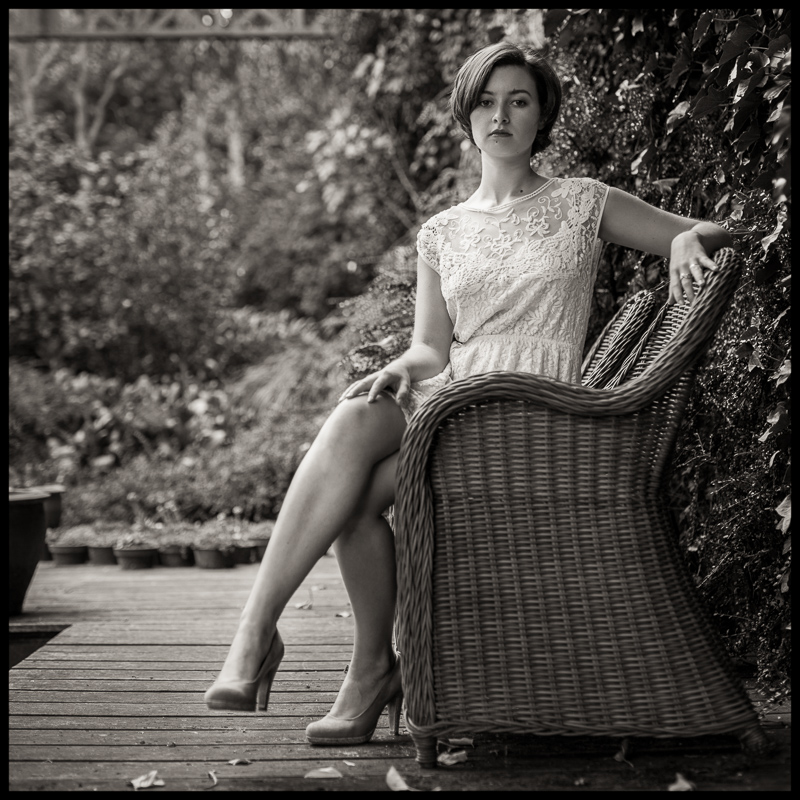
Anna at the Mansion – Part I, the Salon. NSFW

beauty, erotic, Personal Pictures

Hi,

I had another shoot at the mansion some weeks ago. Anna is a international nude model, and from time to time she is working in Belgium for a couple of days. I had the possibility to work with her for a short day in Ronse. We did a shoot at the mansion before noon, had a break at my place, then had a second shoot in what I want to call ‘the garden of eden’, a new location I discovered lately, in Ronse as well. I will show you the results of this cooperation in multiple posts. First part is called the Salon, one of the bigger pieces of the Mansion, on the ground floor, and now almost renovated completely. The owners of the house are slowly gathering furniture that fits together with the interior, and we were lucky to find this lovely small bench.

A couple of weeks ago I decided to buy some more gear, and I wanted to further expand my low-light possibilities. I have had a hard time making sharp images several times in these ‘mansion shoots’ due to low light conditions. The lenses I have are good, are having the benefits of wide open apertures, but none of them features image stabilization. I have decided to try on the Canon 100 mm f2,8 L IS for this reason. It is one stop slower than my 135 mm, but it provides 4 stop image stabilization, so I gain about 3 stops in shutter speed, provided that my subject is not moving. I have managed to keep Anna stay in place. 😀 Another benefit from this lens is its macro capability, so no more struggling with minimal focus distances. This lens focuses so close I can get a single eye filling the frame.

I think you’ll be able to figure out which images are with 100 mm lens, all the others are wide angle, with my 24 mm.

About the NSFW in the title, If you are offended by the nudity in my images, I’m sorry I didn’t mean to, but I think it is tasteful and beautiful, so I will very probably post more (covered) nude images in the near future.

LudwigDesmet_AnnaO-7985

LudwigDesmet_AnnaO-

LudwigDesmet_AnnaO-8022

LudwigDesmet_AnnaO-8028

LudwigDesmet_AnnaO-8036

LudwigDesmet_AnnaO-8051

LudwigDesmet_AnnaO-8064

LudwigDesmet_AnnaO-8650

LudwigDesmet_AnnaO-8652

LudwigDesmet_AnnaO-8656

LudwigDesmet_AnnaO-8662

I hope you liked the images. There’s more with Anna to come soon.

best, Ludwig

Going commercial? Kim at the Mansion – color.

beauty, Personal Pictures

Hi there,

I’ve been wondering for a while now if I should start promoting my model shoots commercially. Yes I have done some shoots that have made me gain some money from them, but mostly my ‘natural beauty’ shoots are initiated by myself. I have the location, I look for a model, we get an agreement and an appointment, and we get together.

We discuss shoot contents over some moodboards I have at hand, and I shoot under my own command.

That last sentence is the most important reason for me not to start too fast shooting commercially. (By commercial, I mean privately ordered beauty shoots, not publicity work or fashion or anything else) The fact that I can decide on the style, the make up, the model and the location is a big plus for creating my own style. Whenever I’m working in any kind of assigned shoot, I’m no longer the sole decision maker, and I’m afraid that that could interfere with what I call my own personal, slowly getting defined style. As soon as the model starts interfering, and even saying “hey, but I would like an image like you made with that other girl” I’m not longer the boss of my shoots, and I will no longer be able to decide on anything I want (as far as I’m not interfering with the limits of my model of course).

On the other hand, a little extra money from my shoots would be more than welcome. I have been investing a lot in equipment and time lately, and I would like to have some kind of ‘return on investment’ in the months to come. A problem with that is that demand for the kind of shoots I do (or even a regular prom shoot session) is virtually inexistent here in Belgium, so I’ll have to ‘convince’ my customer potential that a shoot with me, and the resulting images are worthwhile.

Anyone need a gift for mother’s day? Shoot plus pillow book maybe?

LudwigDesmet_KimT-Pillowbook

some more results from the shoot with Kim. Color images this time. Enjoy!

LudwigDesmet_kim-5431

LudwigDesmet_Kim-5474

LudwigDesmet_Kim-5634

LudwigDesmet_Kim-5792

LudwigDesmet_Kim-5804

LudwigDesmet_Kim-5507

Teaching architectural photography

architecture, Personal Pictures

Hello there,

A post about my teaching job at Kisp this time.

KISP is a evening classes institute giving adults the possibility to change careers, enrich themselves with language courses, learn how to cook vegetarian meals, meals with Belgian Beer or learn how to execute bike repairs, amongst a ton of other things. Photography classes are immensely popular at our institute, so we count over 1000 students currently following one or more semesters of the photography program, a program that exists in 10 different classes, normally running over a 5 year period.

I have been teaching photography classes for 3 years now, and I am currently teaching 4 classes, two Lightroom development classes, two architectural photography classes.

Teaching is a good way of fine tuning and deepening your own knowledge on the subject, and I admit I have learnt a lot in preparing my courses over the last 4 months.

It has been a joy to see my students discover the multiple facets of architectural photography, something that a lot of them at first would classify as a boring and dull subject in photography. Architectural photography is one of the ‘advanced’ segments, so these students have done at least 4 preparatory classes.

We are not blessed with a lot of rich and blooming architecture here in Belgium, so it is quite a challenge to find interesting building projects that are accessible to a group of students. Especially since we arrive only at a time that most office desks close down for the day. We usually start at 6:30 pm and work trough the night, till 22:00 hrs. Often we have to deal with security people to get access to a building, mostly we are very welcome.

Unfortunately I cannot post work of others, but i would like to show you some of the pictures I took in between tutoring and solving technical questions from my students.

They are often not perfect because I carry very little equipment myself on these hands-on evening classes. I often don’t take a tripod with me and only a single lens, or maybe two.

Subjects tackled so far: building in it’s environment, perspectives, composition and equilibrating elements in your image, light and lighting. This is only a very small selection, there is some more on my facebook account here: Album architectural photography classes

LudwigDesmet_Kisp_archi-5096

LudwigDesmet_Kisp_archi-5057

LudwigDesmet_Kisp_archi-5081

LudwigDesmet_Kisp_archi-5368

LudwigDesmet_Kisp_archi-5379

LudwigDesmet_Kisp_archi-6658

LudwigDesmet_Kisp_archi-6689

LudwigDesmet_Kisp_archi-8411

LudwigDesmet_Kisp_archi-8416

LudwigDesmet_Kisp_archi-8498

LudwigDesmet_Kisp_archi-8558

LudwigDesmet_Kisp_archi-8548

thank you for reading, see you soon,

Ludwig

Nude Studio Setup – 1 light

Personal Pictures, personal tips & tricks, Tips and Tricks, Uncategorized

Continuation of my series of ‘portfolio shoot images’ Behind the scene’s.

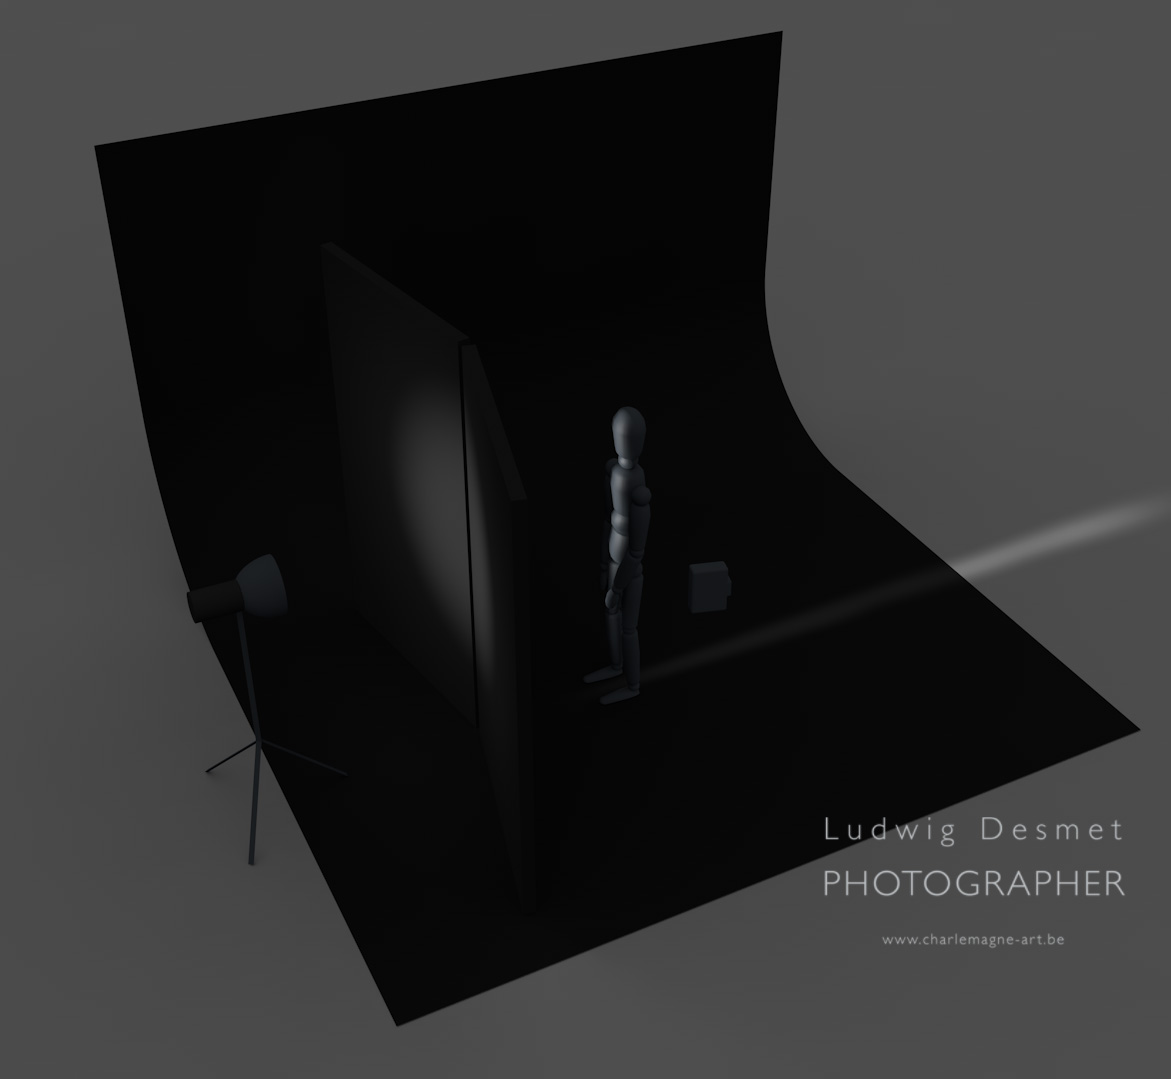
For this setup I used only one studio flash, with reflector.

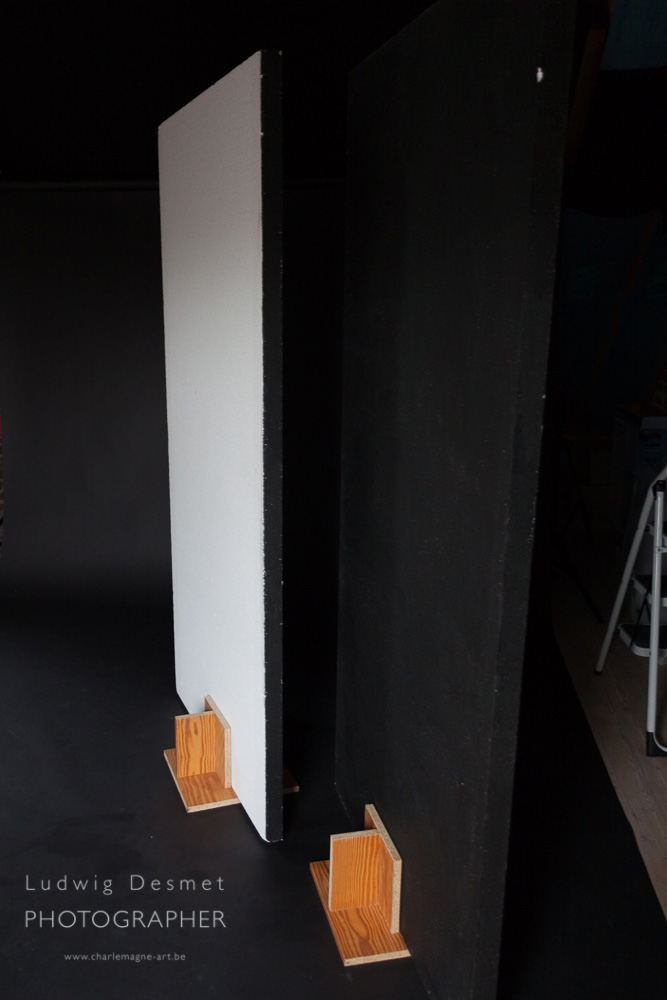
In order to create a really small light bundle, you need to work with solid elements blocking the light.

For this I use some of those huge styrofoam boards (they can be bought in the build supply shops, they are used for insulation, crappy for this purpose, but very handy in studio) of 120x220x6 cm. I paint them black on one side, and around the edges. I made some simple stands from fibre wood panels to hold them upright.

They weigh virtually nothing and are easily stowed away.

here you can see one white side front, one back side front (I pushed exposure a bit here, because they are really nicely black):

LudwigDesmet-studio-6597

So a very simple setup here:

one flashlight on the left, with standard reflector, two styrofoam panels, black side towards the flash (you don’t want light bouncing of the white side, don’t you?)

model standing right in the middle, a little further back. Because the reflector is a quite big light source, you’ll need to put your panels really close to eachother (2 cm apart for instance) and you’ll still have the light spreading out further away from the panels.

Portfolio studio setup2

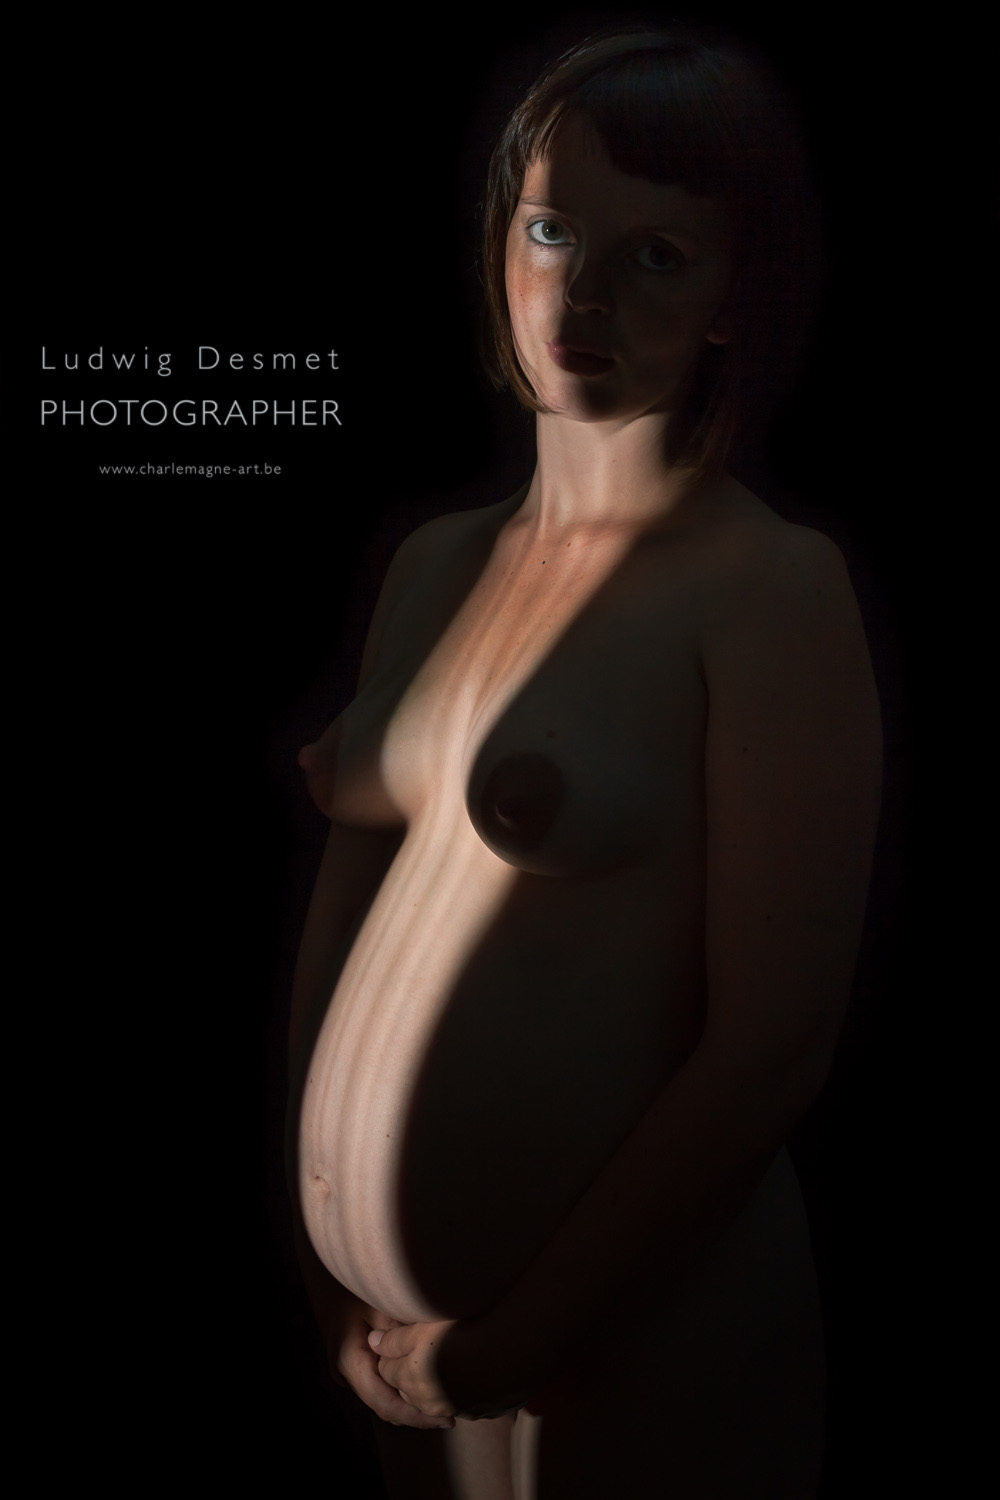
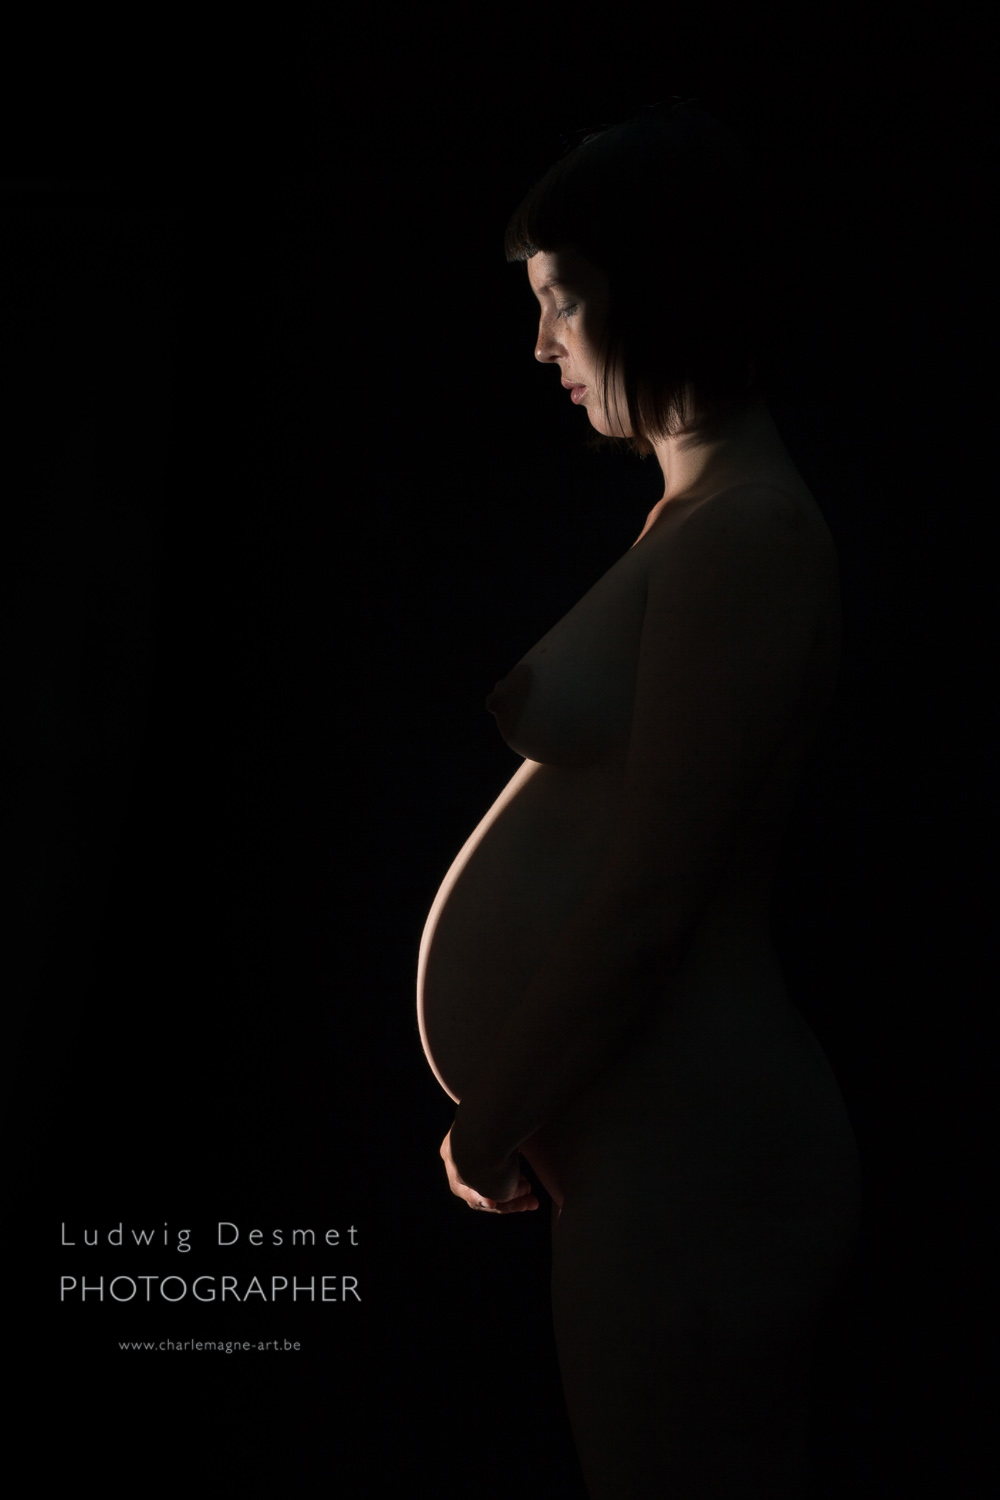
two images with this setup:

LudwigDesmet-studio-080

LudwigDesmet-studio-081

thank you for reading, see you soon for a new post.

Ludwig

Nude Studio Setup – 3 lights

beauty, Personal Pictures, personal tips & tricks, Tips and Tricks

Hi there,

I’m planning on a series of posts with some explanation of the studio setups I’ve used for my portfolio shoots.

Here’s te first one. The model has some massage oil on her body, just very slightly. A slightly colored setup.

Portfolio studio setup

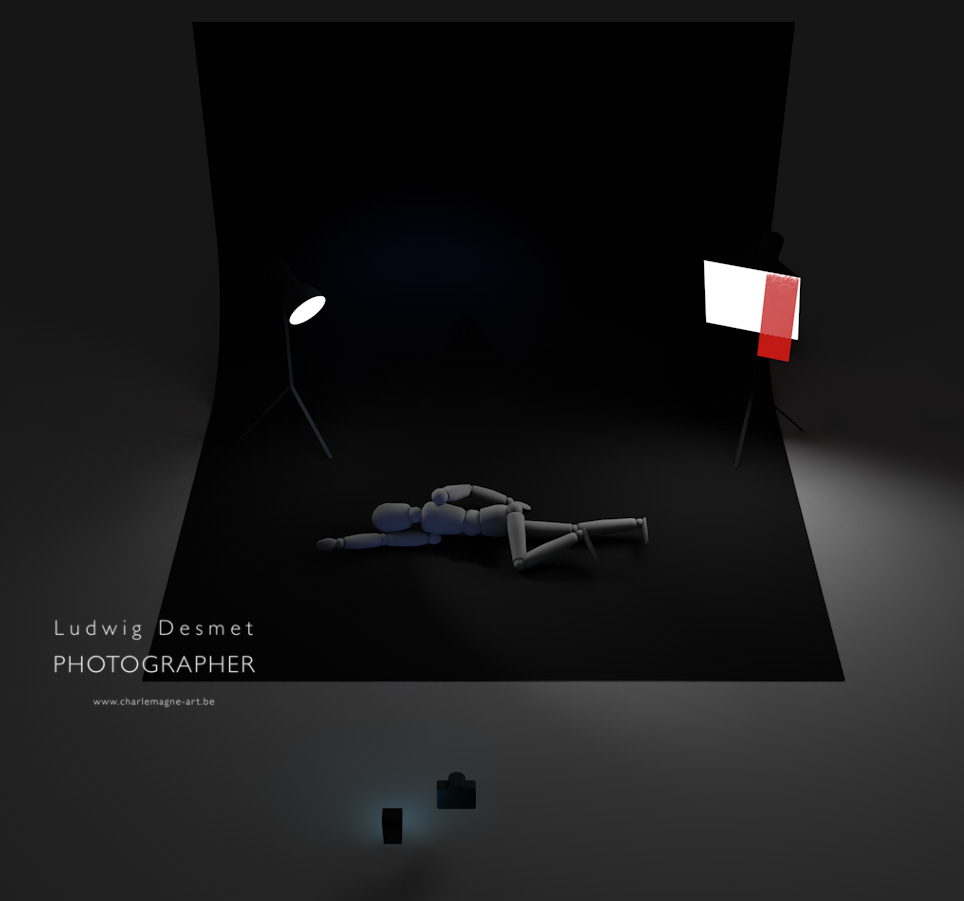
A triple light setup for a body shape portrait.

Model is laying down on a black velvet cloth, which literally absorbs all light. It is positioned in a infinite floor to wall shape.

1. On the left, studio flash with reflector, gridded. Gridded to keep the light from spilling all over in the studio. Reflector for those nice highlights on the body.

2. On the right, studio flash with small softbox (60x60cm) partially covered with a red cloth, for a slight color shift. I discovered that the use thin colored cloth works in a similar way as gels, and it is easy to just move the cloth a little bit (a wooden clothespin works just fine) to have a stronger or weaker effect. I currently work with some kind of very thin colored cloth pieces, like a magician would use. This second flash not as strong as the first one and aimed a little more off the model

3. just next to the camera, I’ve put an additional flash (Speedlite 580), again with a colored cloth in front (blue-ish) to slightly fill in the shaded areas.

Camera is just above the floor (me lying down).

Setup:

Studio setup 1 - Ludwig Desmet

85mm – 1/125th – f3.2

I probably would have been better of aiming for a smaller aperture for larger depth of field, but this is the way it is 😉

hope you’ve found some inspiration here.

see you soon,

Ludwig