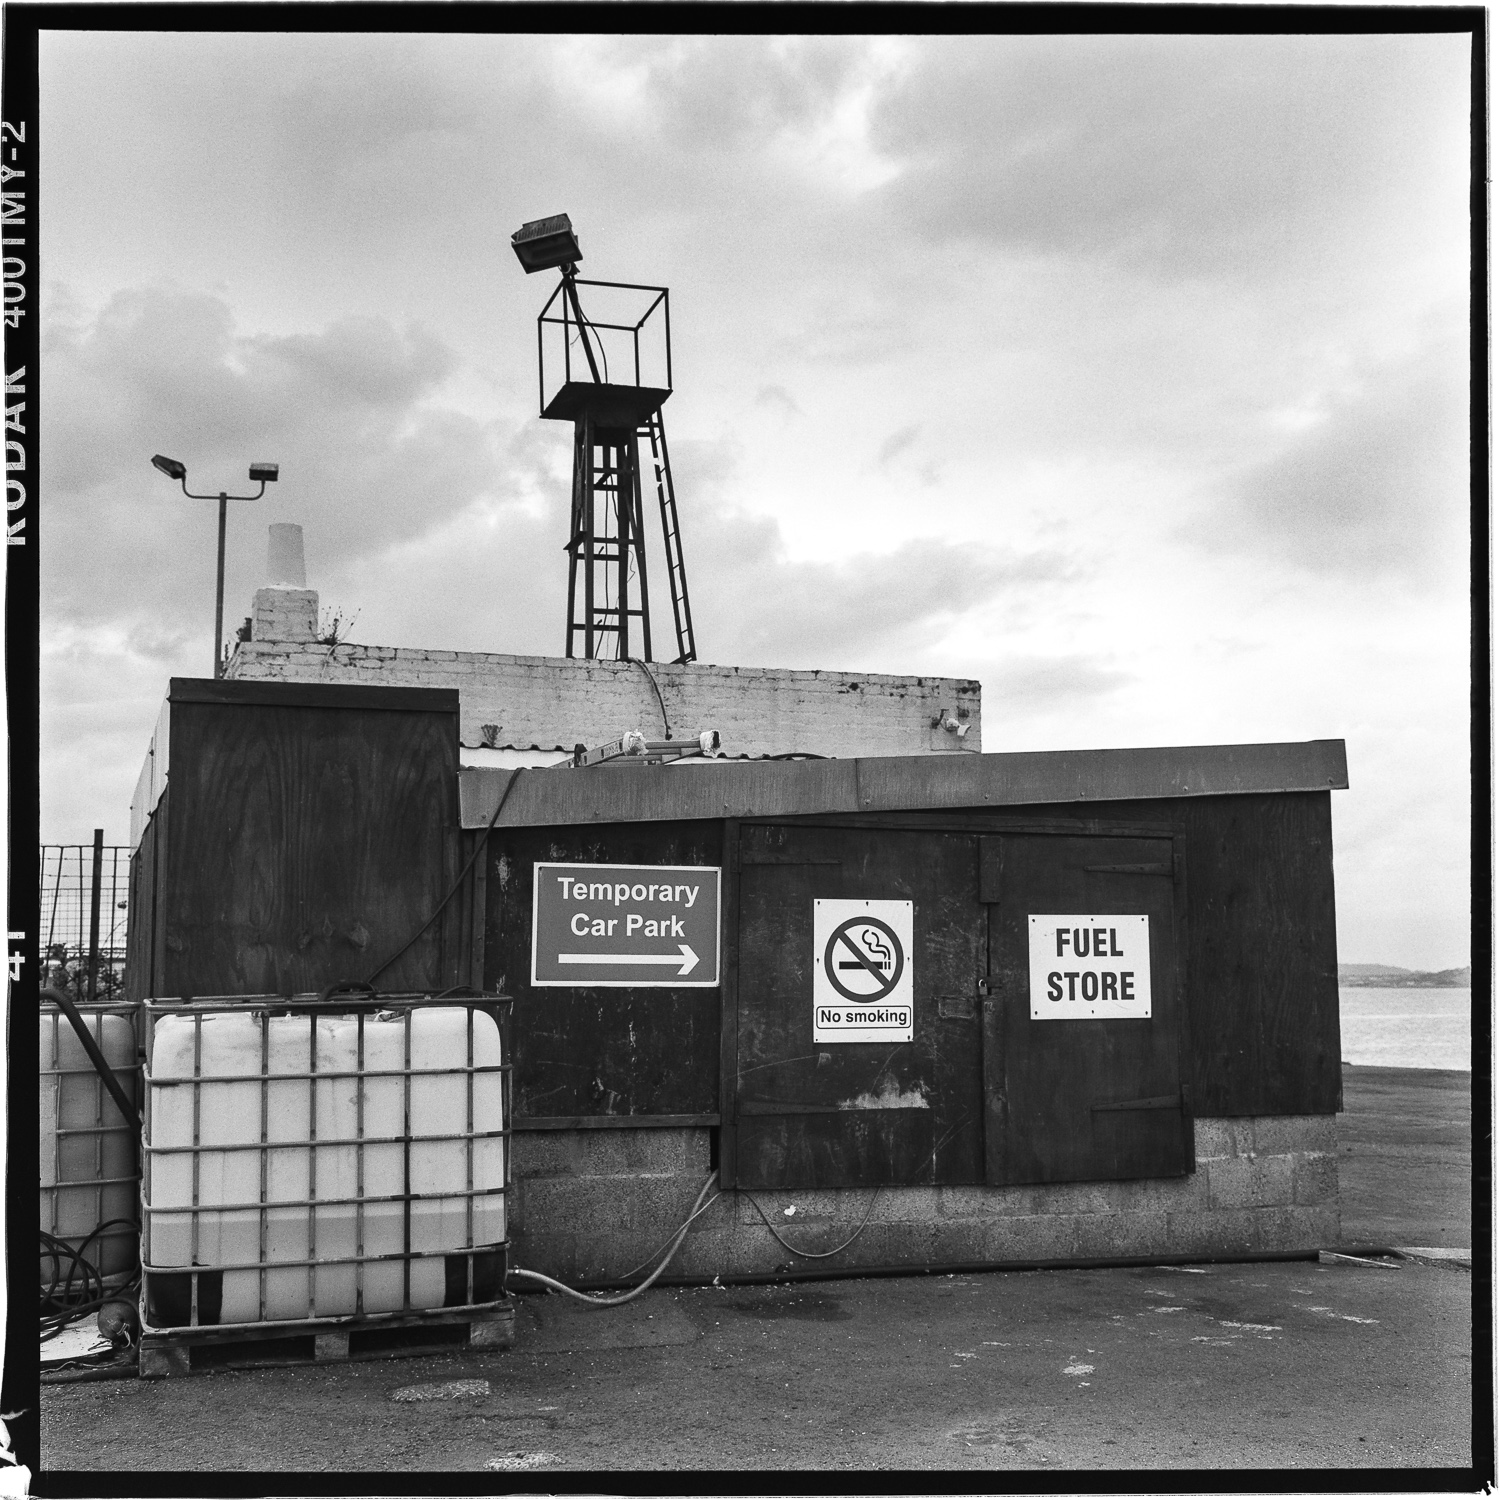
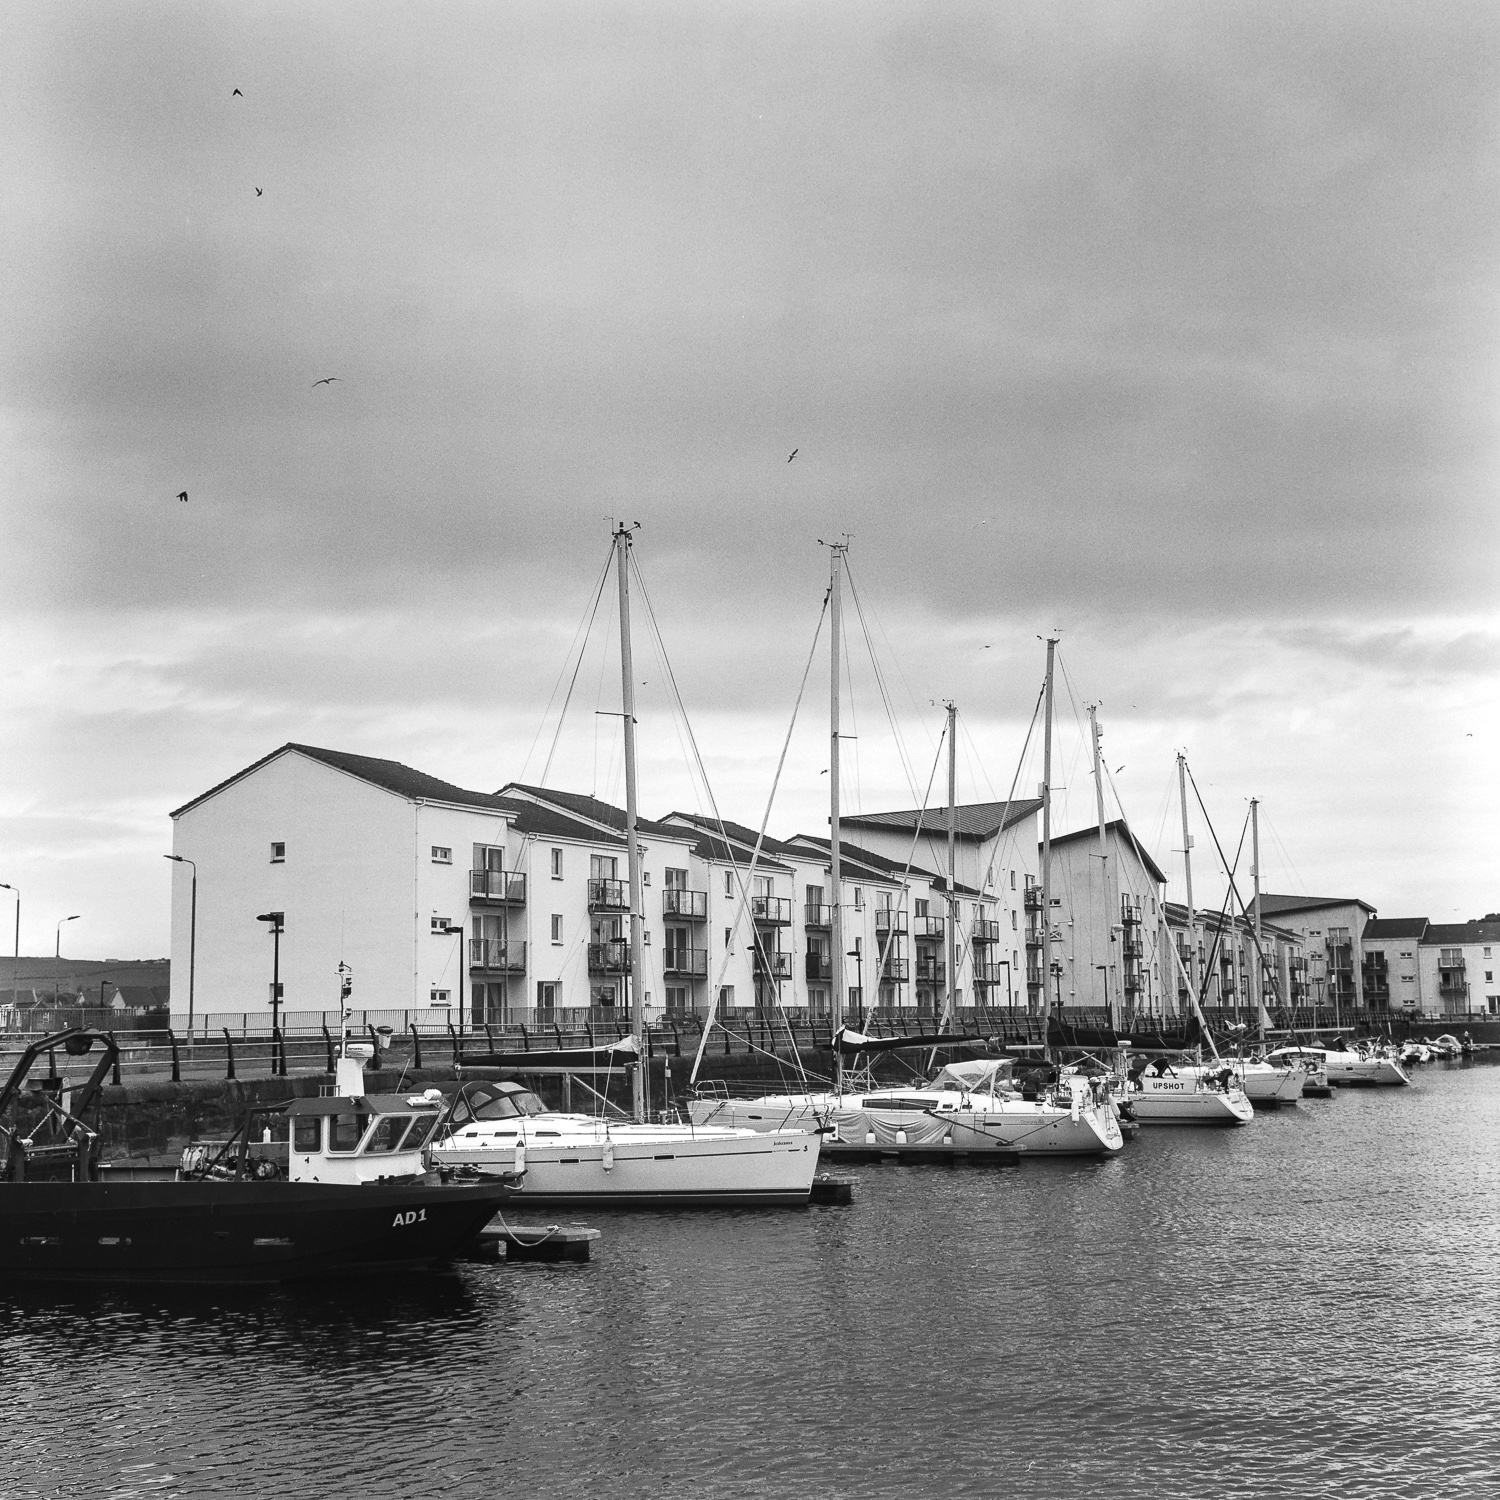
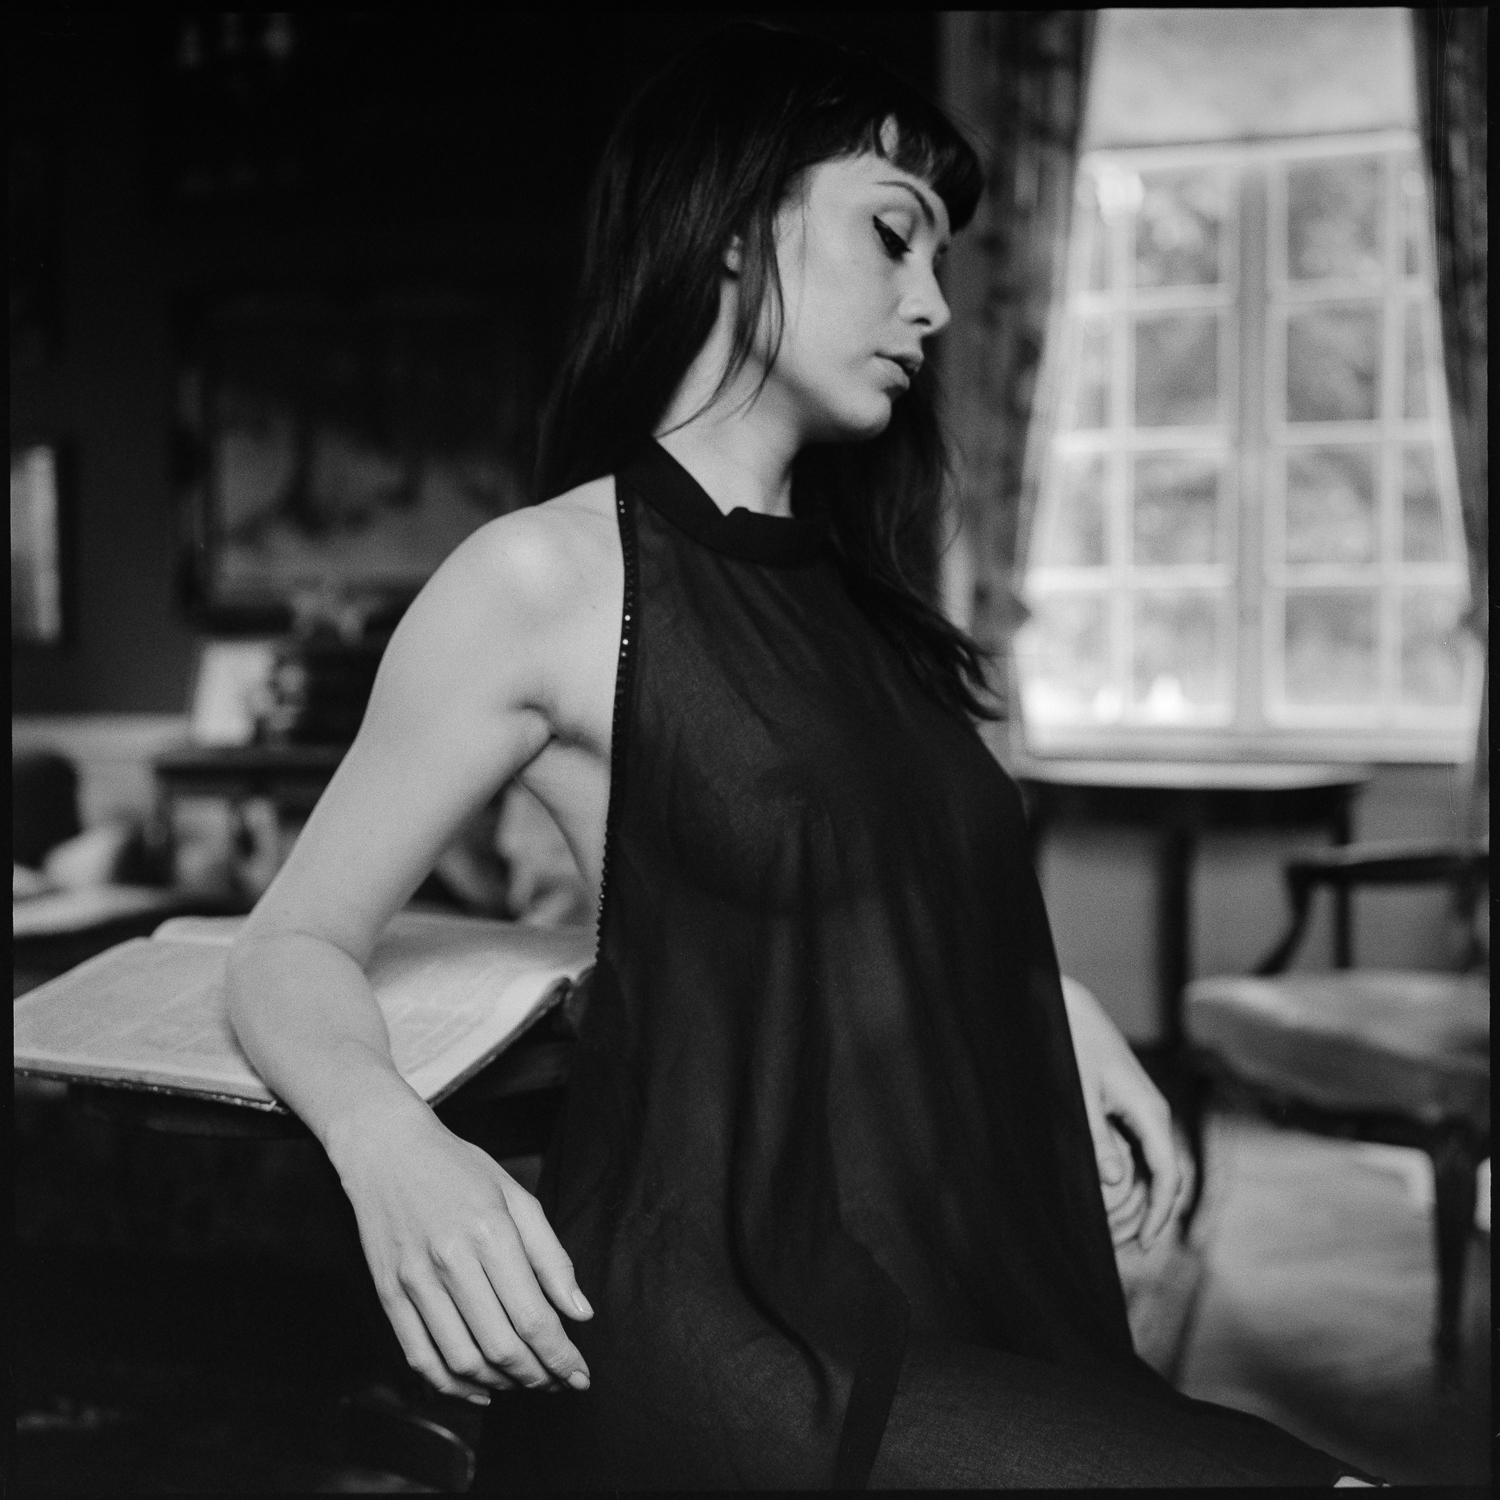
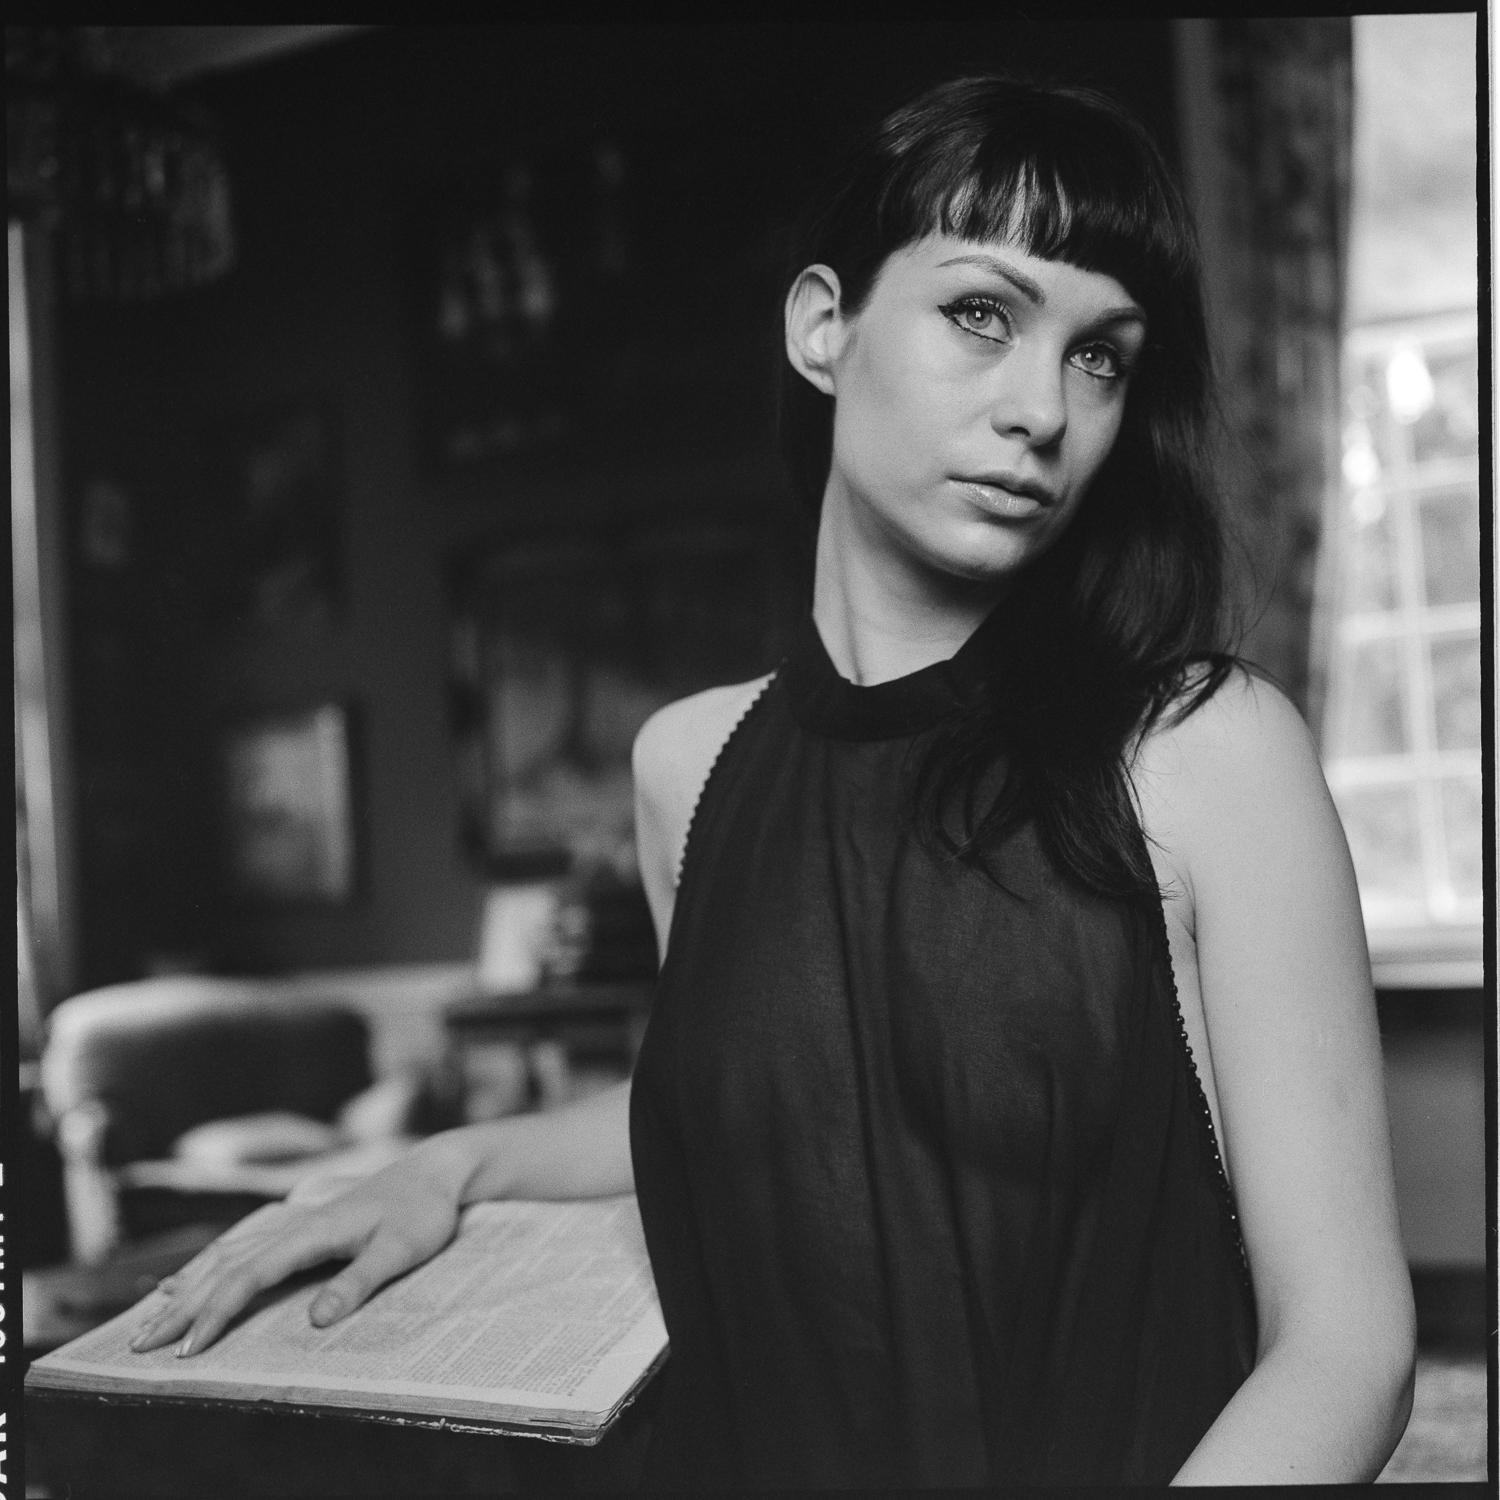
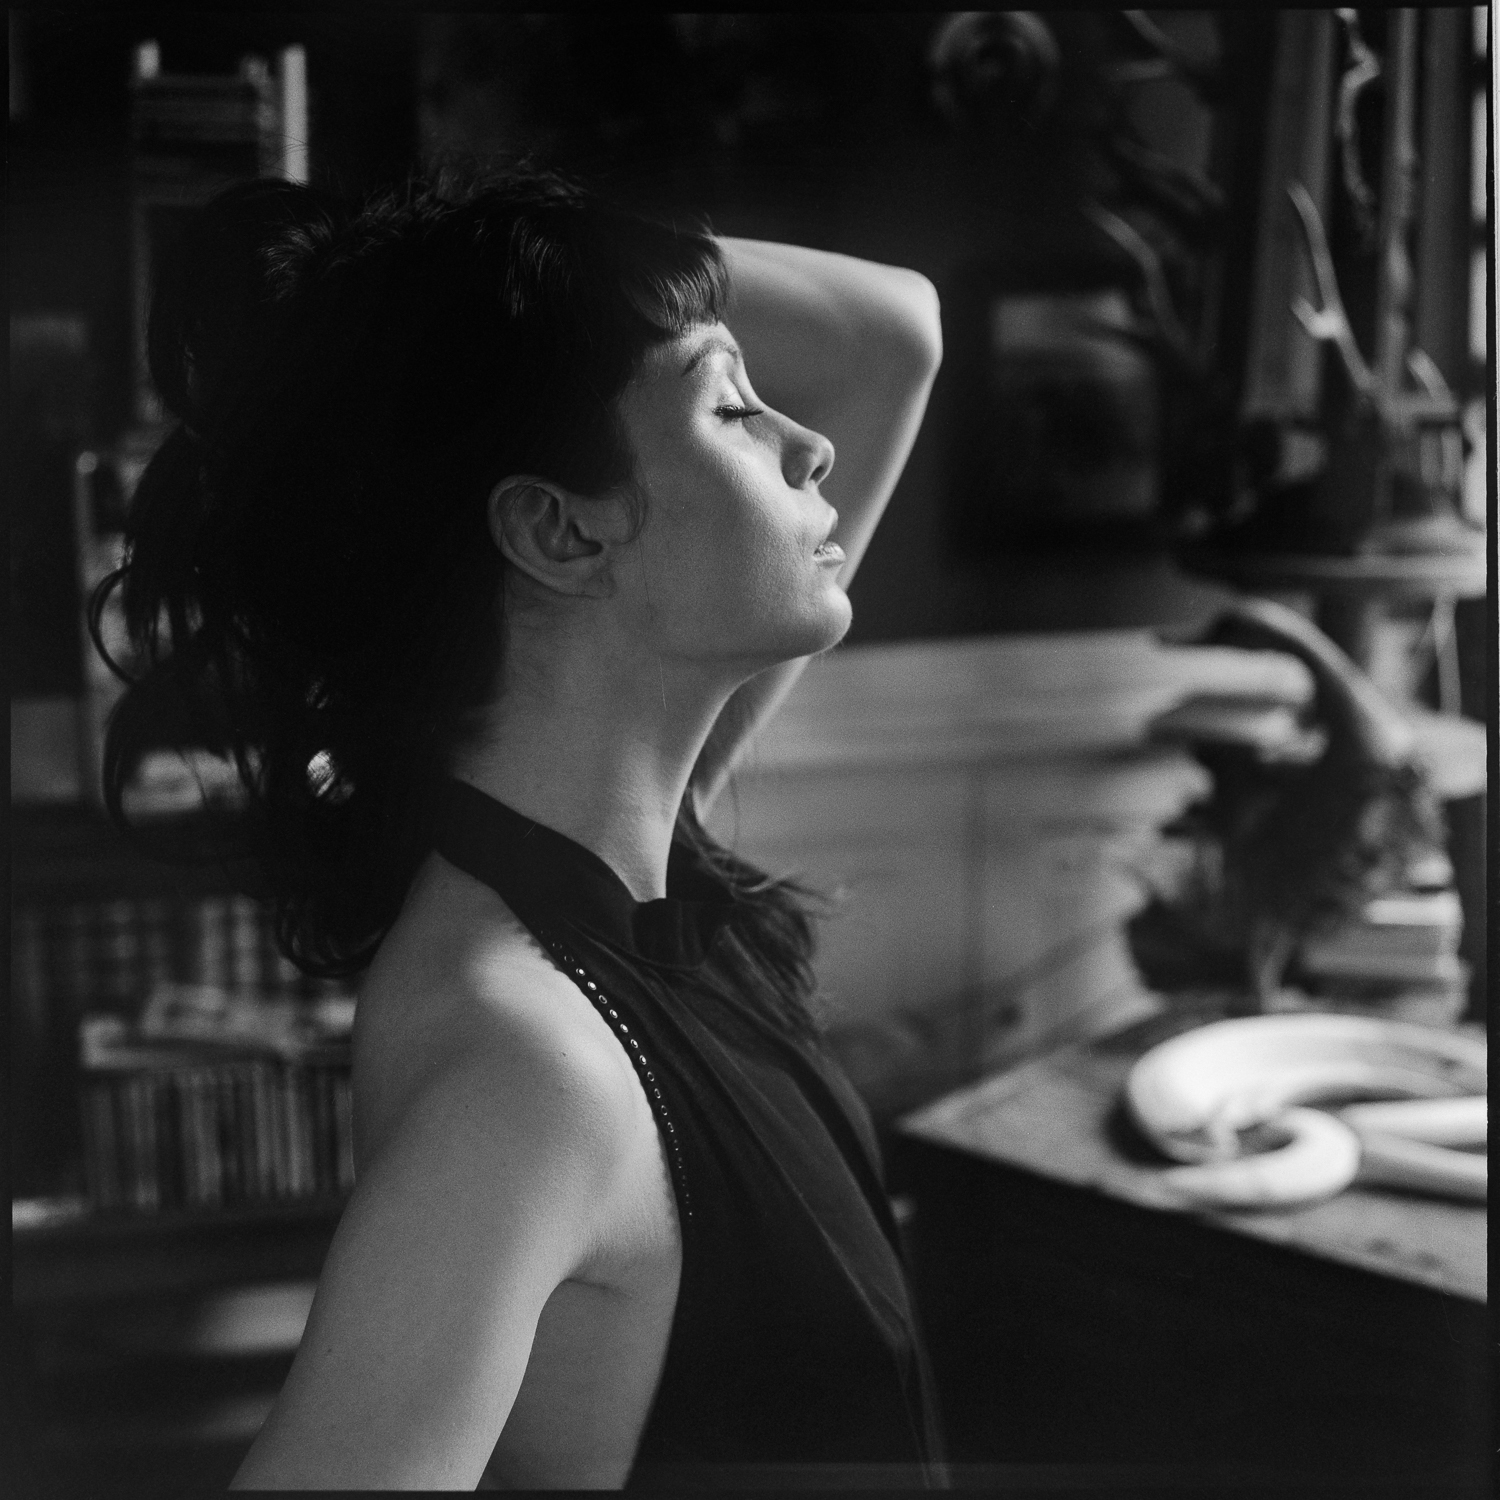
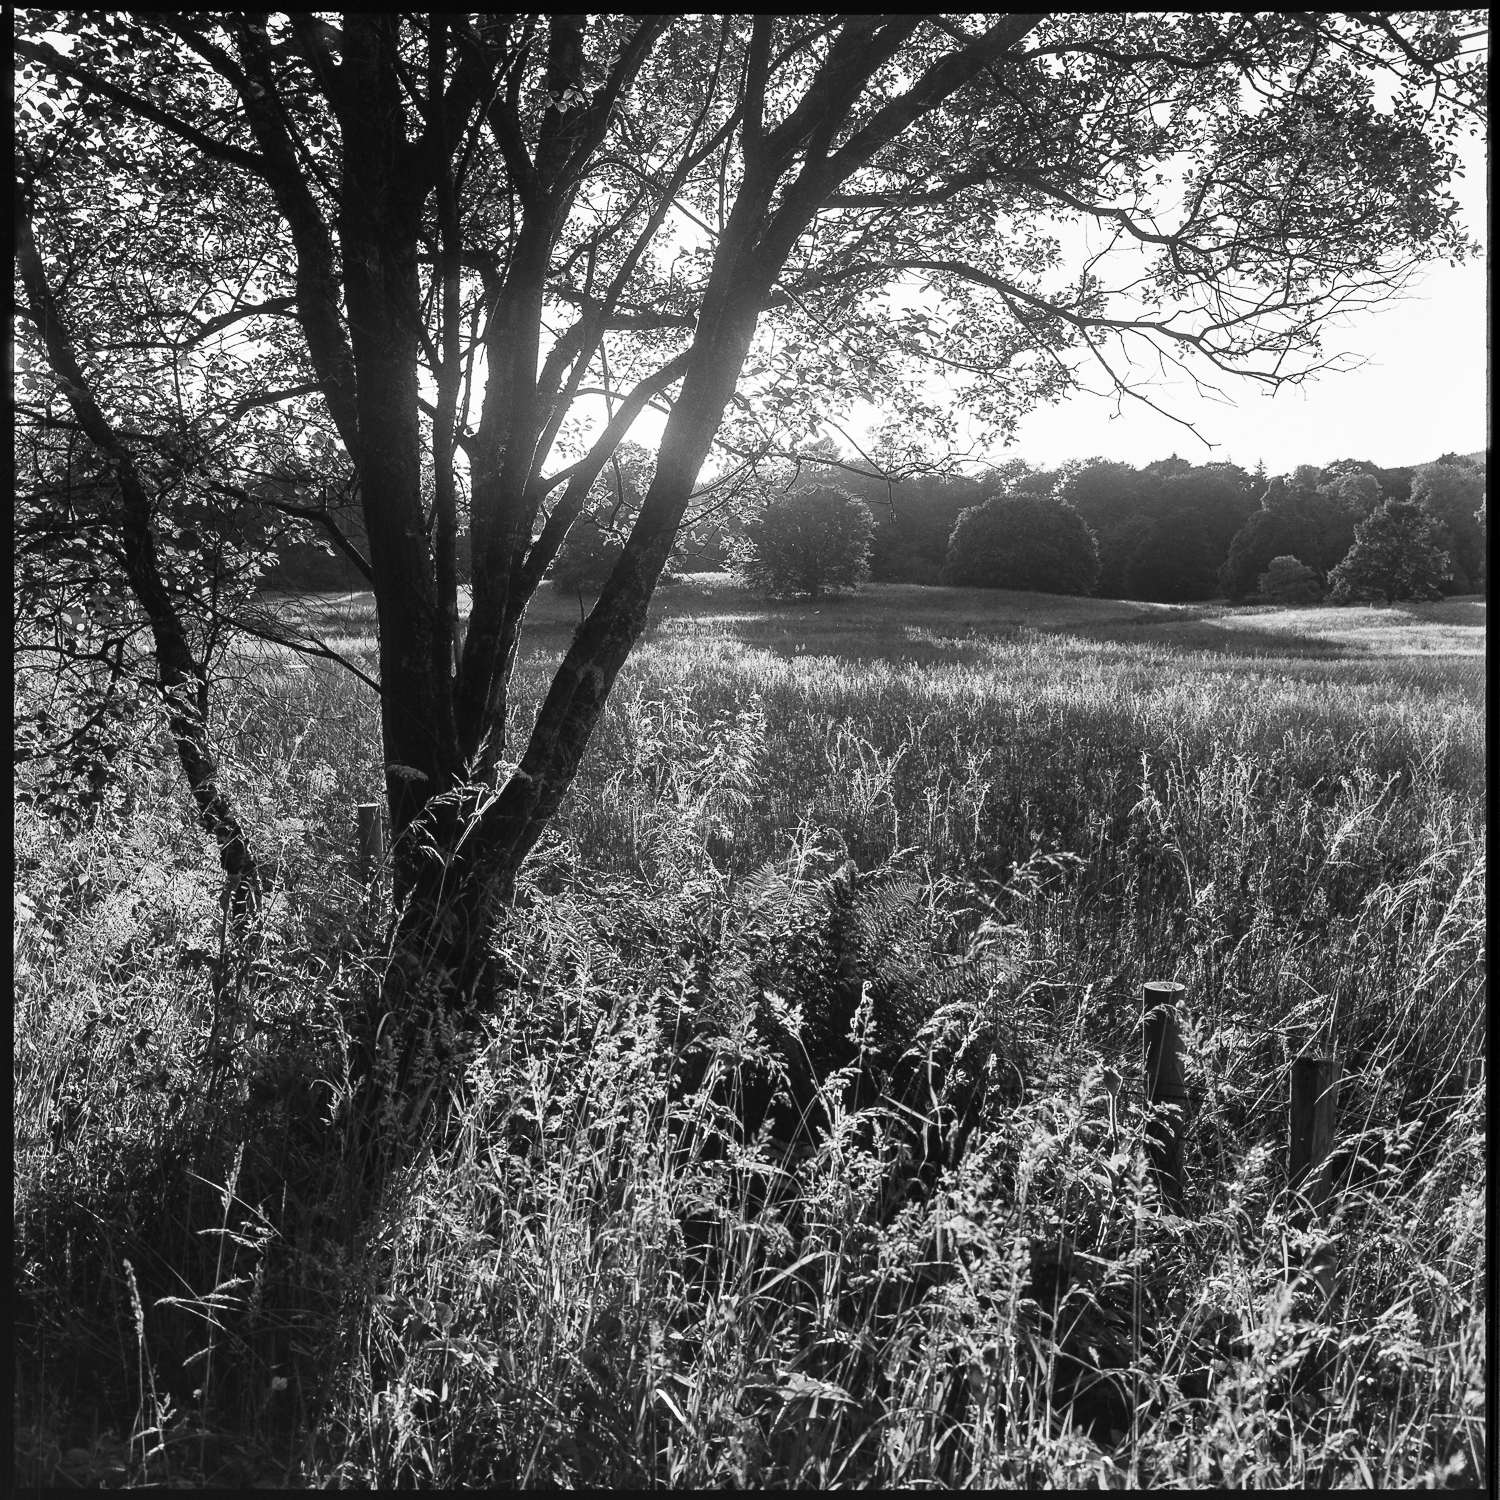
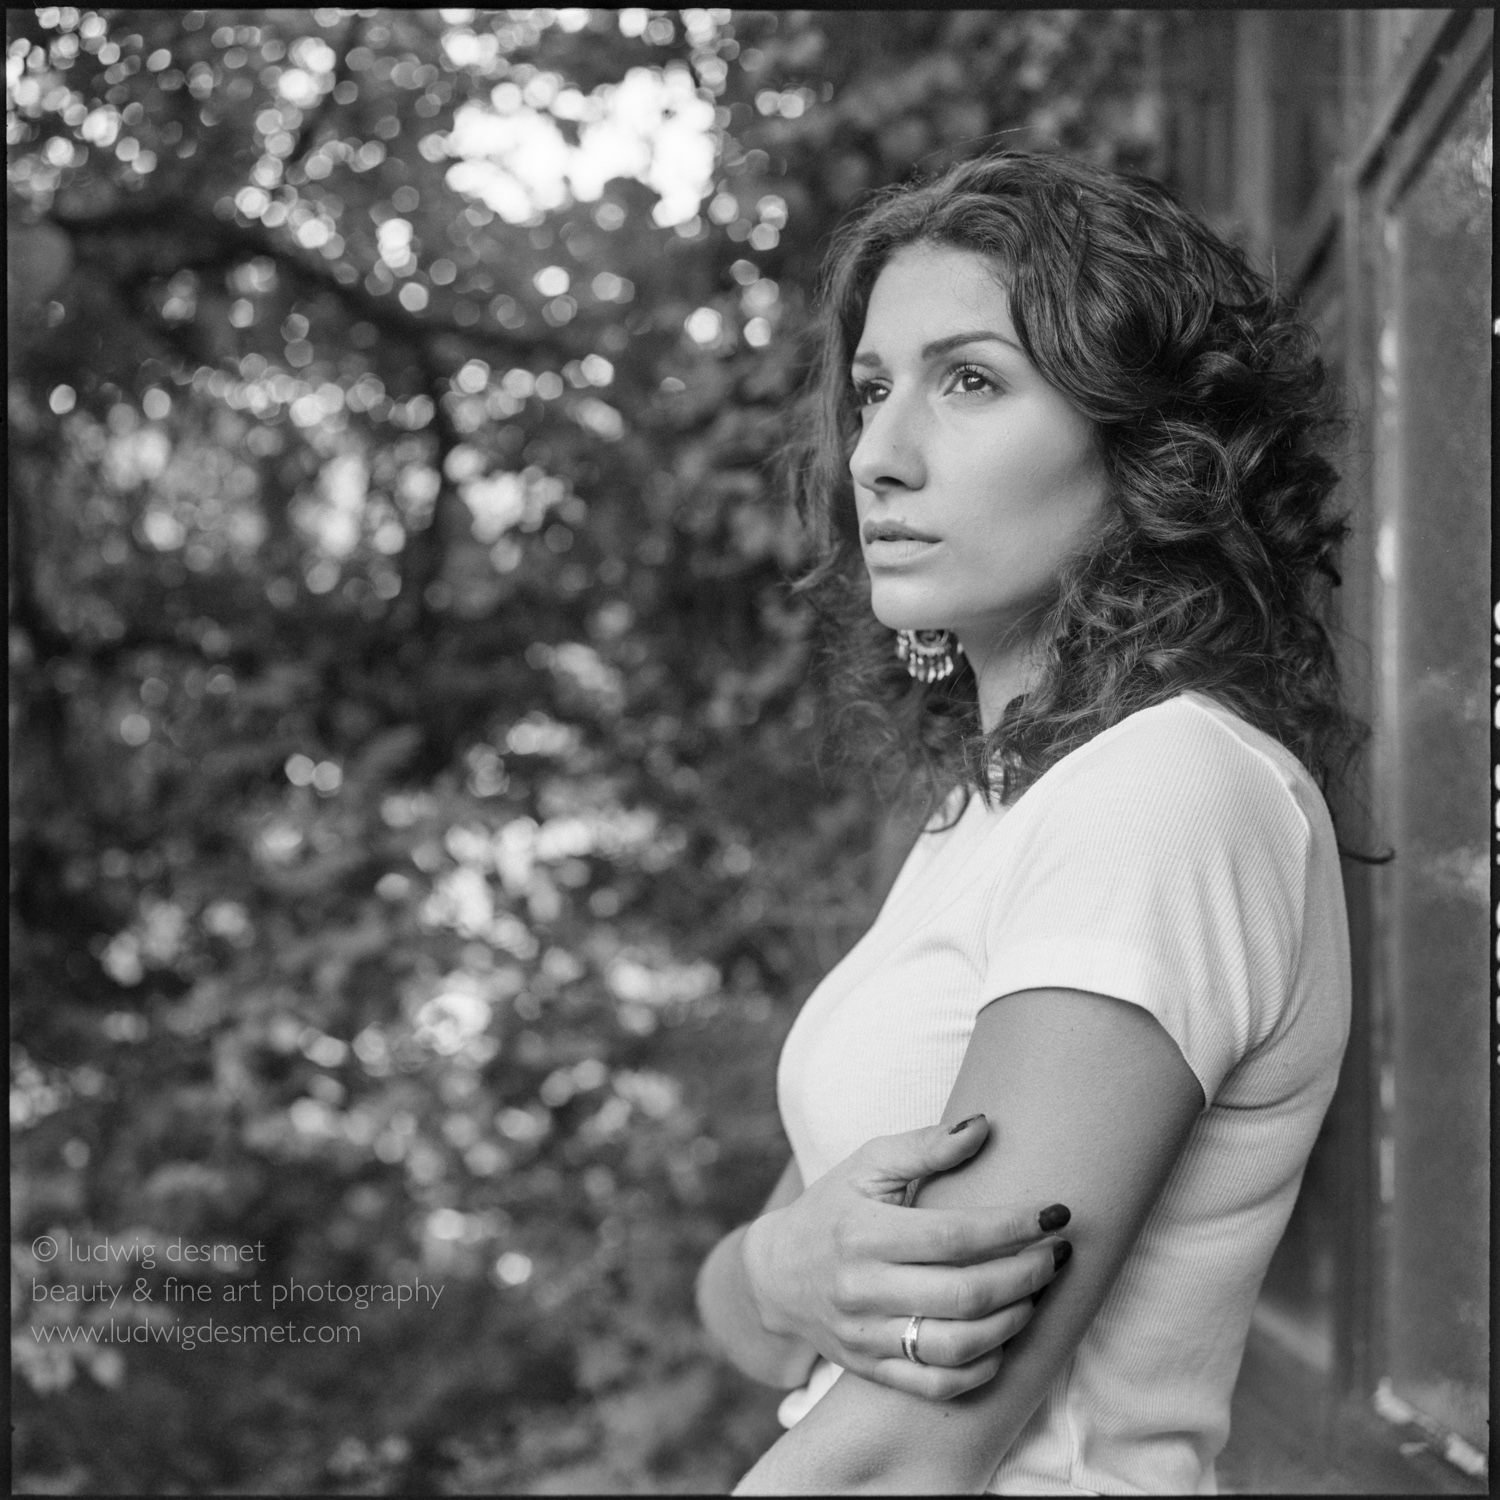
Ok, something I wanted to do for a long time:
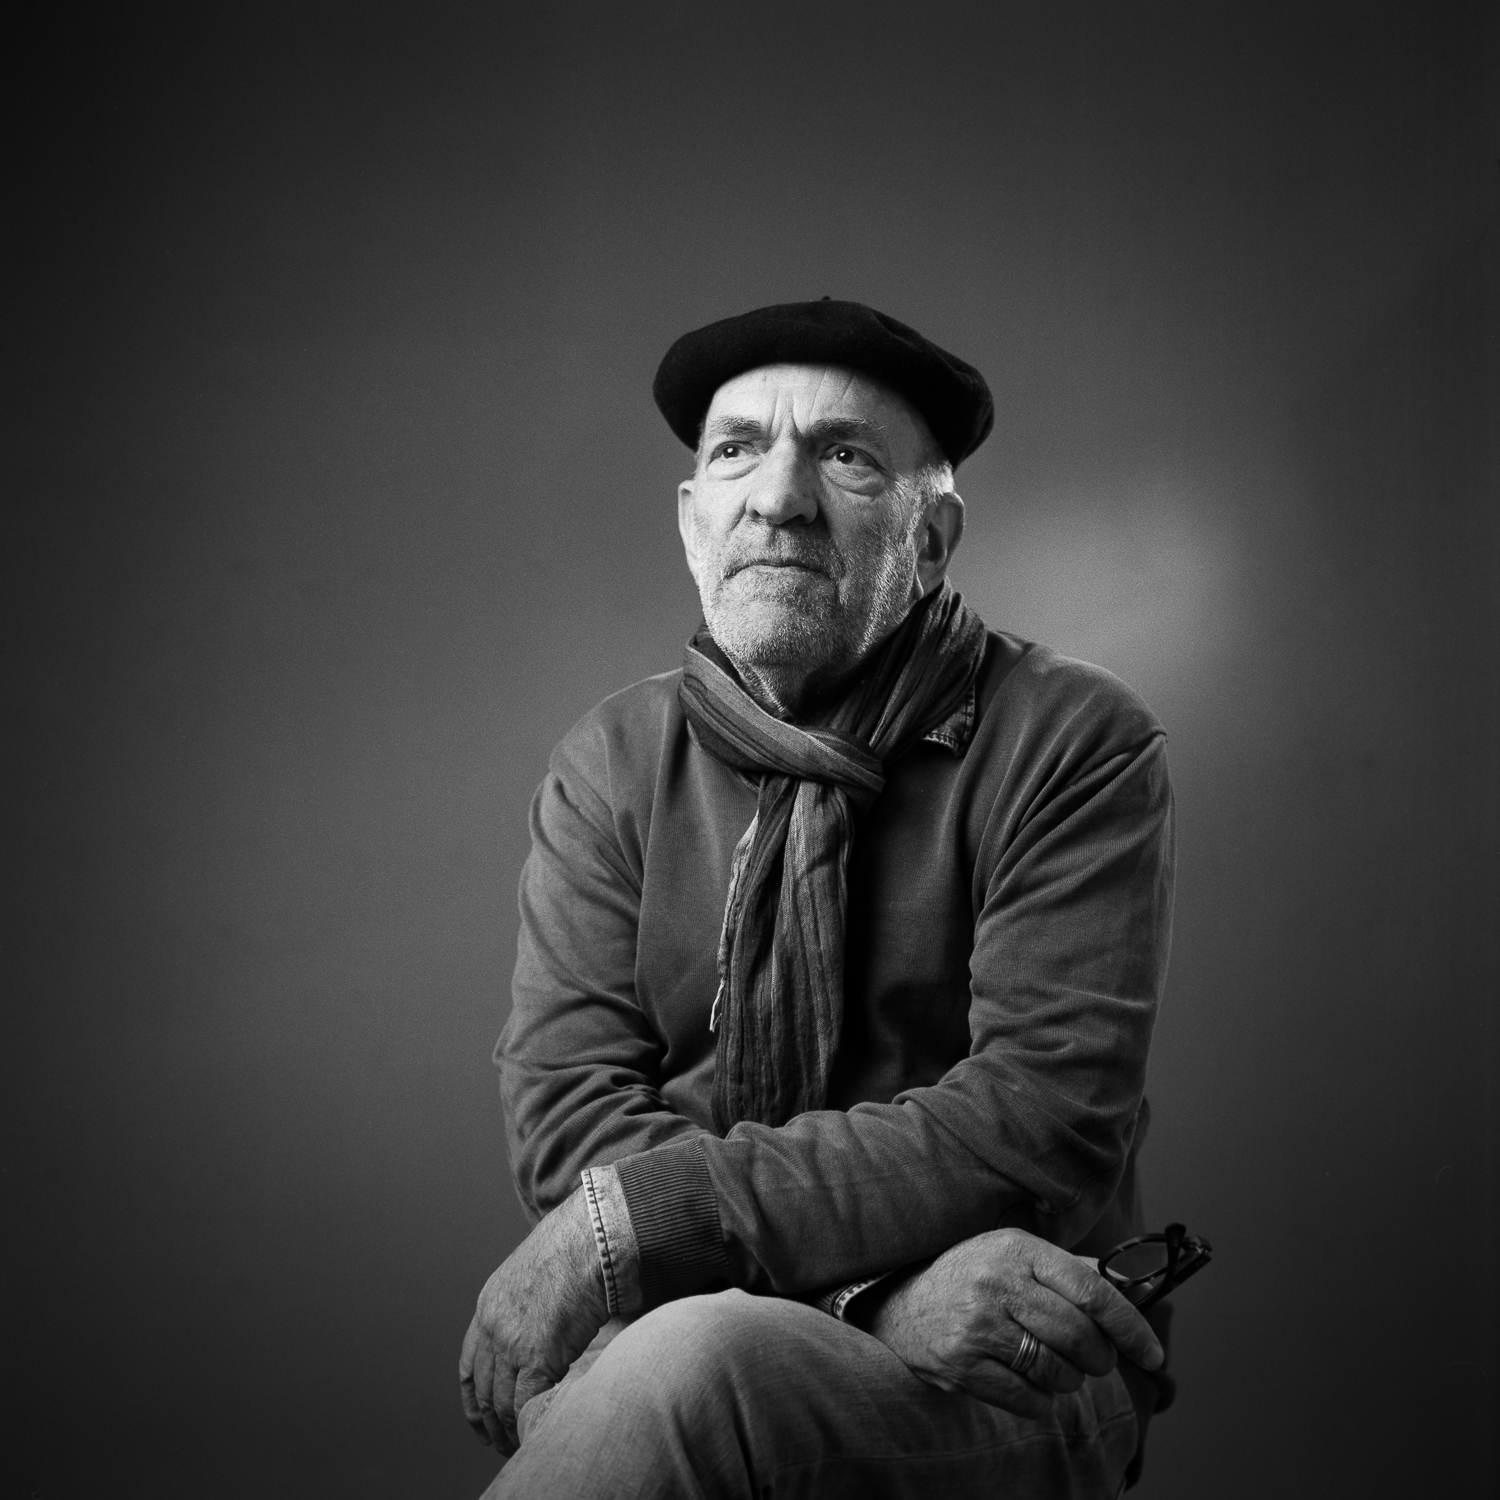
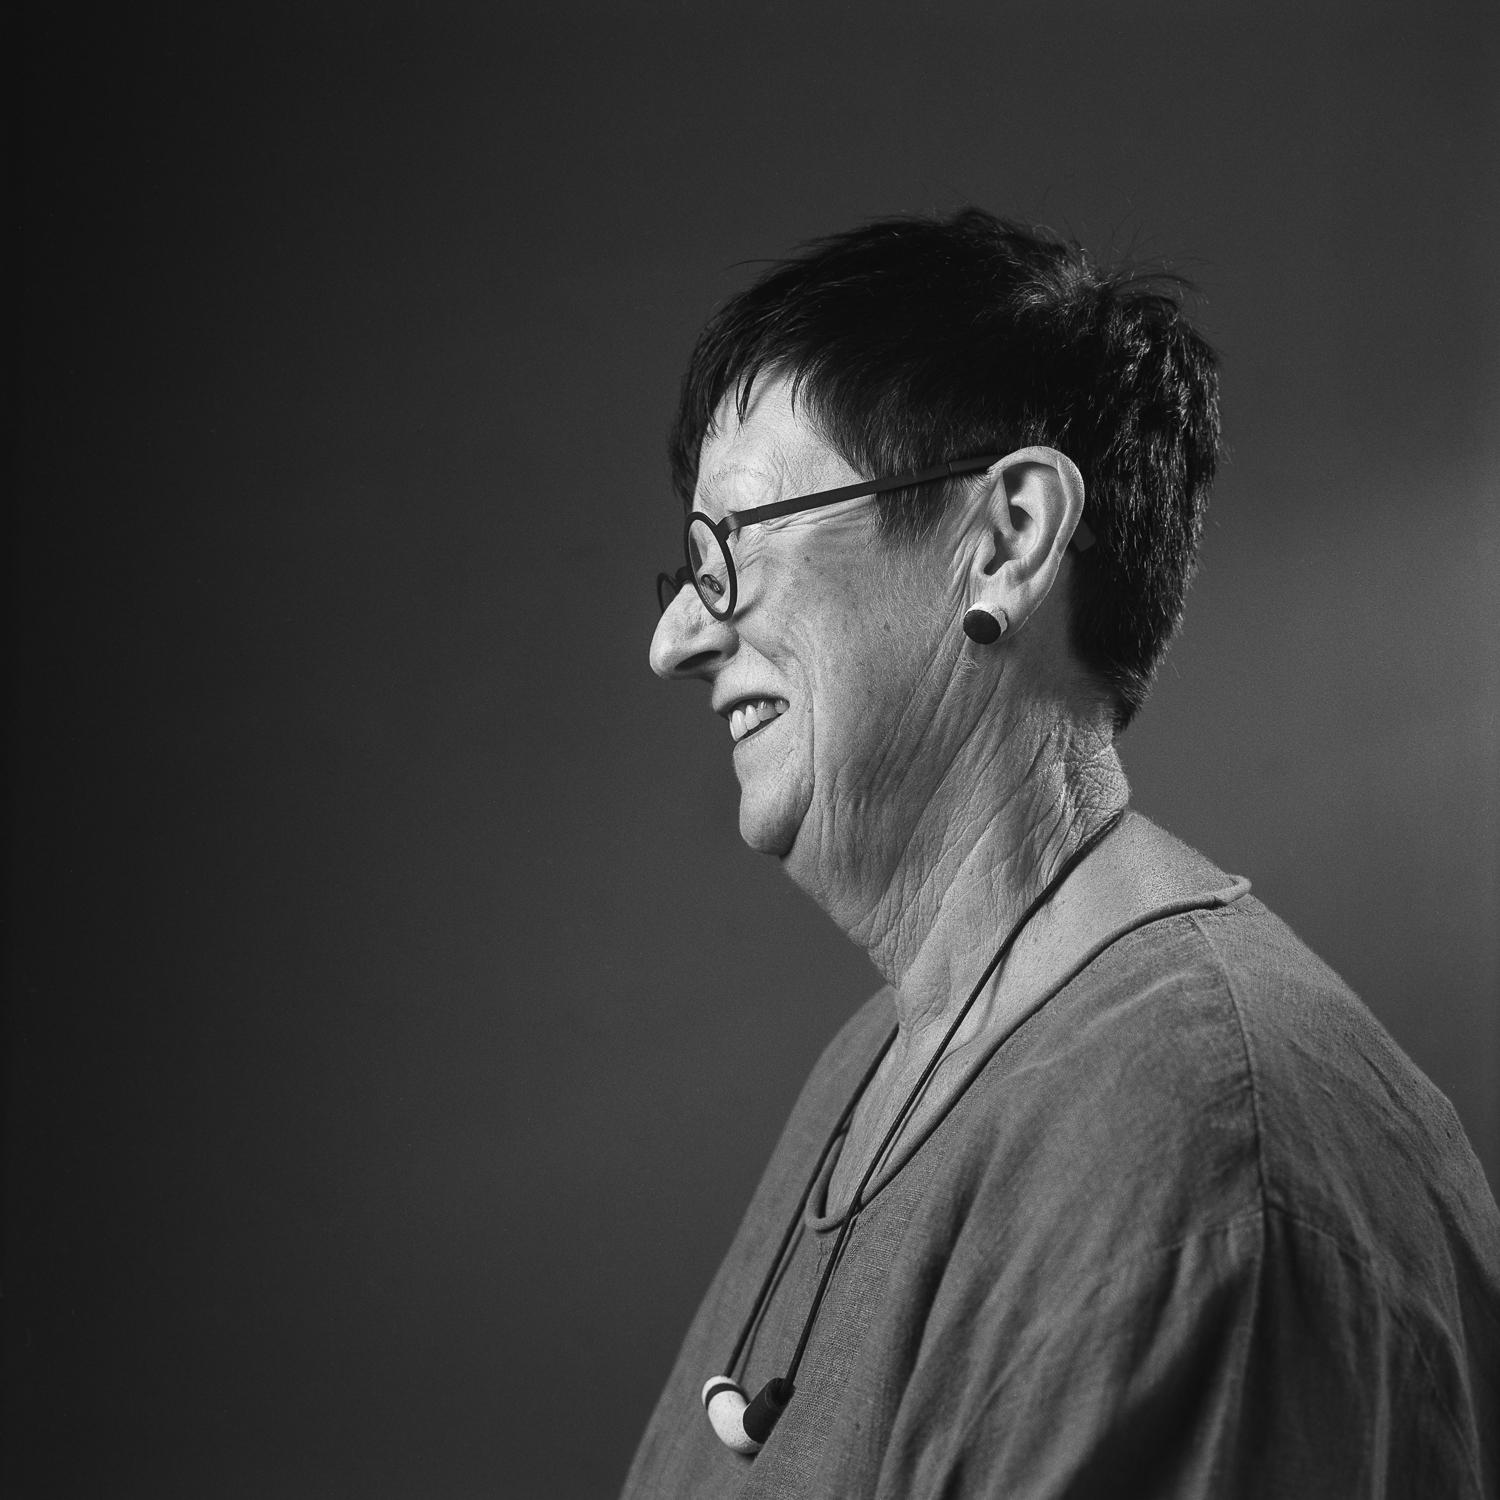
On some fora, people have been asking how I scan my negatives, actually I’ve quit scanning, and digitise my 6×6 negatives with the Canon 5Ds high resolution camera, and a Canon 100mm Macro lens. For me it is quicker than scanning, I get a RAW negative file to work with, and I had all gear I needed for building a simple setup.
I have been looking for a new scanner for a while, genre Epson V800, but found them to be a little too expensive for my taste and limited use. I already had this Canon 5Ds camera, and I had a Macro lens, so I wanted to give it a try digitising with the camera in stead. I’ve built this setup to do so, (actually writing this blog post has inspired me to make it even better) …
see images below …
• I have two lamps (generic building LED lamps from a DIY store) that I point to the back, where I have a white foam board installed. I don’t care about the white balance because I work with black and white film, so I get rid of all colour anyway.
• At a relatively small distance (30cm – 1 foot) I have a cardboard box, fixed to a base board (same white foam board, cardboard box taped to it), with a hole in the back end, a little bigger than the negatives I am working with. On the inside of the box, I have put a black paper, with a square cut hole in it, to better fit the actual size of the negatives. The front side of the cardboard box is open, and takes the camera.
• I use a negative holder from an old scanner, but I cut the film frame a tad wider, to be able to see the negative’s edges all around. I kept the original diffusor window.
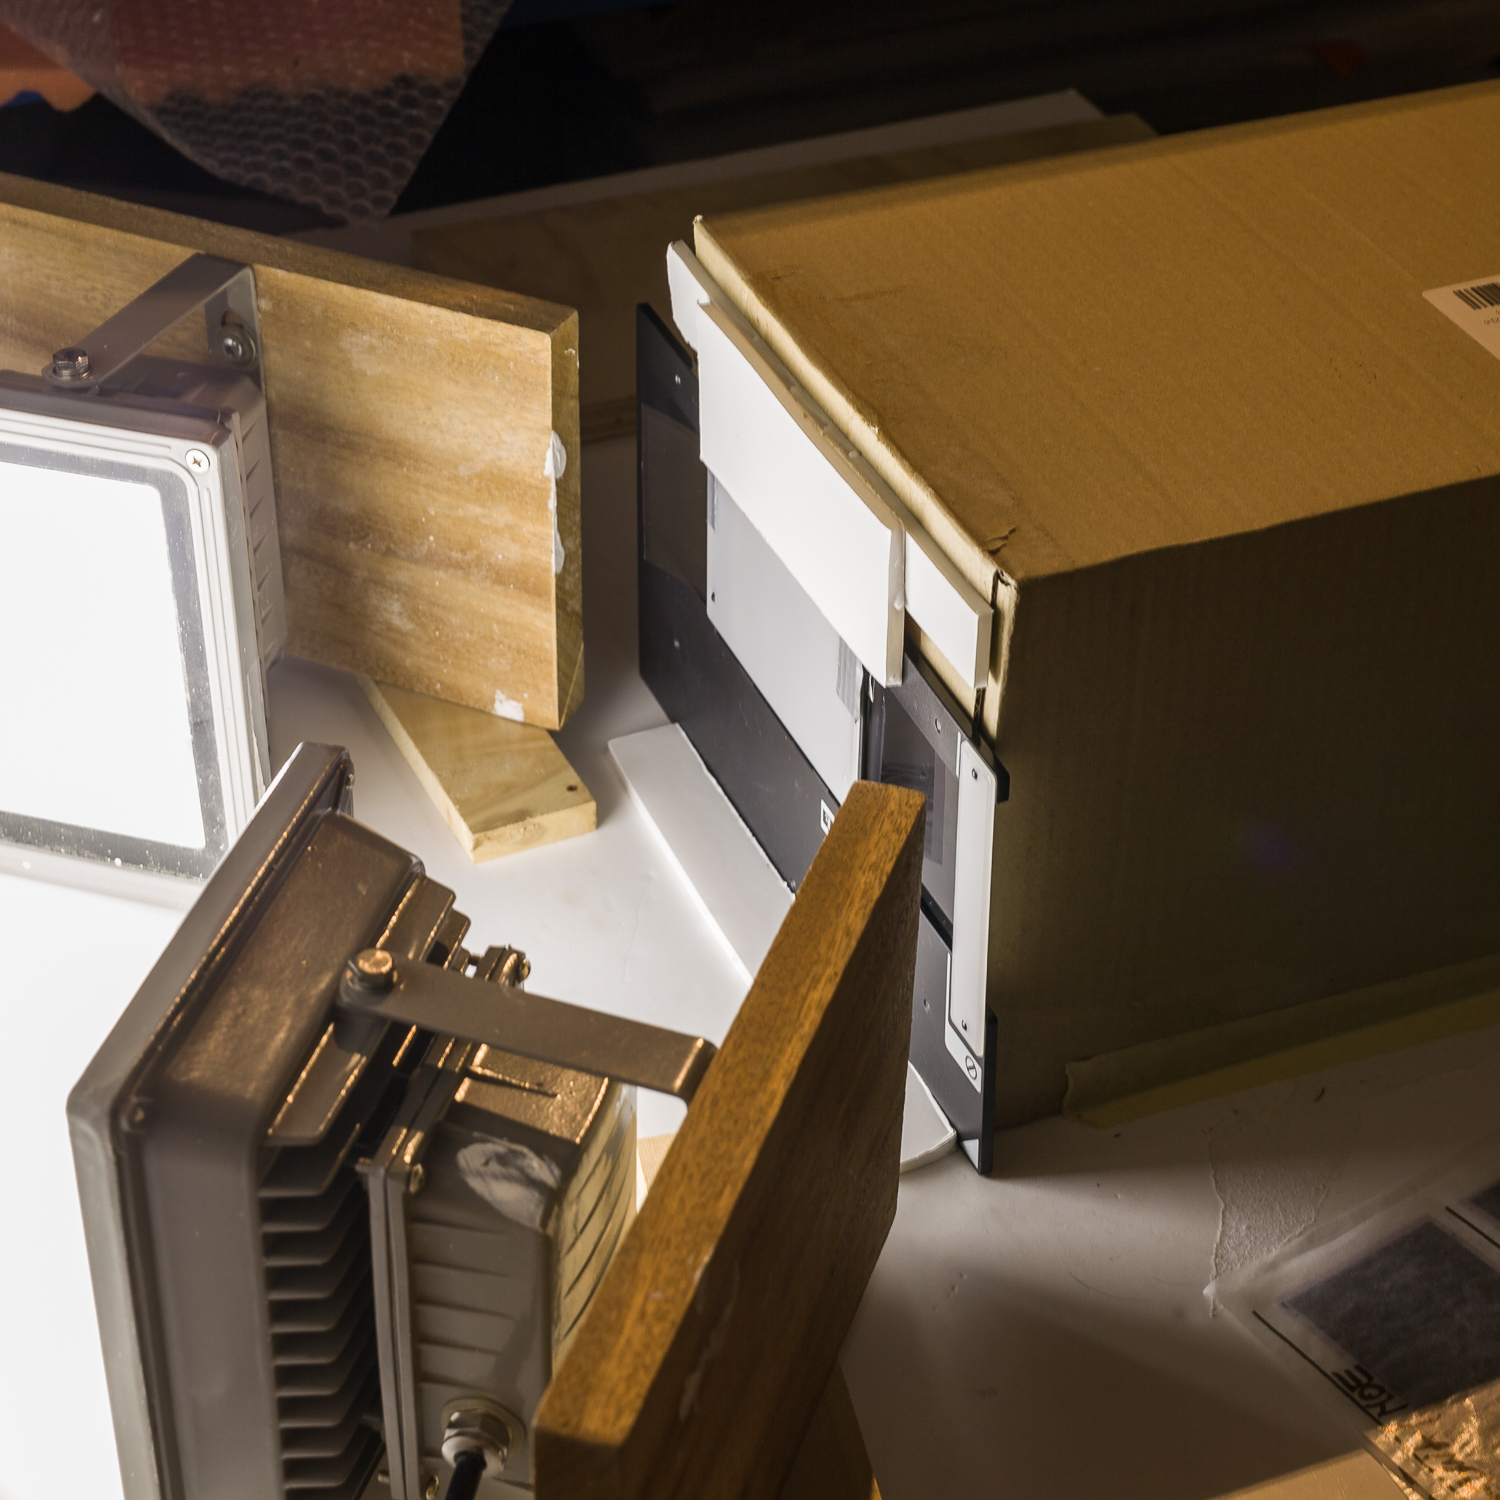
• On the base foam board, I fixed a sort of slot (foam board strip with double sided tape fixing) that holds the bottom of the film holder, between the slot and the cardboard box. On top of the cardboard box, I fixed a second slot, that holds the top edge lid of the film holder, and I slide the film holder in from left to right (right to left on the images)
• I put my camera to fit the film frame (with a little margin all around) and I have my settings to give best quality: ISO100, f8 1/6 sec … I vary shutter speeds based on the negatives I have (sometimes the negatives are a tad under- or overexposed, I try to have as much light as possible in my ‘scans’ without clipping the highlights). Low Iso for the least noise possible, f8 seems to be the limit aperture before diffraction sets in on this camera, shutter speed long enough to get rid of the flickering effect in the lamps. I work on a tripod and with a 2 second interval between mirror lock-up and opening the shutter. (standard available on the Canon 5Ds, to prevent camera shake due to the mirror flipping up)
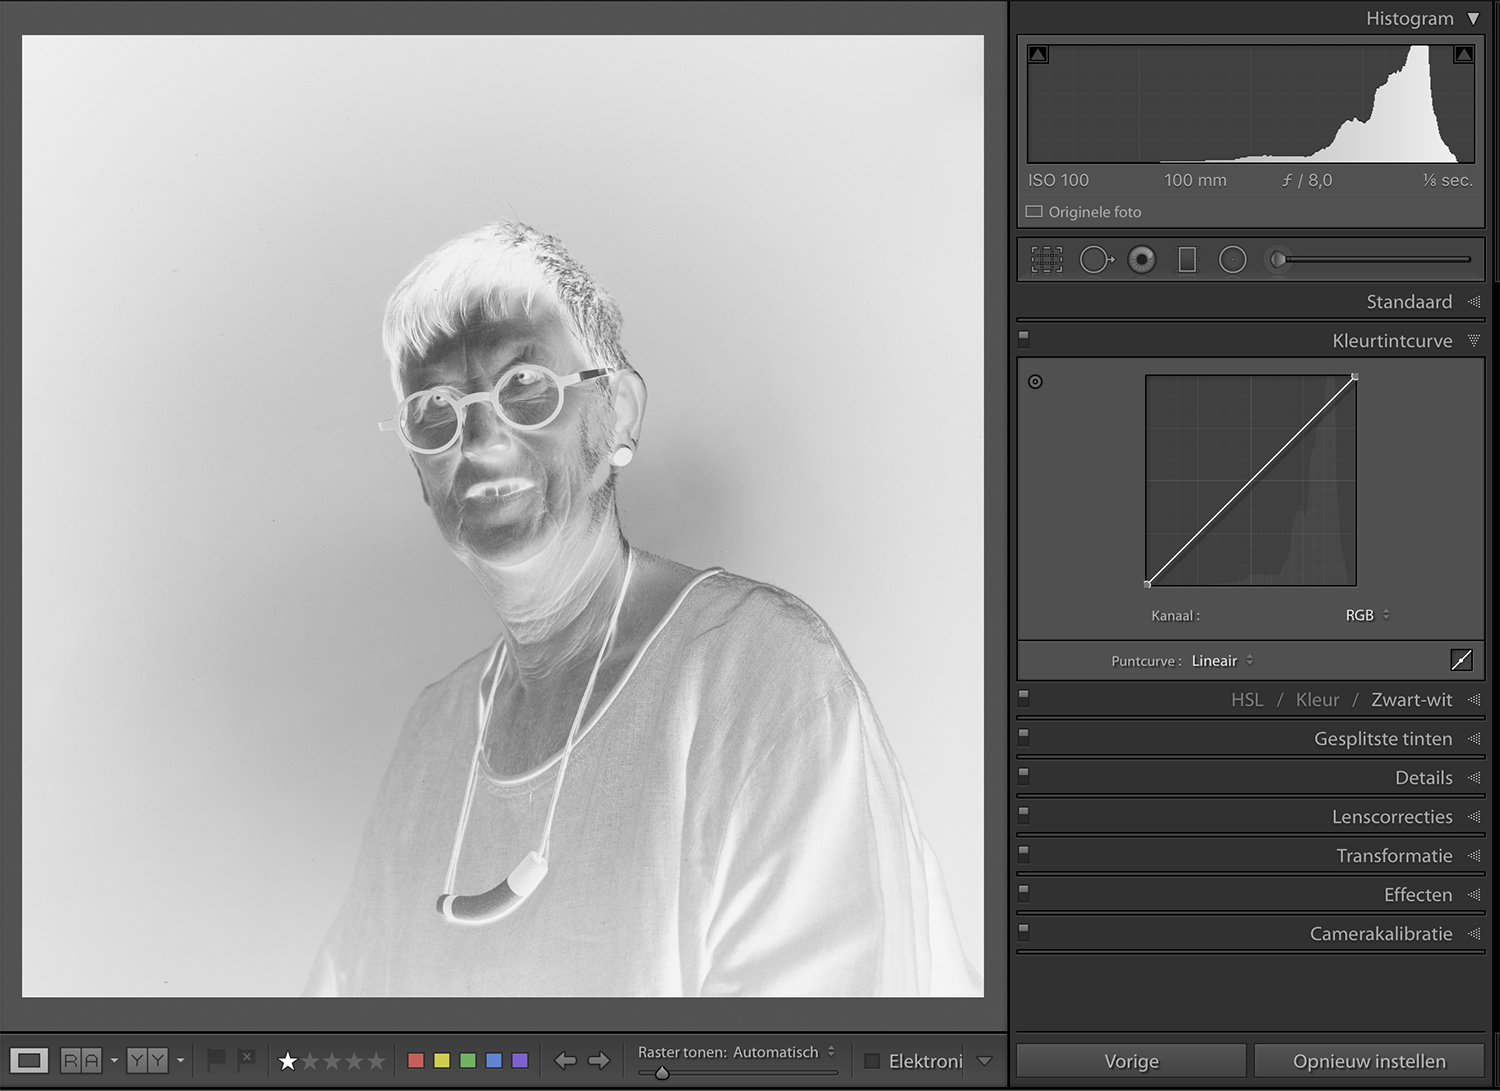
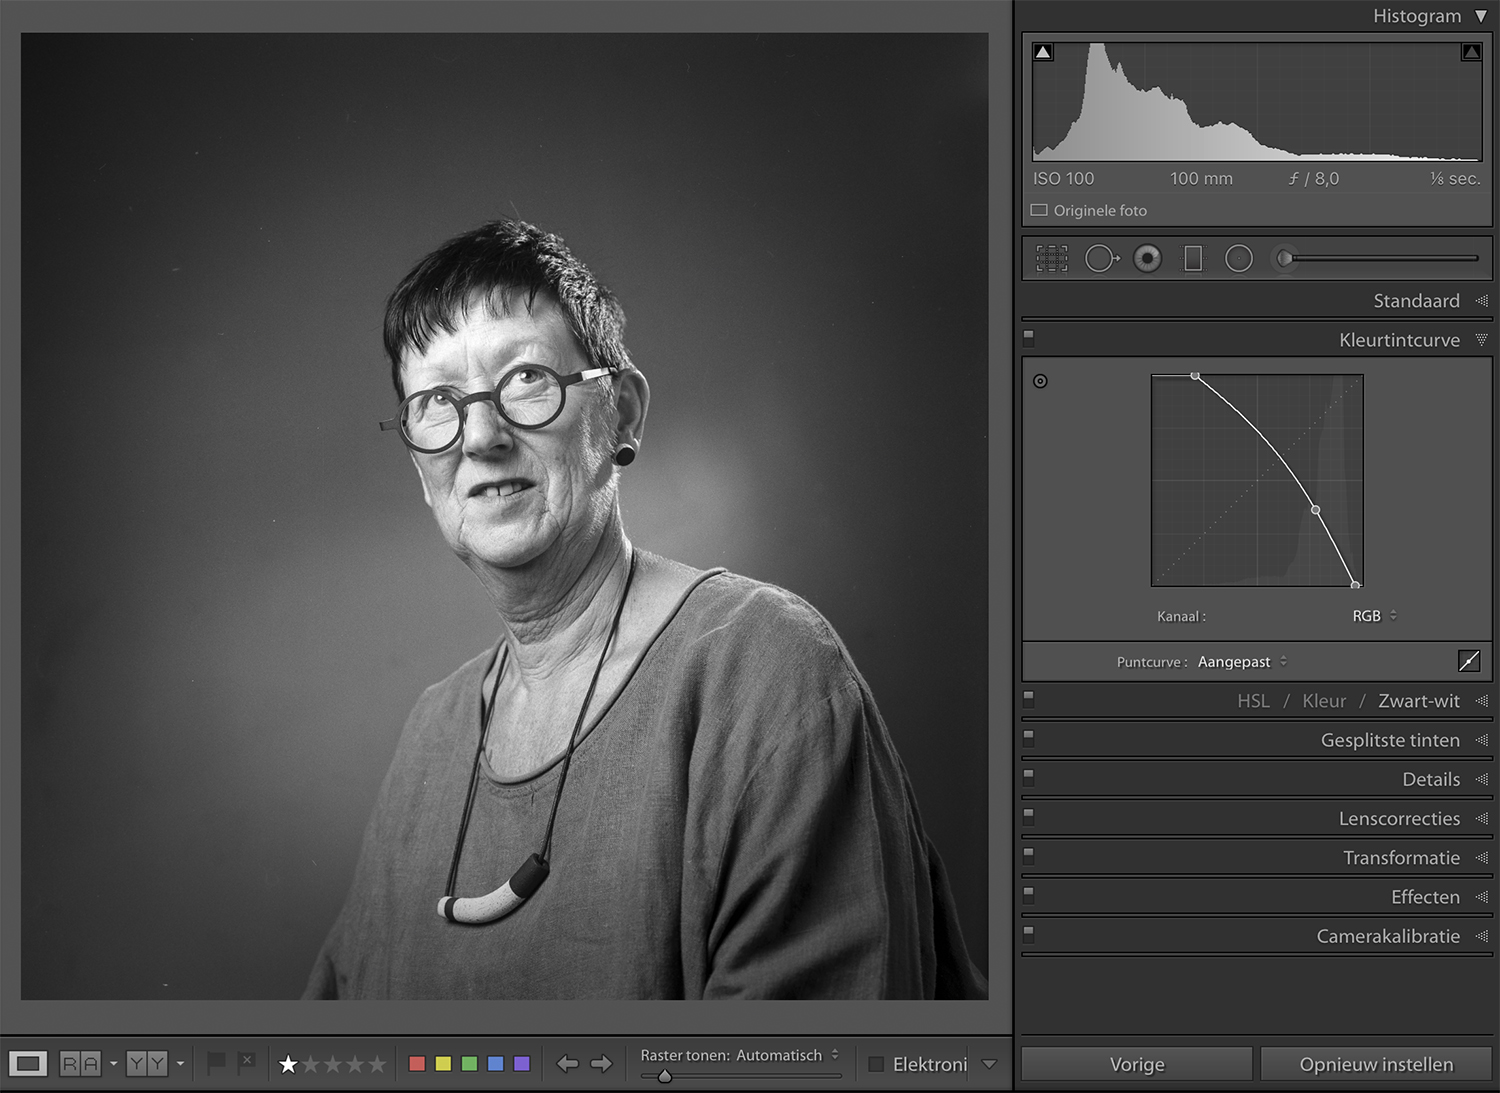
• I import the images in LR and reverse them by using the tone curve panel. In this same panel I also manage the white and black point settings by moving in the left and right corner point to where the histogram starts/ends, and eventually a lightening or contrast tone curve.
• Then I further develop the image using the standard development panel and local adjustments (that takes the most ‘getting used to’ because all sliders work ‘negative’)
• I remove dust and scratches in photoshop.
the images should clarify a lot:
the complete setup:
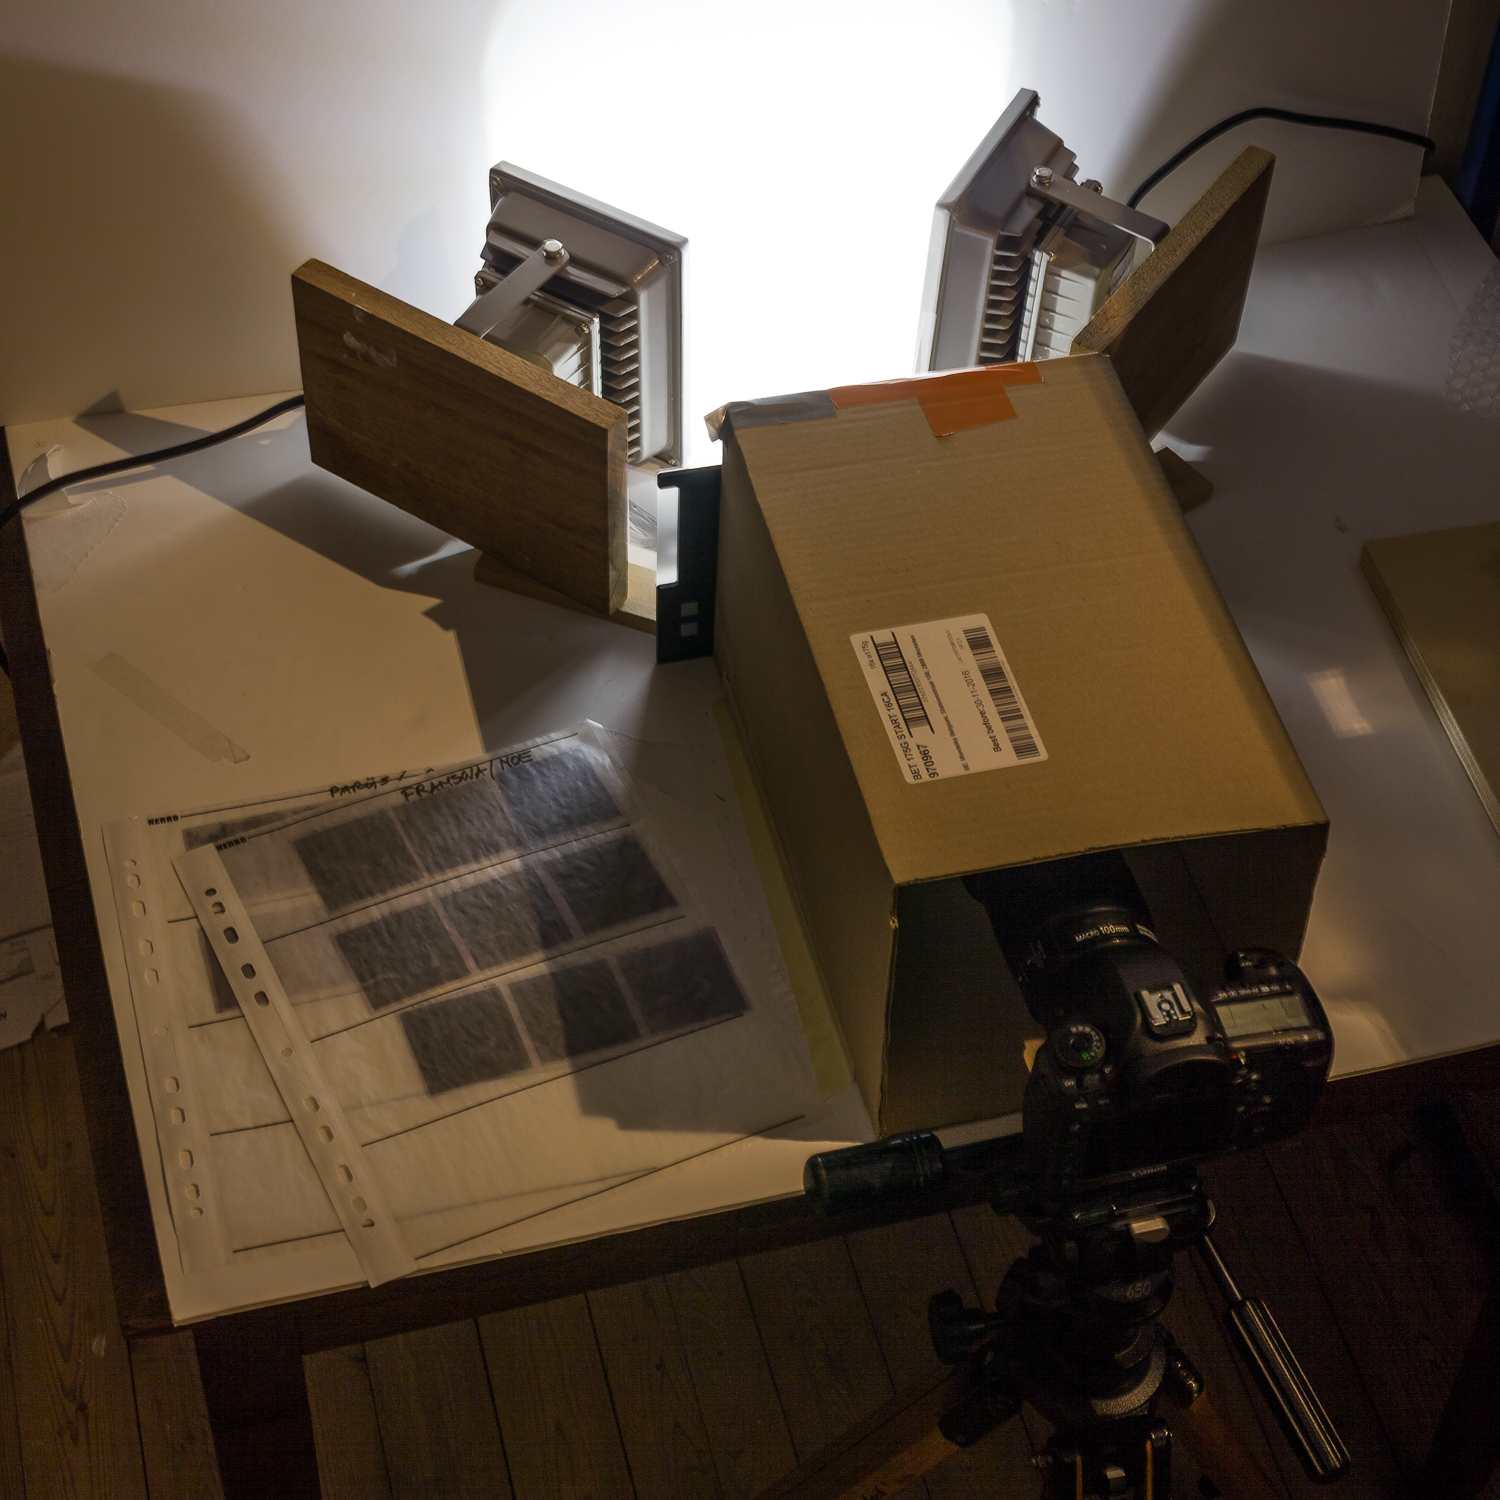
a look over the camera’s shoulder: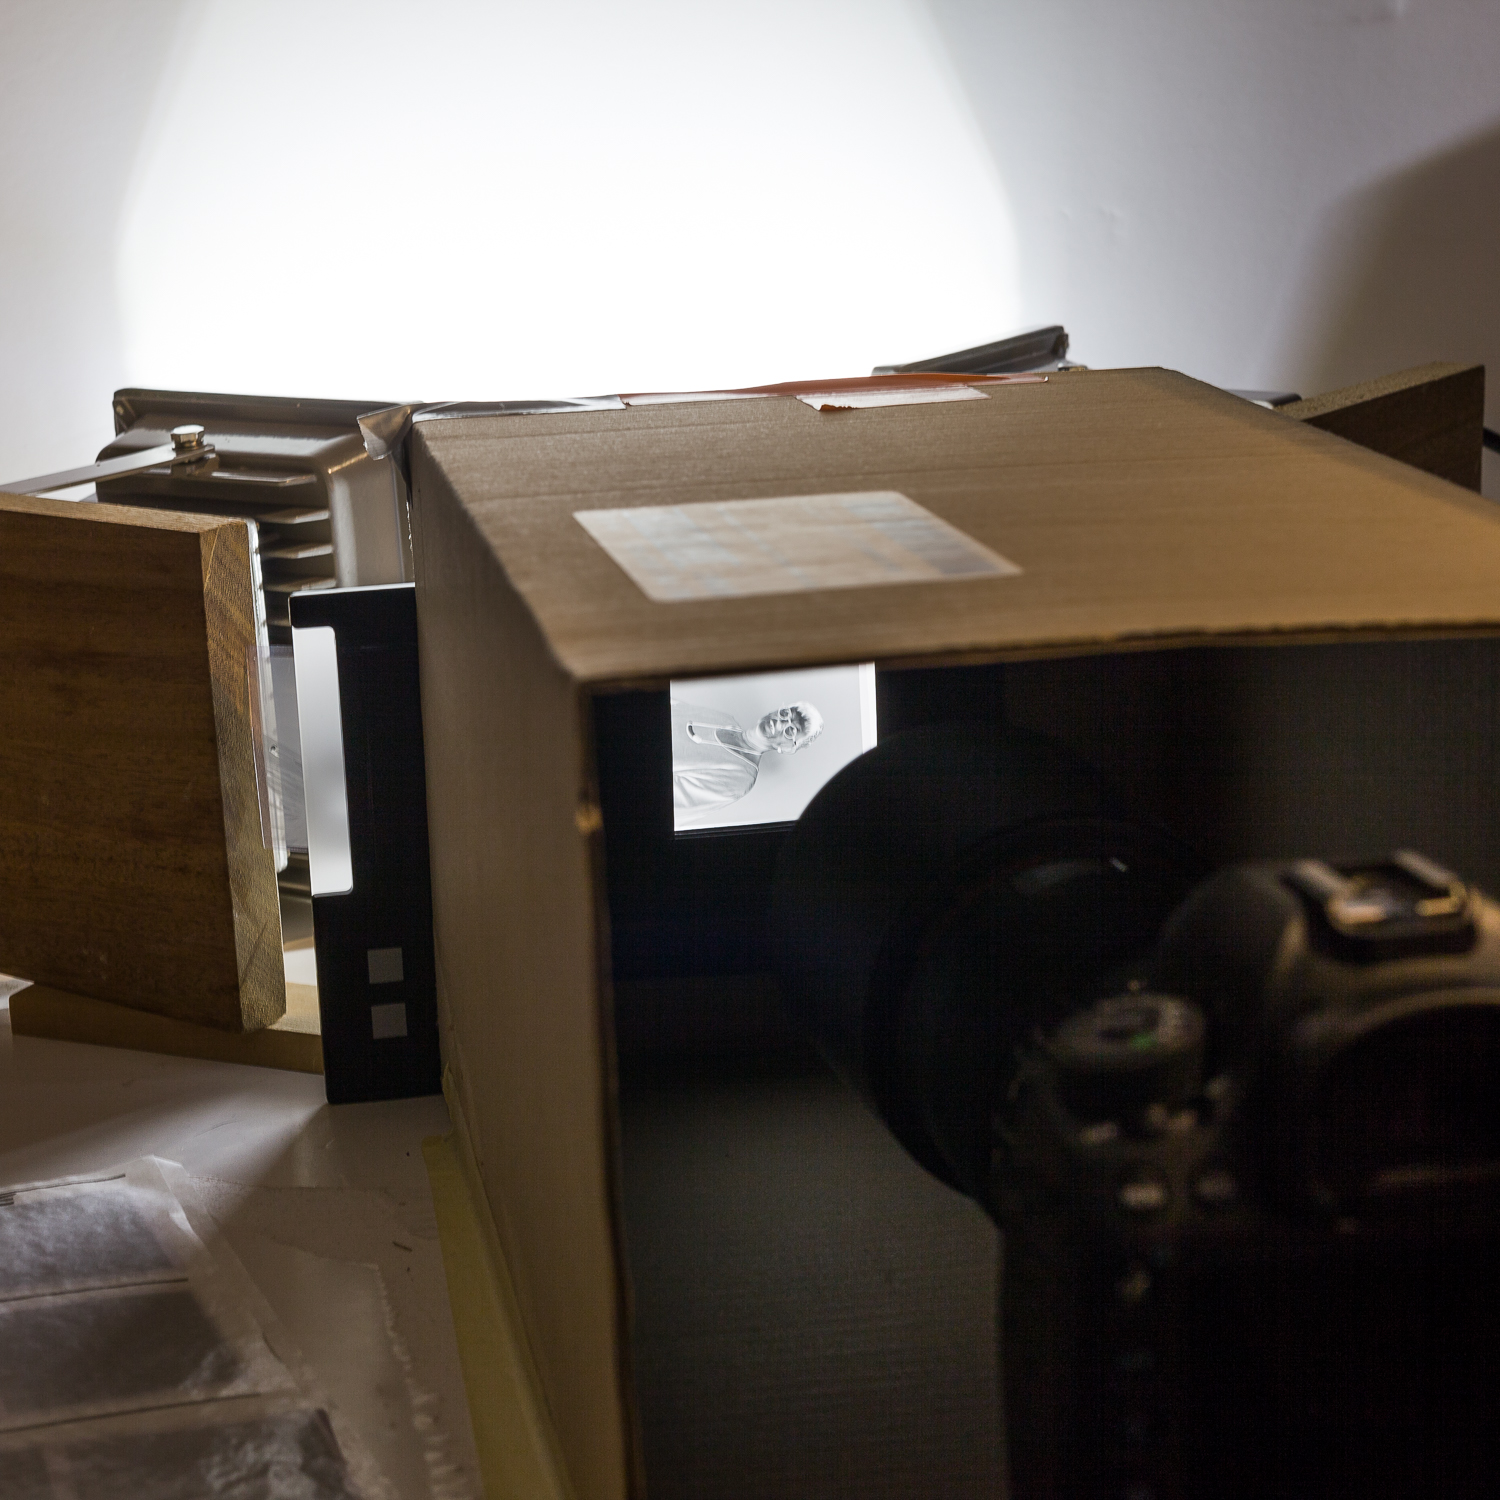
the negative holder removed to change the film strip
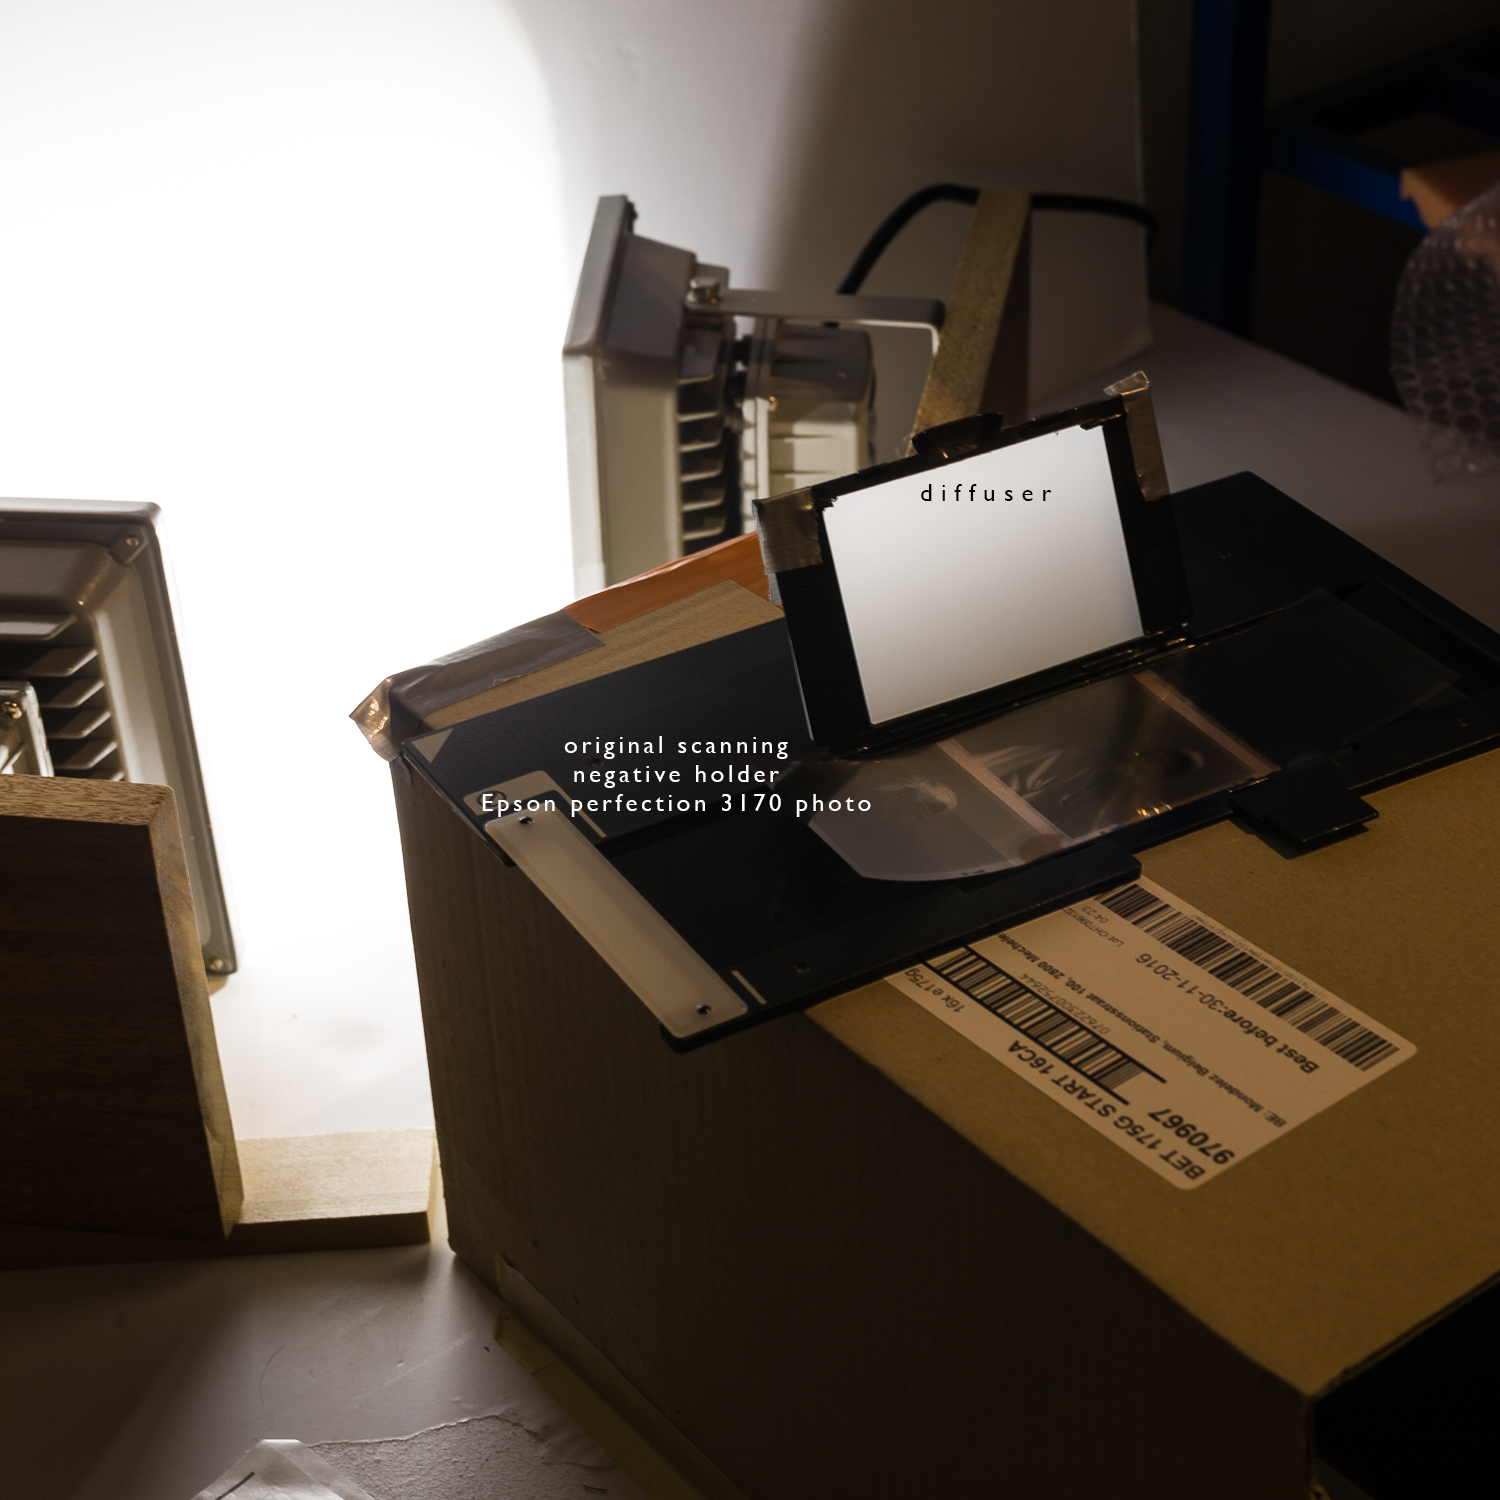
the back end of the cardboard box, notice the black paper frame on the inside, and the (modified today) film holder slot for top and bottom edge of the film holder.
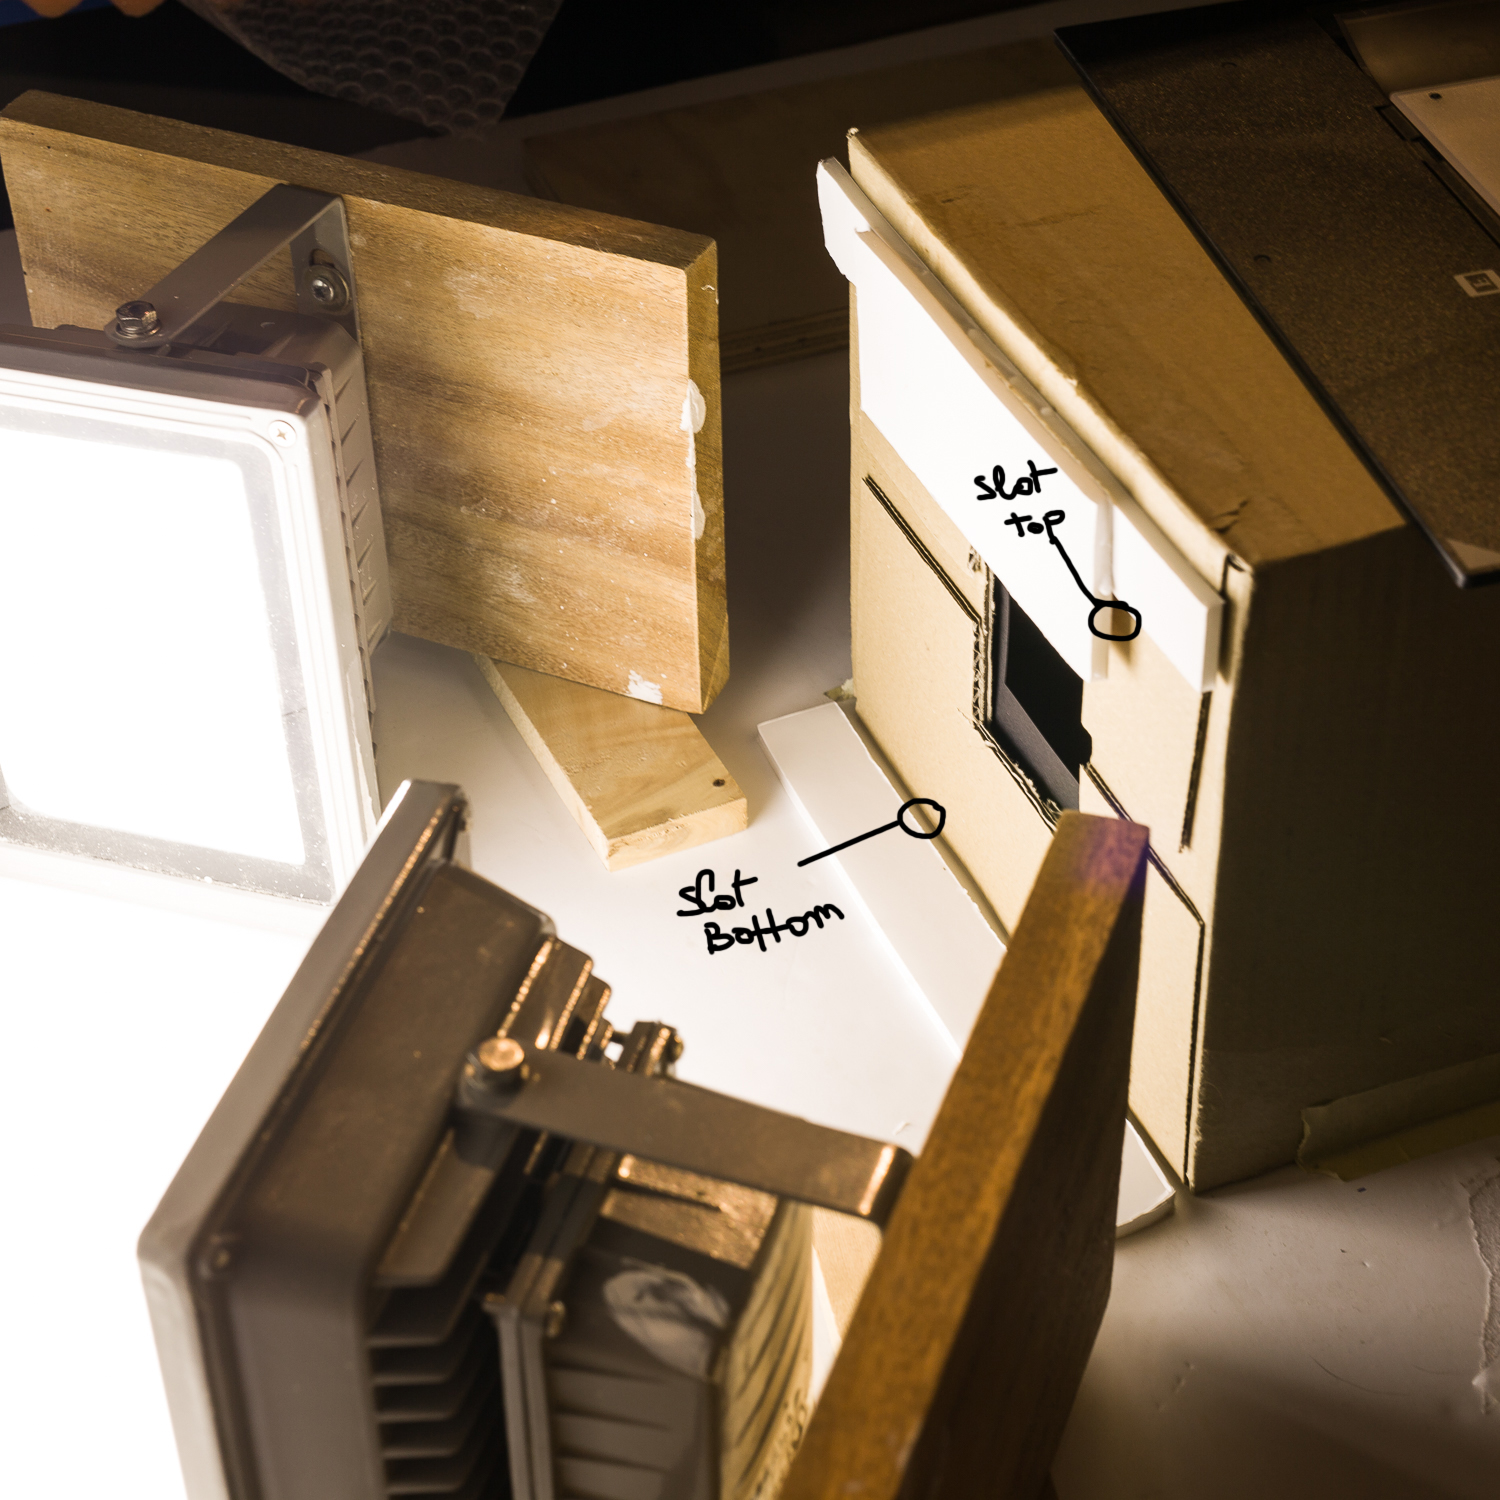
film holder sliding in place, notice the top ‘tab’ being held by the slot
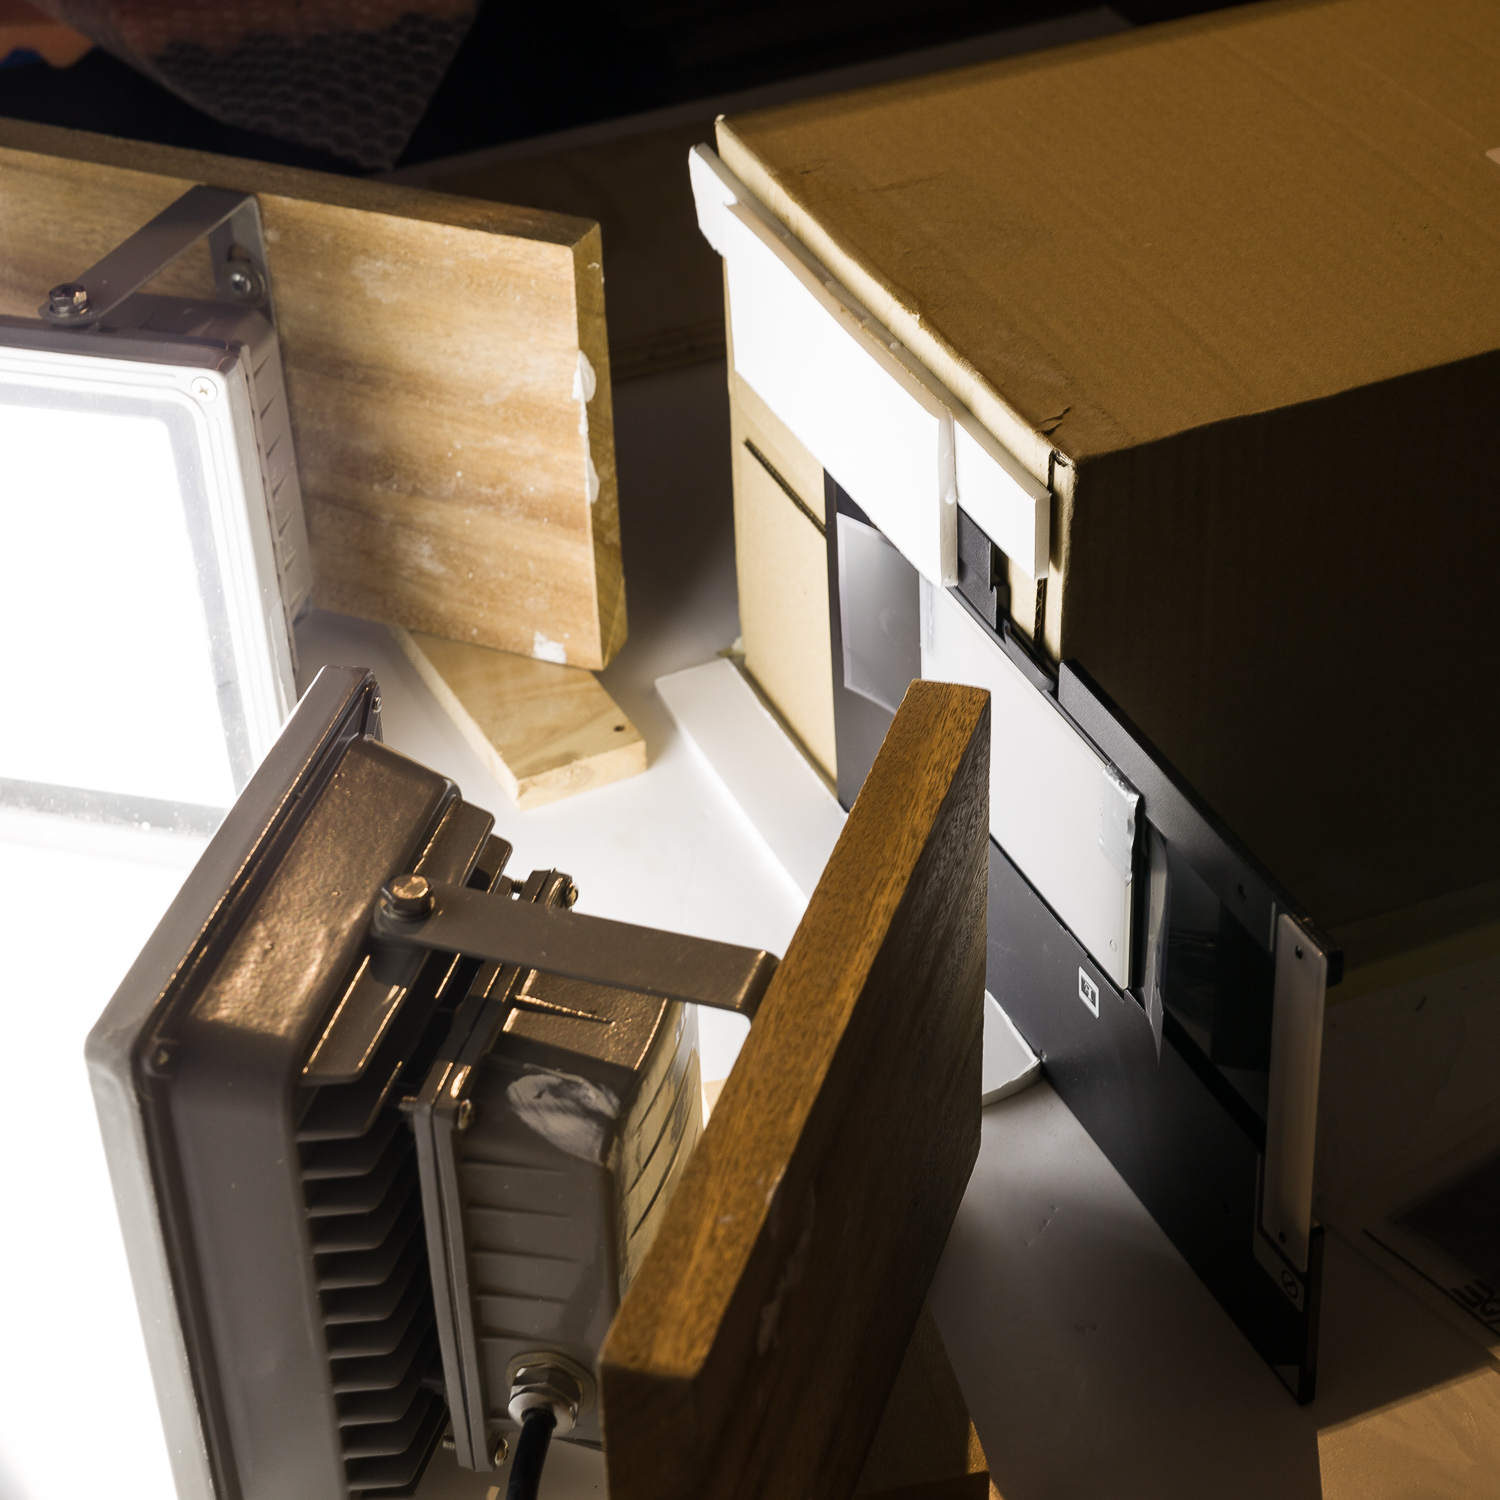
film holder in place, looking on the diffusor
Lightroom, tone curve for negative-positive conversion
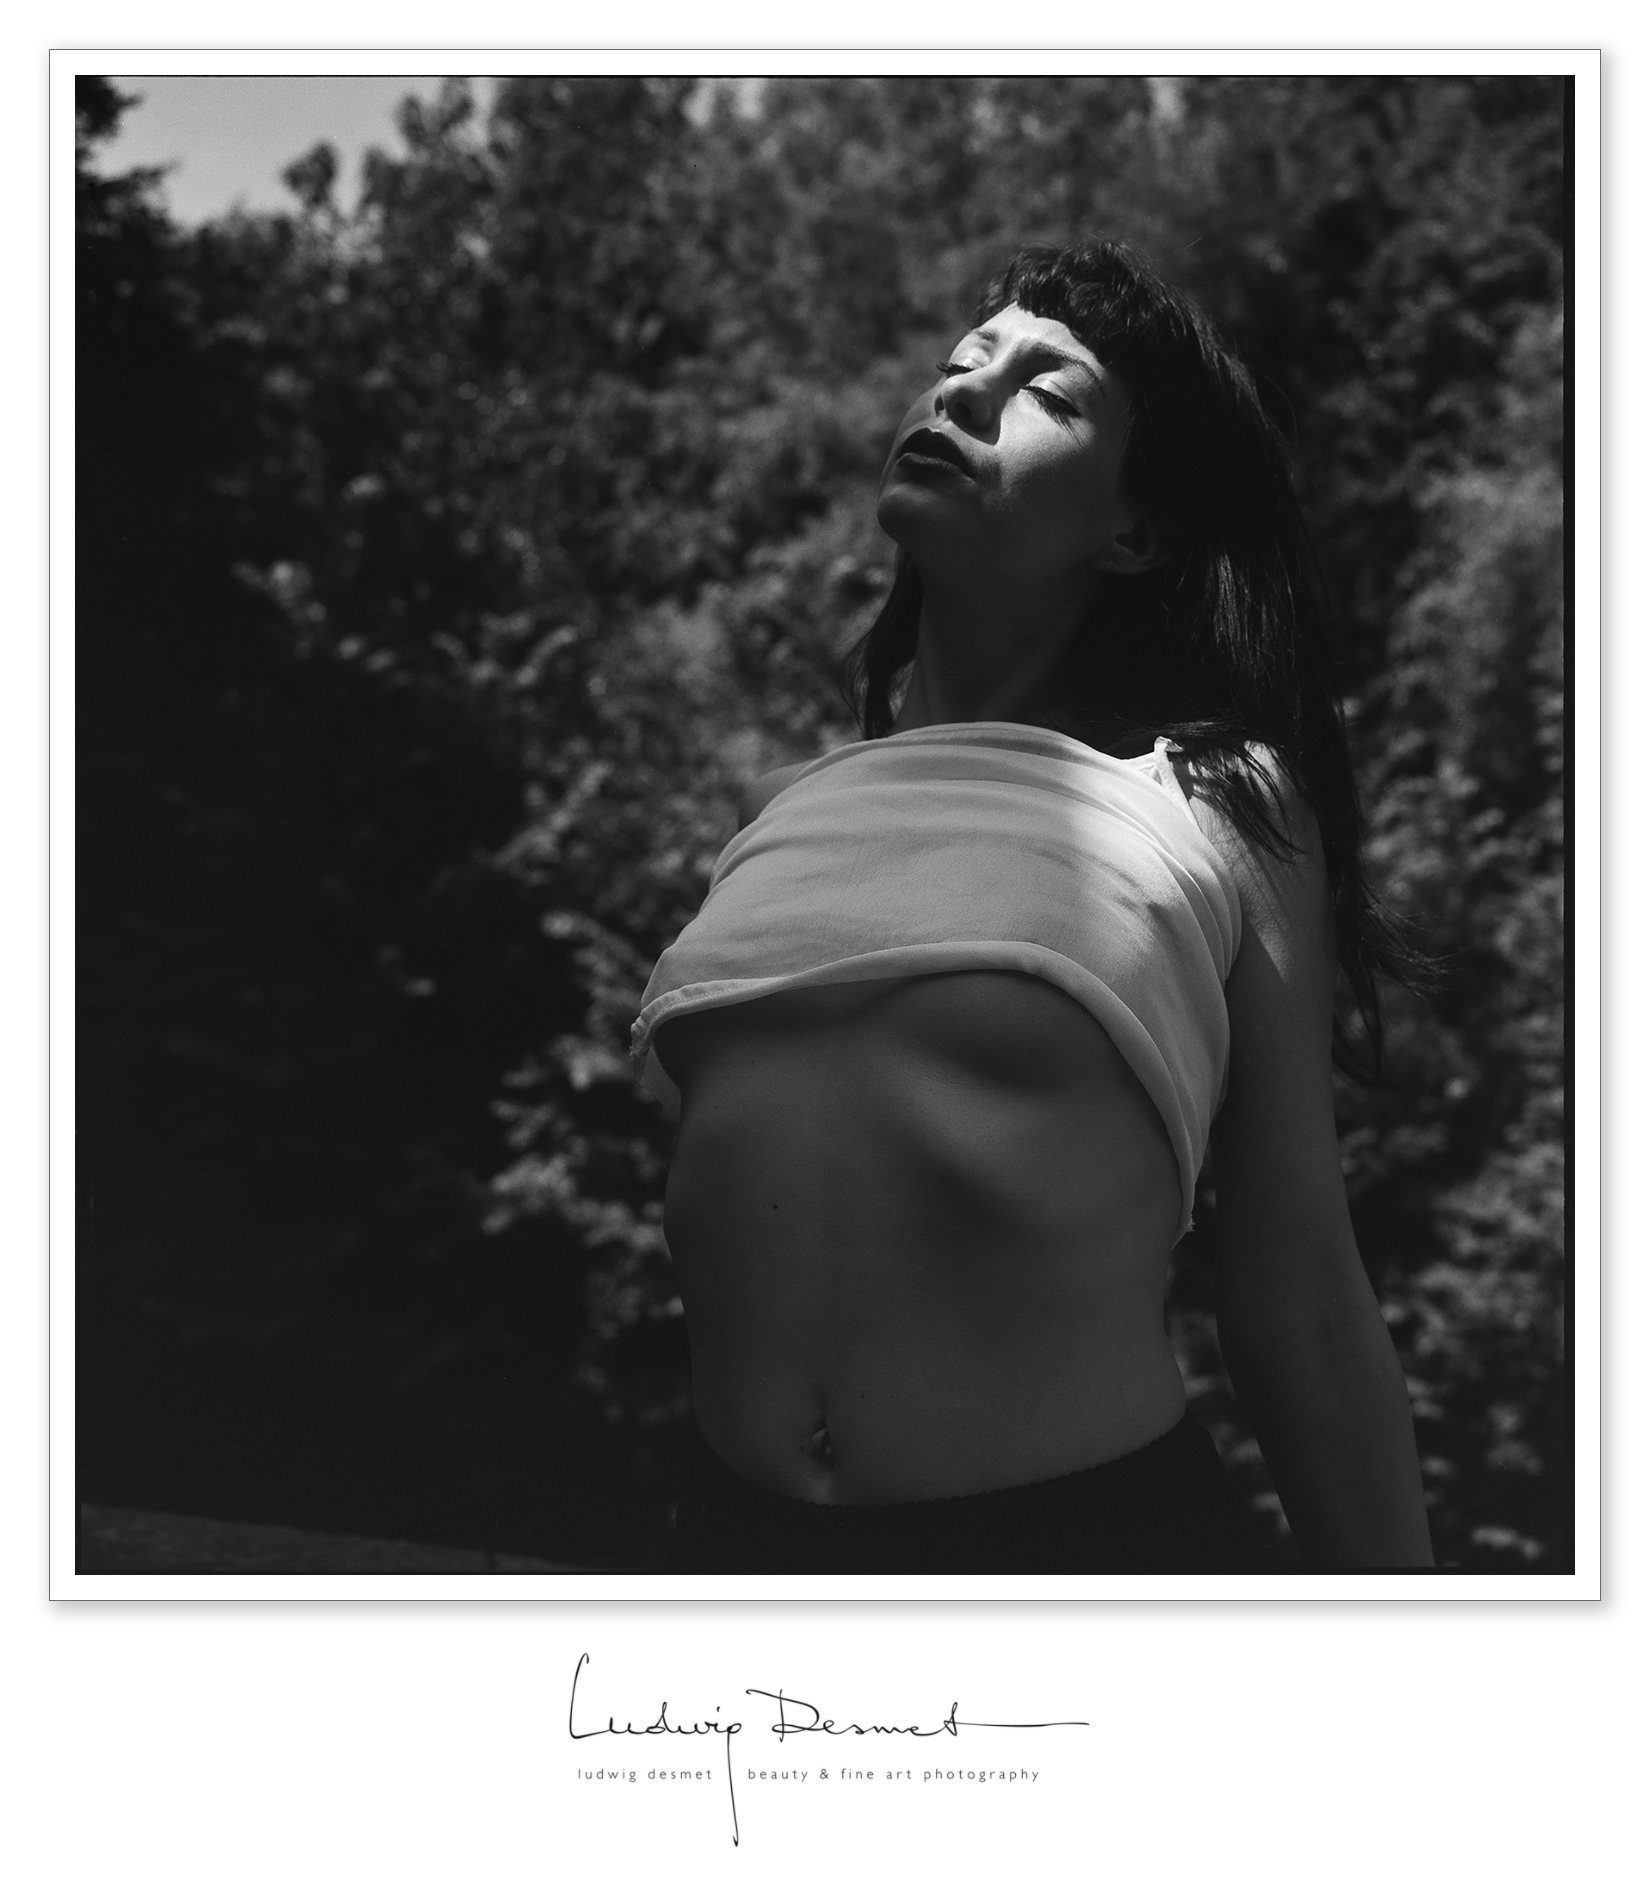
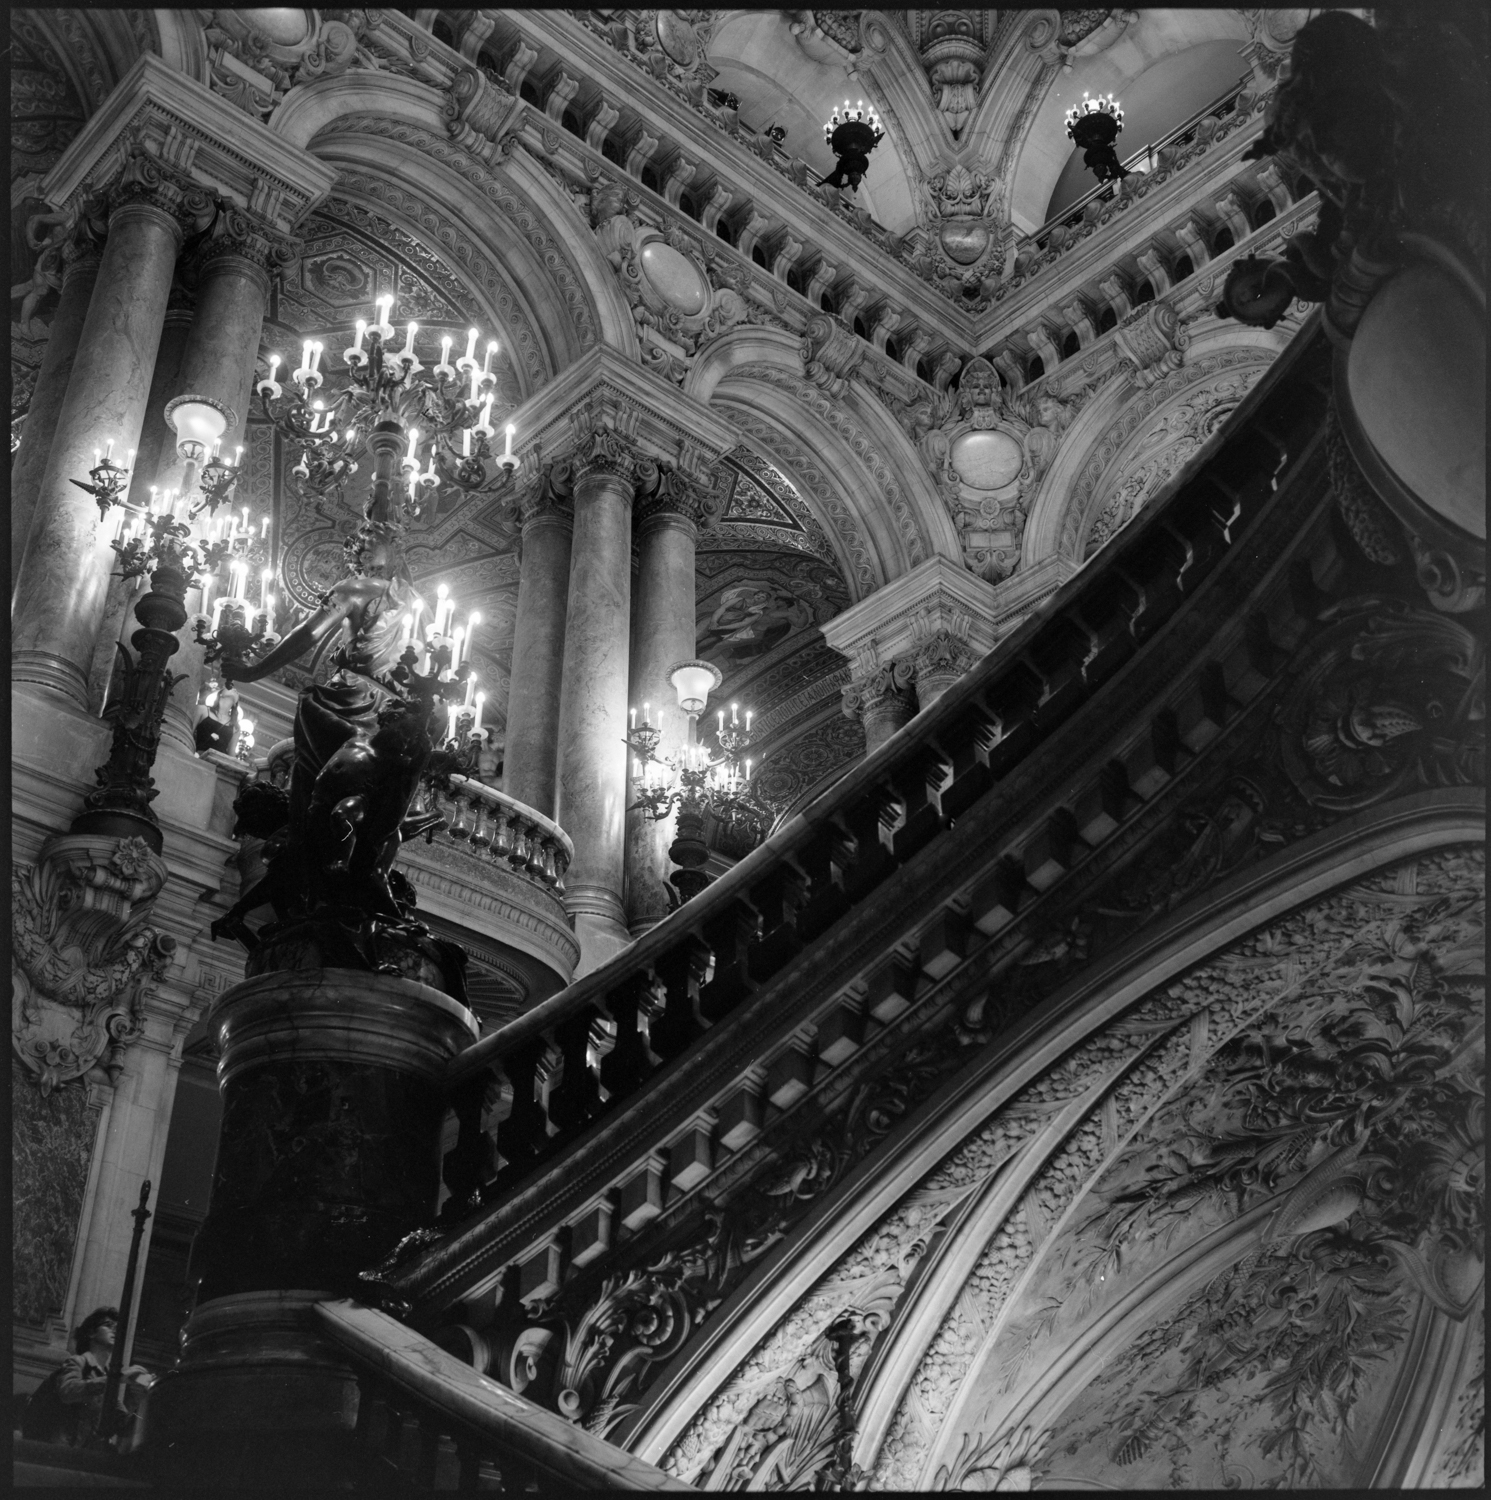
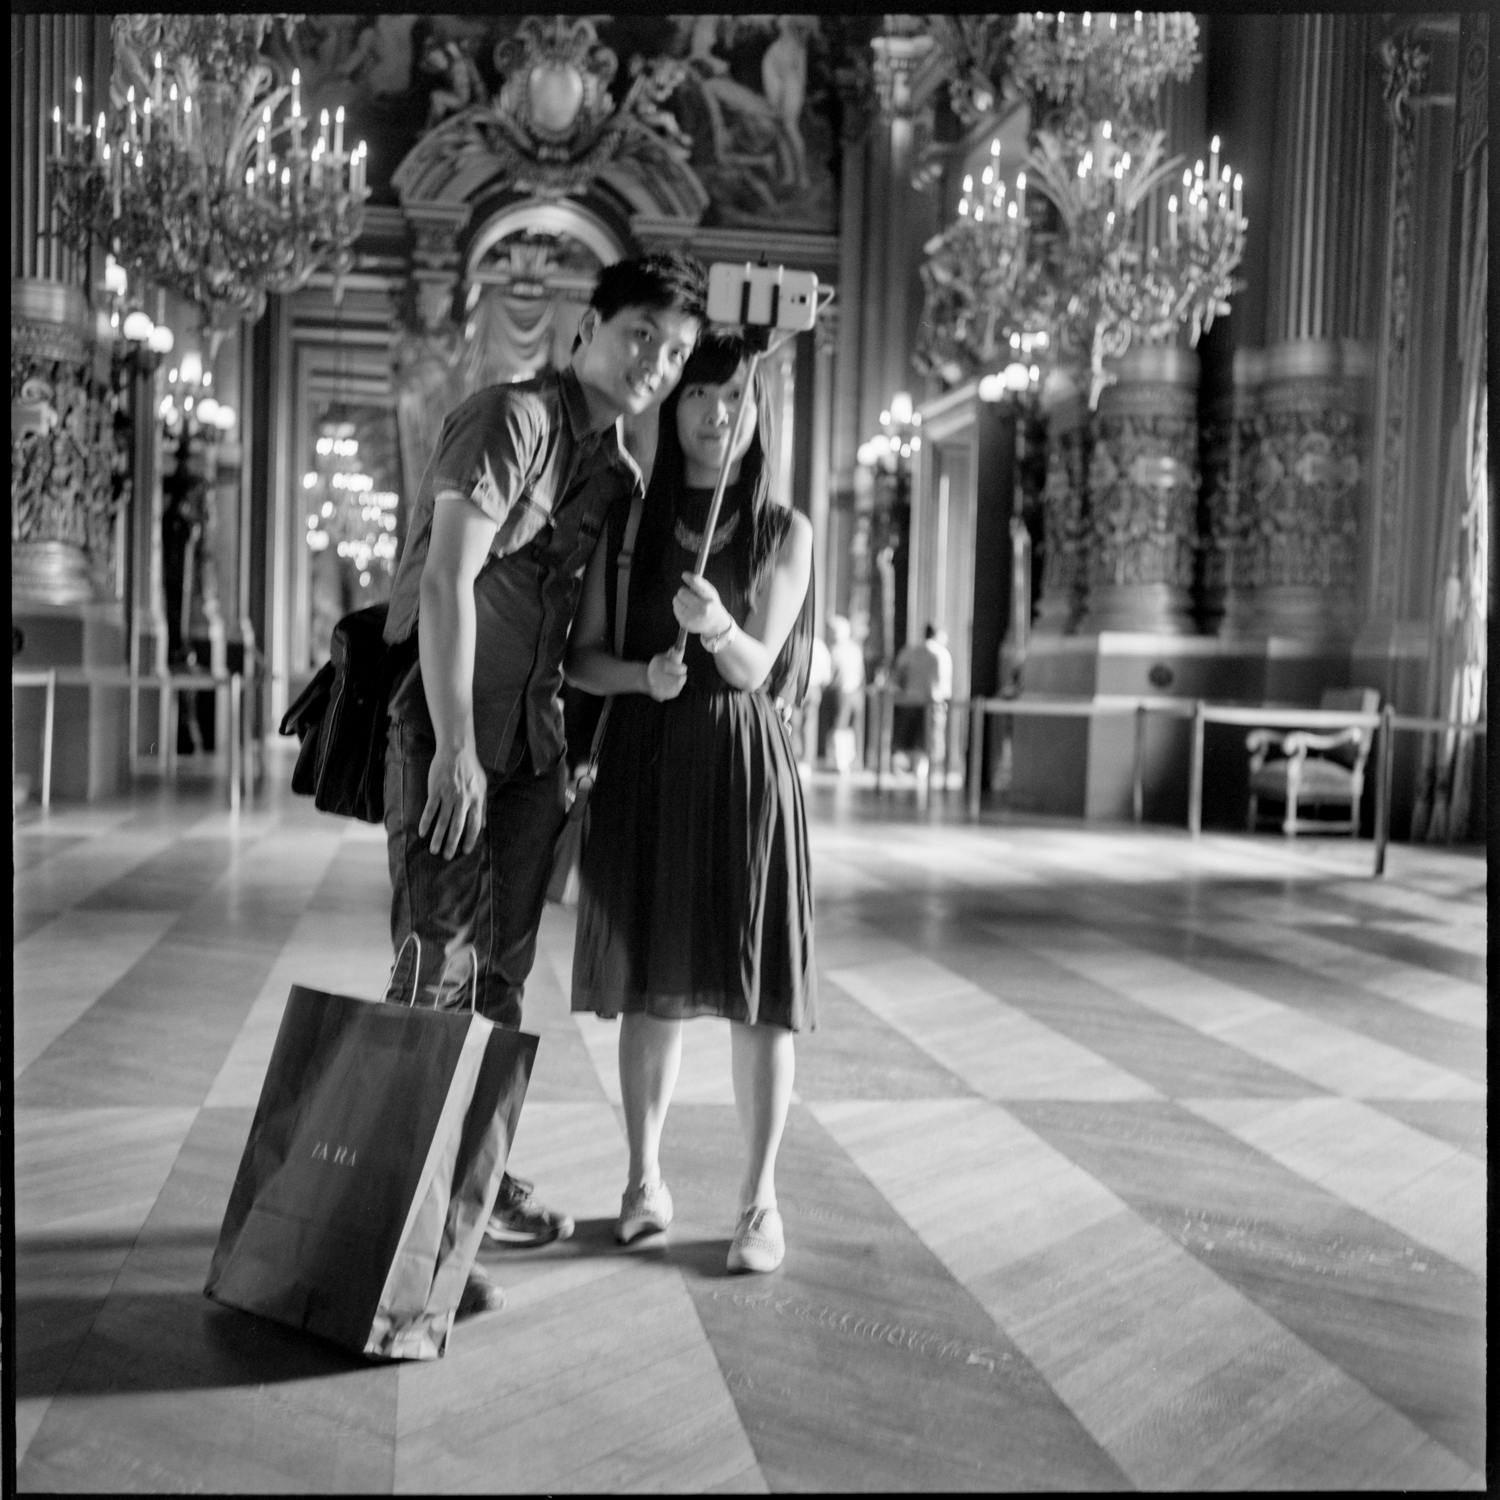
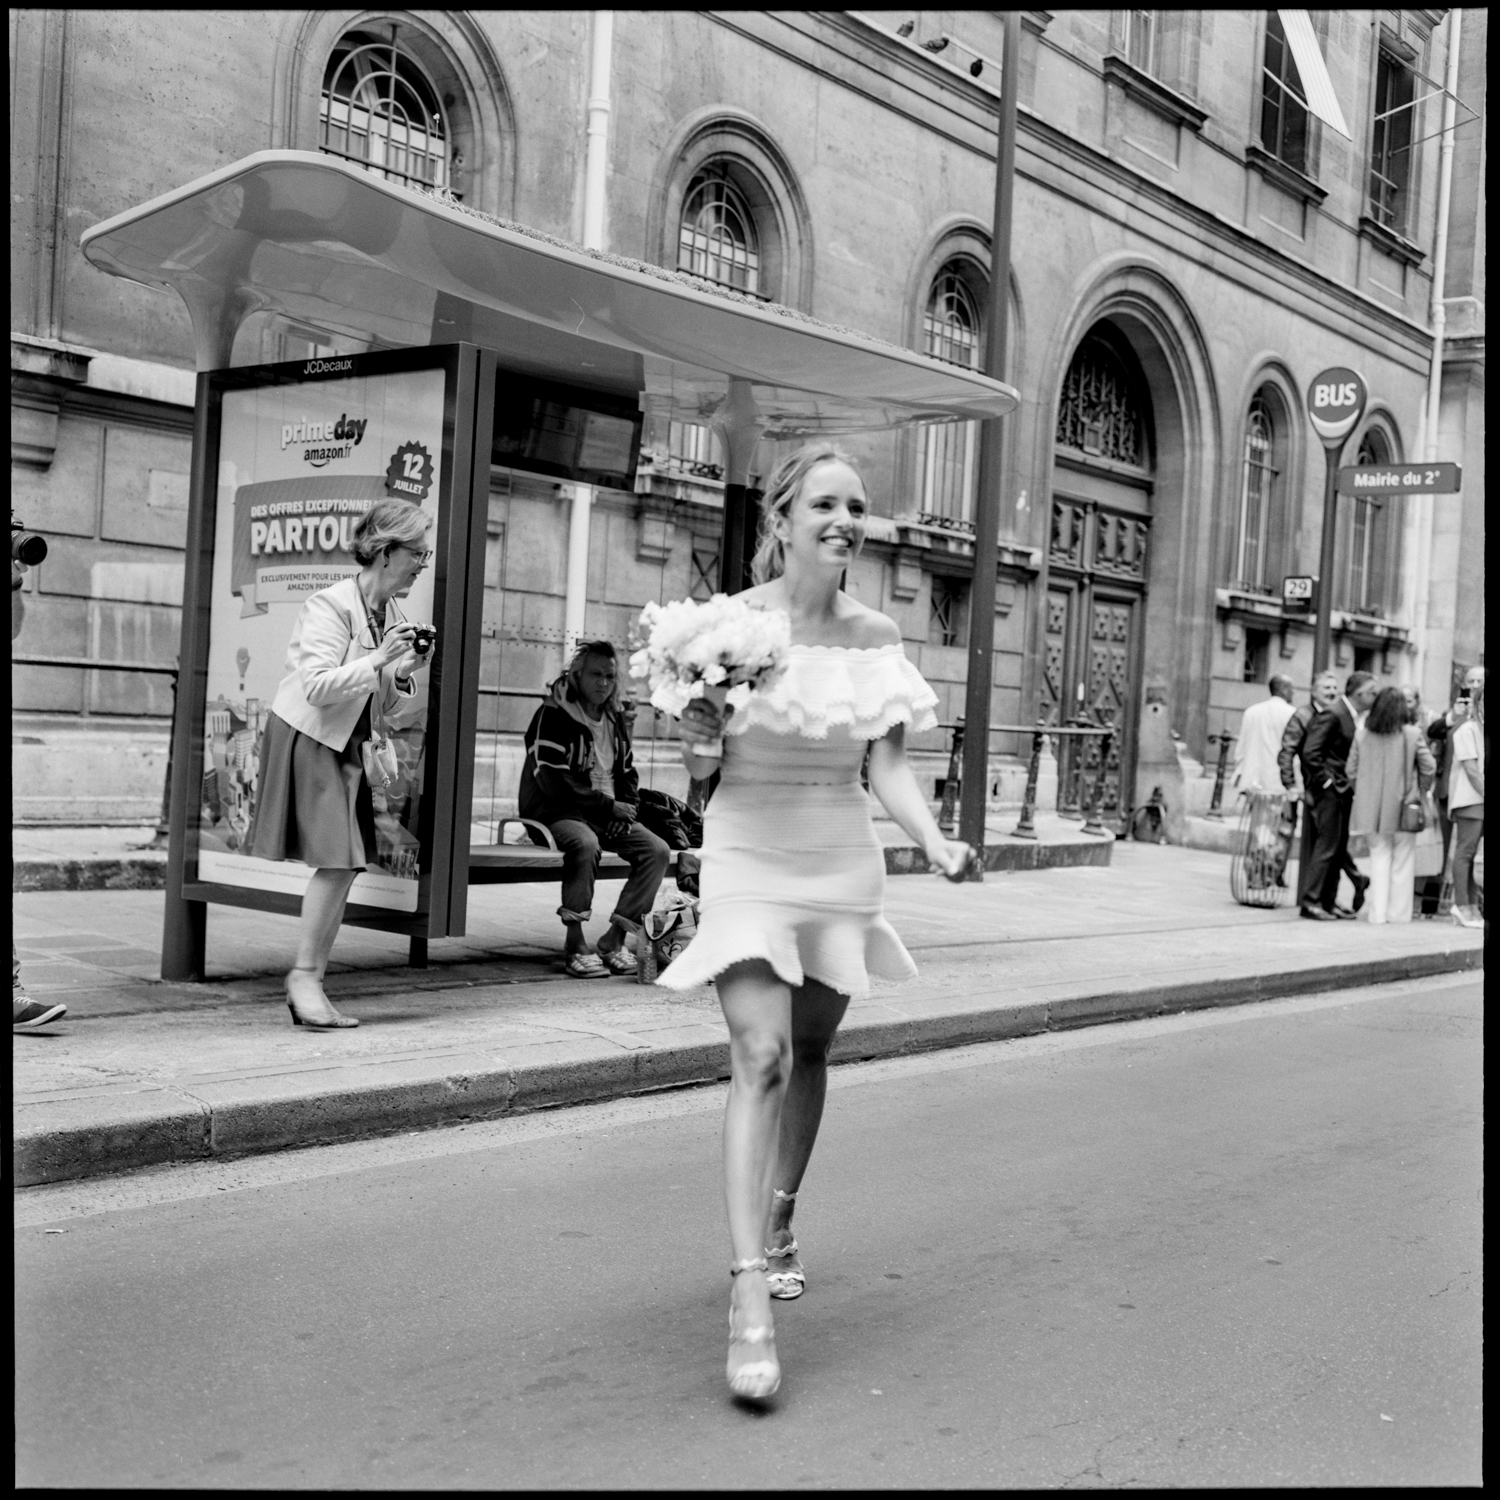
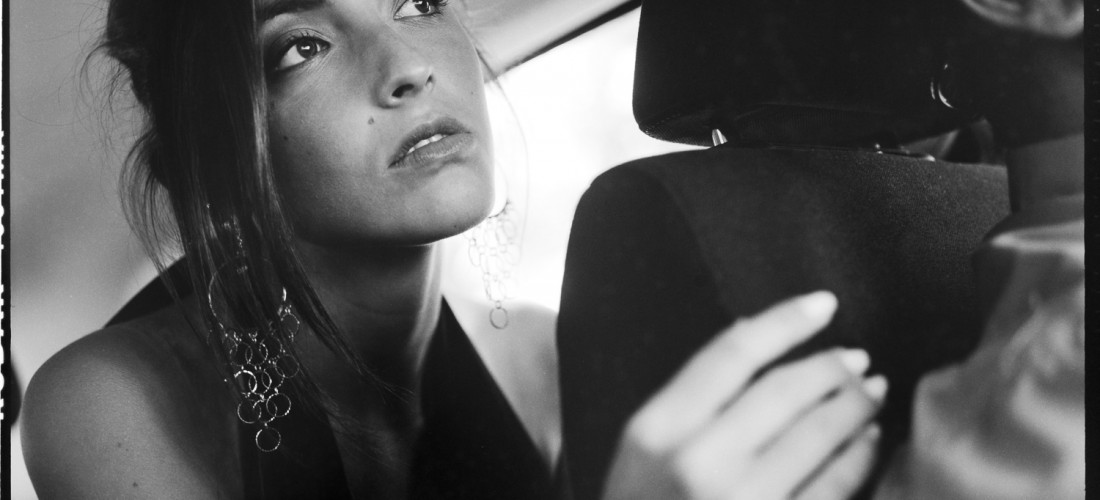
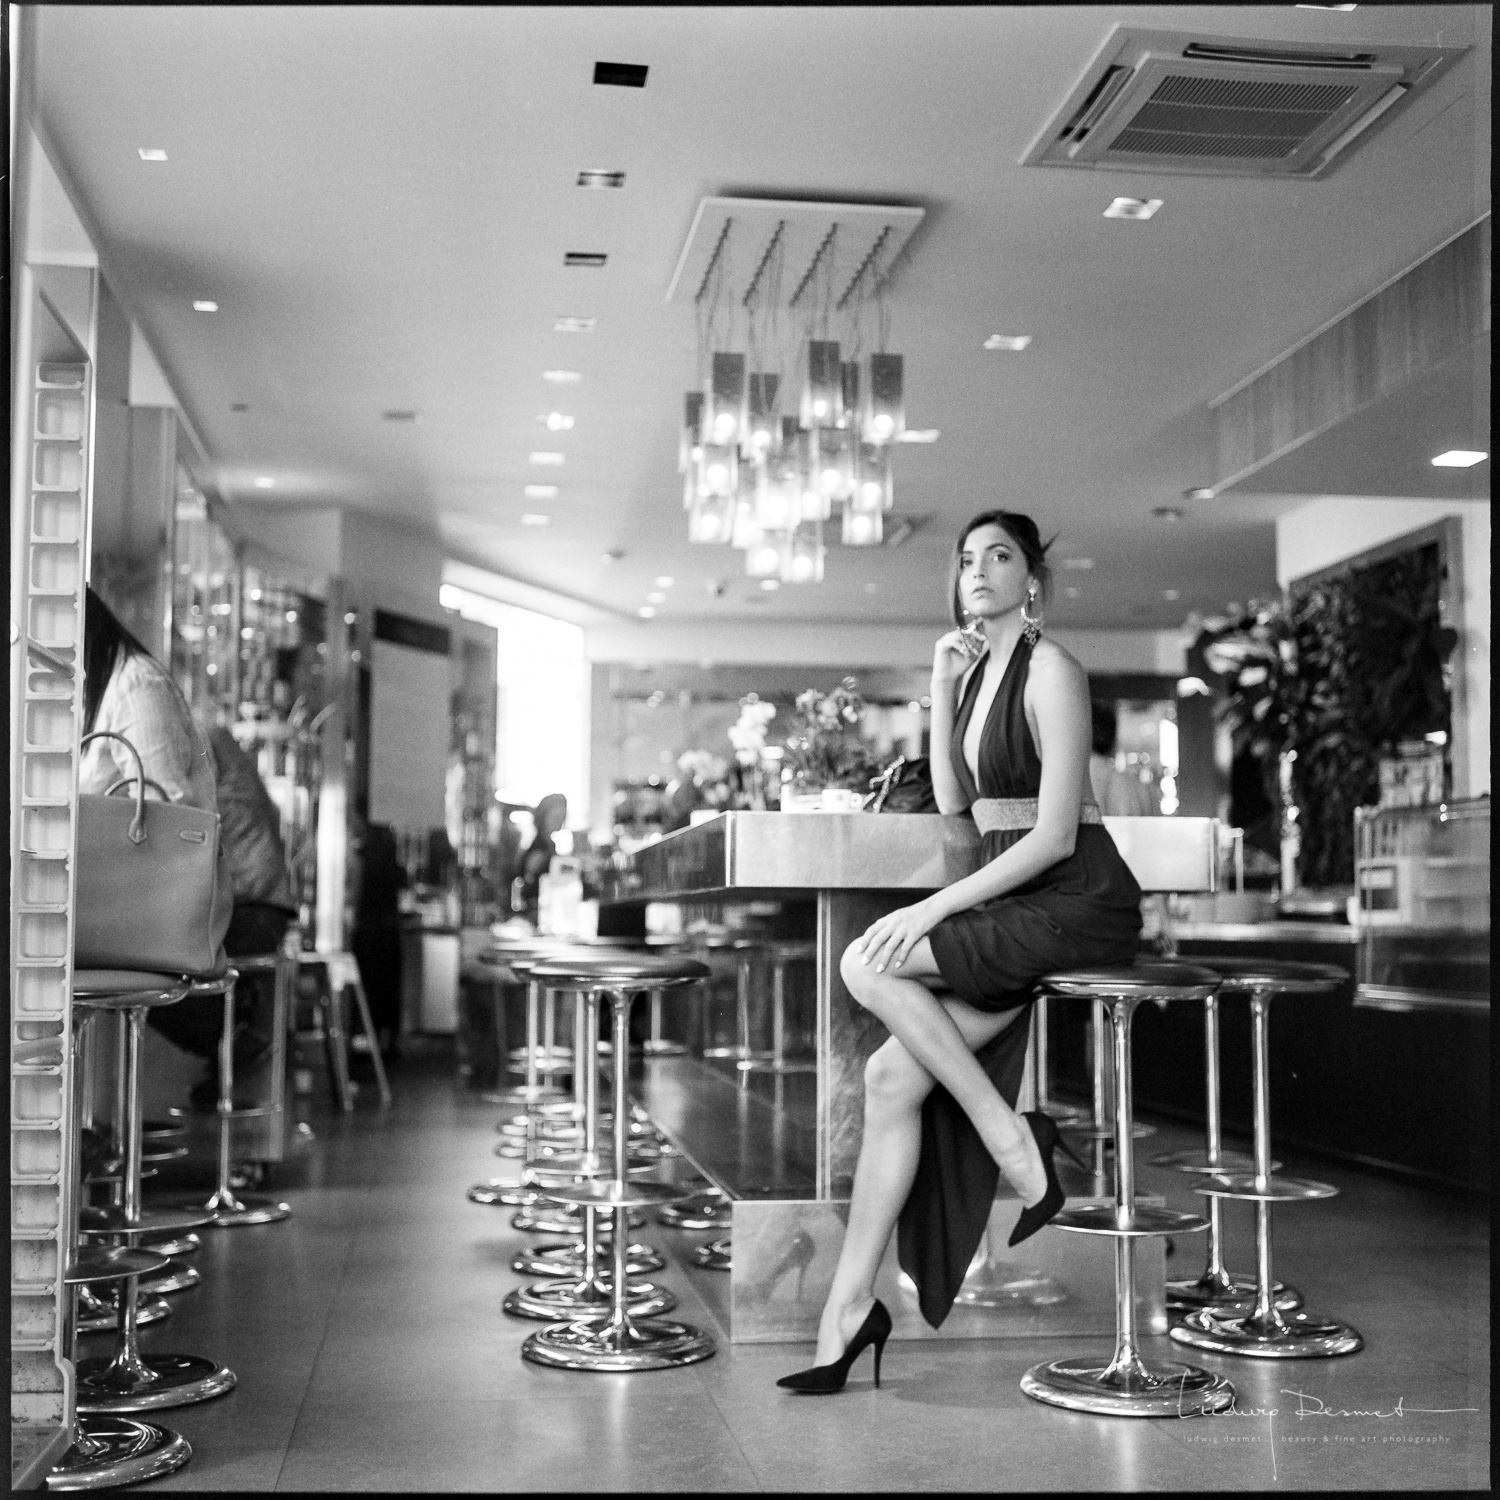
I manage to scan a film of 12 exposures in about 15 minutes, with a resolution of at least 5000×5000 pixels. That is perfectly fine with me, and gives me all film detail, up to the grain in the film.
